
Do you need a new ring to cheer up your fingers? This one is fun!
This ring is pretty fun, made with a mixture of different beads threaded onto some ring sized memory wire, this ring is cute, versatile and cheerful. I enjoyed making this one while I was chilling at home. This tutorial
You’ll need these tools and materials to make your own fun memory wire ring:
1: Pliers. I used my round nose pliers, cutting pliers (to cut the memory wire) and flat nose pliers.

2: Ring-sized memory wire. I cut mine to have two full coils.

3: Beads. I used a mixture of feature beads in different materials, two matching beads for the charms and some green glass seed beads.


4: Two small head pins.

5: Two small jump rings.

Here’s the steps to make your cool beaded memory wire coil ring.
1: After cutting your ring wire to your desired length, create a circle at one end using your round nose pliers.


2: Begin adding beads. I added mine in a random pattern alternating between feature beads and green glass beads.


3: Bead the ring until you have approximately 1cm left unbeaded.

4: Coil the end of the wire like you did at the start to form a loop and secure the beads on the wire.


5: Set the ring aside.
6: Add the two matching beads to each of the head pins.

7: Coil the tops of the headpins around the barrel of the round nose pliers to secure the beads in place.


8: Attach each of the bead charms to the end loops of the ring using the small jump rings.


Now your ring is finished! It will stretch to fit larger fingers too which is pretty cool. Will you wear your charms backwards or forwards?


It is great if you can make this design with materials you already have at home, but if you need supplies, this tutorial contains affiliate links.
Here’s another memory wire ring tutorial that uses polymer clay.
DIY Jewelry Hub
Welcome to DIY Jewelry Hub. If you’ve ever wanted to learn how to make your own jewelry this is the place to start! Jewelry is a great way to show off your individuality and style. You’ll be surprised at how easy it is to create your own unique pieces! DIY Jewelry Hub will equip you with all the knowledge and inspiration you need to make your own jewelry.


You May Also Like
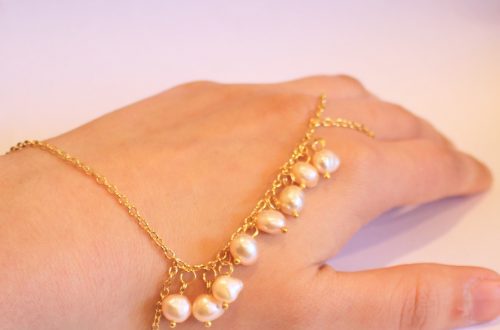
Here’s how to make a fun hand harness with pearl tassel charms, so cool!

You can never have enough rings, so here’s How to Make cute a Wire Ring
