-
Here’s how to turn two necklaces into one unique statement piece.
I’ve made a few tutorials that show you how to reuse your existing jewellery to make something new, and this tutorial is another technique to add to your set of jewelry styling skills. This tutorial requires two different necklaces, I used a beaded one and a chain one, that are looped together to make something new. Please note that this tutorial contains affiliate links for which the website may receive a commission.
You will need the following tools and materials to make your looped mixed material necklace:
1: A chain necklace. I used this gold tone chain.

You can get something similar here:
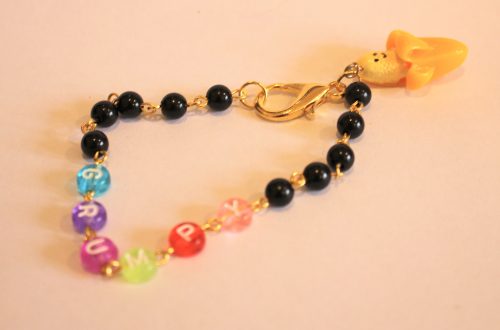
2: A beaded necklace of a similar length. I used this rainbow beaded one I made earlier.

You can make your own by following these instructions (just skip the pearl), or you can buy a similar one here:
Follow these steps to make your new necklace:
1: Undo each of the necklaces and loop them together.

2: Clip the ends of each necklace closed to make two loops.
3: Open one of the clasps and attach it to the other side (without letting go of the loop you just made) to secure it around your neck.


The different materials of these necklaces allows you to create a more sculptural piece that shows off your unique style. I think it looks elegant and edgy at the same time. So cool. Here’s what it looks like on.


If you like this tutorial, here are some similar ones you can follow:
-
Got two bracelets but want a necklace? Here’s how to convert what you’ve got into something new!
This is a simple tutorial that shows you how to turn two existing bracelets into a choker-length necklace! What a fun way to make your jewellery collection more versatile. Please note that this tutorial contains affiliate links.
You’ll need the following tools and materials to make your necklace:
1: Two bracelets, make sure they are long enough when clipped together to fit around your neck. I used a silver chain bracelet and a beaded bracelet.

Here are some silver bracelet options you can buy:

Here are some pre-made options you can buy:
and if you feel like making your own, you can follow this tutorial.
2: A charm, this is optional but you can clip a charm on for extra personality. I used this copper electroformed tiger’s eye pendant.

You can get a tiger’s eye charm here:
Follow these steps to make your necklace out of bracelets:
1: Unclip the ends of your bracelet.

2: Latch one of the bracelet clasps to the other end of the other bracelet, you will have a long strand now.

3: If you are adding a charm, slip it onto the clasp at the other end of the strand you just made.

4: Clip the ends of the strand together to form a choker, you can wear it with the charm at the front like this or without the charm for a mixed material effect.


Here’s what it looks like on

And here’s what it looks like without the charm.

What bracelets will you use to make your choker necklace?
If you love using your existing jewellery to make something new, here’s another tutorial for you:
- Turn an old ring into a pendant here and here
- This tutorial shows you how to swap earring hooks for charm connector studs to transform your earrings
- This tutorial shows you how to turn an old jar into jewellery storage
-
Tips to elevate your handmade pieces!
I love jewelry, I love looking at it, I love making it, and I love wearing it. But there are some parts of jewelry that I don’t love. I can’t stand it when a piece is uncomfortable and scratchy to wear, and I also can’t stand poorly constructed jewelry that looks like it will fall apart after two wears, so I thought it would be fun to share with you some things to look out for so that you always make strong, comfortable jewels that you will enjoy for years to come.
Here are my tips for making long-lasting, professional looking and comfortable jewelry:
1: Make sure you tuck away the ends of the tiger-tail wire. I usually achieve this by running the wire through a few of the beads at each end of my beaded designs so that it doesn’t poke out. You can also use a crimp cover which covers any sharp ends of the wire. You can see some examples below.

Look at the ends of this beaded strand, the ends of the wire are hidden under the beads. Follow the tutorial for this necklace here. 
The crimp cover on this earring charm protects you from being scratched by the wire. Tutorial for these earrings here. 2: Avoid using elastic in your designs. Elastic might be easy to put on and take off (and in some cases, is the only appropriate option in terms of accessibility). Unfortunately, this accessibility comes with a trade off, elastic tends to wear out quickly, and you can find your beautiful bracelet scattered all over the floor at the most inopportune moment. I suggest making your beaded jewels with nylon beading thread or tiger-tail wire for a longer life span. I’ve got a post about the pros and cons of different beading materials here.

Here’s a bracelet I found a while ago that was made from elastic. Unfortunately it had broken and been lost to its original owner! 
I’m yet to experience any of my tiger-tail beaded pieces breaking on me, I suggest choosing it if you are looking for durability in your designs. Full tutorial here. 3: Pull your wire tight at each end of your beaded pieces. I’ve noticed with the trend towards beaded jewelry in recent years, beaded tiger-tail necklaces are being sold with large loops at each end. This loose loop can catch on things and lead to breakages. I also personally think it looks sloppy and makes your work seem less polished.

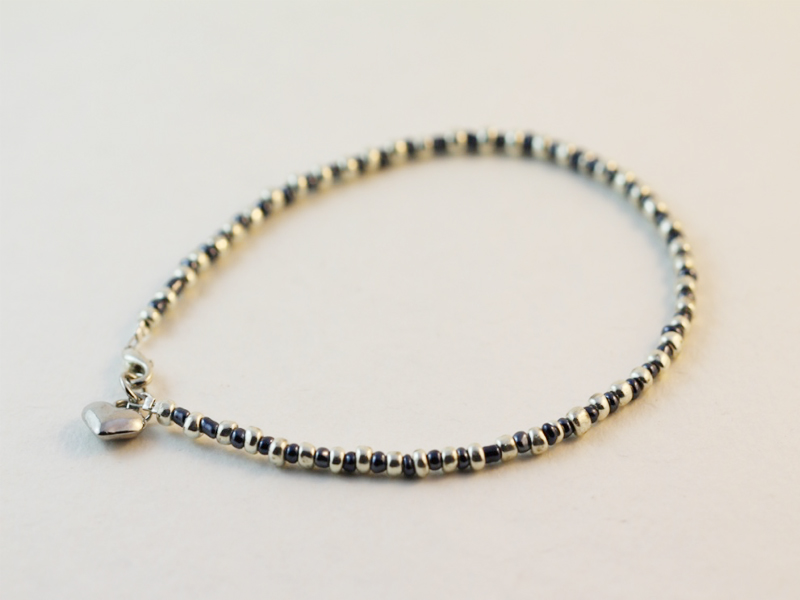
I think this anklet with tightly finished ends looks a lot neater than a loosely looped wire. You can follow the steps to make your own anklet here. 
Don’t leave big loops like this on your jewelry pieces, they can catch on things and don’t look as polished. 4: Try to use precious metals! I spent a long time making jewelry using findings made from base metals. While these materials are cheaper and great for when you’re starting out, I think investing in fine metals such as sterling silver, is a great way to elevate your designs and make them seem more polished and professional.

A sterling silver clasp elevates this beaded bracelet. You can see the tutorial for this bracelet here. 
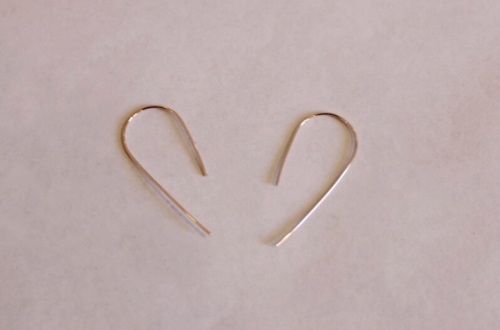
Sterling silver wire goes a long way! Some silver wire can be transformed into many sleek, minimalist jewellery designs with minimal effort. Tutorial to make these here. Here are some sterling silver materials you can buy and use in your designs:
5: I don’t always follow my own advice, but when you are making beaded pieces with pearls, it can pay to spend some extra time knotting your beading thread between each pearl. This technique not only protects the pearls, it also stops you from losing them all in the case of a breakage! I have’t made a pearl knotting tutorial yet, but I think there will be one on the way soon so keep an eye out.

This pearl bracelet features individually knotted pearls. So there you have it, a few tips and tricks to elevate your jewelry making to that next level! Please note that this post contains affiliate links.
-
Here’s how to take apart your beaded jewellery so you can reuse the materials.
Do you have a beaded necklace or bracelet that you don’t like anymore? Here’s a video tutorial that shows you how to take that piece apart so that you can re-use the beads, the wire and most of the findings! Knowing how to take apart jewelry you don’t want anymore is a way to both save money and be a bit more eco friendly! Please note that this tutorial contains affiliate links.
You’ll need the following tools and materials to take apart your jewels:
1: A piece of jewellery you don’t want anymore. I took apart a beaded anklet.

2: A pair of cutting pliers.

3: A bowl to put your beads in so they don’t fly everywhere.
4: A pair of flat nose or round nose pliers for opening jump rings.

Watch this video to see all the steps:
Will you take apart your old creations, or maybe some vintage jewels you found at a market or online?
-
Let me show you how to make a pretty pair of beaded earrings!
Mixed beads seem to be all the rage right now! These beads feature a variety of gemstones and a couple of cute little glass heart beads for a cool look. Use your choice of beads to create your own twist on this simple-but-bold design. Please note that this tutorial contains affiliate links.
You’ll need these tools and materials to make your own pair of beaded statement earrings:
1: Two earring hooks.

2: Two long eye pins.

3: Two small head pins.

4: A variety of beads. I used some gemstone chip beads, some pearls, shell beads, round lapis lazuli beads and two glass heart beads.

5: Pliers. I used my round nose and flat nose pliers.

Follow these steps to make your beaded earrings:
1: Add each of the heart beads to the small head pins.

2: Loop the top of the pins using the round nose pliers and then set them aside.


3: Add beads to one of the eye pins in the pattern of your choice.

4: Bend the top of the pin to form an angle.

5: Loop the top of the pin using the round nose pliers.


6: Repeat steps 3 to 5 for the second eye pin re-creating the pattern you established with the first pin.

7: Attach one of the heart charms to one of the beaded eye pins.

8: Attach the other heart to the other eye pin.

9: Attach an earring hook to each of the pins to finish the earrings off!


Now your sweet earrings are finished and ready to wear! These are so lovely and fun! Perfect for a playful but glam look!


If you loved these earrings, here are some other pearl earrings you can make at home:
-
How to add cute square charms to a pair of hoop earrings!
These hoop earrings are really cute! Each hoop has a little dangly beaded square charm which moves prettily as you wear them! This is a really special way to upgrade a basic hoop finding. Please note that this tutorial contains affiliate links.
Grab these tools and materials to make your earrings:
1: A pair of hoop findings.

2: Eight eye pins.

3: Four head pins.

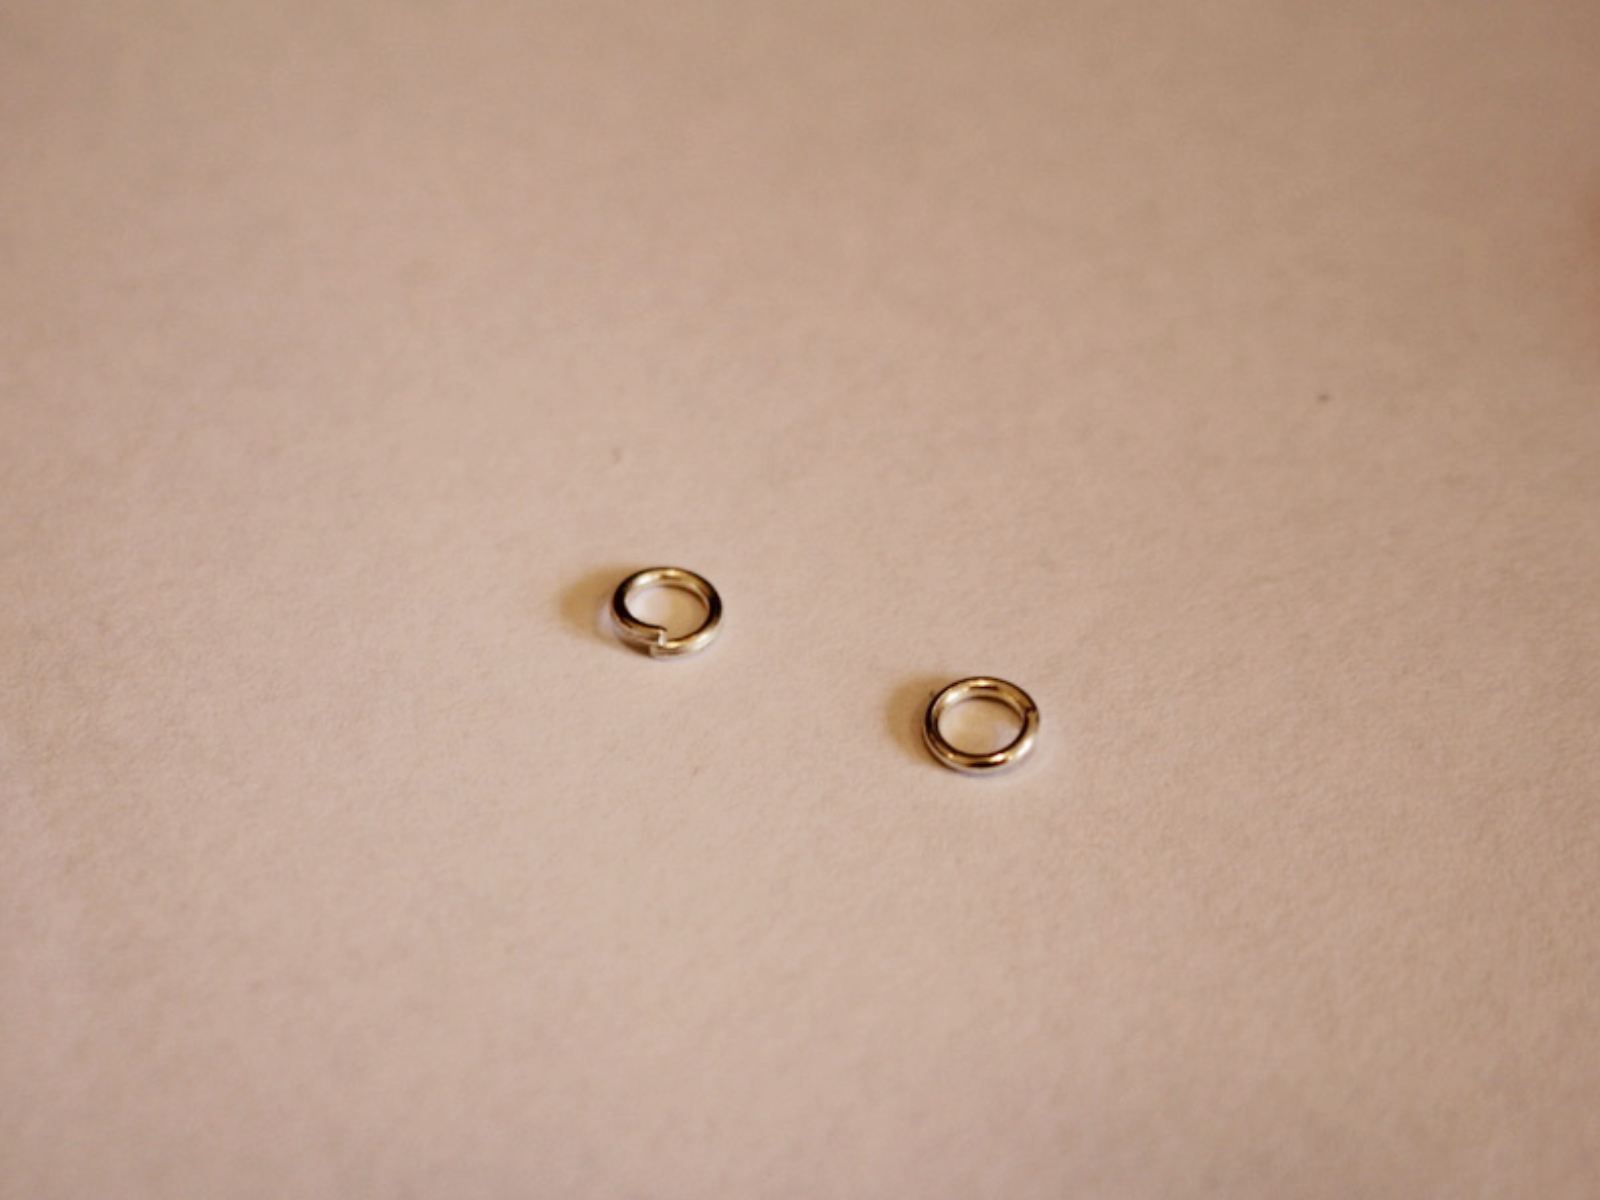
4: Four small jump rings.

5: Four large jump rings.

6: Glass beads. I used yellow glass e-beads.

7: Some accent beads, I used four blue seed beads and four silver-tone beads.


8: Pliers. I used my flat nose and round nose pliers for this pair of earrings.
Follow these steps to make your elevated hoop earrings:
1: Add beads to one of the eye pins.

2: Bend the end of the pin to form an angle.

3: Curl the end of the pin around the round nose pliers to make a loop. This secures the beads in place.


4: Repeat steps 1-3 for the remaining seven eye pins. Now you will have eight beaded pins.

5: Take four of the pins and join them together to form a chain.


6: Do this again for the second set of pins.

7: Attach the ends of each chain together to make a square shape.


8: Set the two squares aside.
9: Add two of the accent beads to the head pins.


10: Wrap the end of the pin around the round nose pliers to create a loop.


11: Repeat steps 9 and 10 for the other three pins, using up the rest of the beads.

12: Attach two of the charms you just made to the bottom corners of each of the squares using the small jump rings.


13: Add the larger jump rings to the top corners of the squares.


14: Using the larger jump rings, slide a charm onto each of the hoops.


Now your elevated hoop earrings are finished and ready to wear! How fun is this design? I love how they move and wiggle as I wear them!

Here are some other ways you can incorporate beaded squares into your jewelry:
-
Love a bracelet stack? Here’s how to get the look with one bracelet!
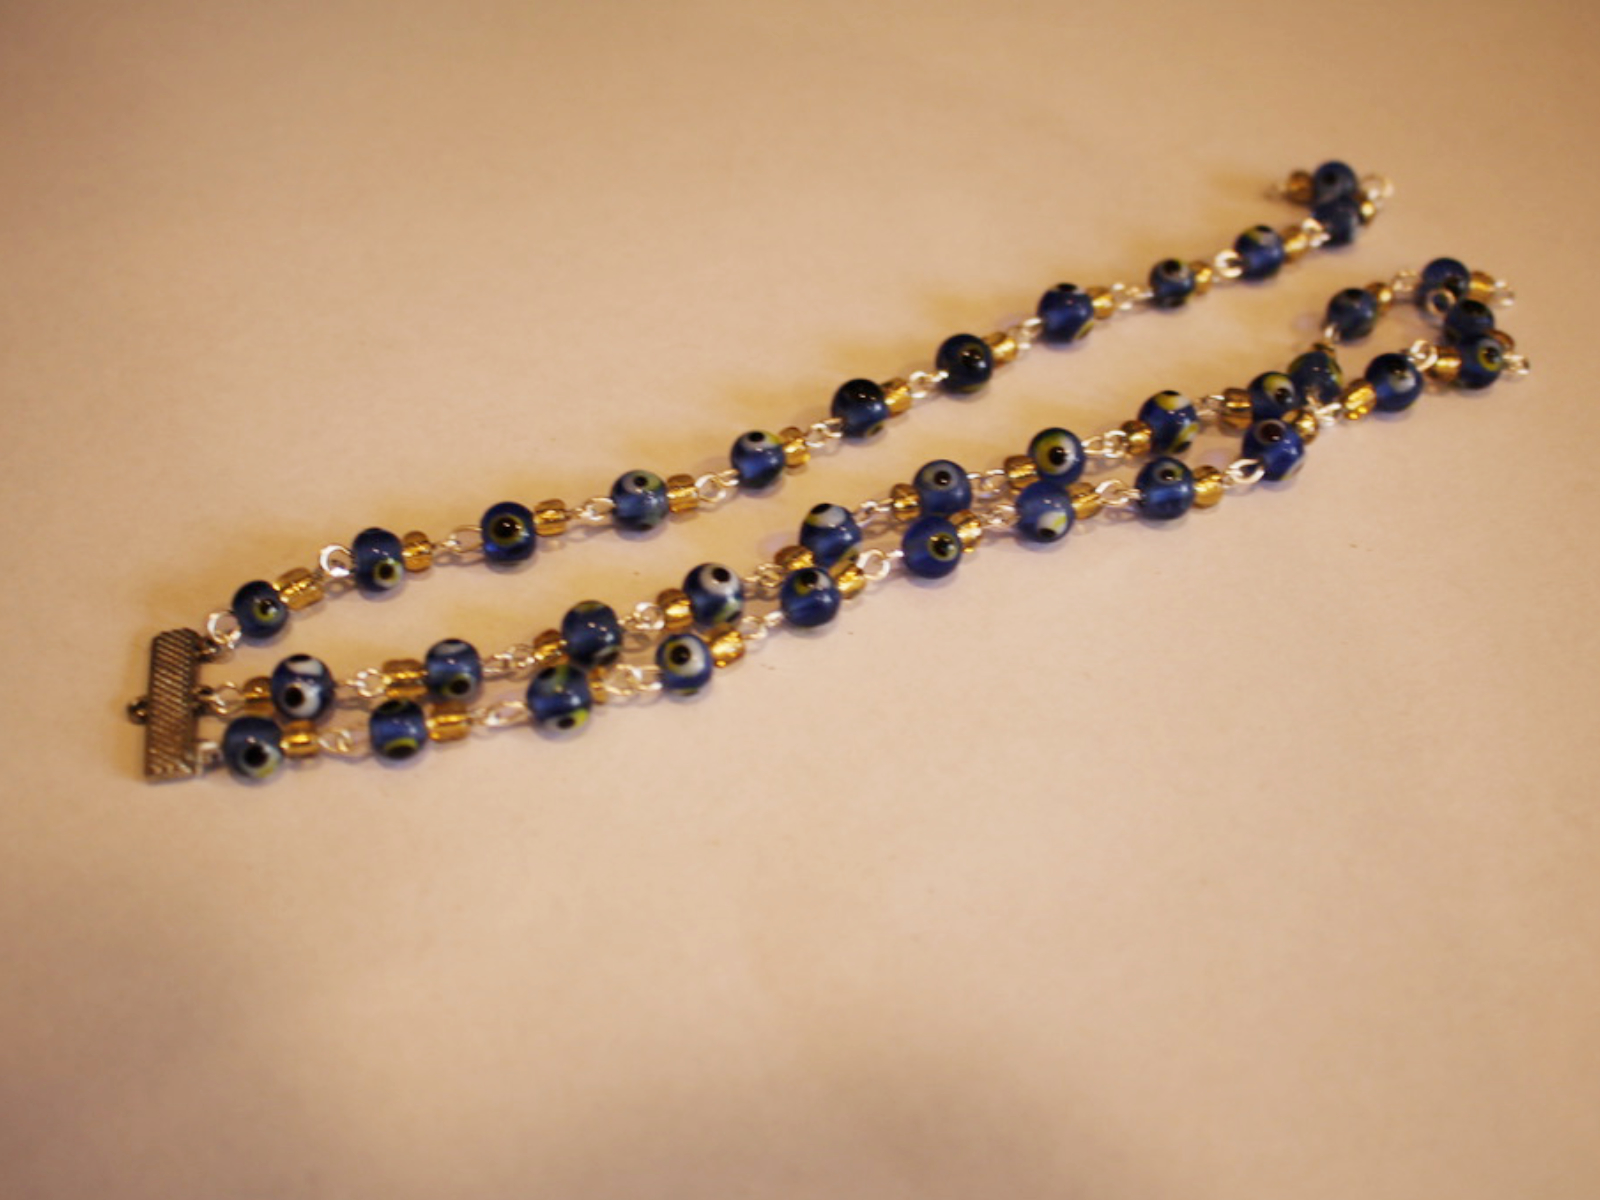
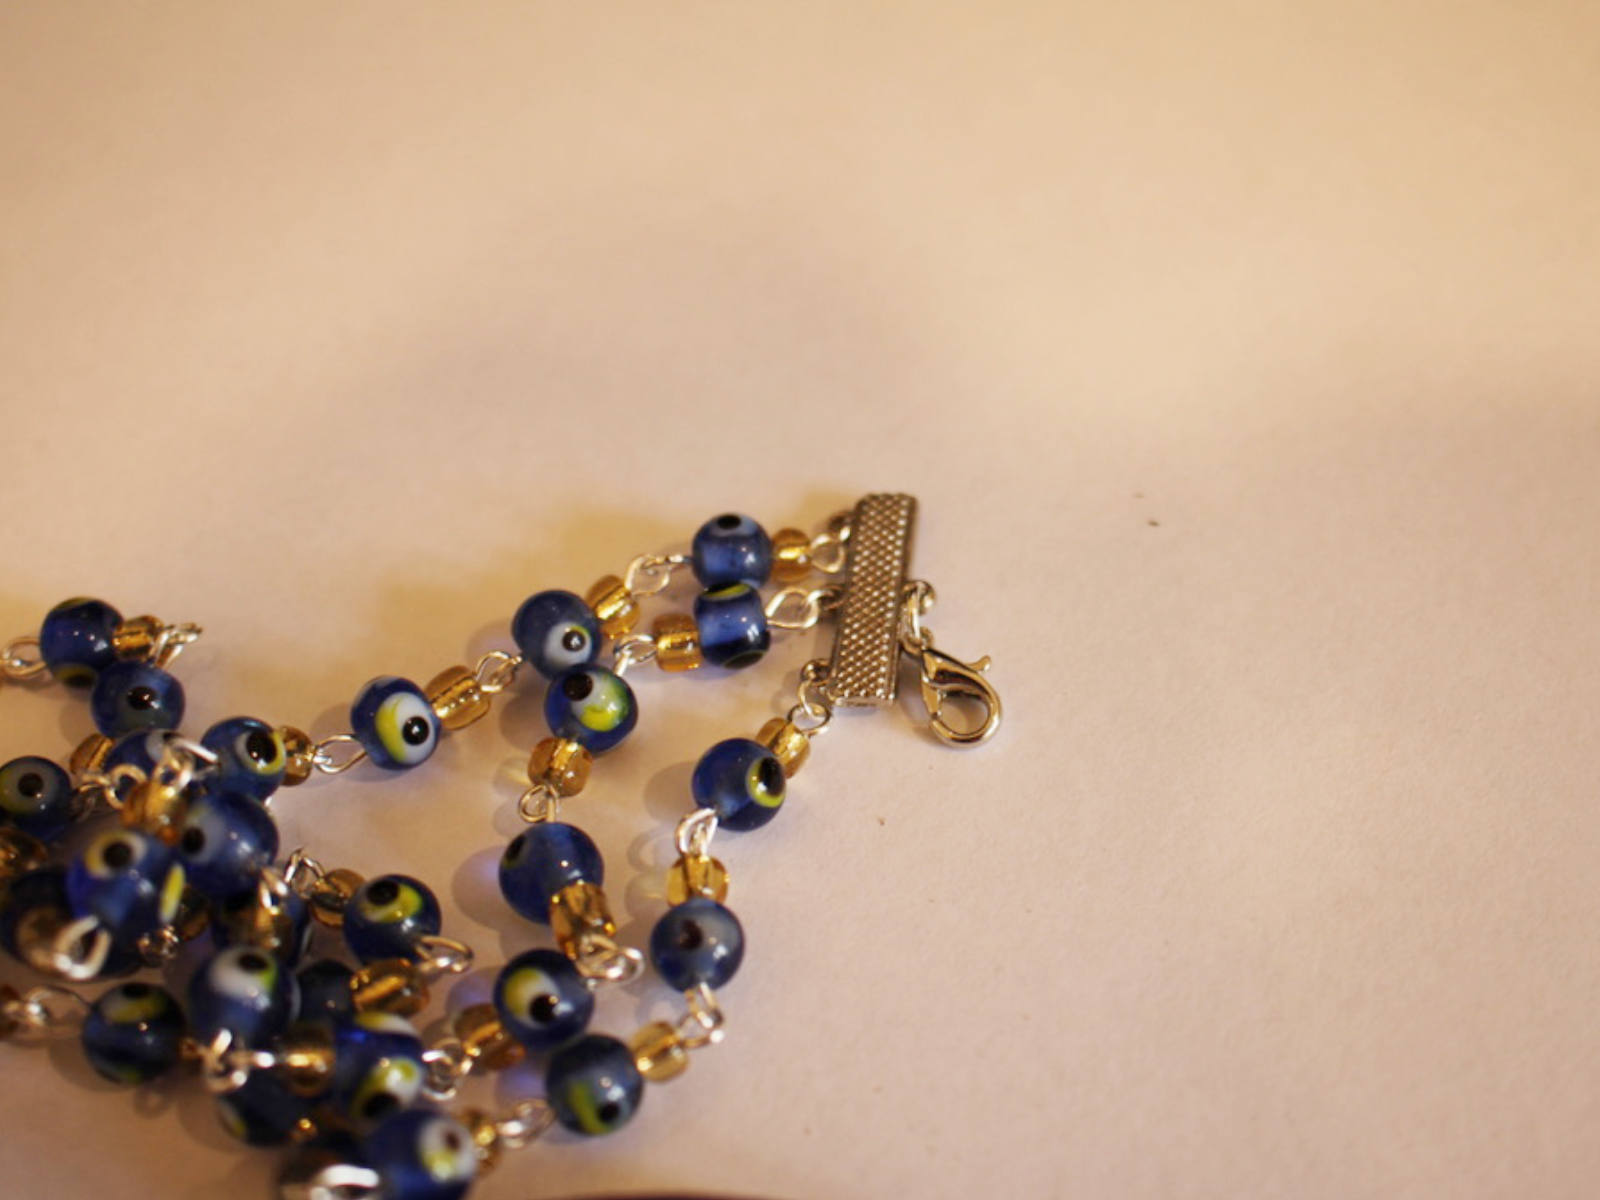
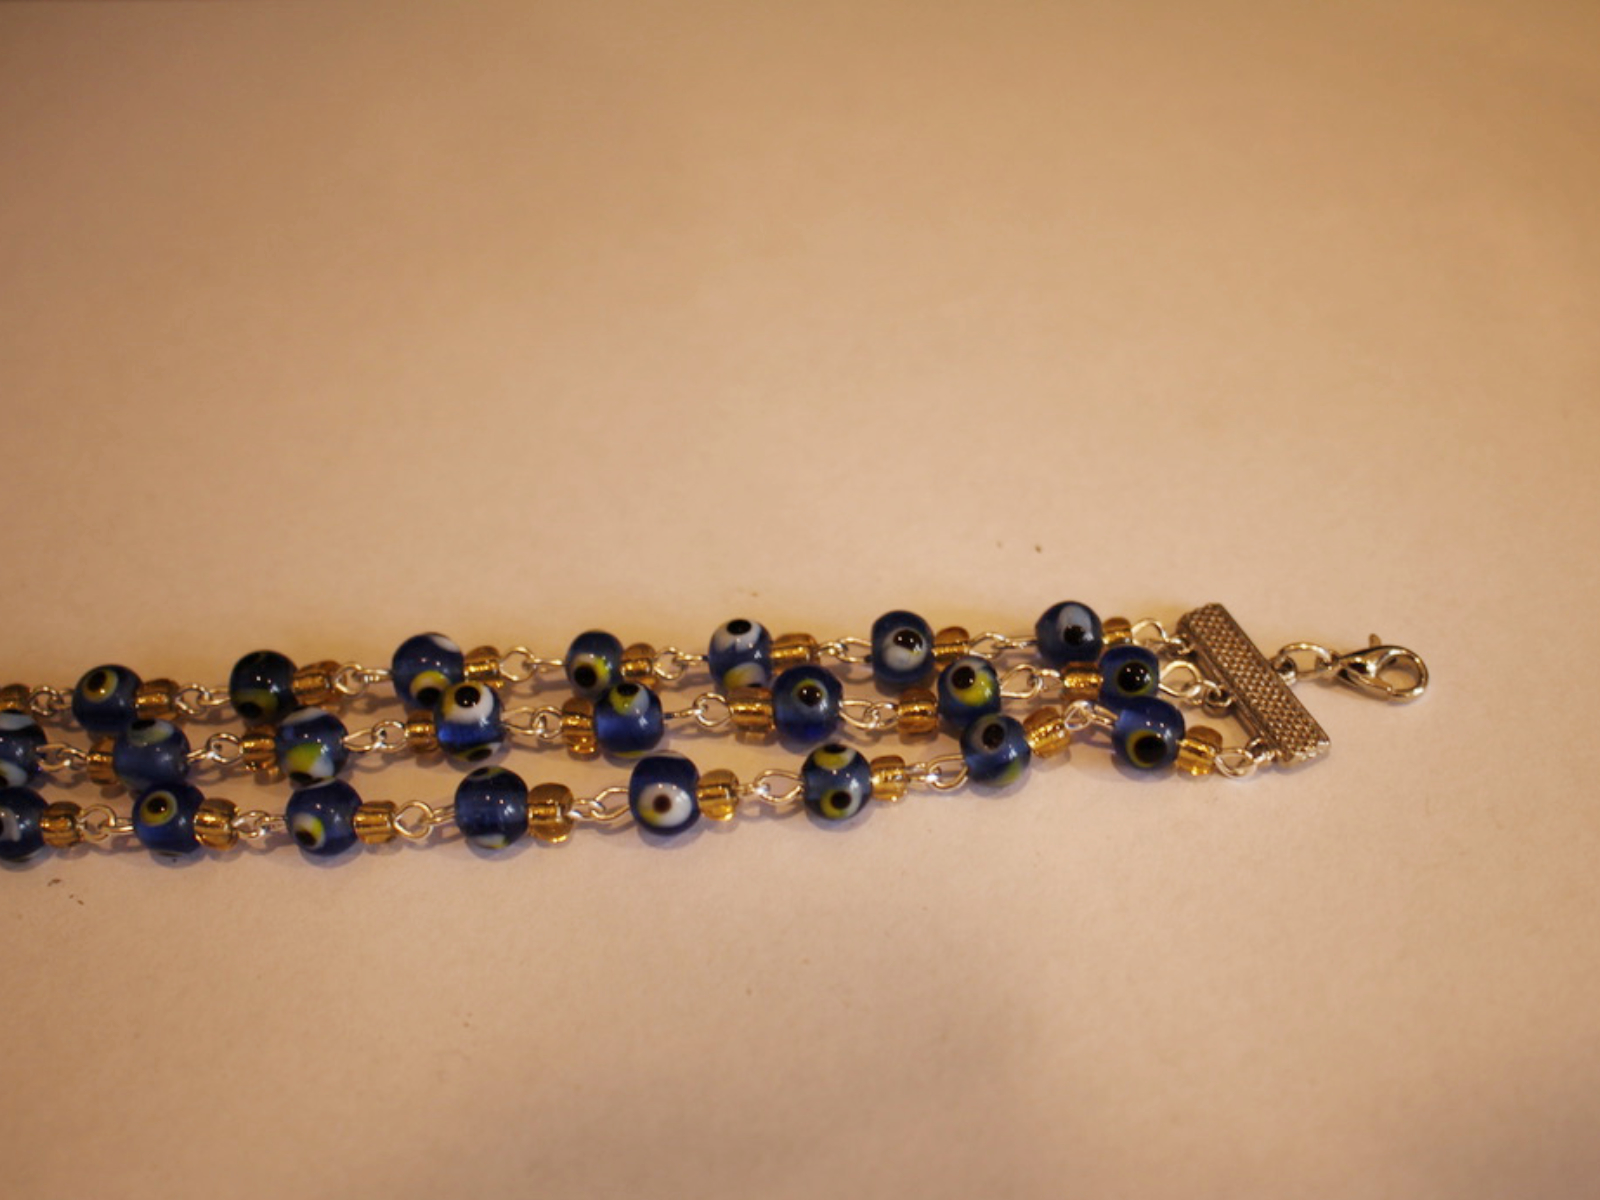
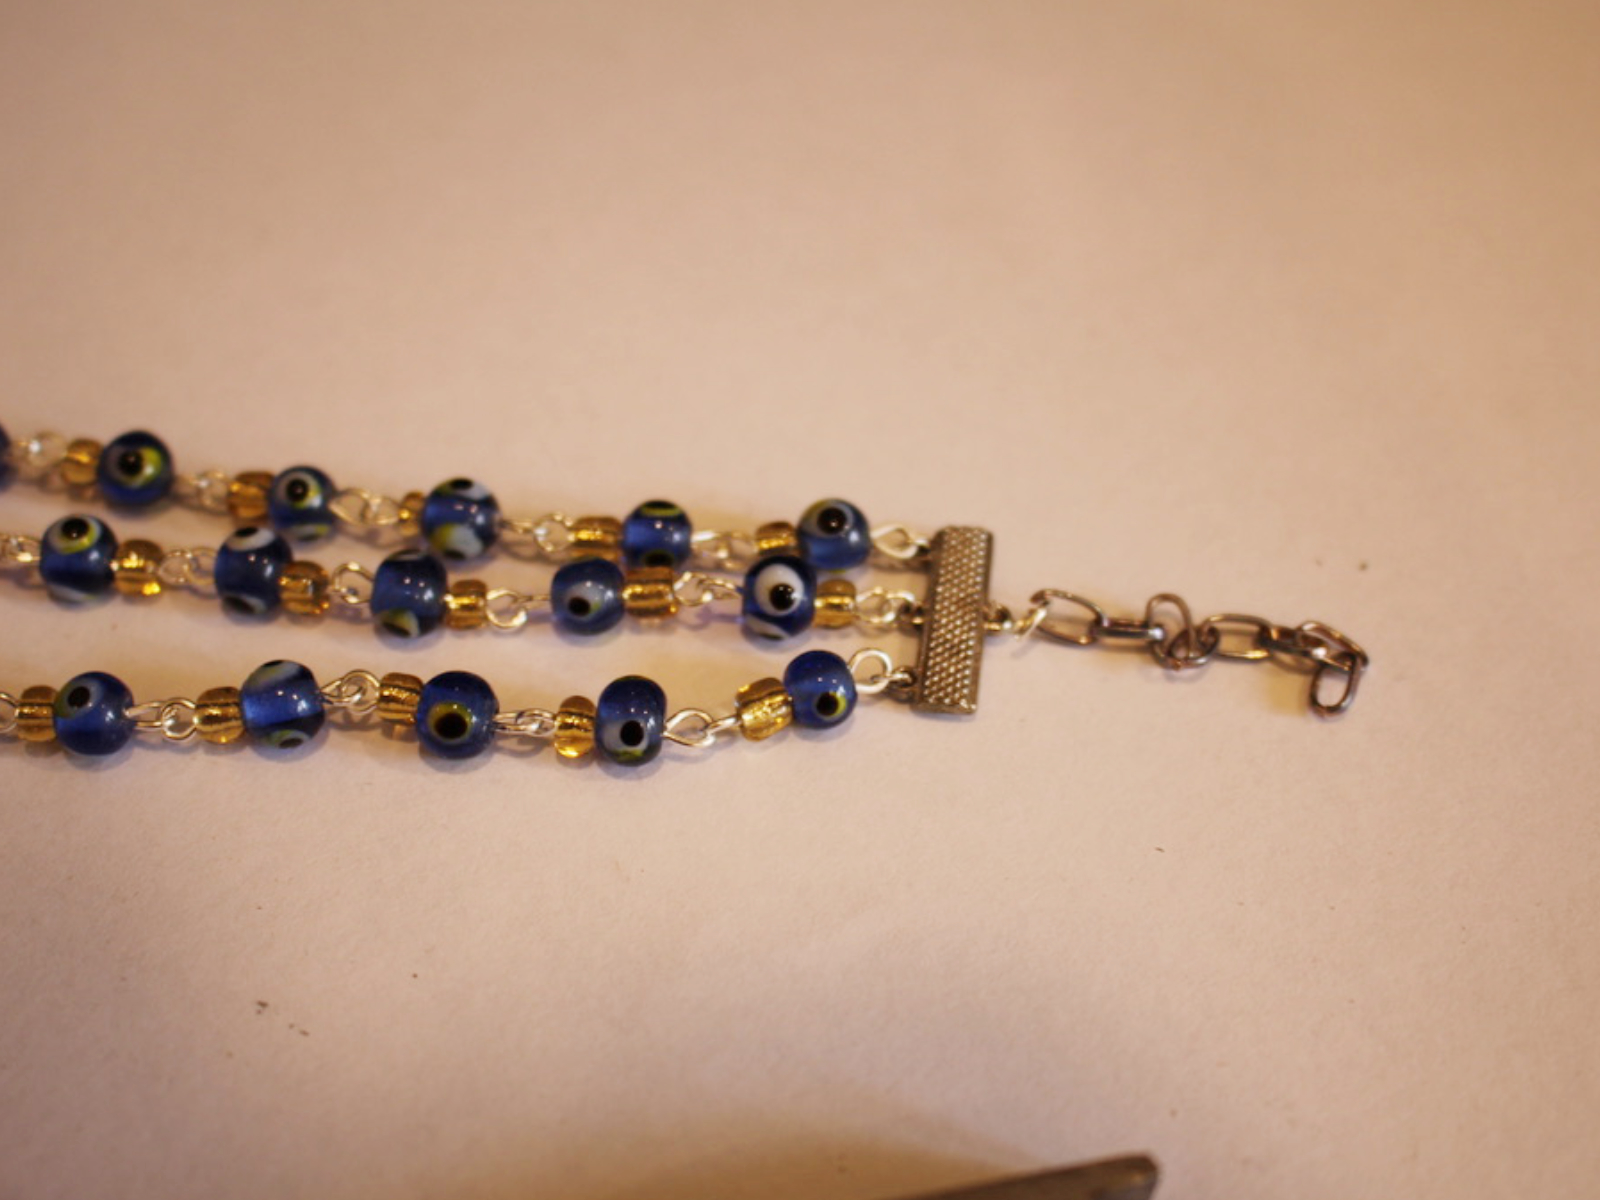
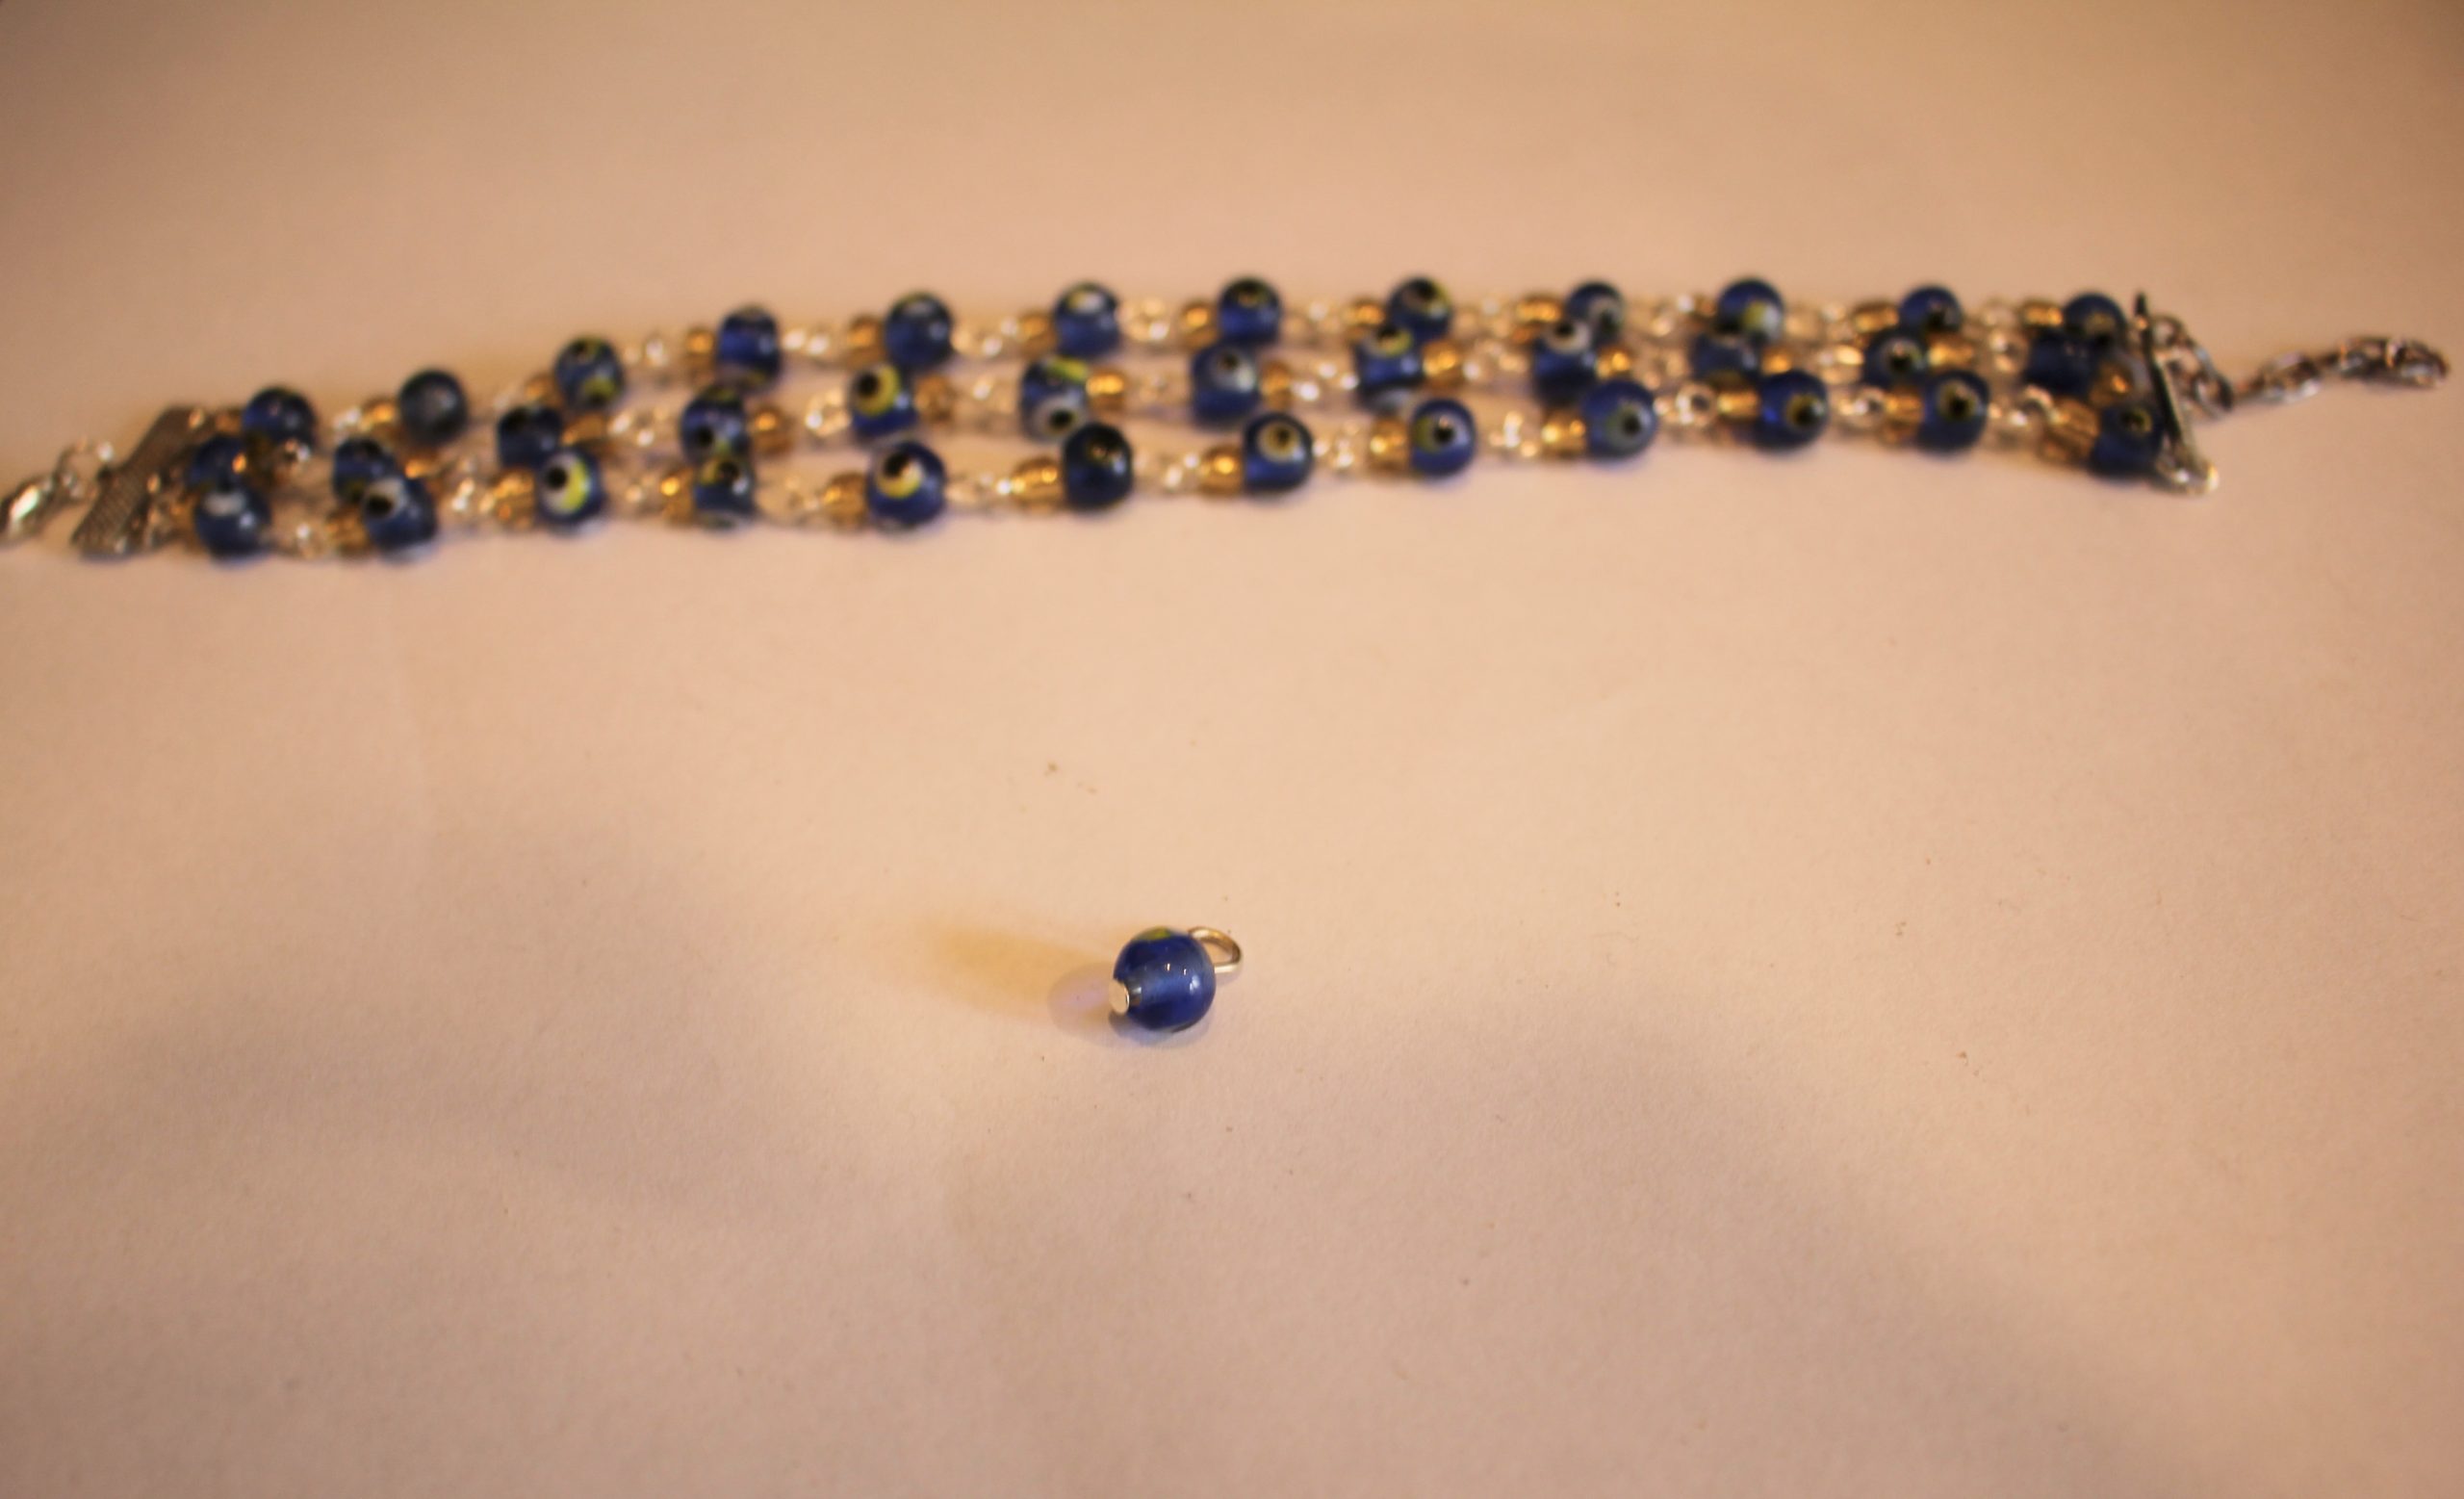
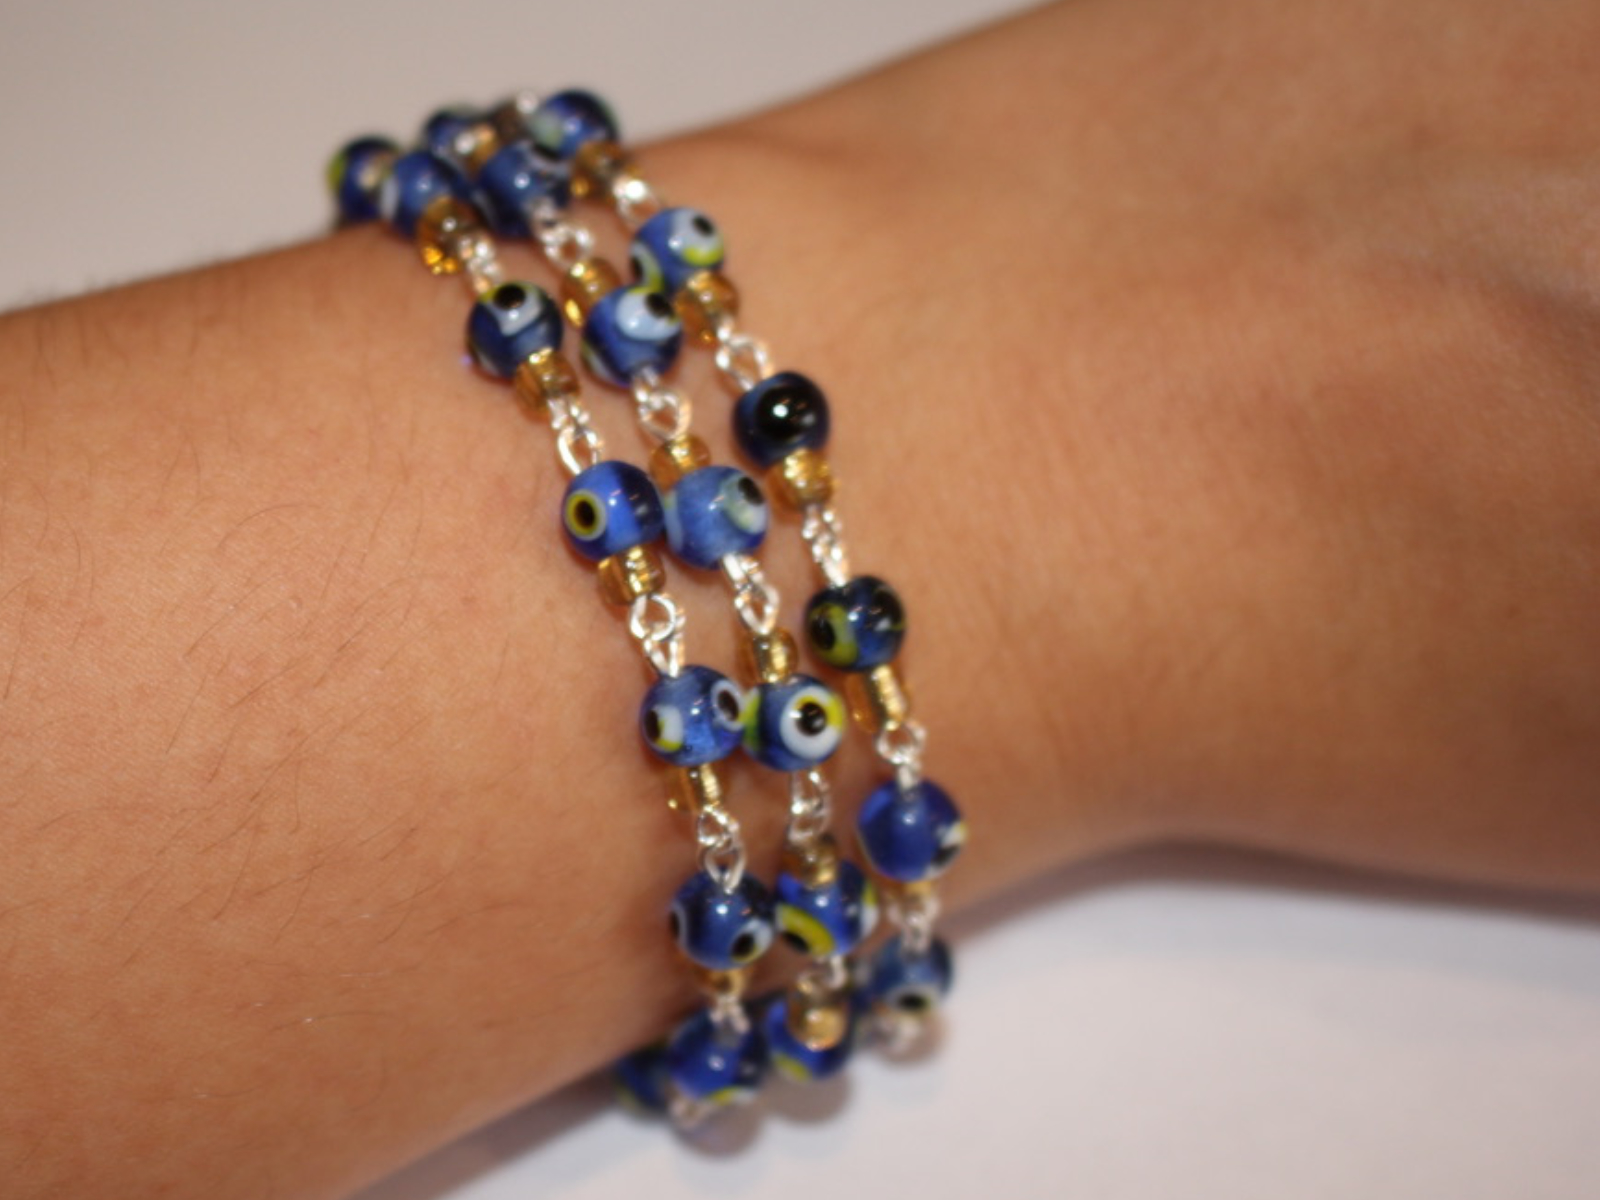
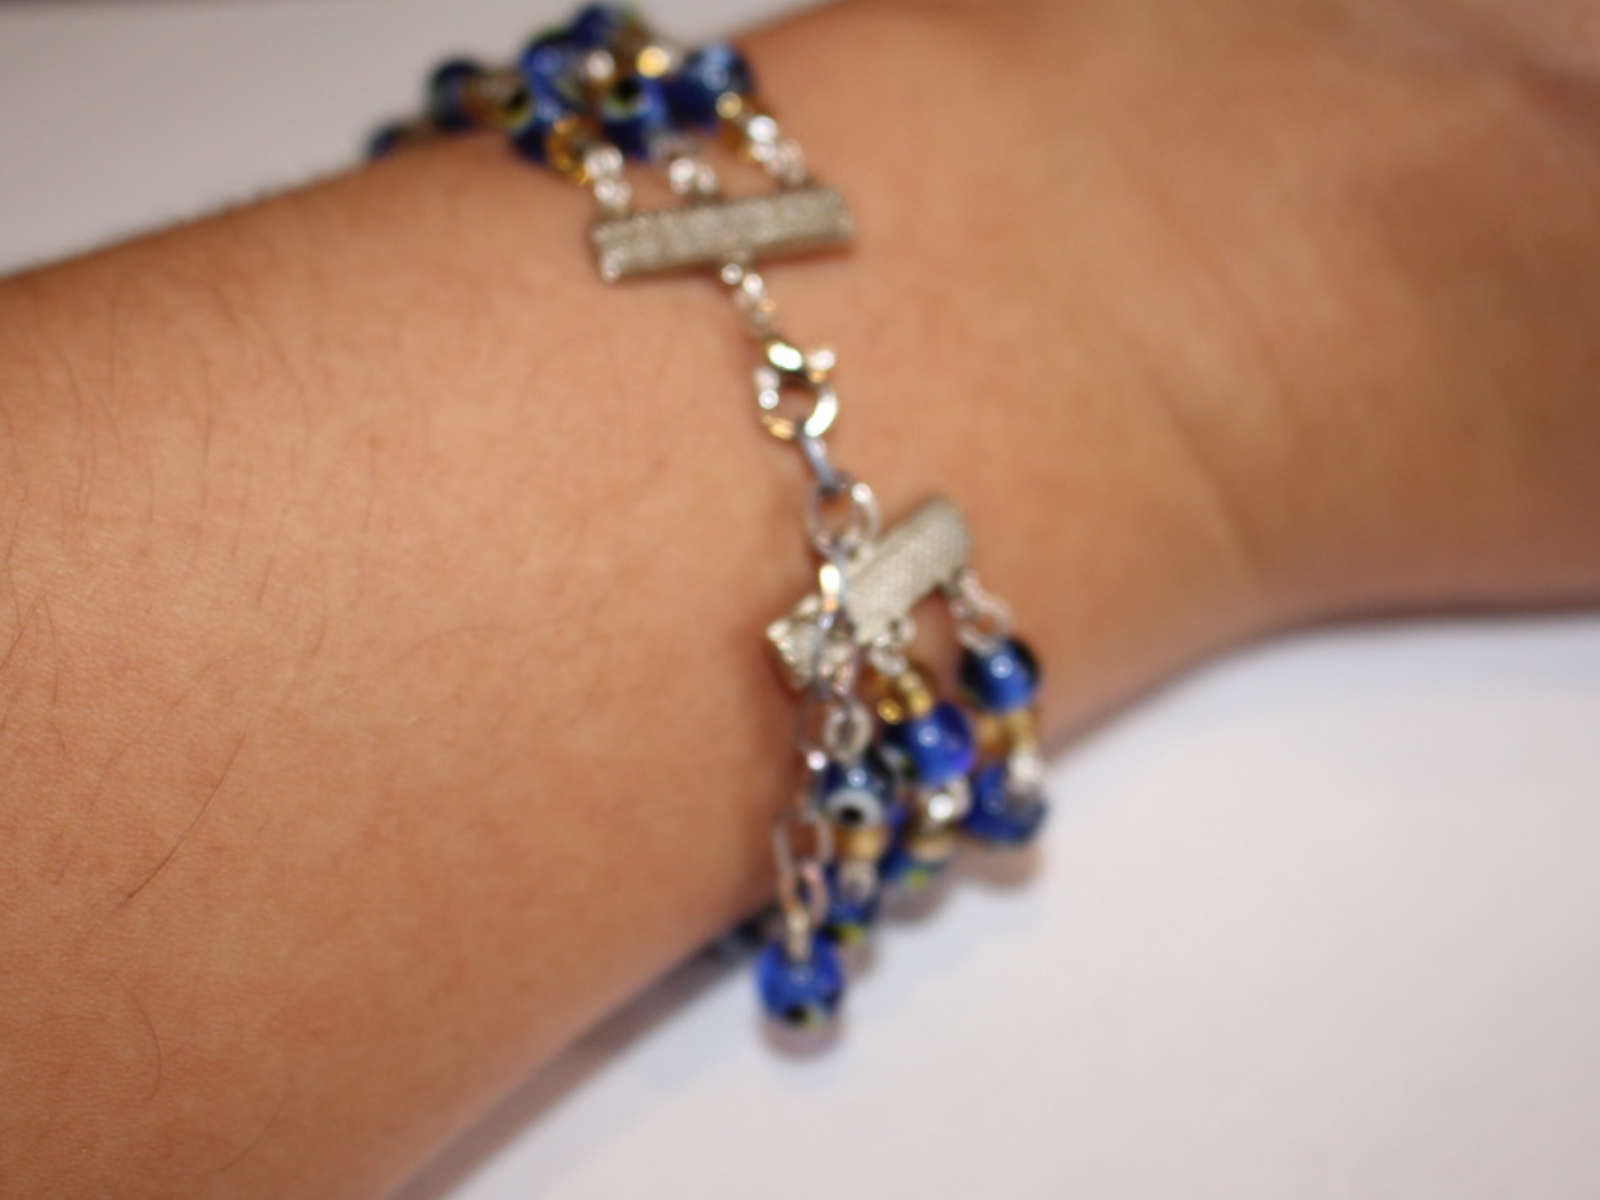
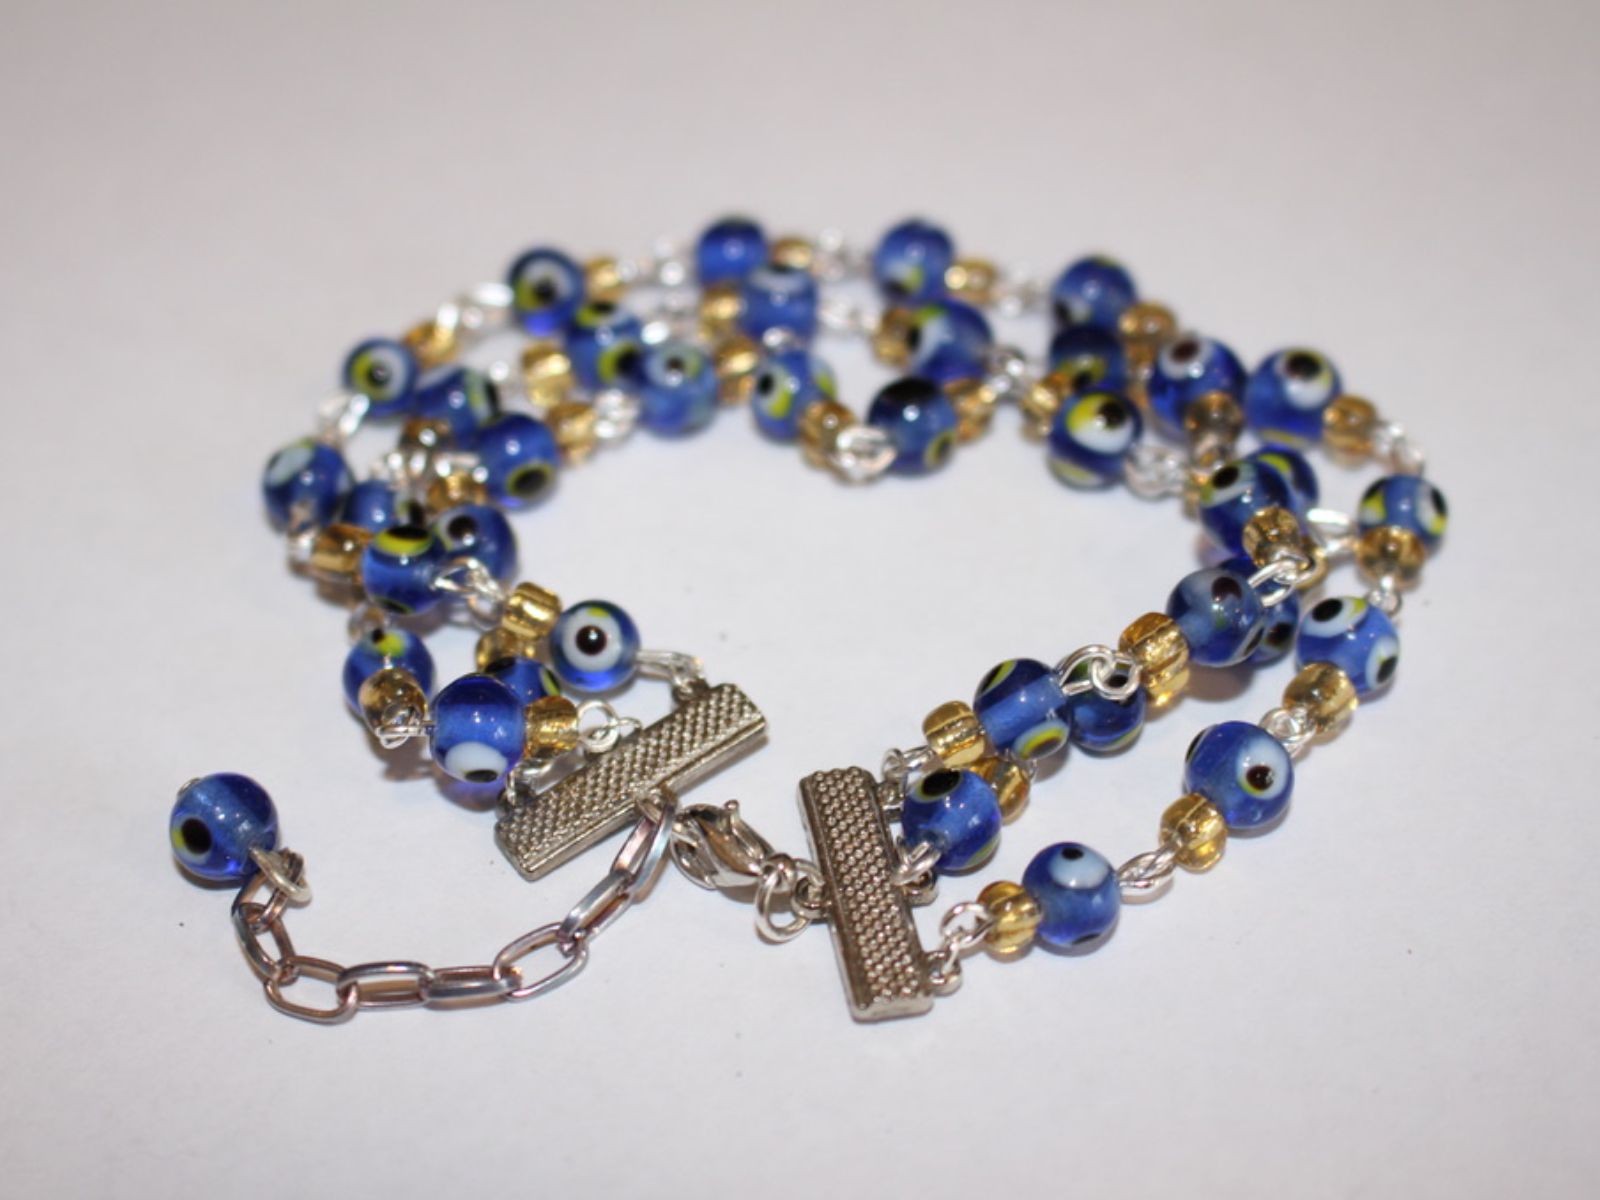
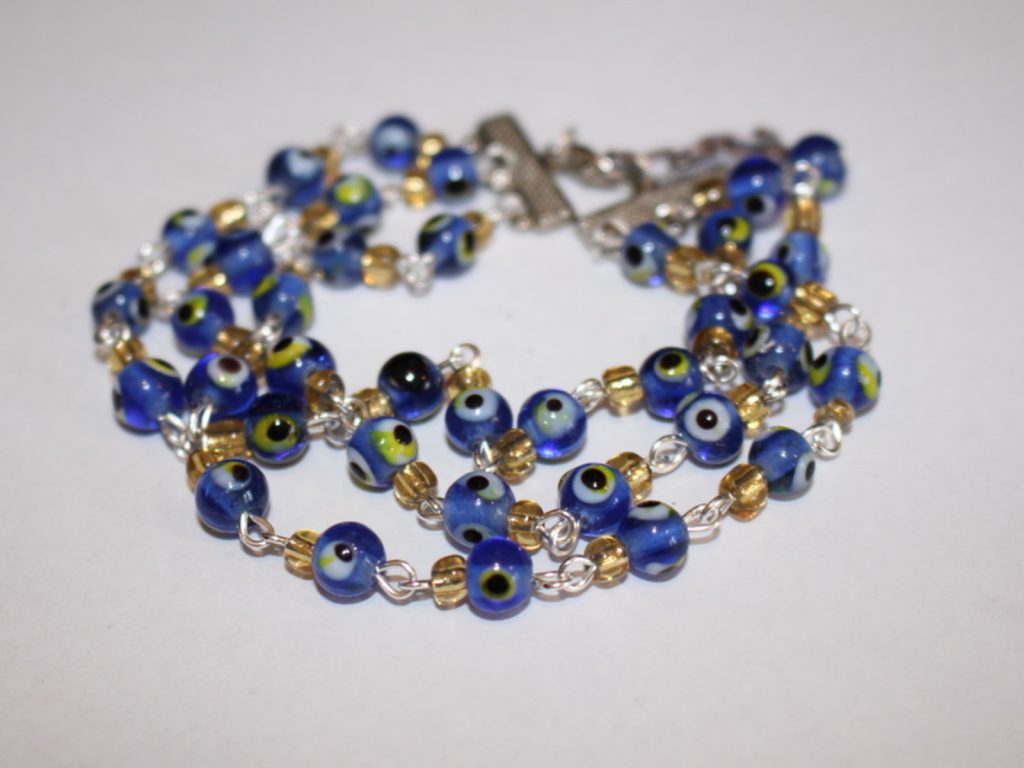
For this bracelet design you need to construct three different beaded chains and attach them together using charm connectors for a stacked bracelet look. This design is really cute and the chain extender means that putting it on by yourself is easier! Please note that this tutorial contains affiliate links.
You’ll need these tools and materials to make your triple strand stack bracelet:
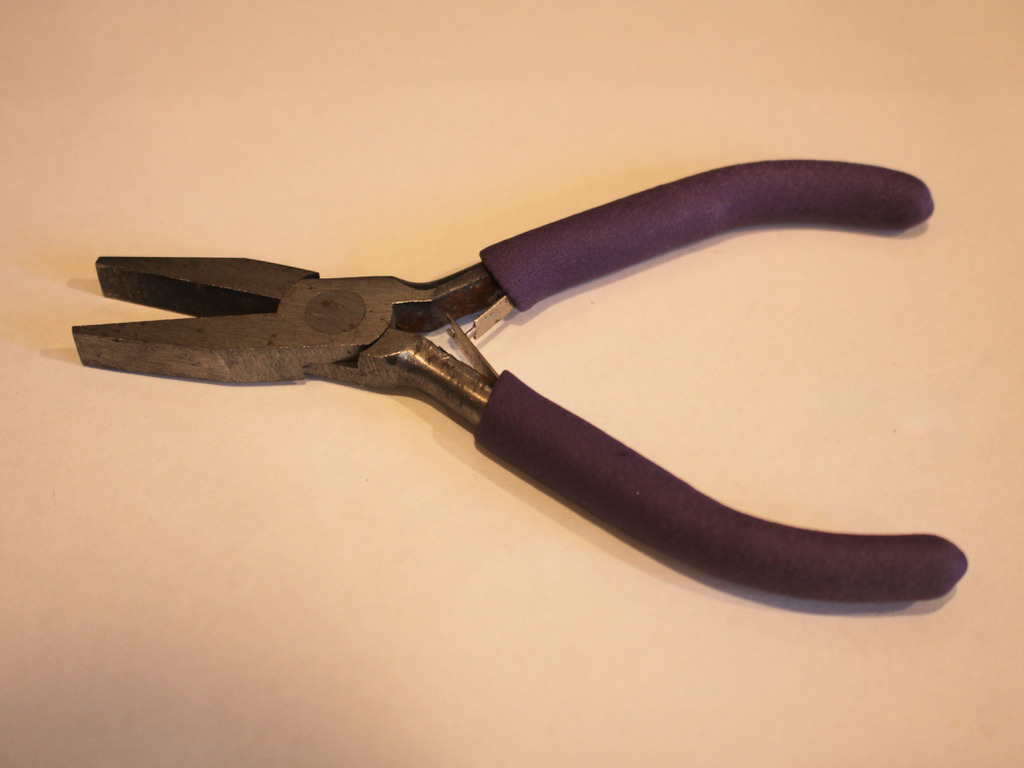
1: Pliers. I used my round nose and flat nose pliers. You might also need your cutting pliers depending on the length of your eye pins.

Here’s where you can buy some jewellery pliers to add to your tool kit:
2: Eye pins. You’ll need a bunch of small eye pins to make your beaded chain.
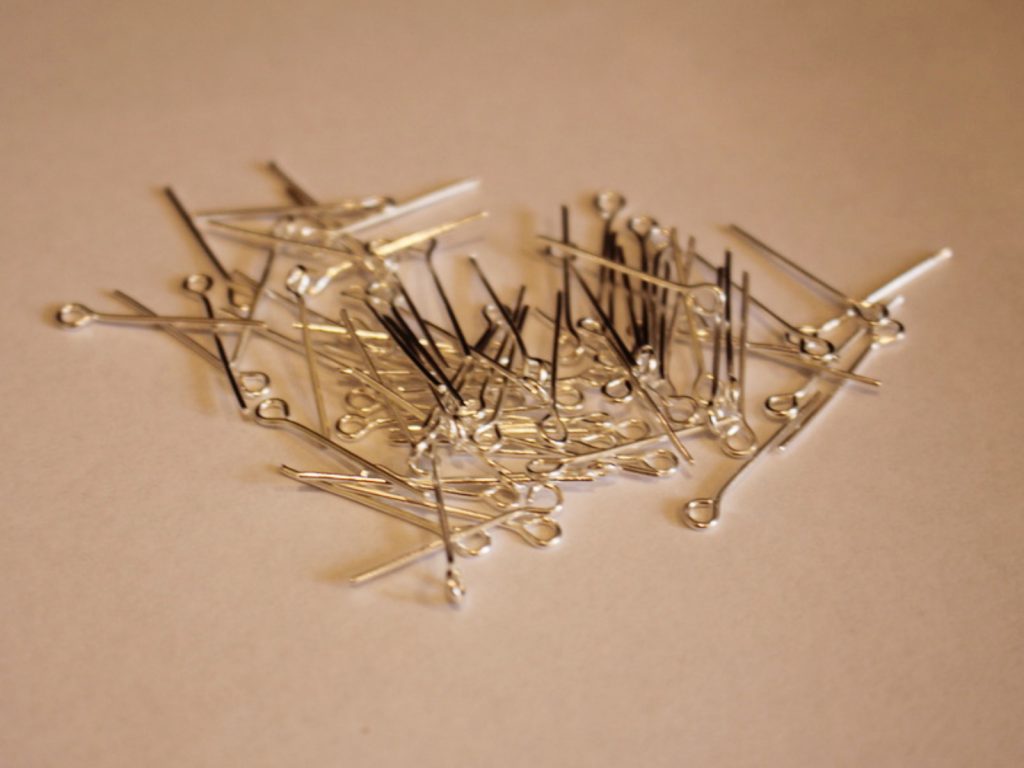
Here are eye pins in different lengths:
3: Charm connectors. I used these charm connectors that have three loops on one side and one on the other.

you can buy some charm connectors here:
4: Six small jump rings.

5: Two larger jump rings.
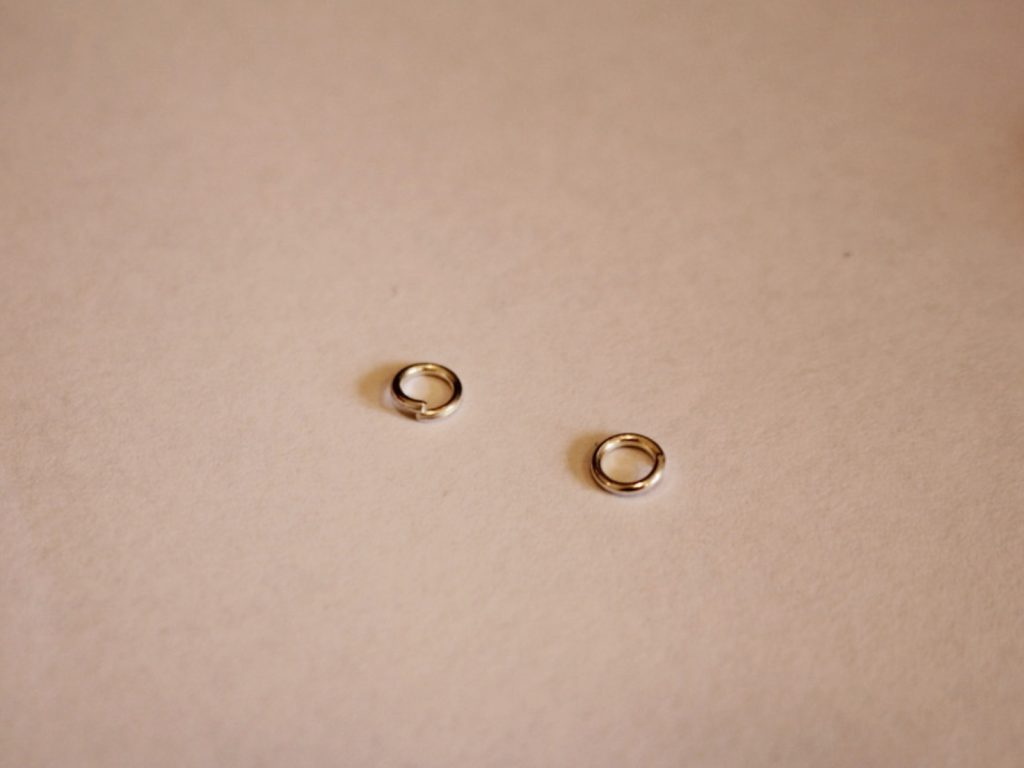
and here’s a link to differently sized jump rings to buy:
6: A small piece of chain. I used this spare piece of chain I had.

Get some here:
7: A small head pin.

A link to some small head pins:
8: A lobster clasp.
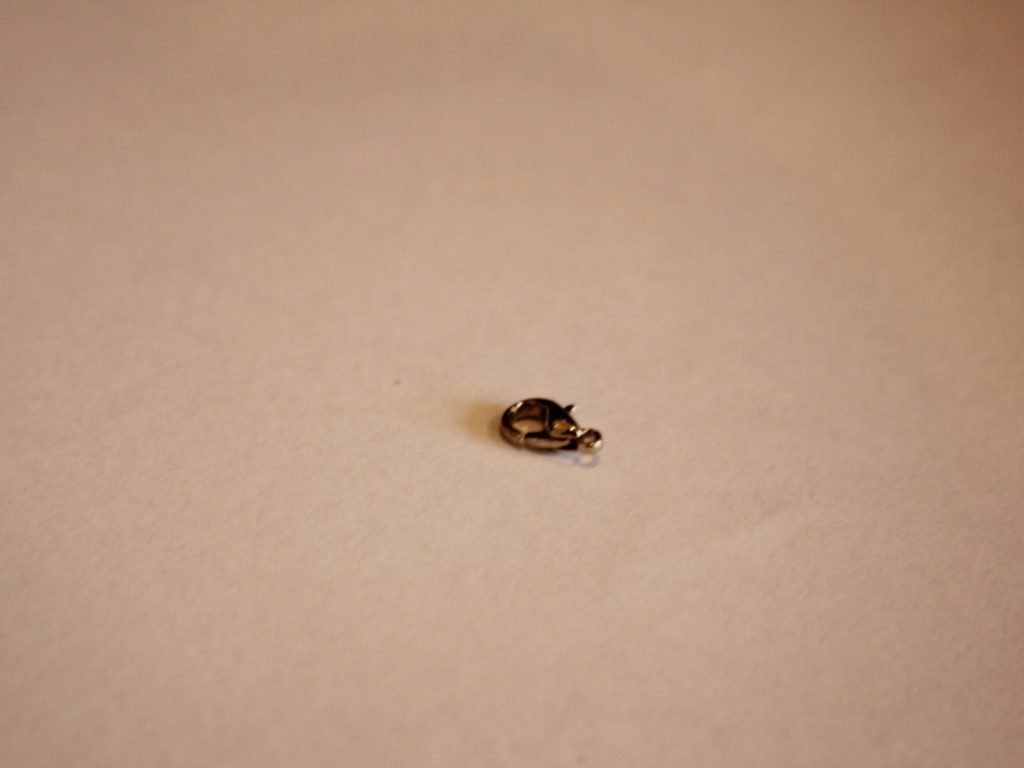
Here’s a link:
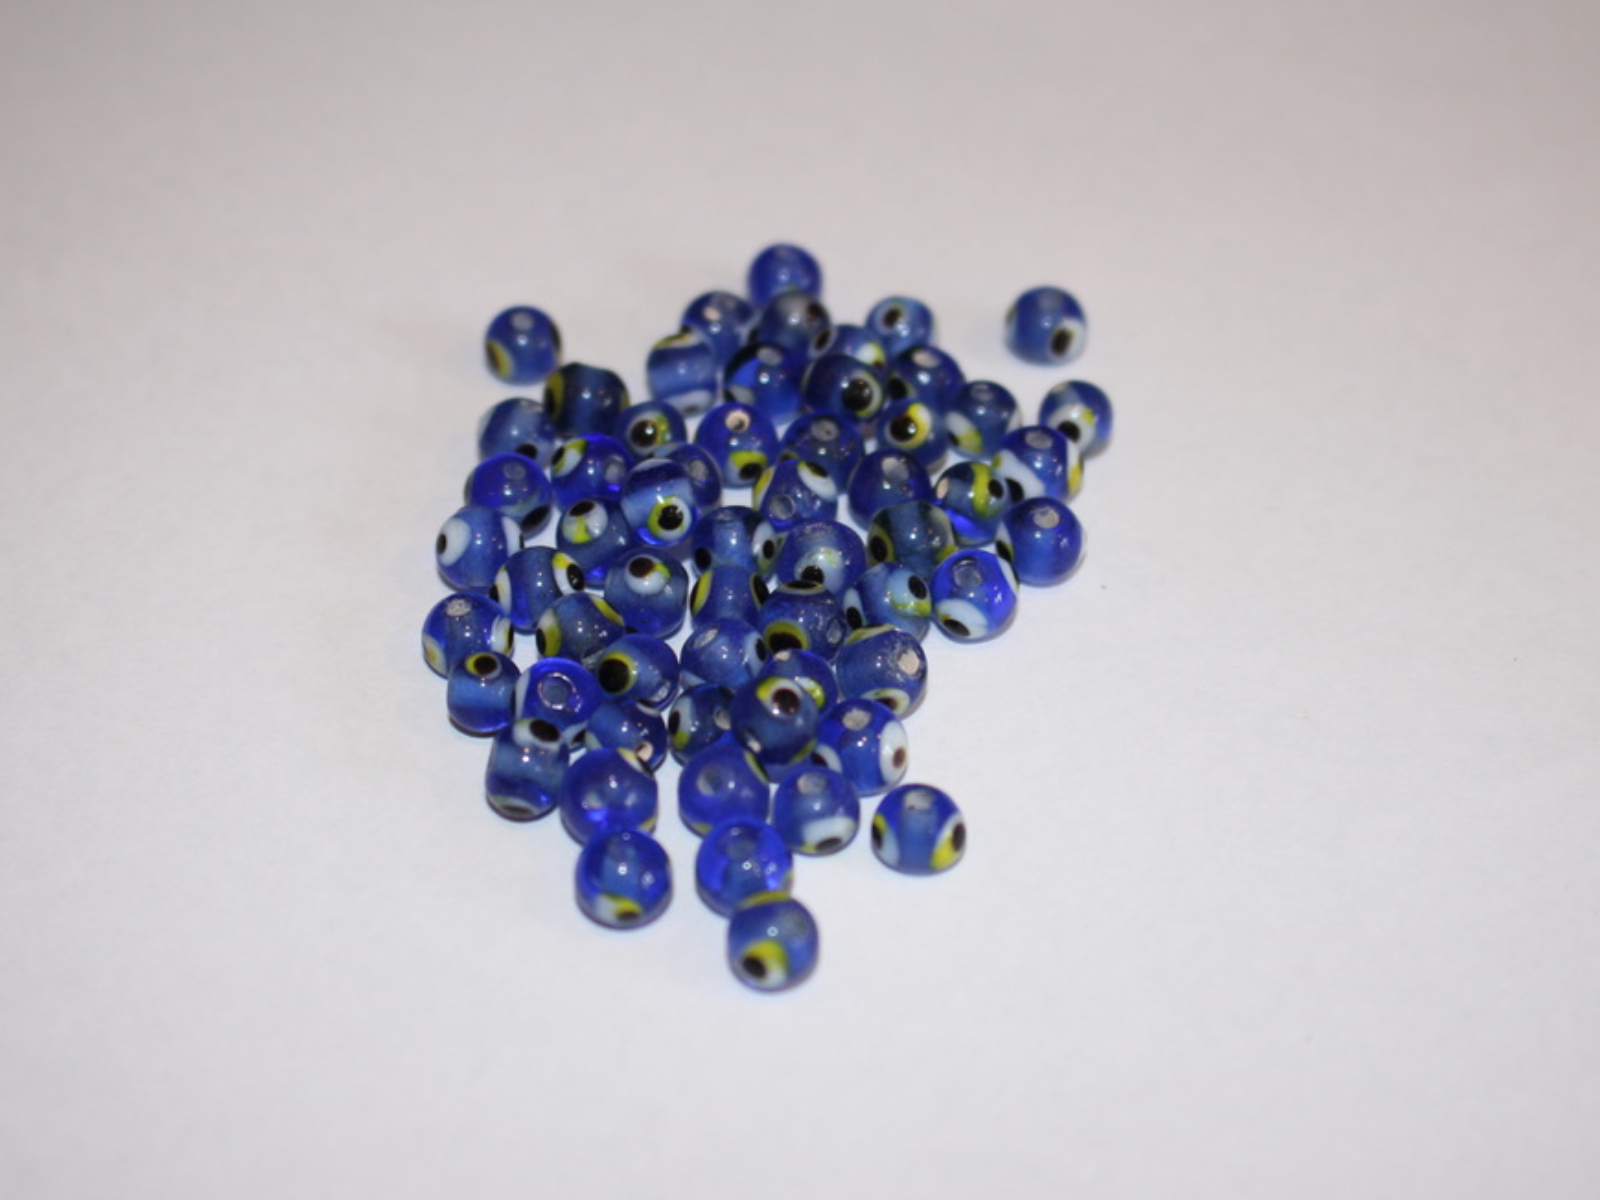
9: Beads. I used a mix of glass evil eye beads and yellow e-beads.


Find some beads for crafting here:
Follow these steps to make your three-in-one stacked chain bracelet:
1: Take one of the eye pins and add beads.
2: Bend the end of the pin to form an angle with the beaded section.

3: Create a loop at the top of the pin using your round nose pliers to secure the beads in place.
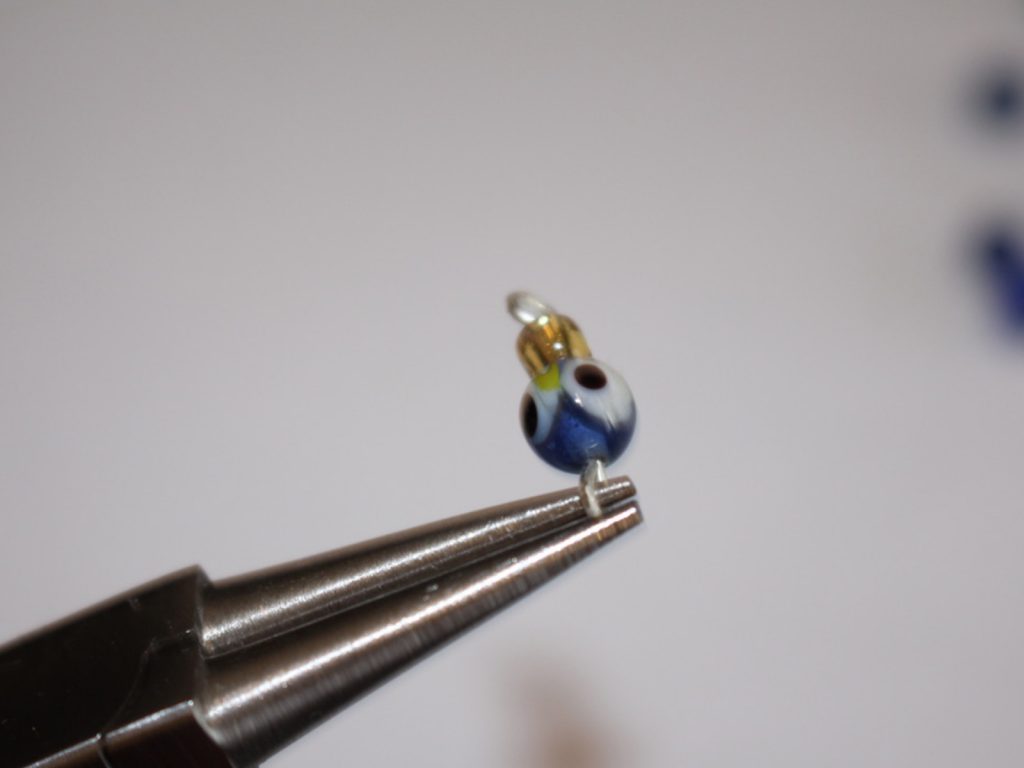
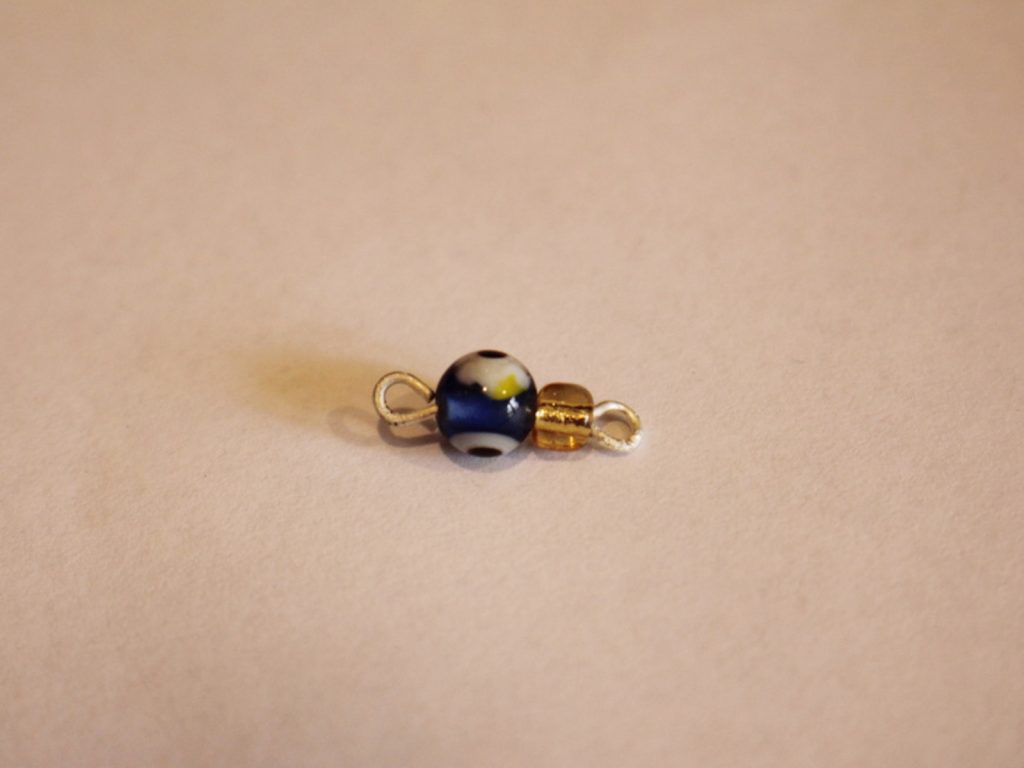
4: Repeat steps 1-3 to create another beaded chain link.
5: Attach the two beaded links together.
6: Repeat steps 1-5 until you have a chain long enough to fit your wrist, make it one link shorter than you think you’ll need, the charm connectors will add extra length to your finished bracelet.


7: Make another two chains in the same way.

8: Attach each of the chains to one of the charm connectors using three of the small jump rings.


9: Attach the other end of the chains to the other charm connector using the remaining three small jump rings.

10: Add A jump ring to one side of the bracelet and attach the lobster clasp.
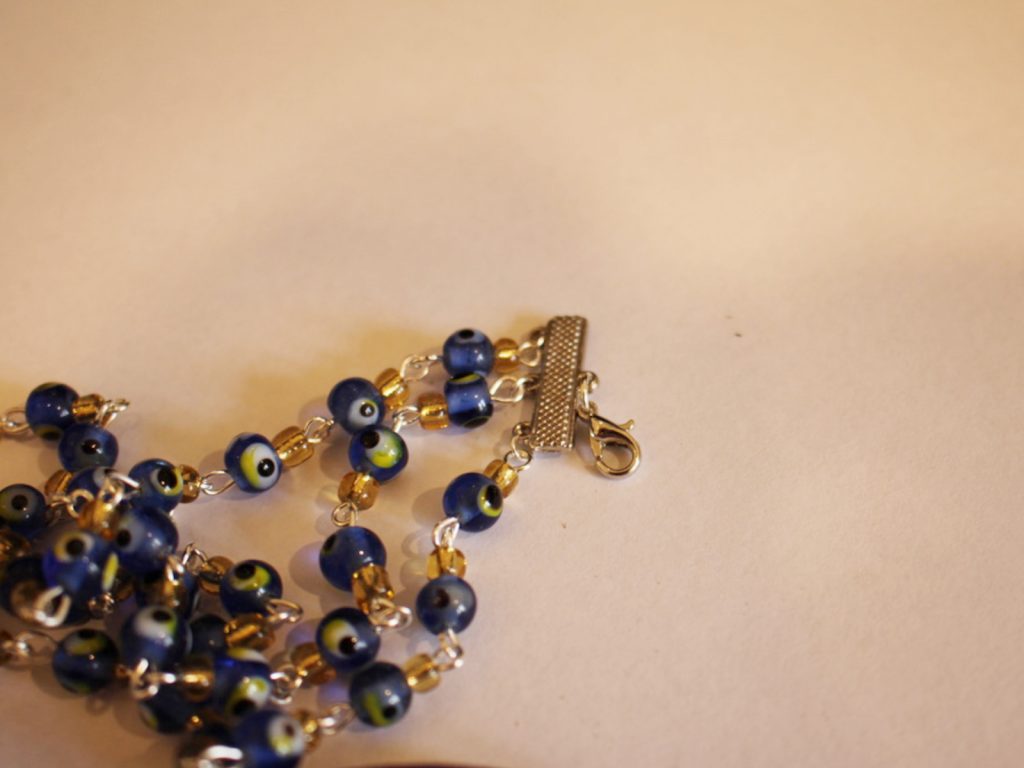

11: Add another jump ring to the other side and attach the small piece of chain.
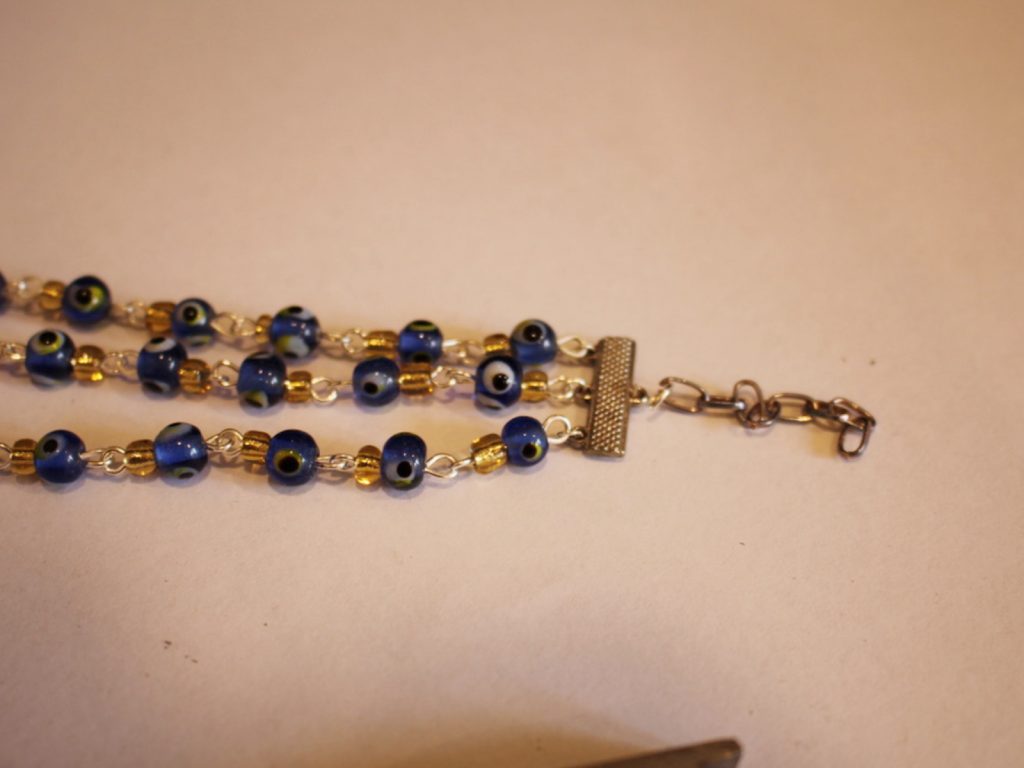
12: Add one more bead to the head pin and create a loop at the top as you did in step 3.
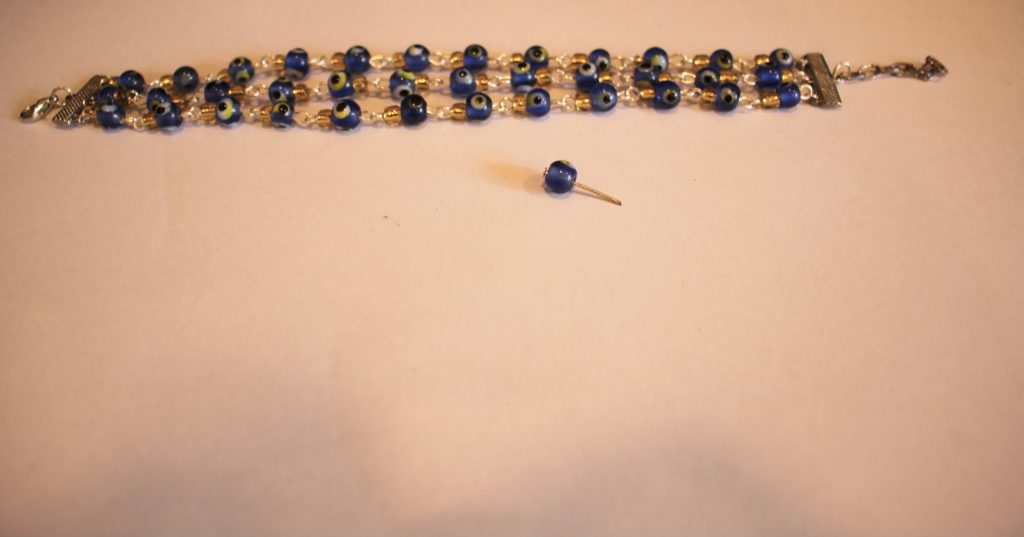

13: Attach the charm you just made to the end of the small chain to finish your bracelet off!


So, now your triple chain bracelet stack is finished and ready to wear! What kind of beads will you use in your design? I think that this bracelet would look great with three different types of gemstone beads layered on top of each other. Gemstone chip beads would be perfect for this DIY. You can buy some



And here are some other multi-strand bracelet tutorials you can follow:
-
Here’s how to make a bohemian waist chain with cute charms!
Summer in the Northern Hemisphere might be held mainly at home, but that doesn’t mean that you can’t dress for the occasion. Make this charm embellished waist chain to add some summer fun to your wardrobe! This tutorial contains affiliate links.
You’ll need these tools and materials to make this waist chain with charm embellishments.
The Materials
1: Pliers. I used my round nose pliers (centre), flat nose pliers (right) and cutting pliers (left).
2: A piece of chain that fits comfortably around your waist. I used copper tone chain.

3: Jump rings. I used two.

4: Some head pins. I ended up using a couple more because I added some charms I had made previously (see the second picture below).


5: Beads. I used a mixture of glass beads and a metal butterfly-shaped bead.

6: A lobster clasp. This is a bad picture but I used one that matched the tone of my chain.

The Steps
Follow these steps to make your charm embellished waist chain:
1: Add the jump rings to either end of the chain and attach the lobster clasp. Secure the clasp by closing the jump ring using pliers.


2: Find the middle of the chain and set it aside for a minute.
3: Add each of the beads to the head pins.

4: Bend the head pins to form right angles.

5: Trim the pins so that there is only approximately 1cm left. Use your cutting pliers.


6: Loop the top of the pins using the round nose pliers. This will secure the beads on the pins.


7: Attach the beads to the chain by looping the top of each charm through the chain links. I added my first charm to the centre and then worked outwards.


Now the waist chain is finished and ready to wear in the sun! Don’t forget your sunscreen though, this cool piece of jewelry could leave a weird tan line 😉


Here are some other waist chain tutorials:
This tutorial contains affiliate links.
-
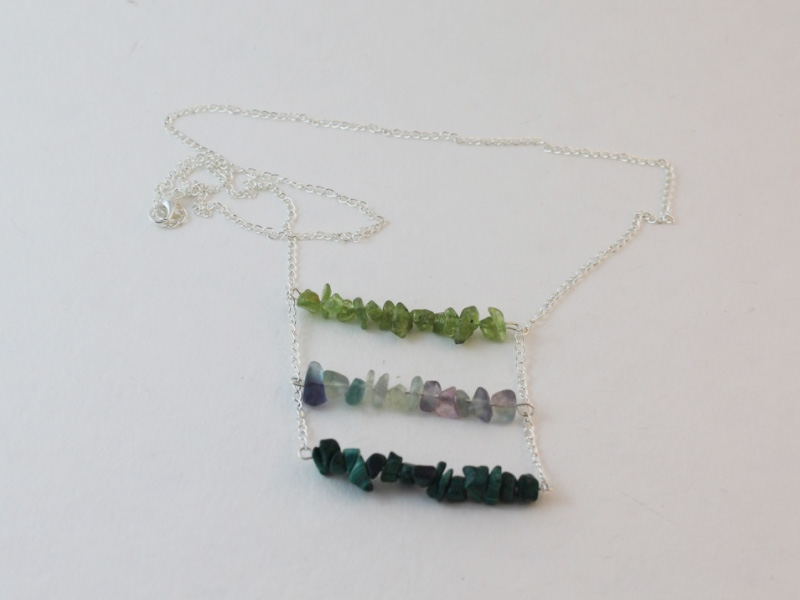
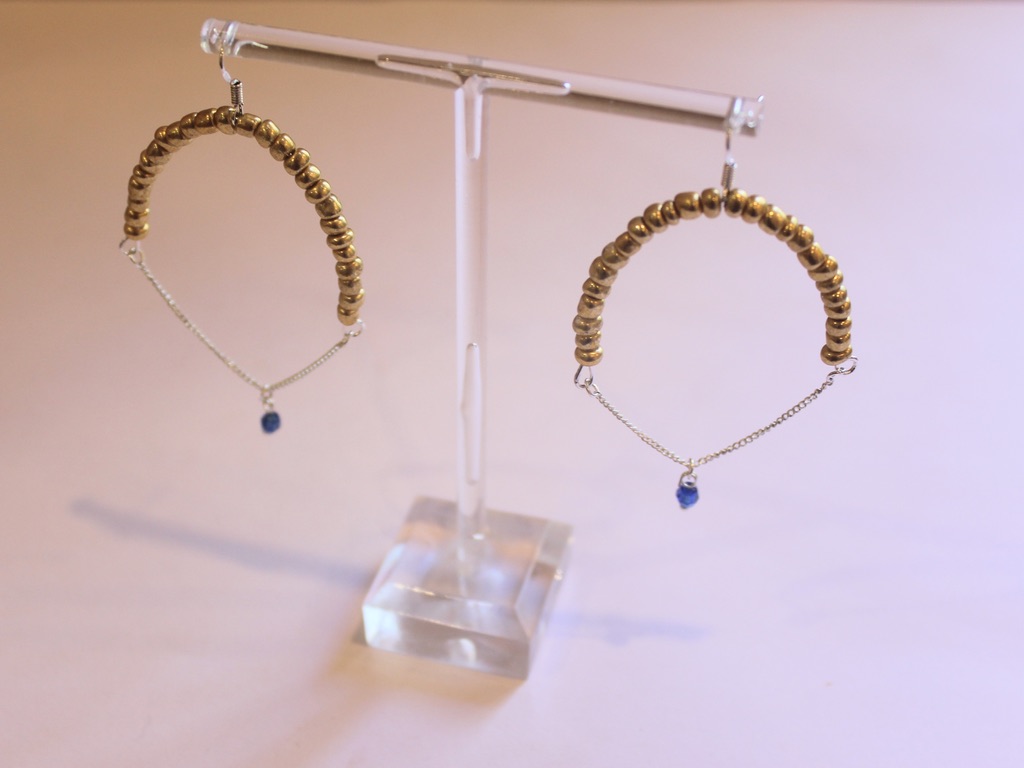
These arched and chain embellished earrings are so cool. Here’s how to make them.
We have made some different arch and chain earrings before, this one flips them around so that the arch sits at the top of the earring leaving the chain to dangle down gently. I really like the way these earrings move when you wear them. This tutorial contains affiliate links.
You’ll need the following tools and materials to make these earrings:
1: Pliers. I used my cutting pliers, round nose pliers and flat nose pliers.
2: Some bracelet length memory wire cut into half circles.

3: Two short pieces of chain.

4: Earring hooks.

5: Six jump rings.


6: Two head pins.

7: Beads. I used gold-tone e-beads and faceted blue plastic beads.


Follow these steps to make your own arch and chain dangle earrings:
1: Create a loop at one end of one of the pieces of memory wire using the round nose pliers.

2: Add beads so that approximately half of the wire is beaded.

3: Add one of the earring hooks.
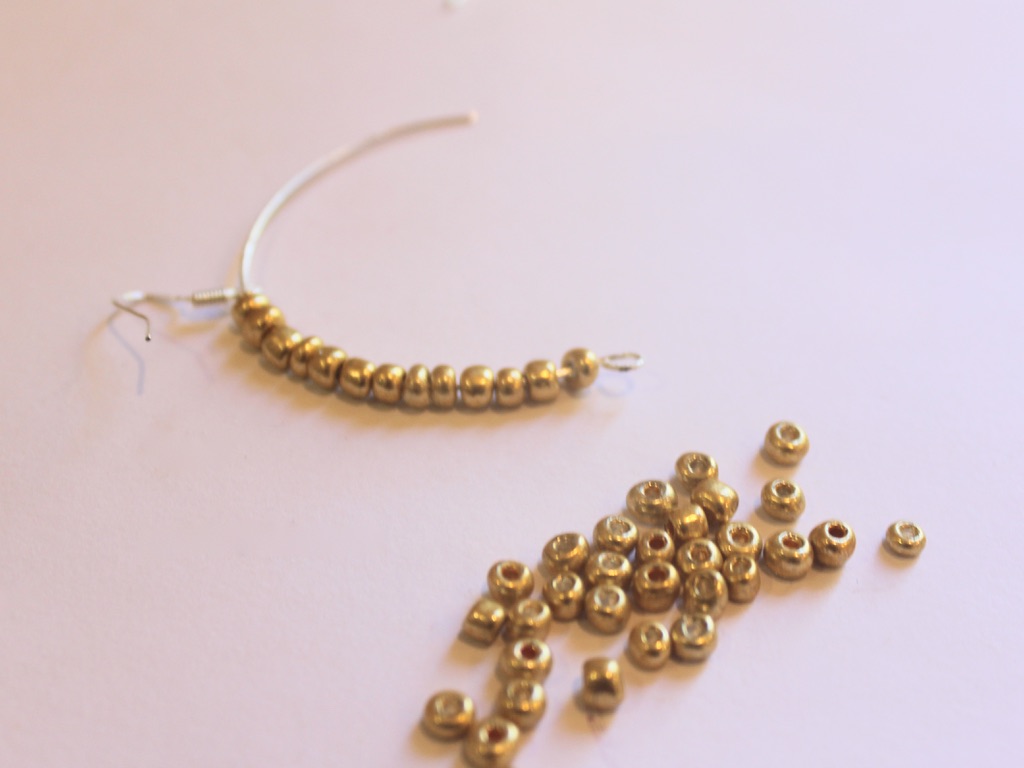
4: Add more beads to the wire until there is about 1cm left without beads.

5: Curl the end of the wire so that the beads and earring hook are secured in place. I squeezed my wire a bit at this point so that it formed a more narrow arch.

5: Repeat steps 1-5 for the second earring.

6: Add a jump ring to one end of the small chains.

7: Attach the end of the chain to the bottom of the beaded arch.

8: Repeat steps 6 and 7 for the other end of the chain to form a loop.


9: Repeat steps 6 to 8 for the other earring.

10: Add the faceted beads to each of the head pins and loop the tops using the round nose pliers to secure the beads in place.


11: Attach the newly formed bead charms to the chains with the remaining jump rings.

Now your dangling arch earrings are finished and ready to wear! So so cute!
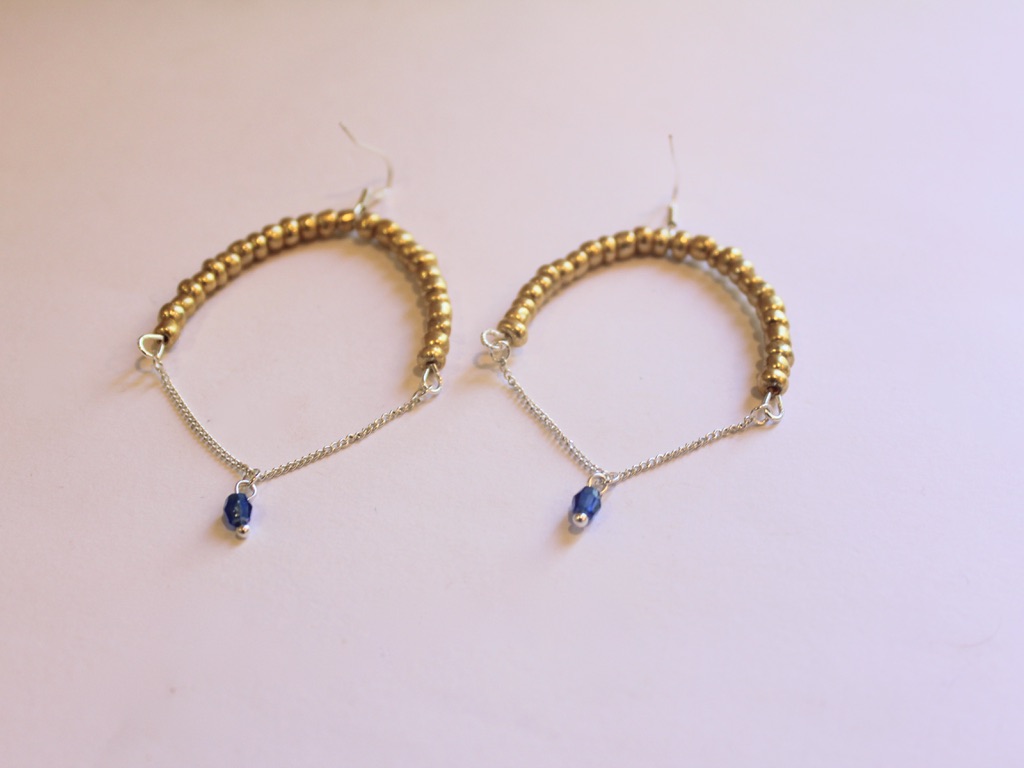
If you like this design here’s a different arch earring tutorial we made a little while ago.
This tutorial contains affiliate links.
-
Do you need a new ring to cheer up your fingers? This one is fun!
This ring is pretty fun, made with a mixture of different beads threaded onto some ring sized memory wire, this ring is cute, versatile and cheerful. I enjoyed making this one while I was chilling at home. This tutorial
You’ll need these tools and materials to make your own fun memory wire ring:
1: Pliers. I used my round nose pliers, cutting pliers (to cut the memory wire) and flat nose pliers.
2: Ring-sized memory wire. I cut mine to have two full coils.

3: Beads. I used a mixture of feature beads in different materials, two matching beads for the charms and some green glass seed beads.


4: Two small head pins.

5: Two small jump rings.

Here’s the steps to make your cool beaded memory wire coil ring.
1: After cutting your ring wire to your desired length, create a circle at one end using your round nose pliers.


2: Begin adding beads. I added mine in a random pattern alternating between feature beads and green glass beads.


3: Bead the ring until you have approximately 1cm left unbeaded.

4: Coil the end of the wire like you did at the start to form a loop and secure the beads on the wire.


5: Set the ring aside.
6: Add the two matching beads to each of the head pins.

7: Coil the tops of the headpins around the barrel of the round nose pliers to secure the beads in place.


8: Attach each of the bead charms to the end loops of the ring using the small jump rings.


Now your ring is finished! It will stretch to fit larger fingers too which is pretty cool. Will you wear your charms backwards or forwards?


It is great if you can make this design with materials you already have at home, but if you need supplies, this tutorial contains affiliate links.
Here’s another memory wire ring tutorial that uses polymer clay.