You can never have enough rings, so here’s How to Make cute a Wire Ring
This ring design is just a scaled down version of my super simple beaded bangle design. With a handful of beads and some 18 gauge wire, you’ll be stacking these cute little rings on all your fingers in no time! These wire rings would also make great charms for necklaces and earrings. Get creative and see how you can use them in your own DIY jewelry designs.
You will need the following tools and materials to make this ring:
1: Pliers.
To make this ring you will need to use your round nose pliers and cutting pliers.


2: A piece of 18 gauge wire.
I cut my piece a little longer than I needed to. You can check the length of wire you will need by wrapping a piece of paper around your finger. Mark the point where the paper overlaps for a comfortable fit. You can then use this measurement to cut your wire to size.

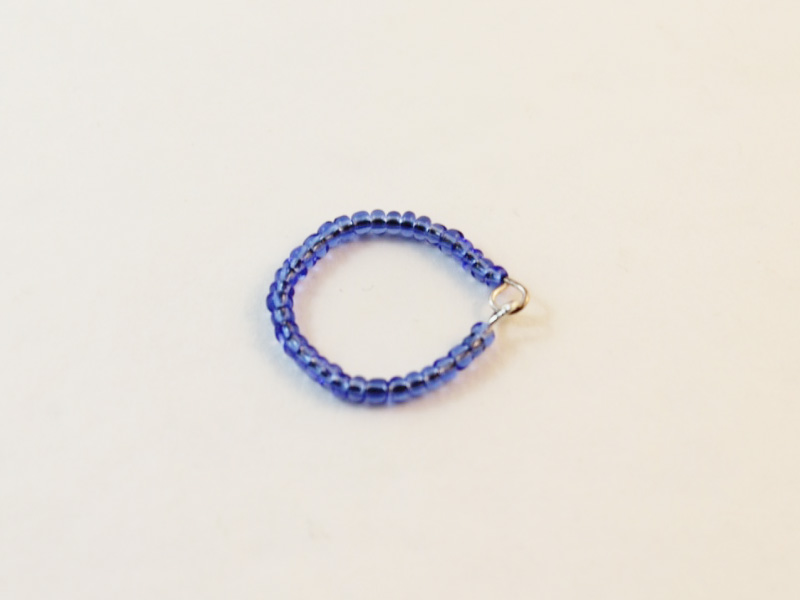
3: Beads
I used these bright blue seed beads to make my ring.

The Steps:
1: Take your piece of wire and form a loop at one end using the round nose pliers.

2: Once the loop has been formed, begin adding beads to the wire.


3: Continue beading until there is approximately 1cm (0.4 inches) of wire remaining.

4: Use the round nose pliers to bend the end of the wire at a right angle to the beads. If your wire is a little long, you might also want to trim it at this point.

5: Now you can create a loop at the other end of the wire, leaving a small opening. Do this using the round nose pliers.


6: Gently bend the wire into a ring shape.

7: Once you have your ring shape formed, slide the open loop into the other end of the wire. Then use the round nose pliers to secure the loop closed.


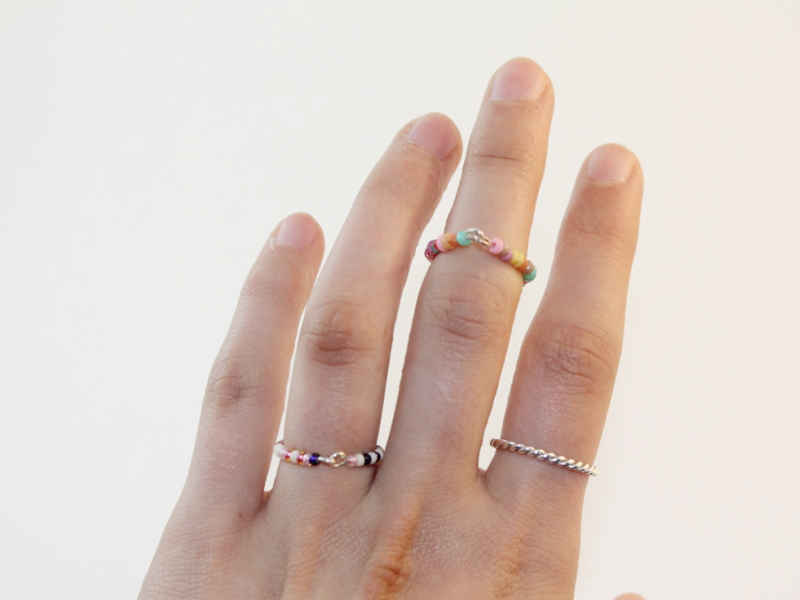
8: Now your ring is finished! I’d love to see how you decide to use your ring, will you stack them on your fingers or dangle them from your ear lobes? Share your wire ring designs with me on instagram by tagging @diyjewelryhub.
DIY Jewelry Hub
Welcome to DIY Jewelry Hub. If you’ve ever wanted to learn how to make your own jewelry this is the place to start! Jewelry is a great way to show off your individuality and style. You’ll be surprised at how easy it is to create your own unique pieces! DIY Jewelry Hub will equip you with all the knowledge and inspiration you need to make your own jewelry.
You May Also Like

Adorn your fingers with some leather! Here’s how to make a leather ring.

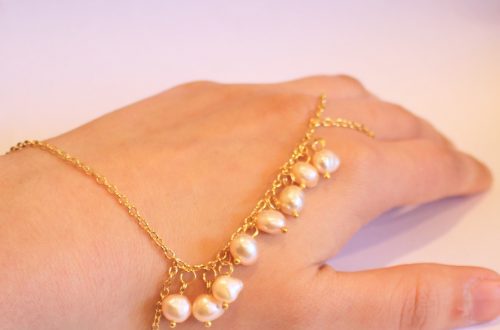
How to make a beaded chain ring. This is the cutest idea!