-
Here’s how to make a pair of pearl earrings with matching curved ear jackets.
This tutorial makes such a cute pair of earrings! A pair of pearl studs with matching ear jackets that hug the ear with a little pearl on the end. Simple to construct but looks incredible. I love ear jacket designs because you can mix and match them with other stud earrings, it’s a fun way to add versatility to your jewellery collection.
Please note that this tutorial contains affiliate links for which we may receive a commission.
Here are all the tools and materials you’ll need to make your own pair:
1: Two pieces of 0.8mm sterling silver wire cut to earring post length (you can cut them to length using cutting pliers or a saw blade. It is best to file and emery them so that they aren’t sharp after cutting.)

You can get sterling silver wire here:
And you can get sterling silver earring posts here:
2: Two pieces of sterling silver wire approx 4-5cm long, the length you use might change depending on your ear lobe size. I made mine a tiny bit smaller than I would like.

You can get sterling silver wire here:
3: Four pearls. I used two white freshwater pearls and two smaller black ones.

You can get half-drilled white pearls here:

You can get black half-drilled pearls here:
4: Earring backs. I used sterling silver ones.

You can get earring backs here:
5: Two part epoxy glue. Be sure to follow the instructions on the packet for safe use.

You can get glue here:
6: A scrap piece of paper for mixing glue.

7: A skewer or toothpick to mix and apply the glue.

You can get skewers and toothpicks here:
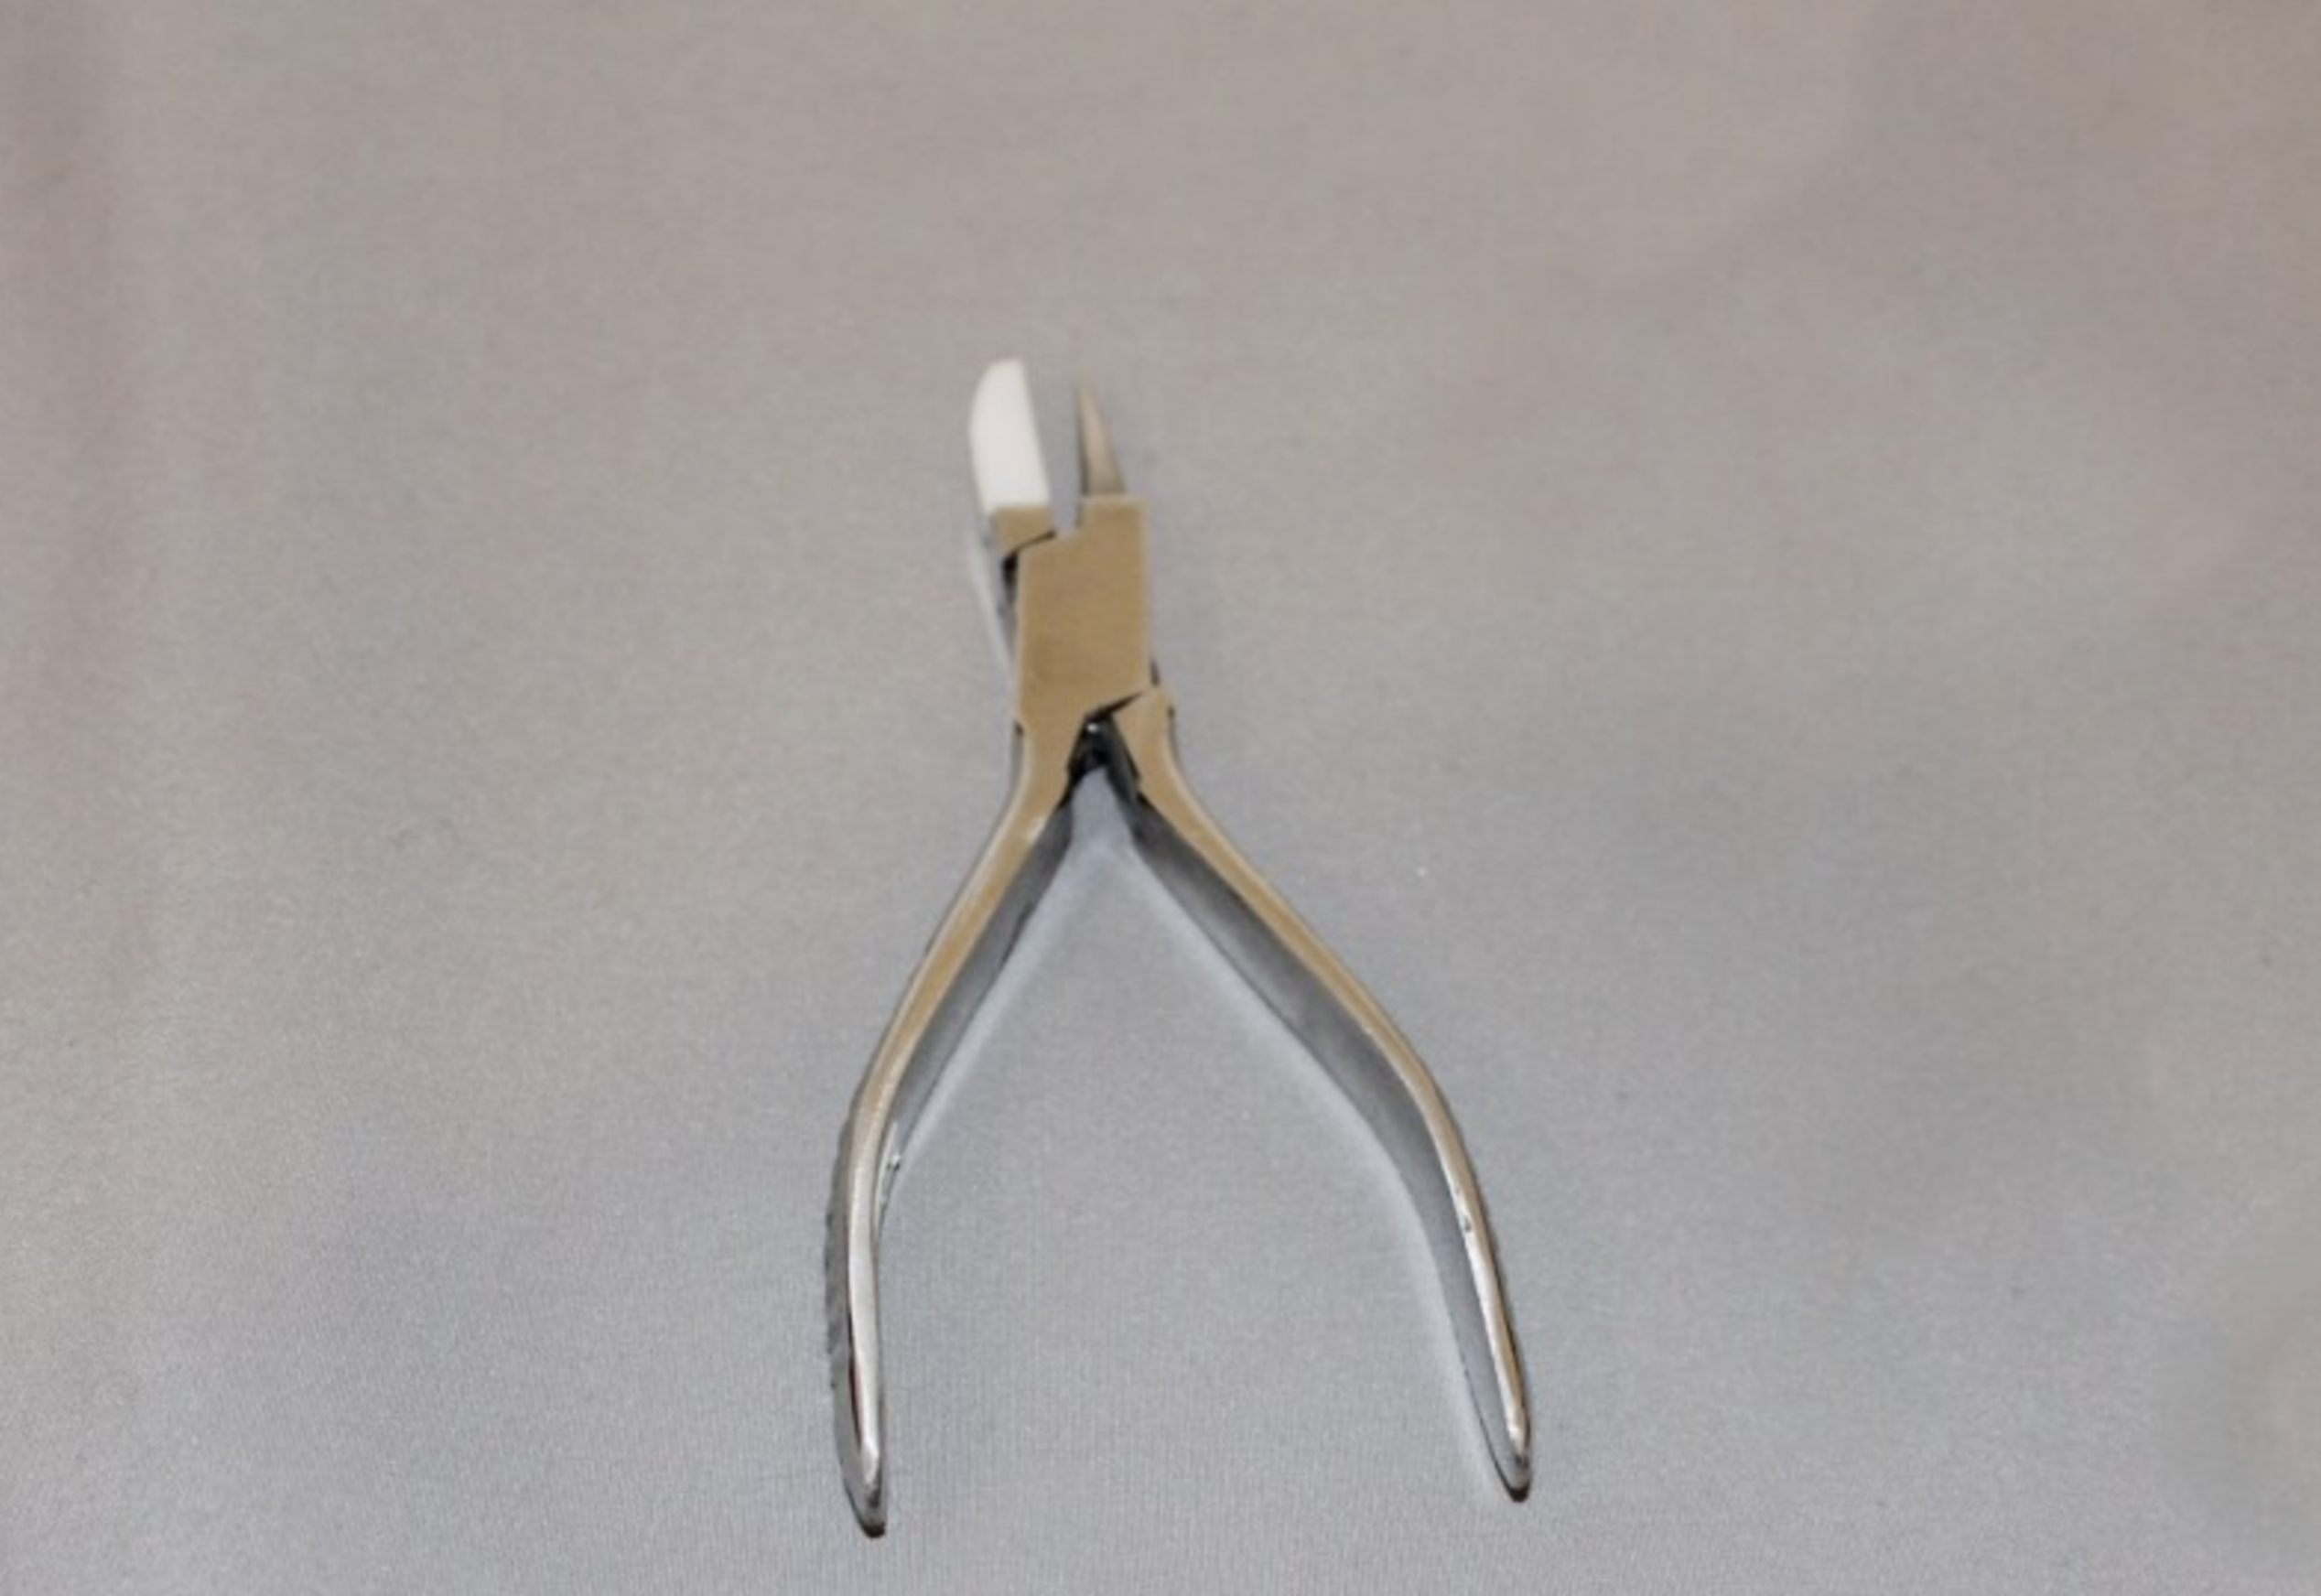
8: Round flat pliers.

You can get a pair of round-flat pliers here:
9: Flat nose or parallel pliers.

You can get parallel pliers here:

You can get a pair of flat nose pliers here:
10: Half-round flat pliers.

You can get a pair of half-round flat pliers here:
11: Something round like a pen to form the wires around. I used a jewellery scribe.
Here are all the steps you need to make your own pair of sterling silver pearl earrings with curved ear jackets.
1: First step is to shape the ear jacket wires.
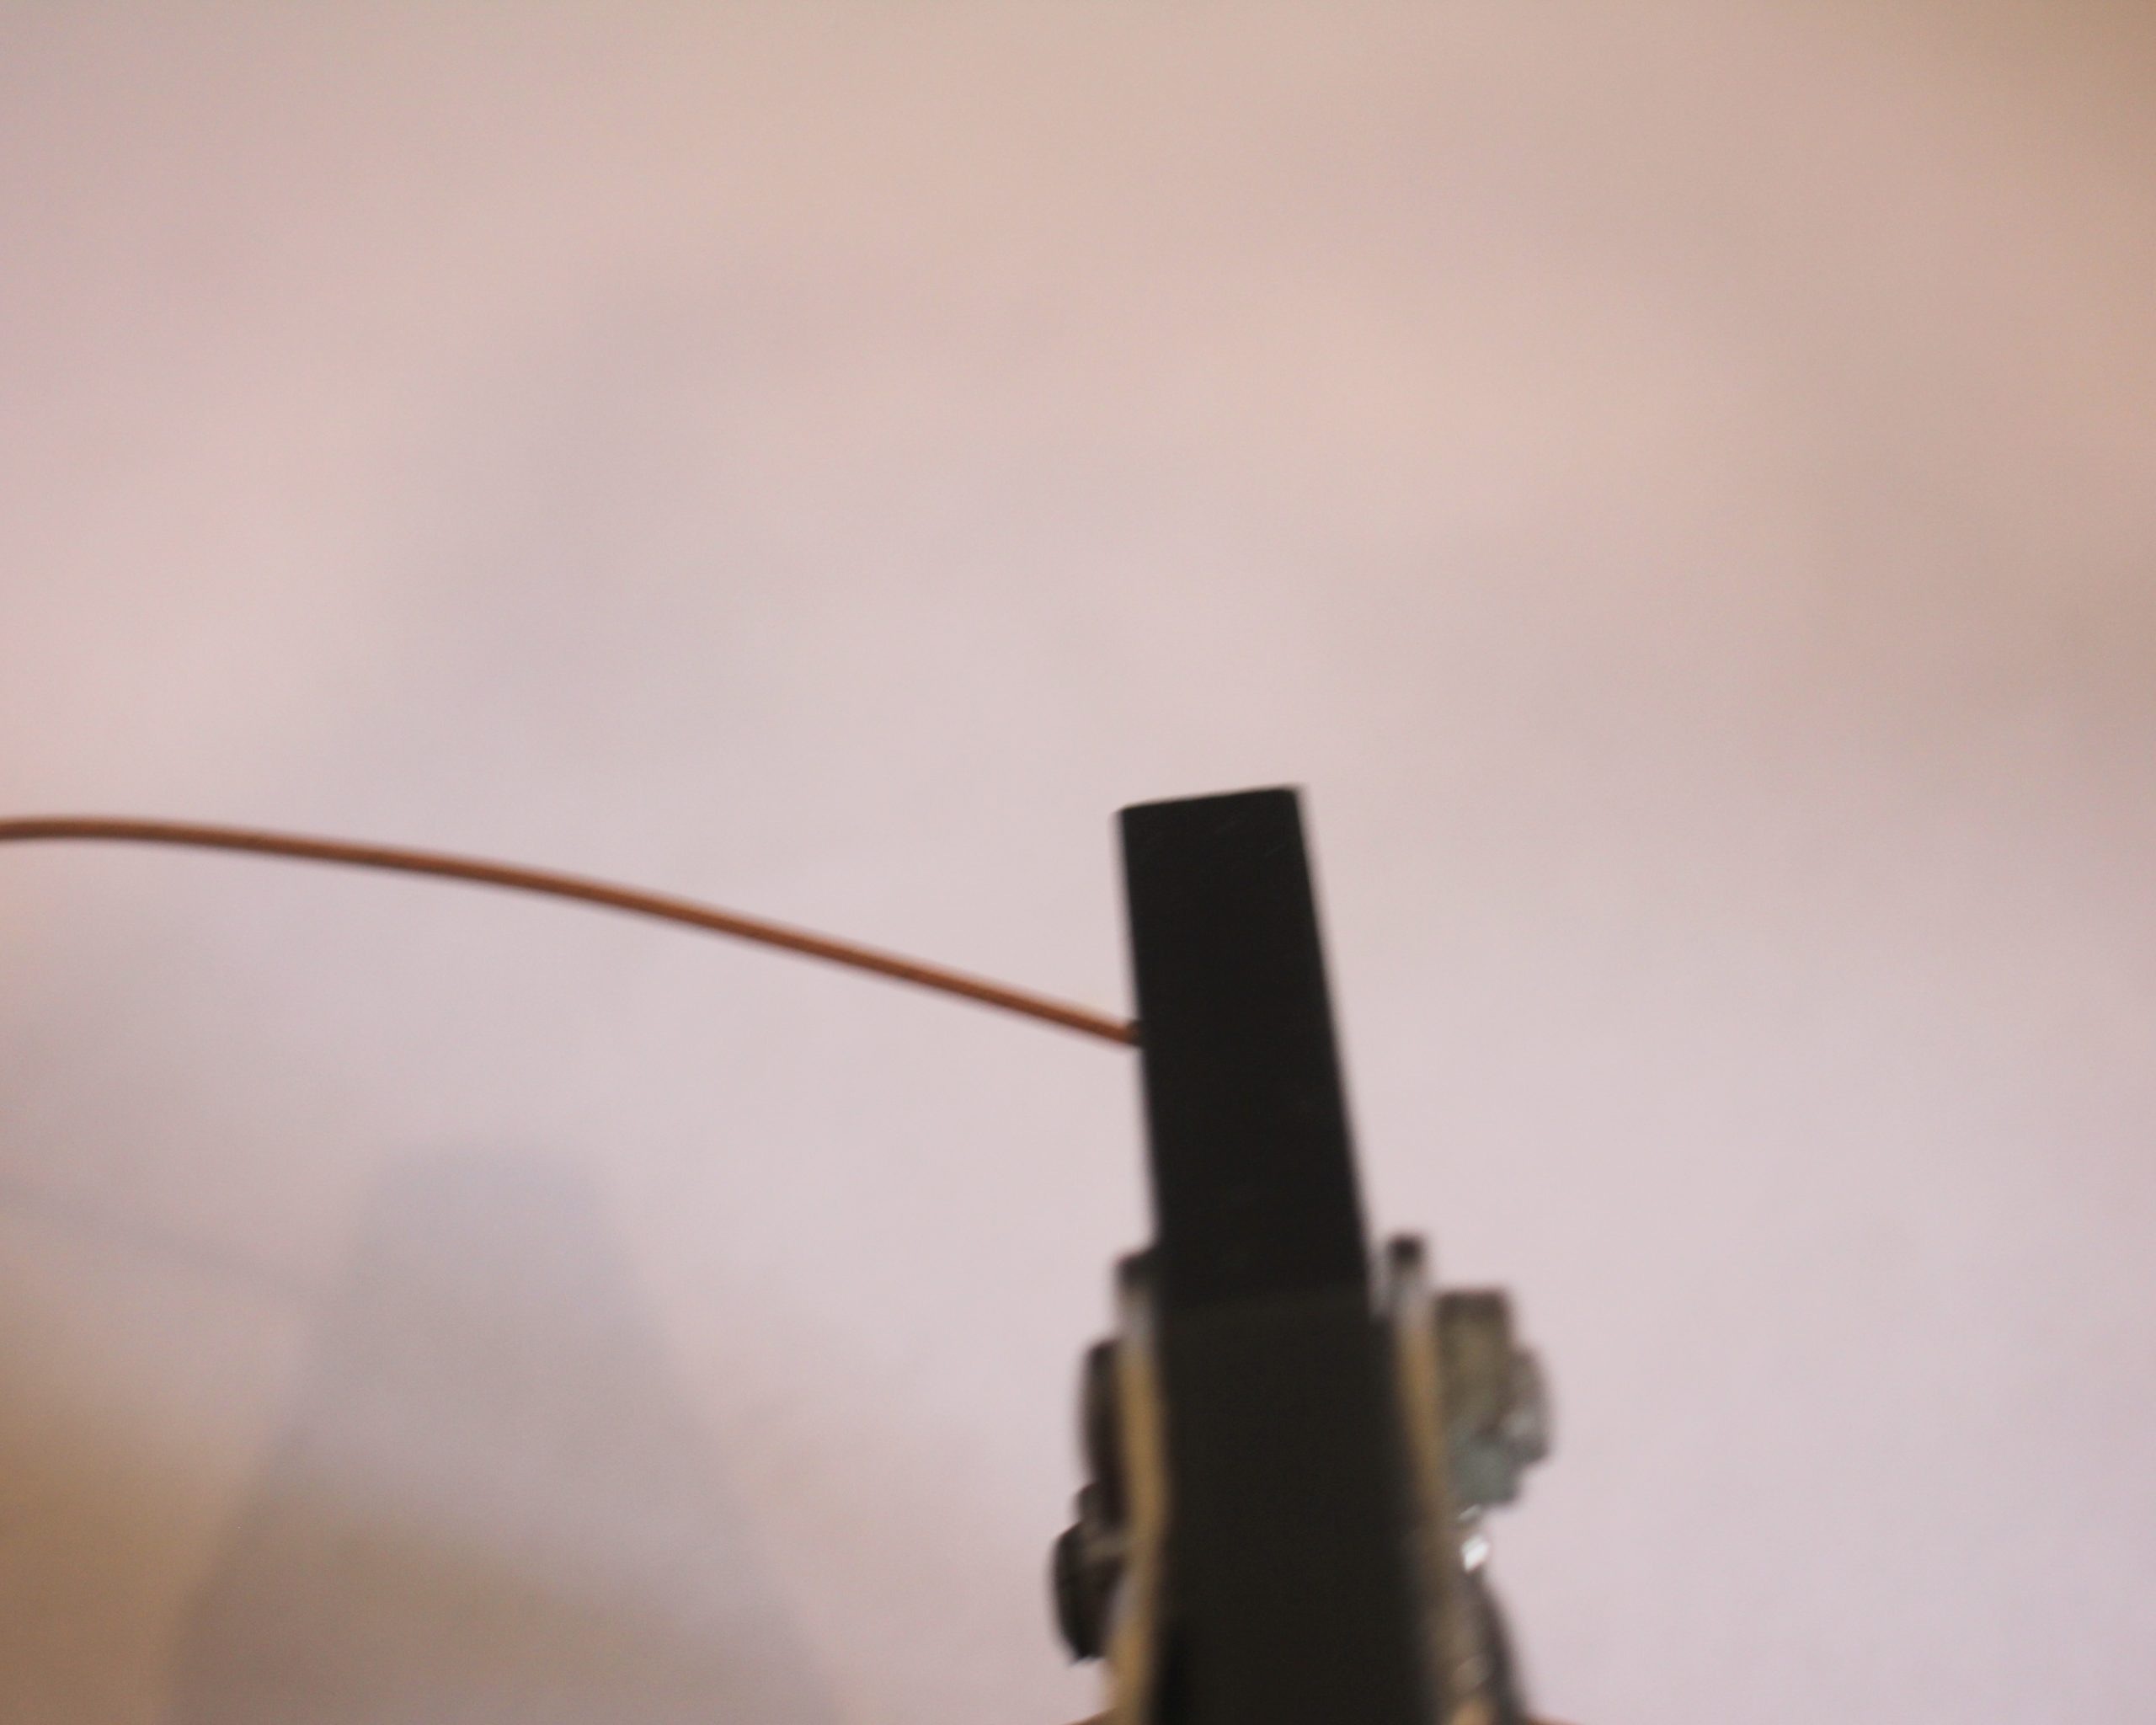
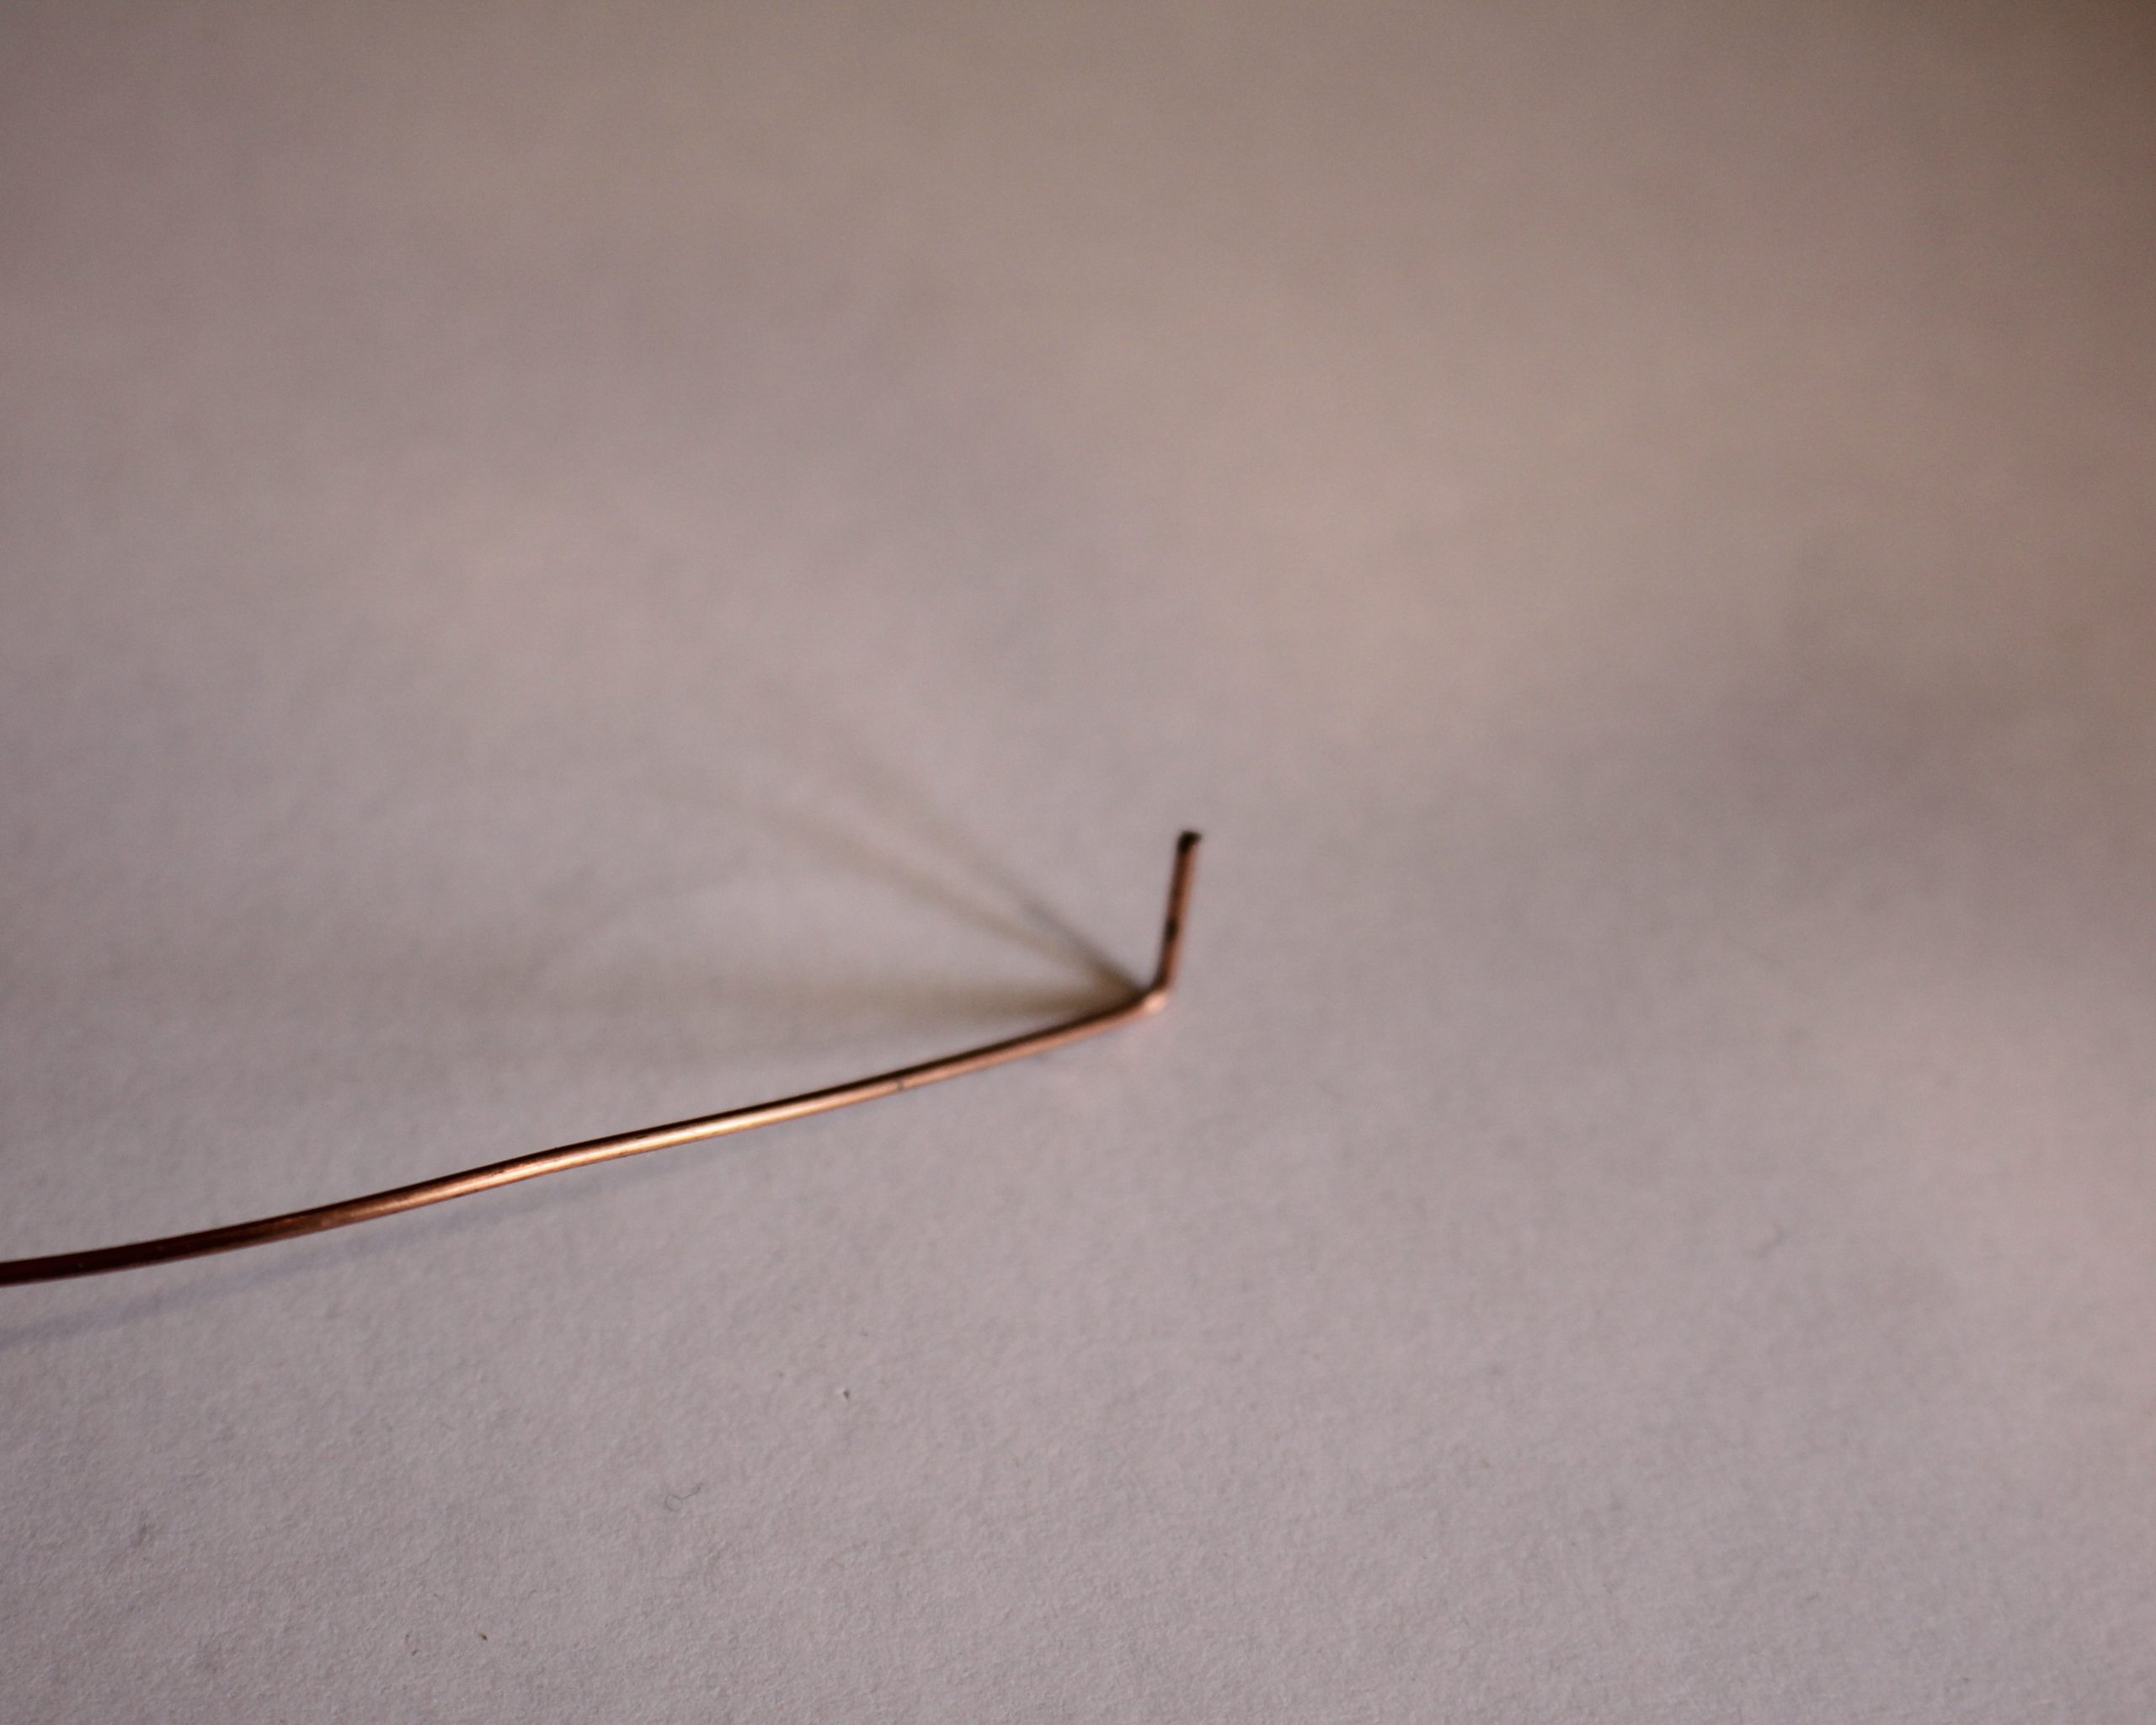
2: Take each wire between the jaws of a pair of flat nose or parallel pliers and bend it to form a right angle.


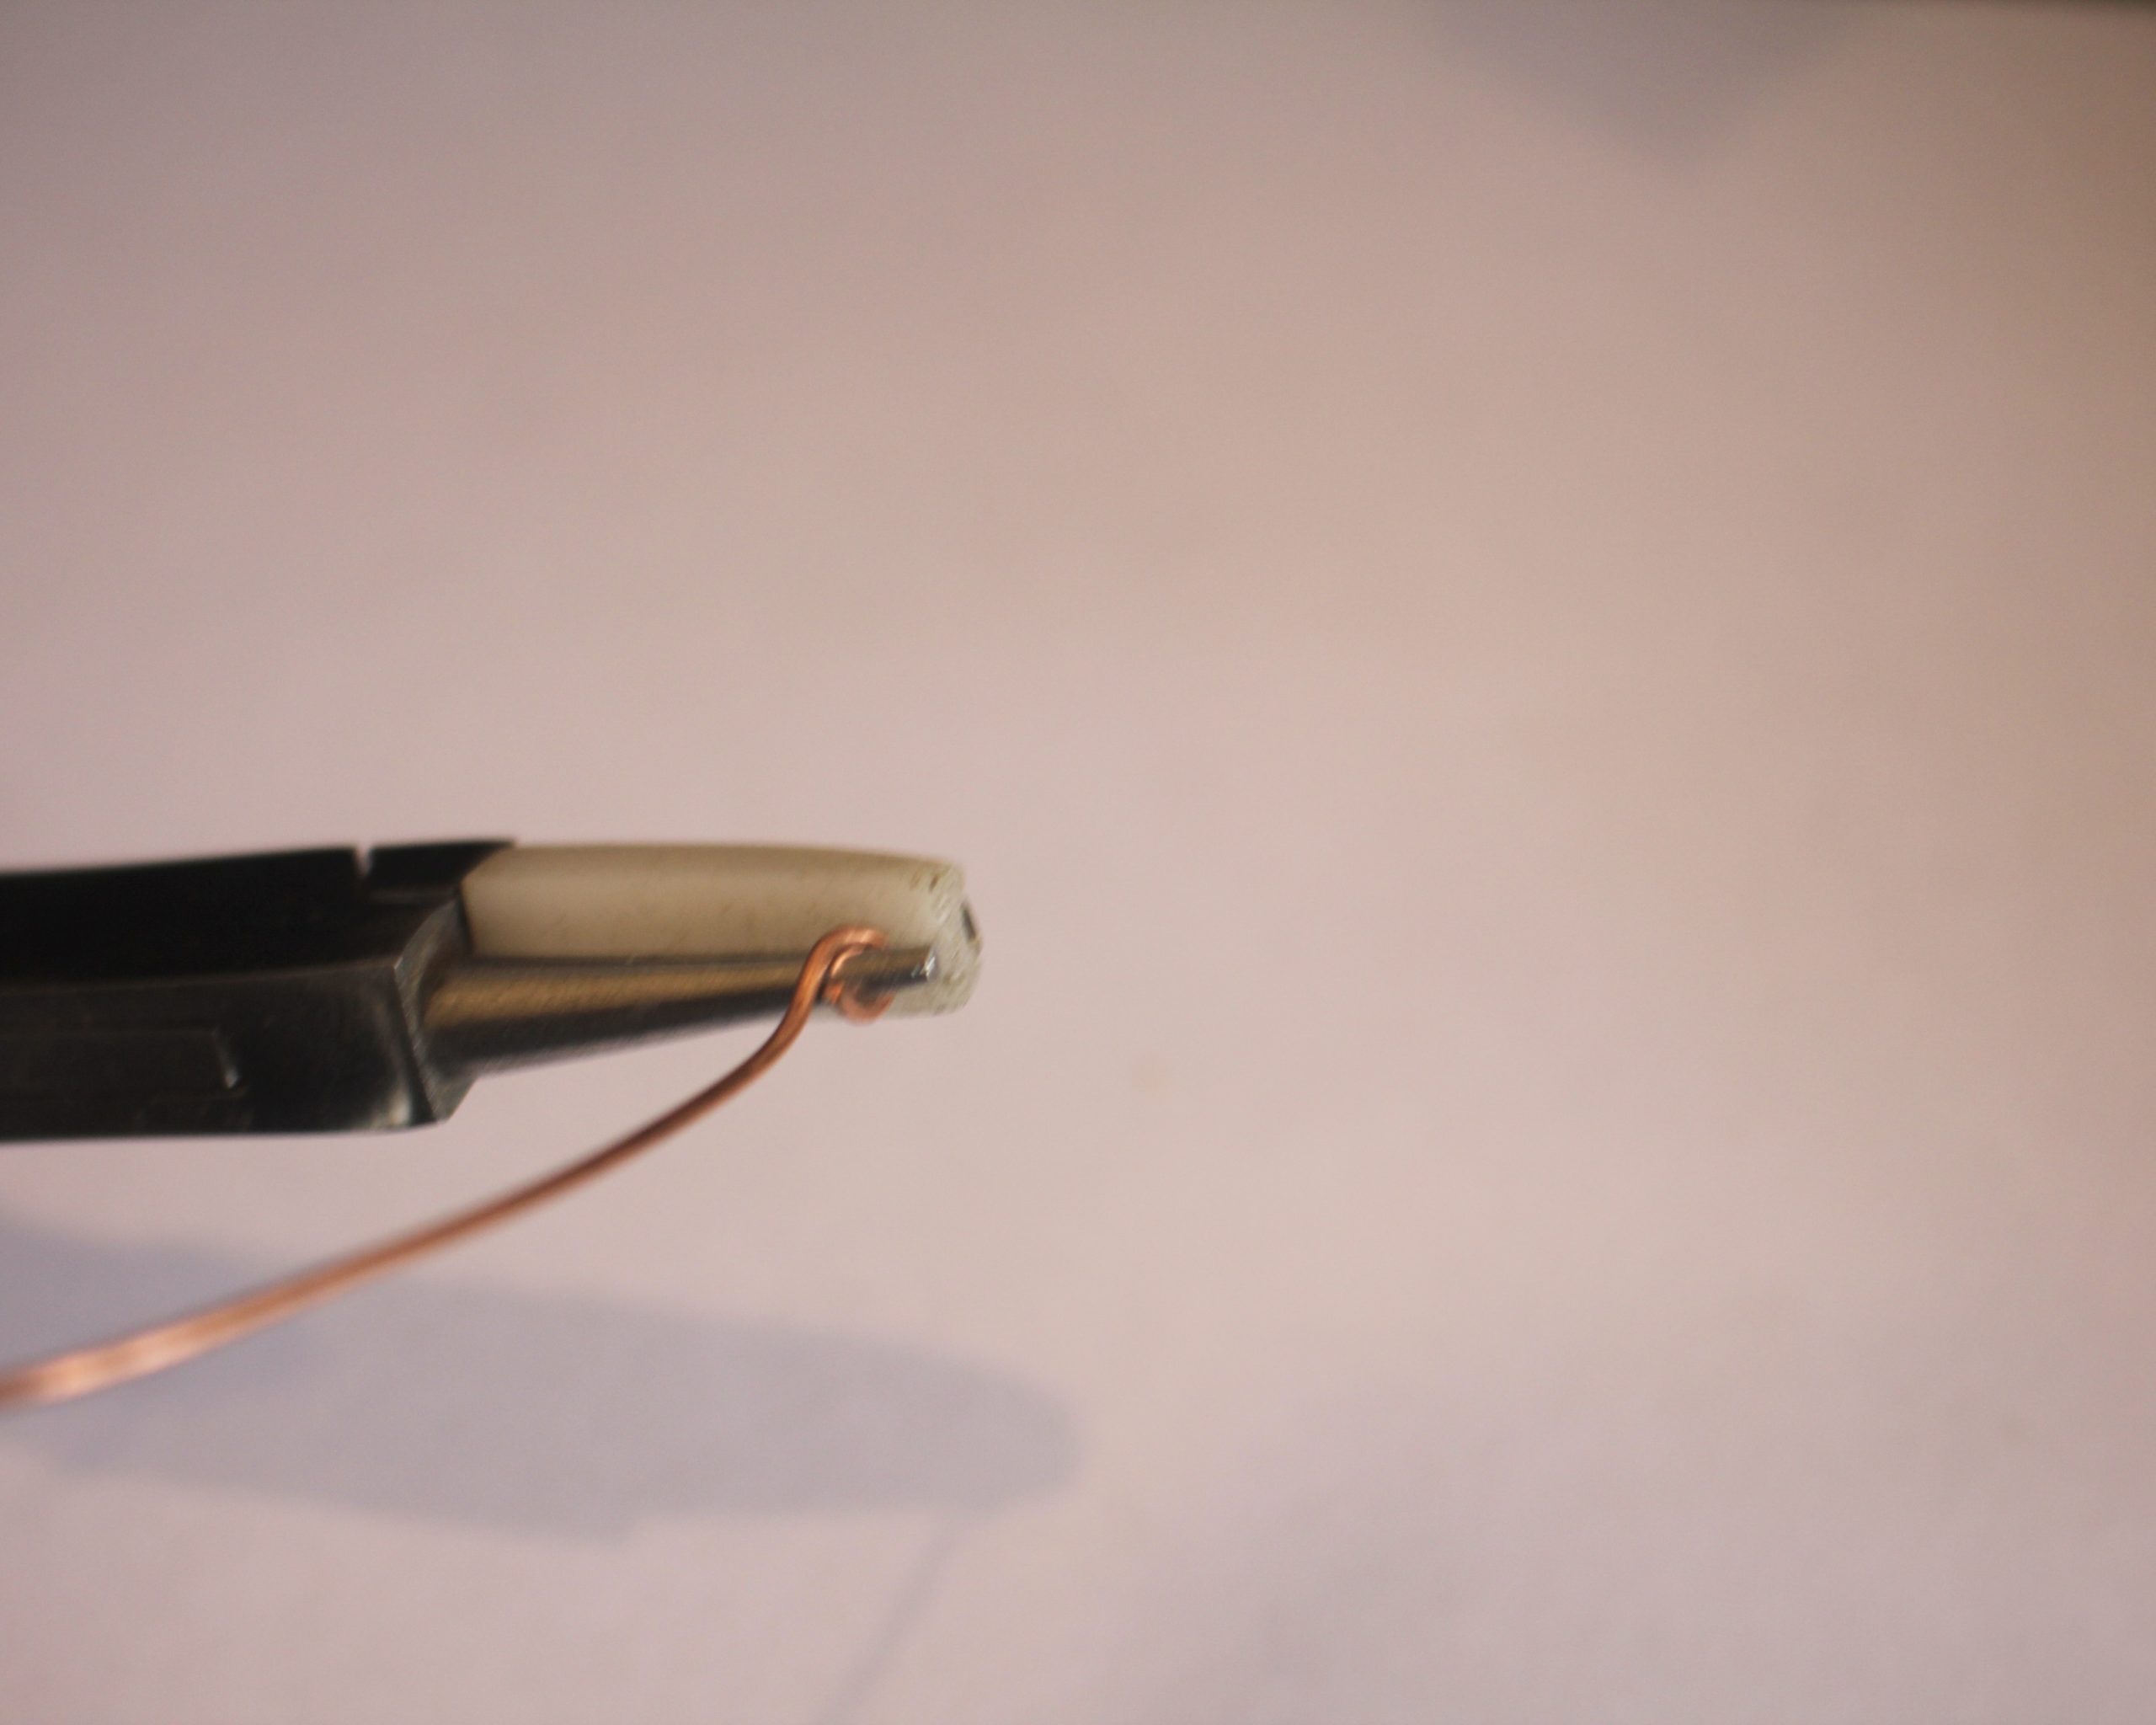
3: Bend the shorter part of the wire using the flat round pliers to form a loop. Adjust it using your flat nose pliers.


4: Now bend each of the wires around the pen or round item to give it it’s curved shape.

5: Once you have the initial shape you can adjust it using the half-round flat pliers.


6: Now all your wires are shaped you can prepare to attach the pearls.
7: Squeeze a small amount of glue onto the scrap paper and mix it well using the skewer.


8: Dip one of the earring posts into the glue, wiping off excess, and place it into one of the white pearls. Repeat for the second white pearl so that both have earring posts.


9: Repeat step 8 with the earring jackets, adding glue to the ends of each wire and placing them into the black pearl.


10: Set the components aside to cure and dry.

11: Once the pearls are secured in place, your earrings are ready to wear! So cute.

Here’s how they look on.

If you love ear jacket designs, here are some other tutorials you can follow:
-
Got some beaded bracelets that aren’t doing it for you? Why not turn them into a necklace?
I bought these lovely ceramic beaded bracelets from a market in Japan recently. Unfortunately, I’m not a massive fan of stretch bracelets, so I decided to take them apart and turn them into a single, playful choker necklace. This is a super easy DIY and can be a great way to repurpose jewelry that isn’t quite working for you anymore.
Please note that this tutorial contains affiliate links for which we may receive a commission.
You’ll need the following tools and materials to make your necklace.
1: Two or more bracelets that you don’t want to wear anymore.

You can get something similar here:
2: Some tiger tail wire.

You can get some here:
3: Four crimp beads.

You can get crimp beads here:
4: A clasp.

You can get a sterling silver bolt ring clasp here:
5: Two jump rings

You can get sterling silver jump rings here:
6: Cutting pliers to cut your bracelets and the wire.

You can get a pair here:
7: Flat nose pliers or parallel pliers. I used my parallel pliers but it doesn’t really matter for this project.
You can get flat-nose pliers here:
You can get parallel pliers here:
Follow these steps to transform your bracelets into a necklace.
1: Cut one of the bracelets open to release the beads. You might want to leave them on the thread so you can maintain their original order, or you can pull them all off and work from a small tray if you want to create a new bead design.

2: Cut the tiger tail wire to your desired length, adding some extra centimetres/inches so that you have enough wire to secure the ends.

3: Add two crimp beads to the end of the wire.

4: Add a jump ring to the end of the wire.

5: Wrap the end of the wire through the jump ring and back into the crimp beads.

6: Squash the crimp beads using flat nose pliers to secure the jump ring.

7: Begin adding beads until you have finished the first bracelet.

8: Cut the second bracelet and add the rest of the beads. Repeat this if you have additional bracelets you want to use.

9: Once your necklace is fully beaded, add another two crimp beads and the second jump ring.


10: Wrap the end of the wire around the end of the jump ring and back through the crimps and the first bead.

11: Squash the crimps using flat nose pliers.

12: Trim the excess wire using cutting pliers.

13: Add the clasp, securing it closed with flat nose pliers.


14: Now your necklace is finished and ready to wear! What a fun way to repurpose jewelry that isn’t serving you anymore?!

-
Here’s how to make a cute two-tone beaded necklace!
This tutorial is a simple beaded necklace with a twist, one half is finished with pearl beads and the other features small glittering glass beads. You can use whatever beads you like to make this lovely design. How will you design yours?
Please note that this tutorial contains affiliate links for which we may receive a commission.
You’ll need the following tools and materials to make your necklace:
1: Tigertail wire.

You can get some here:
2: Pliers. I used my cutting pliers and flat nose pliers.
You can get pliers here:
3: Beads. I used chunky pearl beads and some small green bugle beads.

You can get similar beads here:

You can get baroque pearls here:
4: Sterling silver jump rings.

You can get some here:
5: Sterling silver crimp beads.

You can get some here:
6: Sterling silver clasp. I used a bolt-ring clasp.

You can get a bolt ring clasp here:
7: Optional: A pendant that will fit over the beads. I used this pink stone pendant.

You can get something similar here:
Here are the steps to follow to make your own two-tone beaded necklace:
1: Cut a length of tigertail wire to your desired necklace length (remember to add a few extra cm so you have excess for securing the ends.

2: Add a crimp bead and jump ring to the end of the wire. Make sure the jump ring is closed before you do this.

3: Loop the end of the wire around the jump ring and back through the crimp bead.

4: Squash the crimp bead using the flat nose pliers.


5: Begin adding beads.

6: Continue beading until you have reached half of your desired necklace length.

7: Switch to the other beads and continue beading until you have half of each type of bead.


8: Add the second crimp bead.

9: Add the second closed jump ring.

10: Loop the end of the wire around the jump ring and back through the crimp and end bead.

11: Pull the wire tight and squash the crimp to secure it in place.

12: Trim the excess wire using the cutting pliers.


13: Add the clasp to the end of the necklace and close the ring using your pliers to secure it in place.


Now your necklace is done, if you like, you can add a pendant for added interest, or leave it plain to shine on its own.
Here’s the finished necklace.


And here’s the finished necklace with the pendant in place. How will you style yours?


If you like this design, here’s some similar designs you can make:
Turn two bracelets into a two-tone necklace
Make a necklace that is half chain half beads
-
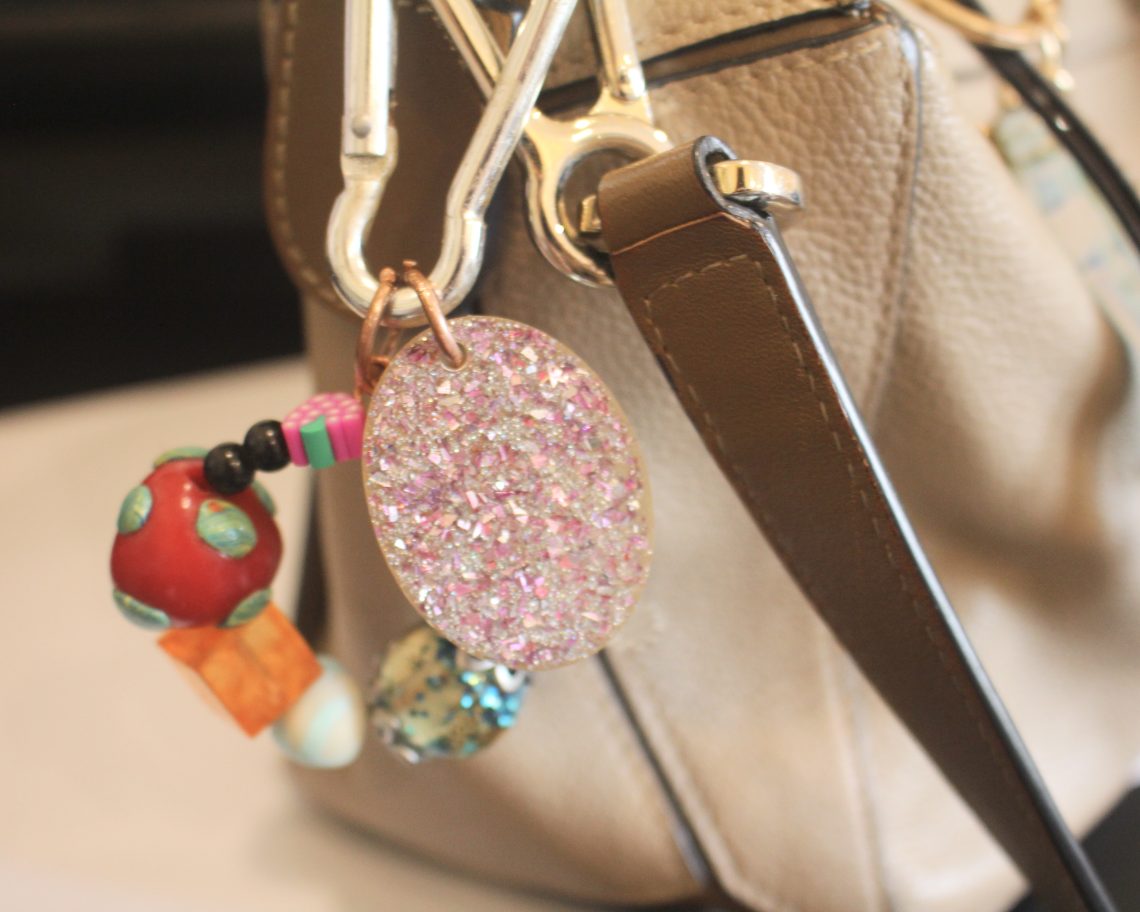
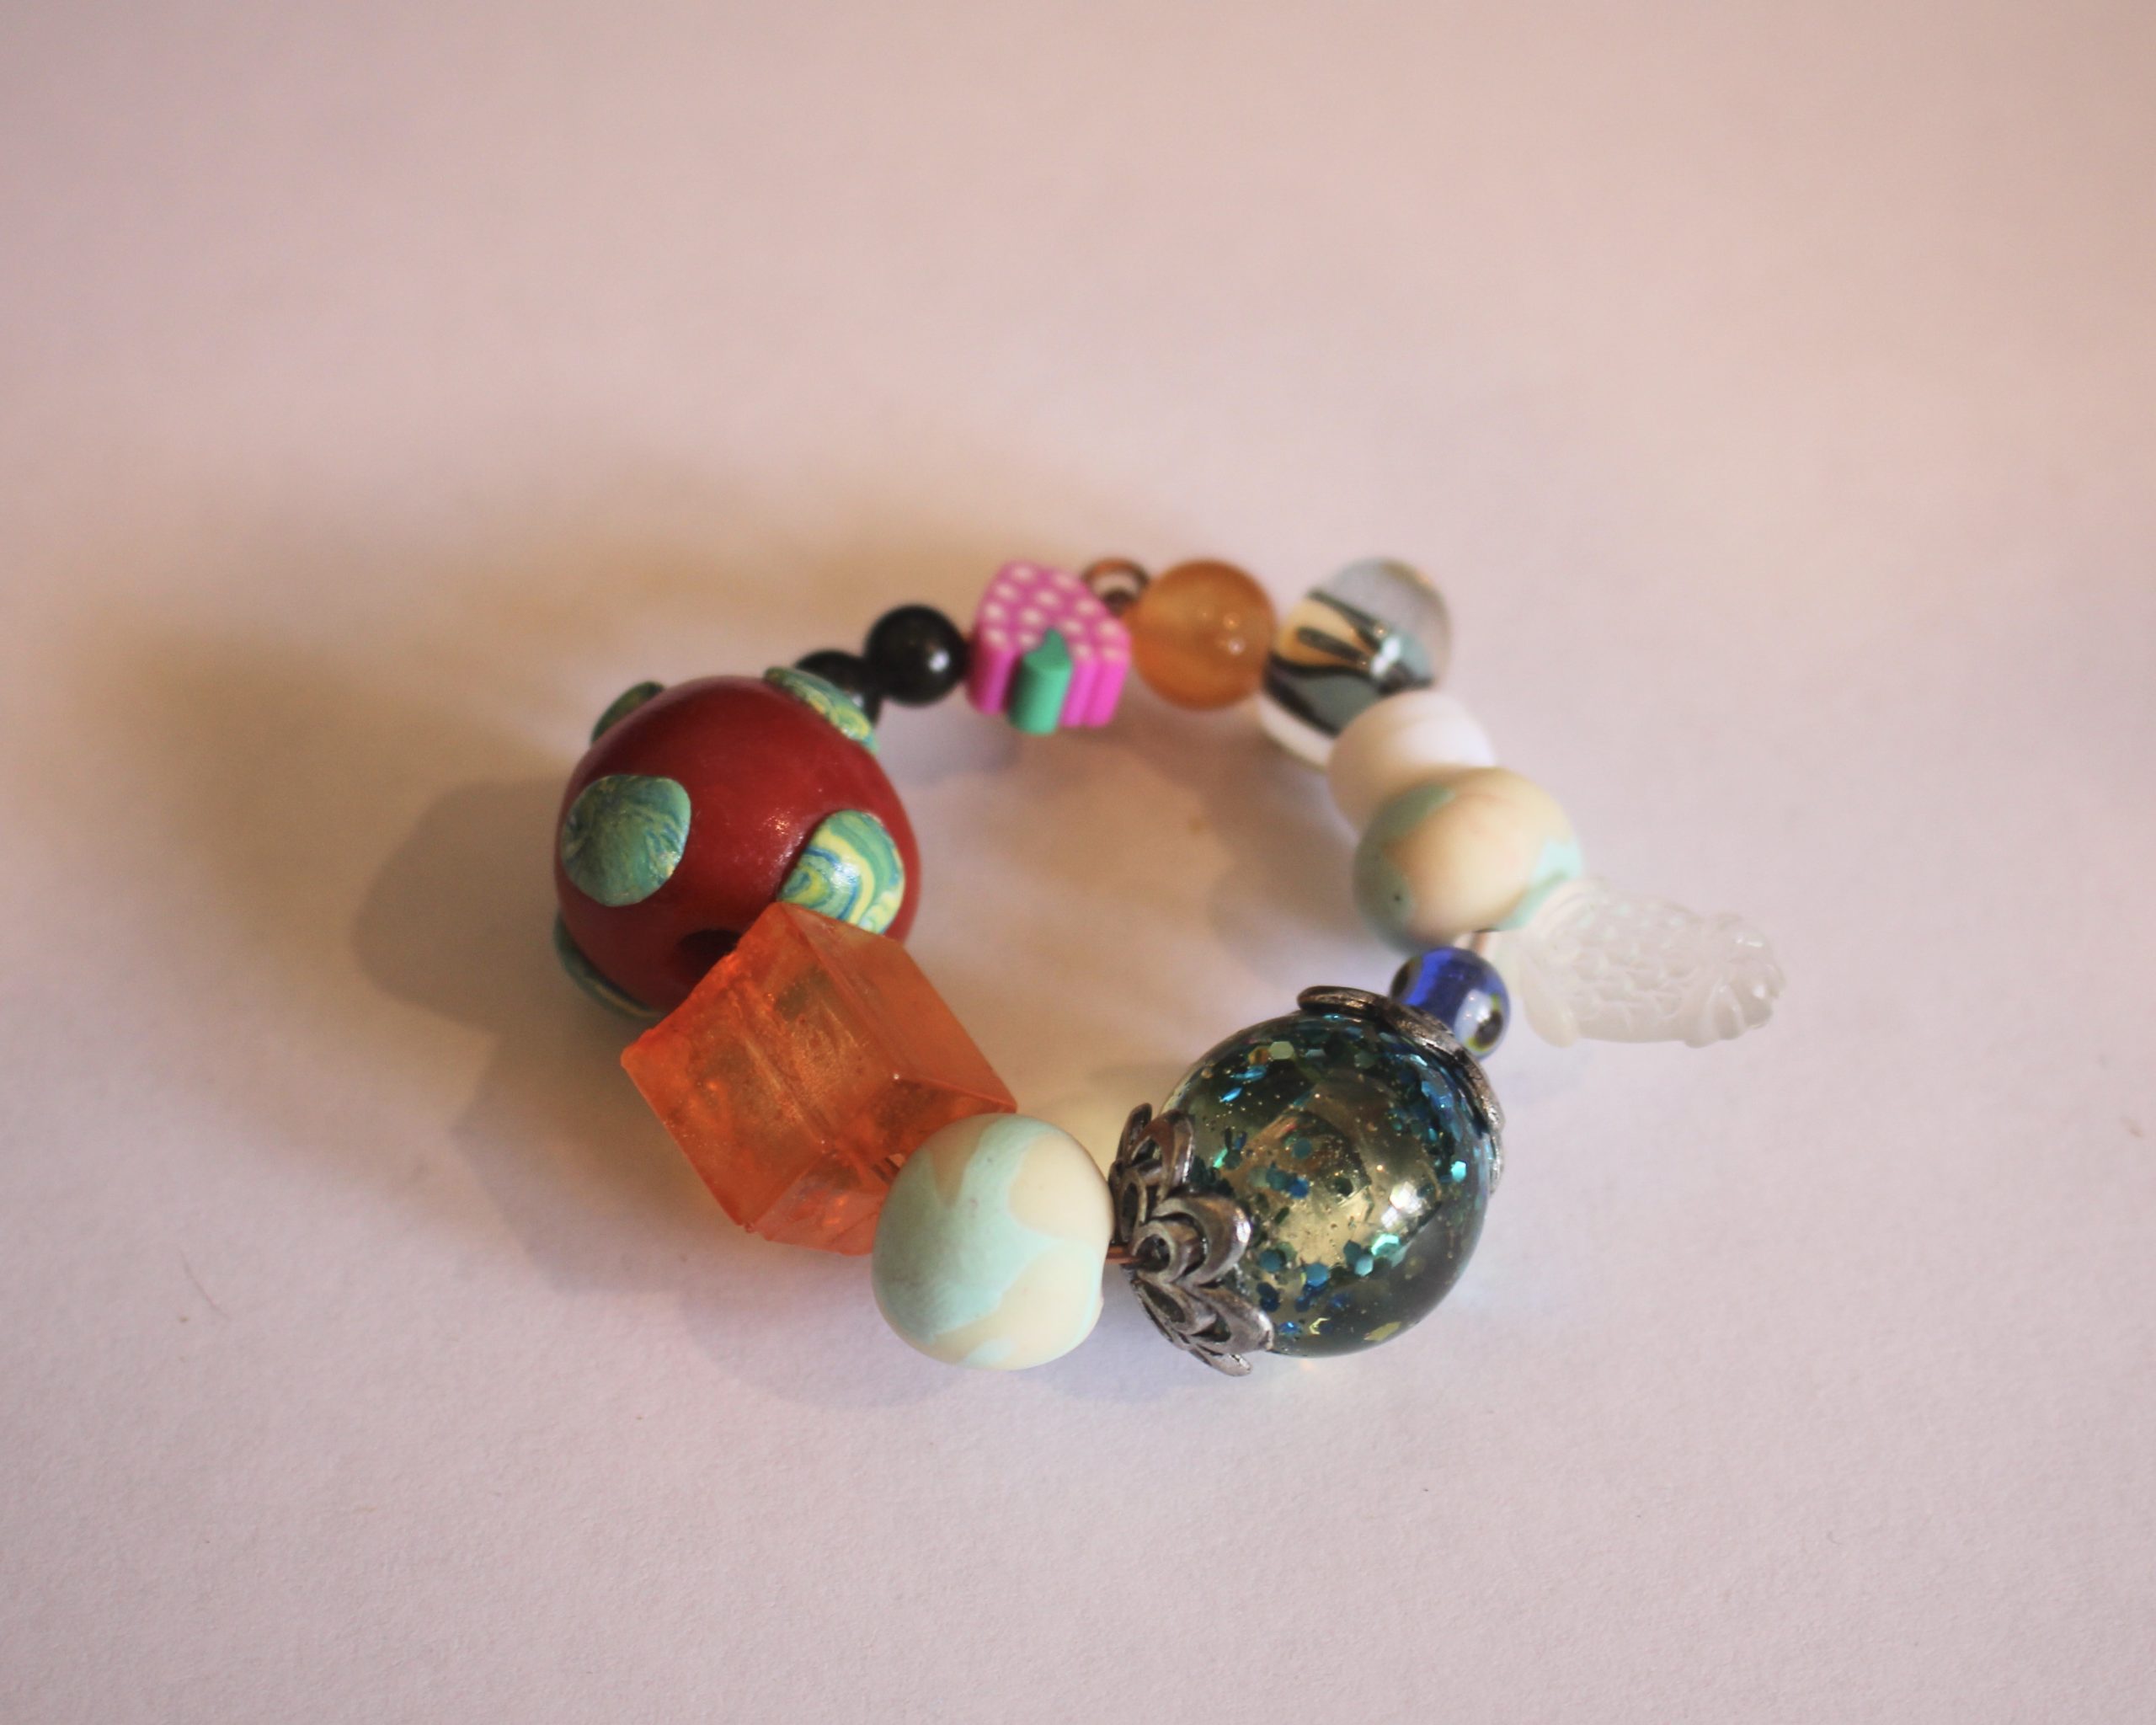
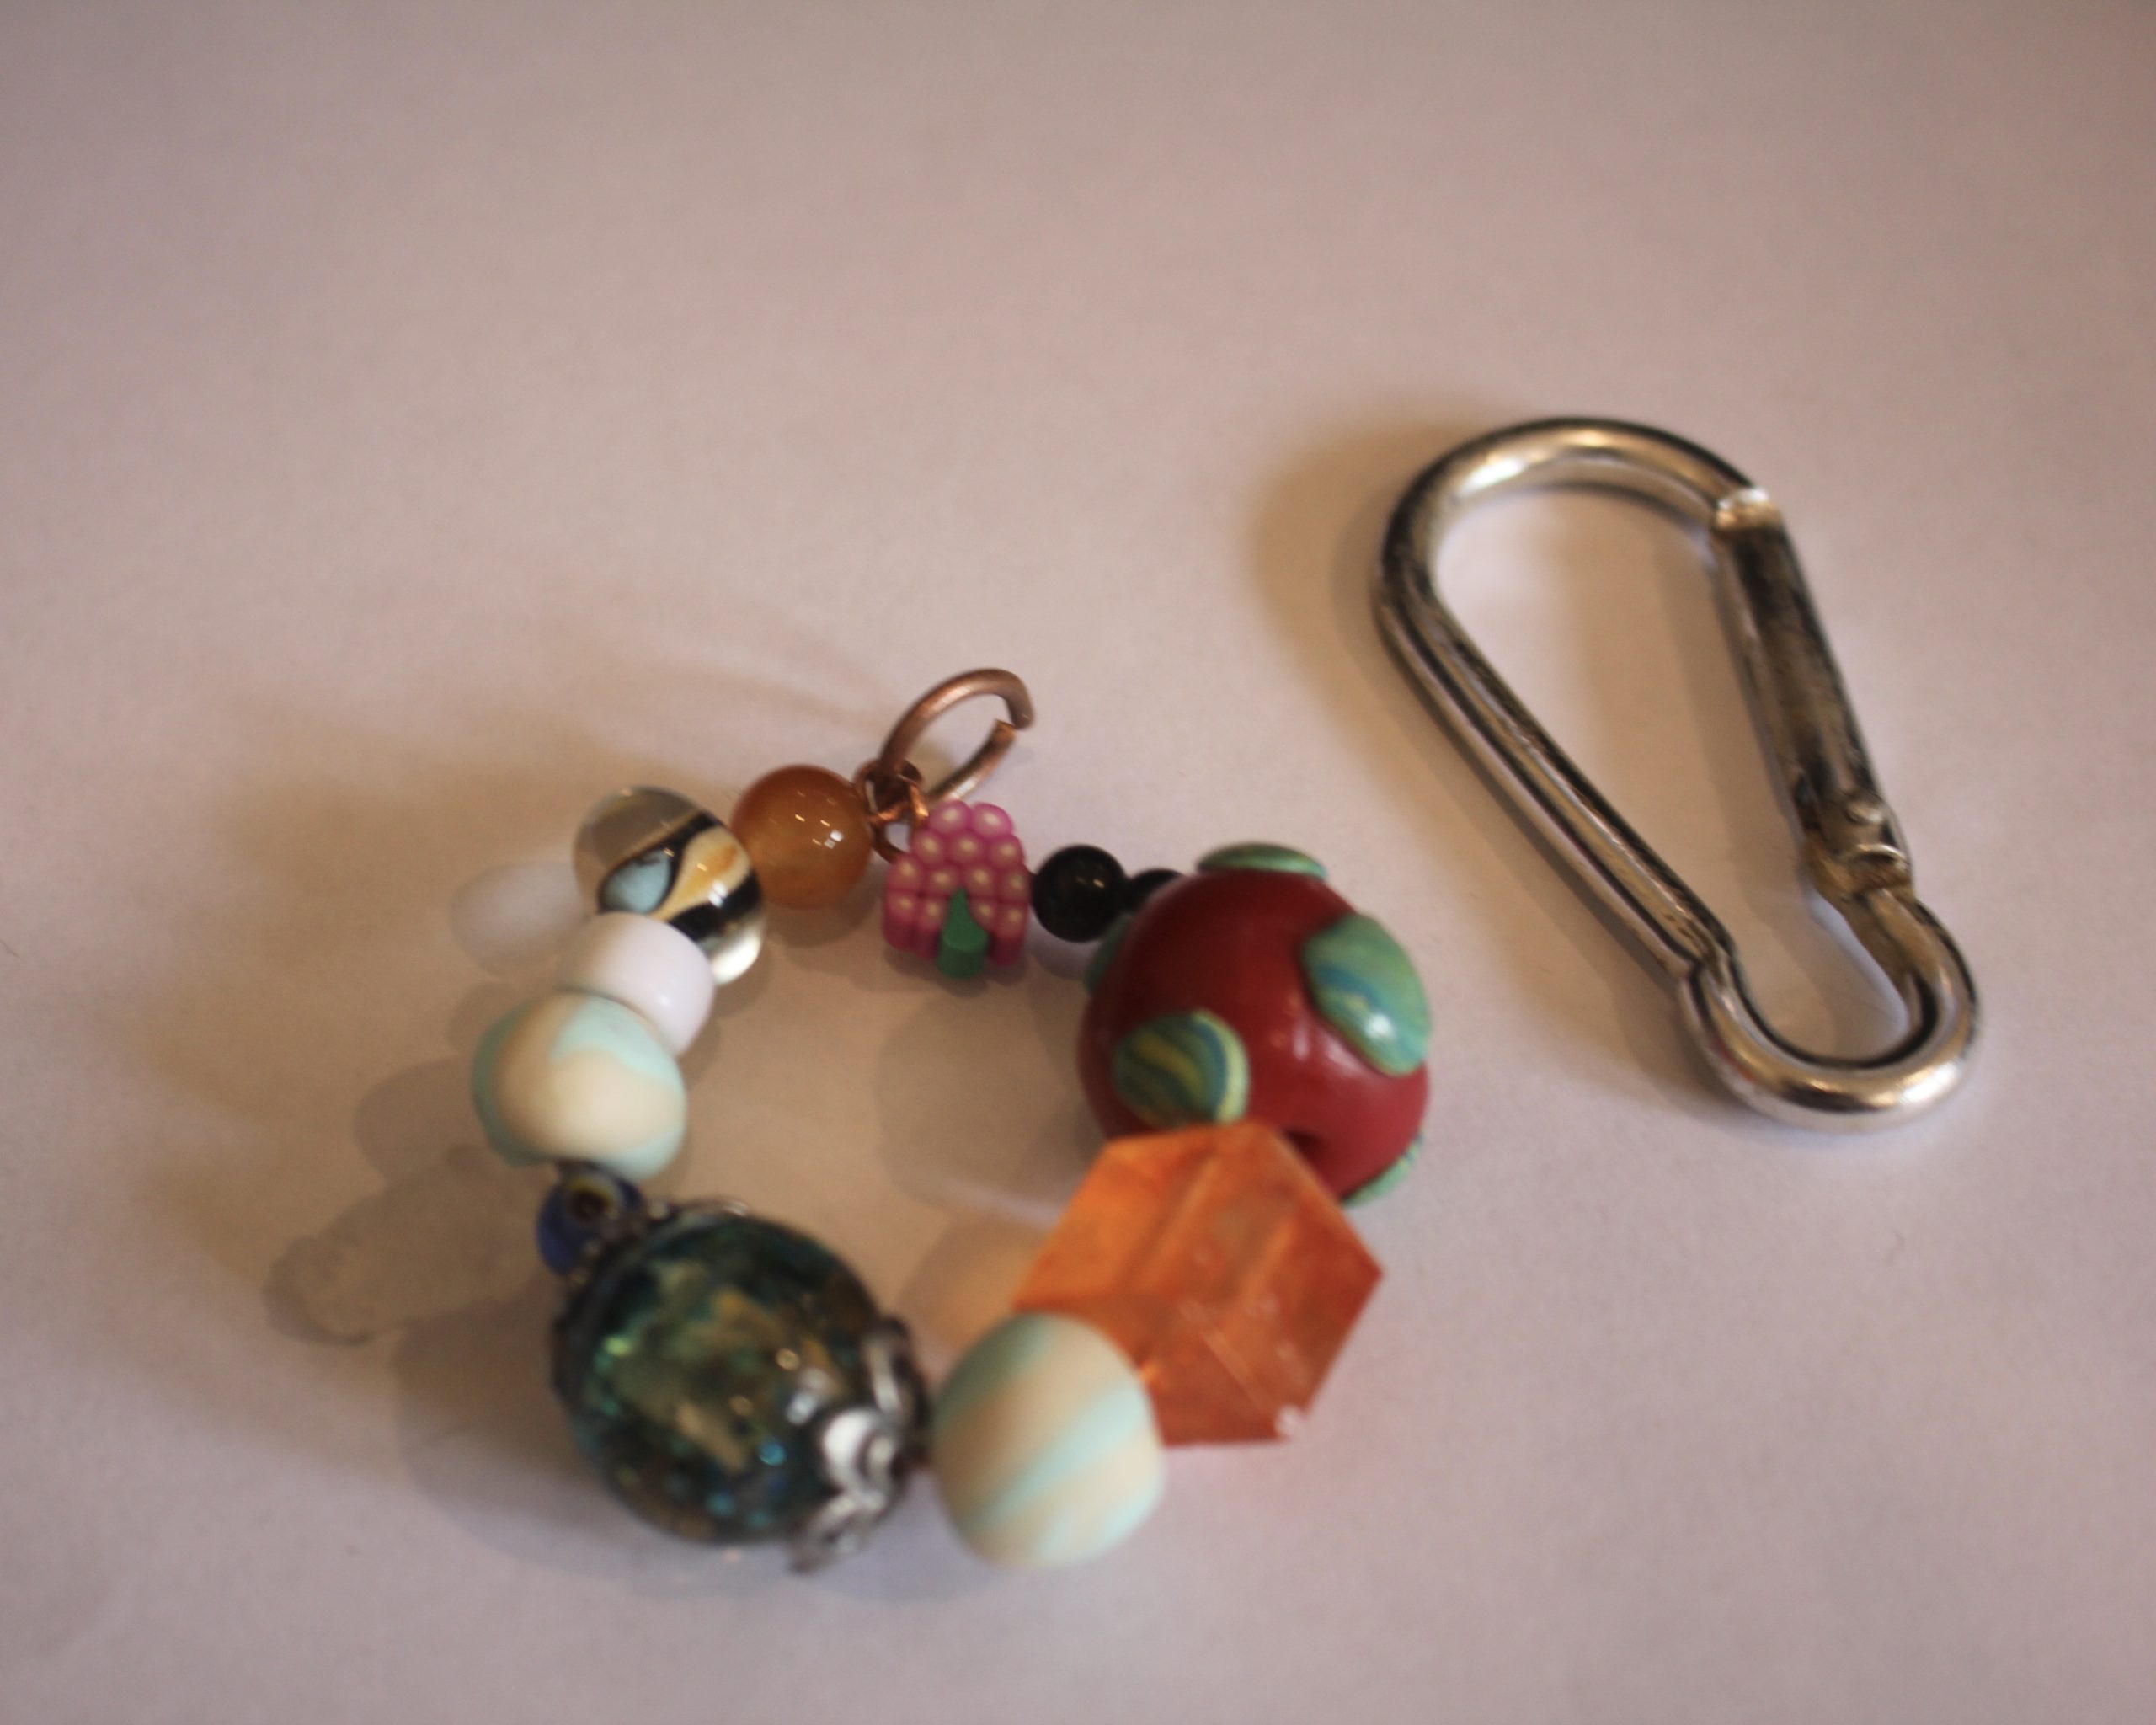
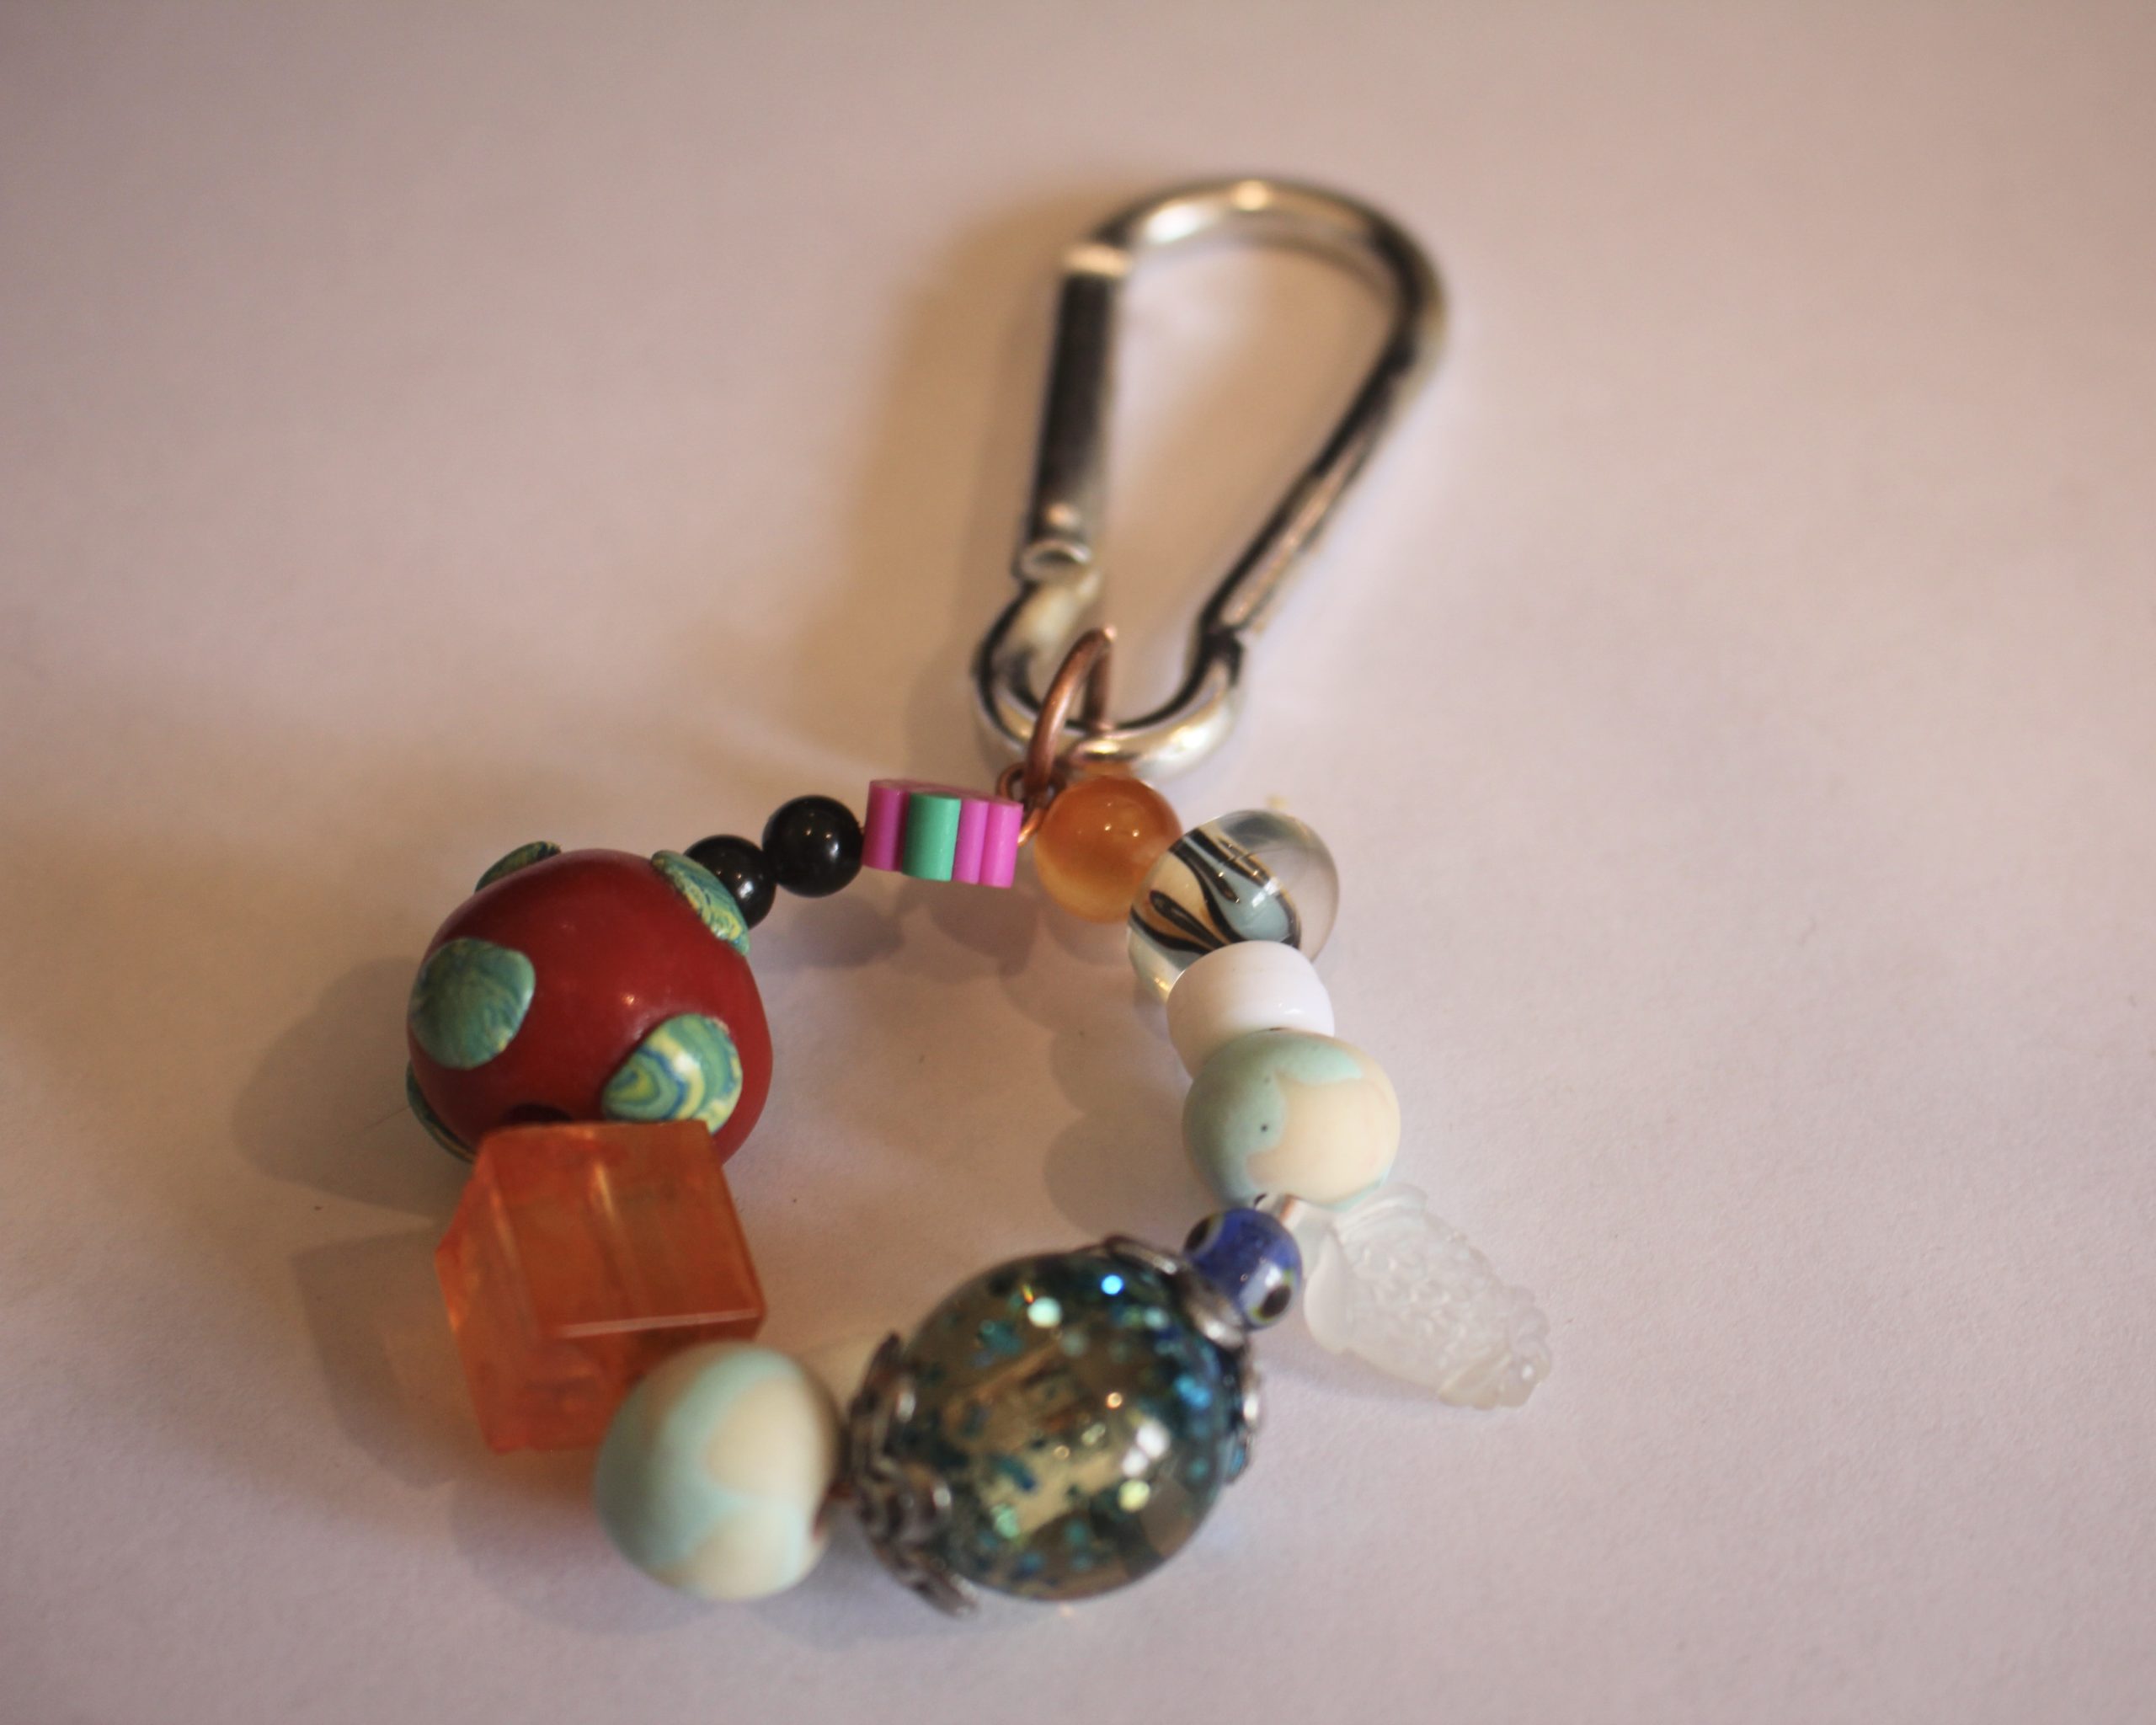
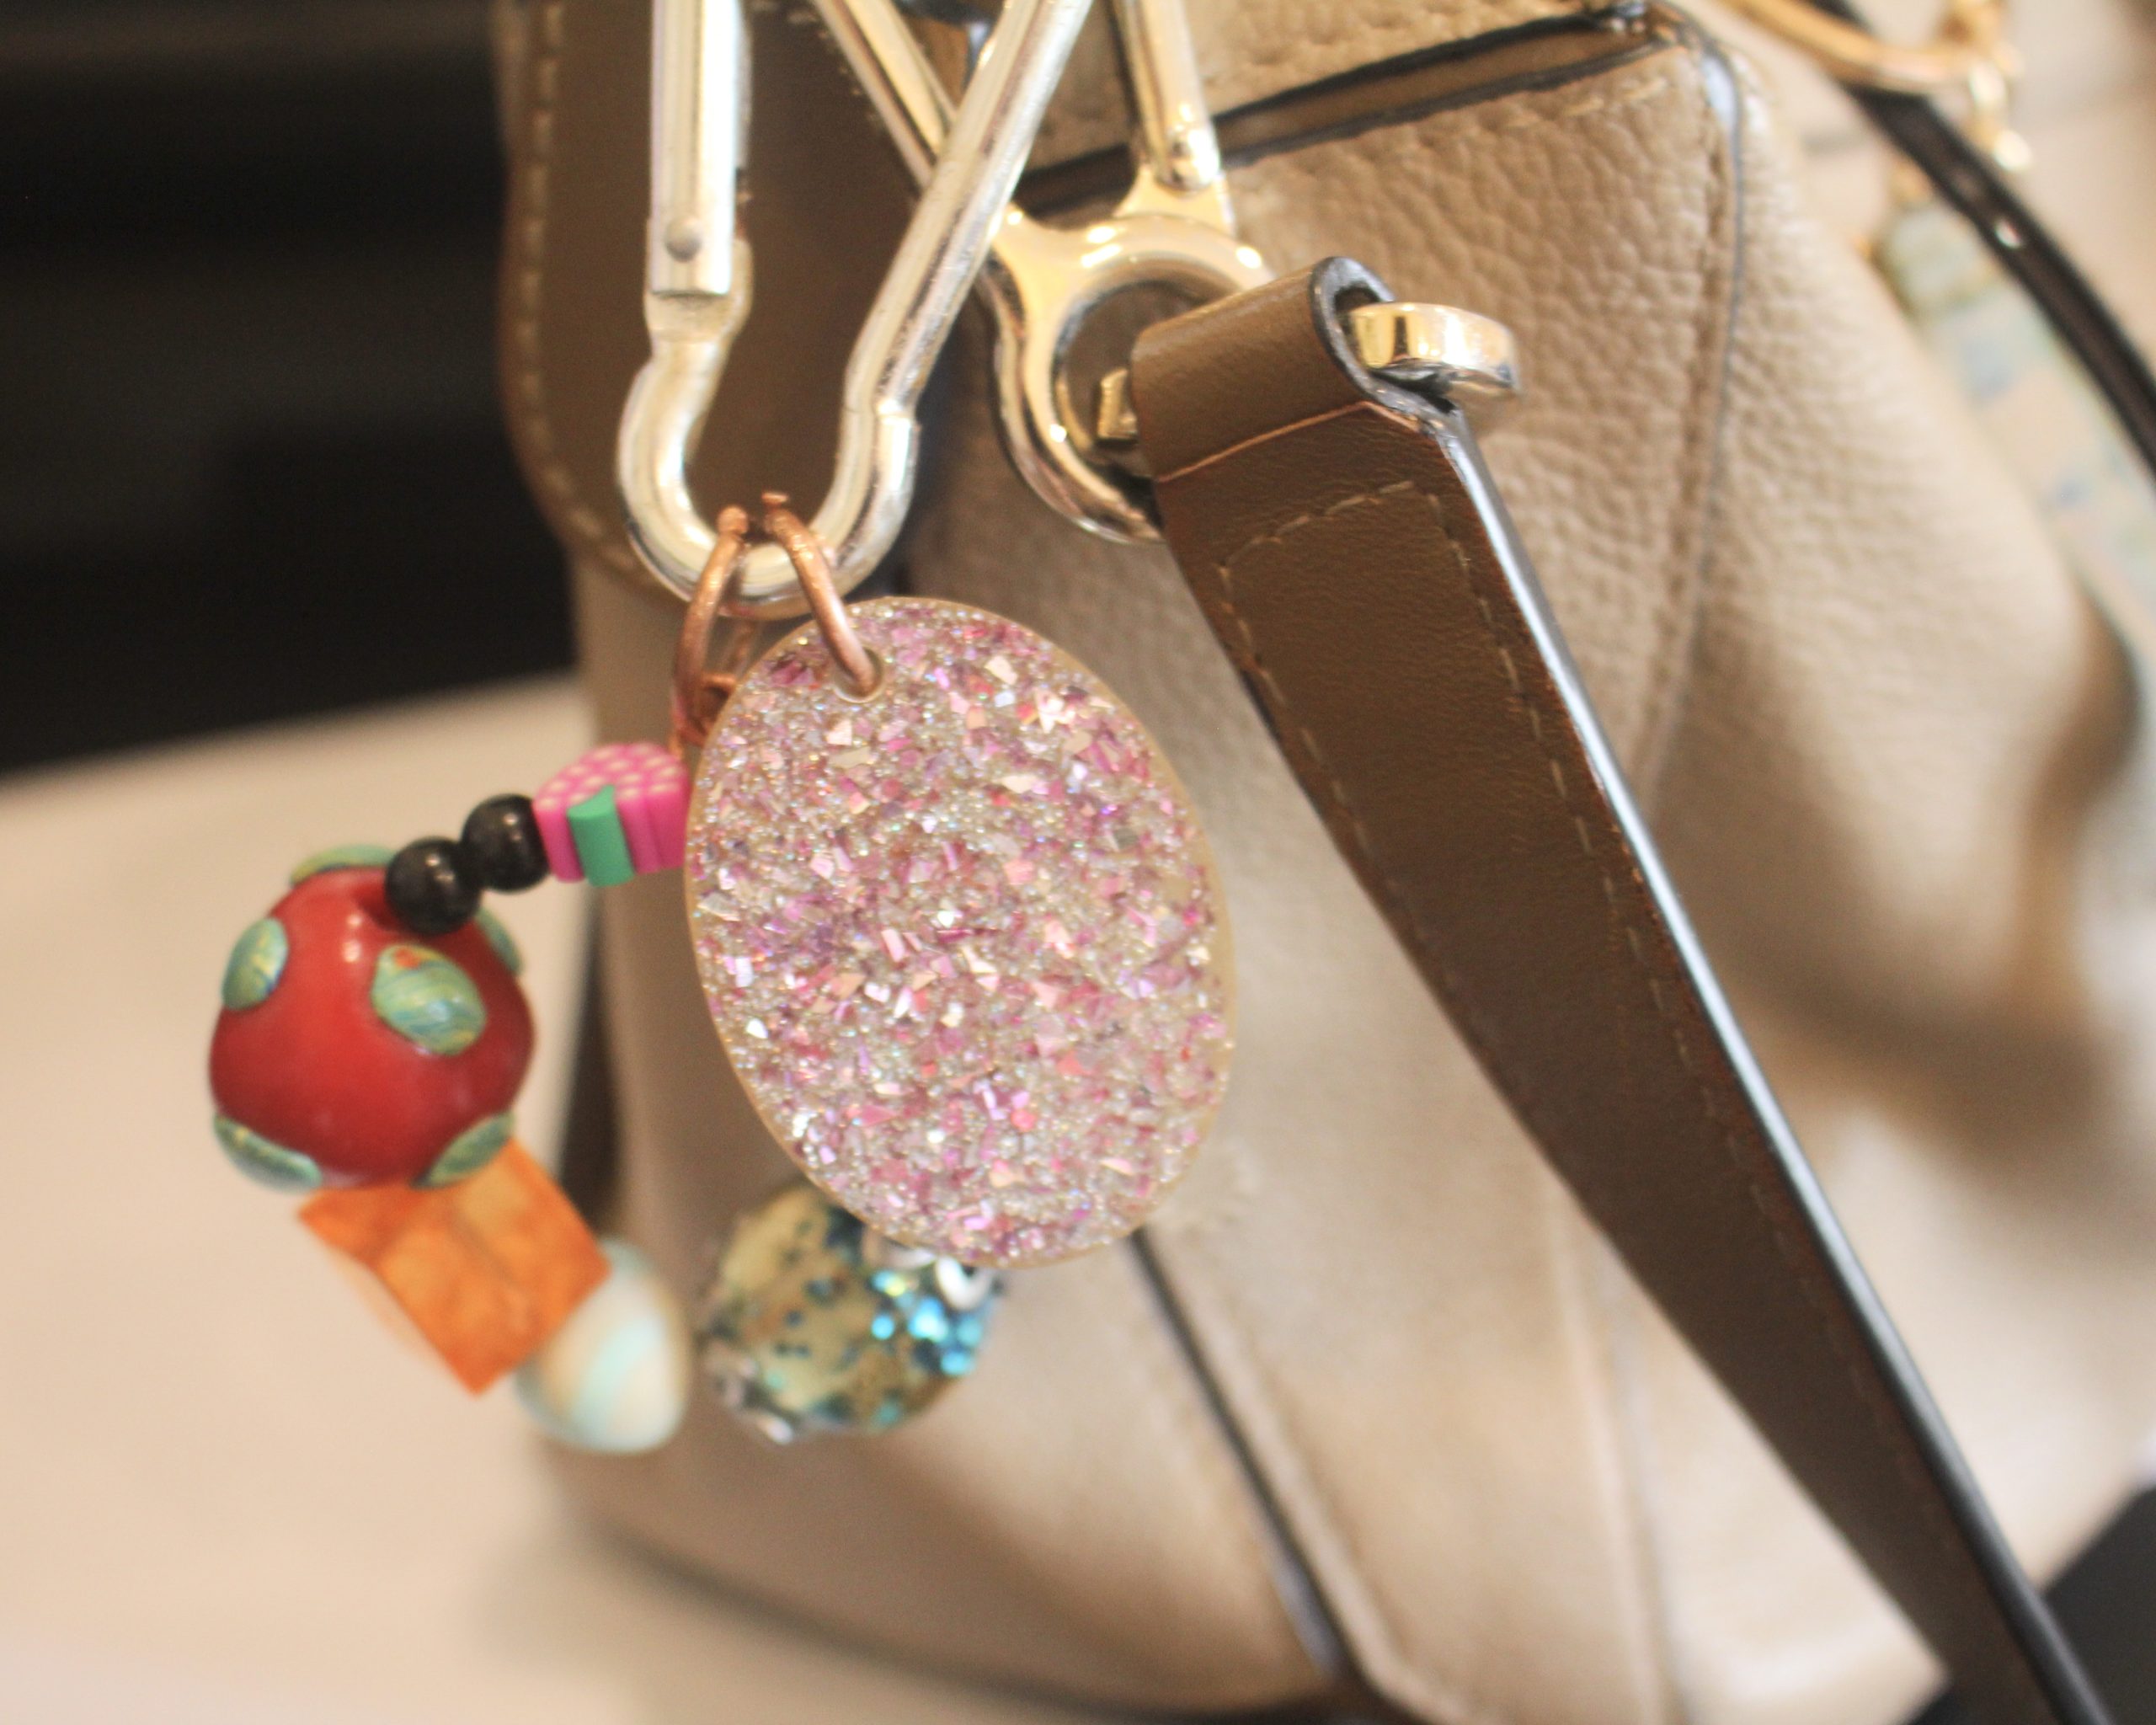
How to make a clip on beaded bag charm! This is such a fun project
Bag charms are everywhere at the moment and if you prefer something a little more personal to adorn your fave handbag, this tutorial is for you. This bag charm features a fun smattering of beads and a resin charm to add some personal pizzaz to your outfit. Super simple but super high impact!
Please note that this tutorial contains affiliate links for which we may receive a commission.
You’ll need the following tools and materials to make this beaded bag charm:
1: Some wire. I used this copper wire.

You can get some copper wire here:
2: A large jump rings. I used a copper one.
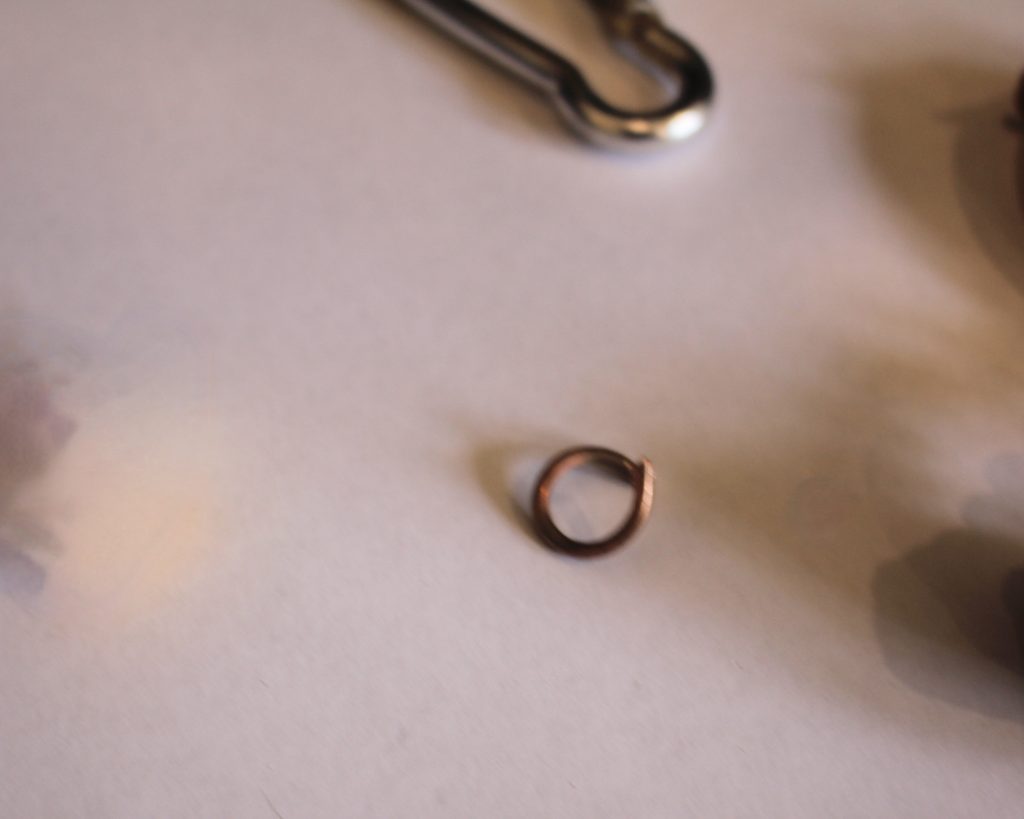
You can get copper-tone jump rings here:
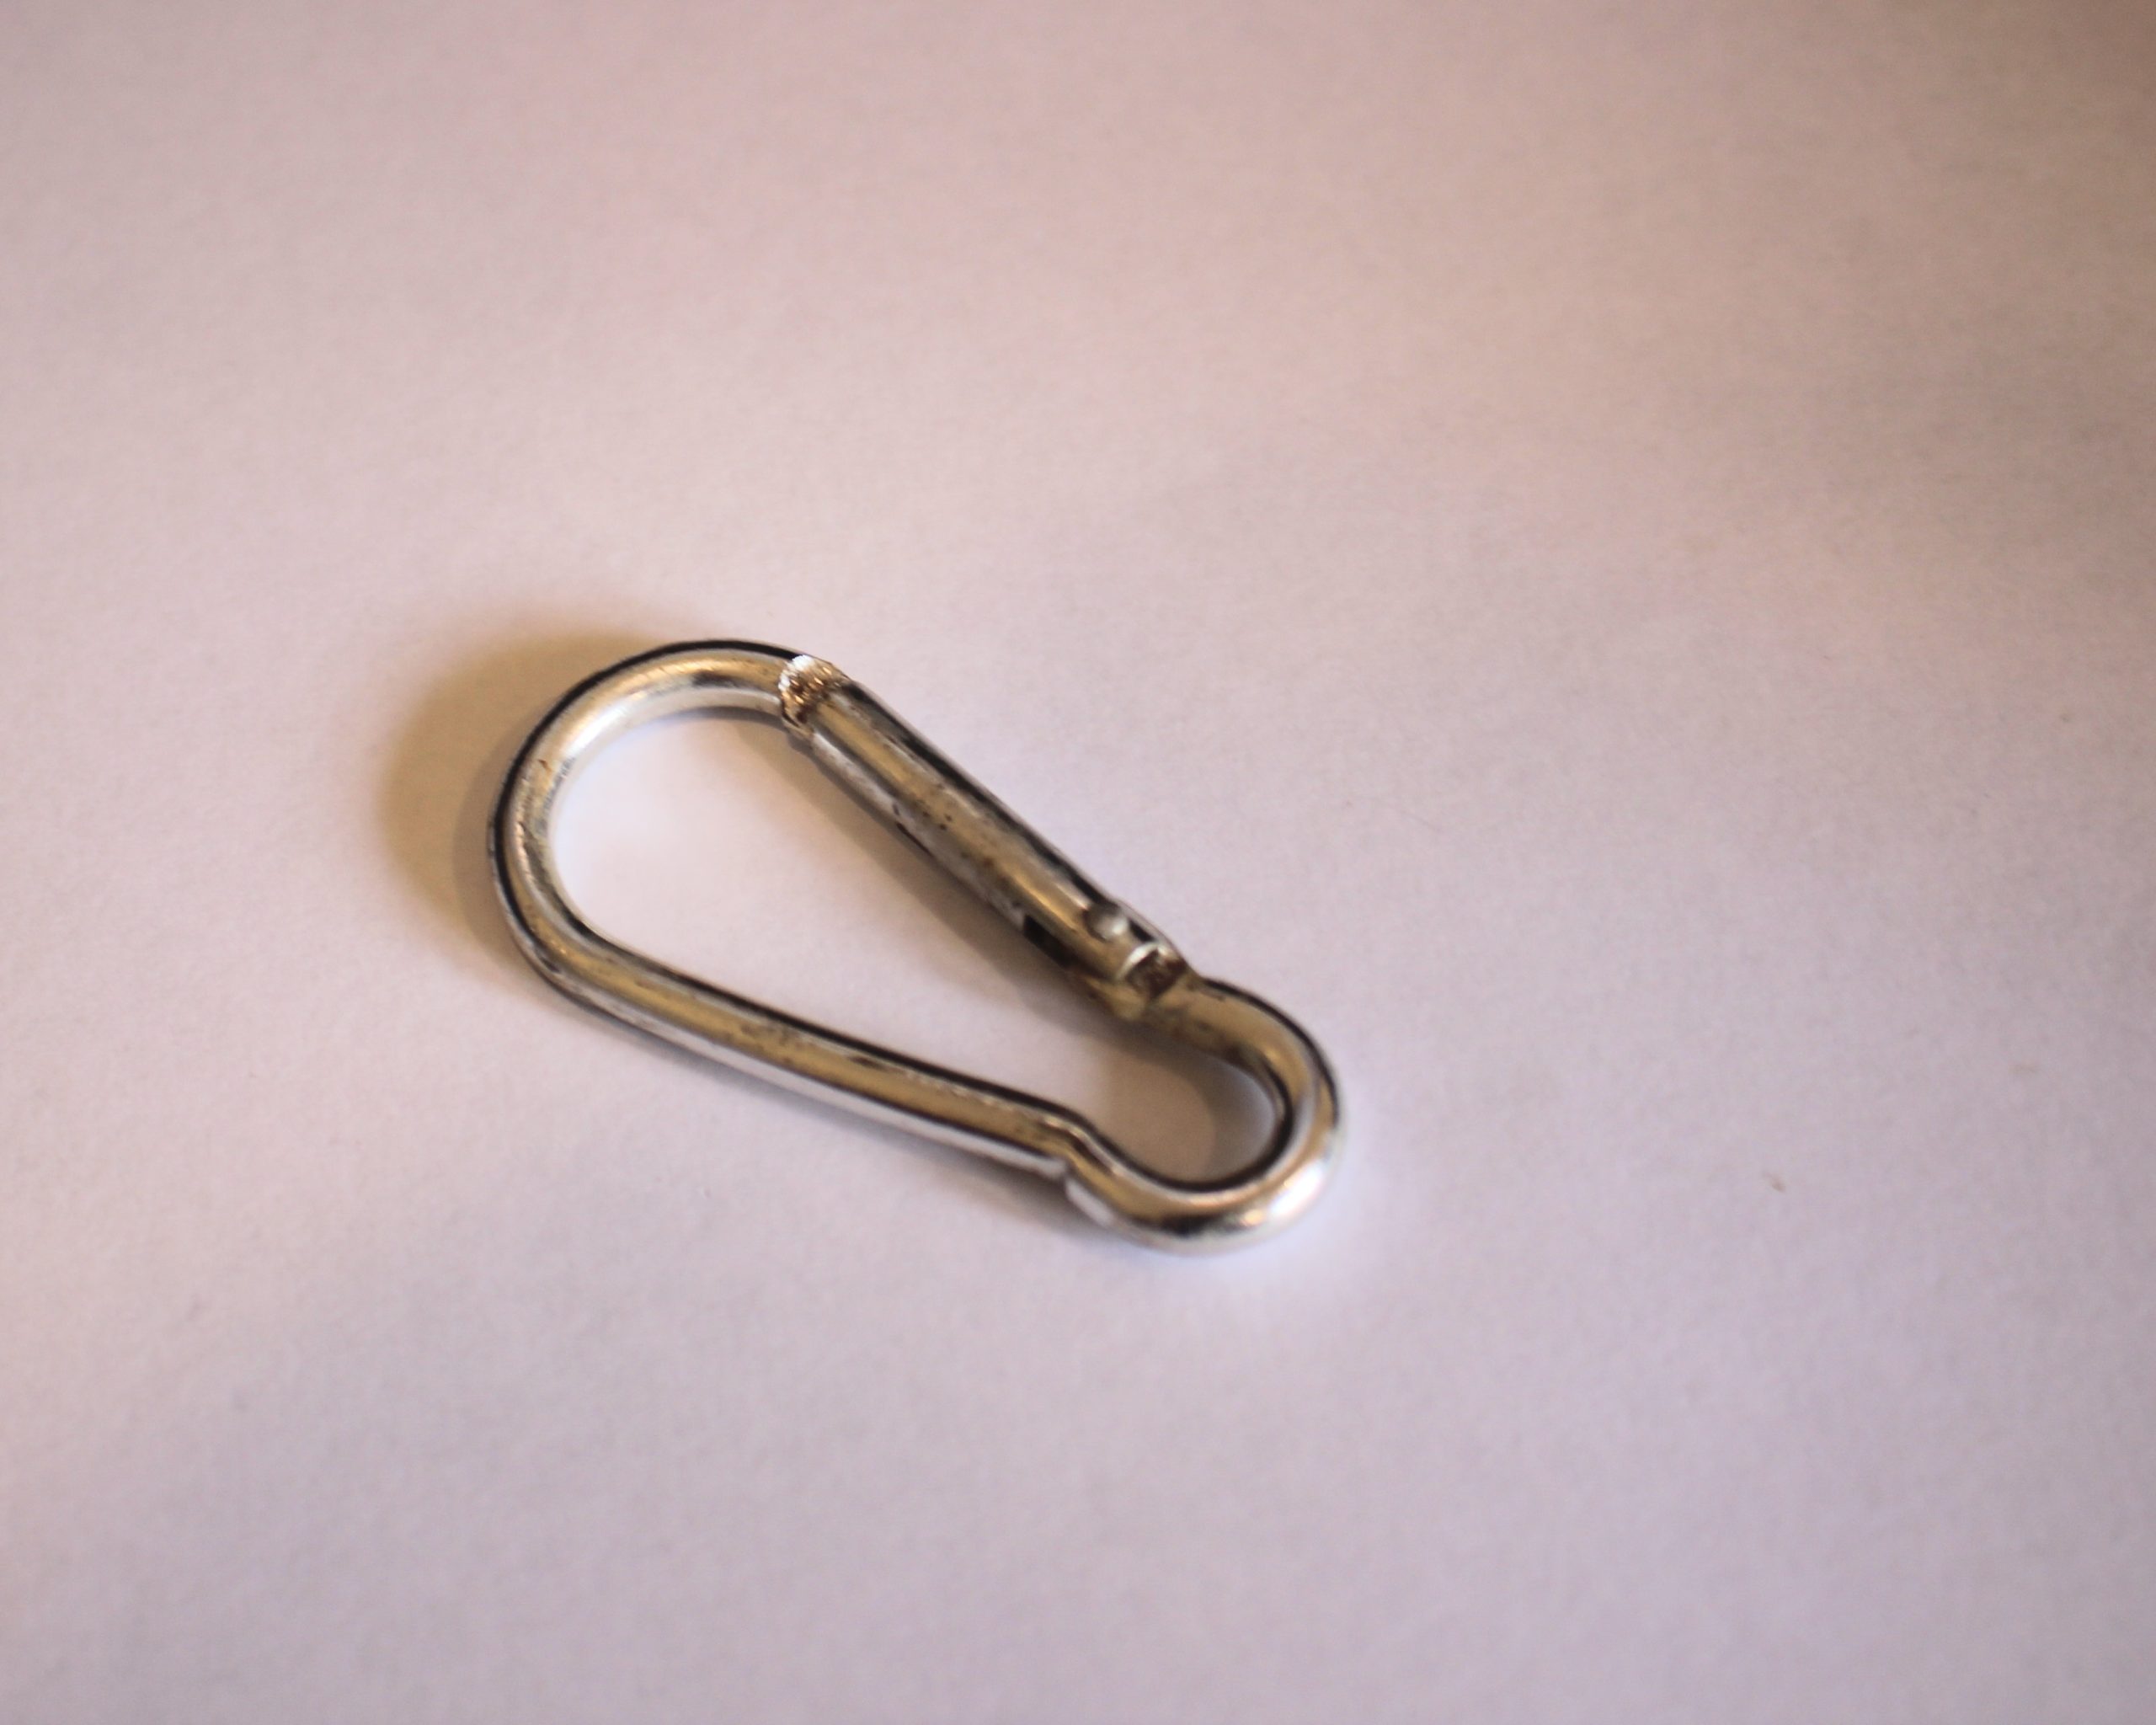
3: A carabiner. I used one recycled from a broken cord.
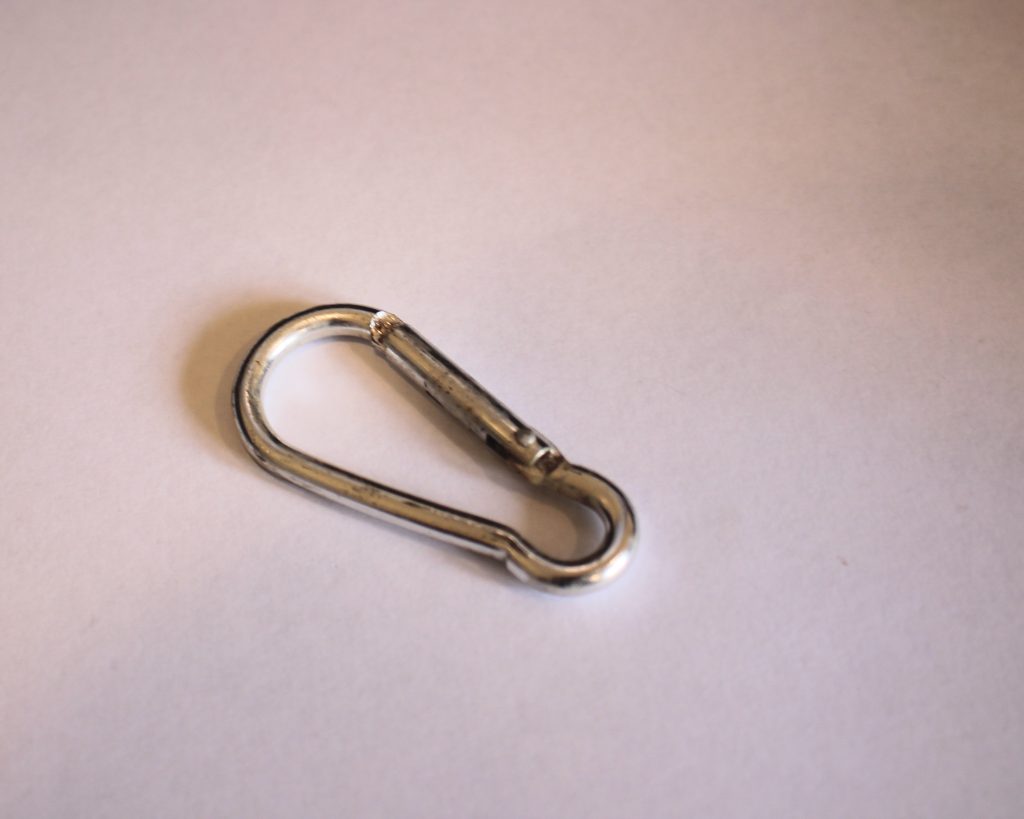
If you don’t already have one, you can get one here:
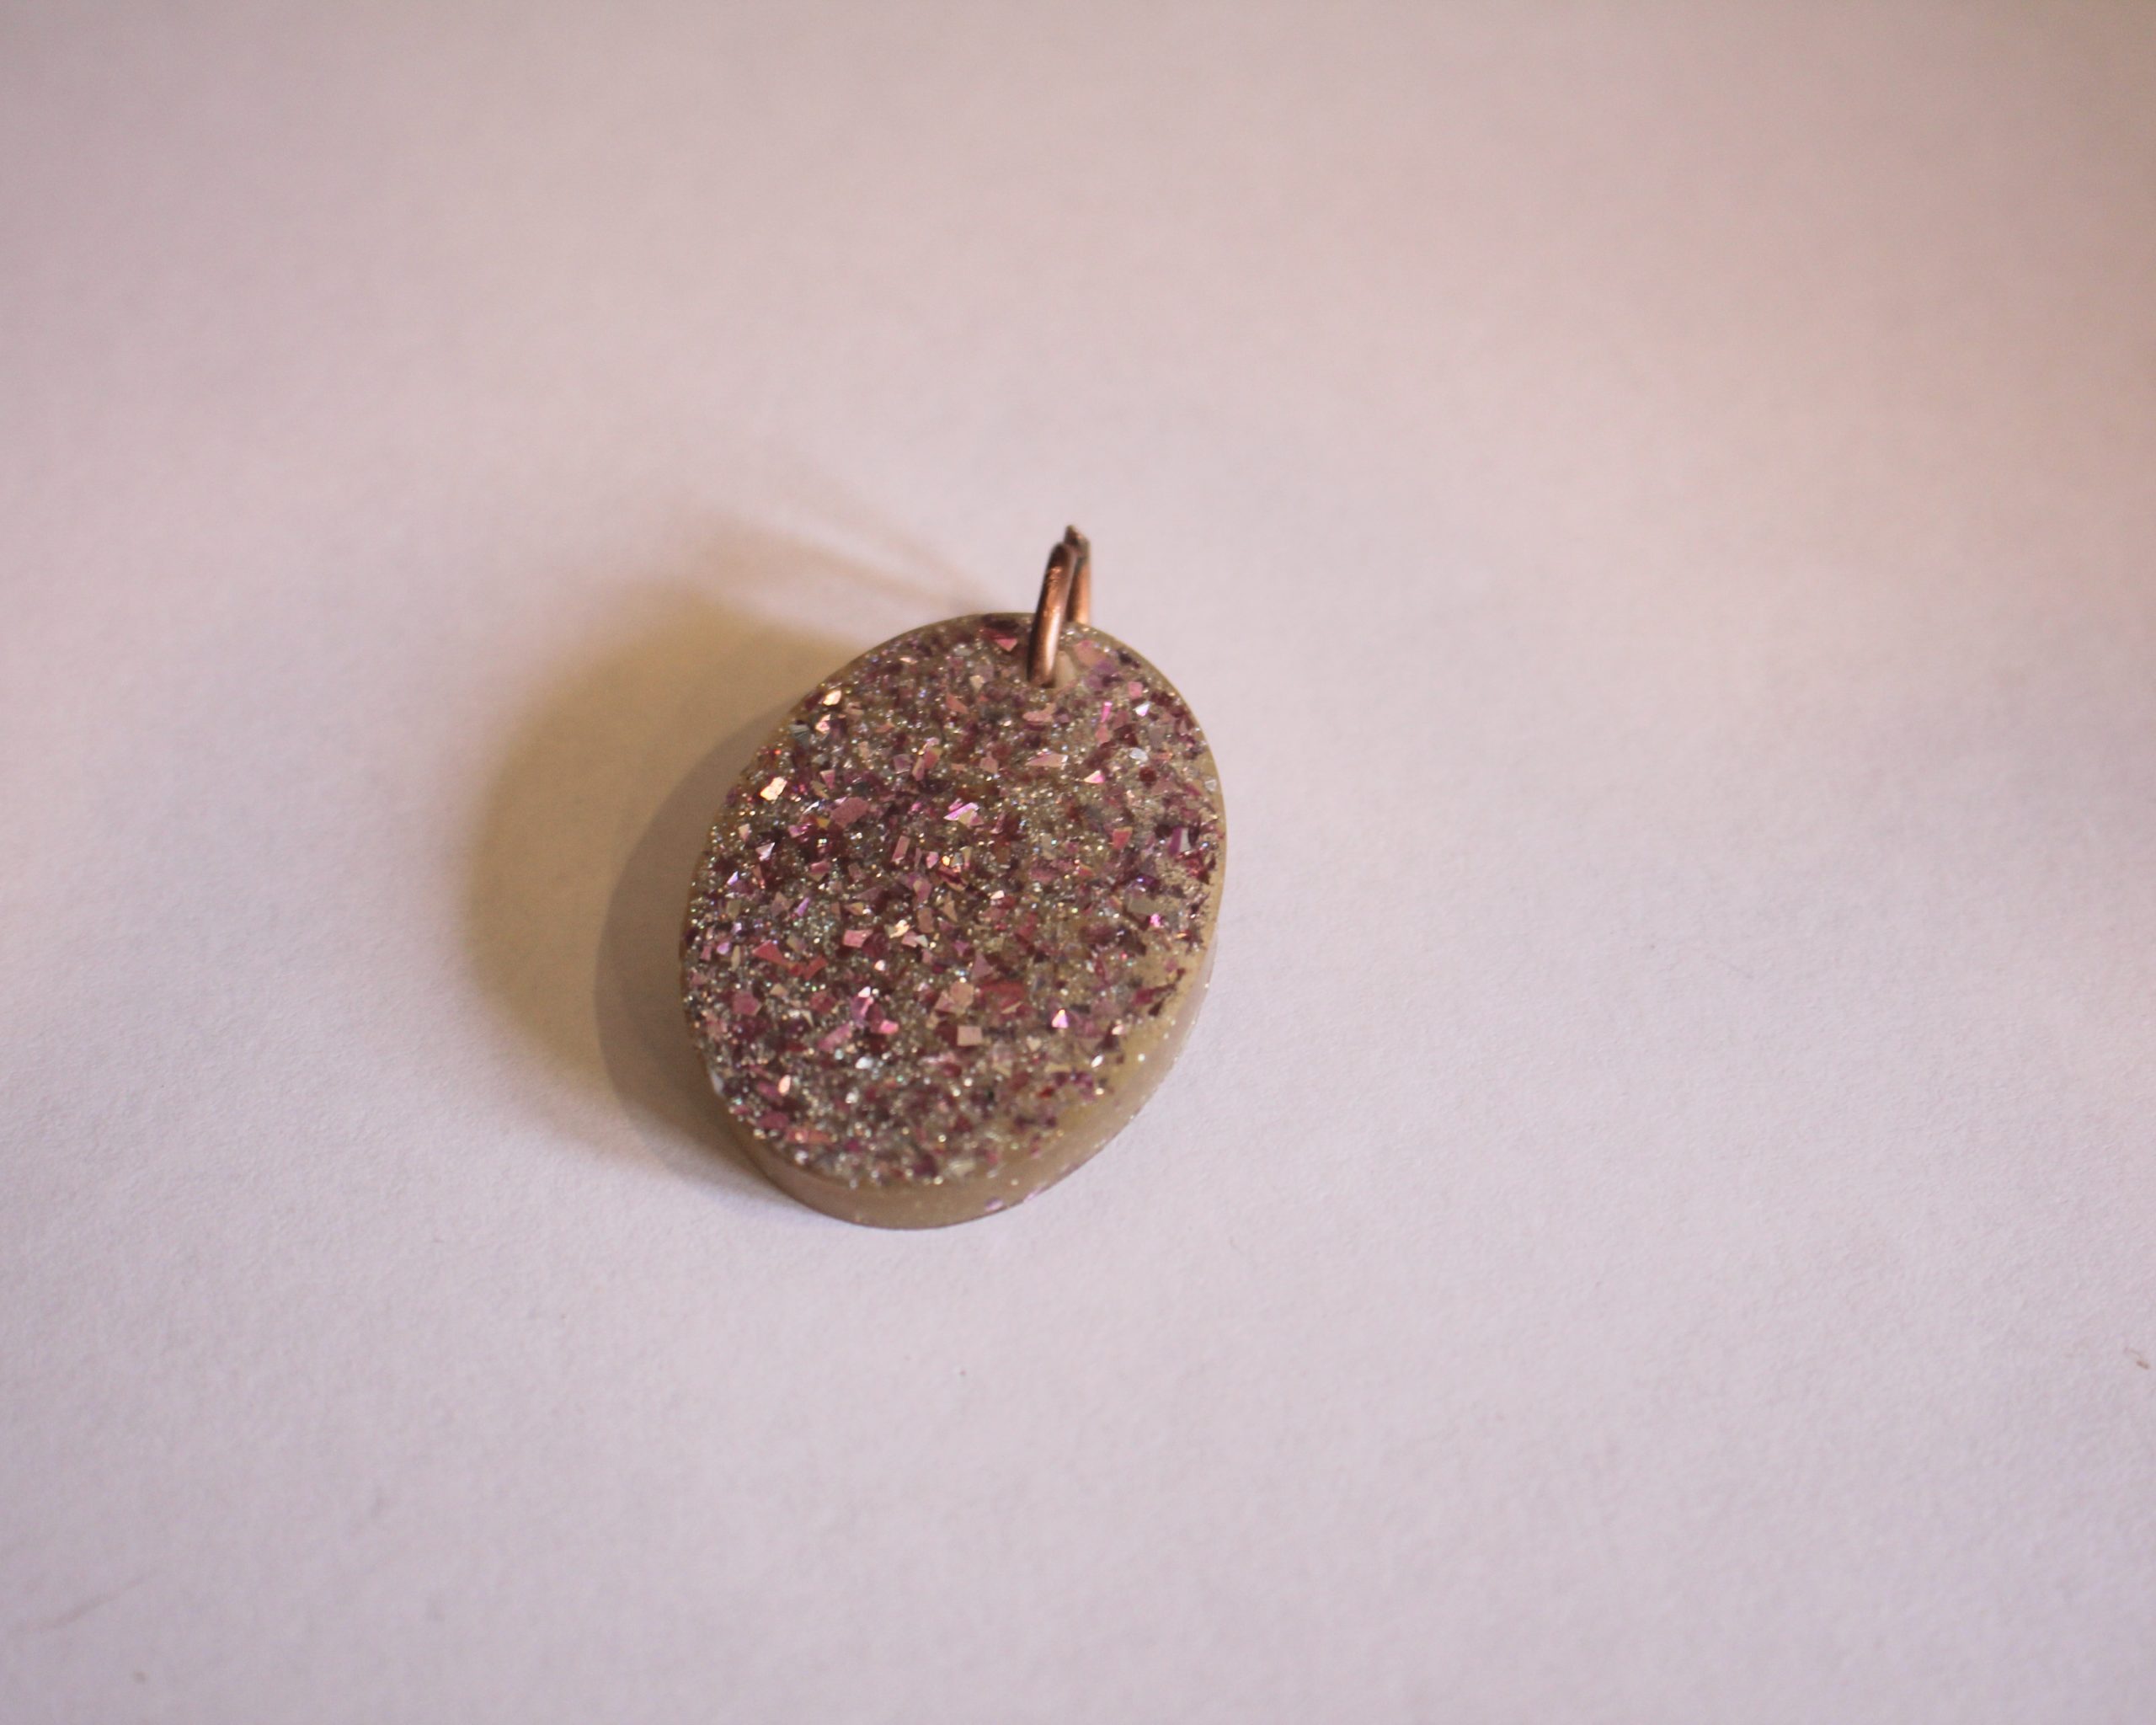
4: A charm. I used this pink resin glitter charm with a jump ring attached to the top.
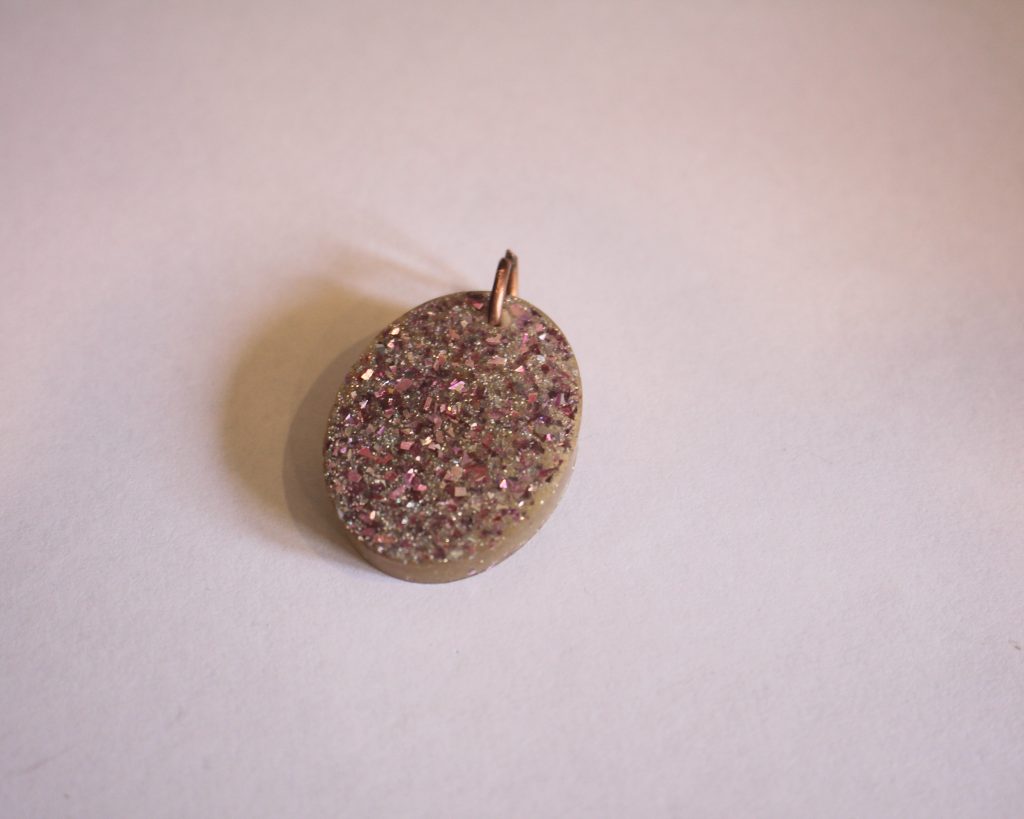
You can get pink resin charms here:
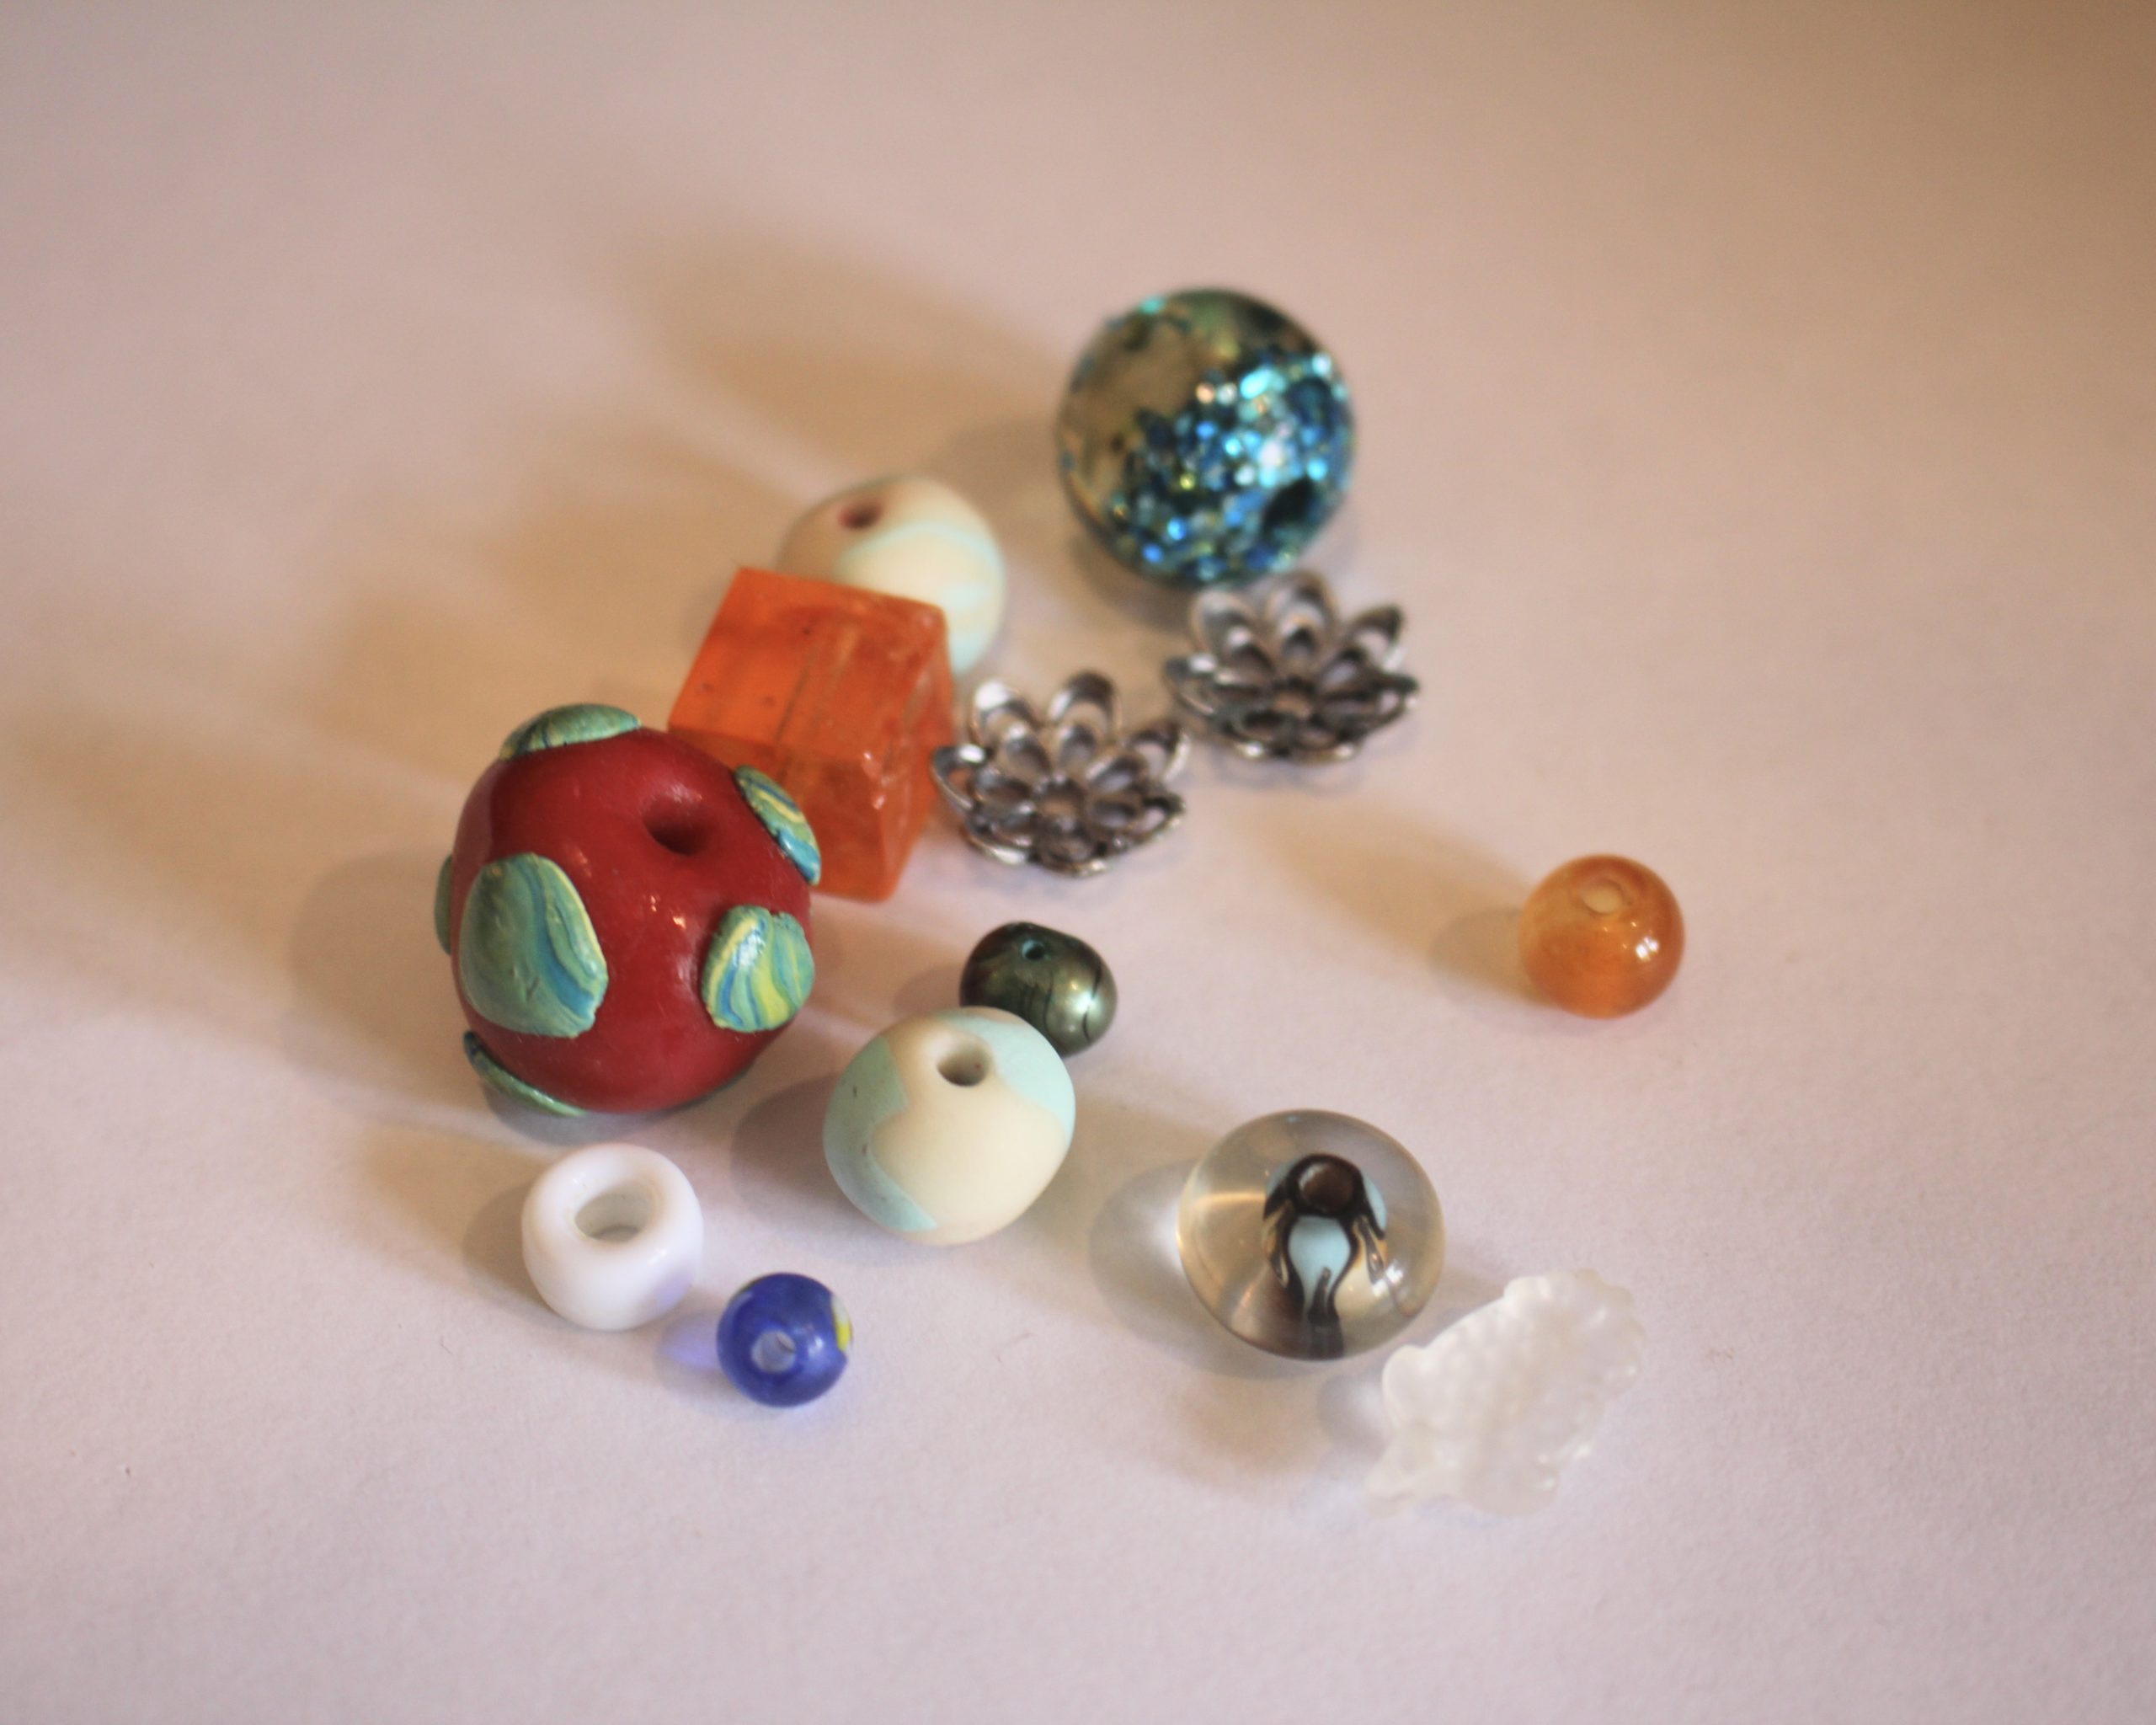
5: Some beads. I used a selection of random beads in different materials. This is a great project for using up and showcasing your eclectic bead collection.
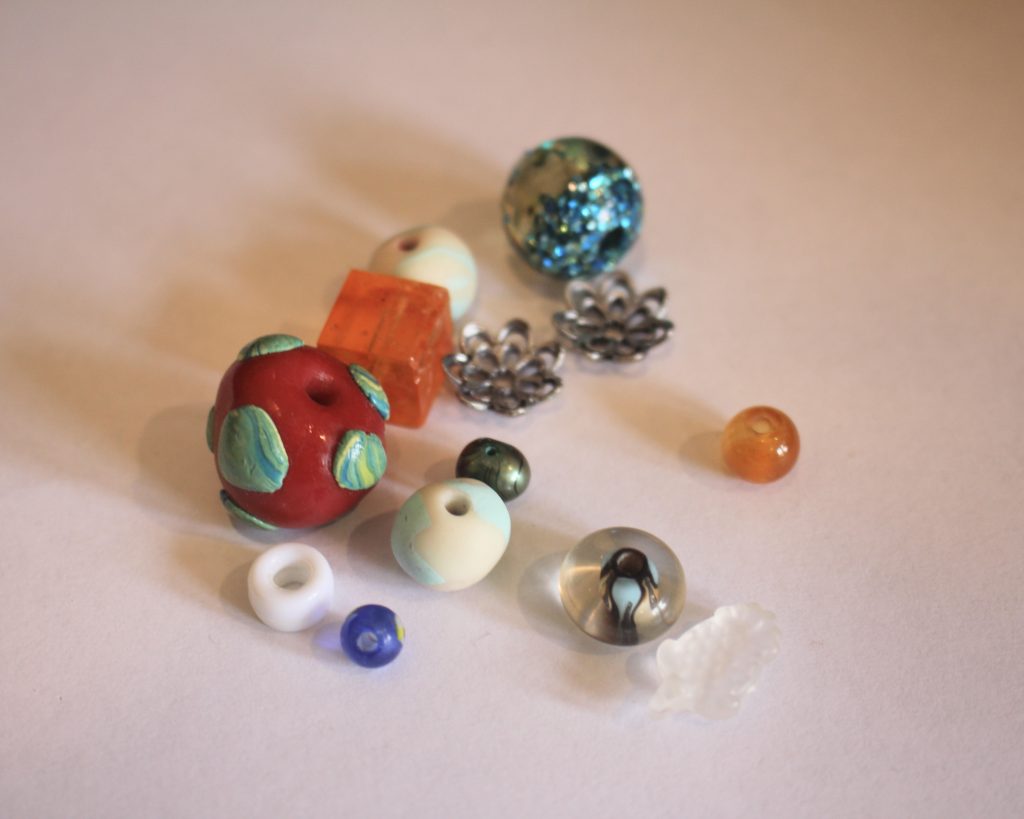
You can get a selection of mixed beads here:
6: Pliers. I used my cutting pliers, round flat pliers, parallel pliers and flat nose pliers for this project.
You can get cutting pliers here:
You can get flat nose pliers here:
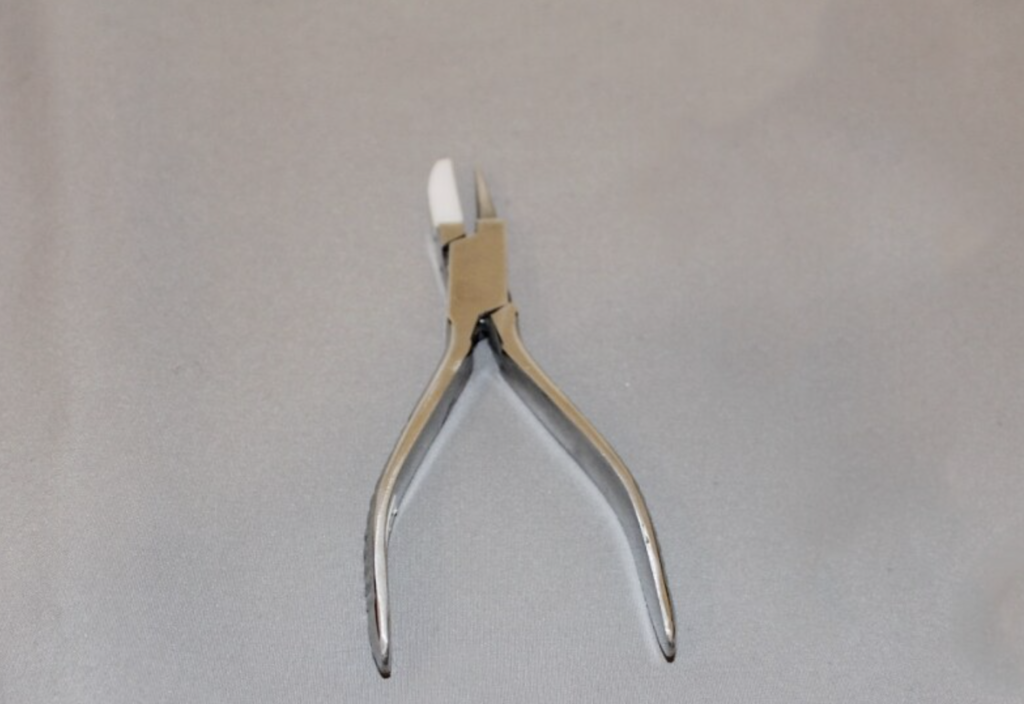
You can get round-flat nose pliers here:
You can get parallel pliers here:
Follow these steps to make your unique beaded bag charm:
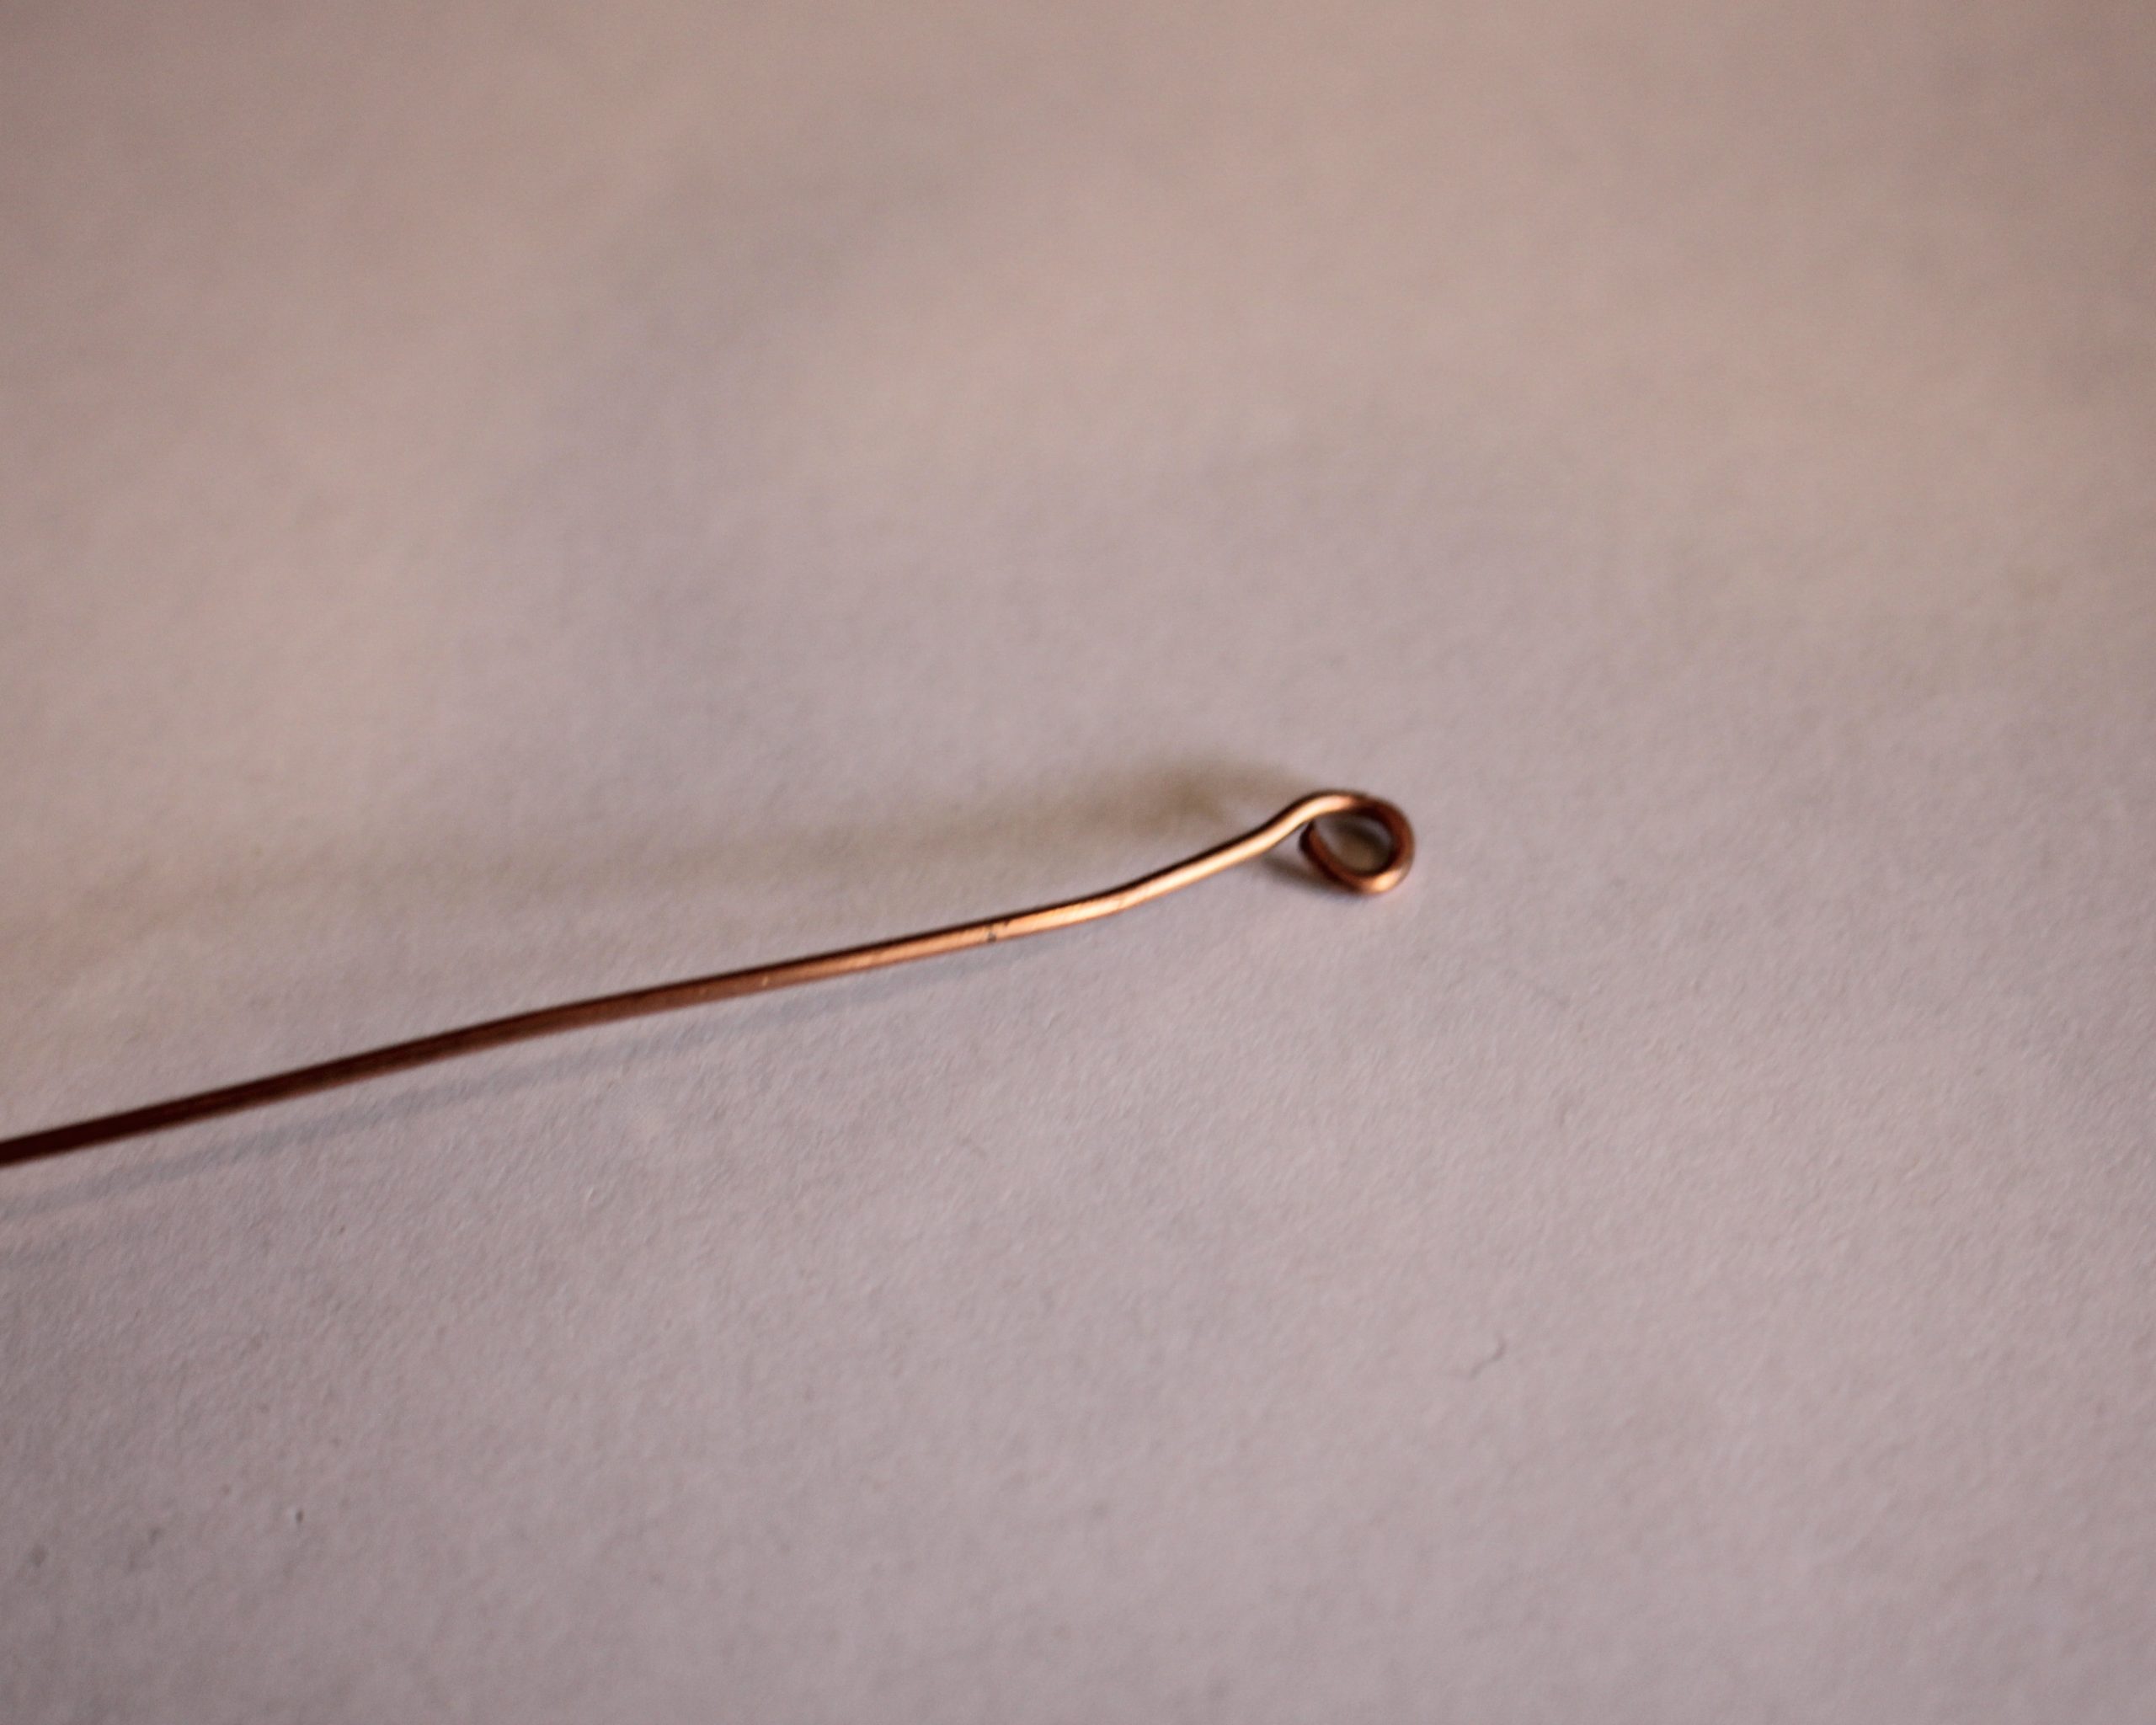
1: Add a jump ring to the top of the charm if it doesn’t already have one.
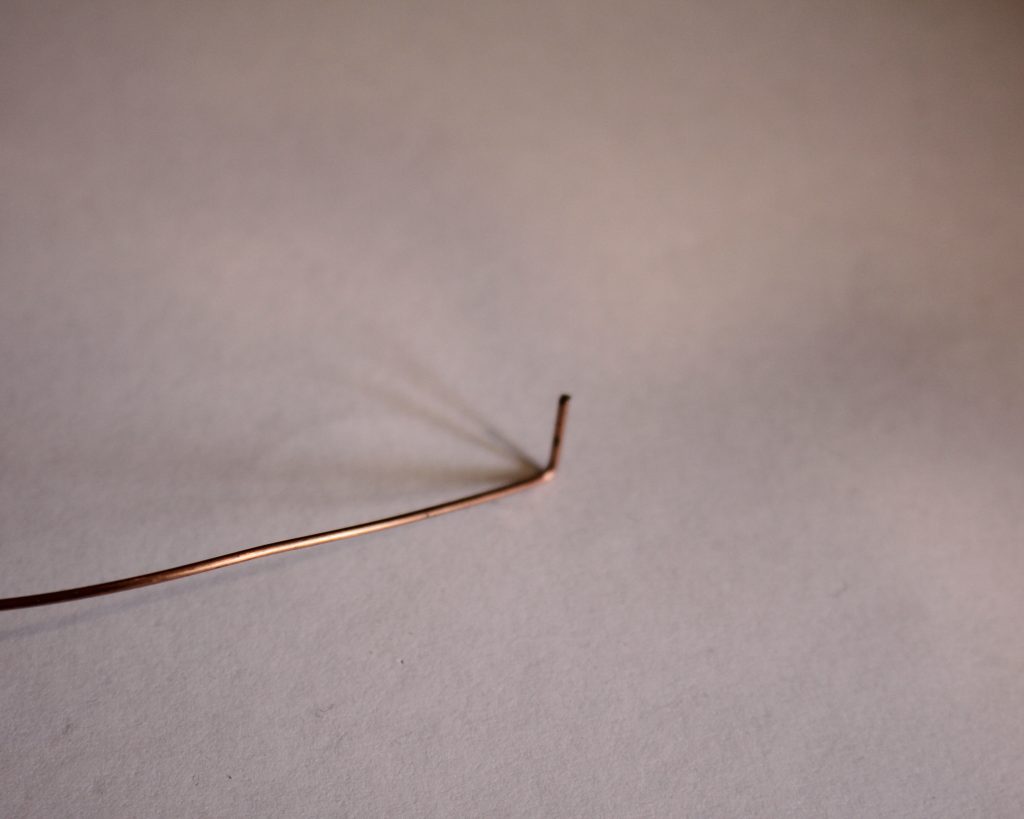
2: Take the wire and hold form the end into a right angle using the flat nose pliers.
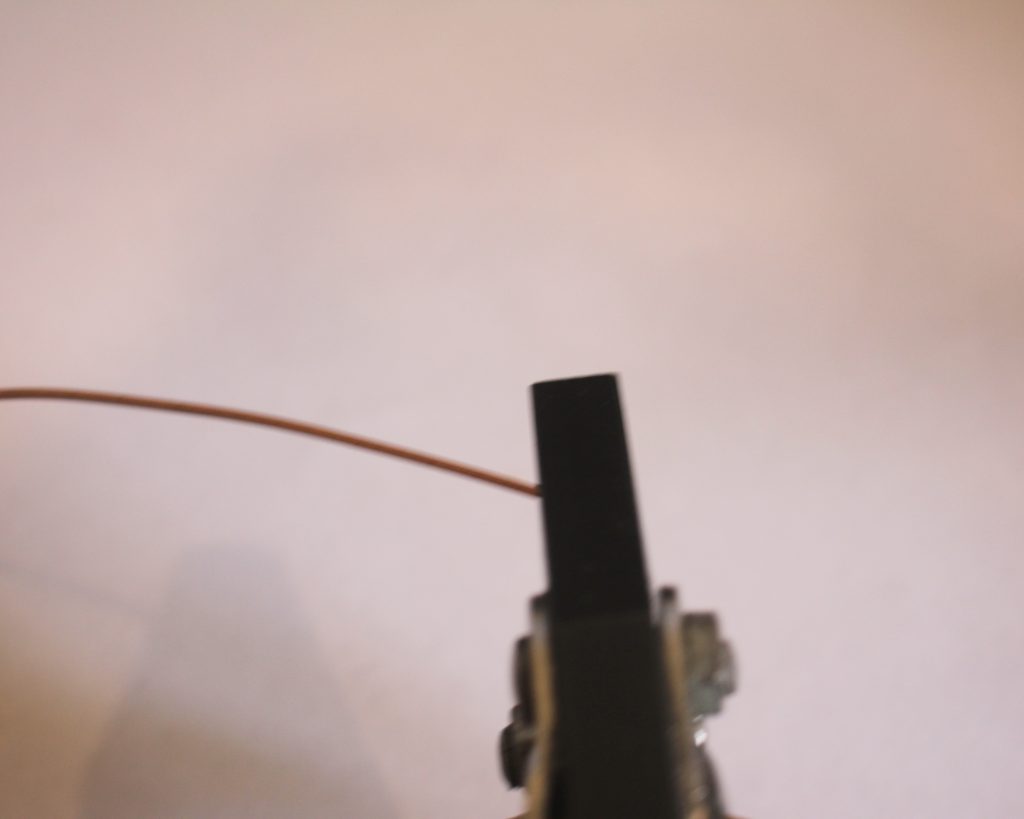
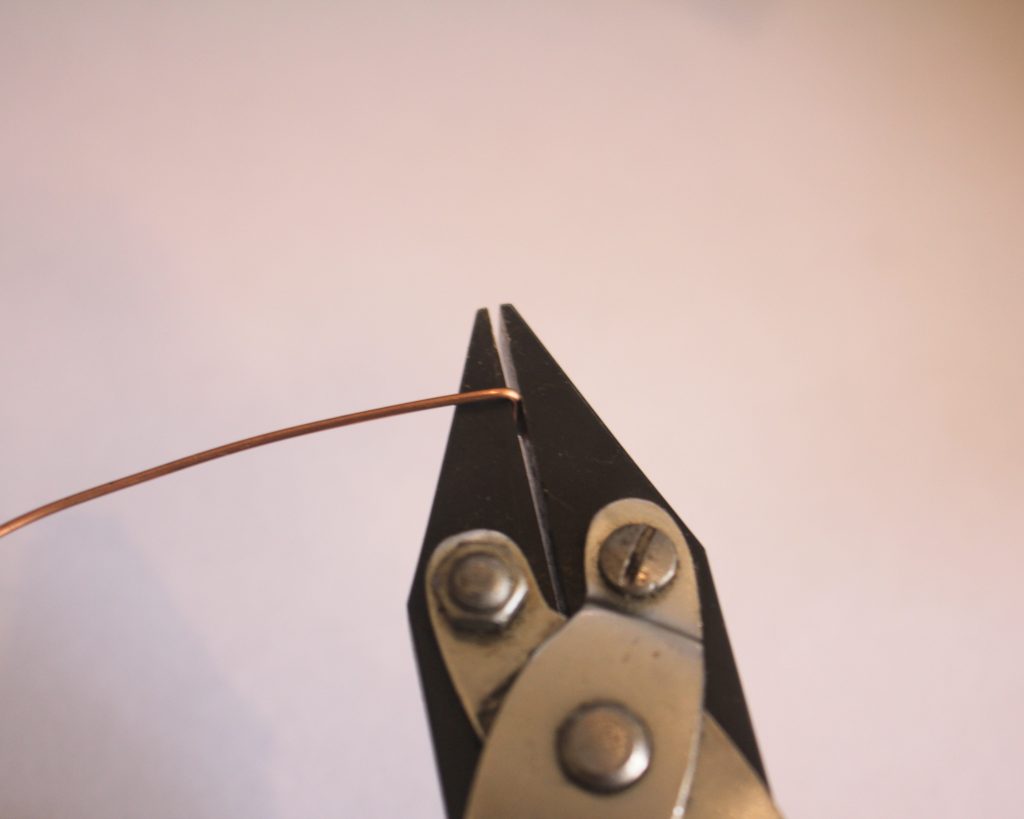
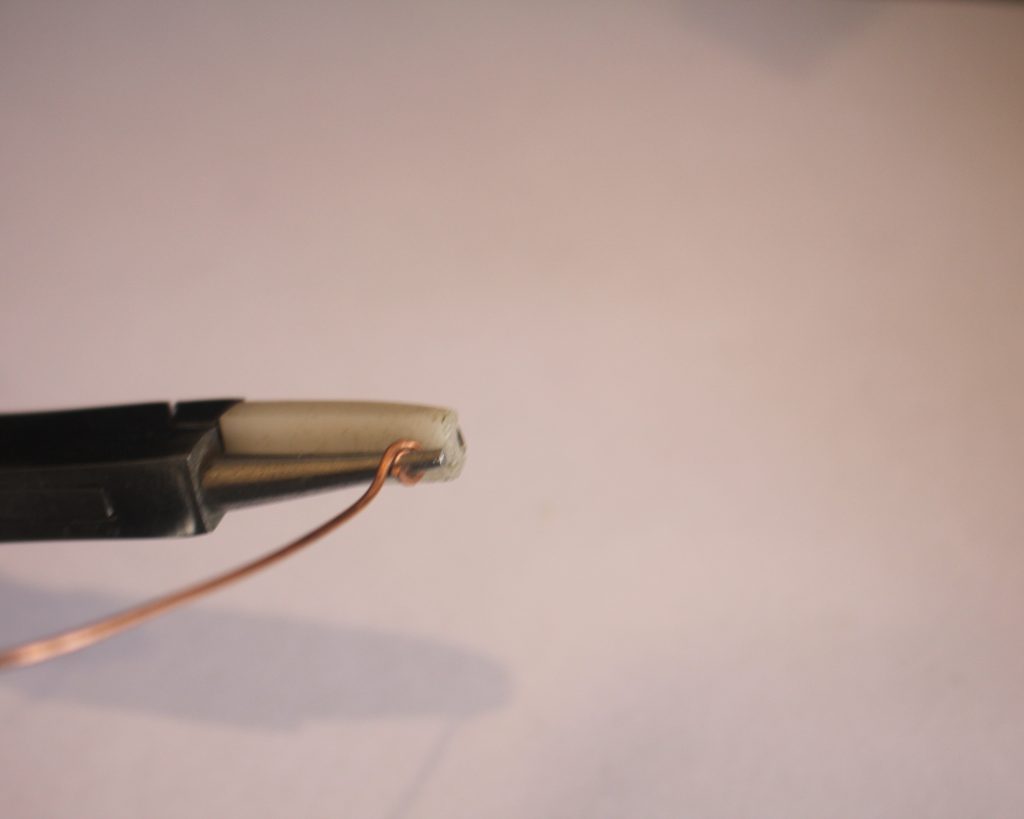
3: Use the round flat pliers to form the bent end into a loop.
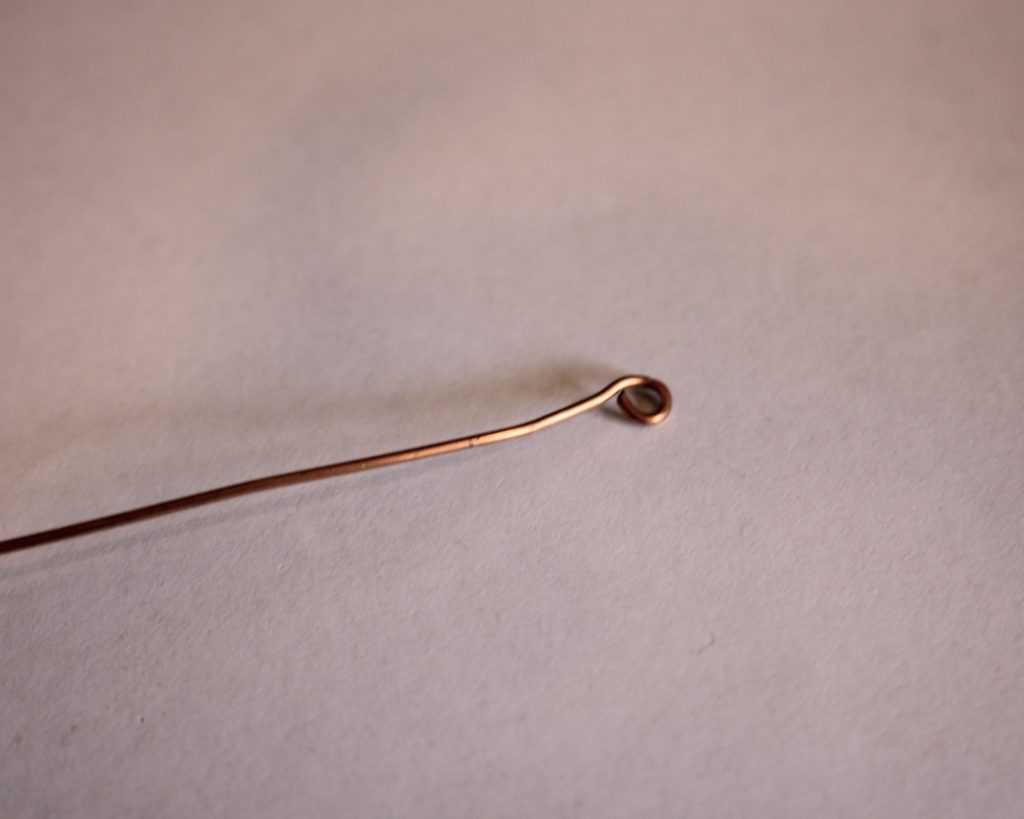
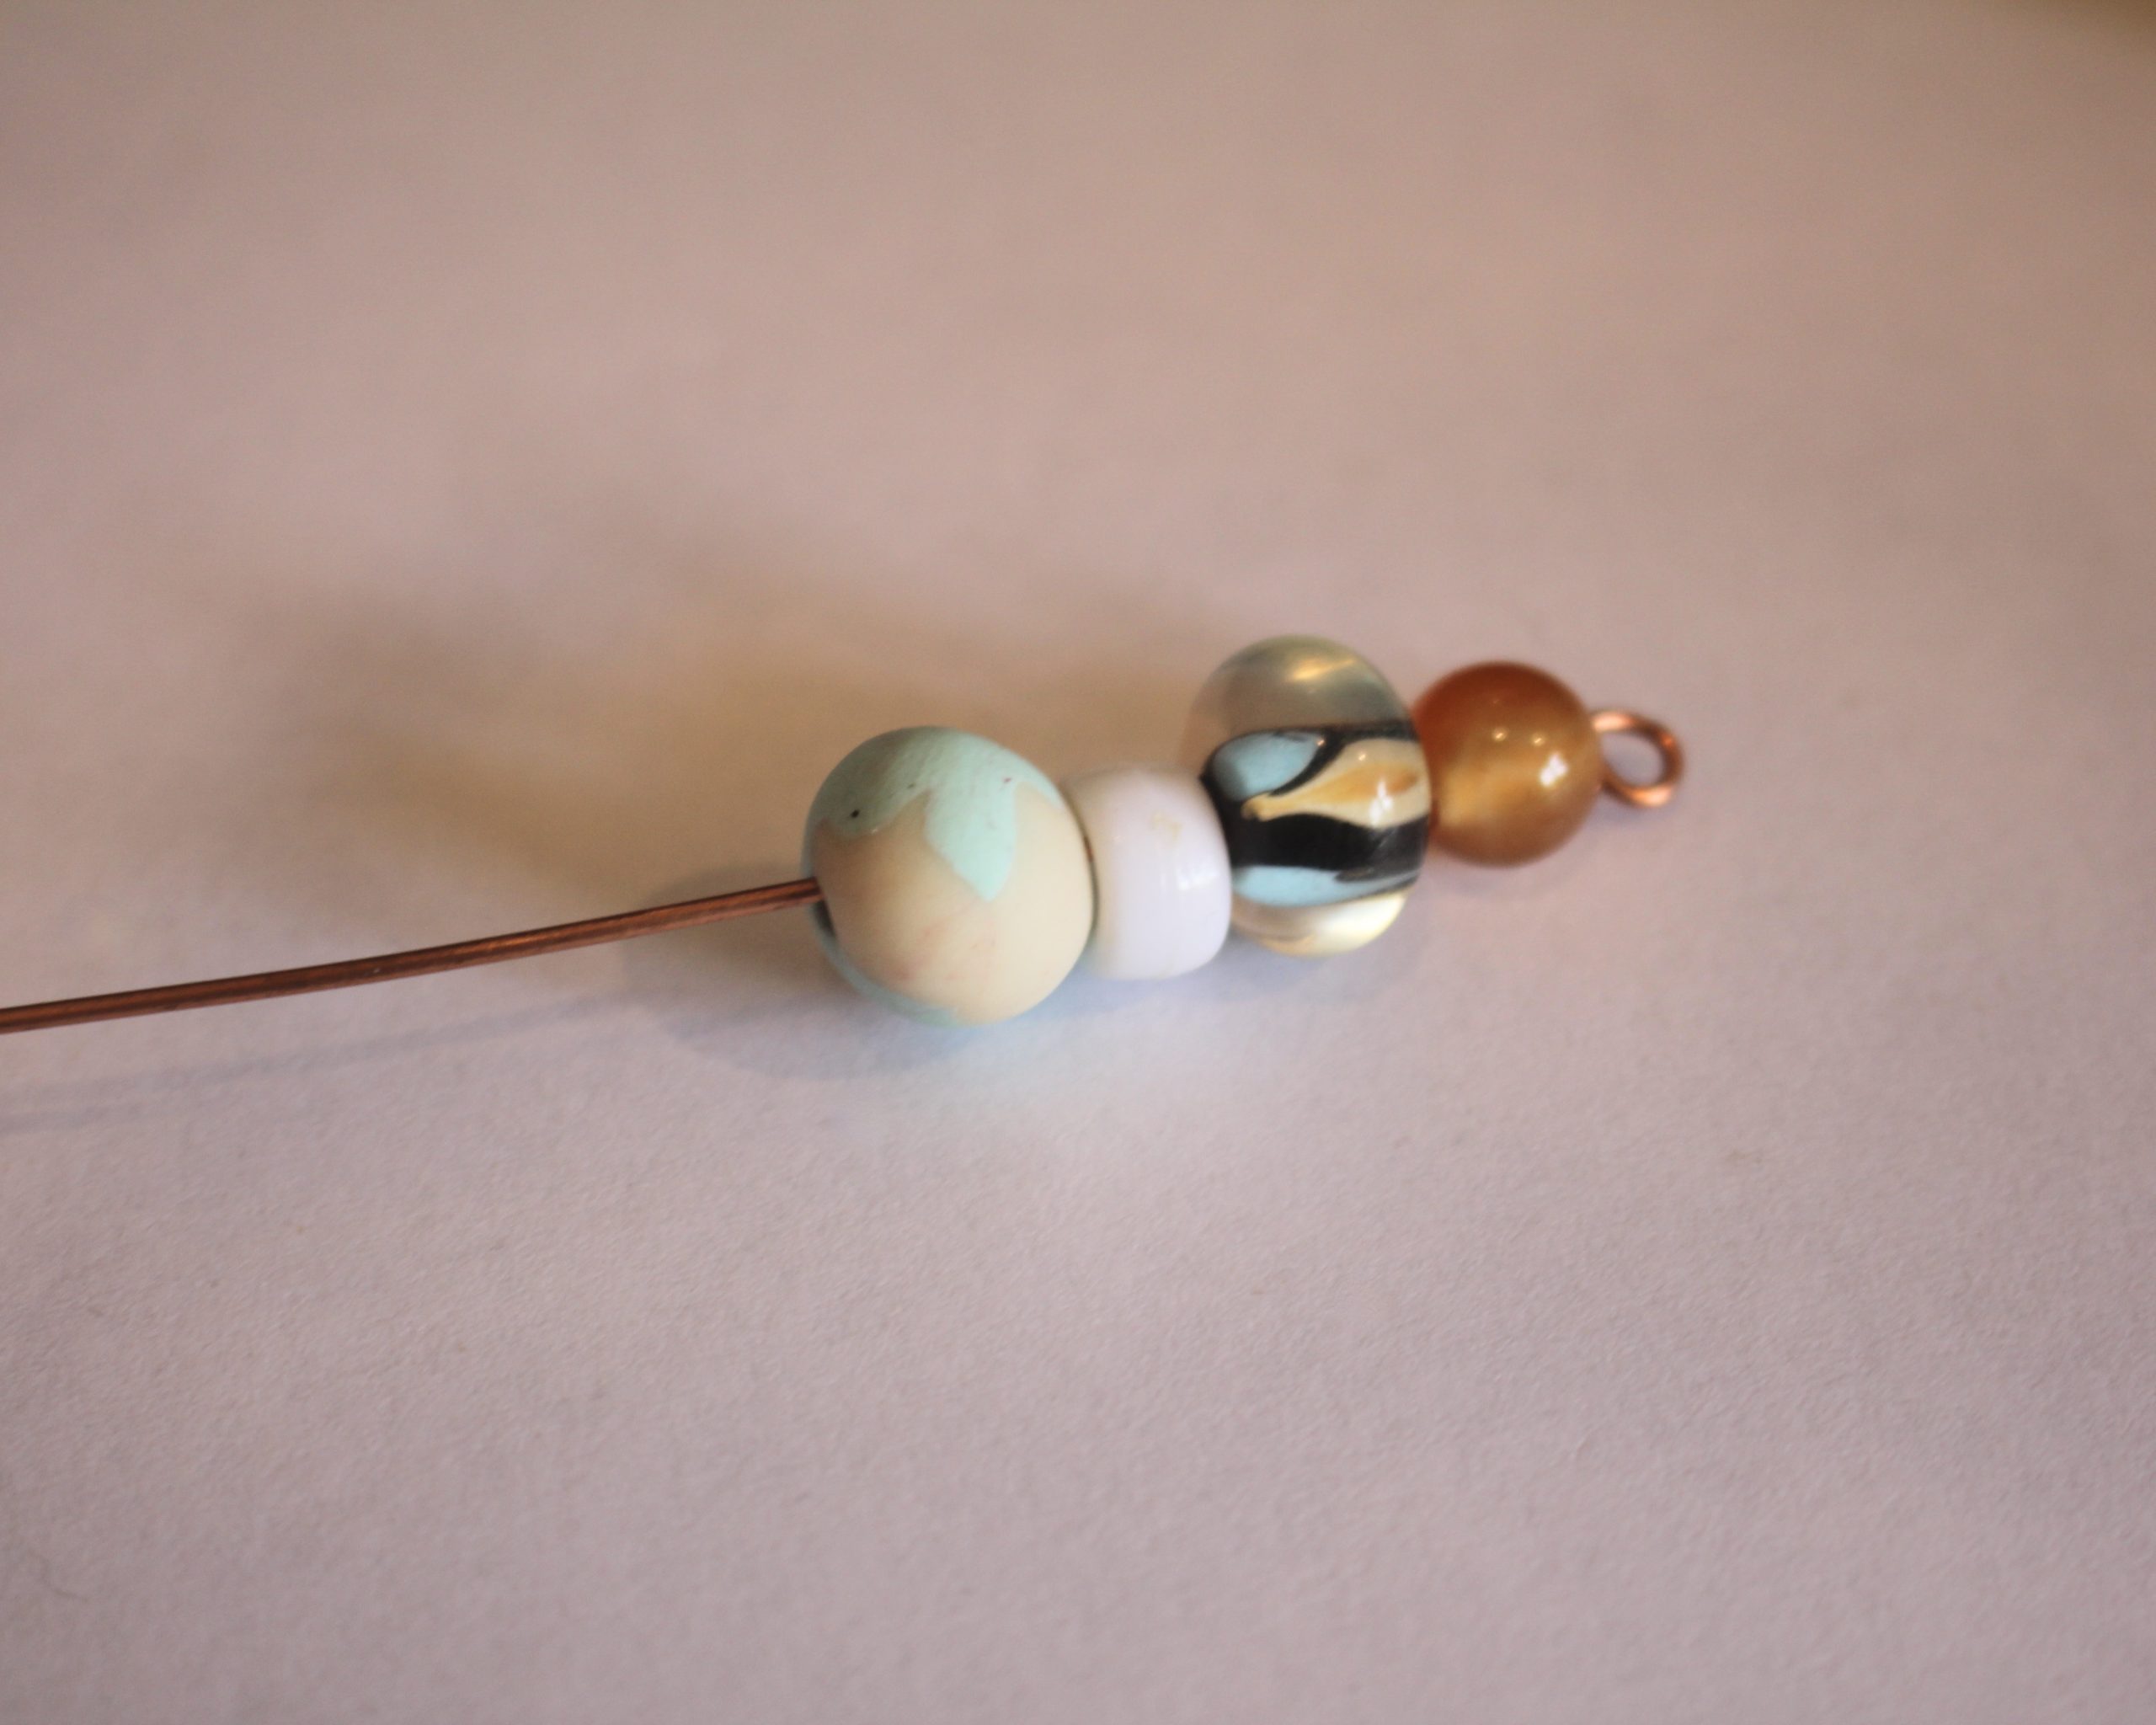
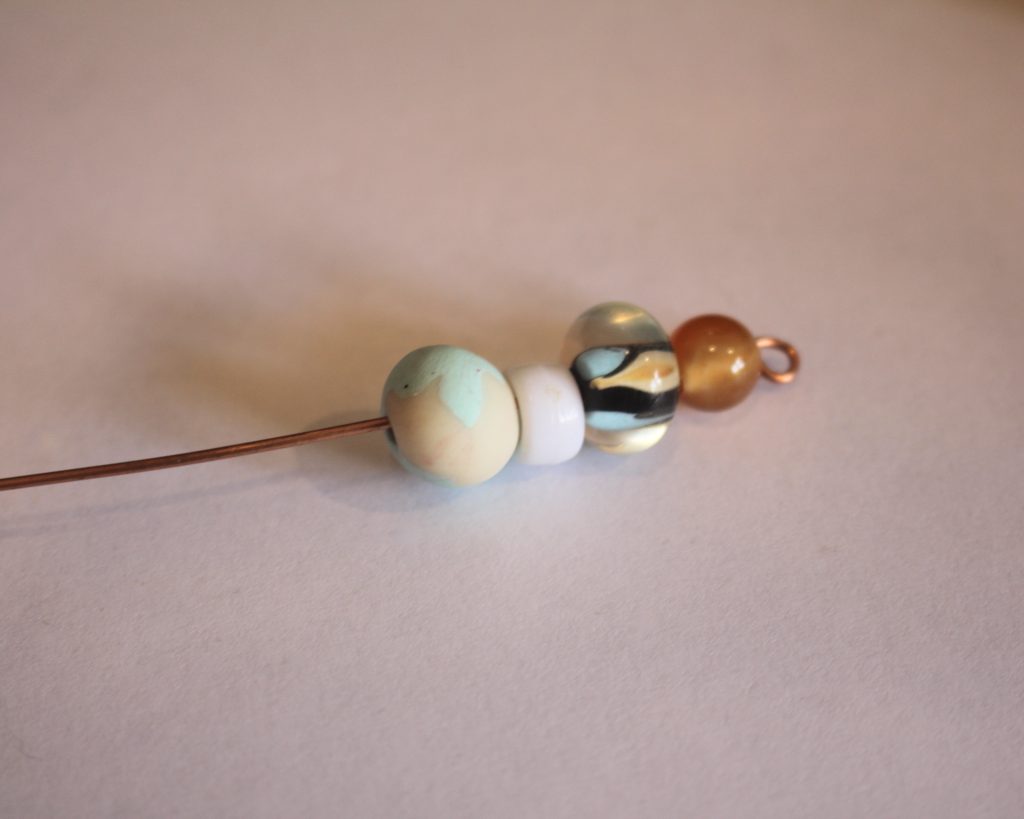
4: Begin adding beads until you have enough wire beaded to form a small loop. If you use bigger beads like I did, you will need to make a larger beaded length.
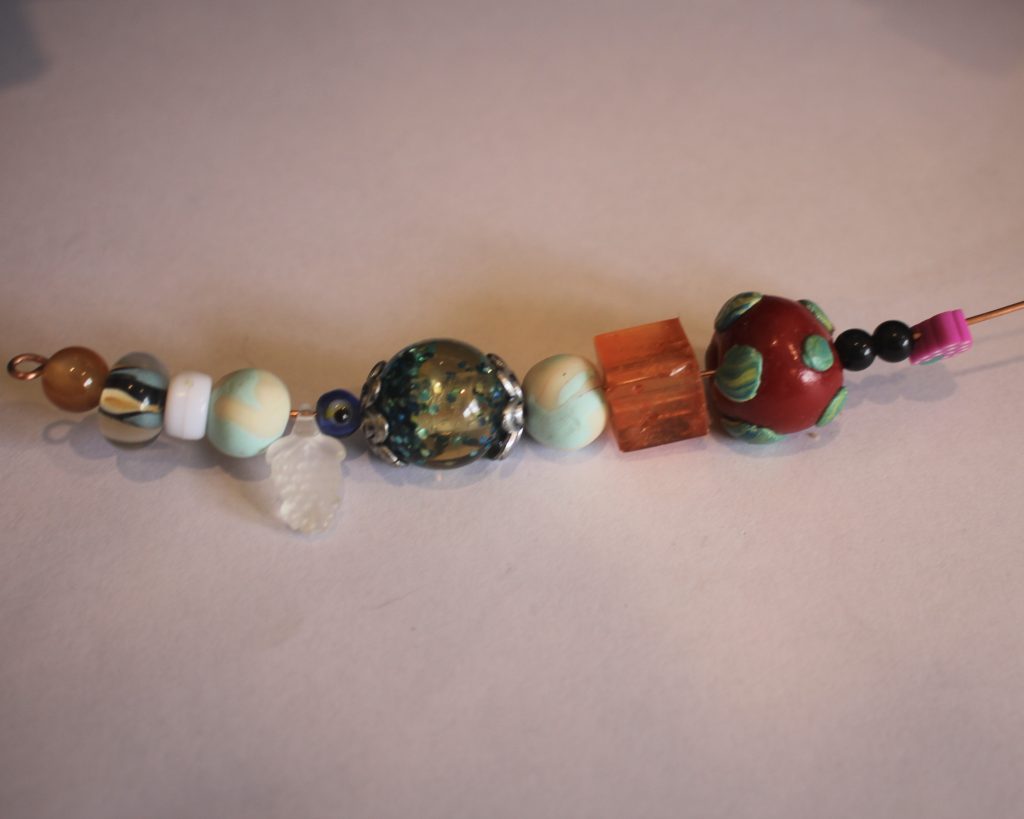
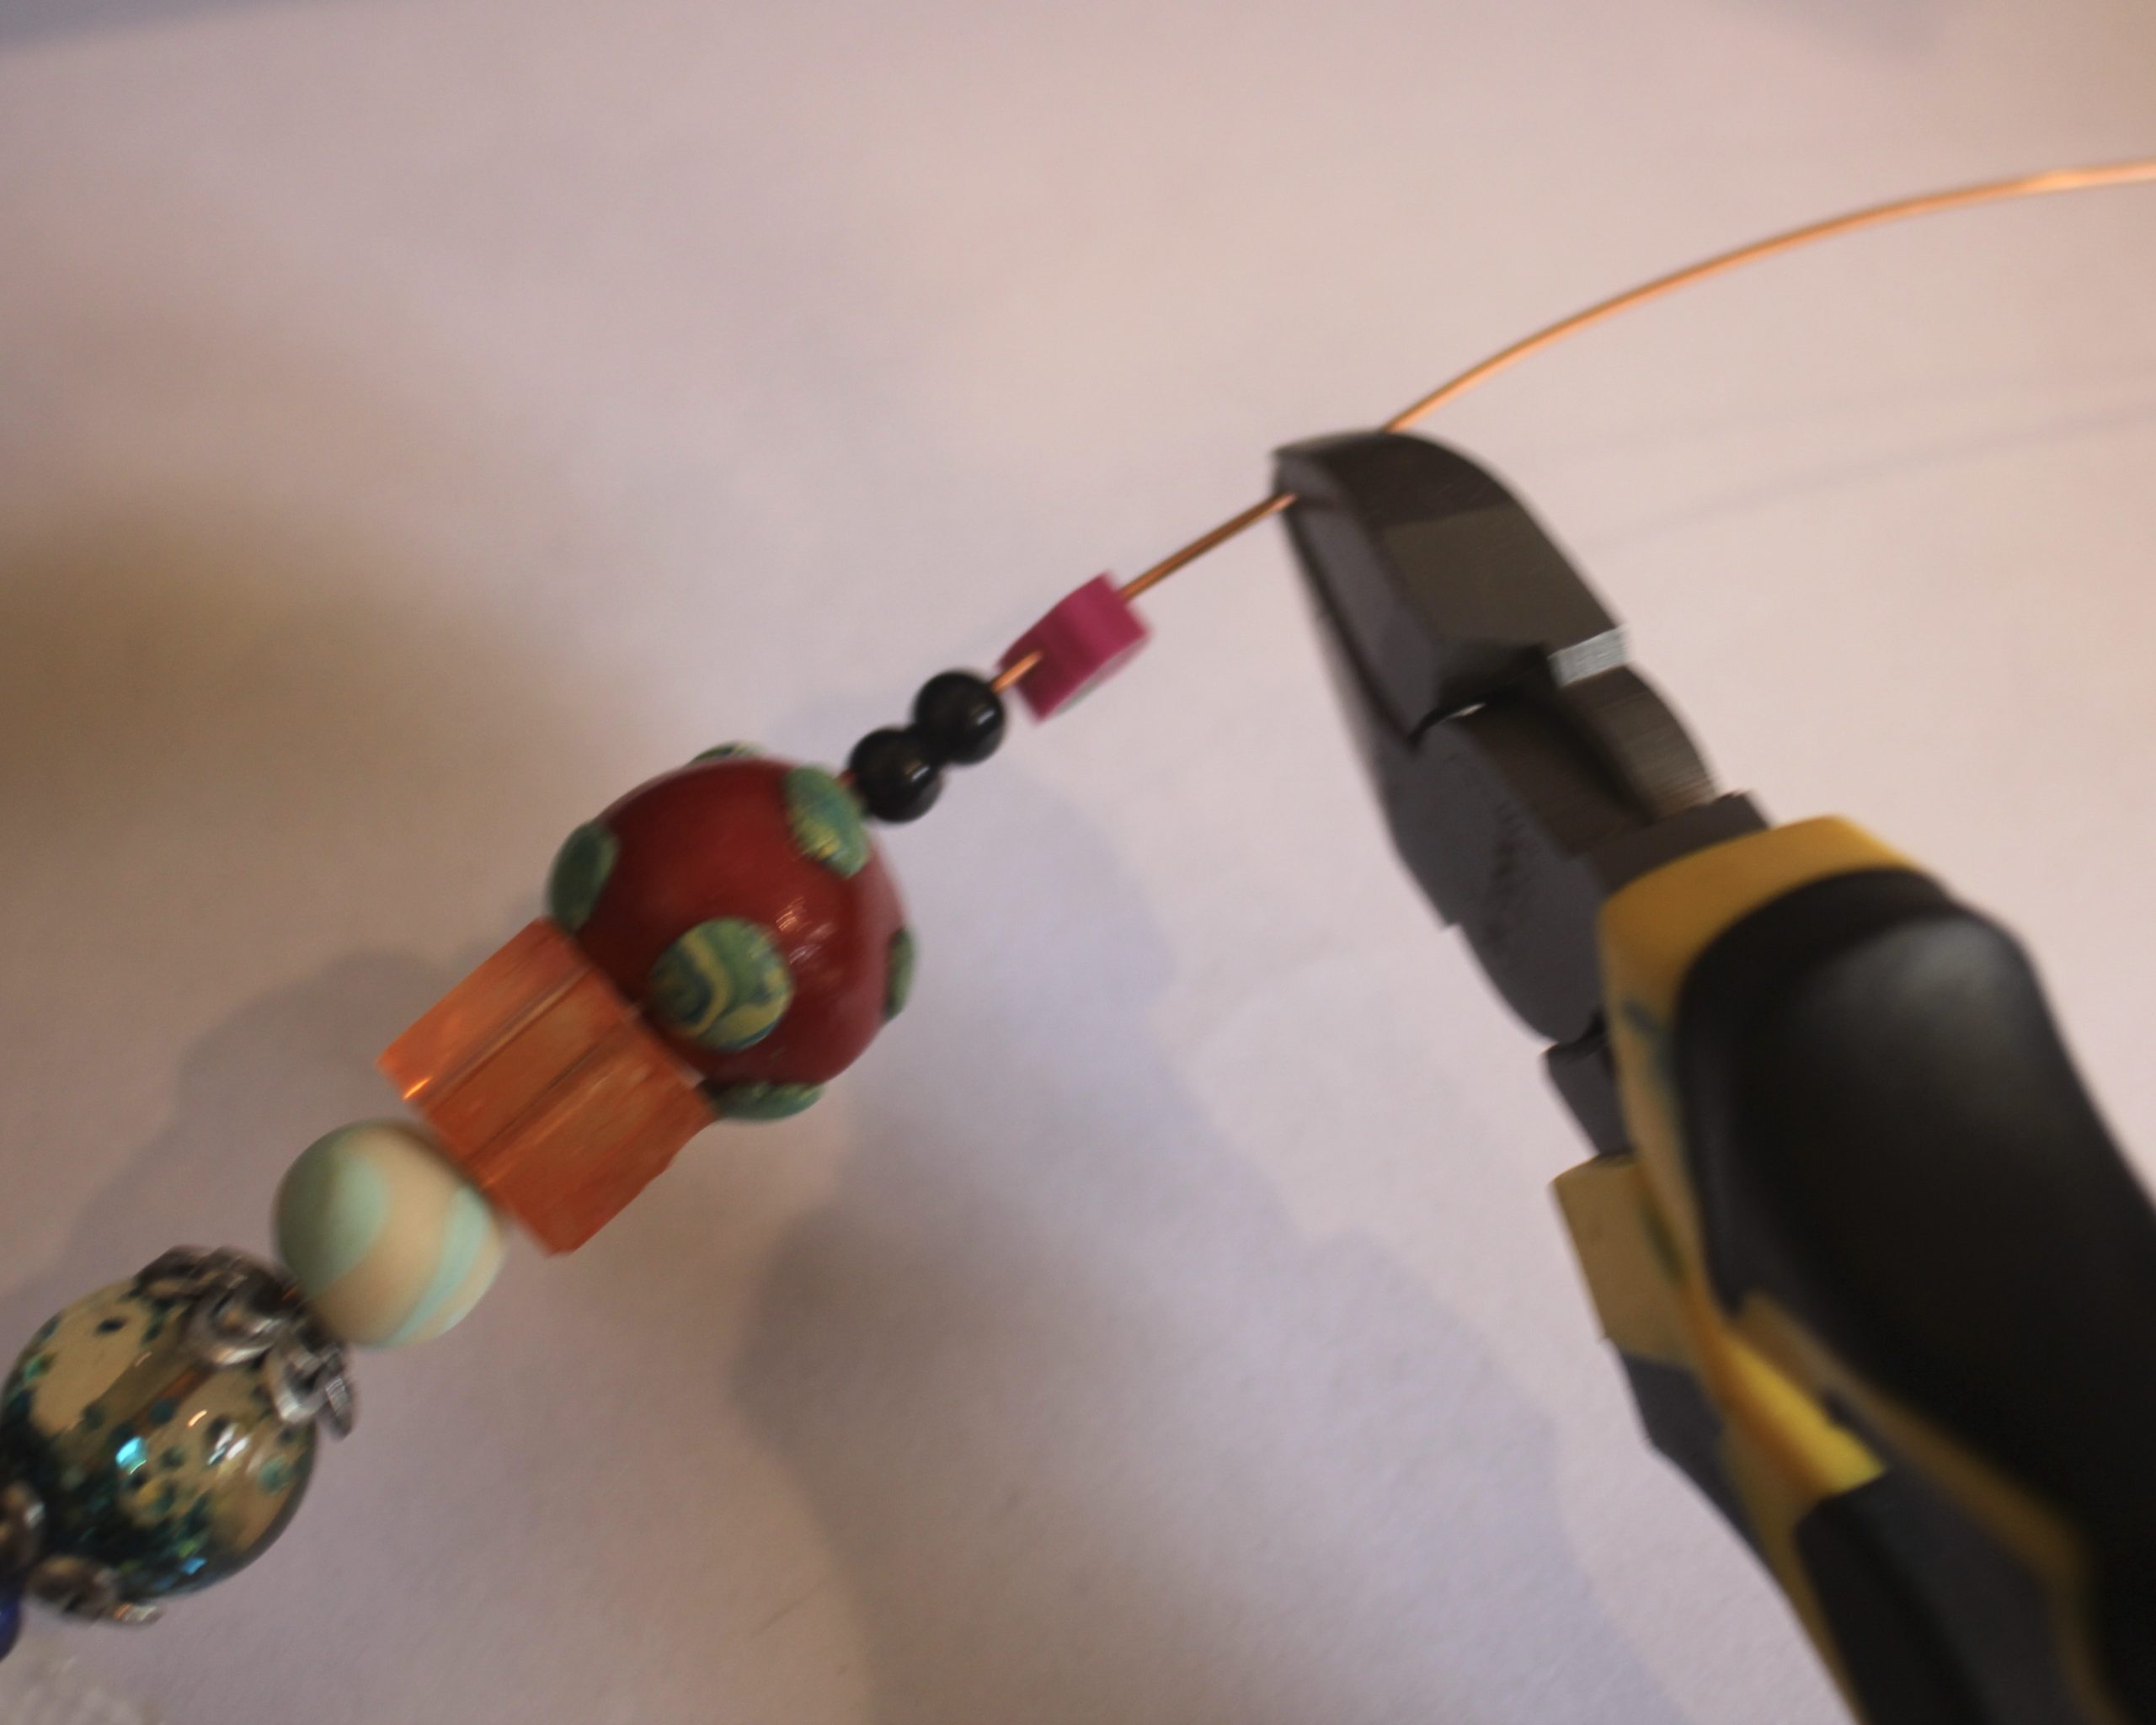
5: Trim the end of the wire using the cutting pliers.
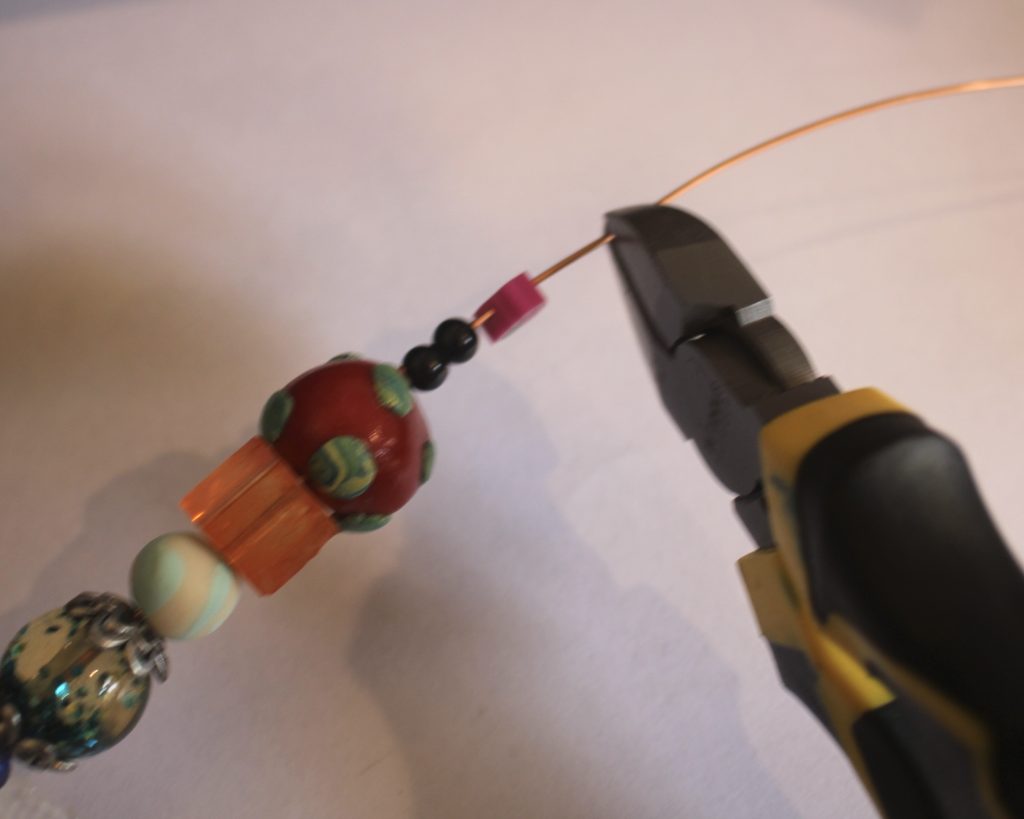
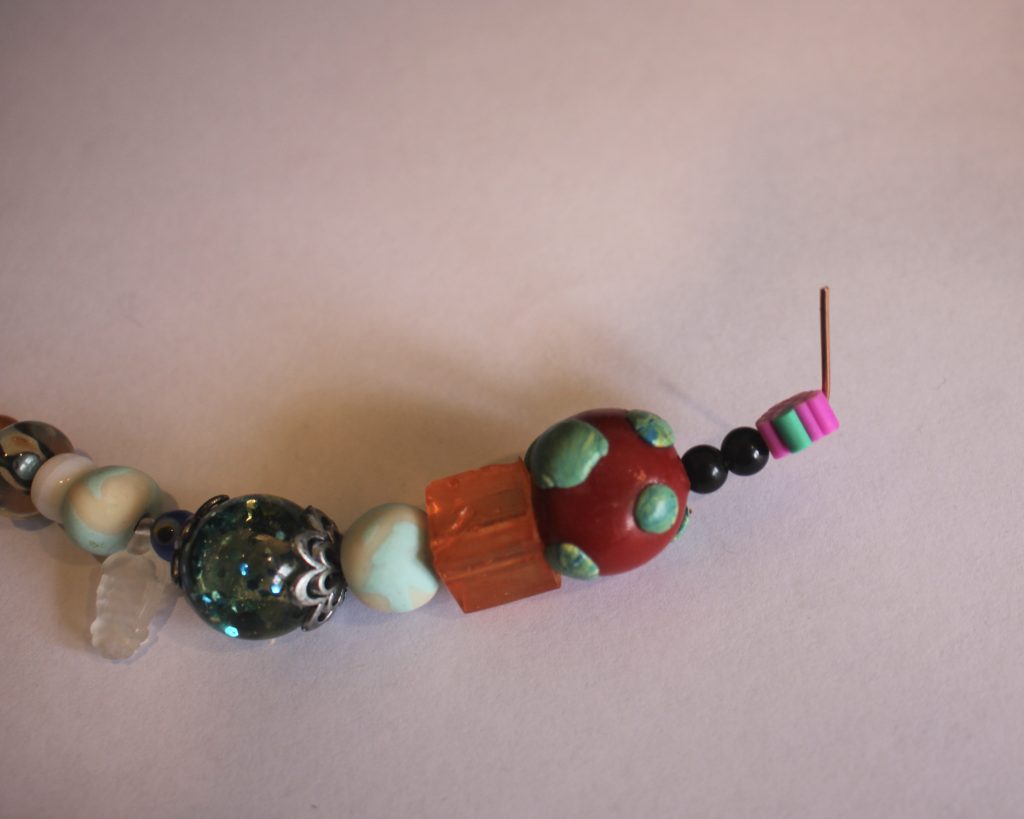
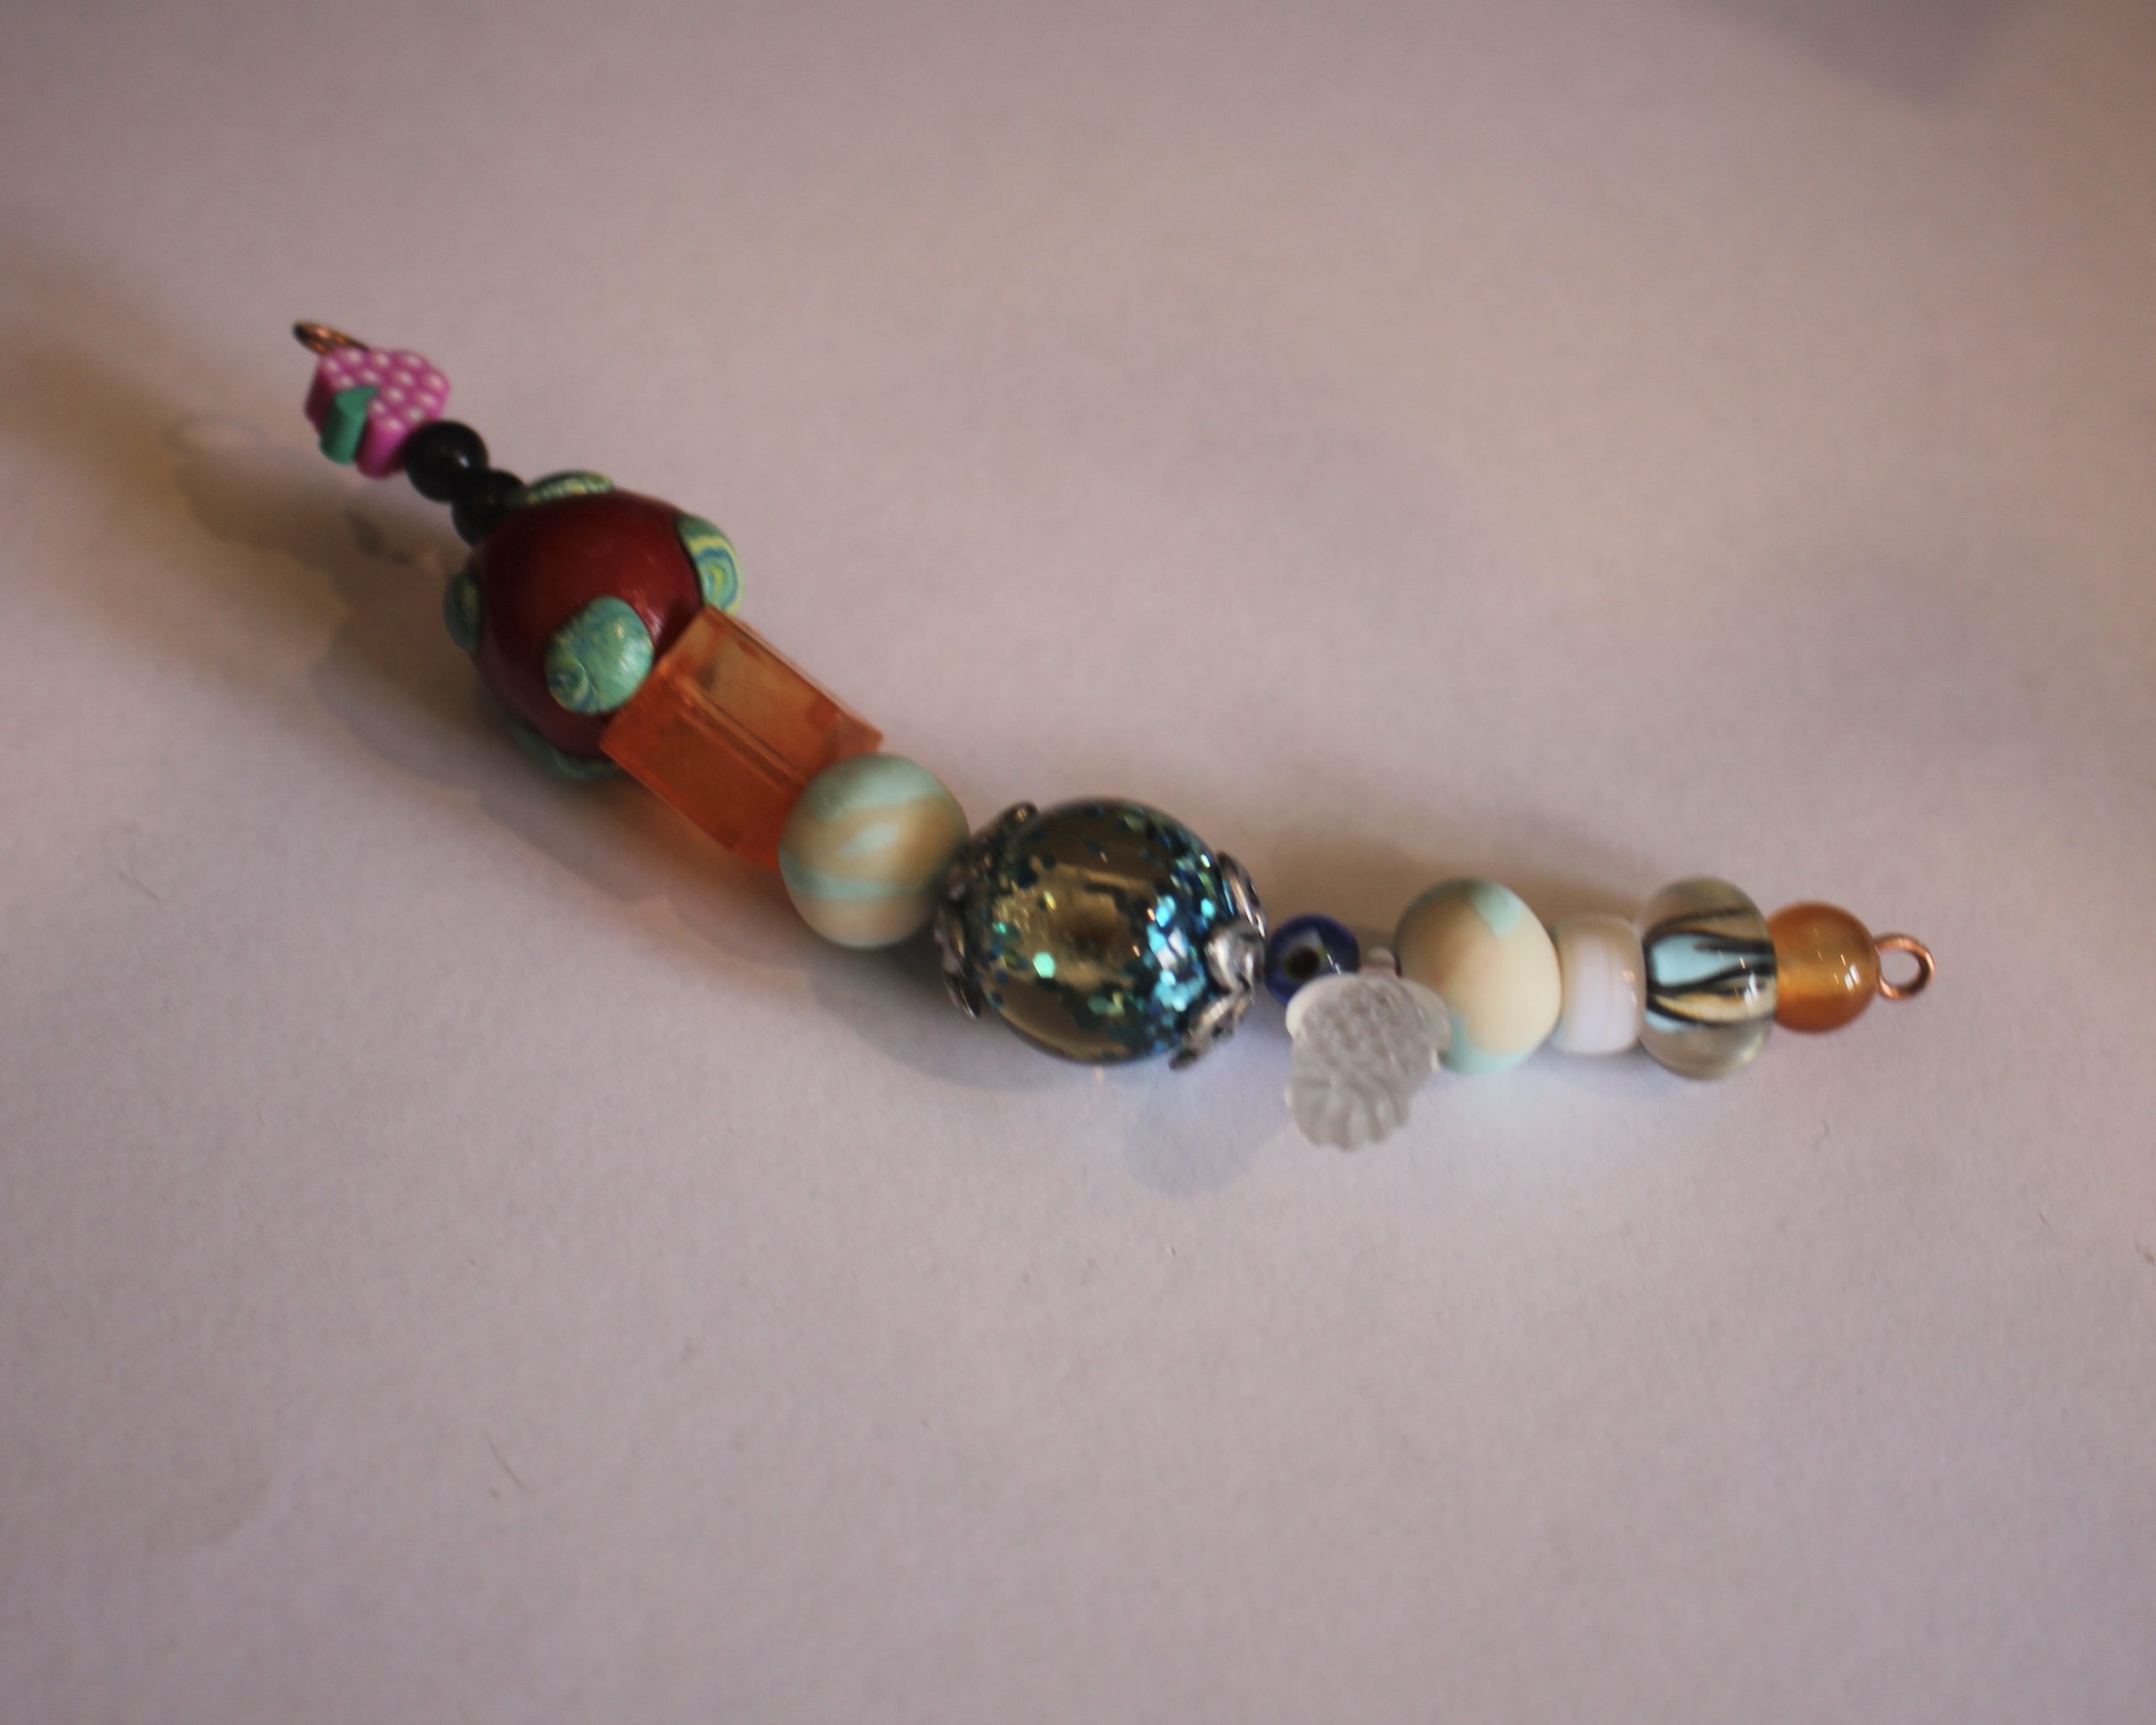
6: Loop the second end of the wire using the round flat pliers.
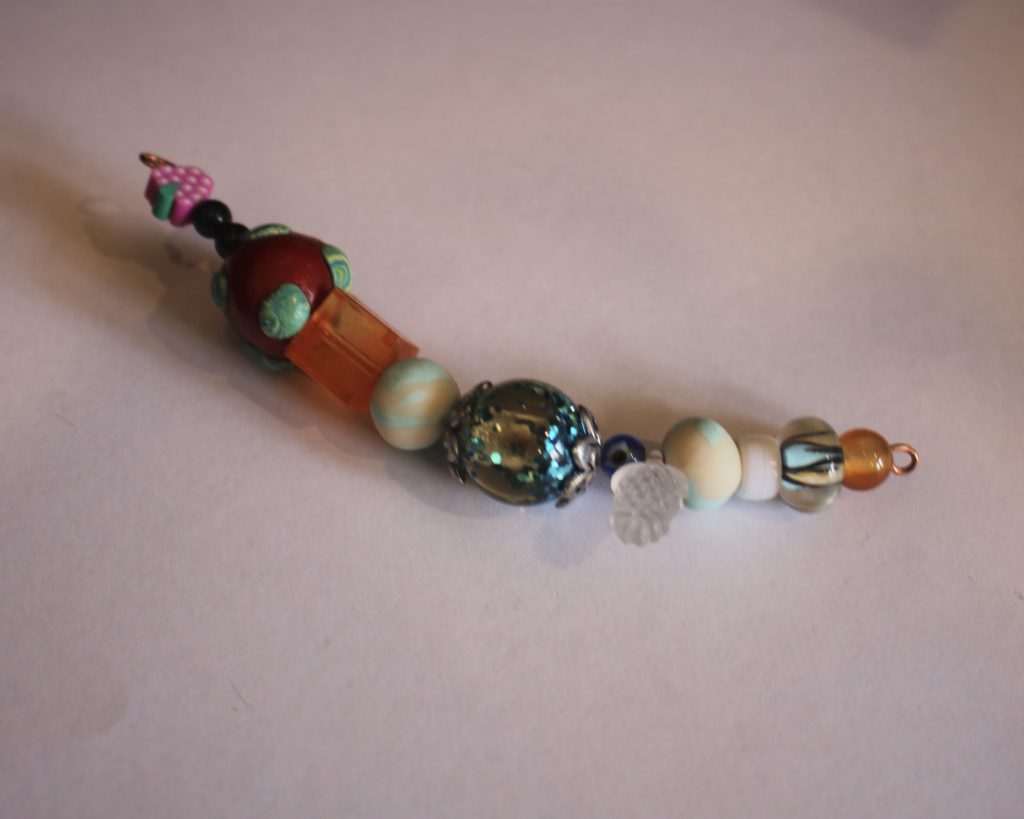
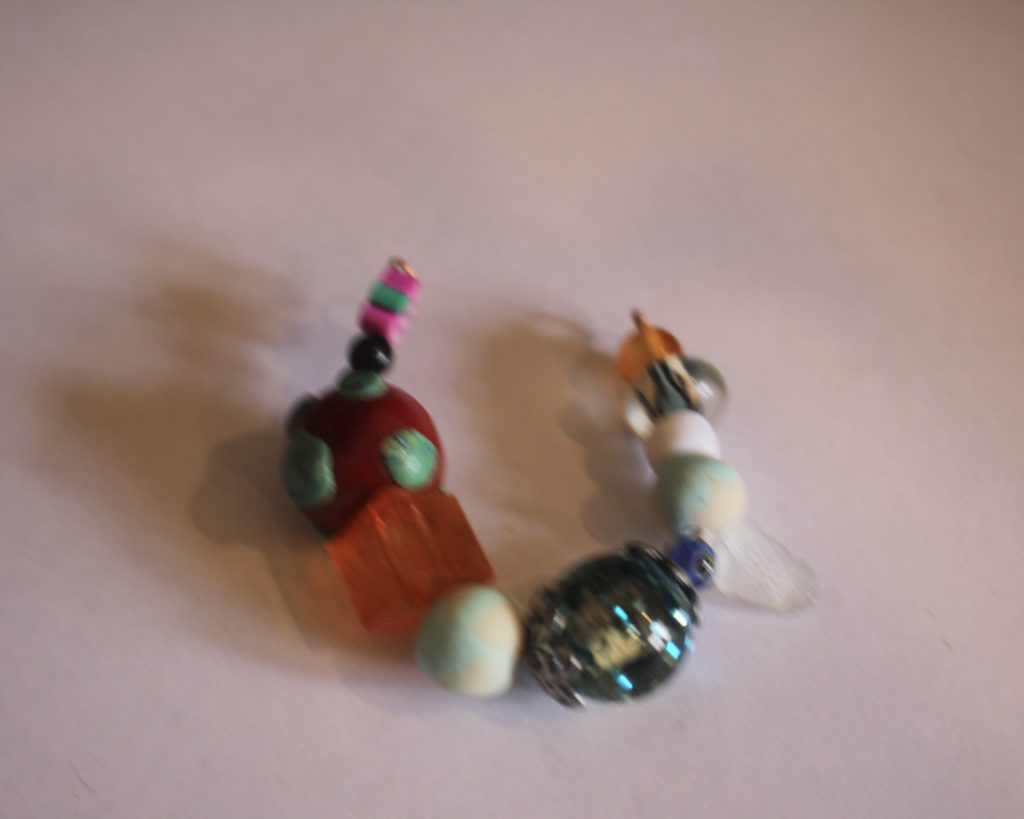
7: Connect the end loops together to form a circle shape of beads.
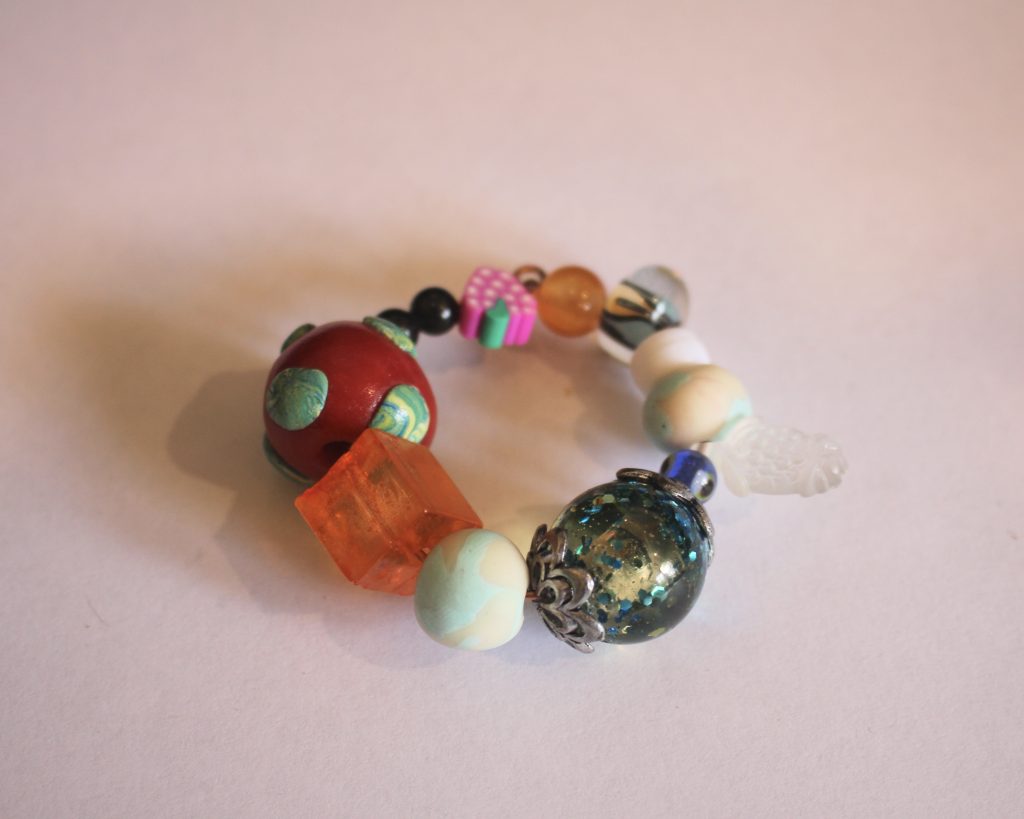
8: Attach the second jump ring to the top of the beaded loop and close it.
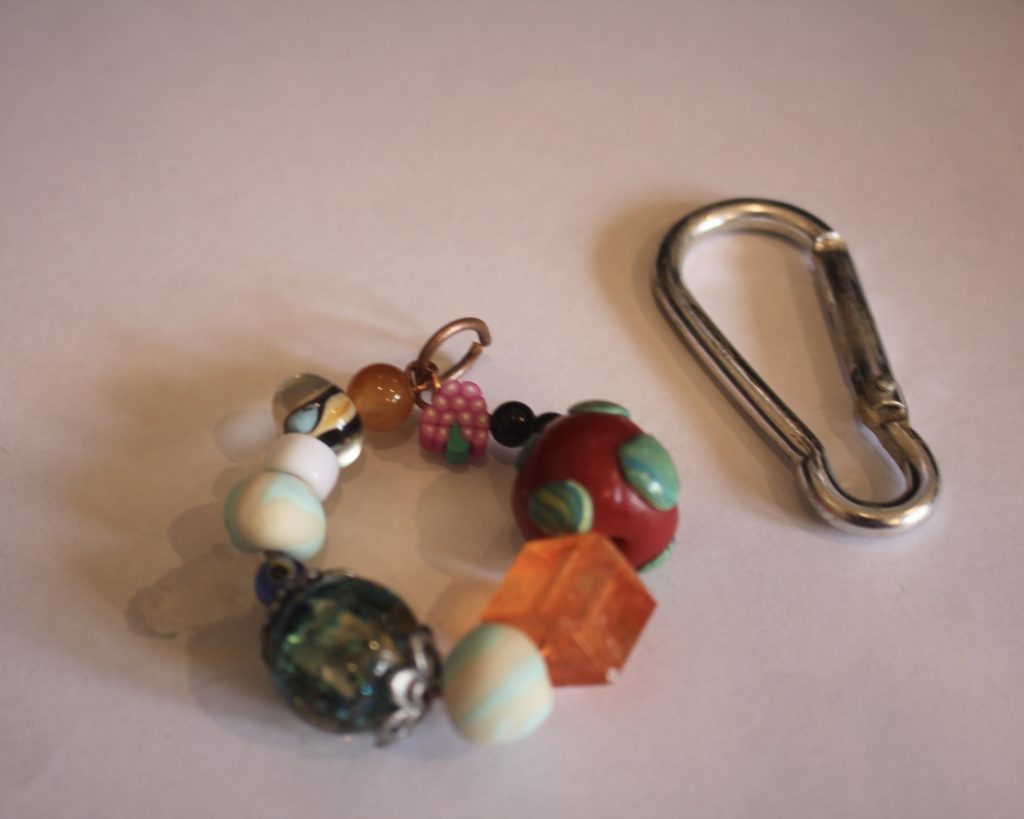
9: Slide the charms onto the carabiner to finish the bag charm off.
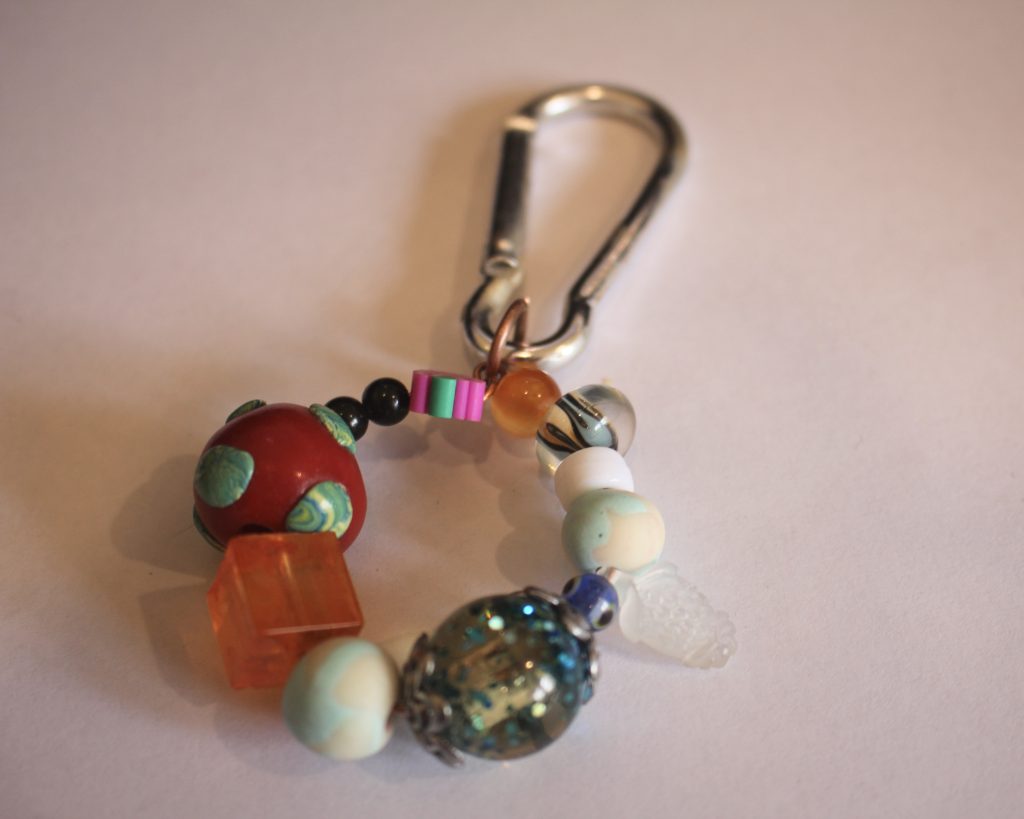
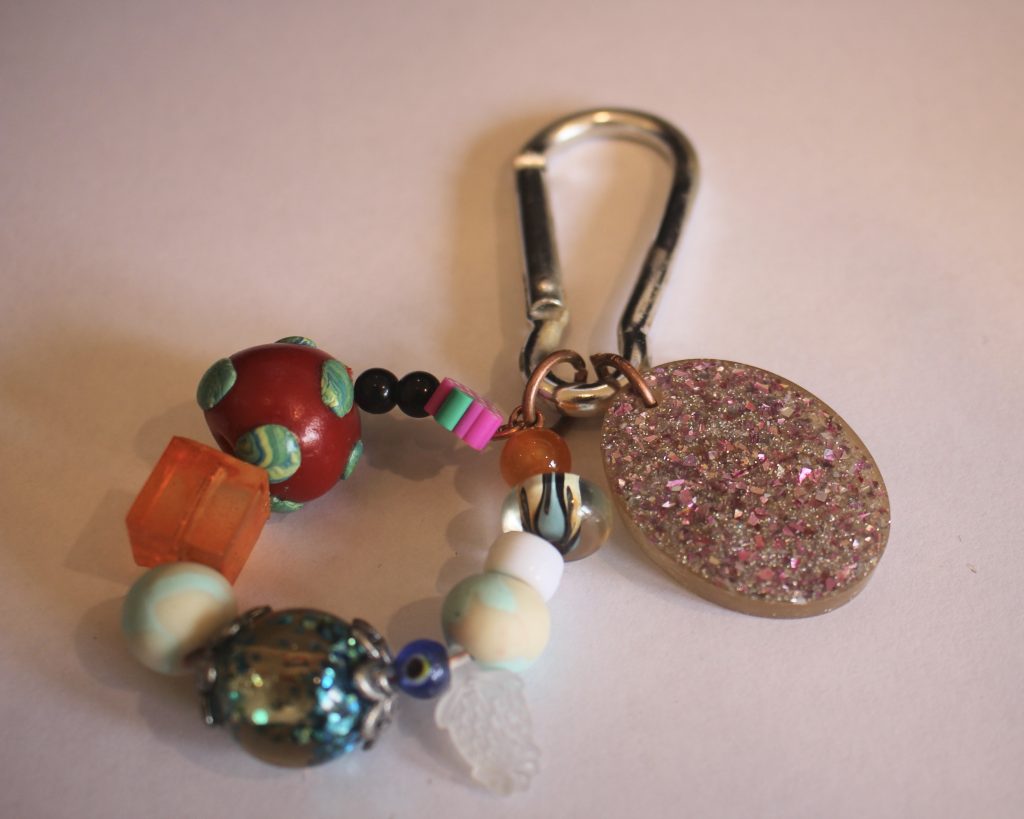
Now your bag charm is completed and ready to attach to your fave handbag!
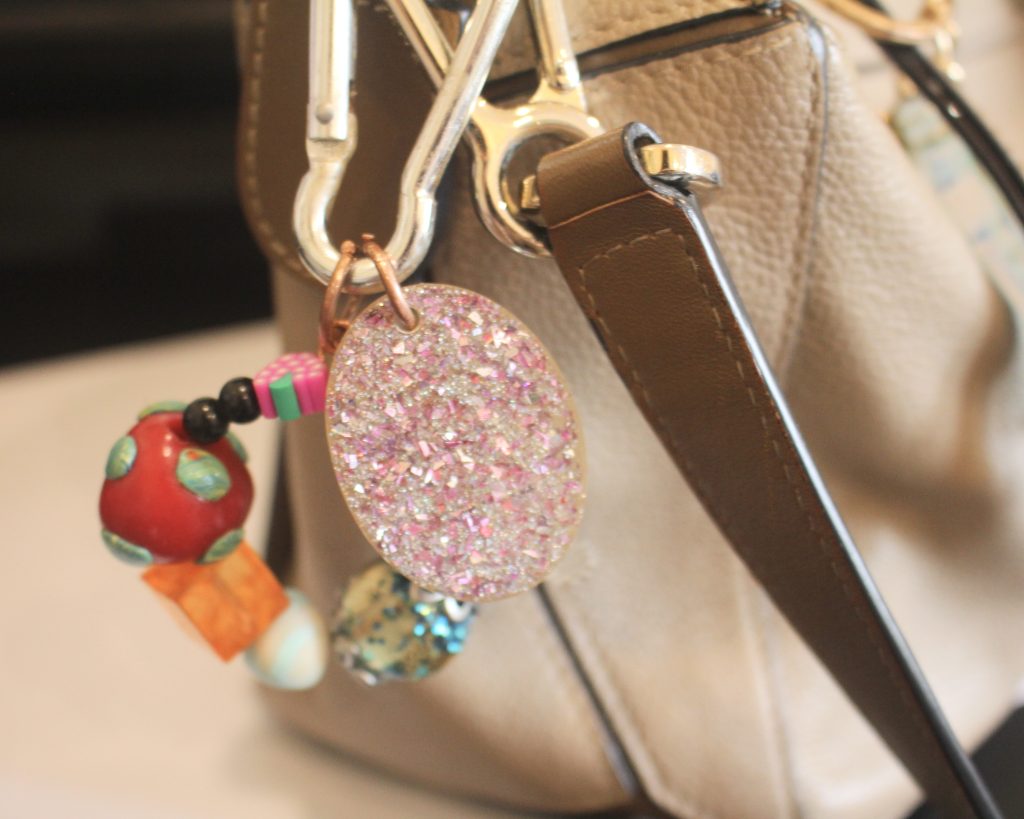
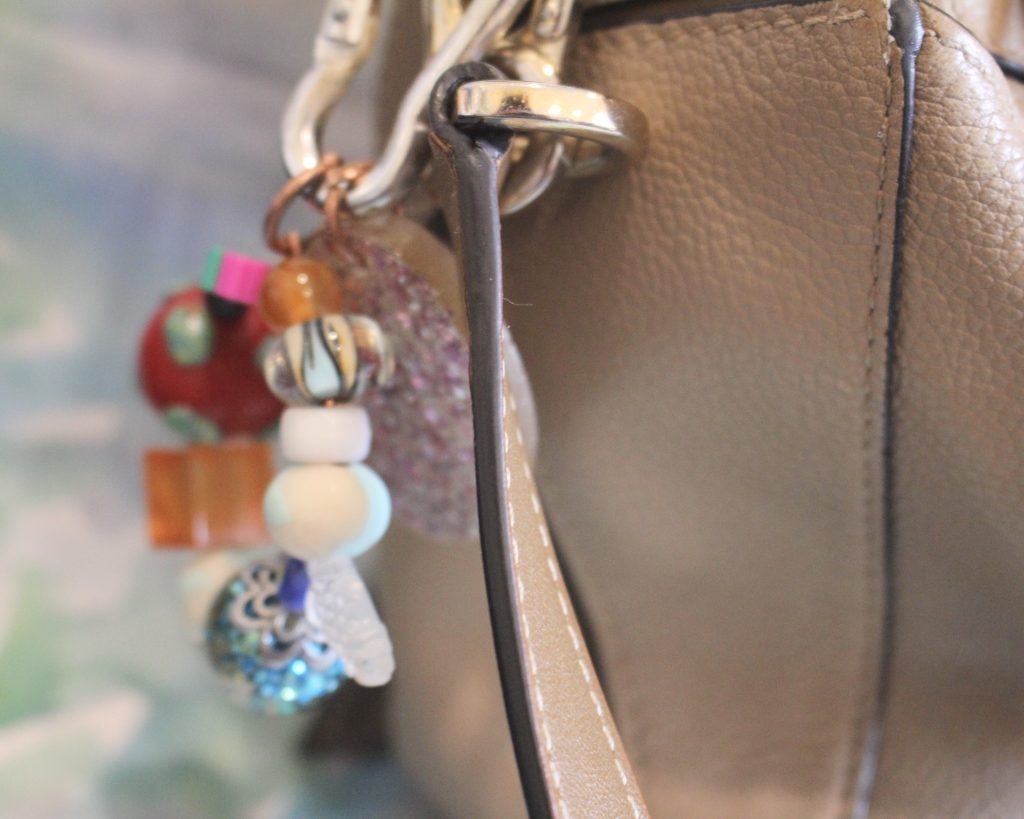
How will you style yours?
-
Here’s how to add eclectic charms to a chain to make a unique necklace.
I love the look of eclectic charms on a necklace, so I decided to make a tutorial to show you how easy it is to make your own custom charm necklace design. Gather up some gorgeous vintage and new charms and pop them onto a lovely chunky chain.
Please note that this tutorial contains affiliate links for which we may receive a commission.
You’ll need these tools and materials to make your charm necklace:
1: A sterling silver chain with large links for you to attach your charms to.

You can get something similar here:
2: A selection of charms. I used some vintage charms in different materials that I have collected over the years. I also made sure I had matching jump rings made from sterling silver. I used 5 charms but you can add as many as you like.

Here’s something similar to the bird charm:
Shell charm:
Here’s an option, or…
Dolphin Charm:
Here’s a sterling silver version
Bead charm:
Quartz charm:
3: Flat nose and parallel pliers to open and close the jump rings.
You can get a pair here:
Get some parallel pliers here:
Now here are all the steps you need to follow to make your charm necklace:
1: Find the centre of the necklace and place your first charm in the middle. Attach it using your pliers to open the jump ring and then close it around the chain link.


2: Place the second charm a few centimetres (or around an inch) away from the first charm and attach it the same way you did the first charm.

3: Repeat step 2, adding the next charm to the other side of the first charm.

4: Do this again until all your charms have been added in the order you like.


Now your necklace is finished and ready to wear! So cute! I love this design so much.


Here’s what it looks like on!

If you love this, here’s a charm bracelet tutorial you can follow to make something that matches!
-
Here’s how to make some pearl wiggle charms to add to some charm connector earrings.
I love charm connector earring findings, because you can make your own unique charms to create a one of a kind pair of earrings. This tutorial shows you how to transform some silver wire into some playful pearl charms that add some personality to your earlobes!
Please note that this tutorial contains affiliate links for which we may receive a commission.
You’ll need the following tools and materials to make these earrings:
1: Two pieces of sterling silver wire with the ends filed, about 4cm long.

I used wire recycled from a previous project, but you can get some here:
2: Two half drilled pearls.

You can get pearls here:
3: A pair of charm connector earrings. I used some peridot ones I made some time ago.

You can get some charm connector studs here:
4: A pair of flat nose pliers.
You can get some here:
5: A pair of parallel pliers.
You can get a pair of parallel pliers here:
6: A pair of round-flat pliers.

You can get a pair of flat-round pliers here:
7: Two part epoxy glue like Araldite or similar.
You can get some glue here:
8: A piece of scrap paper.
9: A skewer or toothpick for mixing the glue.
You can get some here:
10: A piece of scrap wire or something small to apply glue to the wire and pearl.

With all your tools and materials gathered, you can follow these steps to make your wiggly pearl earrings.
1: Use the parallel pliers to bend the tops of the wires to form a right angle.


2: Loop the bent ends of the wires into a circle shape using the round-flat pliers.


3: Grasp the wire between the jaws of the flat pliers and bend it to form an angle.

4: Then move the pliers down and bend the wire back in the opposite direction to form a zig-zag shape.

5: Continue making the wiggles until there is a little bit of the wire left. This will be the part that is glued into the pearl.


6: Push out some of the glue onto a piece of paper and mix it.


7: Add glue to the end of the wire and the pearl using the piece of scrap wire.


8: Place the wire into the pearl and wipe off any excess glue. Set the charms aside to dry.


9: Once your charms are dry and secure, use your pliers to attach the charms to the loops on the bottom of the charm connector earrings.


Once your charms are connected, your earrings are finished and ready to wear! So cute and unique. I can’t wait to wear these out!


-
Add a charm bracelet to your collection with this cute bracelet tutorial!
I’ve wanted a traditional charm bracelet for ages, so I decided to add some charms I collected to this sterling silver chain to create my own. This is a simple and fun tutorial that you can follow to add some personalised flair to your jewelry wardrobe. Please note that this tutorial contains affiliate links for which we may receive a commission.
You will need the following tools and materials to make your charm bracelet:
1: A bracelet with large links. I used this silver bracelet.

You can get something similar here:
2: A selection of charms with jump rings attached to the top. I used some vintage and new charms that I collected over time.

You can get charms here:
You can get jump rings here:
3: Parallel and flat nose pliers for opening and closing the jump rings.
You can get parallel pliers here:
And flat nose pliers here:
Here are all the steps to follow to make your charm bracelet:
1: Lay out your charms in the order you want them on your bracelet.

2: Begin adding charms to the bracelet. You can do this by gently opening the jump rings using your pliers, sliding the open ring onto the bracelet and then closing it again using the pliers to secure the charm in place.


3: Continue adding charms until each one is in its desired place.

Now your charm bracelet is finished and ready to wear! So cute. I think I will layer mine with other silver and beaded bracelets.


If you liked this tutorial, you might like these too:
-
How to make some pearl earring jackets to add some elegance to your stud earrings
I love a stud earring, but sometimes I feel like I need some extra elegance in my outfit… in comes, the earring jacket. This simple and elegant pearl earring jacket can be added to any of your studs to turn them into stunning drop earrings. A versatile way to make your existing earring collection work even harder. Please note that this tutorial contains affiliate links for which we may receive a commission.
You’ll need the following tools and materials to make your own pearl earring jackets.
1: Two pieces of 0.8mm sterling silver wire cut to length. I made mine about 5cm long. You can make yours longer or shorter depending on how dramatic you want your look!

You can get some here:
2: Two pearl beads (or any other statement bead of your choice).

You can get some here:
3: A pair of earrings. I used the earrings I made in this tutorial.

If you aren’t up for making your own, you can get some here:
4: A hammer.

If you don’t have an ordinary hammer at home, you can get a jewelry hammer here:
5: A steel hammering block.

You can get one here:
6: Flat nose or Parallel pliers.
You can get some flat nose pliers here:
You can get some here:
7: Round nose pliers.

You can get some here:
8: A file and sandpaper.

You can get a file here:
Follow these steps to make your pearl earring jackets.
1: File the ends of the wire to smooth them out, then use sandpaper to make sure they aren’t too sharp.

2: Put the wires on the hammering block and hammer the ends flat. Make the ends wide enough to stop the bead from sliding off.


3: Use the flat nose or parallel pliers to gently straighten the wire if it is curved like mine. You can achieve this by gently squeezing the wire between the jaws of the pliers.


4: Add the pearl beads to each of the wires.

5: Create a right angle on the ends of the wires using the flat nose or parallel pliers.


6: Curl this bent portion of the wire into a loop using the round nose pliers.


7: Once each earring jacket has been looped, they are ready to attach to your earrings, do this by sliding the studs through your piercings and then adding the jacket to the post at the back before adding the earring backs.
Here’s how the finished earring jackets look with the pearl studs! How cool?!


If you like this tutorial, here are some other earring jacket tutorials you can follow:
-
Here’s how to make some clip-on shoe charms.
I was browsing the internet the other day and saw the cutest shoe charms, so I knew I had to make a quick tutorial so you can make your own as well! These charms use lobster clasps and pre-made charms for a fun way to personalise your sneakers. Please note that this tutorial contains affiliate links for which we may receive a commission.
You’ll need the following tools and materials to make your shoe charms:
1: Some lobster clasps. I used some I already had, a black clasp and a gold-tone one.

You can get black clasps here:
And gold ones here:
2: Some charms. I used a glass heart charm and a plastic banana charm.

You can get banana charms here:
And heart charms here:
3: A couple of jump rings in colours that match my clasps.

You can get jump rings here:
4: Pliers. I used my flat nose and parallel pliers to open and close my jump rings. If you don’t have parallel pliers you can also use needle nose pliers, or any two sets of pliers you have on hand to open and close your jump rings (except cutting pliers, don’t want to snip those rings!)
You can get flat nose pliers here:
You can get a pair here:
Here are all the steps to follow to make your own shoe charms:
1: Add the open jump rings to the clasps.

2: Add the charms to the clasps.

3: Close the clasps using your pliers.

Now your shoe charms are ready to use! Clip them onto your laces to add some extra ‘charm’ to your fave sneakers. So cute!


Here are some other shoe decoration tutorials you can follow:
1: A sparkly shoe chain made with string and metal beads.
-
Here’s how to turn some thick wire into a wiggle bangle!
This bangle is so cute! It is a no-heat way to make a unique bangle that you can wear on its own or stacked with other bracelets. Please note that this tutorial contains affiliate links for which we may receive a small commission.
You’ll need the following tools and materials to make your bangle:
1: A piece of thick wire that is about 30-40 cm long (you might need to trim the end or add extra length depending on how large your bracelet needs to be). I used this copper wire that was 1.7mm in diameter.

You can get some copper wire here:
Or if you like, you can make it out of silver wire, which you can get here:
2: A file and emery paper to smooth the ends of the wire.
You can get a file here:

You can get emery paper here:
3: A pair of parallel pliers.
You can get a pair here:
4: A bracelet mandrel.

You can get one here:
5: A nylon or leather hammer. I used this nylon hammer.

You can get a hammer here:
Follow these steps to make your wiggle bracelet:
1: File and emery the ends of your wire using the jewelry file and emery paper, making sure it is smooth and there are no sharp ends.
2: Use the flat nose pliers to create a triangle shape at one end of the wire.


3: Now grip the wire next to the triangle and push the long end of the wire against the pliers to form an angle.

4: Repeat step 3 again to create a zigzag shape.
5: Repeat steps 3 and 4 for the rest of the wire until you have about 1.5cm left of the wire.

6: Form the shape into a circle and create another triangle at the other end that is slightly open.

7: Slip the open end of the bracelet through the triangle you formed at the start.

8: Using the flat nose pliers again, close the second triangle to close off the bangle.

9: Put the bangle on the mandrel and hammer it into a circular shape, gently adjusting it so that it lies flat.

Once you are happy with the shape, you can take your bracelet off the mandrel and pop it on your wrist! How simple and lovely? I am very fond of this simple bangle design. How will you style yours?

Here’s how the finished bangle looks.