-
Need to jazz up those lapels? here’s how to make a cool little pin.

These pins are super easy to make. I’ve got a stack of them sparkling up my winter coat!
You will need the following tools and materials to make this pin:
1: Araldite glue.

2: A skewer.

3: Scrap paper.

4: A lapel pin finding.

5: Cabochons or charms of your choice. I used a piece of green acrylic and a resin cabochon.


Follow these steps to make your lapel pin:
1: Squeeze out a small amount of glue in equal parts.


2: Mix the glue using the skewer.

3: Add glue to one side of the acrylic and to the underside of the cabochon.


4: Place the two pieces together and wait for them to dry.

5: You might need to mix some more glue to attach the pin finding.
6: Add glue to the pin finding and the back side of the acrylic.

7: Attach the pin to the back of the acrylic and set it aside to dry.

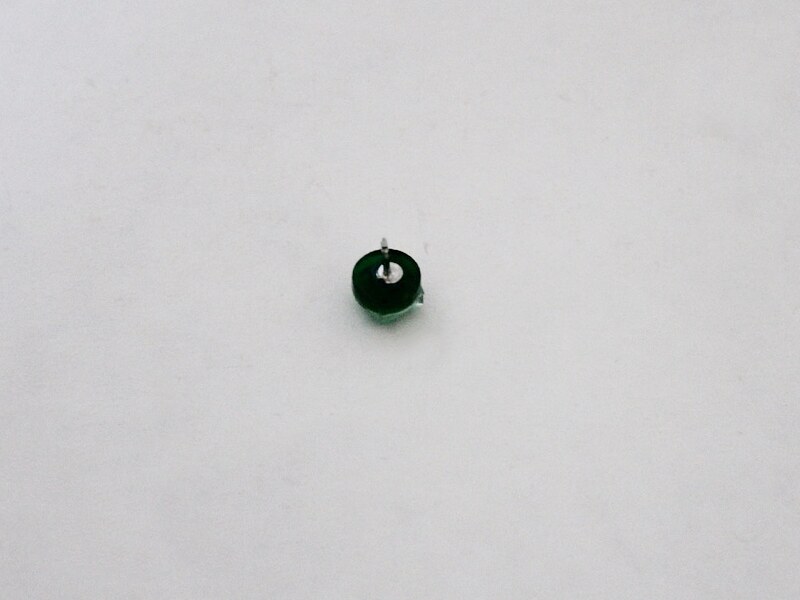
Once your glue is dry your pin is ready to wear!

Here’s a bunch of pins I made recently.

-
Want something fun to wear on your head? Make this knotted headband!
For some reason I have a lot of old headbands lying around. I decided to give one a makeover using some ribbon and some hot glue. This DIY is super easy, you can do it yourself in around 10 minutes.
You will need the following tools and materials to make your headband:
1: A headband. I used this old one I had lying around that I had previously wrapped in black ribbon.
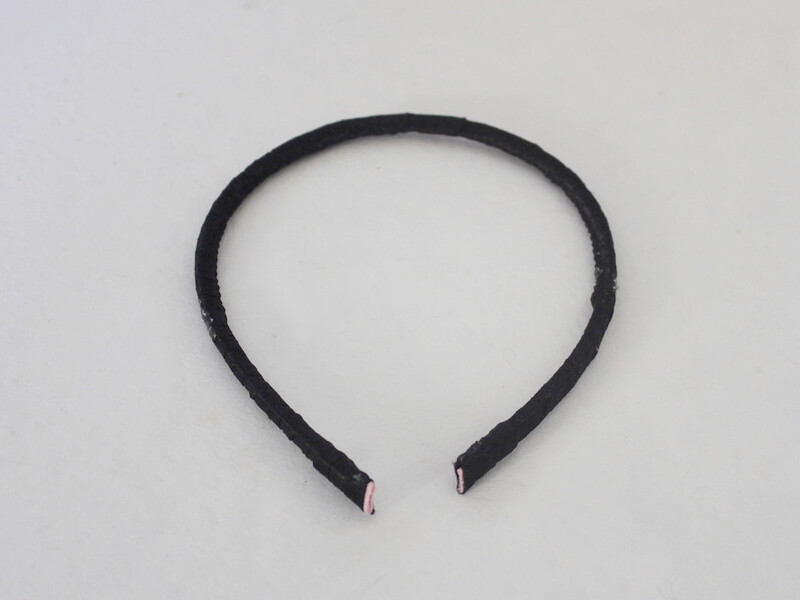
2: Scissors, for trimming the ribbon.

3: A hot glue gun and hot glue.

4: Some ribbon. I used some deep red ribbon.
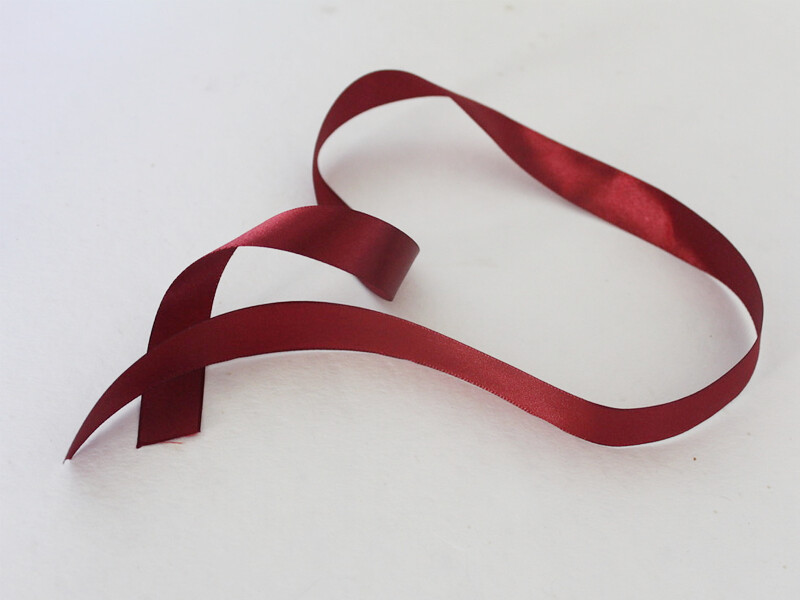
Follow these steps to make your headband:
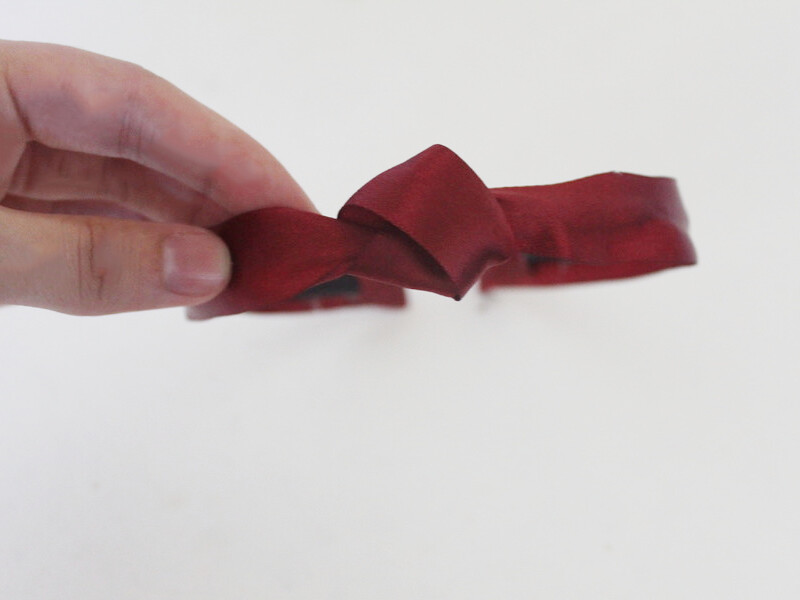
1: Loosely knot the ribbon in the middle. Don’t pull the knot tight or it will lose it’s shape and bounciness!
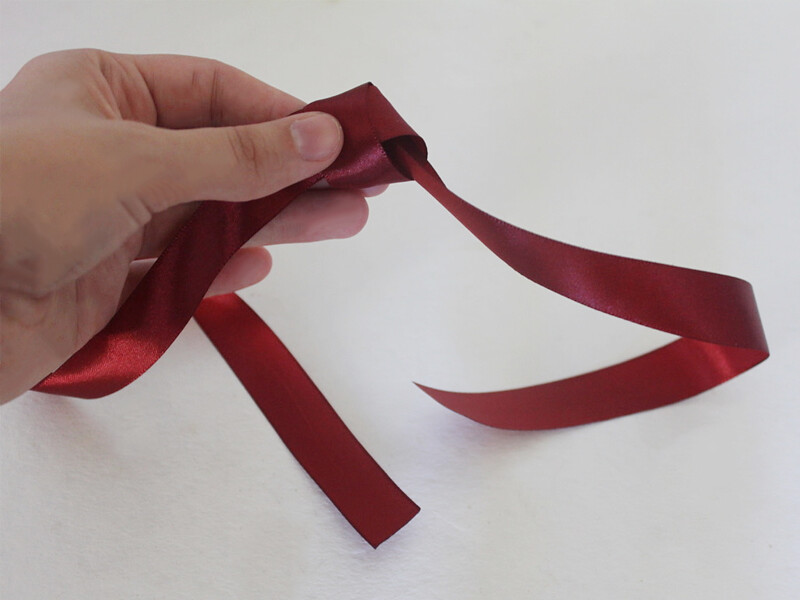
2: Add some glue to the middle of the headband and glue the knotted part of the ribbon to the center.
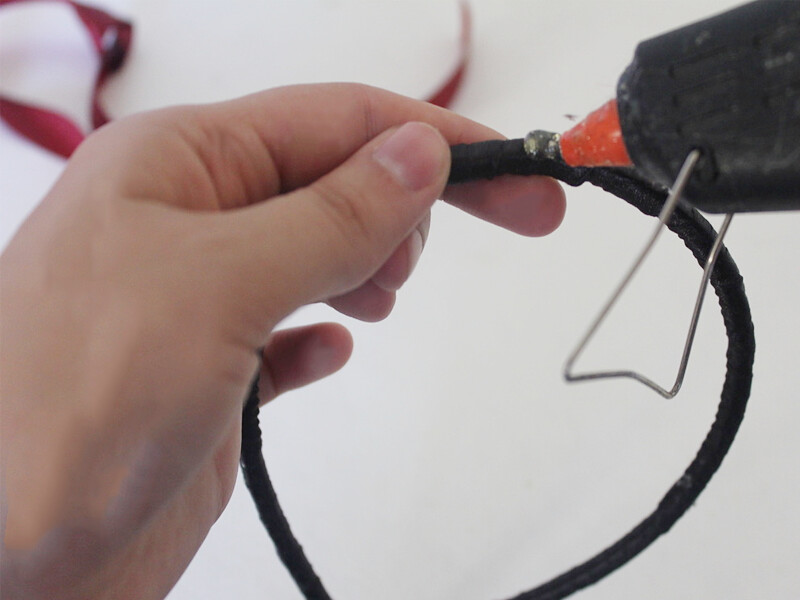
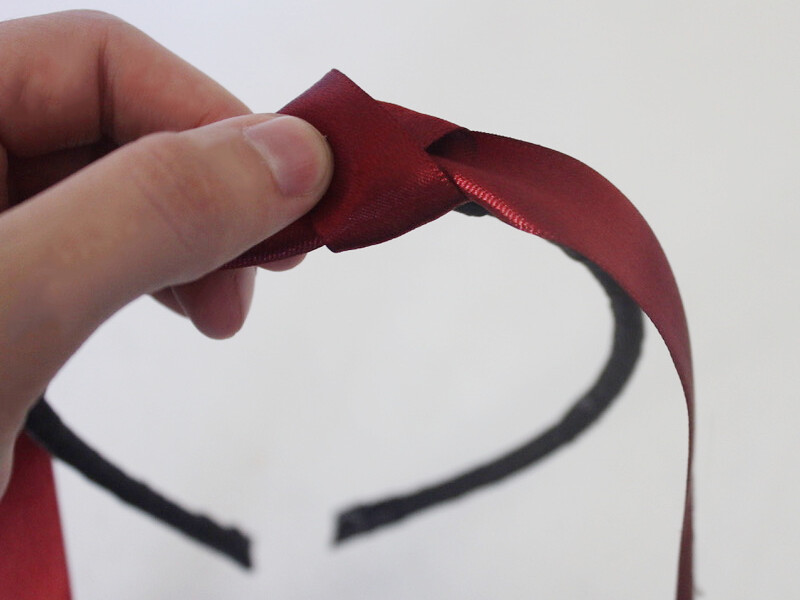
3: Add some more glue down the sides of the headband and secure the ribbon to the band.
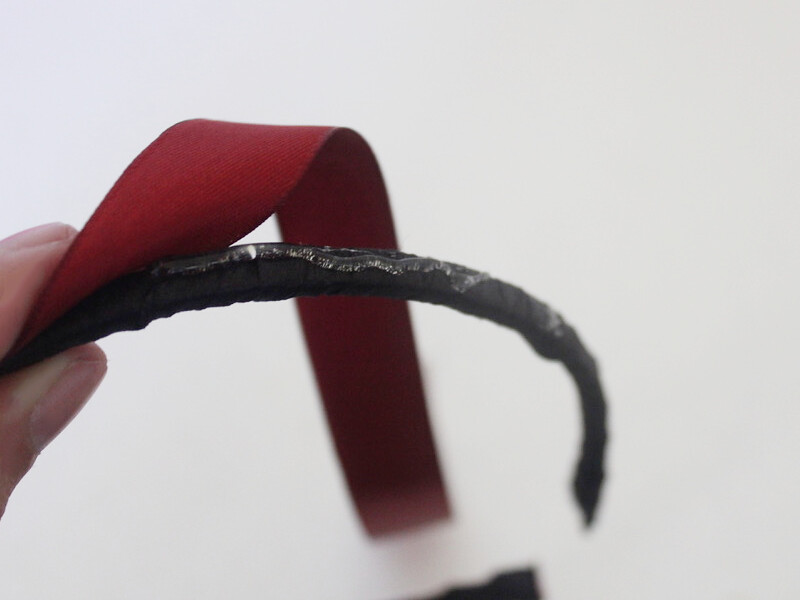
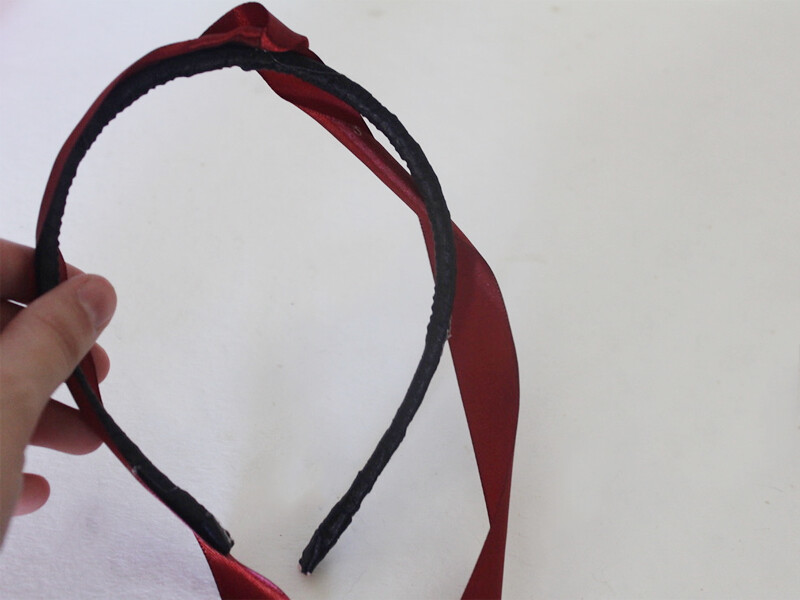
4: Trim the excess ribbon off the ends. Leave enough ribbon to fold around the ends of the headband.
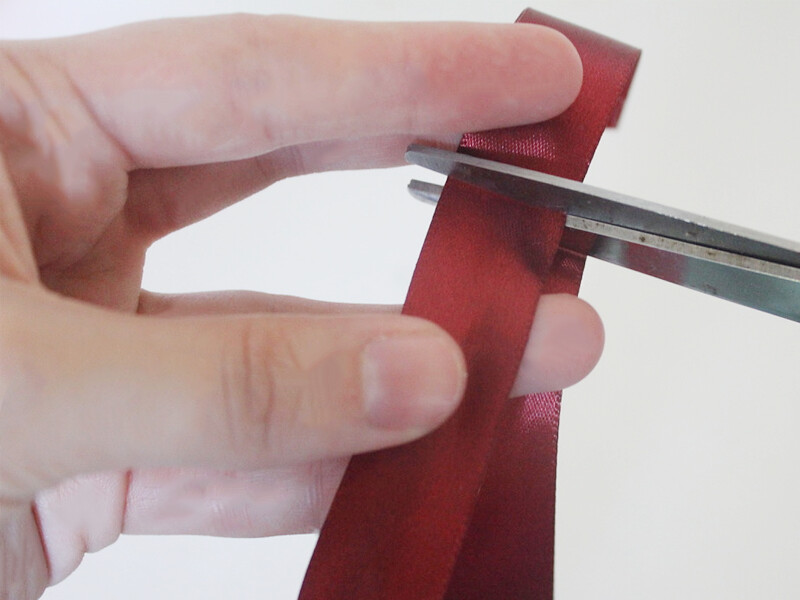

5: Add glue to the inside ends of the headband and secure the ends of the ribbon around the end of the headband.
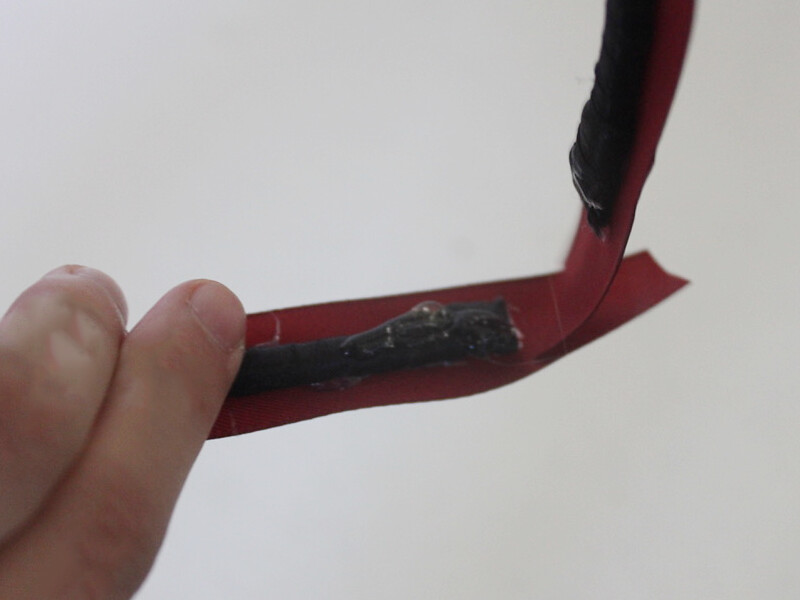
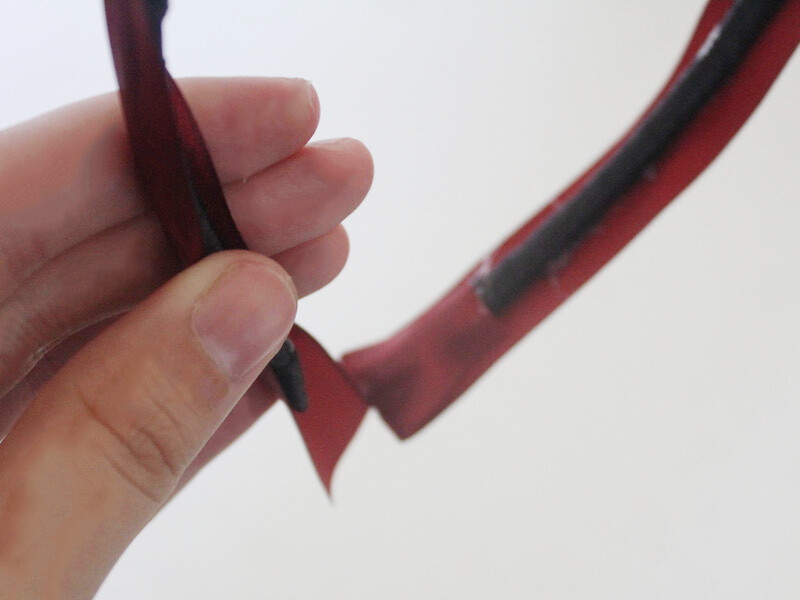
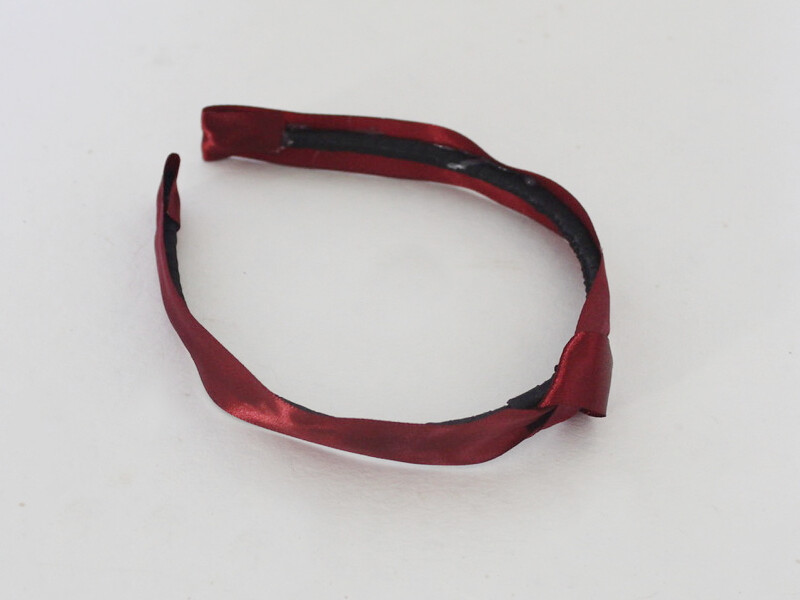
Once the ends are glued in place and the glue has cooled and dried your headband is ready to wear!
-
Here’s how you can update your old ugly headbands… With Rhinestones!

Do you need something fun to add to your festive outfits? This embellished headband is for you! If you’ve got an old ugly headband lying around this tutorial shows you the perfect way to jazz it up. Contains affiliate links.
You will need the following tools and materials to make this headband:
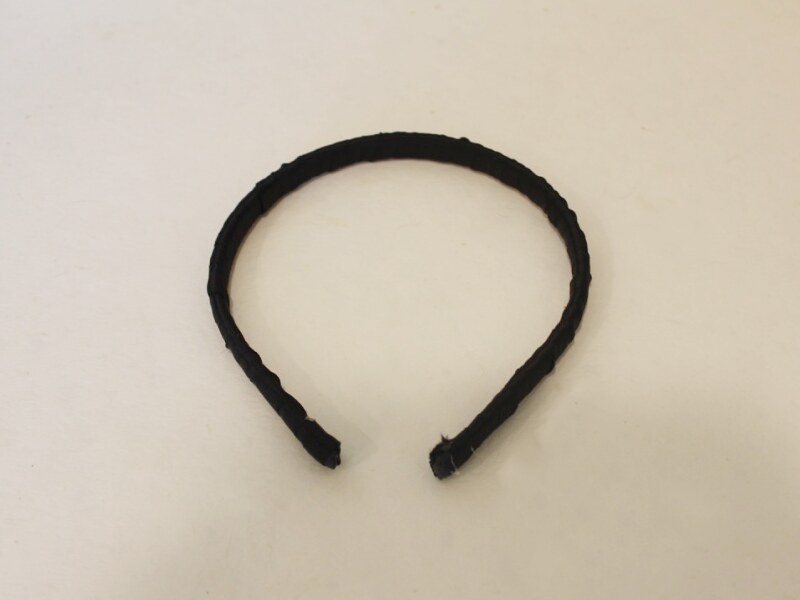
1: A headband. I used this old headband I had lying around at home.

2: Some ribbon.

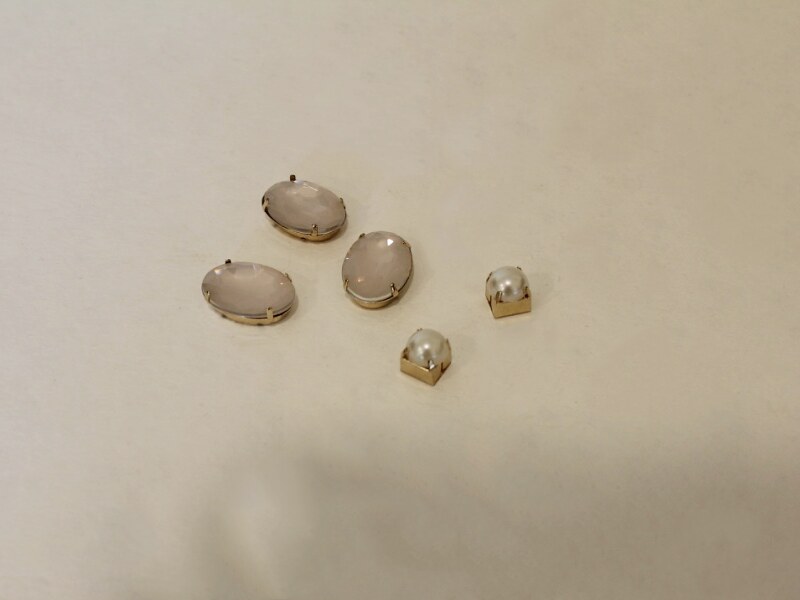
3: Rhinestones.
4: A hot glue gun and glue sticks.
5: Scissors.
Follow these steps to make your headband:
1: Add some glue to the inside of the headband with the glue gun.

2: Stick on end of the ribbon to the glue, being careful not to burn yourself as the glue will be hot.

3: Begin wrapping the ribbon tightly around the headband. Overlapping the ribbon to ensure that the headband is completely covered.

4: Continue wrapping the headband until you reach the other end.
5: Add more glue to the other end of the headband and place the ribbon over it to secure the end.


6: Use the scissors to trim the excess ribbon.

7: Add some glue to the top of the headband where you want your embellishment to sit, I mine slightly off center.

8: Place the first rhinestone onto the glue.

9: Repeat steps 7 and 8 for the remaining rhinestones until you are happy with your embellishments.
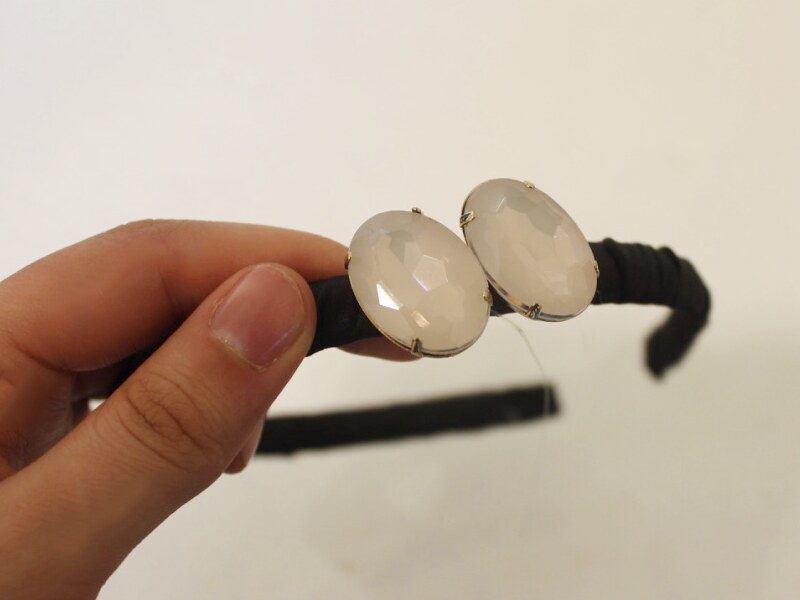


Once all your rhinestones are in place your headband is finished. Wait for the glue to dry and trim any of the excess glue strings before you pop it on!

-
Want to Add Something Extra to Your Drab Winter Scarves? Make a Sweet Scarf Pin!

Here’s how to make a super sweet little scarf pin to add some extra cool to your winter scarves. This is especially great for securing shorter scarves.
You will need the following tools and materials to make your scarf pin:
1: Pliers. You will need your flat nose pliers and round nose pliers to make this pin.


2: A scarf pin with charm loops.

3: Two short pieces of chain.

4: A charm connector. I used this bow shaped charm connector.

5: A bead or charm of your choice. I used this green glass bead.

6: A head pin.

7: Three jump rings.

Follow these steps to make your scarf pin:
1: Add the bead to the head pin.

2: Loop the end of the pin using the round nose pliers, securing the bead in place.


3: Add a jump ring to the charm loop and attach it to the middle loop on the pin.


4: Use the other two jump rings to attach the chains to the outer loops on the pin.


5: Open the end links of each chain and attach them to both sides of the connector charm.


Once the connector charm is secured to the chains your pin is finished and ready to be attached to your favorite winter scarf!





