-
Want some lightweight earrings? This ribbon design has you covered.
These lightweight earrings are really cute! Made out of beads and ribbons they’ll pack a visual punch without weighing your lobes down. They can also be made with materials you might already have at home. I don’t know about you but I have loads of ribbons that I have saved from gifts and shopping bags.

You’ll need the following tools and materials to make these lightweight ribbon earrings:
1: Pliers. You’ll need your flat nose and round nose pliers.


2: Two pieces of ribbon. I used this thin (approx 1cm wide) blue satin ribbon. Each piece was approximately 7cm long.

3: Two large jump rings.

4: Two flat end crimps.

5: Two earring hooks.

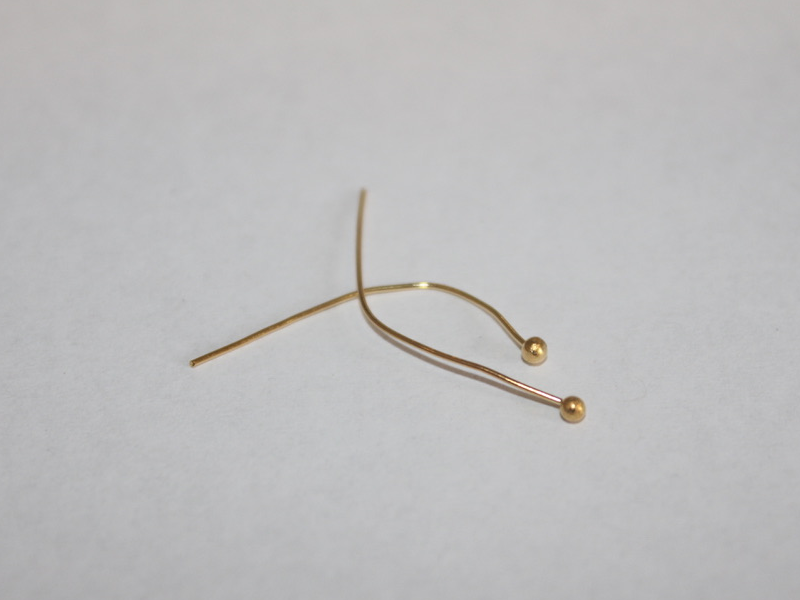
6: Two small head pins.

4: Beads. I used four green glass beads.

Follow these steps to make your lightweight ribbon earrings:
1: Fold the ribbon around so that it forms a folded loop. You can achieve this by layering the ends over each other facing the same way up.

2: Add the flat crimp to the ends of the ribbon and squash them using the flat nose pliers.


3: Add the glass beads to each of the head pins.

4: Curl the ends of the pins to secure the beads.


5: Add the beaded pins to each of the jump rings.

6: Close the jump rings around the bottom of each ribbon loop.


7: Attach each of the earring hooks to the crimps at the top of each ribbon charm.


Now your cute ribbon earrings are ready to wear!

Note: This article contains affiliate links
Here are some other ribbon earring DIYs
-
If you are sick of matching earrings this is the tutorial for you… How to make asymmetrical earrings.
I am seeing loads of cool asymmetrical earrings around lately, here’s how to make a pair of your own.

You will need the following tools and materials to make your asymmetrical earrings:
1: Pliers. I used my round nose pliers, cutting pliers and flat nose pliers.

2: Eye pins of different lengths. I used two eye pins.

3: Three small head pins.

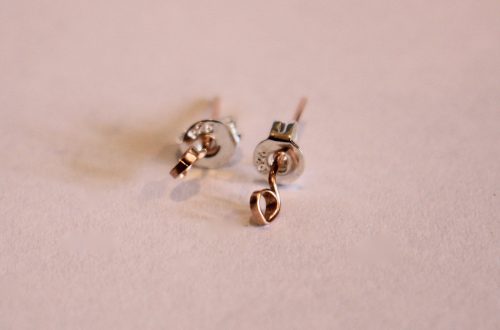
4: One larger head pin.
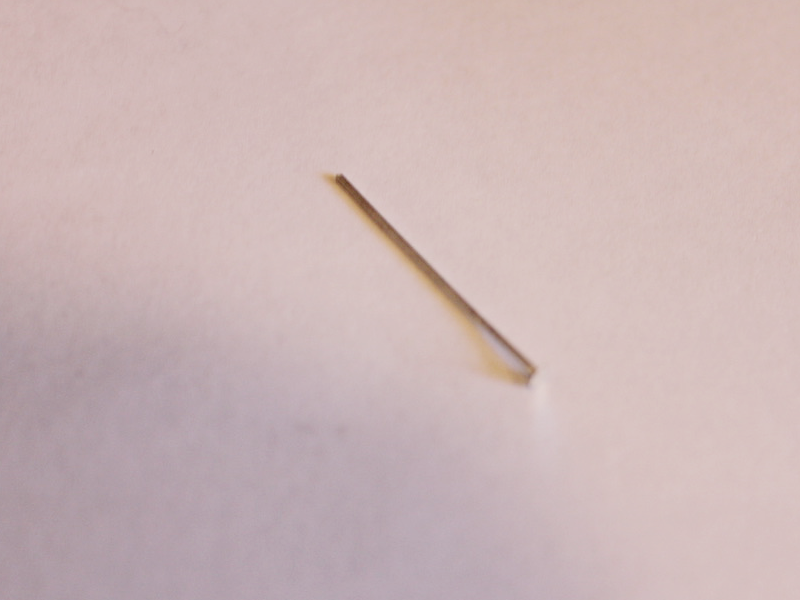
5: A pair of stud earring findings.

6: Beads of your choice. I used some vintage yellow tube beads, some blue plastic beads and some yellow and blue glass beads.

Follow these steps to make your asymmetrical earrings:
1: Add one of the glass beads and tube beads to the larger head pin.

2: Bend the top of the pin to form a right angle.

3: Trim the pin so that it is only 1cm long from the top of the bead.

4: Curl the top of the pin using the round nose pliers to secure the bead on the pin.

5: Add the longer bead to the longer eye pin and repeat steps 2-4 to secure the bead in place.


5: Attach the two pins together.


6: Attach the top of the charm to the loop of the earring finding.

7: Add the plastic blue beads to each of the small head pins.

8: Curl the tops of the pins to secure the beads in place.


9: Place the remaining glass beads on the shorter eye pin.

10: Repeat steps 2-4 to secure the glass beads on the eye pin. (Skip the wire trimming if your pin is the right length!)


11: Put the small blue charms onto the bottom of the beaded pin.


12: Add an earring finding to the top of the pin to finish the second earring.

Now your asymmetrical beaded earrings are finished and ready to wear!


Here’s another pair of mismatched beaded earrings made using a hammered wire ring.

Note: This article contains affiliate links
-
Anklets are set to be HOT in the summer months. Here’s one to add to your accessories collection.

According to this article, anklets are set to be the jewelry item that defines summer in 2019. This anklet is sparkly and summery, perfect for evening drinks or beach holidays!
You will need the following tools and materials to make your beaded anklet:
1: Pliers. You’ll need flat nose pliers and round nose pliers.
2: Eye pins.

3: Two jump rings.

4: A lobster clasp.

5: Two head pins.
6: Beads. I used some blue faceted plastic beads recycled from an old necklace, some glass seed beads and some other blue glass feature beads.


Follow these steps to make your beaded anklet:
1: Add beads to the pins and loop the tops. Attach each charm using the end loops to form a chain.


3: Continue making these charms and attaching them in a pattern until your chain is long enough to fit comfortably around your ankle.

4: Add a jump ring to one end of the chain and add the lobster clasp.

5: Add the remaining jump ring to the other side of the chain.

6: At this stage your anklet is ready to wear, but you can perform these extra steps to add some extra charms.
7: Add beads to the two head pins.

8: Curl the tops of the pins using the round nose pliers.


10: Add the charms to the jump ring that attaches the clasp to the anklet. Close the jump ring to secure the charms in place.


Now your anklet is finished with some cute little charms! How adorable is this design? Why not make a whole bunch and have a #ankleparty 😉