-
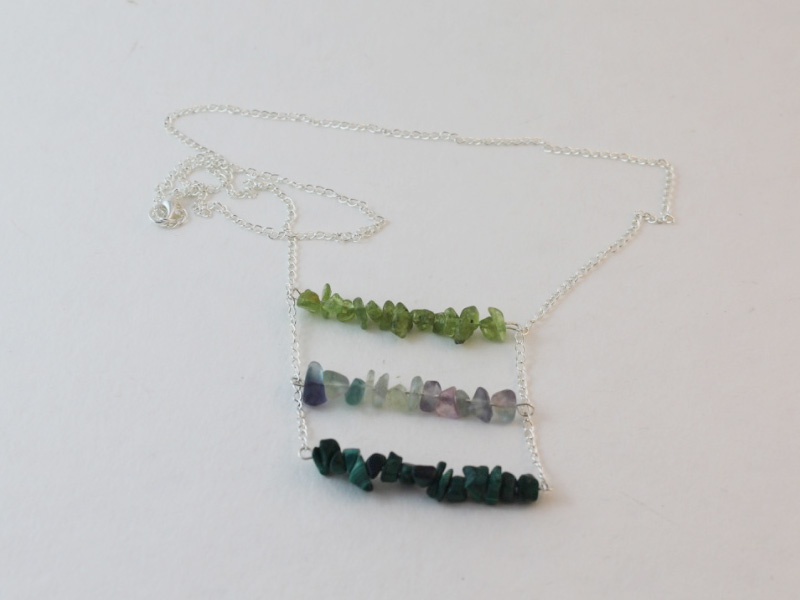
Here’s how to make a beaded necklace out of wire!
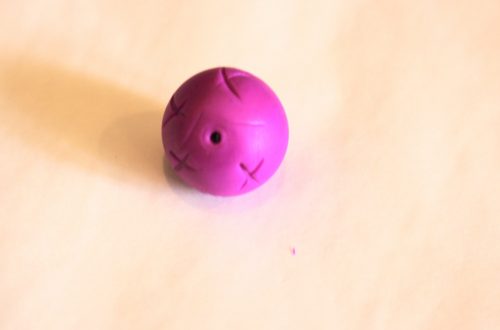
If you want to make a beaded chain necklace, but don’t have any head pins, or if you want to add some handmade flair to your work, here’s how you can use wire instead! This necklace tutorial uses the clasp from last month’s tutorial, you can follow it here.
Please note that this tutorial contains affiliate links
You’ll need these tools and materials to make your necklace:
1: Some wire. I used some copper wire that was about 1mm in diameter.

Here’s some silver wire if you prefer it: https://amzn.to/3M8DgL0
2: A clasp. I used the clasp made in this tutorial.

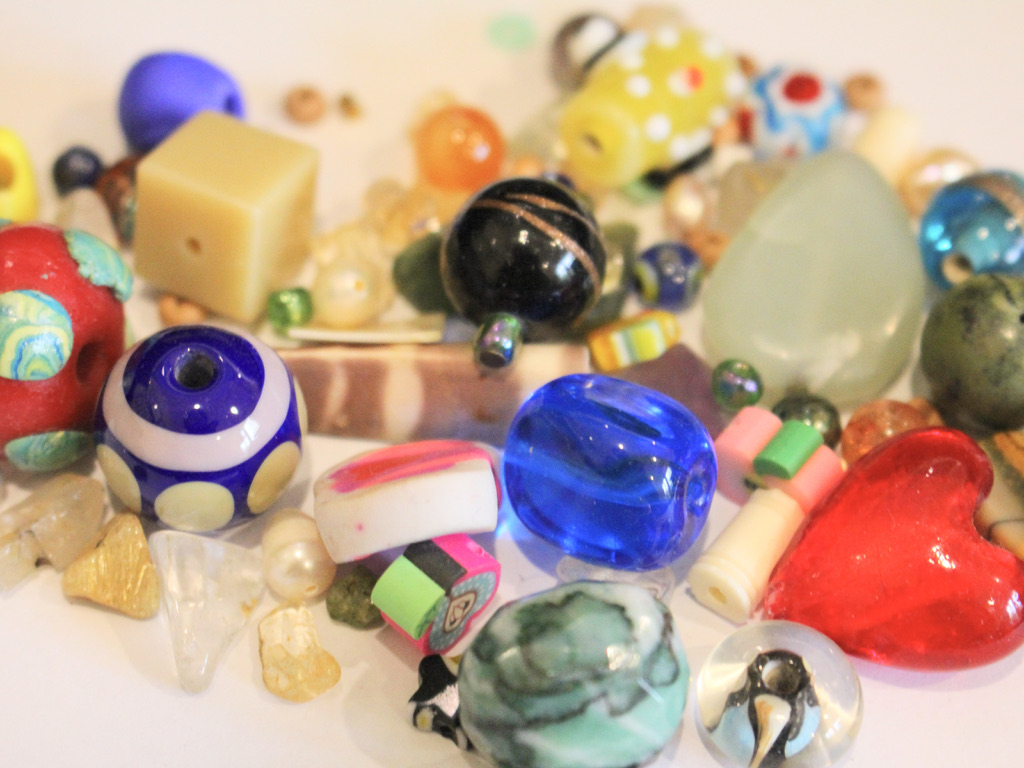
3: A selection of beads. I used a random selection of glass, plastic and clay beads.
4: A pair of flat-round pliers.

5: A pair of cutting pliers.

6: A pair of flat nose pliers or flat nose parallel pliers.

7: A file in case you want to smooth the ends of your wire. This isn’t totally necessary but adds to giving your work a quality finish.

Follow these steps to make your beaded wire chain necklace:
1: Bend the end of the wire using the flat nose pliers to form a right angle.


2: Loop the end of the wire using the round-flat pliers.

3: Add your first bead to the wire.

5: Trim the wire. I measured where to trim by holding the wire with the flat nose pliers and then cutting next to it.


6: At this point, you can file the end of the wire to flatten it, or you can simply create a loop at the top of the bead using the flat-round nose pliers.


7: Repeat steps 1-6 for the next bead link for the necklace. Once the link is formed, use the flat nose pliers to open the jump ring, slide it onto the first charm and close the link to start forming the chain.


8: Repeat these steps until you have a length you like for a necklace.


9: Open one of the loops at the end of the necklace and attach the clasp. Close the loop to secure the clasp in place. Add the clasp ring to the other side of the necklace to finish it off.


Now your necklace is finished! How fun to make your own jewellery without any pre-made findings?!


-
Here’s how you can make a fun mixed bead bracelet to show off your personality!
I love the trend towards the craft-core bead explosion designs in jewellery! I’ve shared a few other similar tutorials in the form of mixed bead anklets and necklaces, but this one is a bracelet! This bracelet features a mixture of handmade, recycled and new beads for a unique look! What beads will you use in yours? Please note that this tutorial contains affiliate links.
You’ll need these tools and materials to make your own mixed bead bracelet:
1: Some tiger tail wire cut to a length that will fit your wrist plus a few extra cm.

2: A selection of beads. I used a mix of plastic, clay and glass beads from different sources, recycled, new and handmade.

3: A clasp. I used this gold-tone parrot claw clasp.

4: A jump ring.
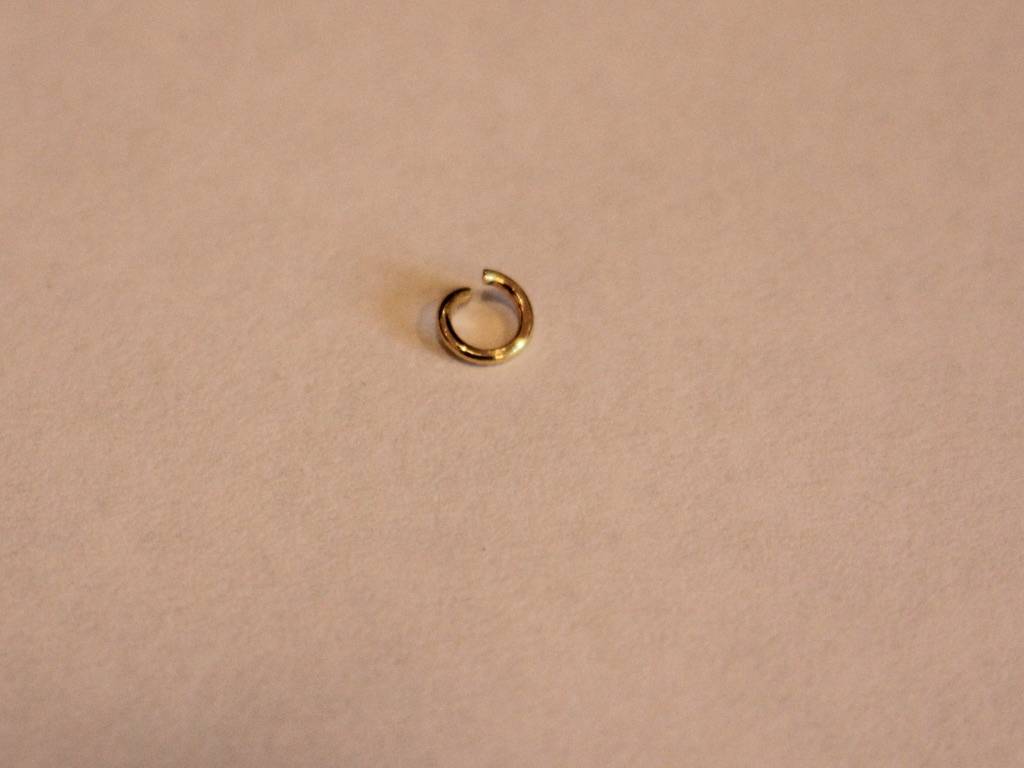
5: Four crimp beads.

6: Pliers. I used cutting pliers to cut the wire, flat nose pliers and round nose pliers.

Cutting pliers, round nose pliers, flat nose pliers. Follow these steps to make your crazy mixed bead bracelet:
1: Take the tiger tail wire and add two of the crimp beads.

3: Add the clasp to the wire and loop the end of the wire back through the crimp beads.

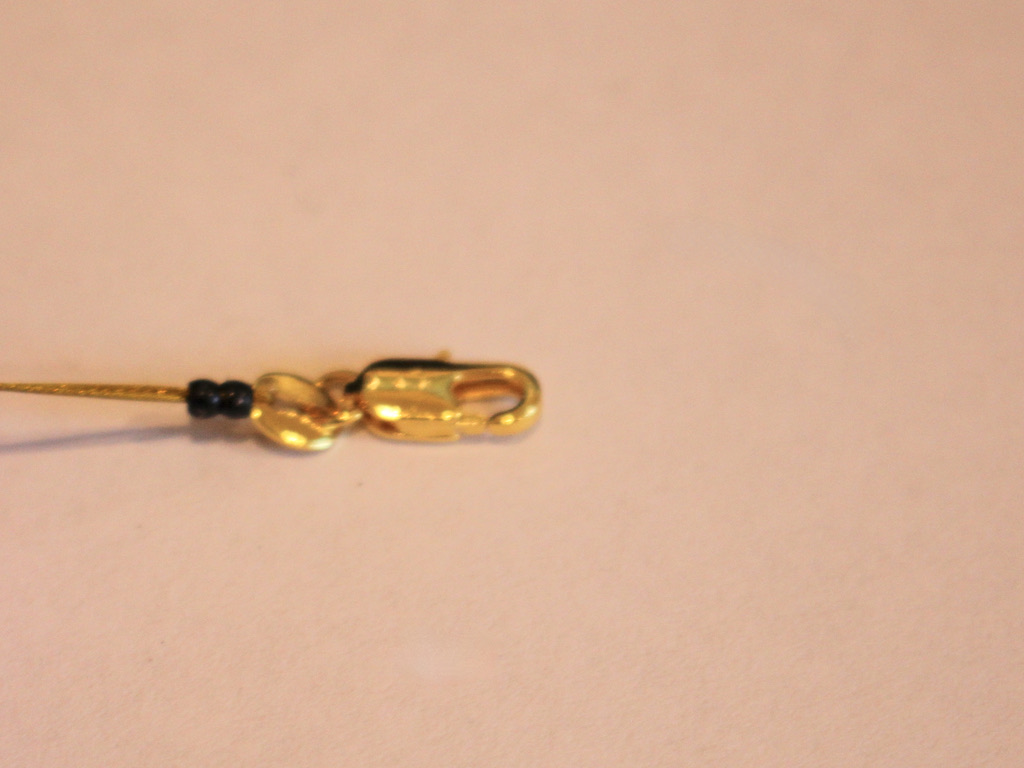
4: Squash the crimp beads using the flat nose pliers.

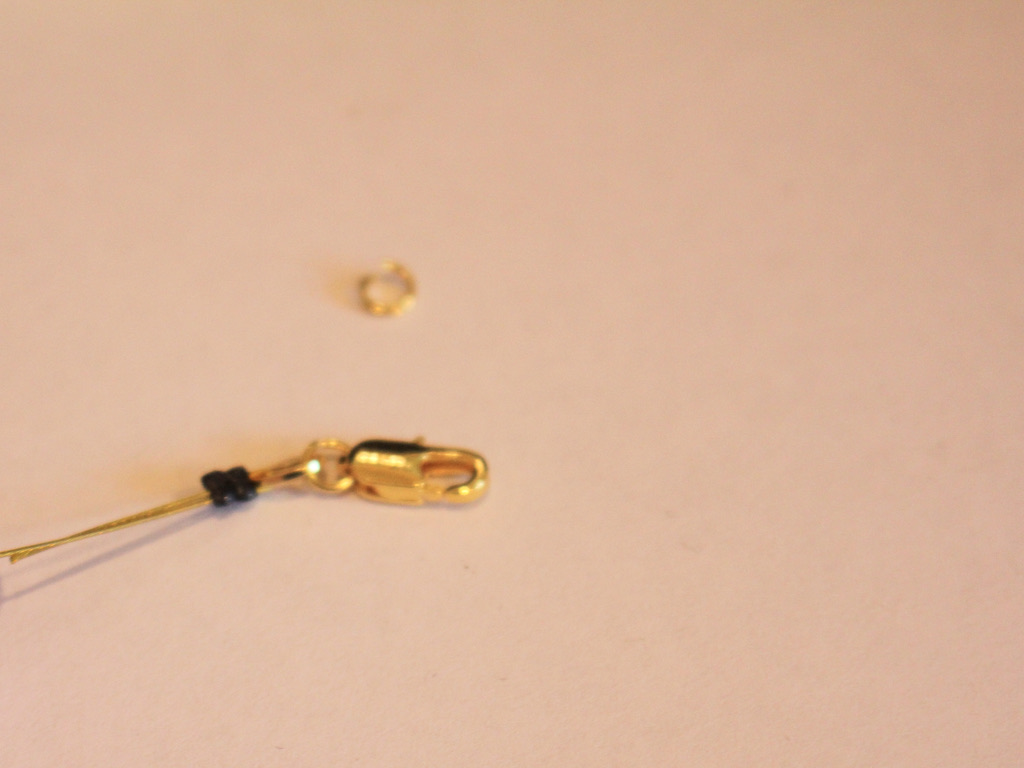
5: Begin adding beads to the wire in random order.
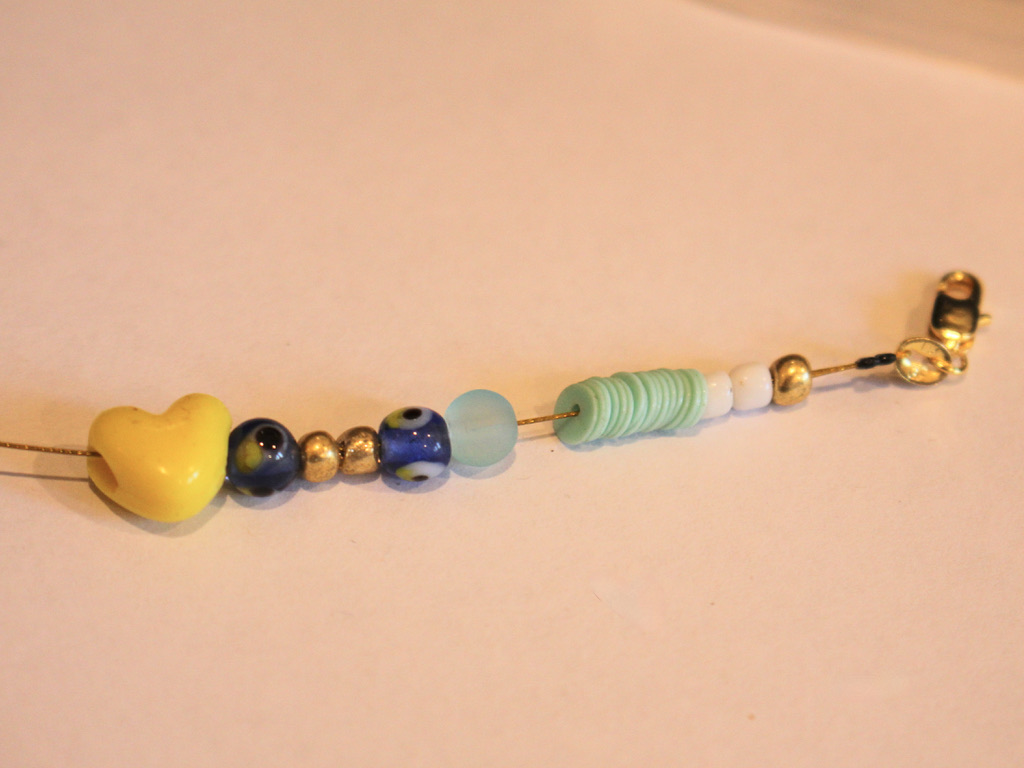
6: Continue adding beads until you get it to the length that feels comfortable around your wrist.
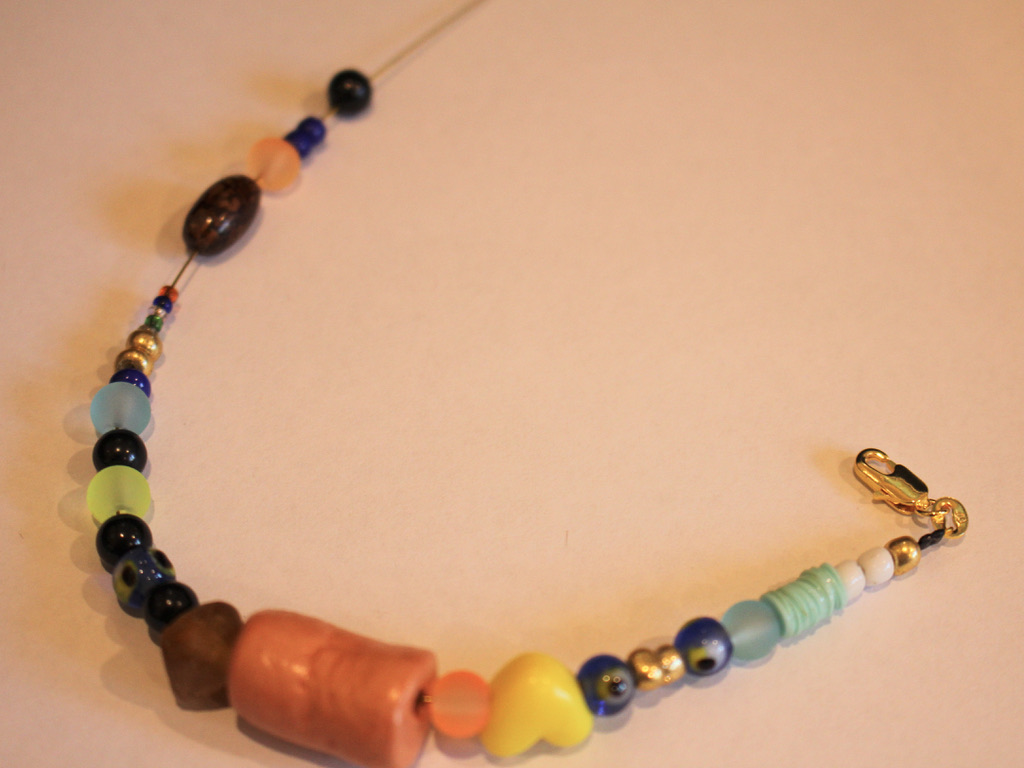
7: Add the second set of crimp beads to the wire.
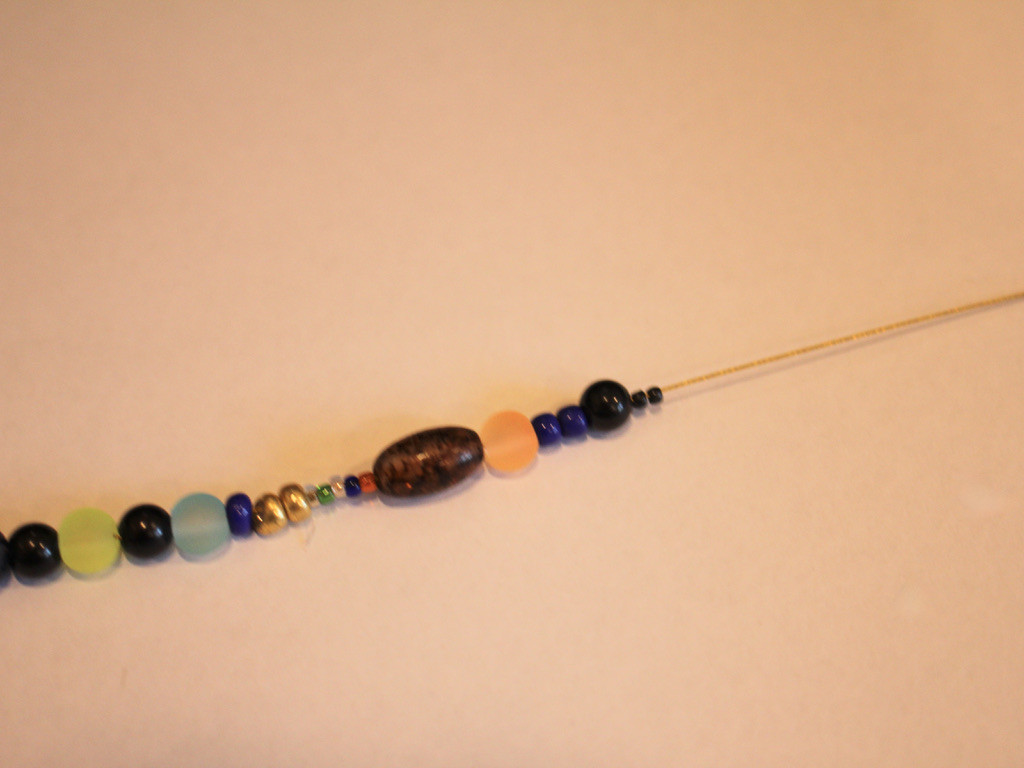
8: Add the jump ring to the wire.
9: Loop the wire around the jump ring and back through the crimp beads and the first few beads at the end of the bracelet.
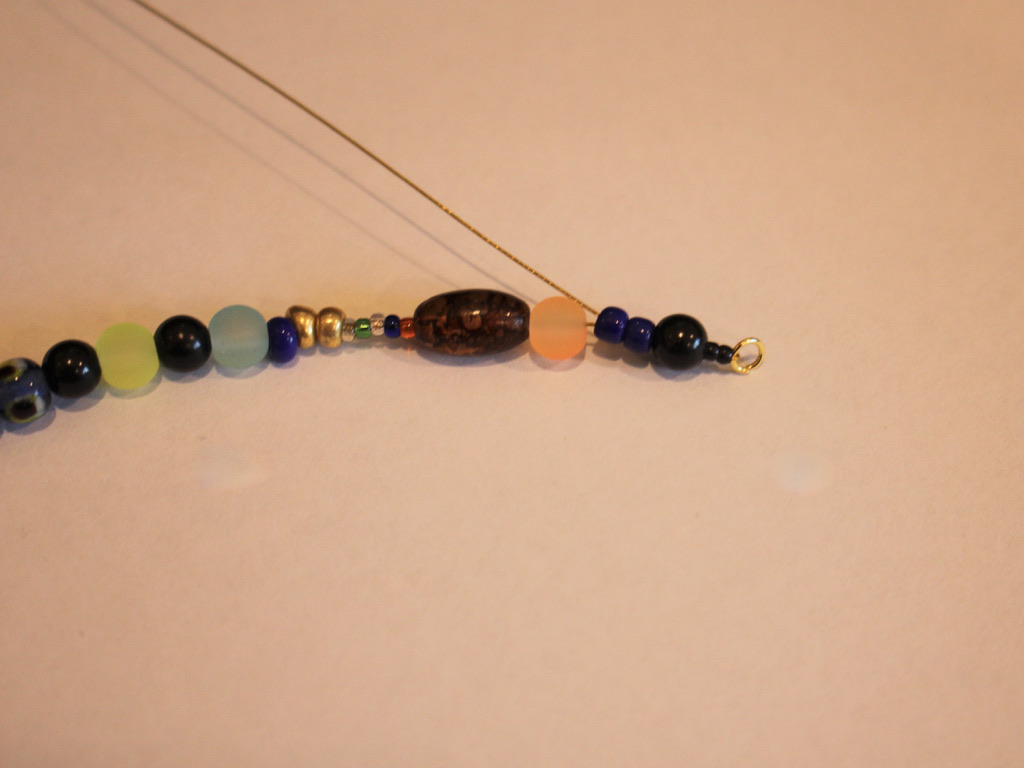
10: Pull the wire tight.
11: Squash the crimp beads using the flat nose pliers.
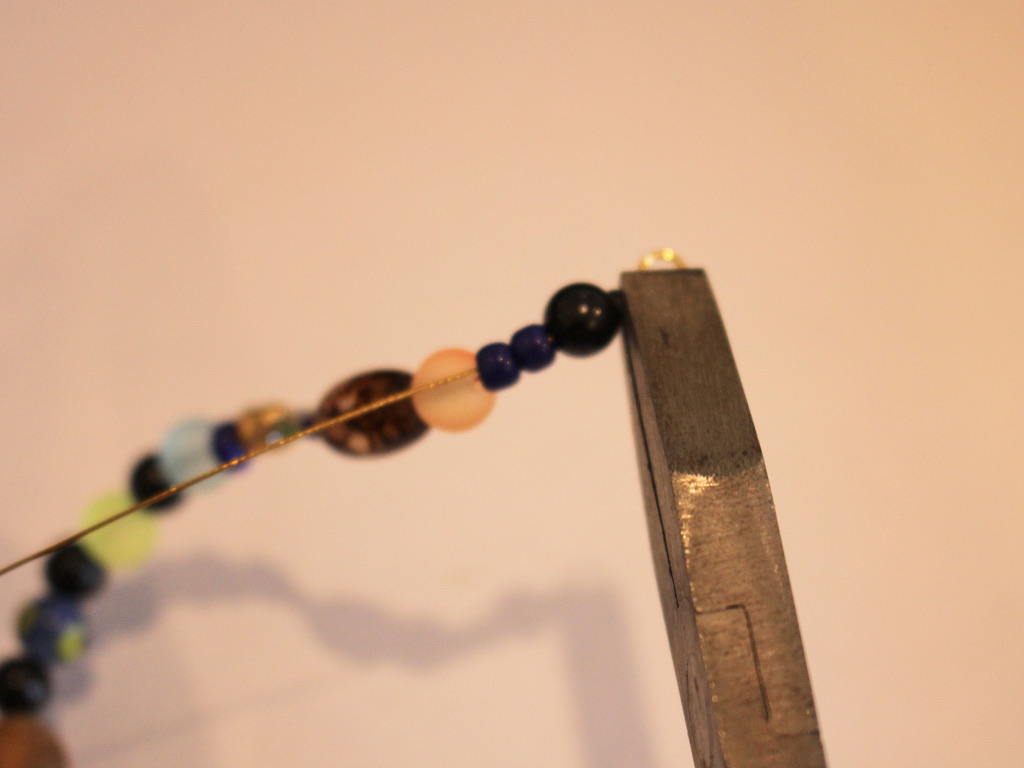
12: Trim the excess wire using the cutting pliers.


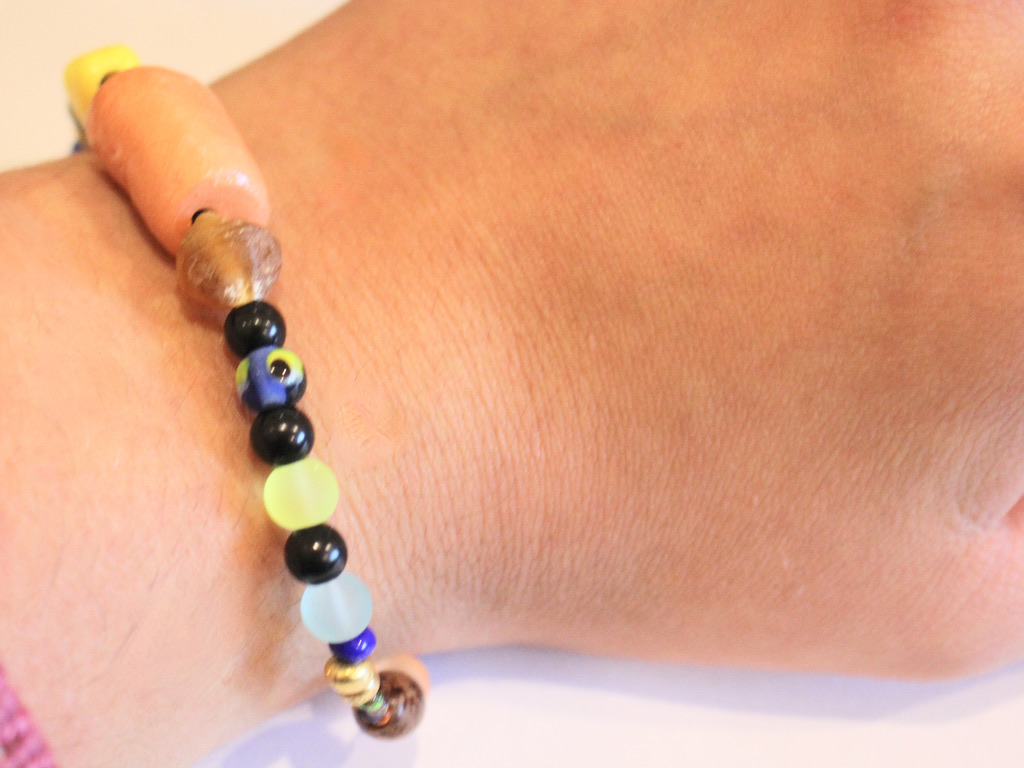
13: Now your bracelet is finished and ready to wear!


Here are some other mixed bead, craft-core tutorials for you to follow:
- A crazy mixed bead necklace
- A mixed bead necklace with letter beads
- This special mixed bead shoe chain that can also be worn as an anklet
- A simple mixed bead anklet
If you love the clay bead featured on this bracelet, here’s a tutorial that you can follow to make your own.
-
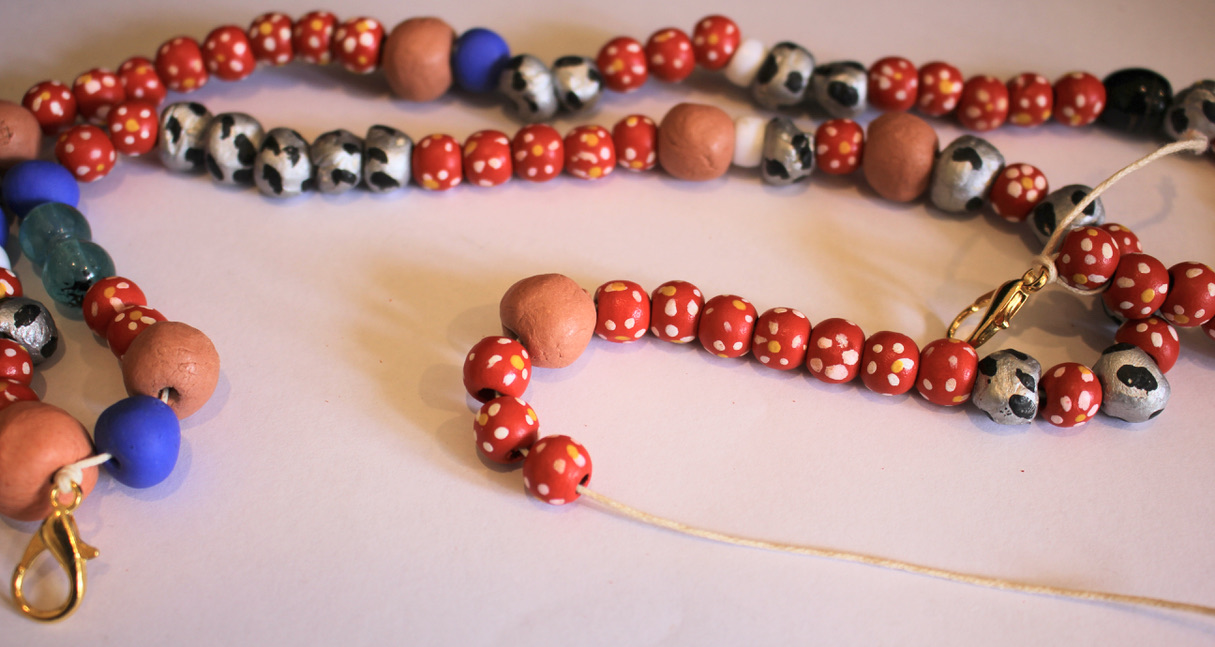
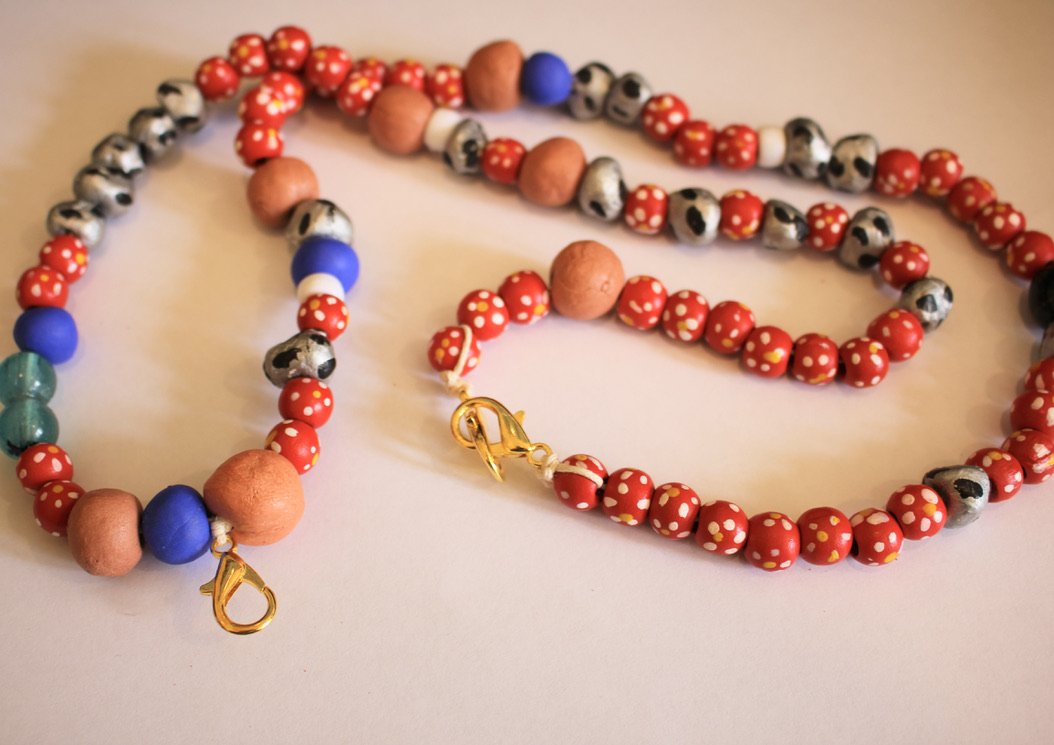
How to make a beaded lanyard using string and funky beads!
I recently caught up with a friend, she’s a teacher and she was really excited that she found some funky beaded lanyards, and it made me think… I could probably make one myself! So here’s the tutorial, here’s how to transform some string, clasps and funky beads into a useful lanyard! Please note that this tutorial contains affiliate links.
You’ll need these tools and materials to make your own beaded lanyard:
1: Scissors

2: Cotton twine, cut about 15cm longer than the length you want your lanyard.

3: Three large lobster clasps.

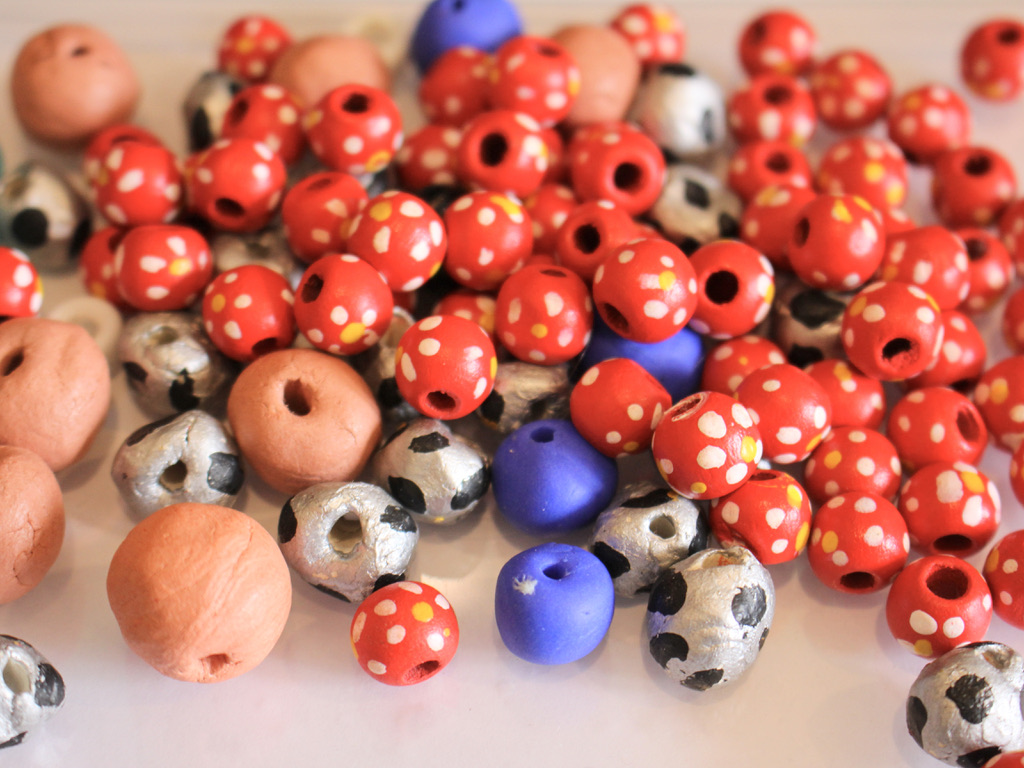
4: A selection of beads with holes large enough to fit on the string. I used some painted timber beads, glass beads, plastic beads, and some beads I made from polymer clay, resin and air dry clay.
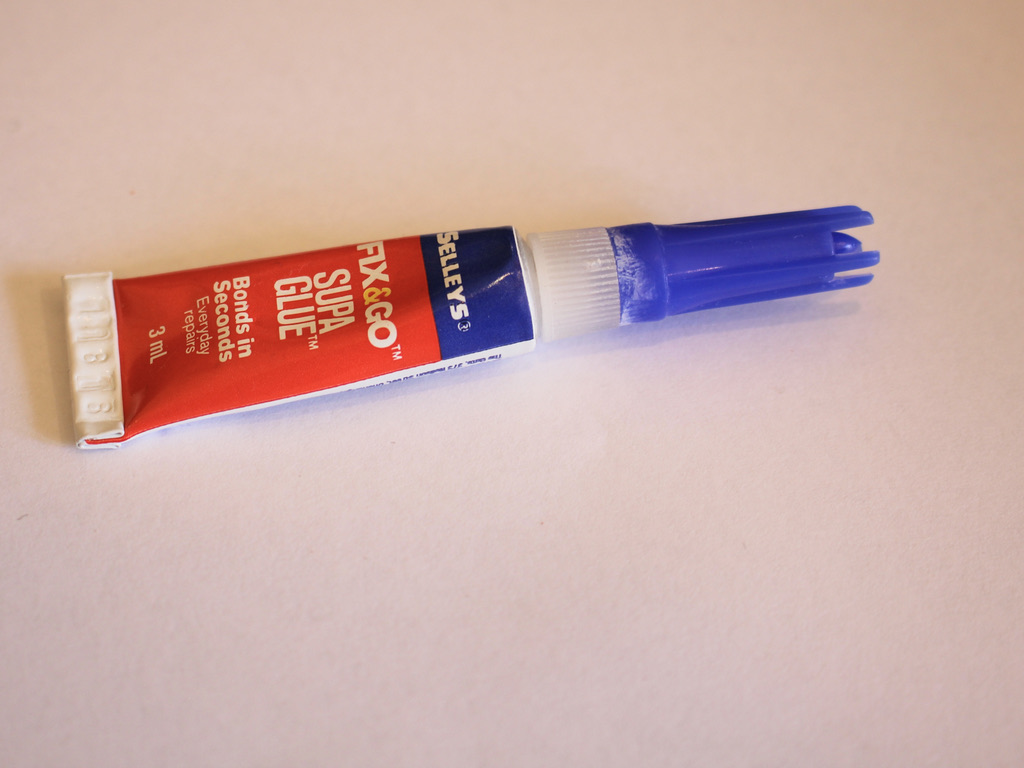
5: Superglue
Follow these steps to make your own beaded lanyard:
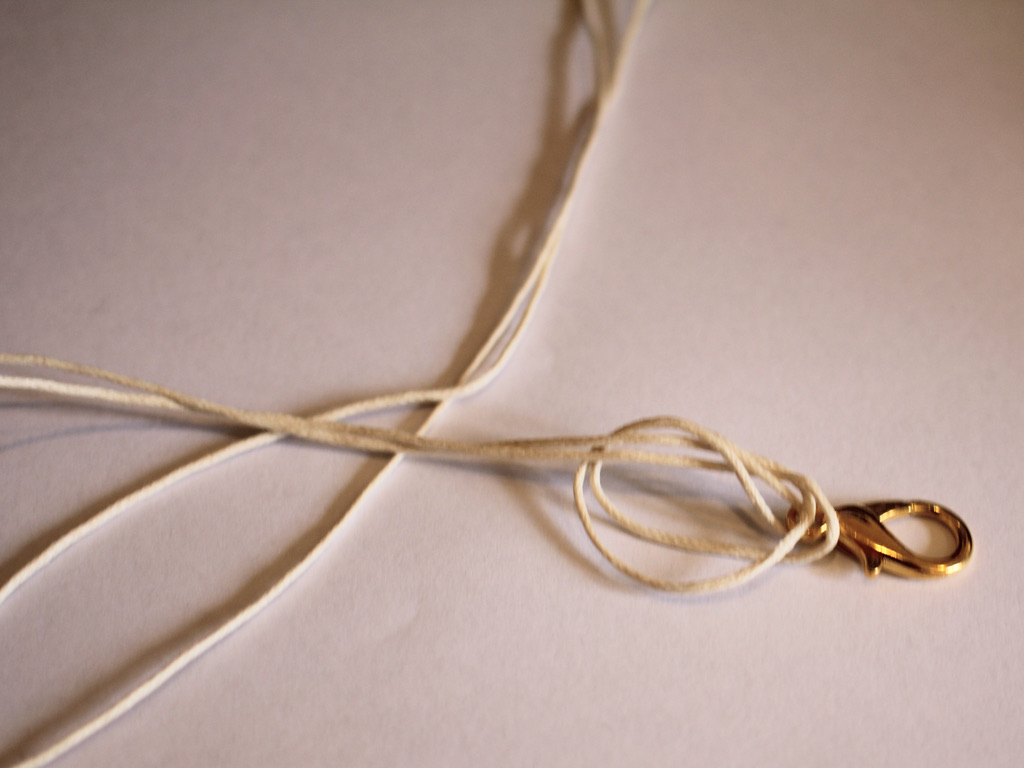
1: Take one of the clasps and add it to the middle of the piece of string.

2: Create a knot at the top of the clasp.

3: Add beads to one side of the lanyard until you get the length you like.


4: Add another clasp to the end of the lanyard and loop the end of the string back through the last bead and pull it tight.
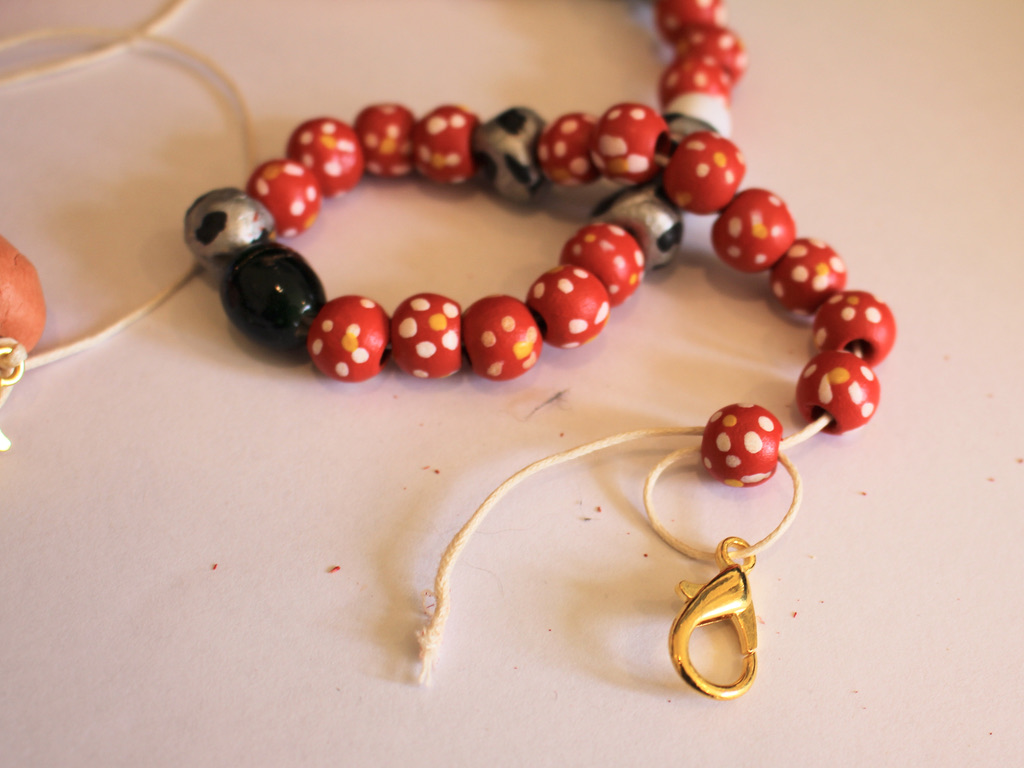

5: Tie a secure knot to the end of the string securing the clasp tightly to the last bead.


6: Repeat steps 3 to 5 for the other side of the lanyard.

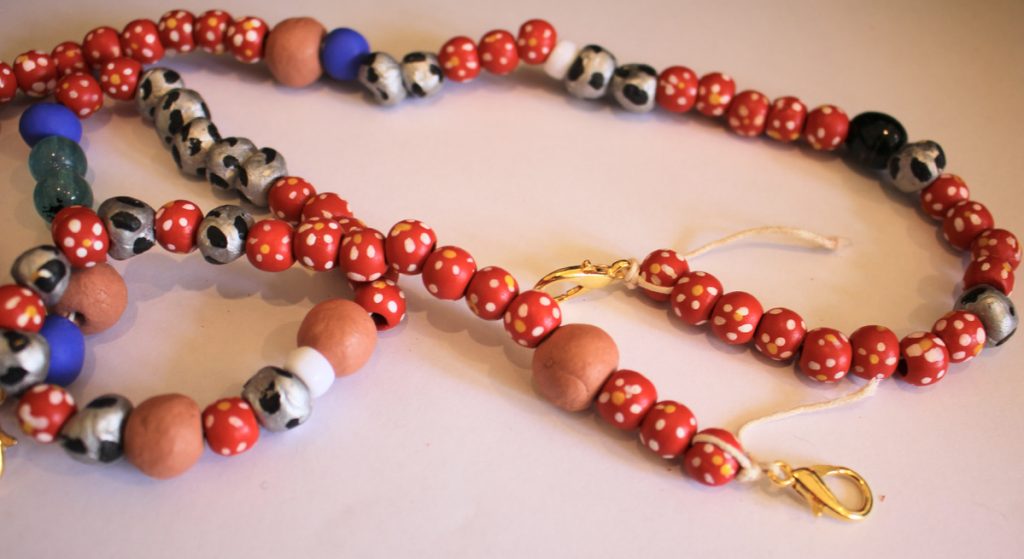
7: Trim the excess string on either end of the lanyard.


8: Add a dab of superglue to each of the knots at the end of the lanyard. Set it aside to dry.

Clip the ends of the lanyard together and now your beaded string lanyard is finished and ready to use!


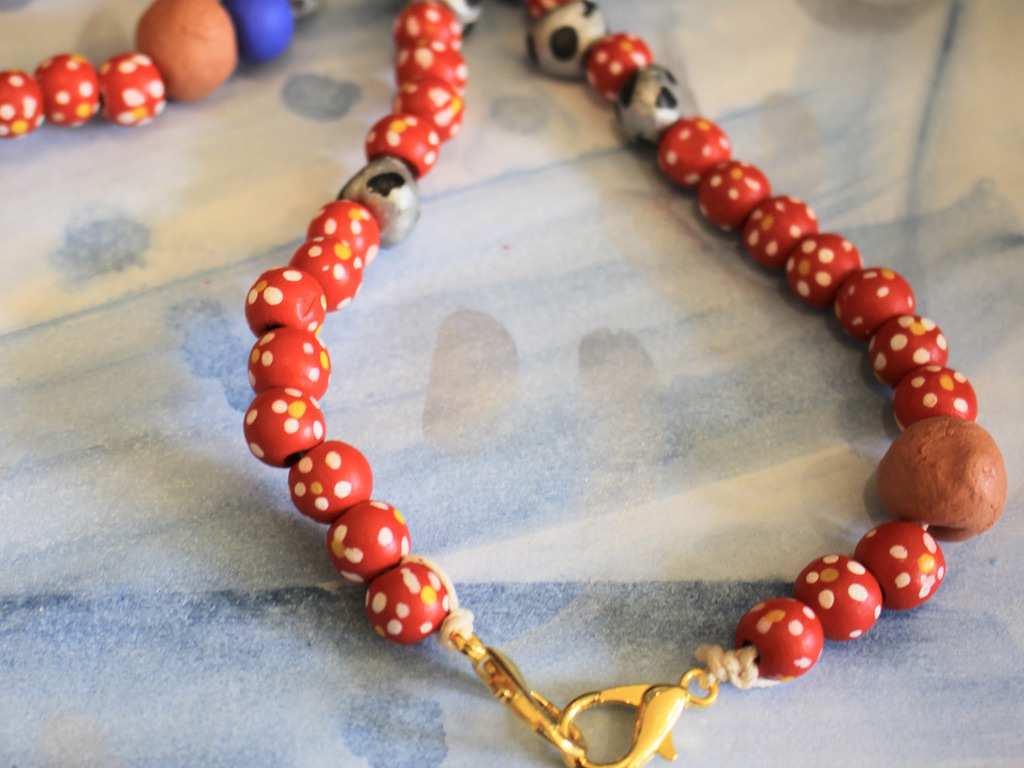
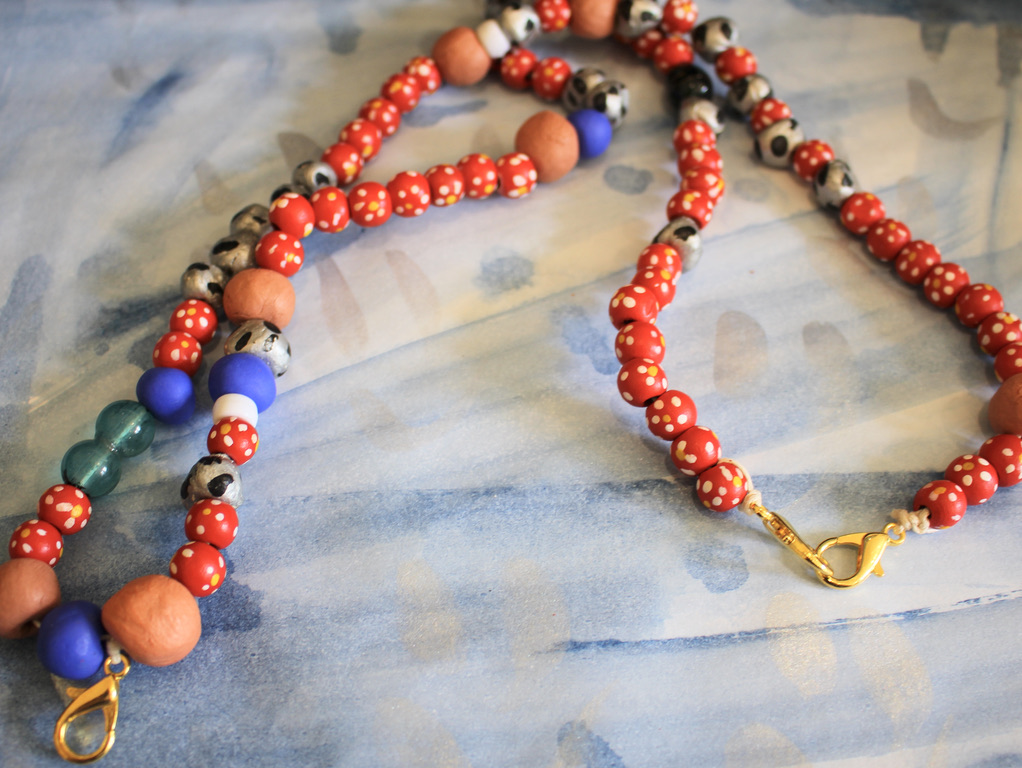
If you want to make your lanyard with handmade beads, here’s a tutorial you can follow to make your own.
You May Also Like

This Tutorial Will Let You Take Your Most Sentimental Gems and Charms With You Everywhere

Here’s how to turn a chain into a lariat that holds your wireless ear buds

Need help keeping hold of your phone? Here’s how to make a cute chain and rhinestone phone strap so its harder to lose!
-
Flowers brighten everything up! Make this cool beaded floral pendant necklace.
This floral pendant looks tricky but it’s actually really easy to make. Use your favorite chunky beads and some cool cotton cord to make this fresh looking necklace.
You will need the following tools and materials to make this floral pendant necklace.
1: Pliers. You will need your cutting pliers and flat nose pliers to make this necklace.

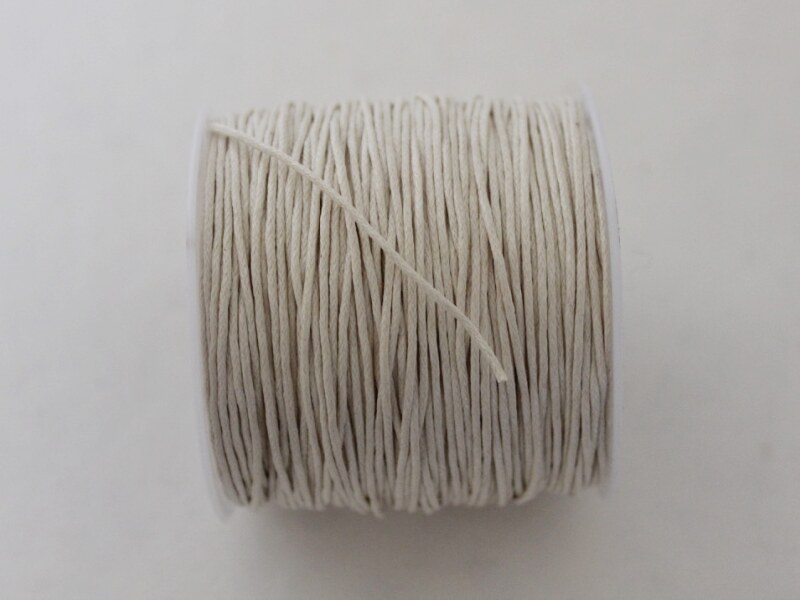
2: Some cotton cord.
3: Two crimp ends.

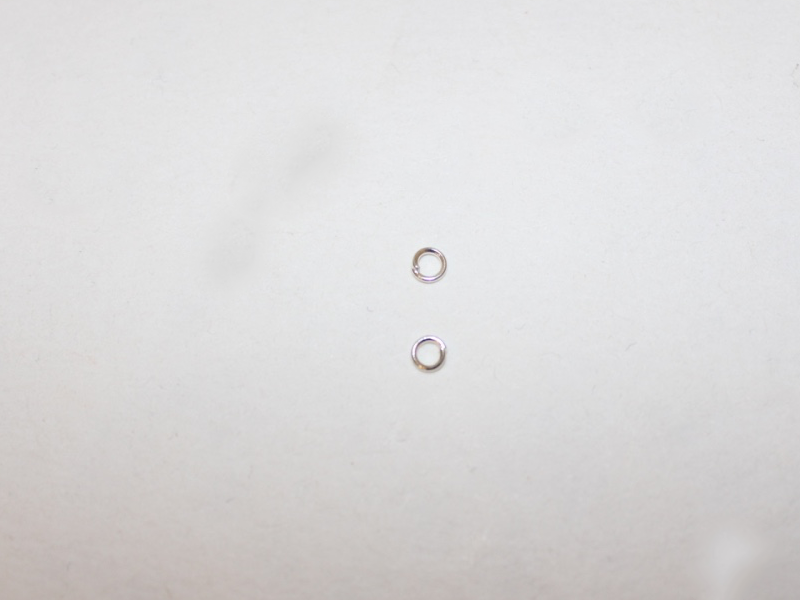
4: Two jump rings.
5: A lobster clasp.

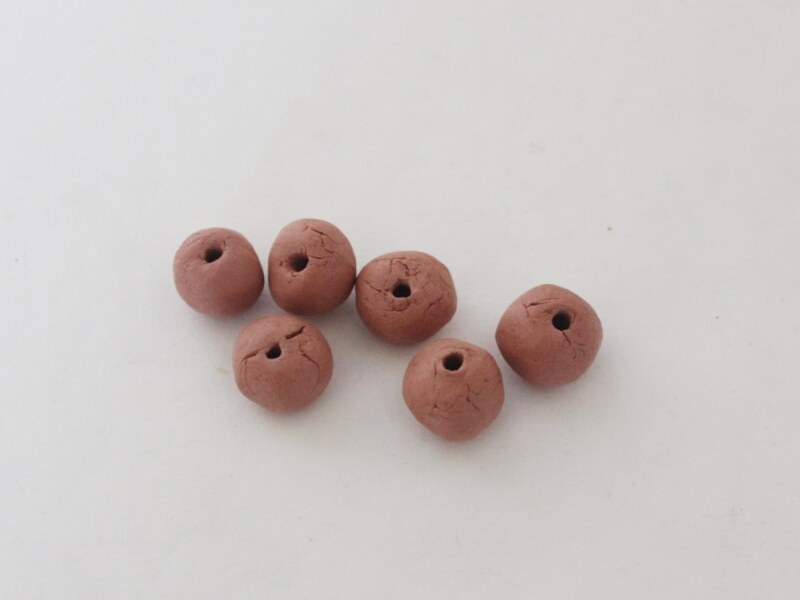
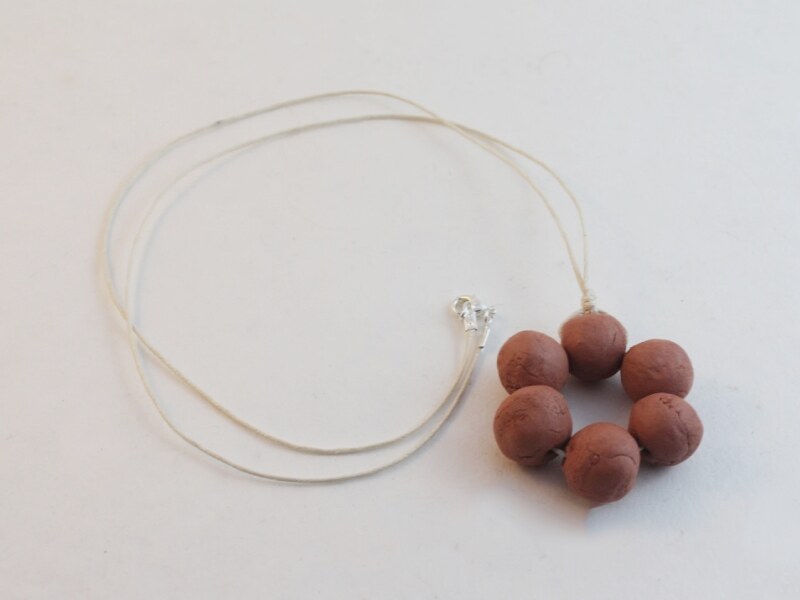
6: Six chunky beads of your choice. I used some handmade clay beads.
Follow these steps to make your floral pendant necklace:
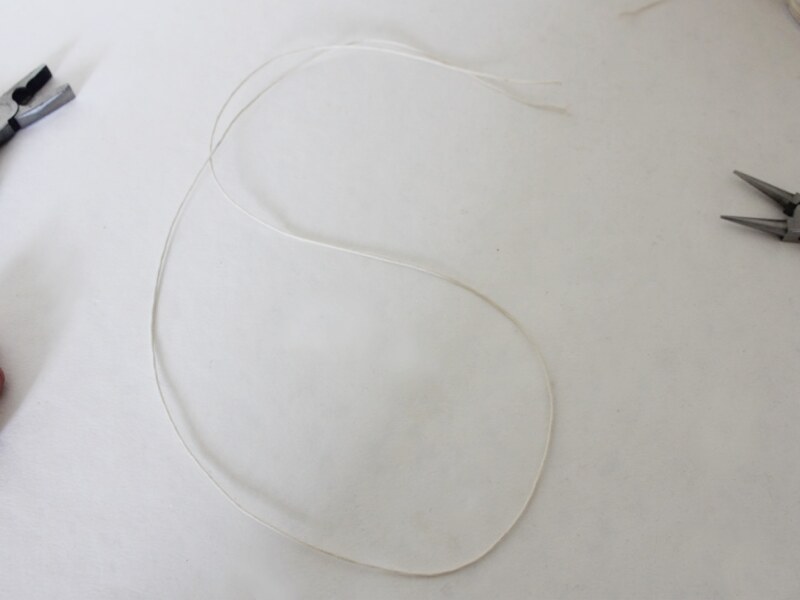
1: Cut a length of cord using your cutting pliers or some scissors. It can be useful to cut a little more than you think you need.

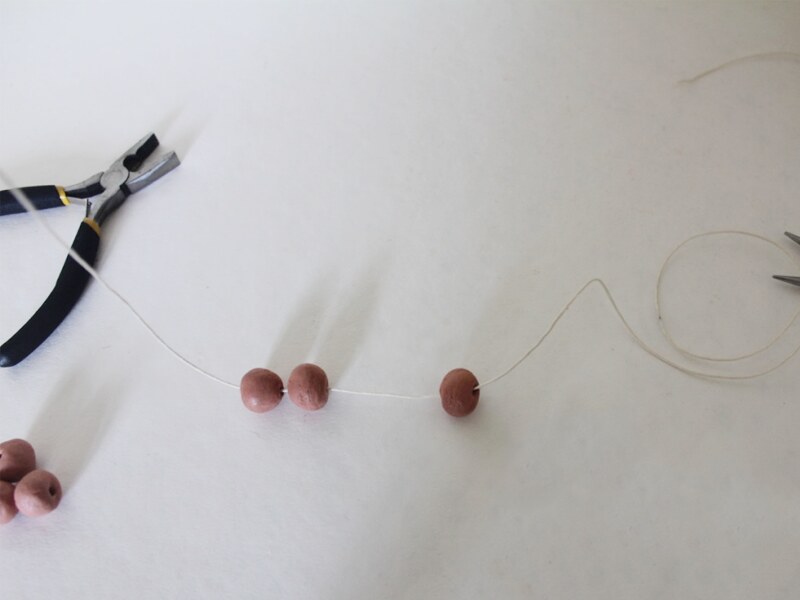
2: Add all of the beads to the cord, moving them to the center.

3: Pick up the last bead and side the opposite end of the cord through it.

4: Pull the cords in opposite directions, pulling the central bead down to form a circle of beads.
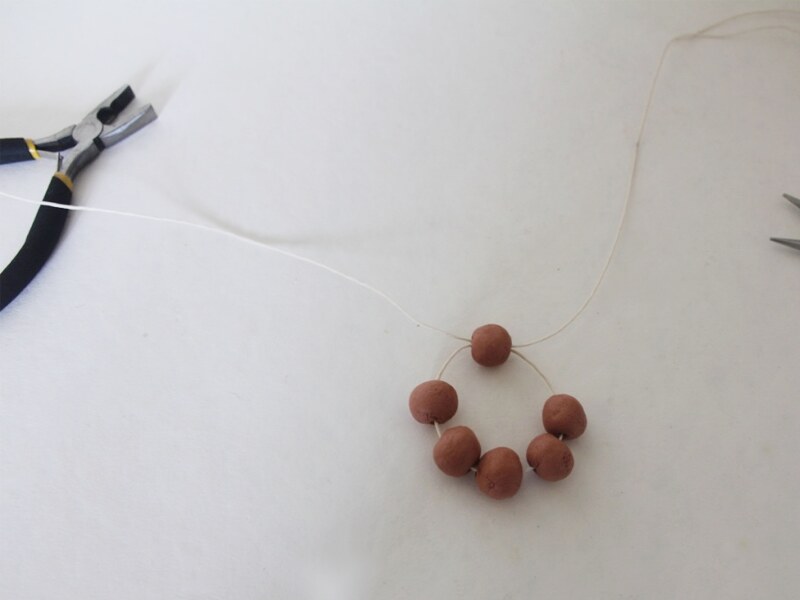

5: Tie the two cords together around the top bead.

6: Add another knot to secure the beads in place.

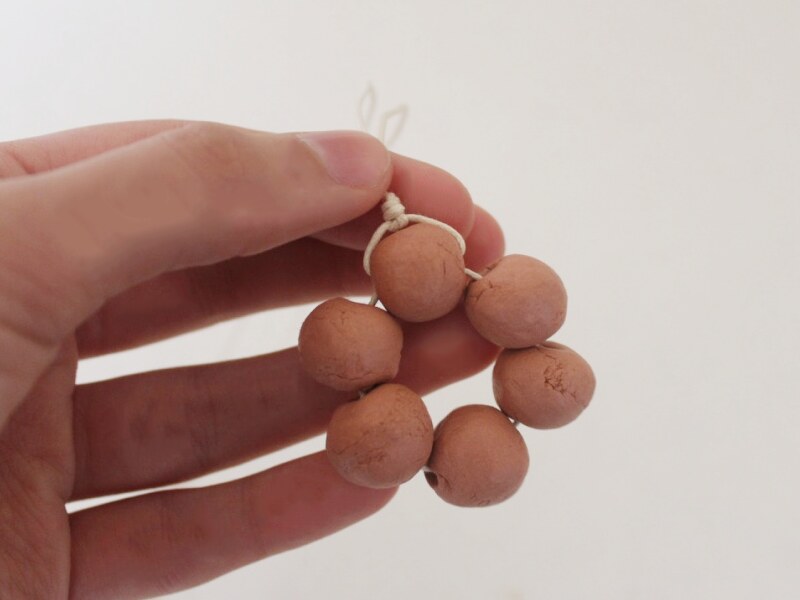
7: If your ends are uneven, trim them using your cutting pliers or scissors again.
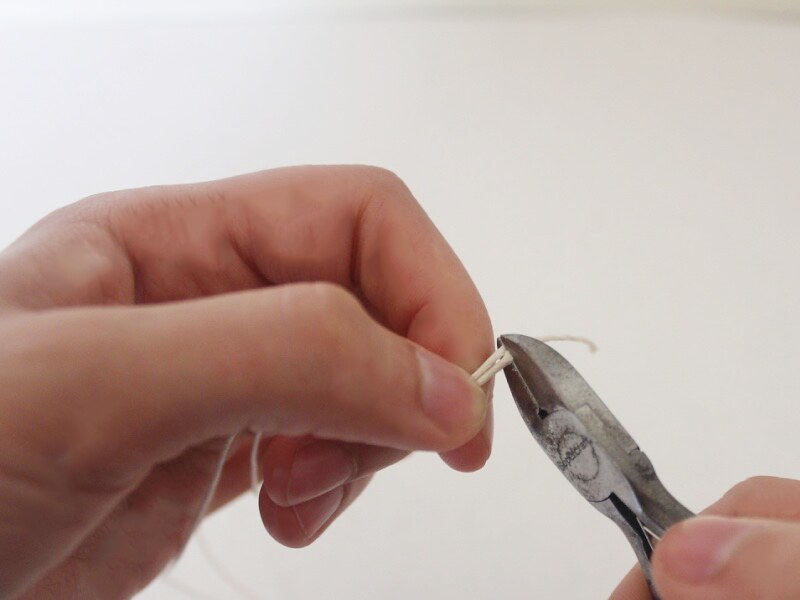

8: Add a crimp end to one end of the cord, securing it in place by squashing each side using the flat nose pliers.

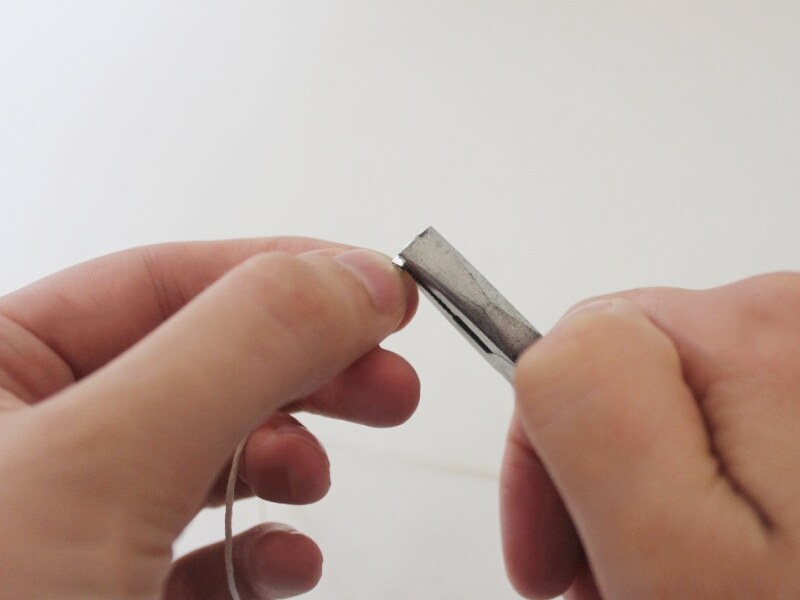

9: Repeat step 8 for the other side of the necklace.

10: Add a jump ring to one side of the necklace, adding a lobster clasp to the jump ring before closing it.
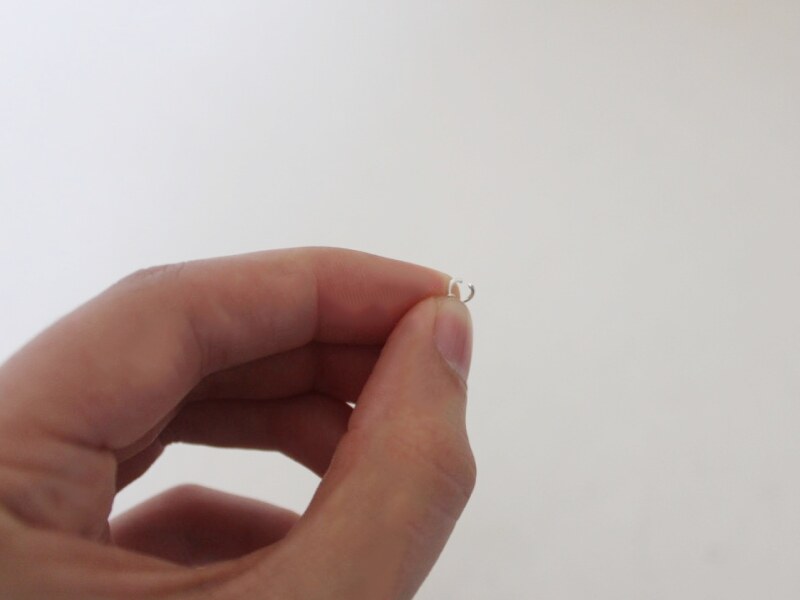

11: Add another jump ring to the other side of the necklace to complete it.
Cute or what? Which beads will you use to make your own beaded floral pendant?
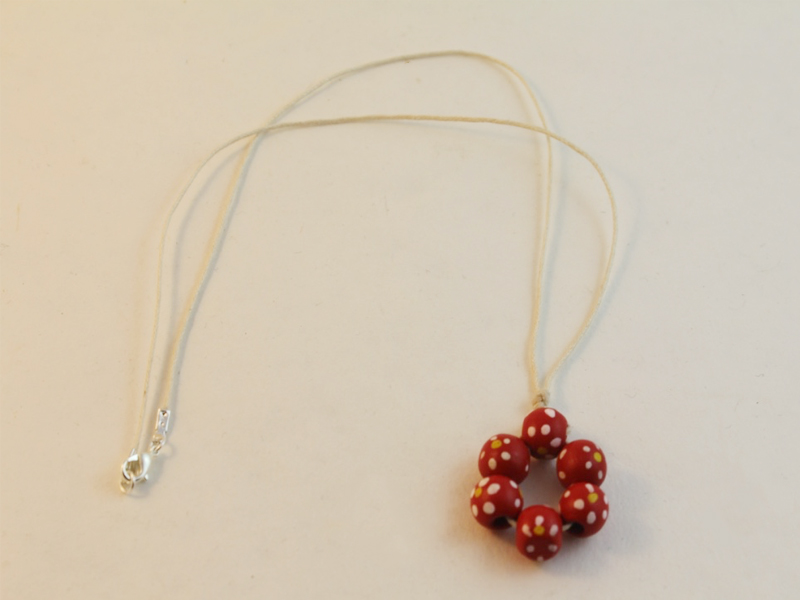
Here’s another one I made using some painted wooden beads.
-
Want to make something sweet for Mom? How about a handmade heart?!
Mom’s love something that comes from the heart… so why not make her a pretty rustic handmade heart pendant or bead out of air dry clay? Here are some instructions for making handmade hearts two different ways to give to your mom this Mother’s Day.

You will need the following tools and materials to make these clay hearts:
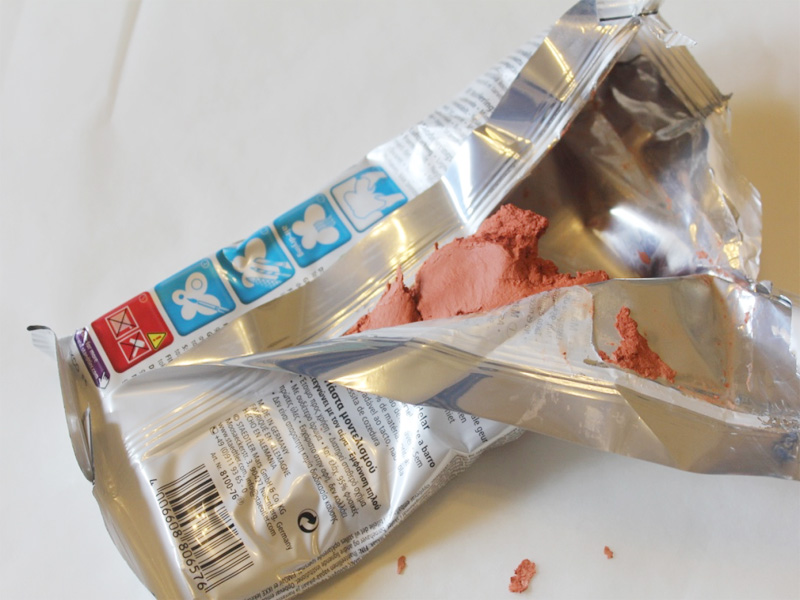
1: Air dry clay.
2: A skewer.

Follow these steps to make these cute clay hearts:
1: Pull out two small pieces of clay from the package.

2: Work the clay a little bit and form them into balls.
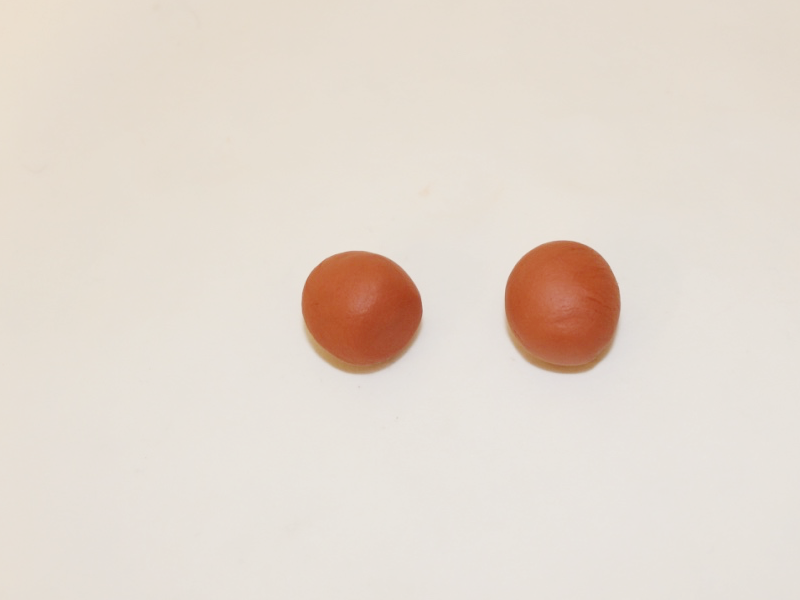
3: Take one ball and flatten it slightly.
4: Using your fingers form the flattened clay into a rough triangle shape.

5: Use the skewer to define the top of the heart.
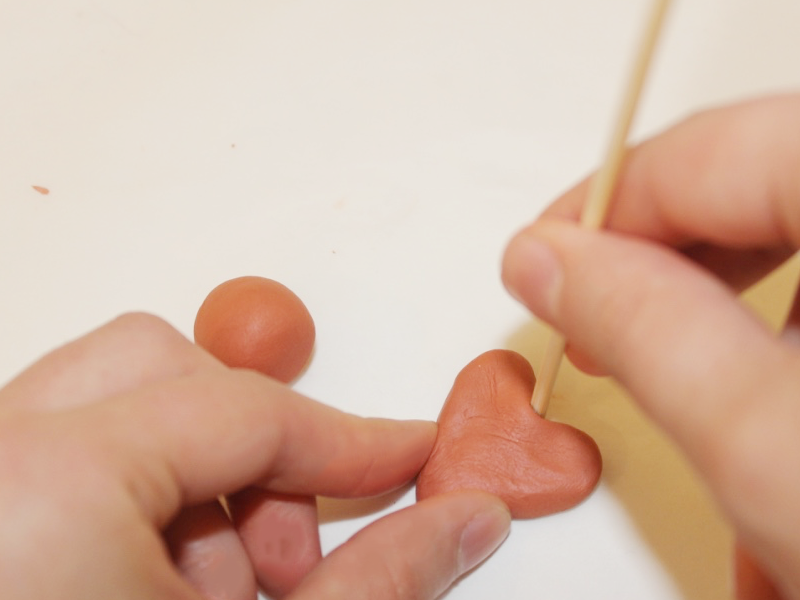
6: Poke the skewer through the top of the heart to turn it into a pendant.
7: Create your desired pattern on the heart pendant. I used the end of the skewer to create a polka dot effect.
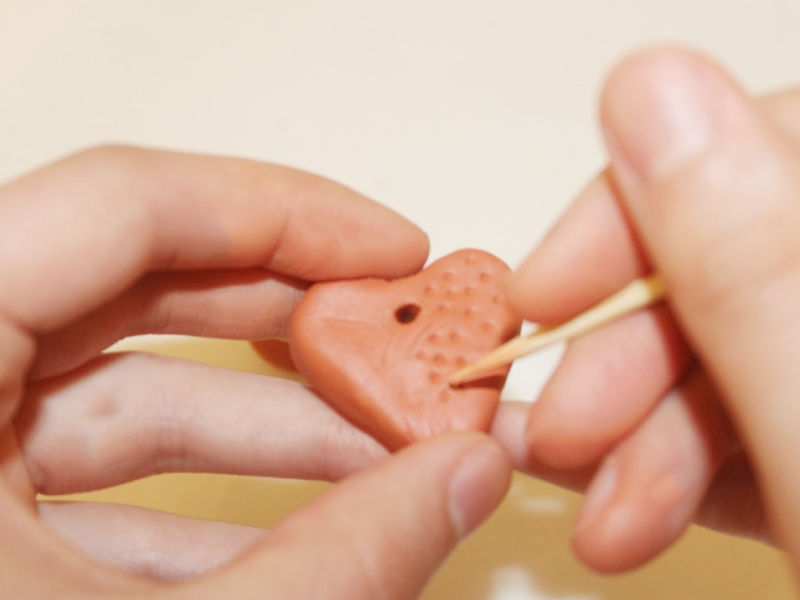
8: Repeat steps 3 to 4 to form the second heart shape.
9: Use the skewer again to make a hole through the center of the second heart that runs from top to bottom.

10: Create a pattern on the second heart.
11: Set both hearts aside to dry!

12:Now that your clay hearts are dry all that’s left to do is to add your new beads to some stunning jewelry designs. What will you make for your mom?
Here are a couple of pics to give you some heart-filled inspiration!


-
Give Your Jewelry a Unique Edge by Making Your Own Beads!
I love making jewelry with pretty beads and pendants made out of different materials like gemstones and glass, but sometimes I want to my jewelry designs to have a special, one of a kind edge. To make sure that my designs are truly unique, I sometimes make my own beads out of air dry clay. Using clay allows you to get really creative with the shapes and forms that you create. Not only can you make your own beads, you can made some beautiful pendants and charms as well. Using air drying clay requires a little bit of extra patience (As you wait for them to dry) but it is an easy fun (and slightly messy) material to work with!
In this tutorial I will show you a few different ways that you can make unique clay beads and pendants.
You will need the following tools and materials to make these clay beads and pendants:
1: Air dry clay. I used terracotta colored Fimo Basic air dry clay.
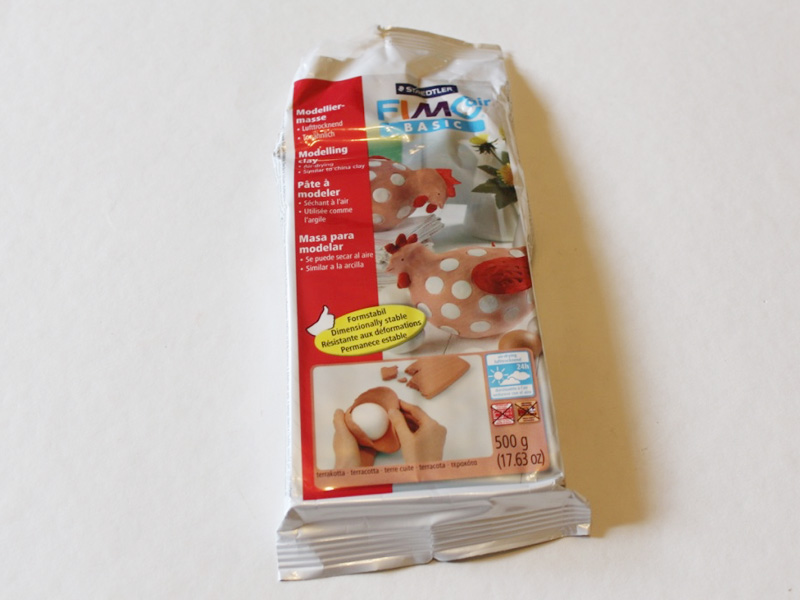
I used terracotta colored Fimo Basic air dry clay but this DAS air dry clay in terracotta gives a similar finish. You can also purchase it in white!
2: Baking paper. Baking paper is a great surface to work on and helps to keep your surfaces clean!
3: A skewer for making holes in your beads and pendants.
4: Buttons or other materials for adding pattern to your beads and pendants.

The Steps:
Here are the steps for making a round clay bead:
1: Lay down a piece of baking paper.
2: Take out a portion of clay.
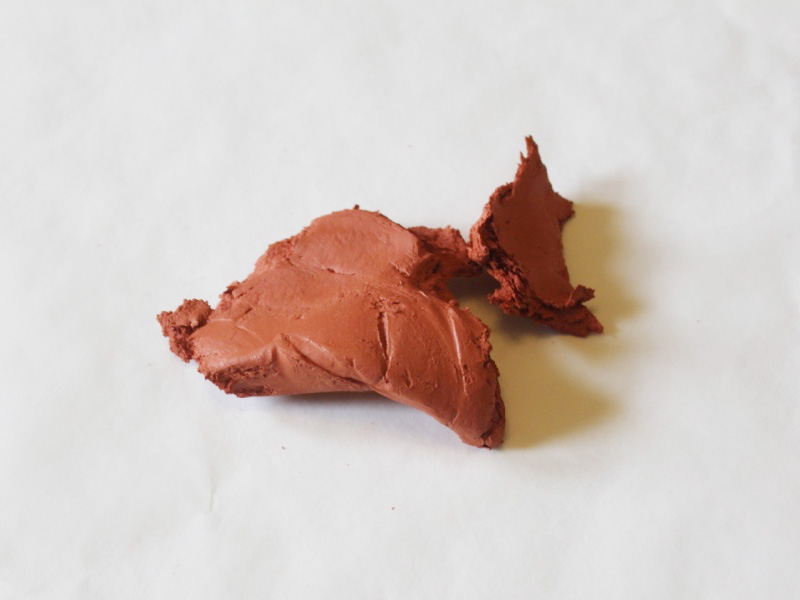
3: Begin rolling and shaping the clay in your hands. Forming a spherical shape can be easier if you roll the piece on a flat surface.


4: Once you are happy with the shape you have made, take the skewer and poke a hole through the center of the bead.


5: Your shape might be a bit disfigured after poking the skewer through, carefully reshape it again and poke the skewer through the hole from the other side. This will ensure that the hole is evenly shaped on both sides.
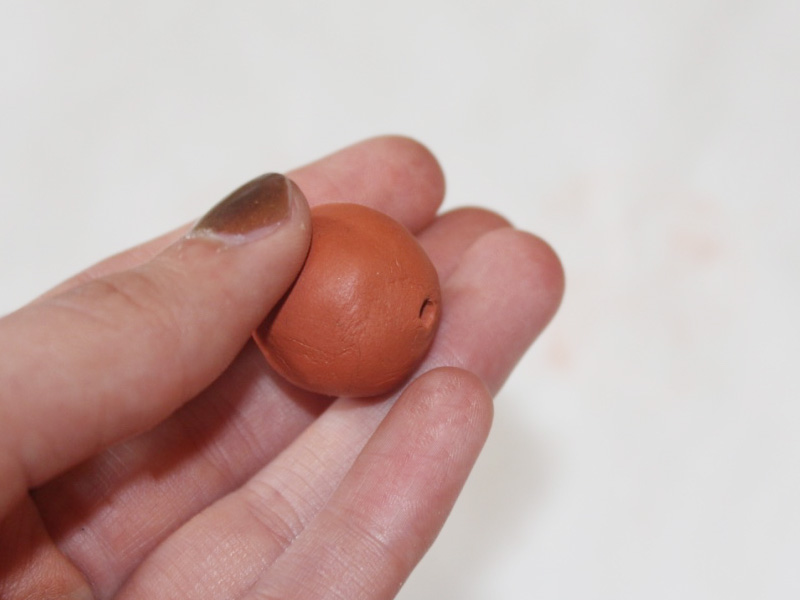

Here are the steps for making a textured round clay pendant:
1: Take another piece of clay and begin shaping it into a sphere.
2: Take the spherical shape and then flatten it between your palms to make a disk shape.

3: smooth the surfaces out by pressing each side lightly against a flat surface.
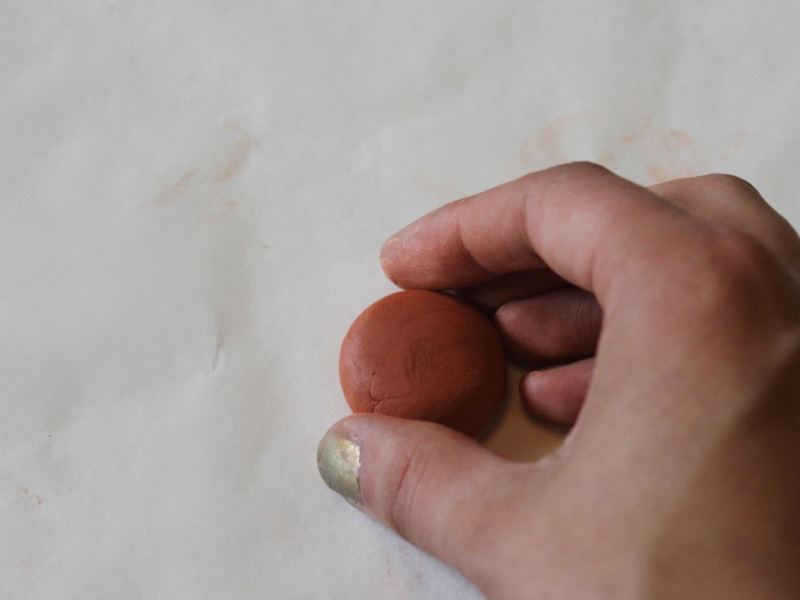
4: Once you are happy with your shape, take a button and press it into the upper face of the clay. Make sure you press down firmly to get a good impression in the clay.
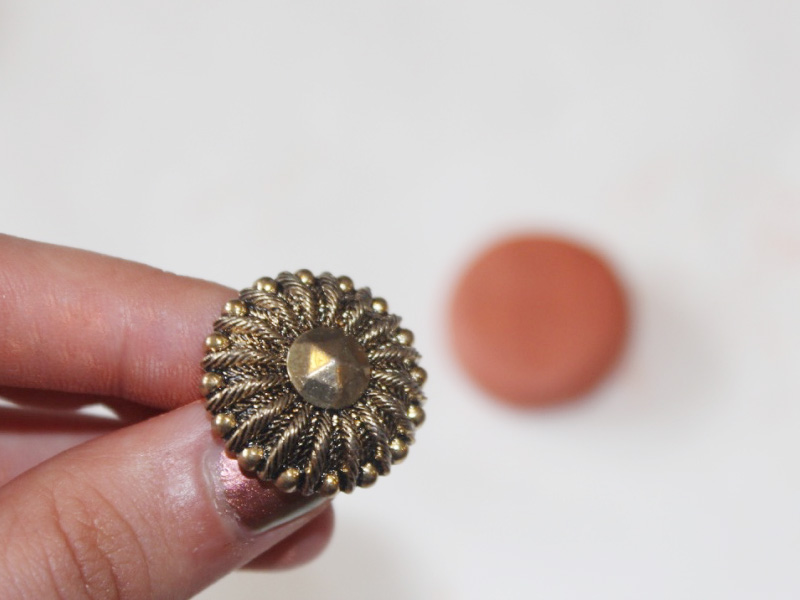

5: Remove the button to reveal the impression made in the clay.

6: Take the skewer and use it to create a hole in the pendant disk. As with the round bead, you may need to poke the skewer through from both sides.
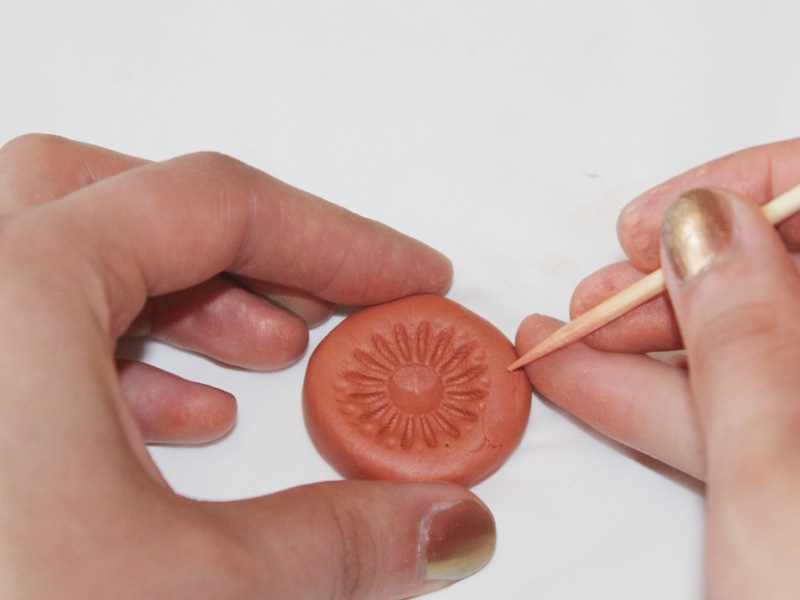
Here are the steps for making a rectangular clay pendant:
1: Form a rectangular shape with a piece of clay using your fingers to make your desired shape.
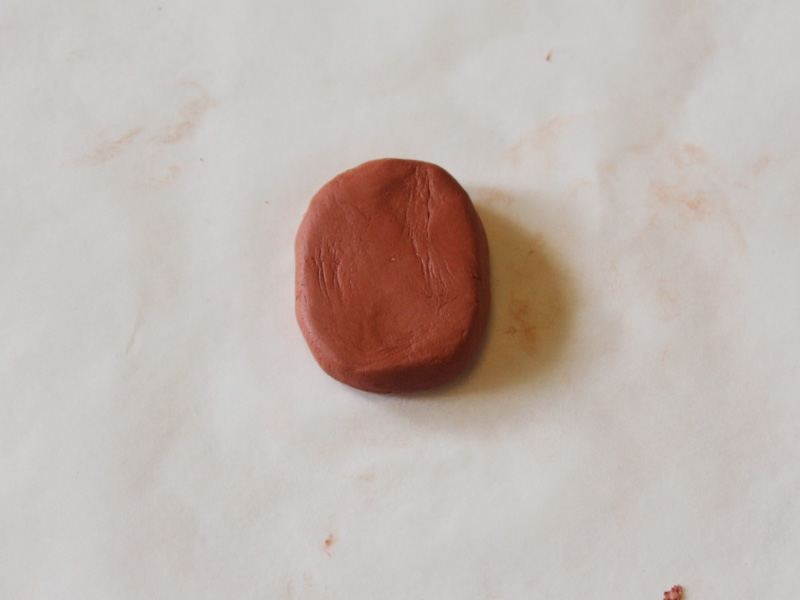
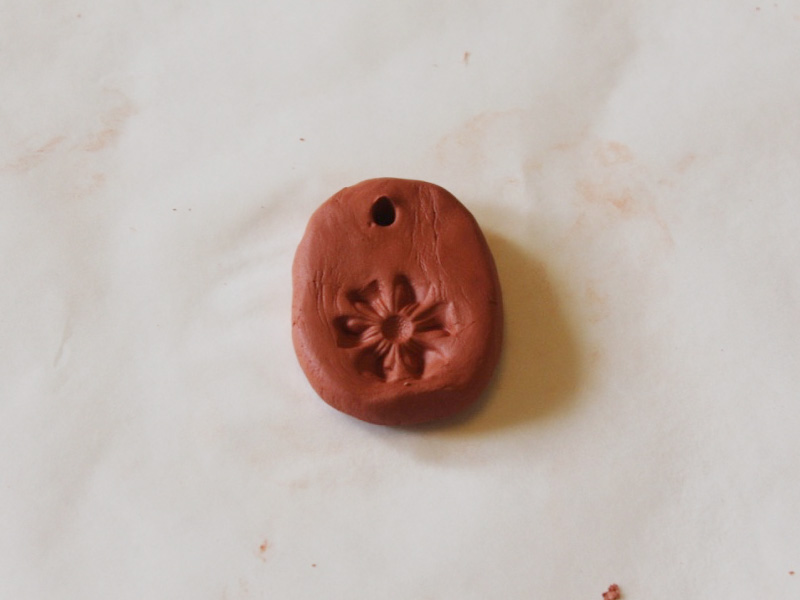
2: Take another button or charm and press it firmly into one end of the clay shape.
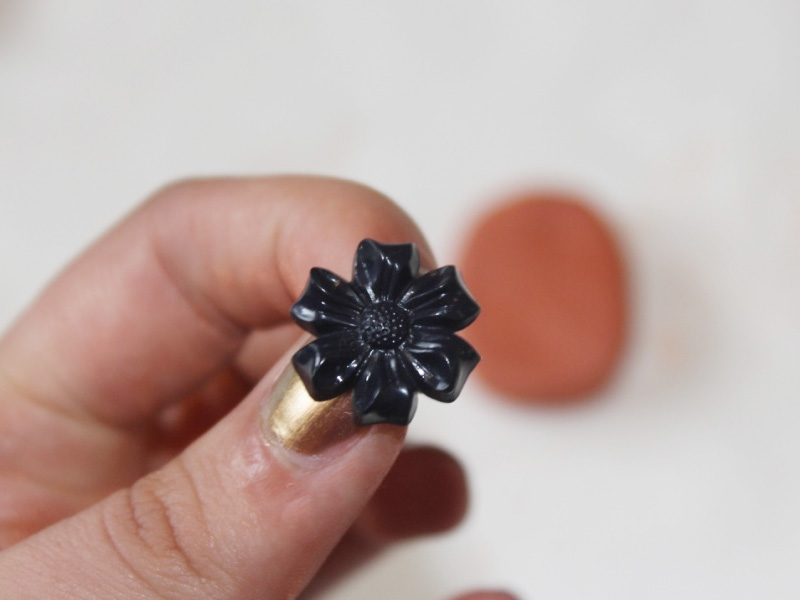


3: Remove the button to see the impression it has left in the clay.
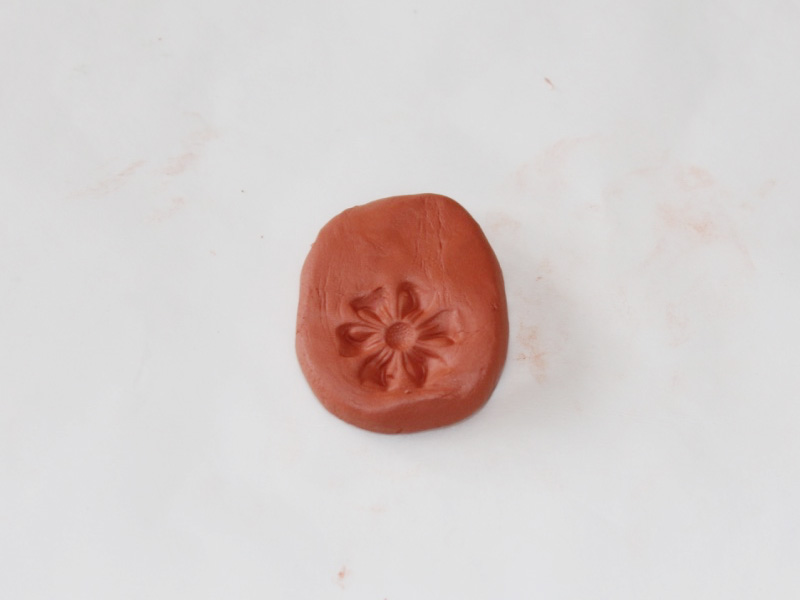
4: Use the skewer to create a hole at the top of the pendant. Make sure you poke the skewer through to create an even hole.

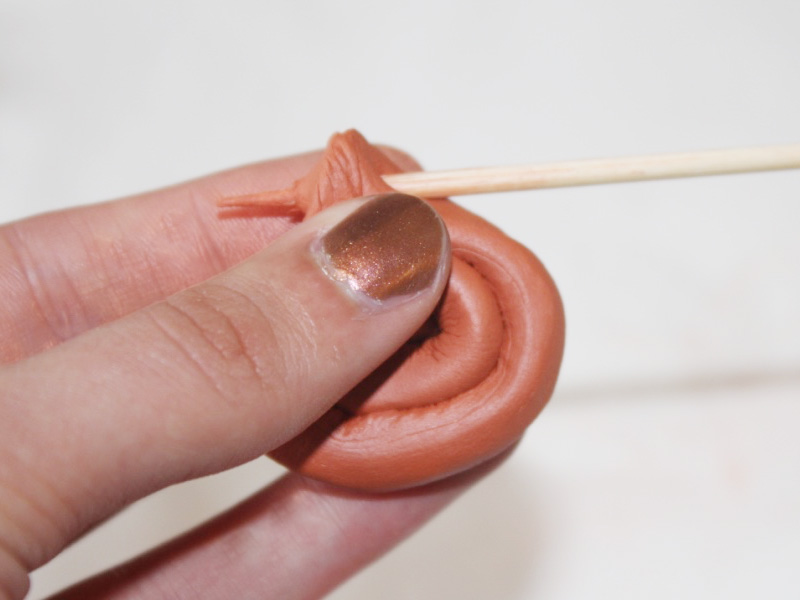
Here are the steps for making a coiled clay pendant:
1: Roll some clay backwards and forwards on a hard surface using your fingers.

2: Continue rolling until your piece of clay is a long flexible log shape.

3: Coil the log into a spiral shape and pinch the end to create a space for the hole to be placed.

4: Poke the skewer through the top part of the pendant. Make sure to even out the hole on both sides.


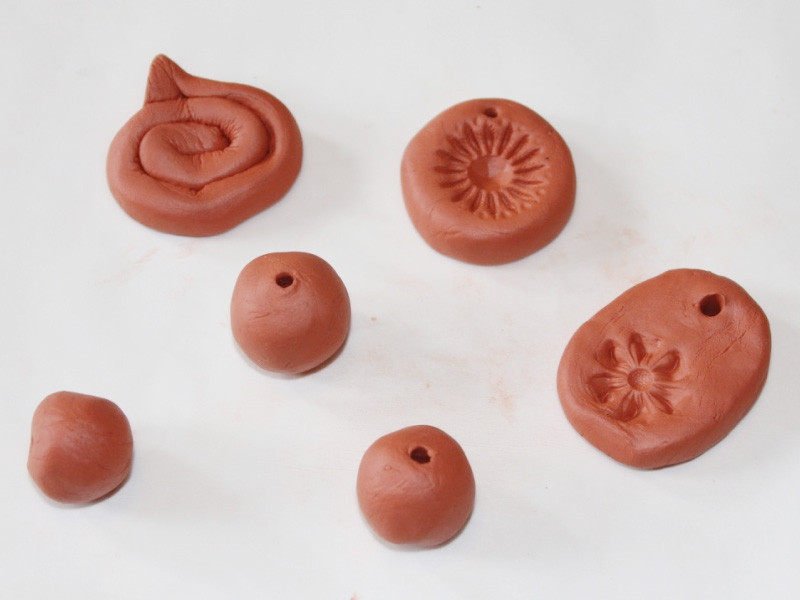
When you have finished making all of your clay designs, pop them outside to harden in the sun. If that doesn’t suit you can leave them to dry inside.

Once your pieces are dry you can get to beading with them right away or you can add some extra pizzazz by finishing them off with some paint.
Here are some tutorials that show you can use your handmade clay beads and charms:
- Turn your clay charms into scented diffusers
- Make a flower necklace with clay beads
- How to make clay love heart charms
- Make a double strand necklace with clay statement beads
Here is some more inspiration for making jewels out of your handmade clay beads and charms.
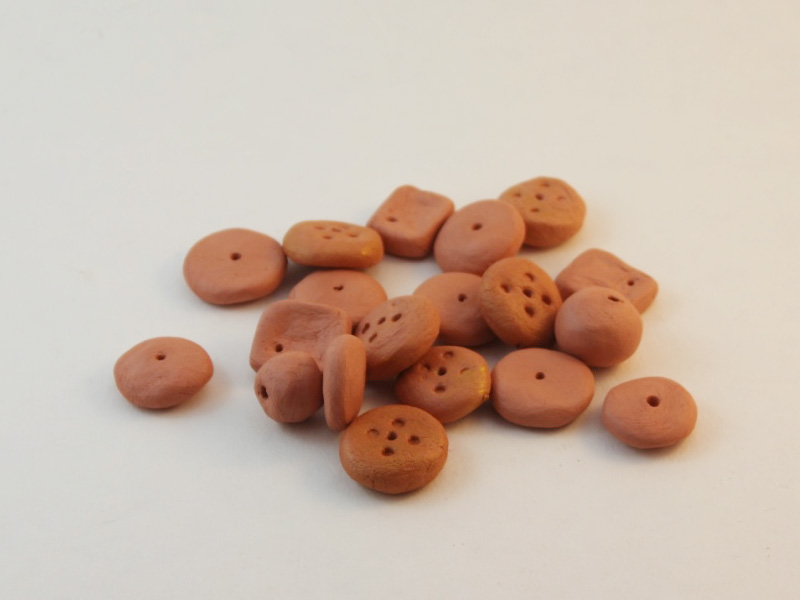
Some of these beads have a metallic finish that was achieved by mixing gold acrylic paint into the clay when it was still wet. 
These clay beads were painted with acrylic paints after they had dried. 


These hand formed cube beads were painted with red and gold acrylic paint. 

A memory wire bracelet made using hand painted clay beads and blue glass seed beads. 
Handmade clay buttons This tutorial contains affiliate links