
Make this cute beaded arrow necklace for some pretty stunning results
This necklace is made using a couple of eye pins, some pretty chain and any beads you choose. It’s a simple but stunning design that will compliment any number of styles. This arrow necklace is also super easy to make, it shouldn’t take you more than 30 minutes to put together, so you can have a nice new necklace for your next celebration.
You will need the following tools and materials to make this arrow necklace:
1: Pliers. You will need your round nose pliers and flat nose pliers to make this necklace.


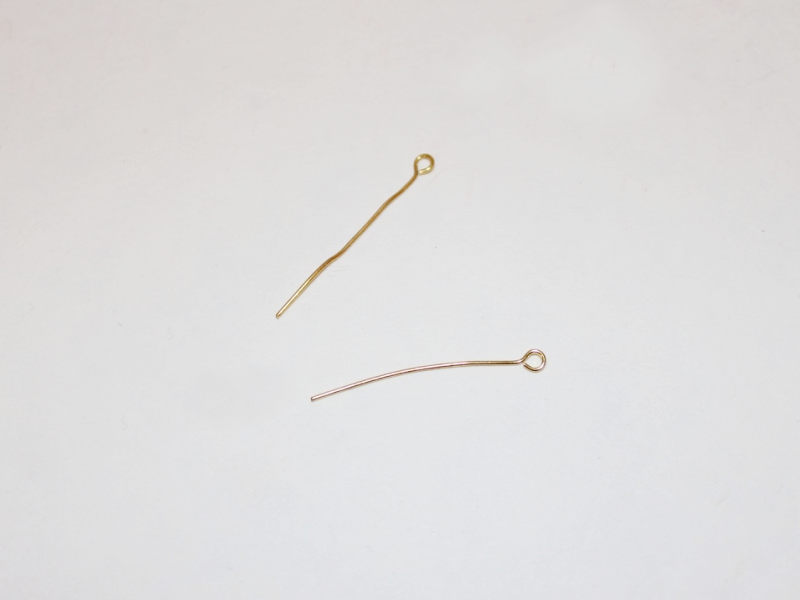
2: Two eye pins.
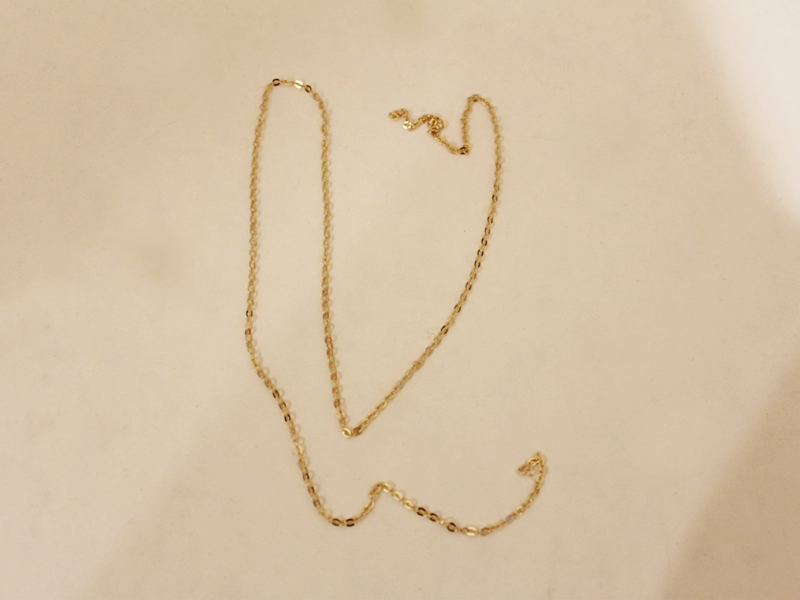
3: A piece of chain.
4: One toggle clasp.

5: Two jump rings.

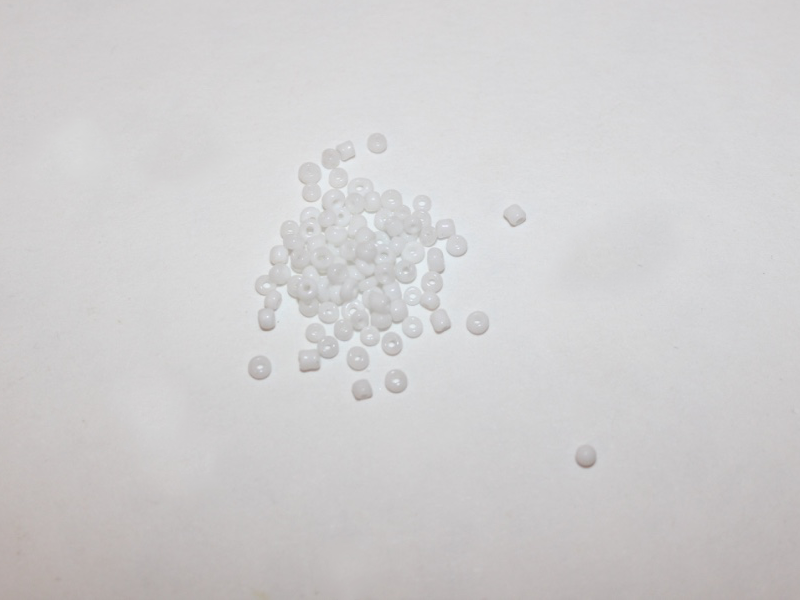
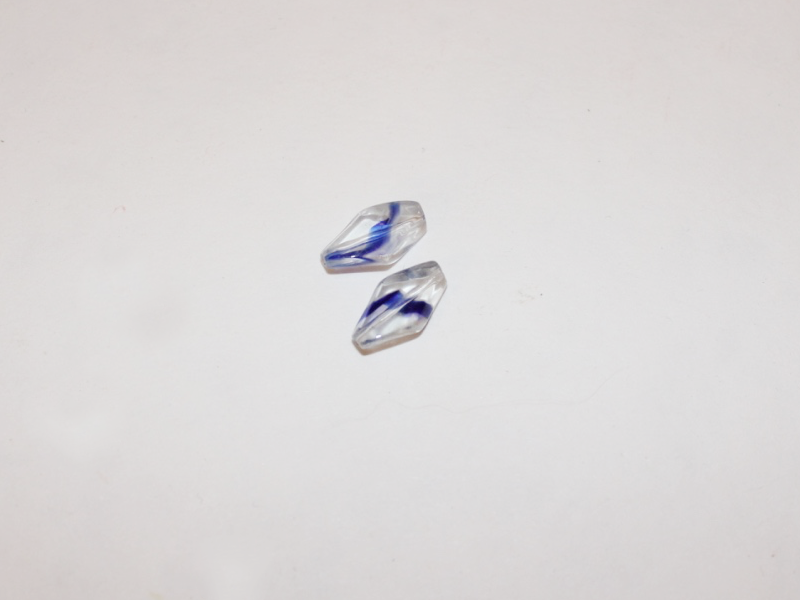
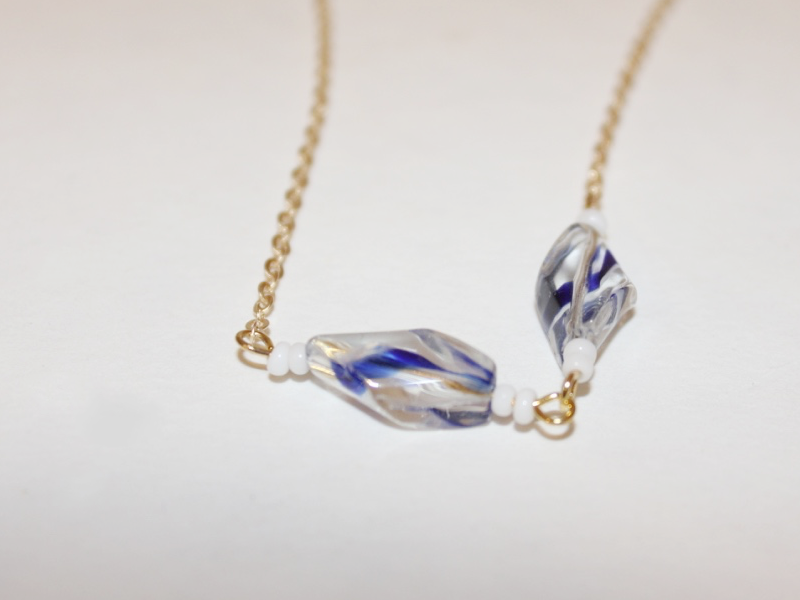
6: Beads of your choice. I used some white seed beads and two blue twisted glass beads.
Follow these steps to make your arrow necklace:
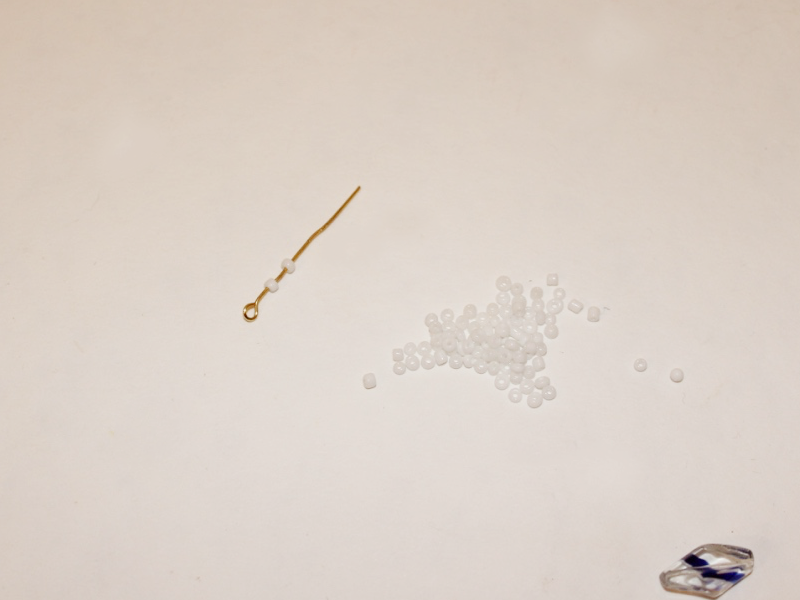
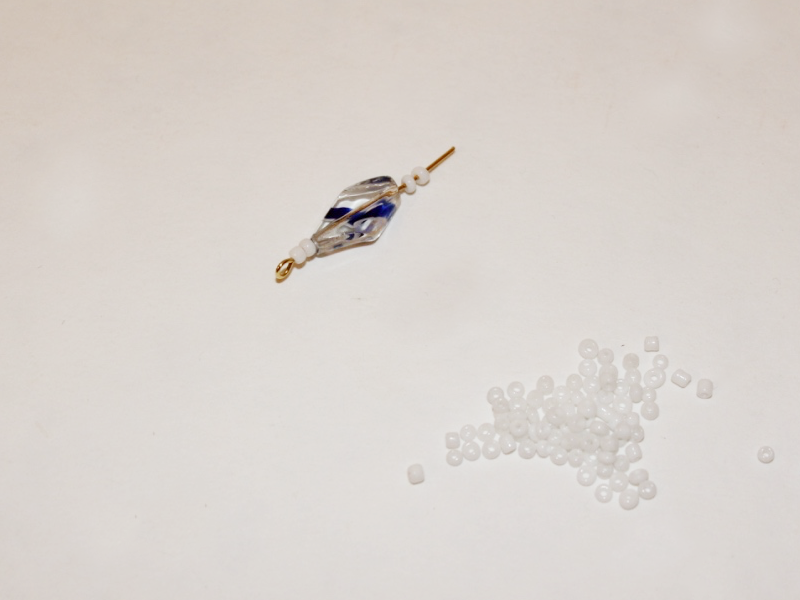
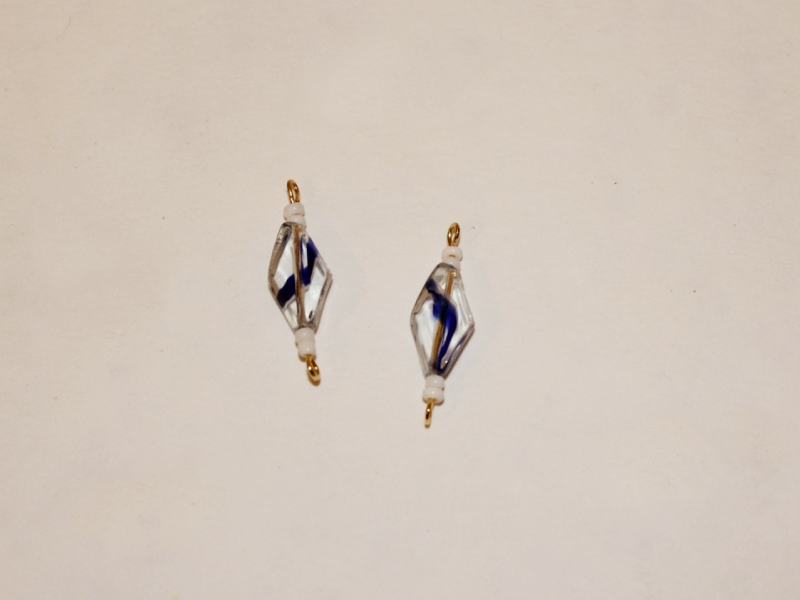
1: Add the beads to each of the head pins in your desired pattern. I used the blue twist beads as feature beads.
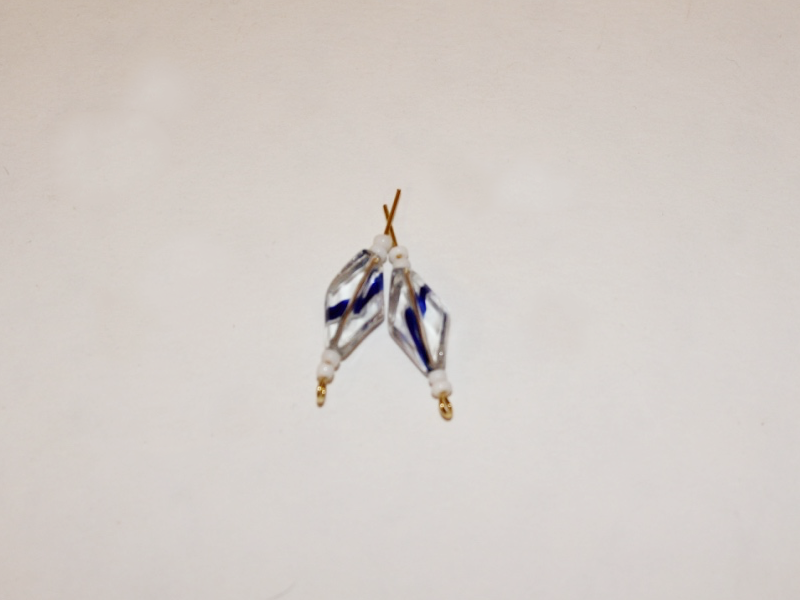
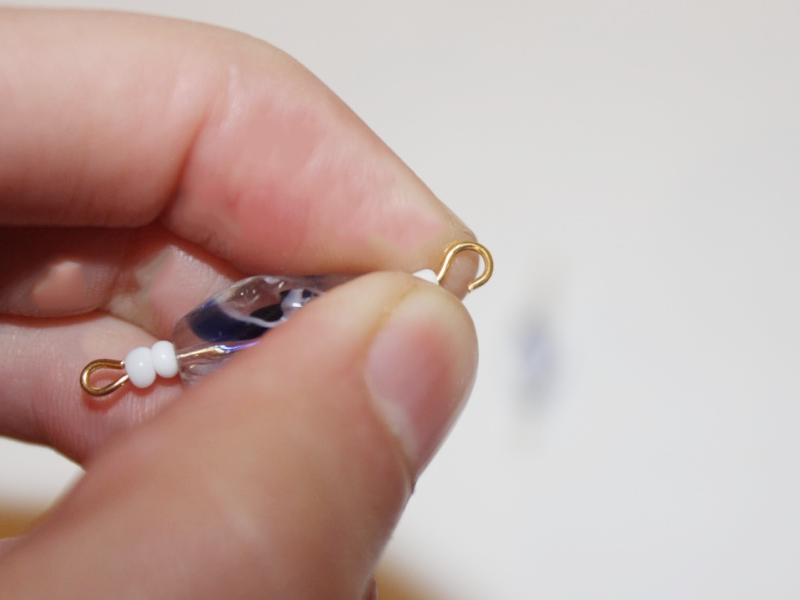
2: Once all the beads have been added, use the round nose pliers to bend each pin at a right angle to the beaded section.
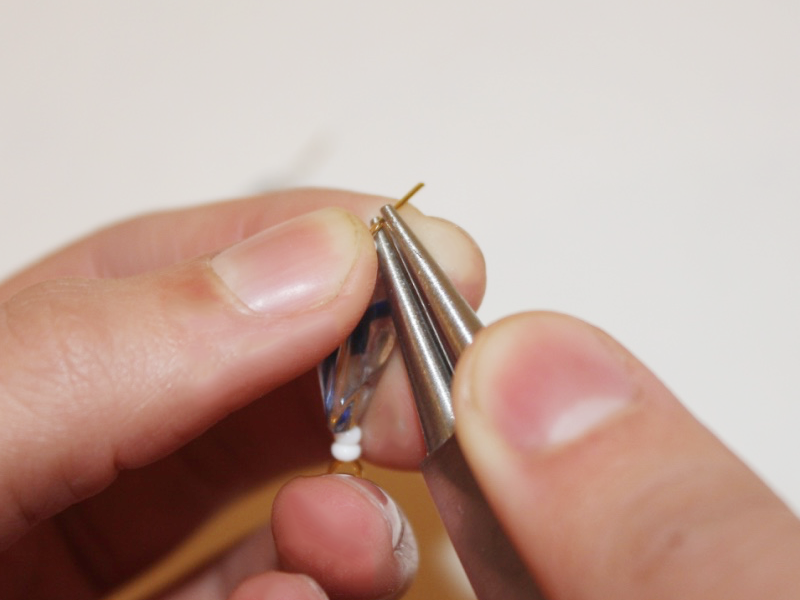

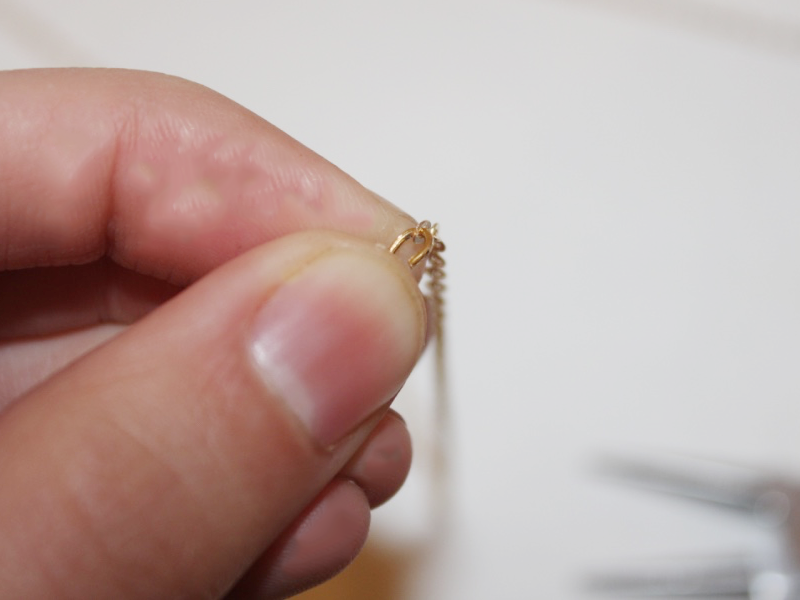
3: Once both pins have been bent, use the round nose pliers again to create a loop at the end of the pin, securing the beads in place.

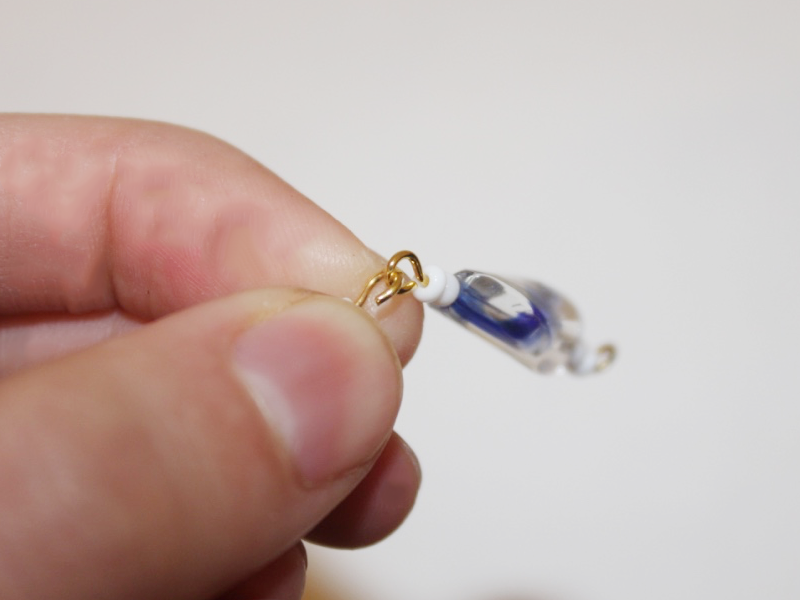
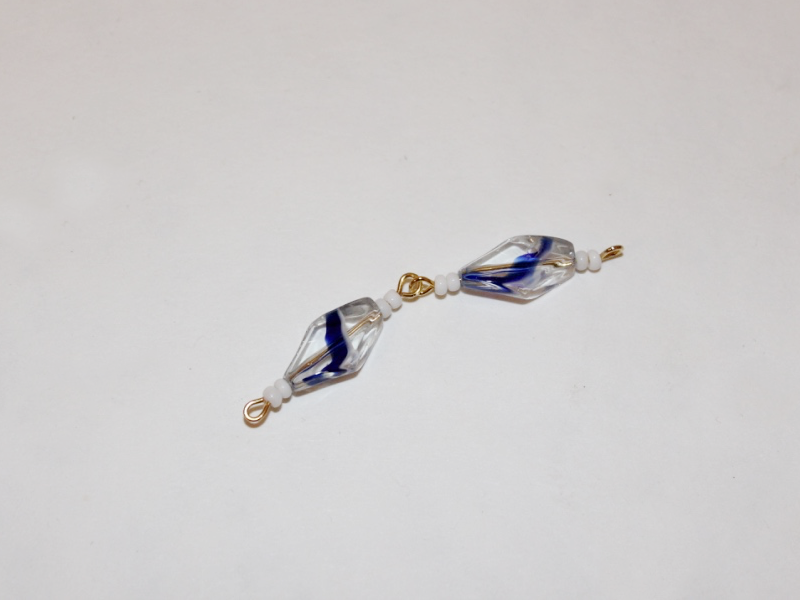
4: Open one of the loops again slightly and attach the two bead charms together. Close the loop again to secure the charms to each other.
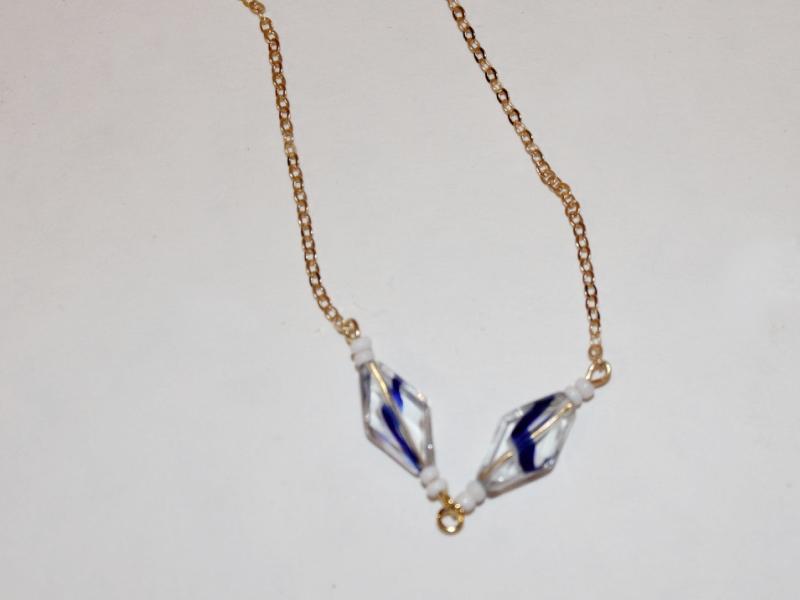
5: Open the end of the charm on one side and slide the open end into the end loop of the necklace chain. Close the loop again to secure the charm to the chain.
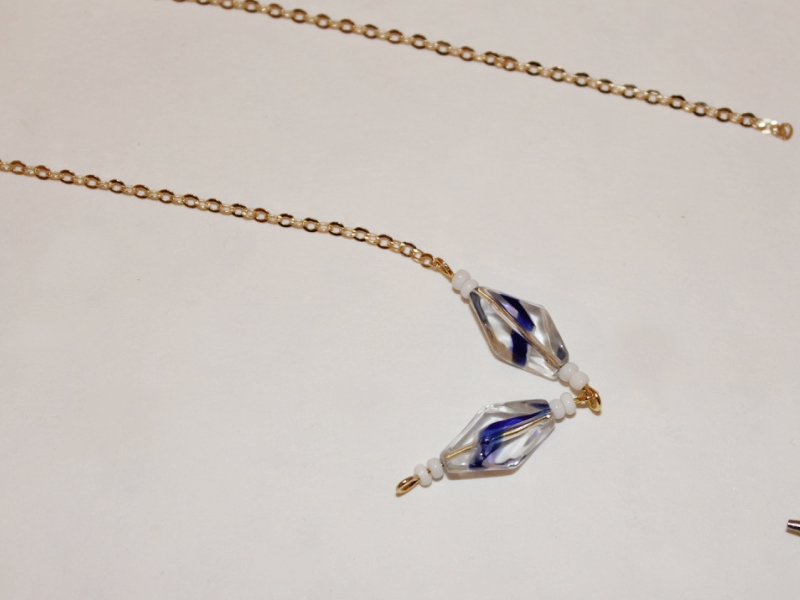
6: Repeat step 5 for the other side of the bead charm.
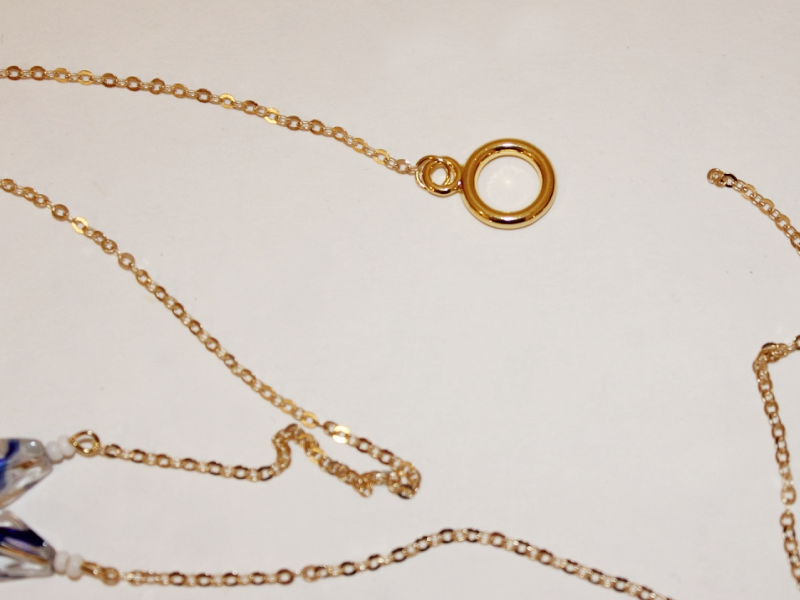
7: Split the chain in the middle to prepare for the attachment of the toggle clasp.
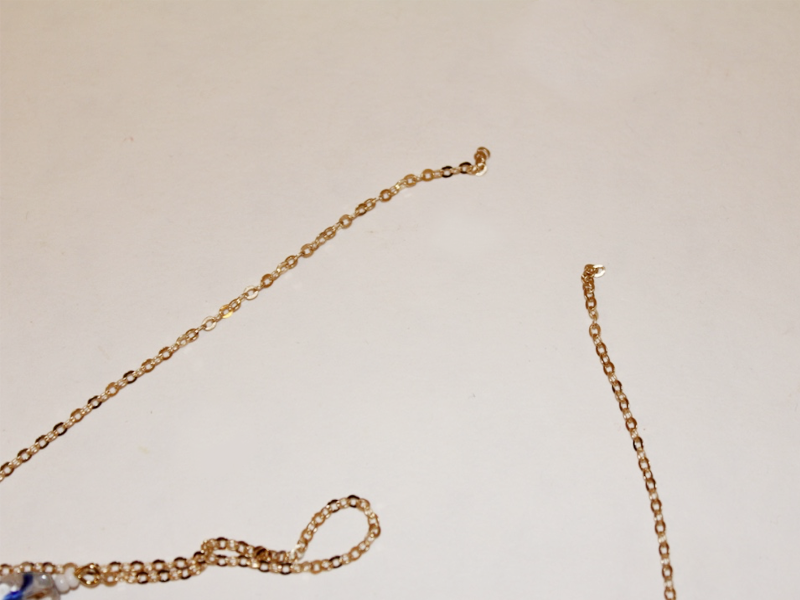
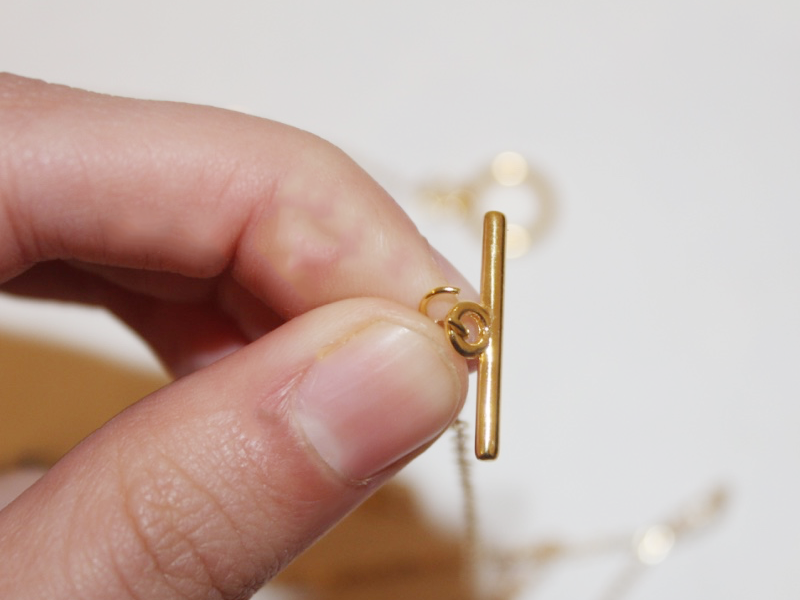
8: Add one of the jump rings to one end of the chain, slide on one side of the toggle clasp and secure it in place by closing the jump ring again.
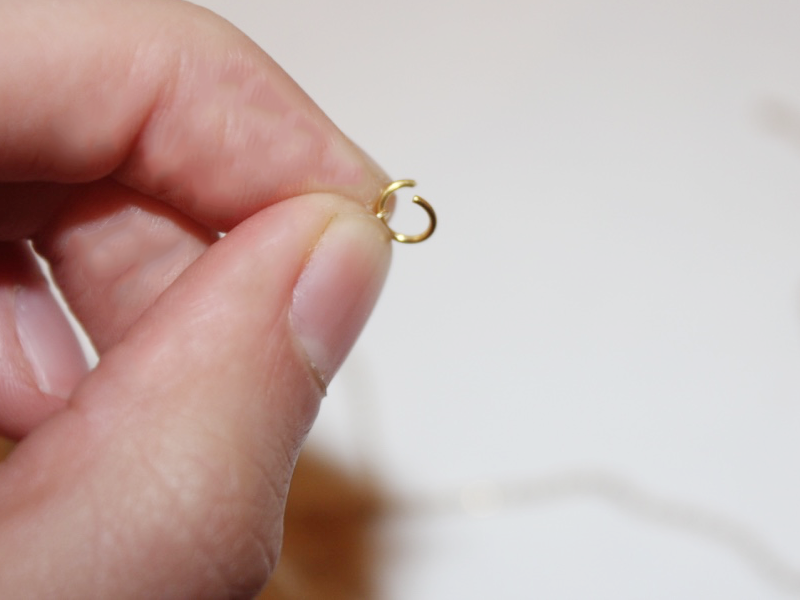
9: Repeat step 8 for the other side of the chain adding the other side of the toggle clasp.
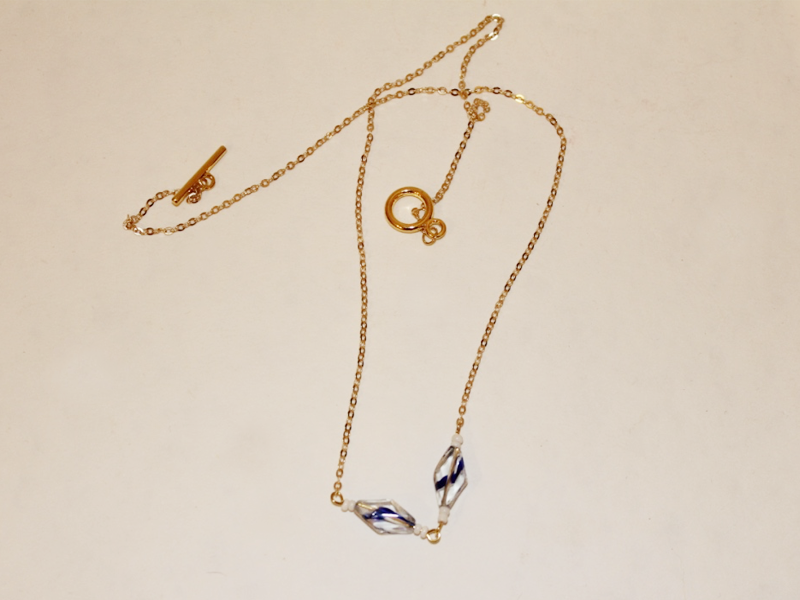
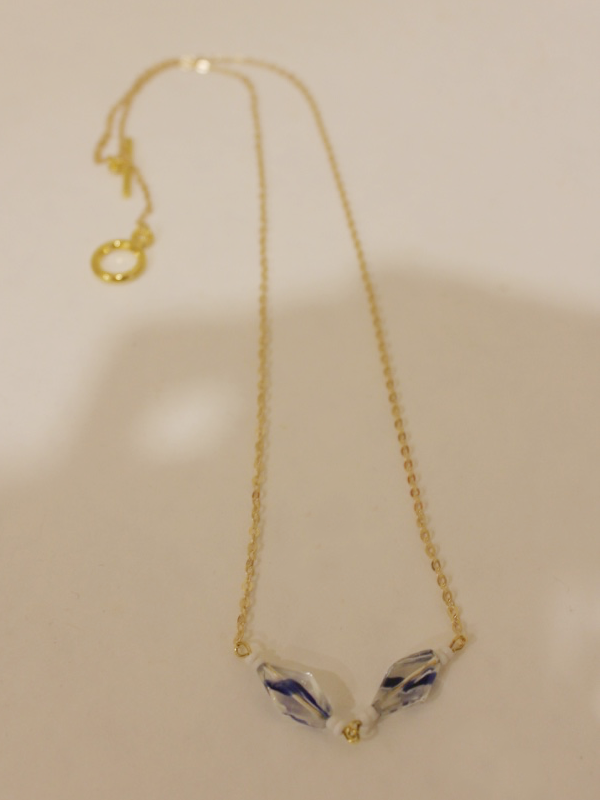
10: Once the toggle clasp is in place your necklace is finished and ready to wear! Where will you wear your new arrow necklace for the first time?
DIY Jewelry Hub
Welcome to DIY Jewelry Hub. If you’ve ever wanted to learn how to make your own jewelry this is the place to start! Jewelry is a great way to show off your individuality and style. You’ll be surprised at how easy it is to create your own unique pieces! DIY Jewelry Hub will equip you with all the knowledge and inspiration you need to make your own jewelry.
You May Also Like

Here’s how you can transform some rhinestone trim into a necklace chain!

Here’s how to make a cute two-tone beaded necklace!
