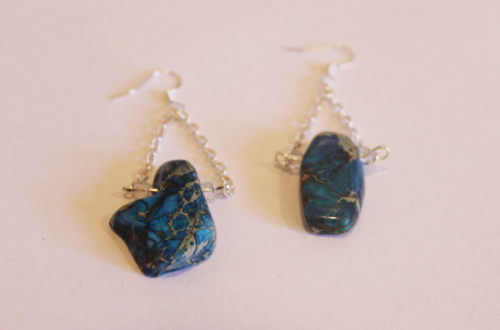
-
This necklace is special… gems and ribbons!
I really love the combo of gemstone beads on a ribbon to make a cool necklace. I made this one a statement using a bright orange ribbon. This tutorial contains affiliate links.
You will need the following tools and materials to make your ribbon gemstone necklace:
1: Pliers. You’ll need your flat nose pliers and round nose pliers to make your ribbon gemstone necklace.


2: A piece of ribbon long enough to be a necklace.

3: Two flat crimp ends.

4: A large jump ring.

5: Two small jump rings.
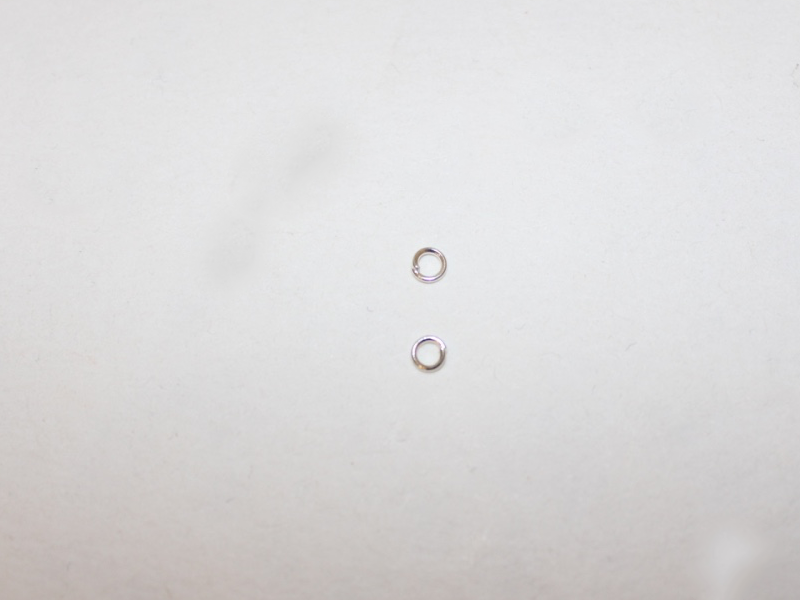
6: Three head pins.

7: A lobster clasp.

8: Gemstone beads. I used this selection of beads including a shell bead and a coral bead.

Follow these steps to make your gemstone ribbon necklace:
1: Place each of the beads on the head pins.

2: Create a loop at the end of each pin using the round nose pliers to secure the beads in place.


3: Add the beads onto the large jump ring and close it.


4: Add the bead charm to the ribbon and tie a knot to secure it in the middle of the ribbon.


5: Add a crimp to either side of the ribbon ends using the flat nose pliers to squash it in place. I had to fold my ribbon a little to make sure it fit.


6: Add a jump ring to one side of the ribbon end and add the lobster clasp to the end.

7: Add the other jump ring to the other side of the necklace to finish it off.


Now your gemstone ribbon necklace is ready to wear! So cool!
-
How to Make Hoop Earrings And Then Kill it in the style stakes!
Want to take your DIY earring designs to the next level? DIY Jewelry Hub has another tutorial on how to make earrings. Follow these step-by-step instructions to make your own dangly beaded hoop earrings.
You will need the following tools and materials to make these earrings:
1. Pliers
To make these earrings you will need flat nose pliers, round nose pliers and cutting pliers.
 2. Two head pins.
3. Two hoop findings.

4. Two earring hooks.

5. Feature beads for the hoops.
In this design I used six coral beads, three on each hoop.

6. Seed beads.
I used white seed and clear seed beads in this design.


7. Two feature beads.
I used two green labradorite beads in this design.

The Steps:
1. Open one of the earring hoops.

2. Begin adding beads to the hoop. Continue adding beads to create your desired pattern.


3. Continue beading the hoop until only a small part is left bare and then lace this end back into the top attachment. Tip: Add a little glue to this end to ensure that it doesn’t pop out while you are wearing your earrings! Repeat these steps for the second hoop.

4. Once your hoops have been completed, take your feature beads and thread them onto the head pins.


5. Bend each pin at a right angle to the bead using the round nose pliers.

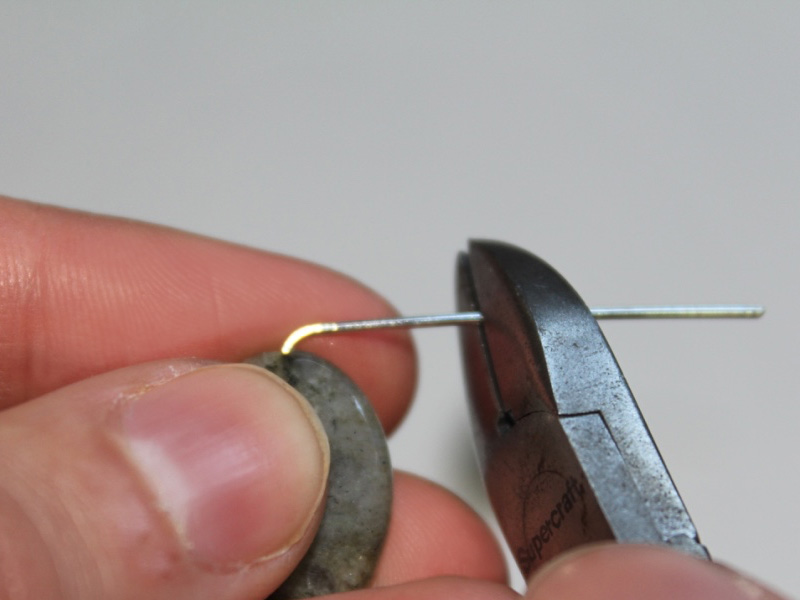
6. Trim both pins so that there is approximately 1cm (0.39 inches) protruding from the bead.
7. Once your pins have been trimmed, create a loop using the round nose pliers.


8. Once you loops have been created, open them slightly and slide the feature bead into the center of your earring hoop.

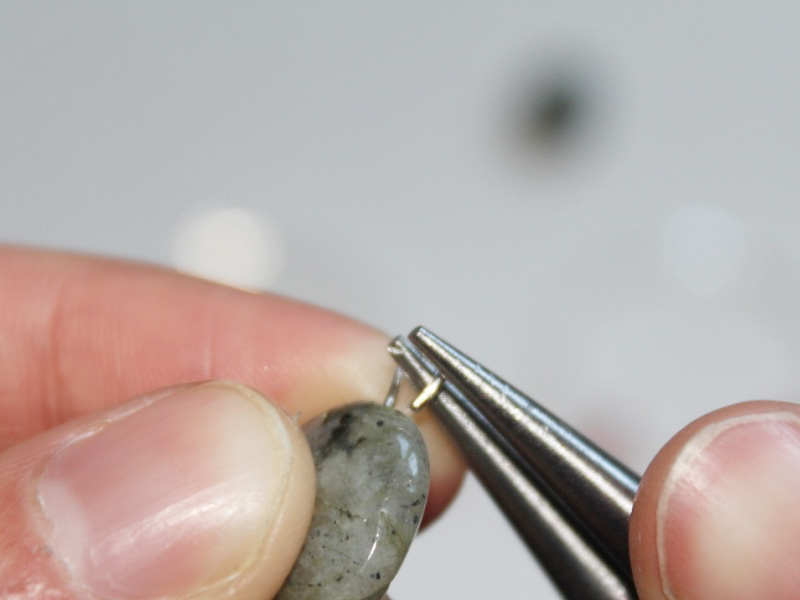
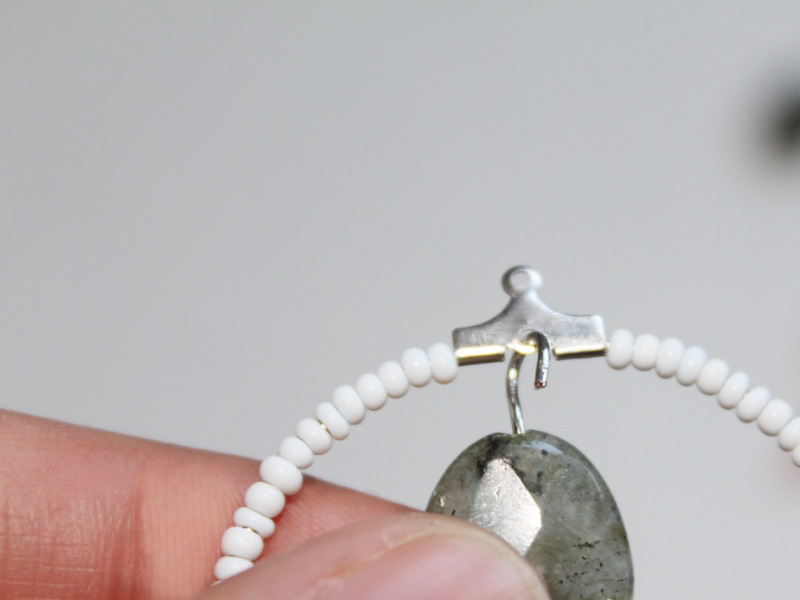
9. Close the bead loop using the round nose pliers. Make sure you repeat this for both of your earrings.
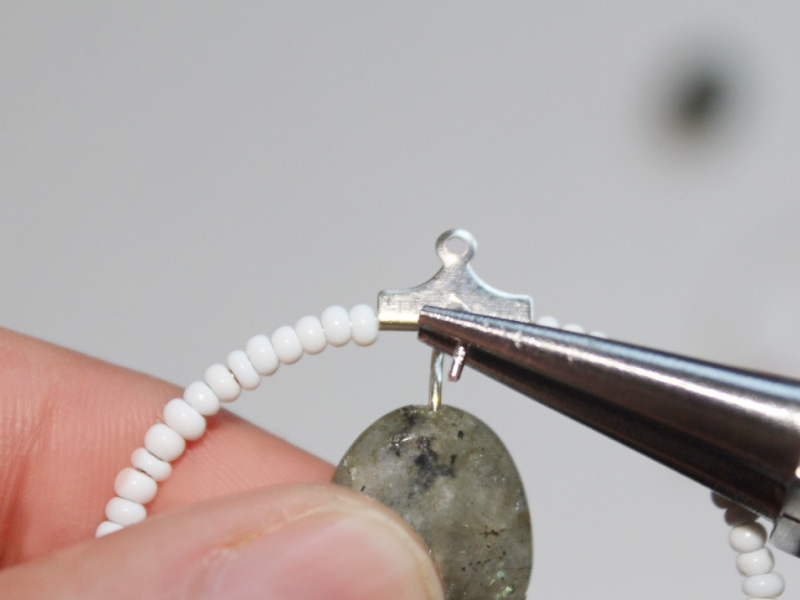

10. Open the loop at the bottom of the earring hooks using the round nose pliers.


11. Slide the open loop into the top of your beaded earring hoop and then close. Repeat this step for both earrings.
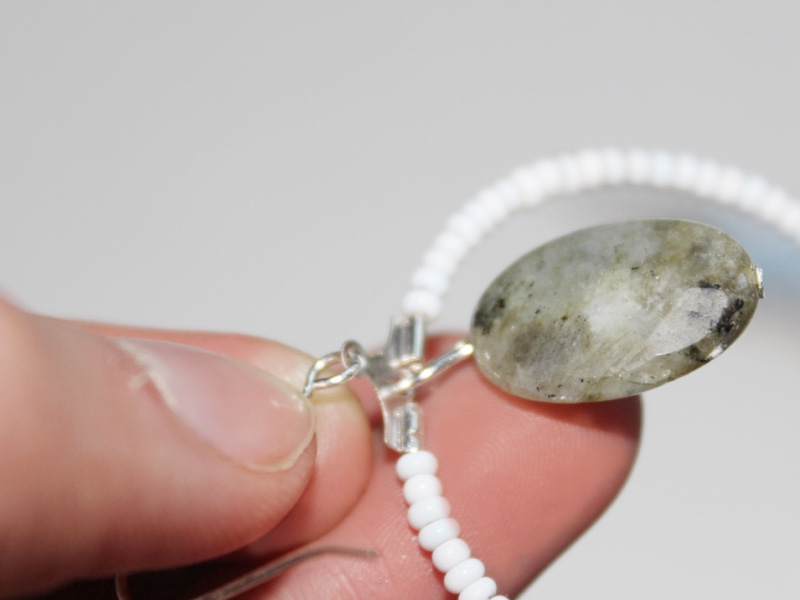
12. Your earrings are done! Now all that is left to do is wear them.