-
Want to upcycle an old container to store your jewels? Here’s a tutorial to show you how.
Do you ever finish a good moisturiser or yummy snack and look at the packaging and think, I could use this for something? Well I do! If you want to upcycle an old jar into a cool container to store your jewelry, follow along. Please note that this tutorial contains affiliate links.
You’ll need the following tools and materials to make your upcycled jar:
1: An empty jar. I used this glass and plastic jar that was leftover from an old moisturiser.


2: Air dry clay. I used terracotta colour clay but you can also use white.

3: A pen, rolling pin, jar or something else that is round that you can use as a rolling pin.

4: A cookie cutter shape. I used this fan shape.

5: A tub filled with water.

6: Paint brushes.

7: Acrylic paint. I used brown and red paint.

8: Paint pens.

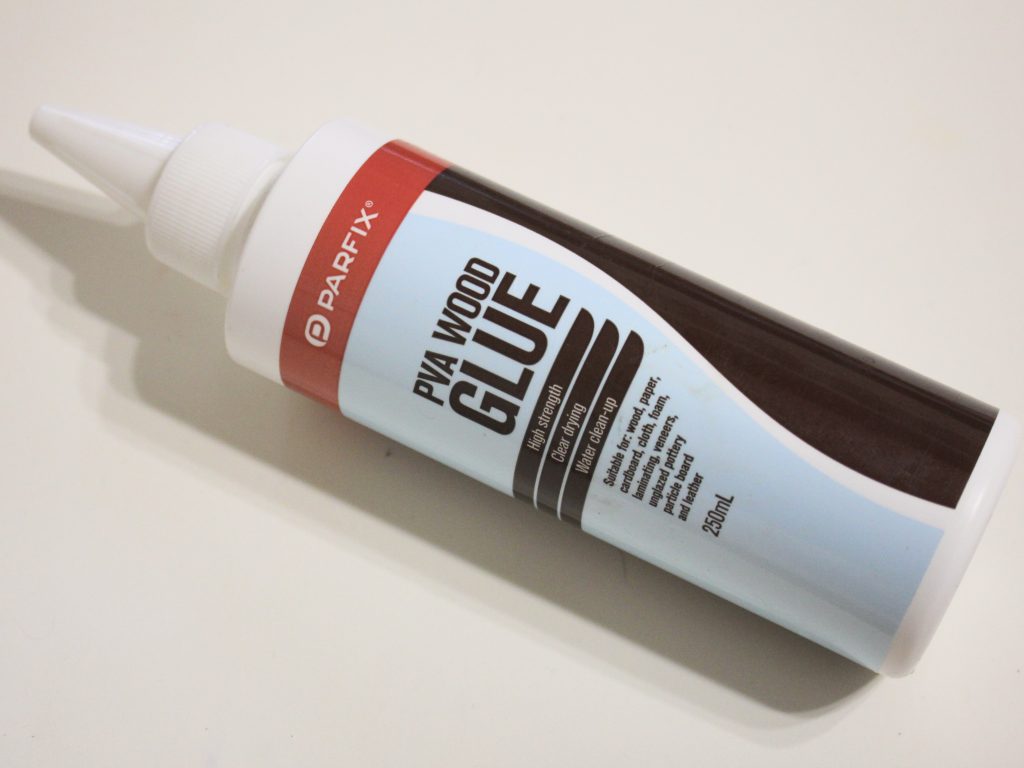
9: PVA glue.
Follow these steps to upcycle your old jar into a trinket container:
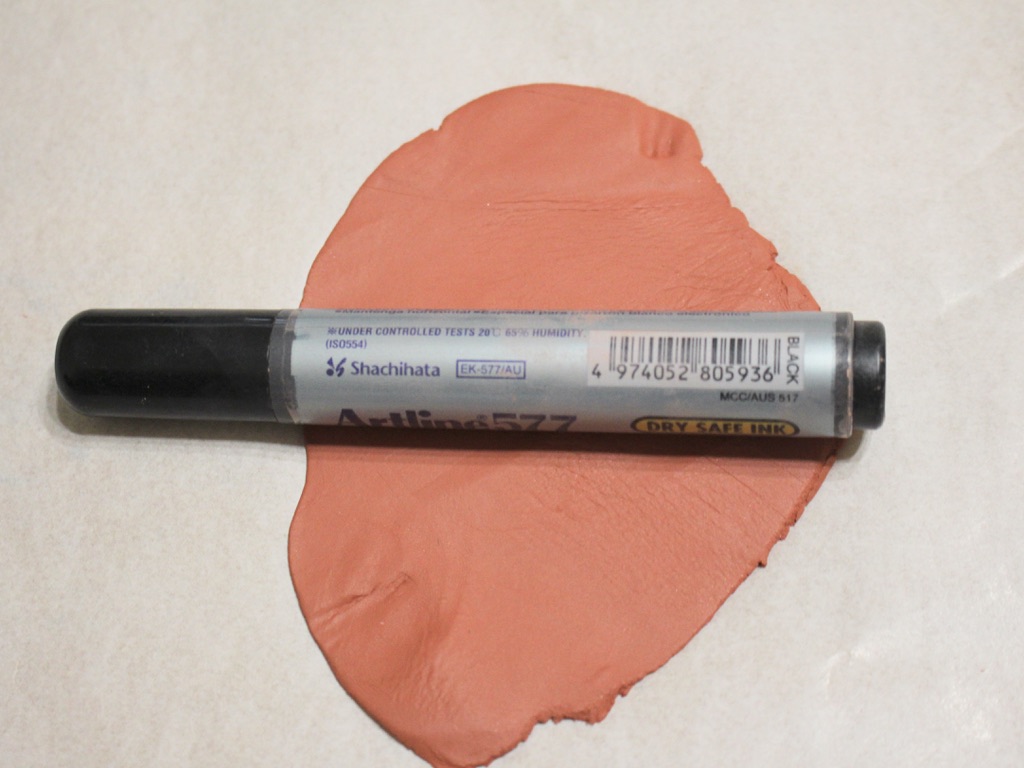
1: Take a lump of clay and roll it out flat using the marker pen or rolling pin.


2: Drape the flattened clay over the lid of the jar.

3: Press the clay around the sides of the lid.

4: Pinch off the excess clay using your fingers and fill in any gaps.

5: Smooth out the clay using wet fingers.

6: Flatten the excess clay again and cut out a shape using your cookie cutter.


7: Add some texture to the clay on the top of the jar and one side of the shape.

8: Press the two pieces of clay together.

9: Smooth out the clay again using wet fingers.
10: Set the lid aside to dry.
11: As the lid dries, some cracks might occur. Fill in any cracks using some extra air dry clay. Wait for it to dry before adding the paint.

12: Once the clay is fully dry, add some acrylic paint to the surface, do a couple of layers for good coverage.


13: Add extra decoration using paint pens if you like. I used a pastel red paint pen.

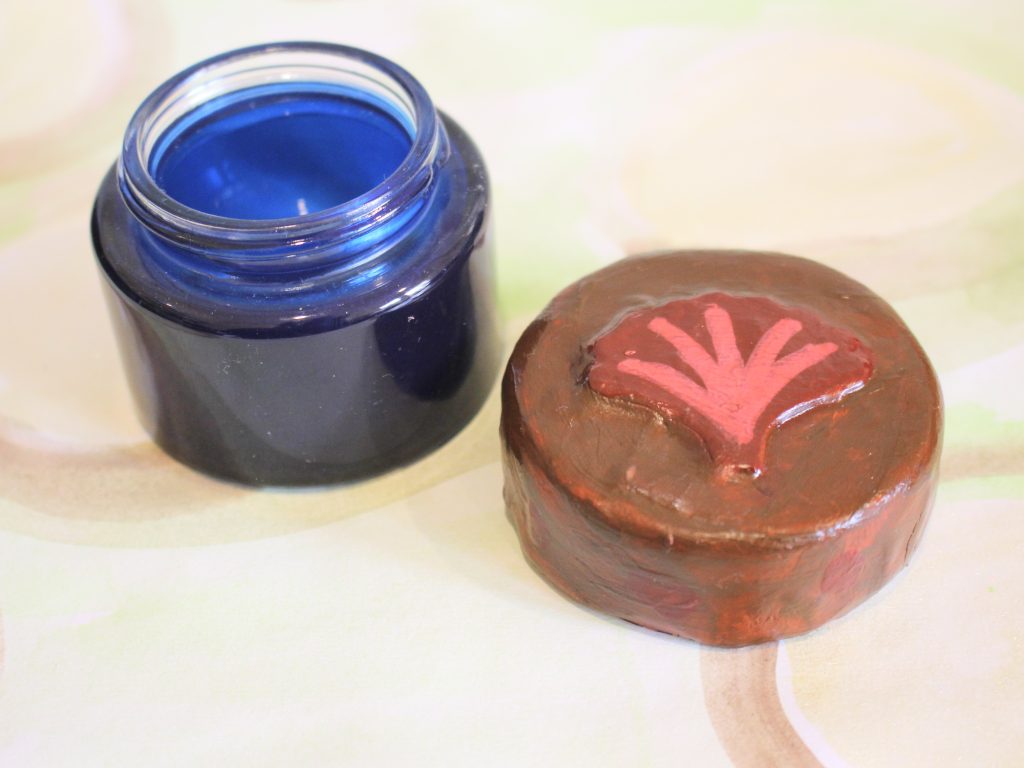
14: Add a layer of PVA glue over the painted surface to seal it. Once the glue is dry, the lid is finished and your upcycled jar is ready to be used.


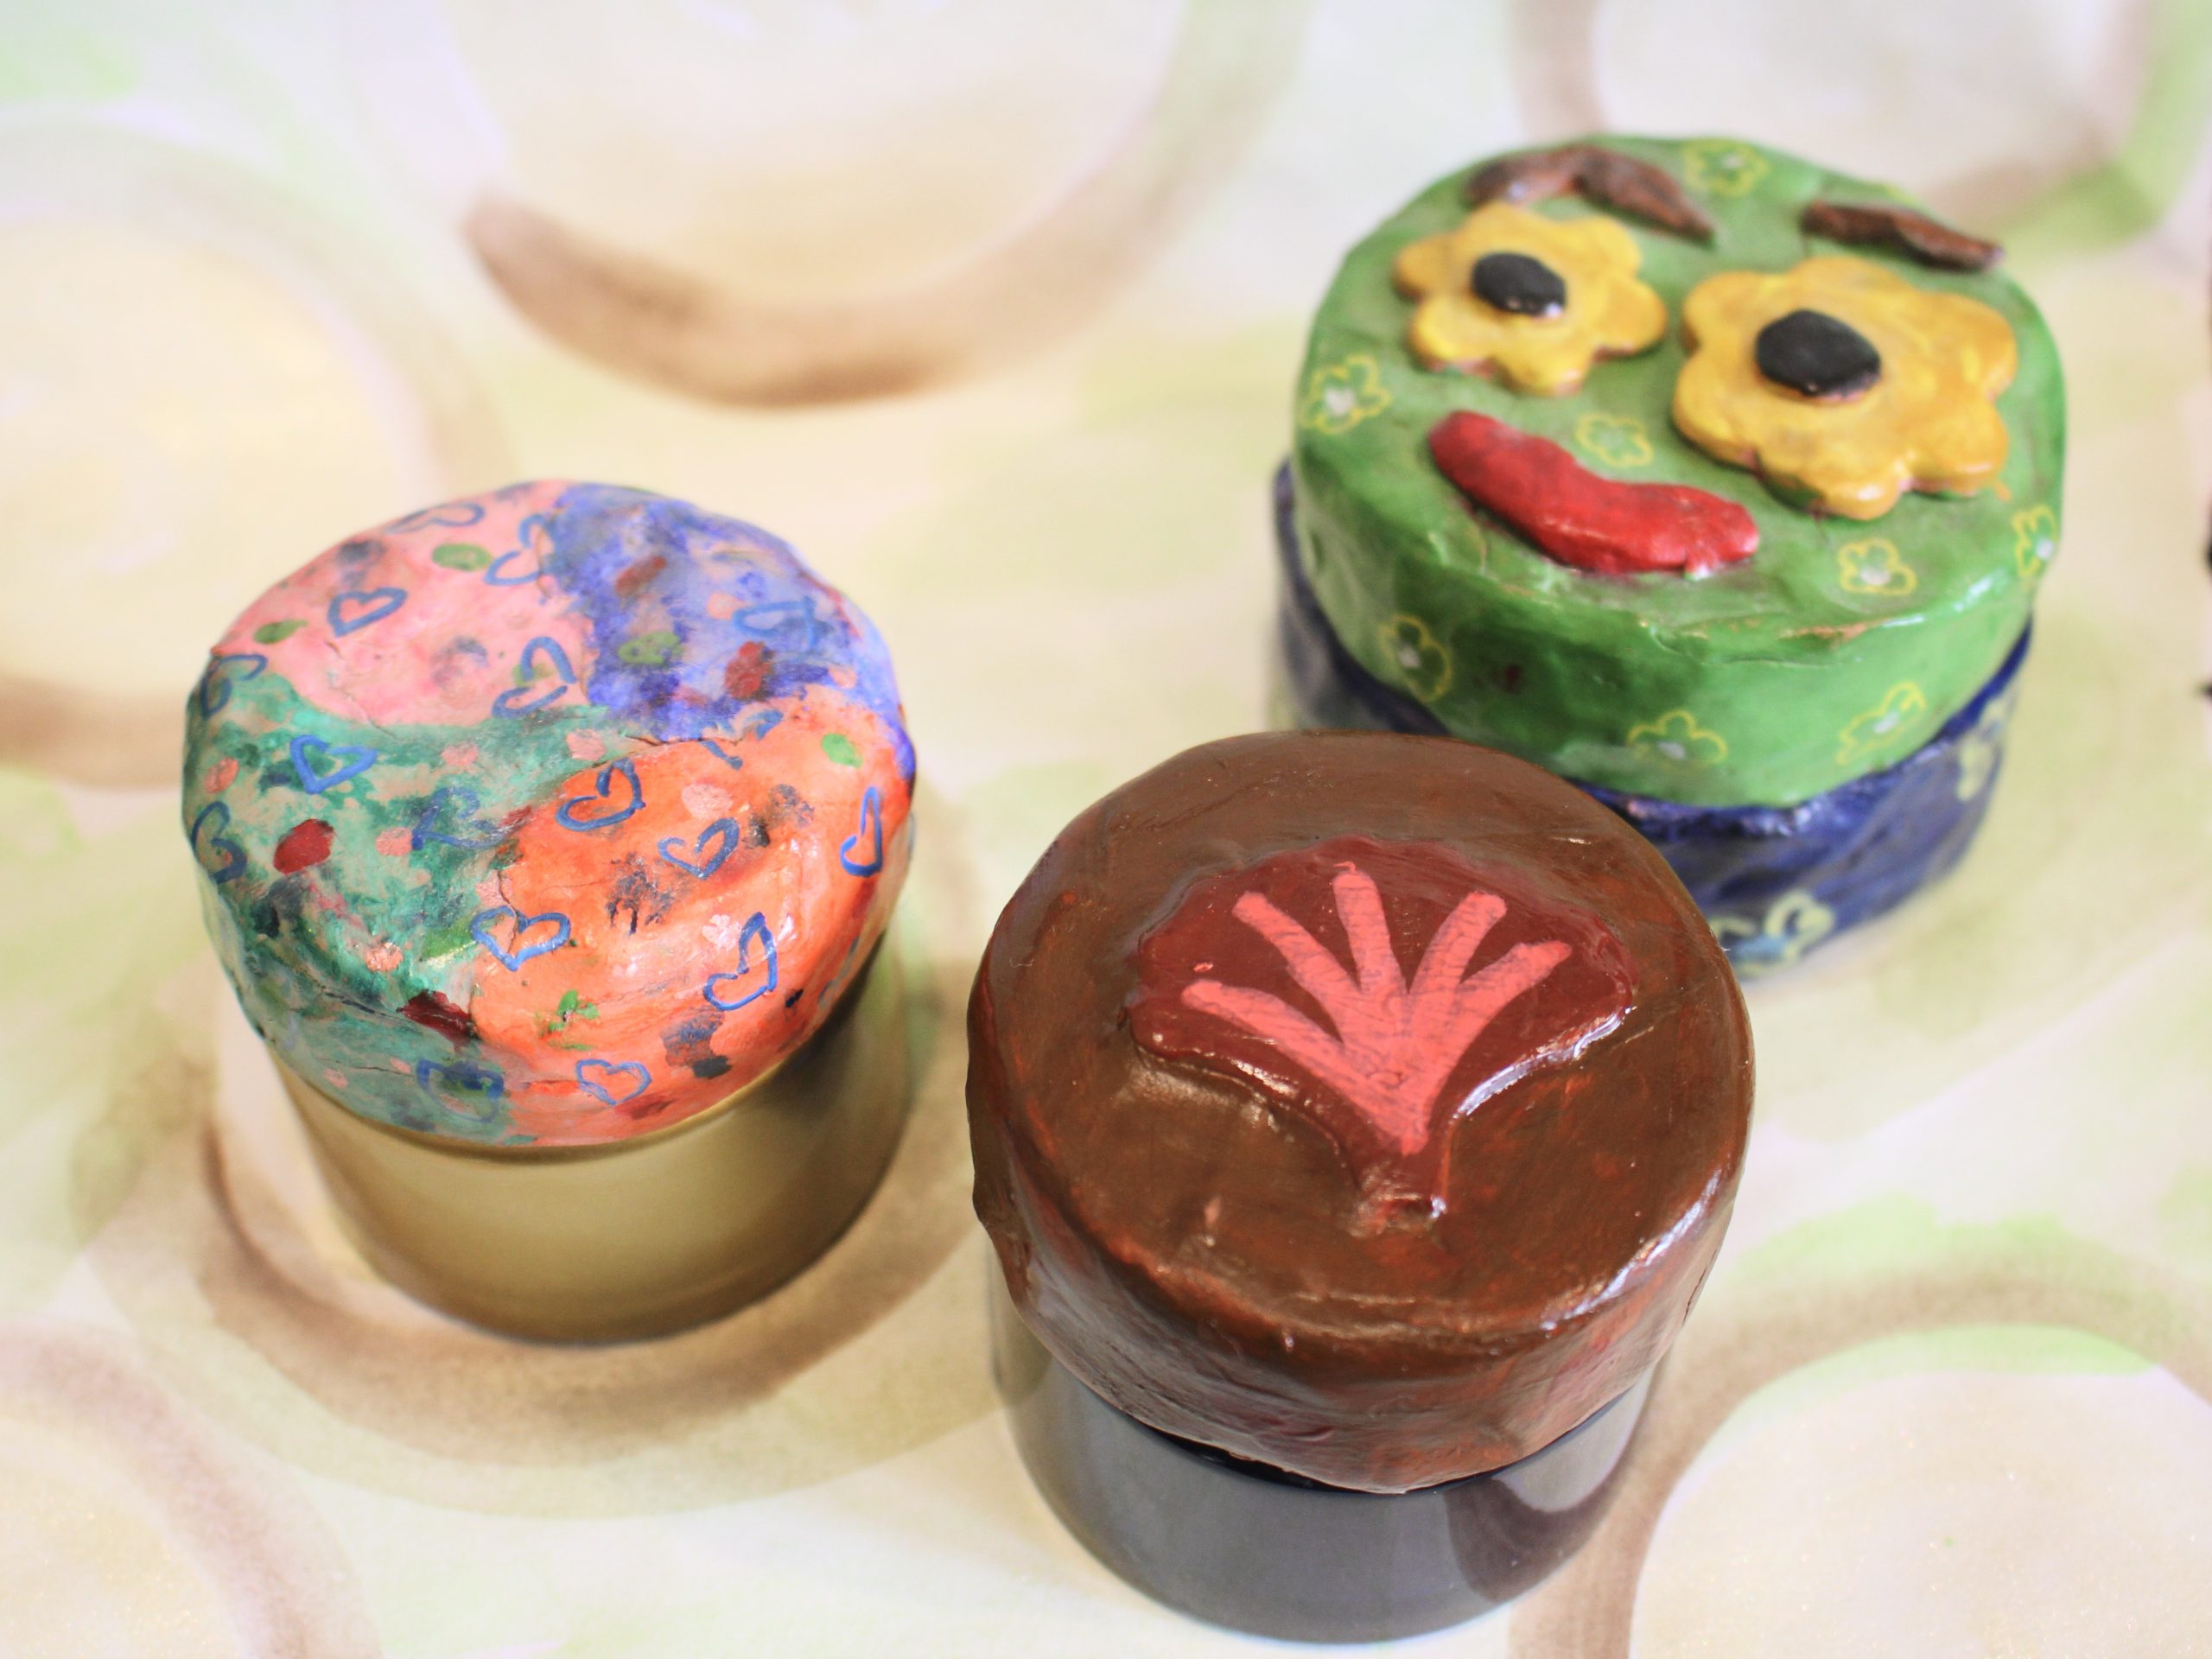
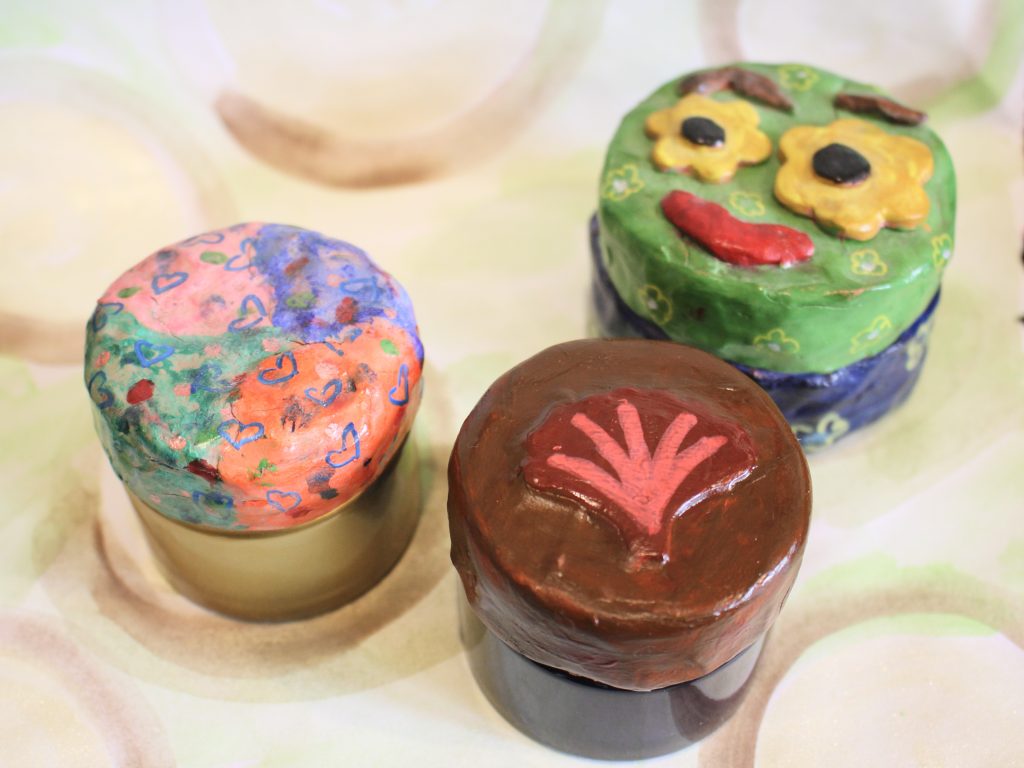
Here is the finished jar with some other upcycled jar designs I made previously. How cute! These jars are great for storing silver jewelry to protect it from oxidisation.


If you’re looking for more DIY jewelry storage options, check out these tutorials:
-
Looking for fun ways to store your jewelry? Why not make a cute little ring dish?
I love having my jewelry out on display so I can admire it even when I’m not wearing it. I usually keep my special pieces in little bowls and dishes so they can add some sparkle to my home. This tutorial shows you how to make an adorable trinket dish using air dry clay. Please note that this tutorial contains affiliate links.
You’ll need these tools and materials to make your trinket dish:
1: Air dry clay. I used terracotta colour but you can also use white clay if you prefer. White clay will give a base for more vibrant paint colours when you come to decorate your designs.
2: A dish filled with water. This allows you to smooth out the clay.
3: A pen or something else round like a bottle, or a mini rolling pin for rolling out your clay. I used a marker pen.
4: Paint. I used some pink acrylic paint, you can use any colour you like.
5: Paint markers. I used a metallic blue paint marker.
6: Some PVA glue for adding a shiny top coat to the dish.
7: Paint brushes.
Follow these steps to make your adorable trinket dish.
1: Grab a chunk of clay.

3: Roll it out flat, trying to keep it in a circular shape. Keep the thickness of the clay consistent by using a rolling pin or something similar to flatten the clay.


4: Take one side of the clay circle and pinch it. This will form a fold in the clay and start to form a bowl shape.

5: Pinch the other side of the clay to finish forming the bowl shape.


6: Dip your finger in water and use it to smooth out the edges of the bowl.


7: Set the bowl aside to dry, depending on how dry the air is where you live, this could take a few hours to a couple of days. I accidentally left mine in the rain so it took a little longer to dry!

8: Once your bowl is dry, you can add paint. I painted mine with pink acrylic paint. I suggest doing a couple of coats of paint, waiting to do the inside and the outside so that the paint doesn’t smudge while its drying.


9: Once you are happy with your paint coverage, add extra decoration using paint markers. I added metallic blue dots to mind.


10: Coat the bowl with PVA glue to give it a glossy topcoat that also protects the clay from moisture.


Now your trinket bowl is finished and ready to use! Here’s mine with some silver rings inside.


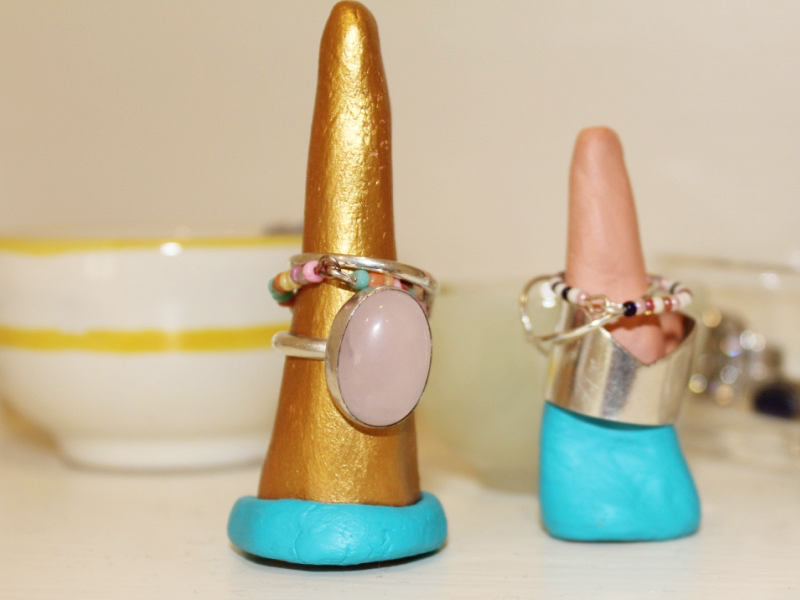
If you liked this tutorial, you can also learn how to make a ring stand out of air dry clay here.
Here are some other air dry clay tutorials you can follow: