-
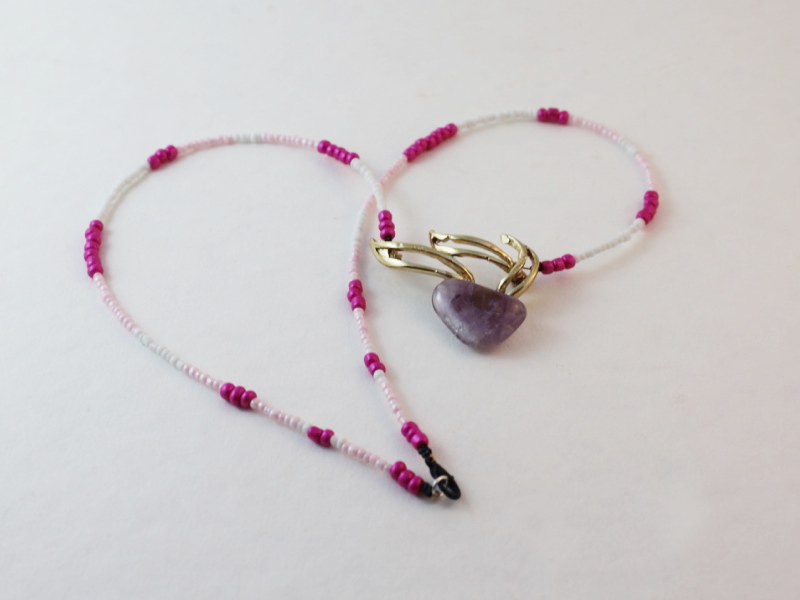
How to make a delicate layered necklace!
Layered statement necklaces are set to be on trend in the coming months. Here’s how you can make one for yourself with some delicate chain and pretty beads.
You’ll need the following tools and materials:
1: Pliers. I used my round nose and flat nose pliers.


2: Two pieces of chain, one longer than the other. I used gold-tone rolo chain.

3: Four beads. I used these matching glass beads.

4: Three pins with no ends.

5: One head pin.

6: Three larger jump rings.

7: Four small jump rings.

8: A lobster clasp.

Follow these steps to make your layered chain necklace:
1: Add one of the beads to the head pin.

2: Curl the top of the pin around the round nose pliers to form a loop.

3: Attach one of the larger jump rings to the top of the pin.

4: Slide the newly formed charm onto the shorter piece of chain.

5: Create a loop at one end of one of the pins using the round nose pliers.

6: Add one of the remaining three beads.

7: Create a loop at the other end of the pin to secure the bead in place.
8: Repeat steps 5-7 for the other two beads.

9: Join the bead charms together to form a chain using two of the small jump rings. Then split the longer chain in half.
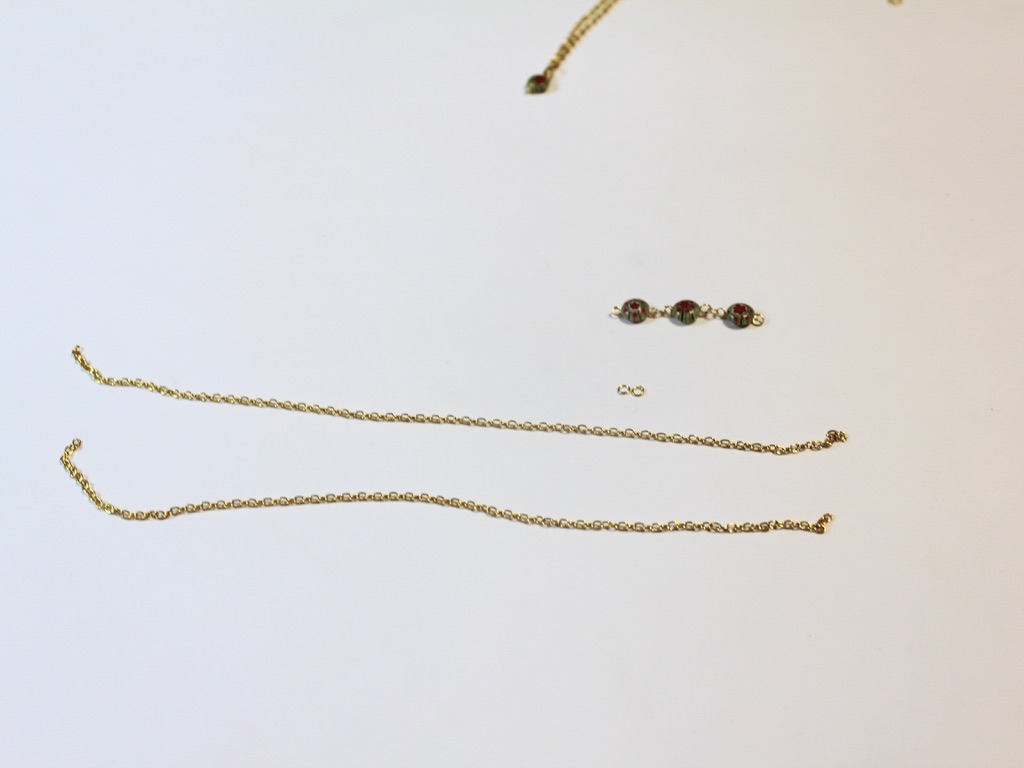
10: Use one of the remaining small jump rings to attach the bead chain to one of the two necklace chains you just split.


11: Attach the other end of the bead chain to the other necklace chain using the last small jump ring.

12: Join the two chains together by sliding them onto one of the larger jump rings.
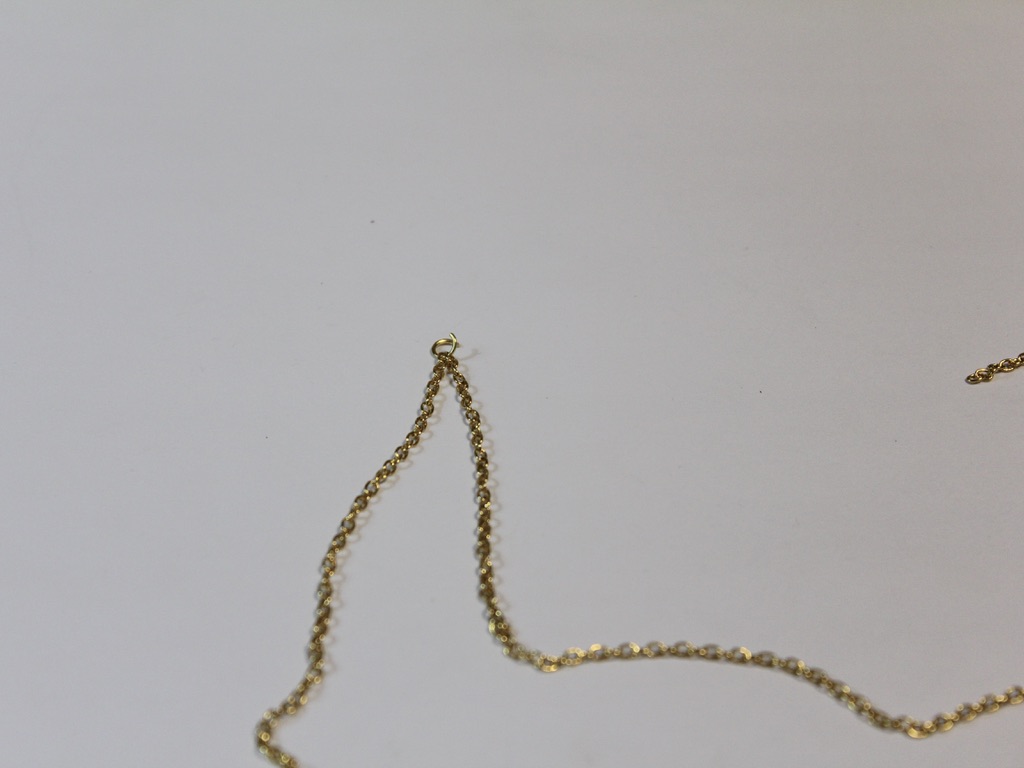

13: Repeat this for the other side of the necklace, adding the lobster clasp before closing the ring.

Now your layered necklace is finished! How cool!!


Here are some other multi-chain necklace tutorials:
- A double strand necklace made using string
- A necklace made with two beaded strands
- A layered necklace made with recycled materials
- A mixed material double strand necklace
- A two tone double chain choker
- A triple strand leather necklace
- A double chain necklace with gemstones
This tutorial contains affiliate links.
-
Here’s another cute way to upcycle your broken headphones, a double strand necklace!
If you aren’t sick of my headphone recycling tutorials yet here is another way you can upcycle them into beautiful jewelry. This one gives you all the steps you need to take to make a double strand headphone necklace.
You will need the following tools and materials to make your double strand headphone necklace:
1: Pliers. You’ll need cutting pliers, flat nose pliers and round nose pliers

2: A pair of broken headphones. I used the top part of the headphones that I used in the finger knit bracelet tutorial.

3: Four crimp ends.

4: Four small pieces of chain, one pair longer than the other. My headphone cords weren’t quite long enough to fit around my neck so I added some small pieces of chain to the end of each to make them fit.

5: Two beads. I used these chunky wooden beads with big holes.

6: Four larger jump rings.

7: Four smaller jump rings.

8: A lobster clasp.

Follow these steps to make your double strand necklace out of recycled headphones.
1: Cut the headphone cords using the cutting pliers to separate them and remove the ear buds.


2: Add a crimp end to either end of the headphone cords, folding them in place using your flat nose pliers.


3: Add one pair of chains to either end of one of the cords using two of the larger jump rings.


4: Add the second pair of chains to the other cord using another pair of larger jump rings.

5: Add the beads to each of the strands.

7: Secure the chains together using a smaller jump ring on either side of the necklace.


8: Attach the clasp using another smaller jump ring.

9: Add the remaining jump ring to the other side of the necklace to finish it.
Now your double strand necklace made from recycled headphones is finished! I love coming up with creative ways to save broken products from the trash.