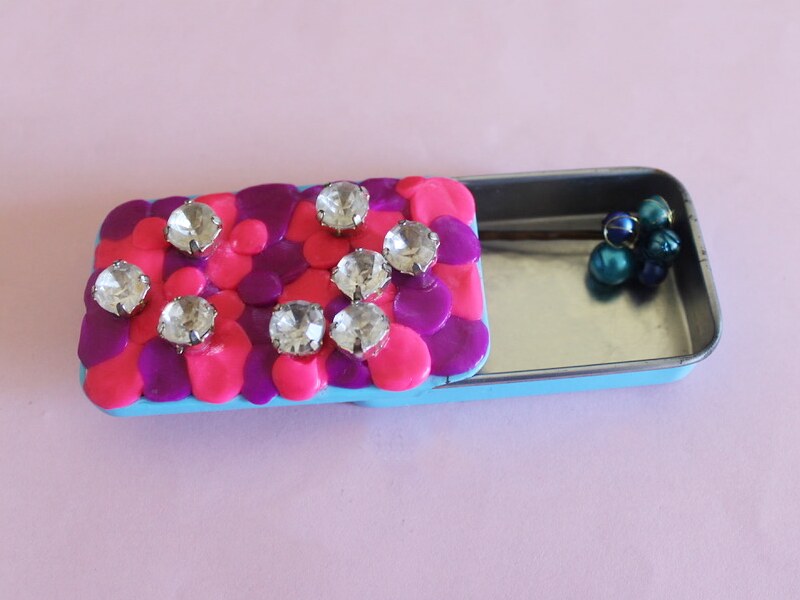
-
Are you sick of the hair accessory trend yet? If not, why not make a rhinestone hair comb?

This rhinestone hair comb is super easy to make and is the perfect way to add some sparkle to your hair! I love this cute piece so much, I wear it at the back of my head to add some style to my messy bun, just tuck it into your hair! So comfortable and cute.
Please note that this tutorial contains affiliate links for which we may receive a commission.
You will need the following tools and materials to make this rhinestone hair comb:
1: A metal hair comb.

You can get hair combs here:
2: Rhinestones. I used three of these silver backed rhinestones.

You can get something similar here:
3: Two-part epoxy glue, I used Araldite.

You can get glue here:
4: A skewer.

You can get skewers here:
5: Scrap paper.

Follow these steps to make your rhinestone comb:
1: Squeeze out the glue in equal parts onto the scrap paper.


2: Mix the glue using the skewer.

3: Add glue to the top of the comb where you want to place your rhinestones.

4: Add glue to the back of the rhinestones and place them on the comb.


5: Set the comb aside to dry.
Once the glue is dry your rhinestone embellished hair comb is ready to use!
Here’s another one that I made using resin charms.

Here are some other rhinestone hair accessory tutorials:
- Rhinestone embellished hair clips
- A headband with a rhinestone crown
- Upgrade an old headband with statement rhinestones
This tutorial contains affiliate links
-
Add some custom bobby pins to your clip collection
Clips, barrettes, hair slides… hair accessories are having a moment! Add your favorite decorations to some bobby pins do add a custom edge to your hair accessory collection. Please note that this tutorial contains affiliate links.

You will need the following tools and materials to make your custom bobby pins:
1: A pair of bobby pins with a flat bed for attaching charms.

2: Two charms to glue on to the bobby pins. I used these flower charms.

3: Araldite glue.
4: A scrap piece of paper for mixing the glue on.
5: A skewer for mixing and applying glue.
Follow these steps to make your custom bobby pins:
1: Squeeze out some glue in equal parts and mix it with the skewer.
2: Apply the glue to the flat parts of one of the bobby pins and one of the charms.


3: Glue the pieces together and set them aside to dry.

4: Repeat steps 1 to 3 for the second bobby pin.
Once your bobby pins are dry they are ready to pop in your hair and wear away!
-
Make your next hairstyle special with a customized Bobby Pin
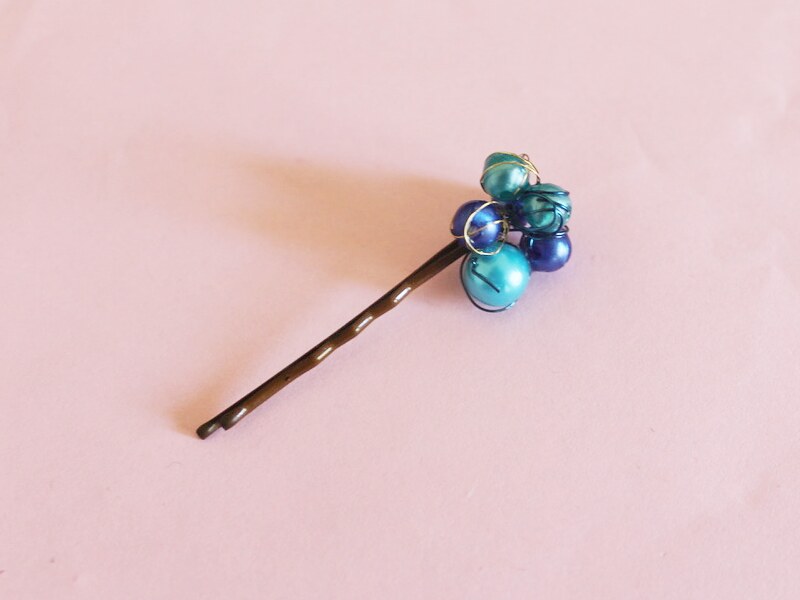
Do your up dos need something special? Why not make this beaded bobby pin to add something amazing to your hair styling.
You will need the following tools and materials to decorate your bobby pin:
1: Cutting pliers for cutting the wire.

2: Pieces of thin wire cut to approximately 15cm long. You can cut as many as you like.
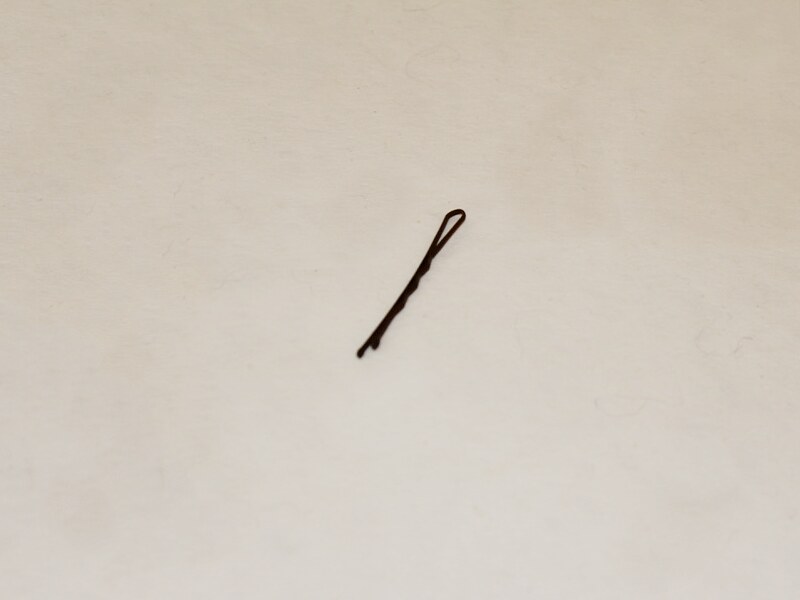
3: A Bobby Pin.
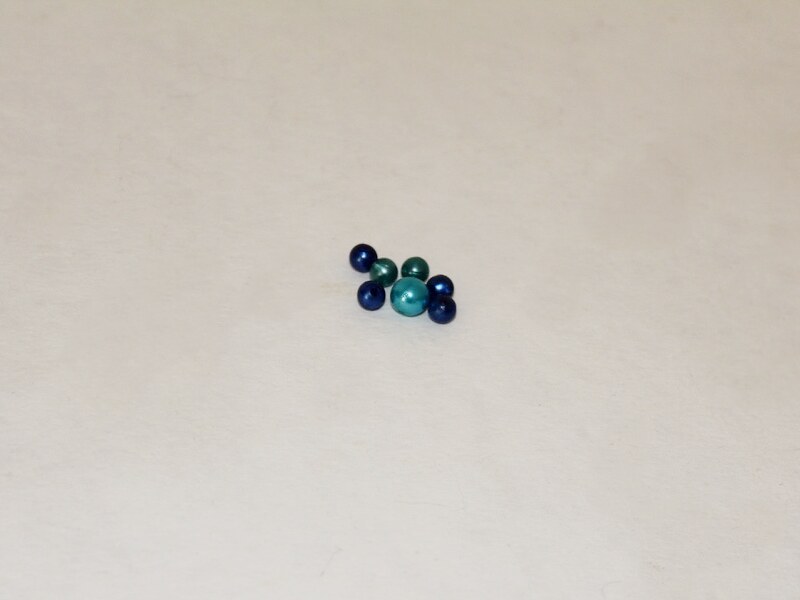
4: Beads of your choice. I used these plastic beads.
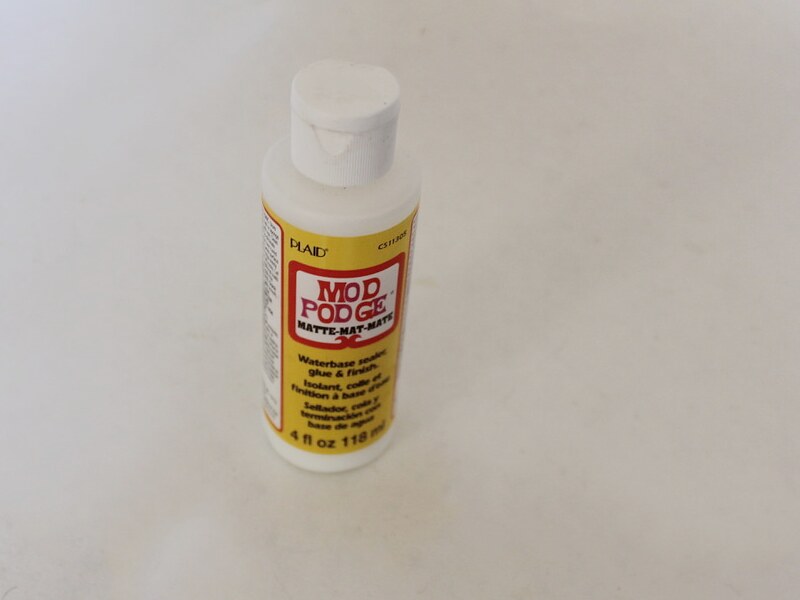
5: Water based glue. I used Mod Podge.
6: A Skewer.
Follow these steps to decorate your bobby pin:
1: Put a piece of wire between both sides of the bobby pin, up near the bent part of the pin.
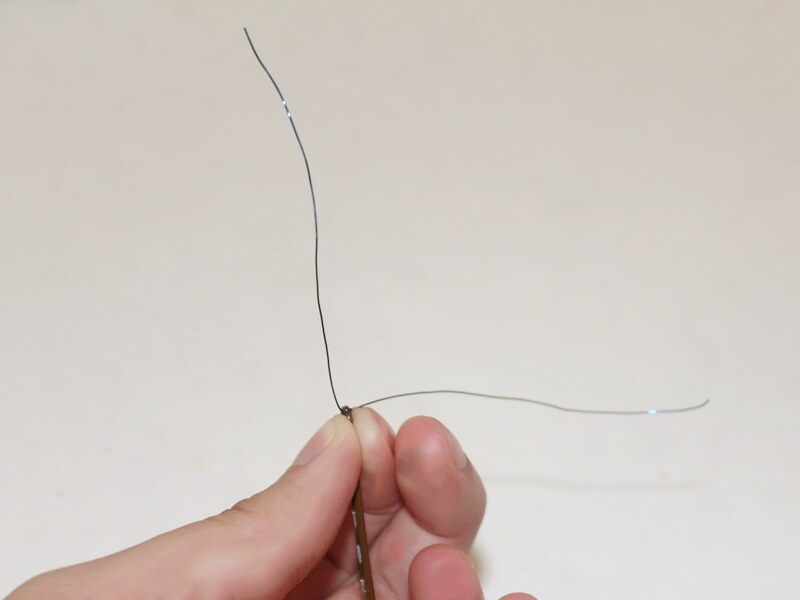
2: Wrap the piece of wire around the top of the pin where it bends over.

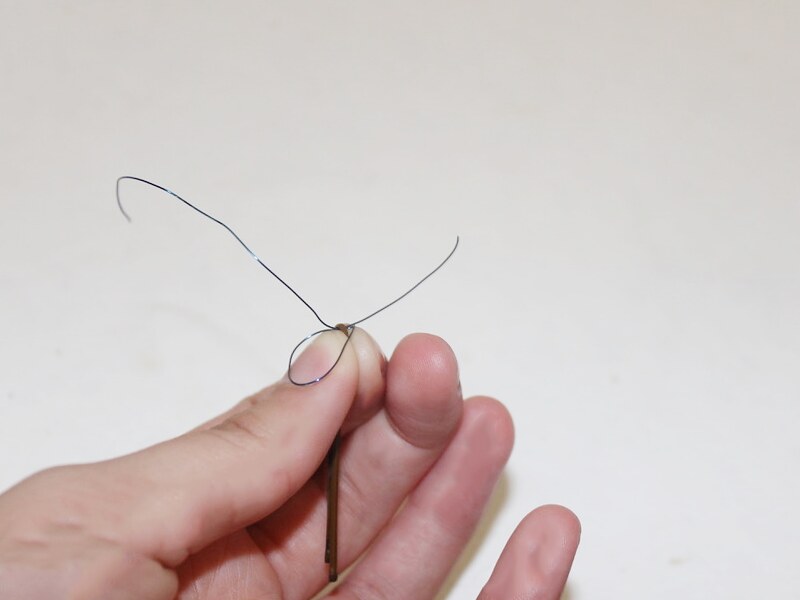
3: Add more pieces of wire in the same way. Add as many as you like depending on how many beads you want clustered on your bobby pin.
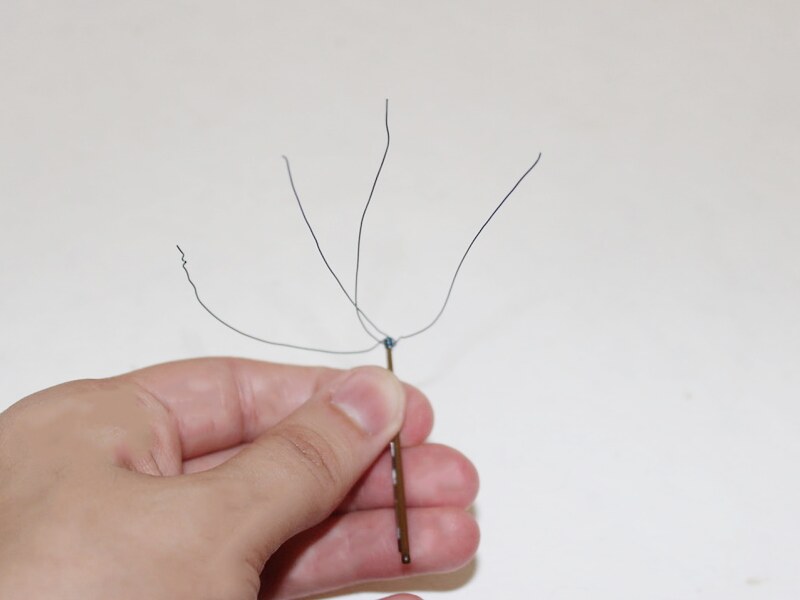
4: Add a bead to one of the ends of the wire.
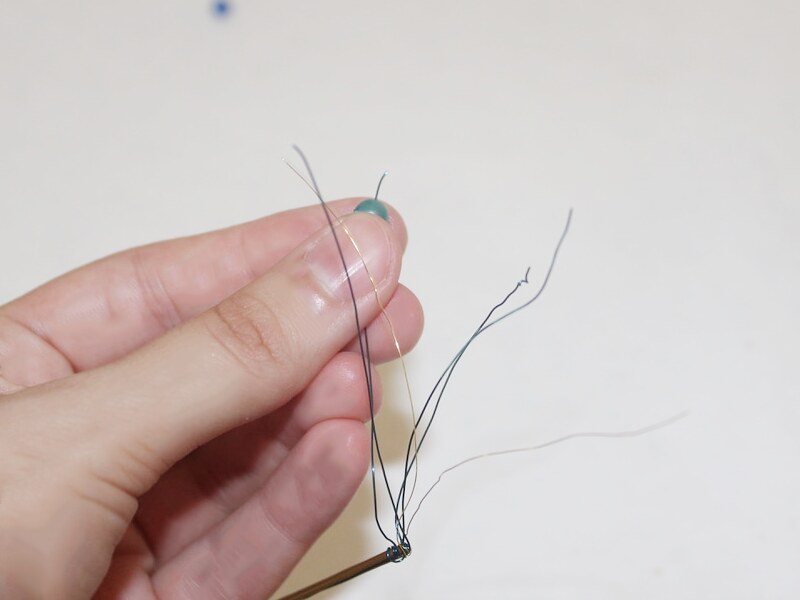
5: Wrap the wire around the bead so that it sits close to the pin.
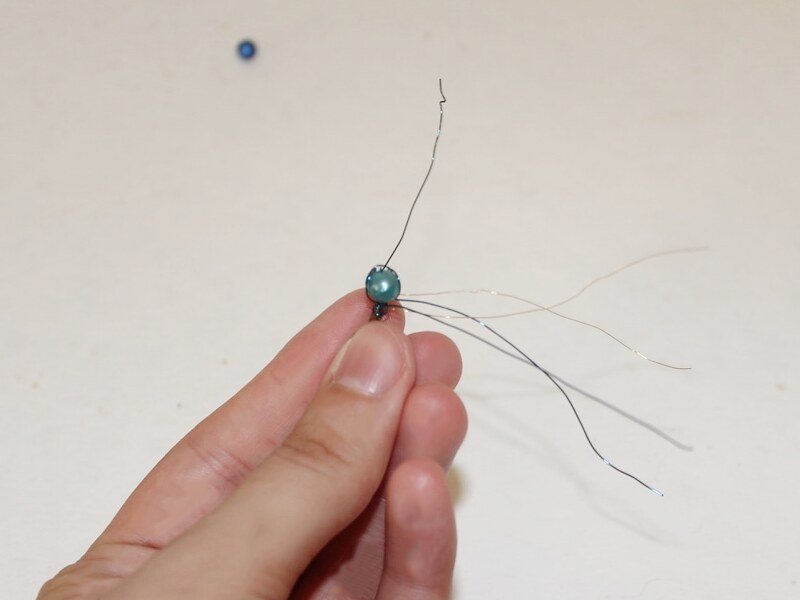
6: Repeat steps 4 and 5 until all the pieces of wire have been beaded and you have formed a cluster of beads on the bobby pin.
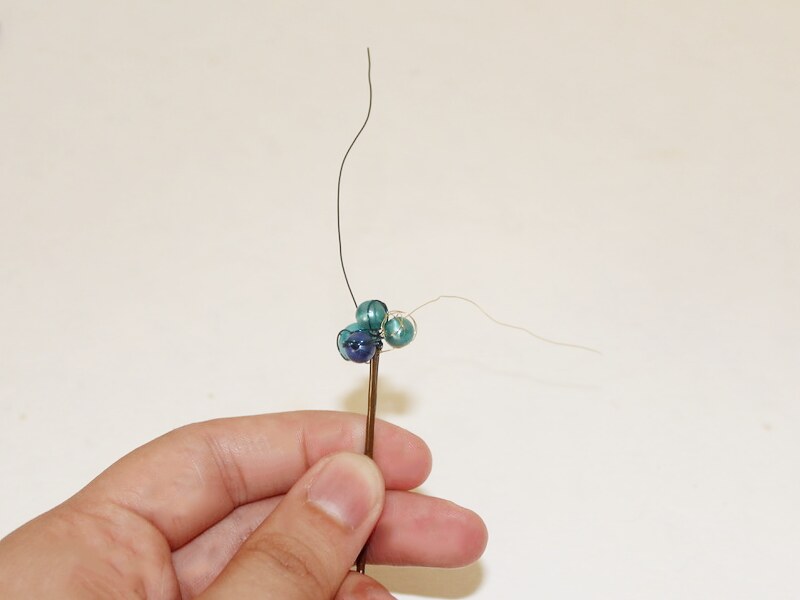
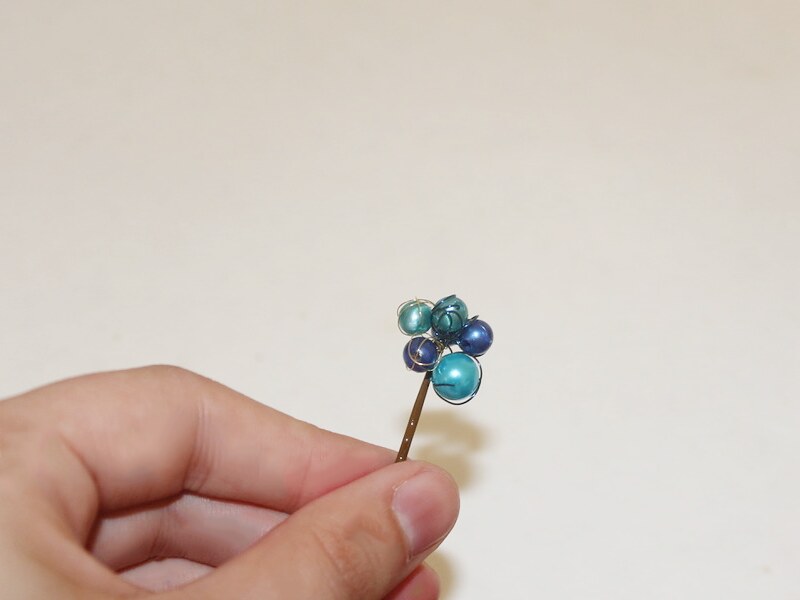
7: Add some PVA glue to the ends of the wire to secure the beads in place.
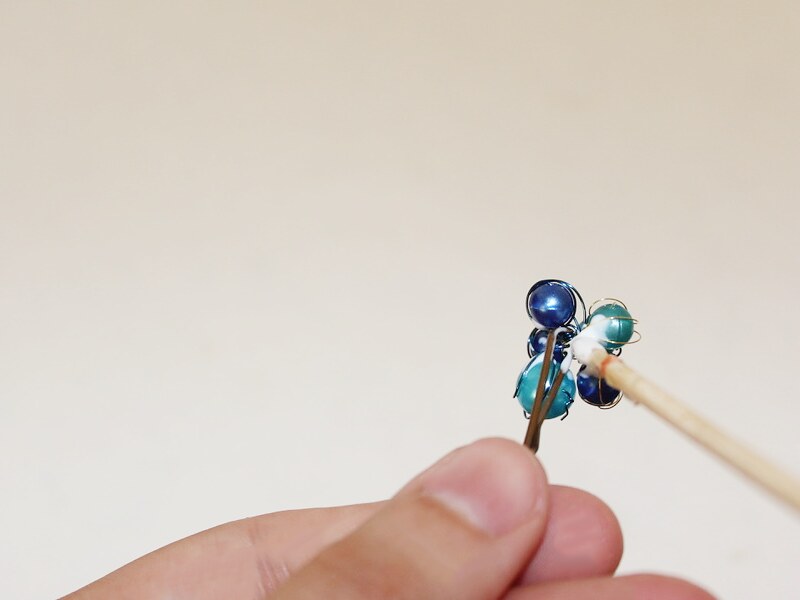
Once the glue is dry your bobby pin is finished and ready to wear!