-
Here’s how to make a fun hand harness with pearl tassel charms, so cool!
Are you bored at home staring at your hands with nothing else to do? Make them more interesting to look at with this fun hand harness! Making this should be fun and and you’ll have a cool accessory at the end. This tutorial contains affiliate links.
You’ll need these tools and materials to make your cool pearl tassel hand harness:
1: Pliers. I used my flat nose pliers and round nose pliers.


2: Chain that is long enough to wrap around your finger, the front of your hand and wrist. I used some gold-tone rolo chain.

3: Two medium jump rings.

4: A lobster clasp.

5: Pearl beads. I used eight pink pearl beads.

6: Eight smaller jump rings.

7: Eight head pins.

Follow these steps to make your pearl tassel hand harness:
1: Add each of the pearl beads to the head pins.

2: Curl the tops of the head pin around the round nose pliers to form loops and secure the beads in place. Once you have beaded and curled all eight pins you can set them aside.


3: Pick up the chain and create a loop that fits loosely around your middle finger.

4: Attach the end of the chain to the point where where it fits so that you have a loose loop of chain secured together. You can do this by opening one of the chain links and then closing it again around one of the links in the chain.

5: Measure a piece of chain so that it falls down the middle of your hand.
6: Then wrap the rest of the chain around your wrist, trim it and secure it into a large loop like you did with the ring part of the chain. Now you should have one small and one large loop with a single chain joining them.

7: Split the large loop so that it is open in the back opposite to the centre chain.

8: Attach the medium sized jump rings to either end of the open loop and attach the lobster clasp to one of them.


9: Now all that is left is to attach the pearl charms! Add the eight pearl charms to the centre chain that runs down the centre of your hand using the smaller jump rings.


Once all your pearls are attached your pearl tassel hand harness is finished and ready to wear!! So cute!


Here are some other hand harness designs that you can make:
This tutorial contains affiliate links.
-
Sequins are giving me life lately! Here’s how to make a sequin hand harness.
Hand harnesses are so fun! Add some even more fun to this design with some shiny sequins. This design is perfect for at home parties and showing off some sparkle during Zoom cocktail hours!
You’ll need the following tools and materials to make your sequinned hand harness:
1: Pliers. I used my round nose and flat nose pliers.
2: Chain.

3: A bunch of small jump rings.
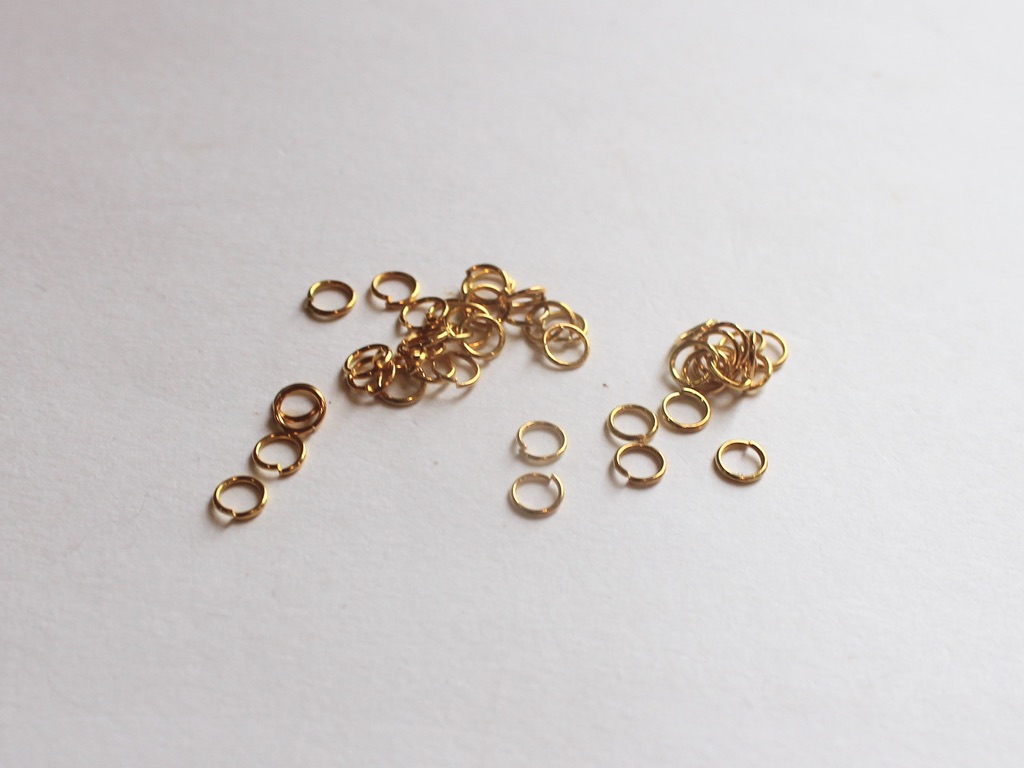
4: Two larger jump rings.

5: A lobster clasp.
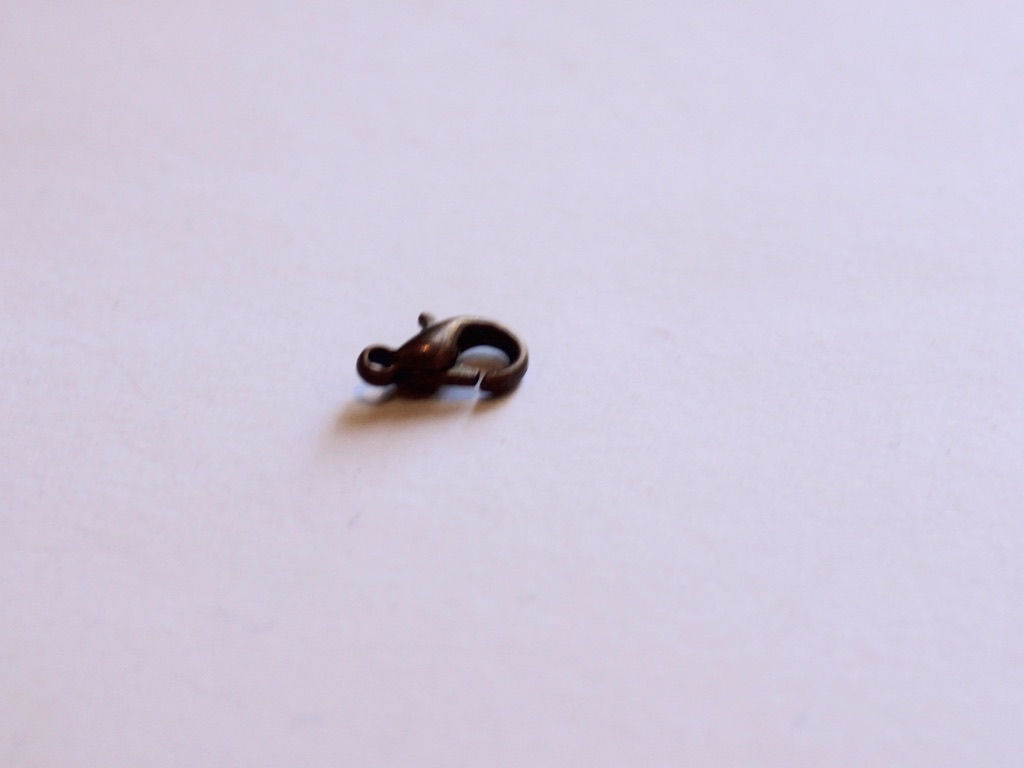
6: Sequins. I used these large disc sequins that have holes at the top.

Follow these steps to make your sequinned hand harness:
1: Measure your wrist and section off enough chain to fit around it.

2: Attach a longer piece of chain to the centre of the bracelet chain. Depending on the type of chain you are doing you can attach them together by opening one of the links on the longer chain and sliding it onto a link in the centre of the bracelet. If your links don’t open I suggest using a jump ring to join your chains together.

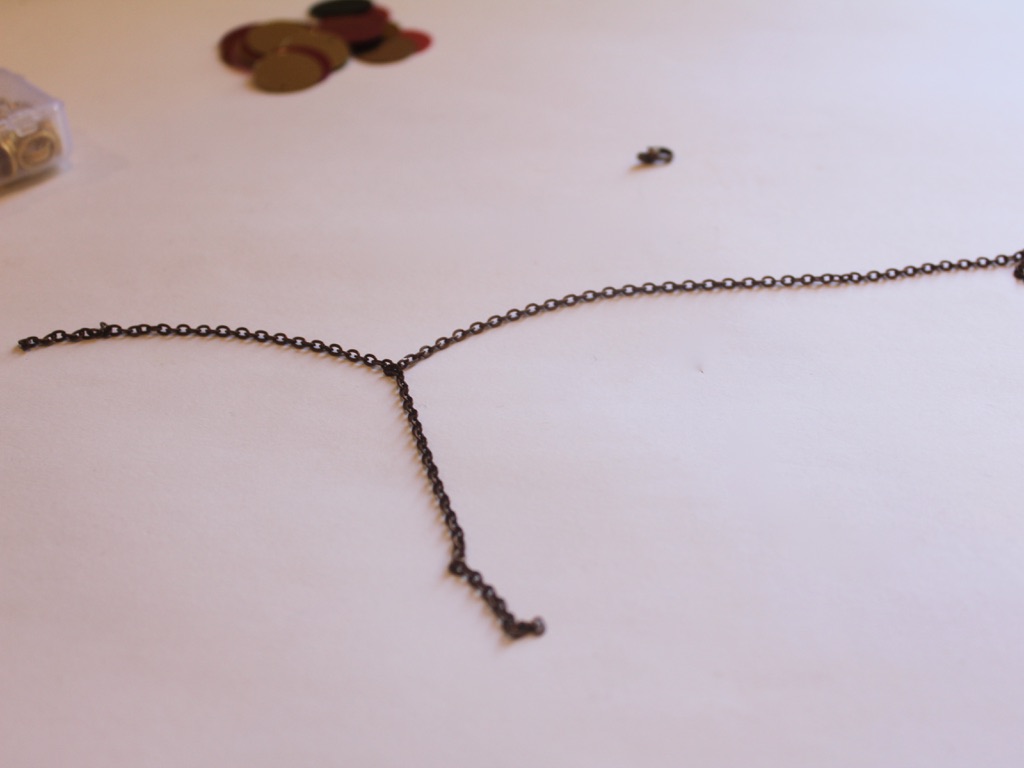
3: Drape the longer chain across your hand and around one of your fingers, make sure it is loose enough.

4: Trim the chain to the length you just measured out and attach the end of the chain to form a finger-sized loop.


5: Attach the two larger jump rings to either end of the bracelet section and attach the lobster clasp too.

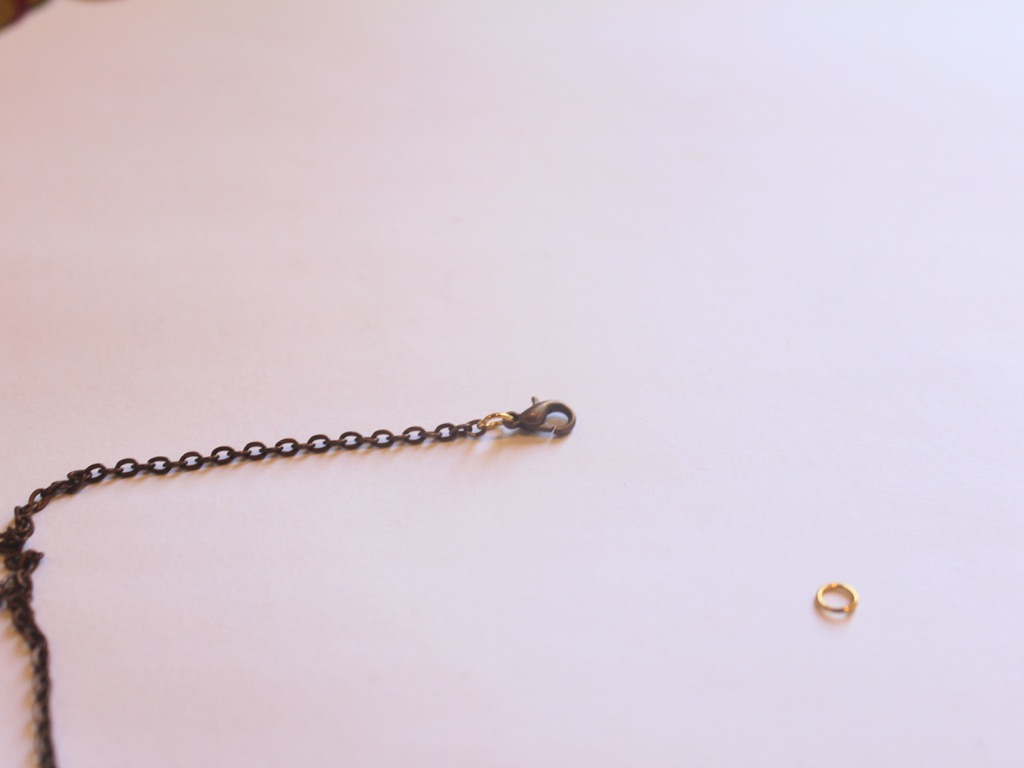

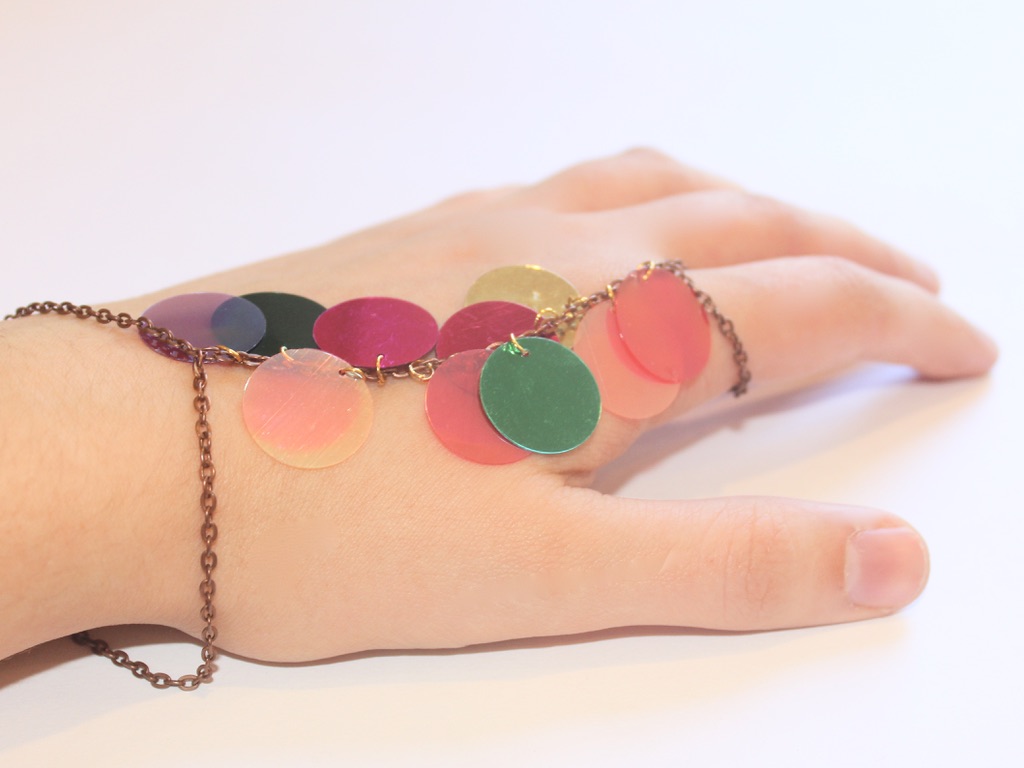
6: Now add the sequins. I added mine using the smaller jump rings, attaching them to the centre part of the hand harness.


7: Continue adding the sequins until you have the look you want.

Now your sequinned hand harness is finished and ready to wear! Perfect for virtual cocktail hour.

Here’s another hand harness design you can make.
And here are some other sequin jewelry tutorials:
This tutorial contains affiliate links.