googlea7fe66ce5e35c83b.html gtag('config', 'UA-139427764-1')
How to Make a Bracelet,  Step-By-Step Tutorials

Need something funky for your wrist stack? Make this sweet suede bracelet

I’m really into creating accessories with leather and suede at the moment, leather bracelets are easy to make and they look really cool. Leather is the perfect accompaniment for stunning decorative beads. For my bracelet I decided to show off this pretty glass bead that has a cool cracked effect.

You will need the following tools and materials to make this simple suede bracelet:

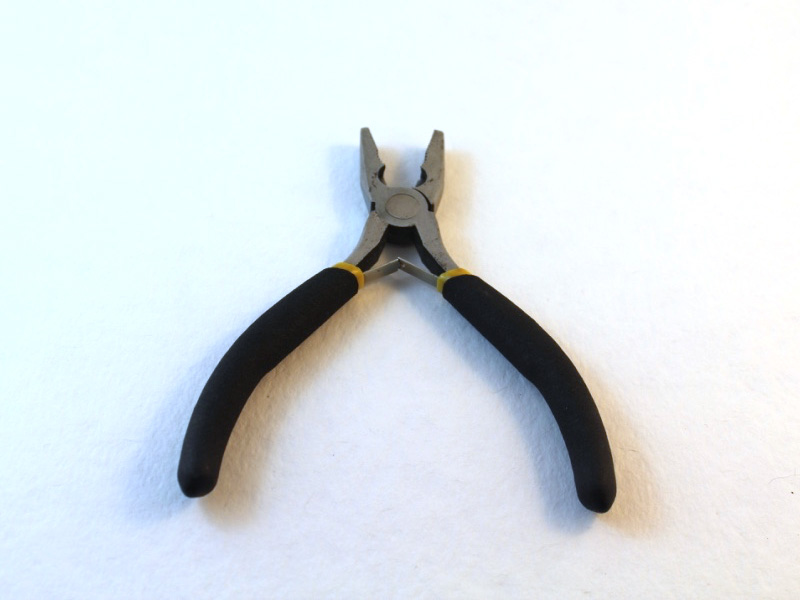
1: Pliers. To make this bracelet you will need your cutting pliers and flat nose pliers.

A pair of cutting pliers

A pair of flat nose pliers

2: A piece of suede jewelry cord.

a piece of suede cut to bracelet length

3: Two silver colored leather crimp ends.

Two silver colored leather crimp ends

4: Two silver colored jump rings.

two silver colored jump rings

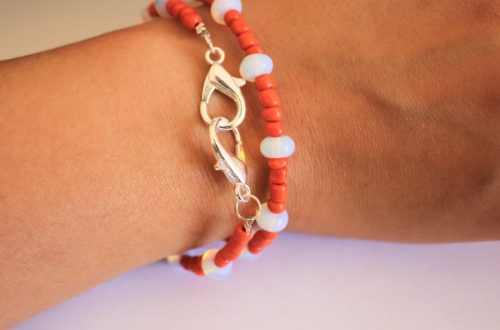
5: One silver colored lobster clasp.

A silver lobster clasp

6: A bead of your choice, make sure that it has a hole big enough to fit on the suede strand. I used this clear cracked glass bead.

a clear cracked glass bead

Follow these steps to make this bracelet:

1: Cut your piece of suede to length using the cutting pliers. Make sure that it will fit comfortably around your wrist without being too big.

2: Add your chosen beads to the piece of suede.

the feature bead on the piece of suede

3: Take one of the crimp ends to one end of the suede. Make sure it lines up properly before you squash it in place.

4: Use the flat nose pliers to squash one side of the crimp end in place.

squashing the crimp end in place

5: Repeat step 4 for the other side of the crimp so that both ends have have been folded flat.

squashing the other side of the crimp end

both crimp ends attached to the bracelet

6: Add a jump ring to one end of the bracelet, close it with pliers to secure it in place.

adding the jump ring to the end of the bracelet

7: Add another jump ring to the other end of the bracelet and add the lobster clasp. Secure the lobster clasp in place by closing the jump ring with your pliers.

adding the lobster clasp to the bracelet

8: Once your lobster clasp has been secured in place your bracelet is ready to wear. Stack it up with your fave bracelets for a fresh, cool look.

the completed suede bracelet

Save

Save

Welcome to DIY Jewelry Hub. If you’ve ever wanted to learn how to make your own jewelry this is the place to start! Jewelry is a great way to show off your individuality and style. You’ll be surprised at how easy it is to create your own unique pieces! DIY Jewelry Hub will equip you with all the knowledge and inspiration you need to make your own jewelry.

Leave a Reply

Your email address will not be published. Required fields are marked *

This website uses Google Analytics software. You can opt out via this link. Click here to opt-out.