-
I am loving rhinestone right now! Here’s how to DIY a rhinestone headband

I love this headband! Such a cool hair accessory, simple and sparkly… what more could you ask for?
You’ll need the following tools and materials to make this headband:
1: A headband. I used this one covered in a red ribbon.
2: A strand of rhinestones long enough to cover the headband.

3: Superglue.

Follow these steps to make your rhinestone headband:
1: Add some glue to the end of the headband.

2: Place the end of the rhinestone strand on the glued part to secure it in place. Be careful not to glue your fingers!

3: Add some more dabs of glue along the headband securing the rhinestones down as you go.

4: Secure the other end of the rhinestone strand down at the other end of the headband to finish it off!


Now it’s ready to wear!
-
Last Minute Handmade Gifts for Christmas 2018!
Have you left your gifts to the last minute? Why not make your friends and family some special accessories? Here are five DIY Christmas gift ideas.
A Festive Headband.
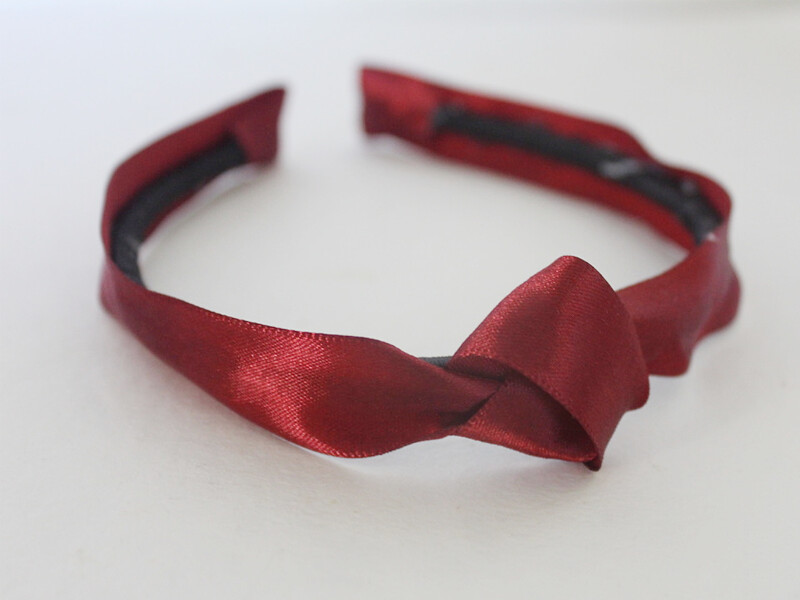
Headbands are back! This headband design uses some luxurious ribbon for a cool effect. Find all the steps here.
Collar clips for your stylish friend with all the flair!
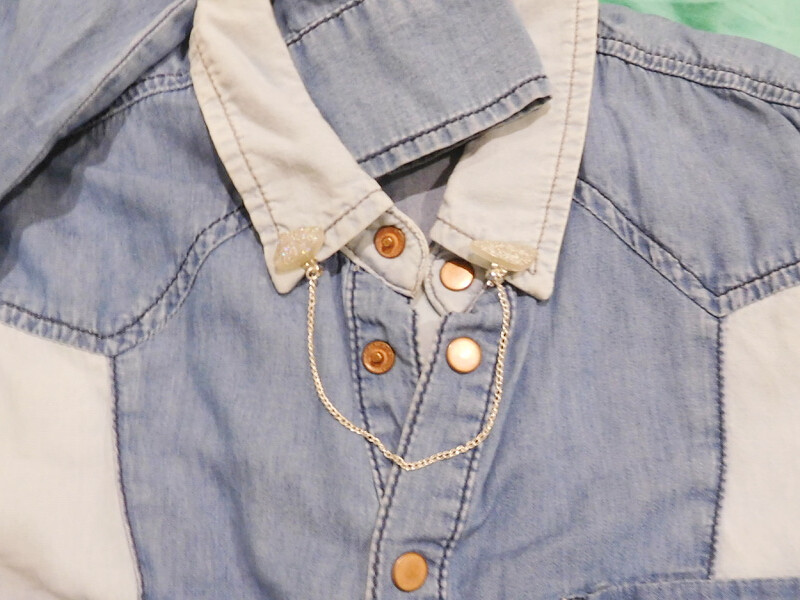
These collar clips make clever use of clip on earrings. They’re perfect for people who love quirky accessories. Find out how to make them here.
For the person who likes to keep it simple: curved threader earrings.
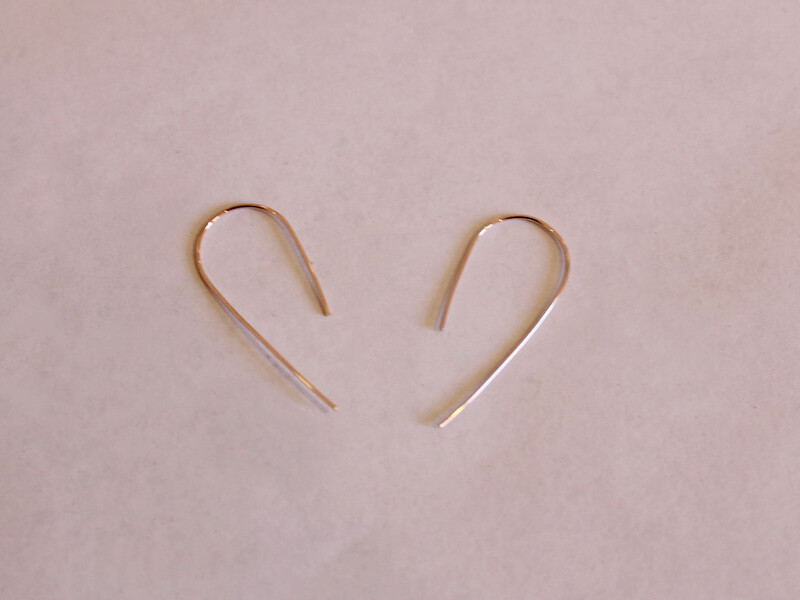
These earrings look so delicate and elegant! Make your own by following this tutorial.
For the crystal lover: a leather and crystal choker.
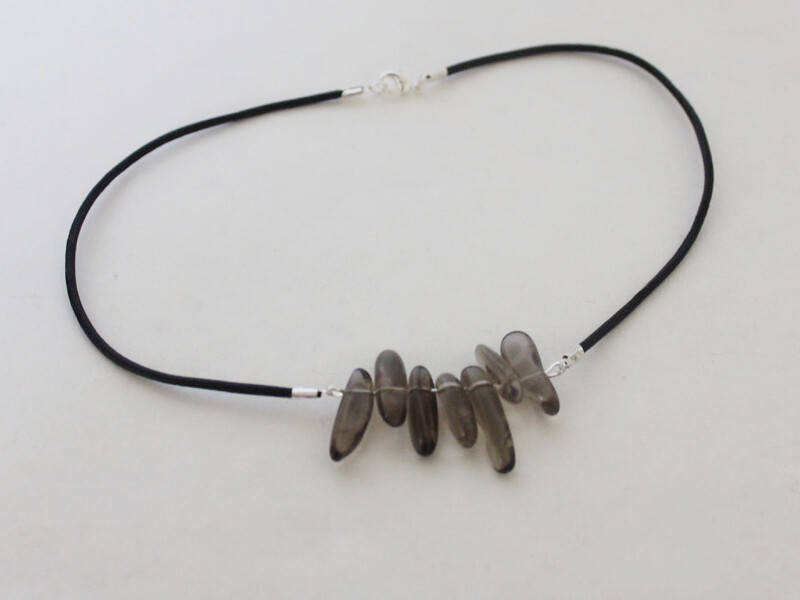
This choker design is perfect for showing off those protective crystals. Find all the steps here.
Here’s something for the sentimental: Earrings made with found feathers.
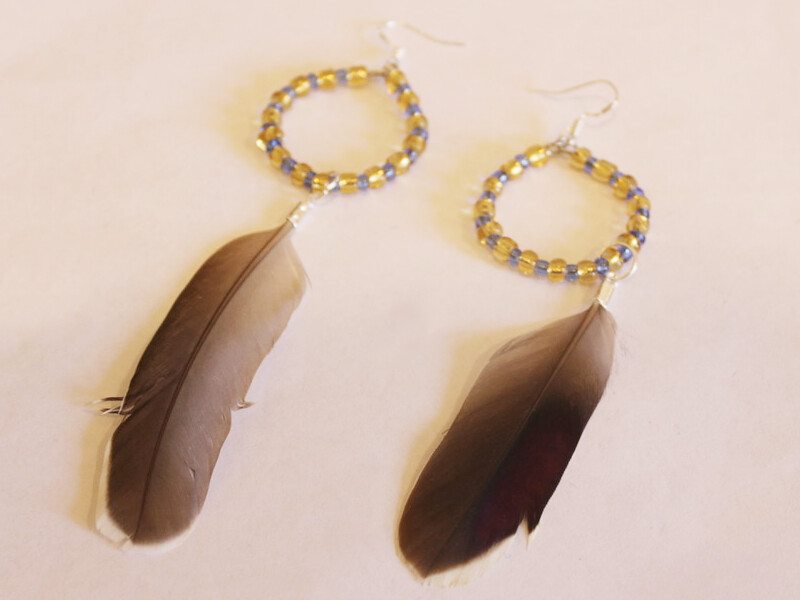
I made these earrings using feathers I found myself. Using found materials can make your designs extra special for the people who receive them. Here’s how to make these feather earrings.
-
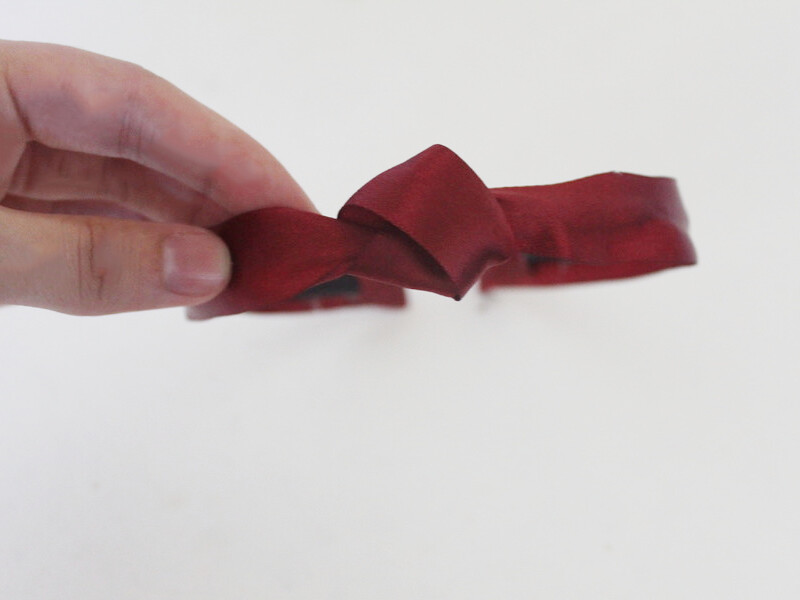
Want something fun to wear on your head? Make this knotted headband!
For some reason I have a lot of old headbands lying around. I decided to give one a makeover using some ribbon and some hot glue. This DIY is super easy, you can do it yourself in around 10 minutes.
You will need the following tools and materials to make your headband:
1: A headband. I used this old one I had lying around that I had previously wrapped in black ribbon.
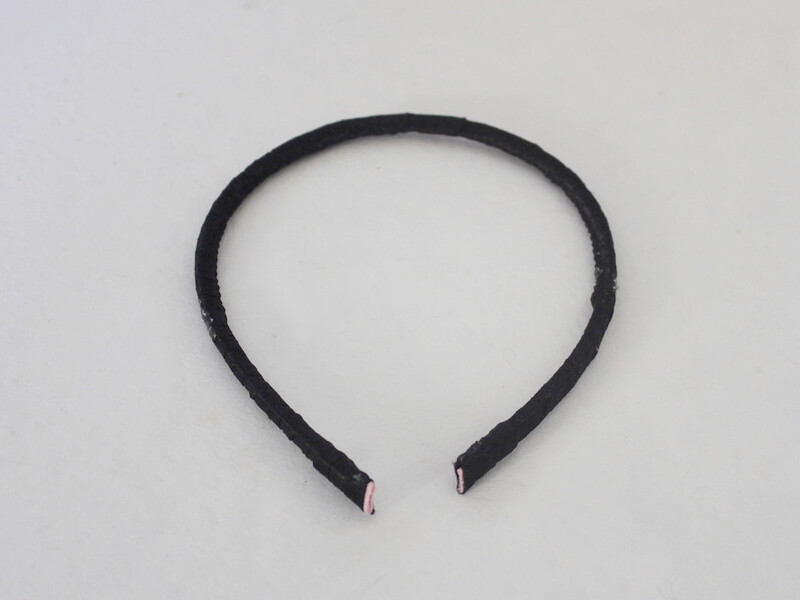
2: Scissors, for trimming the ribbon.

3: A hot glue gun and hot glue.

4: Some ribbon. I used some deep red ribbon.
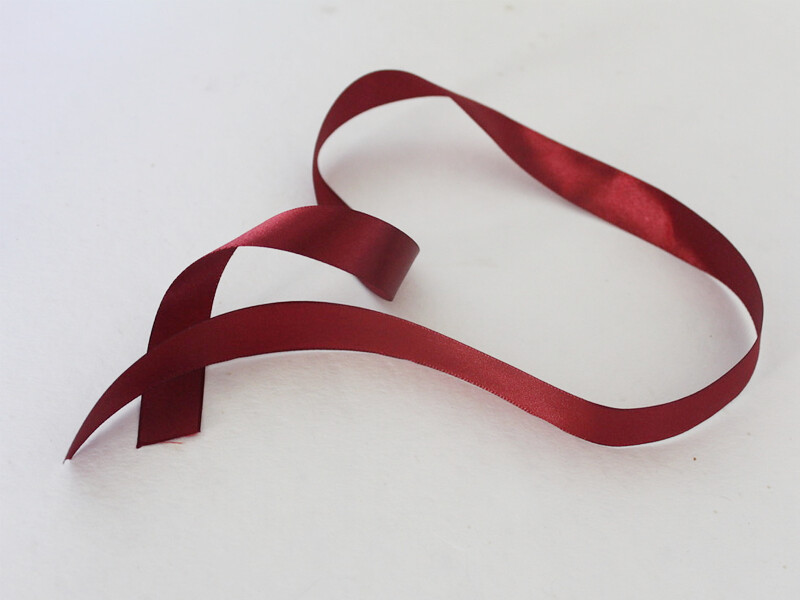
Follow these steps to make your headband:
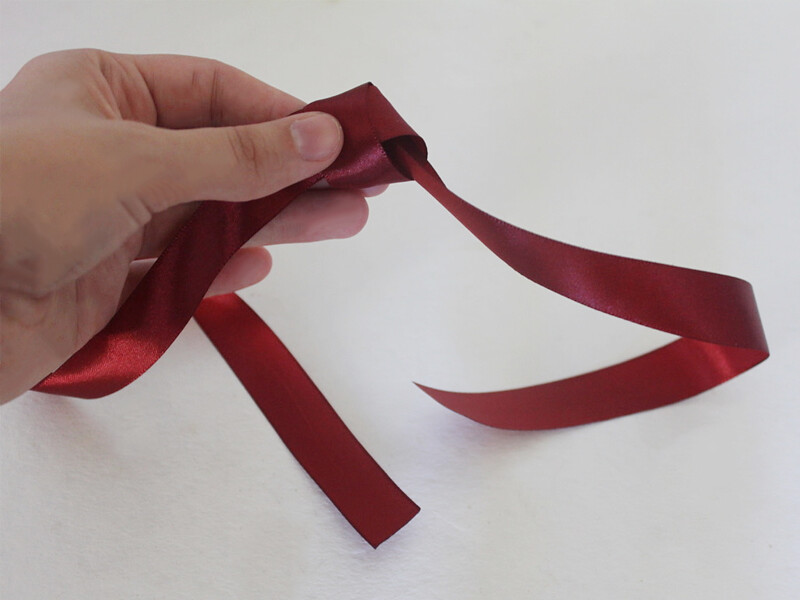
1: Loosely knot the ribbon in the middle. Don’t pull the knot tight or it will lose it’s shape and bounciness!
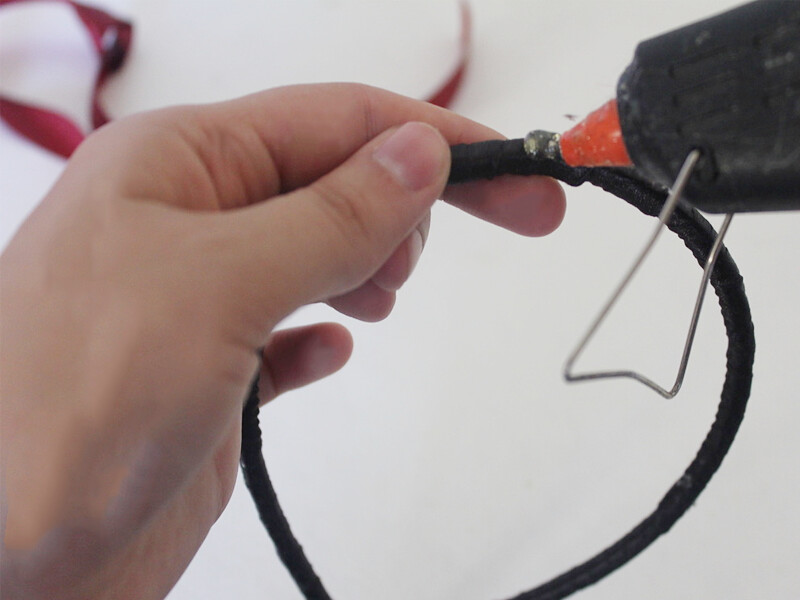
2: Add some glue to the middle of the headband and glue the knotted part of the ribbon to the center.
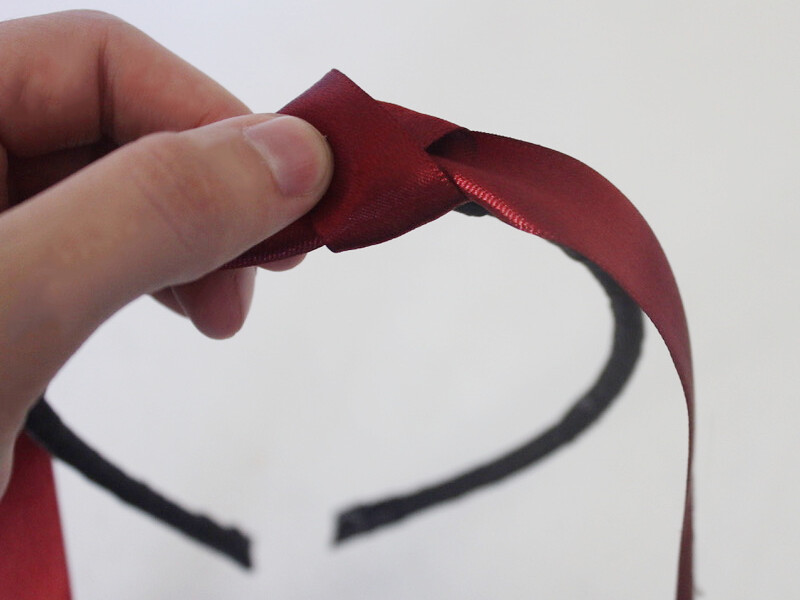
3: Add some more glue down the sides of the headband and secure the ribbon to the band.
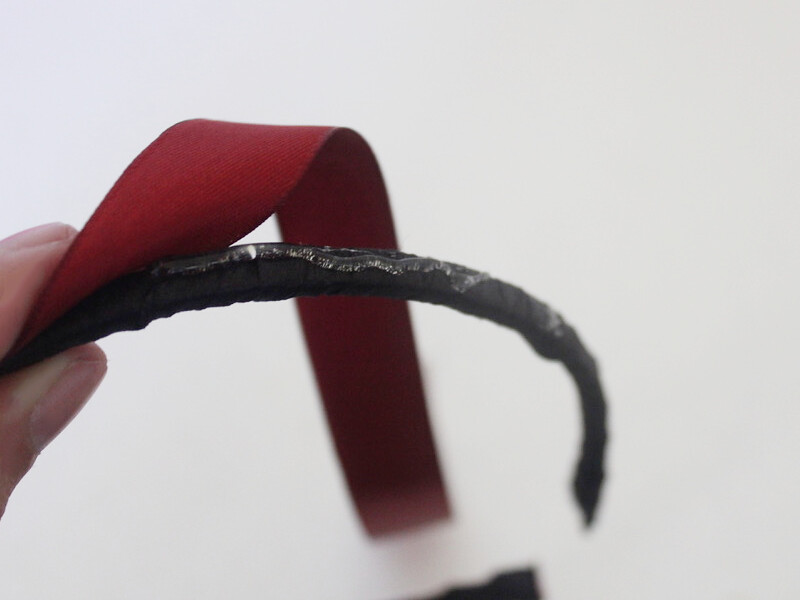
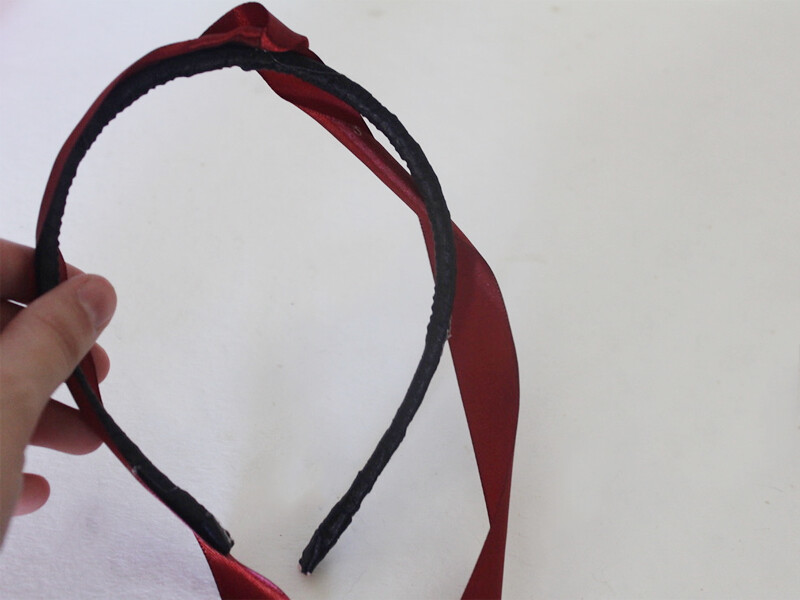
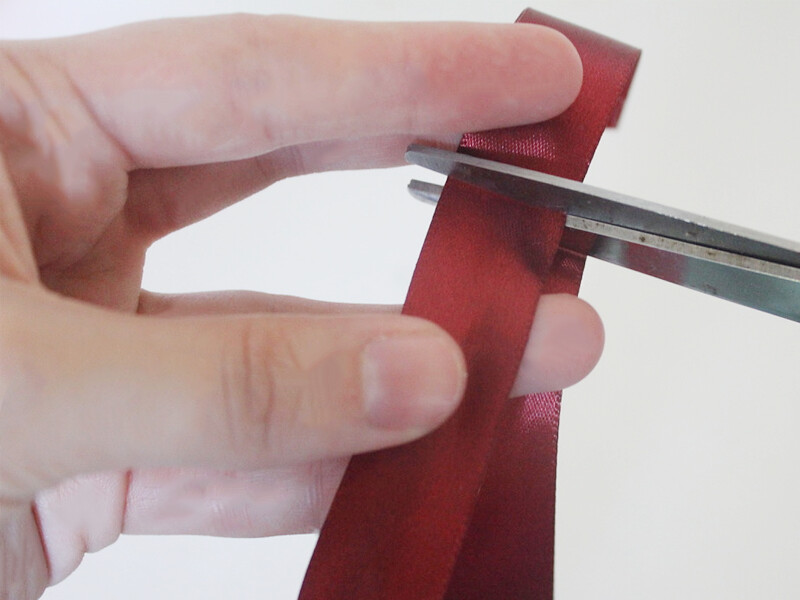
4: Trim the excess ribbon off the ends. Leave enough ribbon to fold around the ends of the headband.

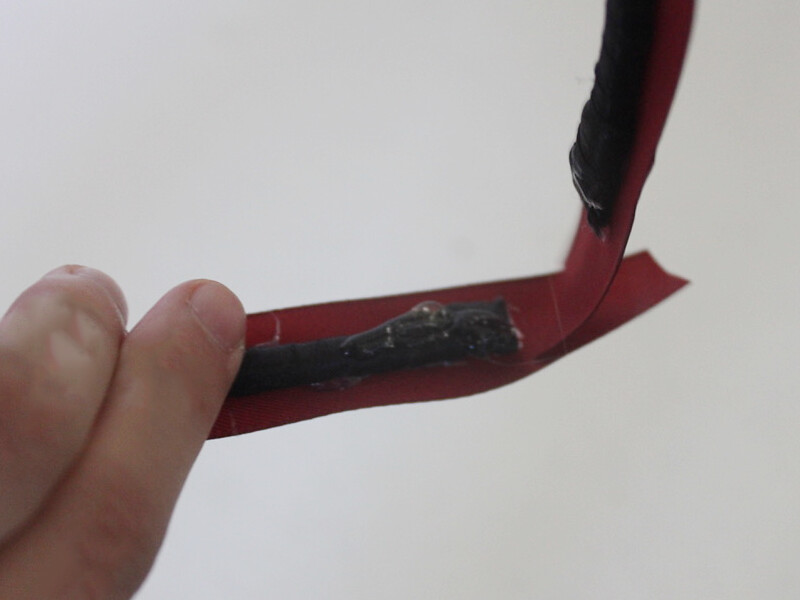
5: Add glue to the inside ends of the headband and secure the ends of the ribbon around the end of the headband.
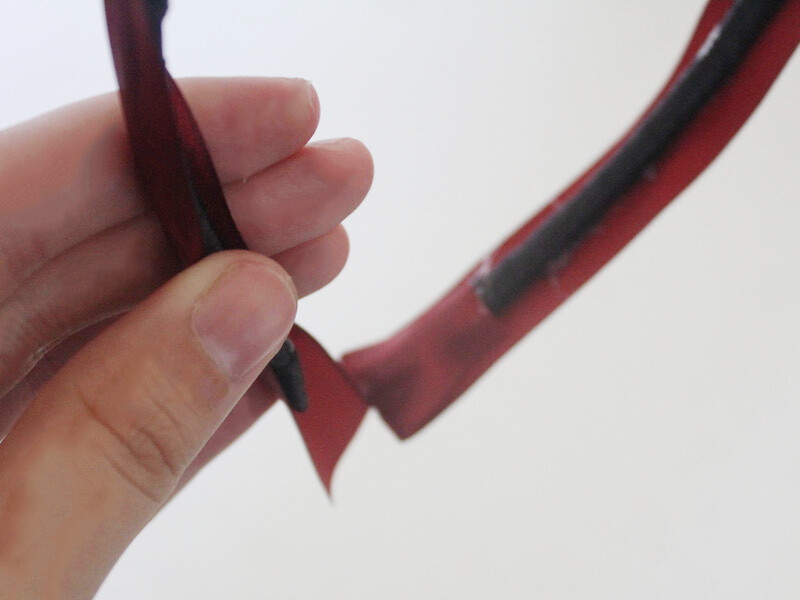
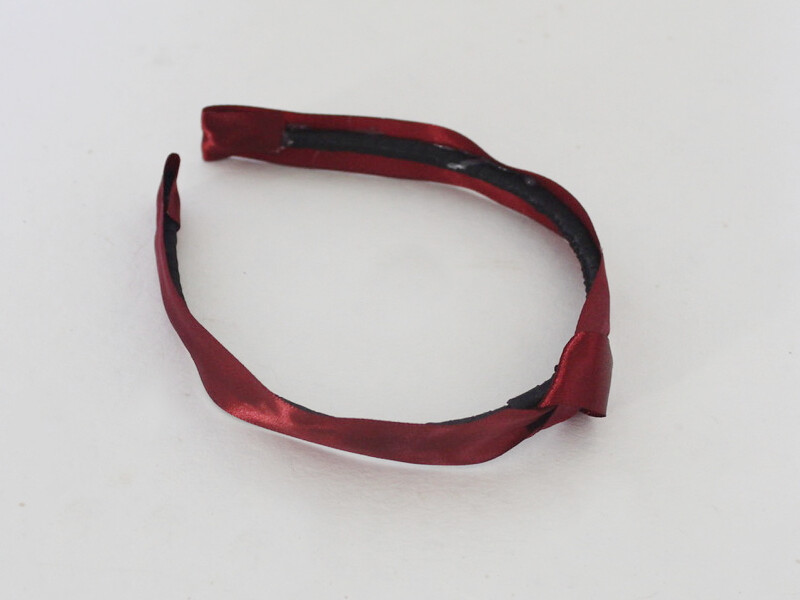
Once the ends are glued in place and the glue has cooled and dried your headband is ready to wear!
-
Here’s how you can update your old ugly headbands… With Rhinestones!

Do you need something fun to add to your festive outfits? This embellished headband is for you! If you’ve got an old ugly headband lying around this tutorial shows you the perfect way to jazz it up. Contains affiliate links.
You will need the following tools and materials to make this headband:
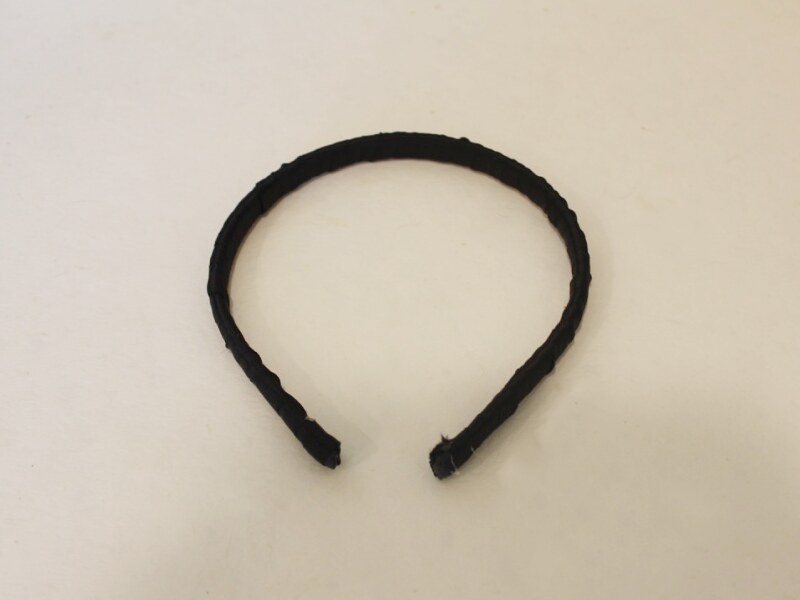
1: A headband. I used this old headband I had lying around at home.

2: Some ribbon.

3: Rhinestones.
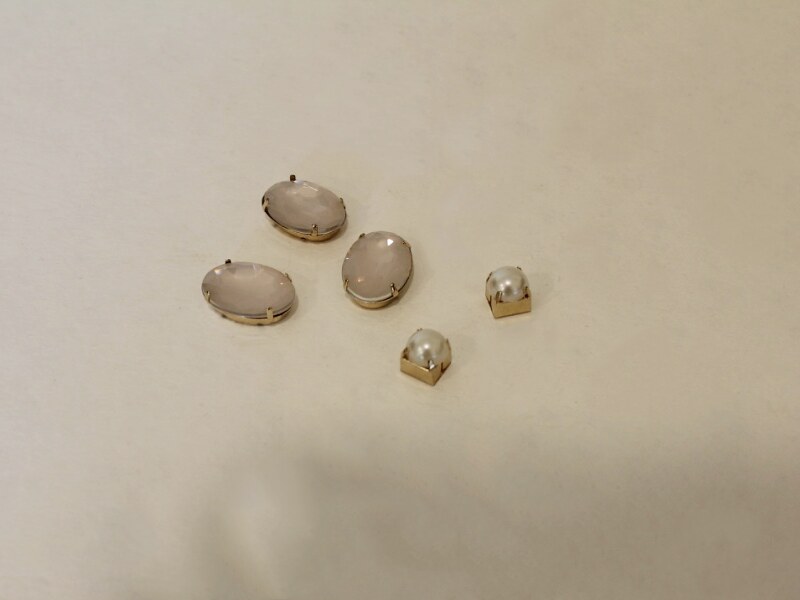
4: A hot glue gun and glue sticks.
5: Scissors.
Follow these steps to make your headband:
1: Add some glue to the inside of the headband with the glue gun.

2: Stick on end of the ribbon to the glue, being careful not to burn yourself as the glue will be hot.

3: Begin wrapping the ribbon tightly around the headband. Overlapping the ribbon to ensure that the headband is completely covered.

4: Continue wrapping the headband until you reach the other end.
5: Add more glue to the other end of the headband and place the ribbon over it to secure the end.


6: Use the scissors to trim the excess ribbon.

7: Add some glue to the top of the headband where you want your embellishment to sit, I mine slightly off center.

8: Place the first rhinestone onto the glue.

9: Repeat steps 7 and 8 for the remaining rhinestones until you are happy with your embellishments.
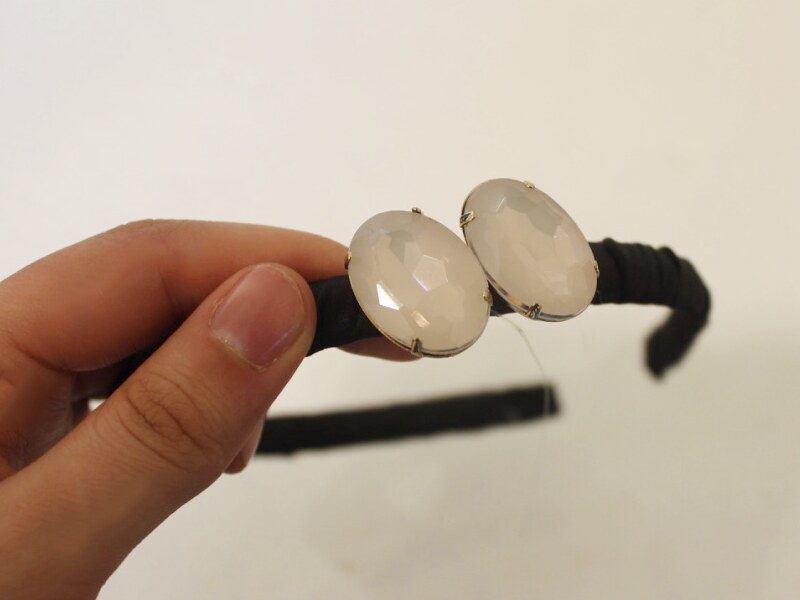


Once all your rhinestones are in place your headband is finished. Wait for the glue to dry and trim any of the excess glue strings before you pop it on!