-
How to make a cute pearl charm out of wire!
Maybe you’ve got some earrings that you want to change up a bit, like a pair of hoops that could use some extra charm… why not make this tiny pearl pendant out of hammered wire?
You’ll need the following tools and materials to make this little charm:
1: Cutting pliers and round nose pliers.


2: A steel block to hammer on.

3: A hammer. I used a normal hammer but a jewelry hammer might be more appropriate 😉

4: A piece of wire. I used some rose gold-filled wire, approximately 3cm long.

5: Pearl beads. I used these two small white pearls.

6: A file or sandpaper for finishing off the ends of the wire.

Here are the steps to follow to make your cute pearl charm:
1: Cut the wire to the length you want it, make sure you leave enough room for hammering and curling the top of the wire.
2: Place the wire on the hammering block.

3: Hammer one end of the wire, flipping it over to make sure both sides are even. Keep hammering until the wire is wide enough to stop your bead from falling off.

4: Place the beads on the wire. They should be stopped from sliding off by the newly hammered end.

5: Bend the wire to form a right angle at the top.

6: Loop the wire using the round nose pliers to secure the beads from sliding off the other end.

7: File or sand the hammered end of the wire to ensure that there are no sharp edges.
Now your charm is finished! What will you decorate with yours?

If you liked this design, here’s another hammered charm tutorial.
Here are some other hammered earring tutorials
- Hammered wire arch earrings with gemstones
- Simple hammered studs
- Hammer texture threader earrings
- Beaded wire threader earrings
This tutorial contains affiliate links.
-
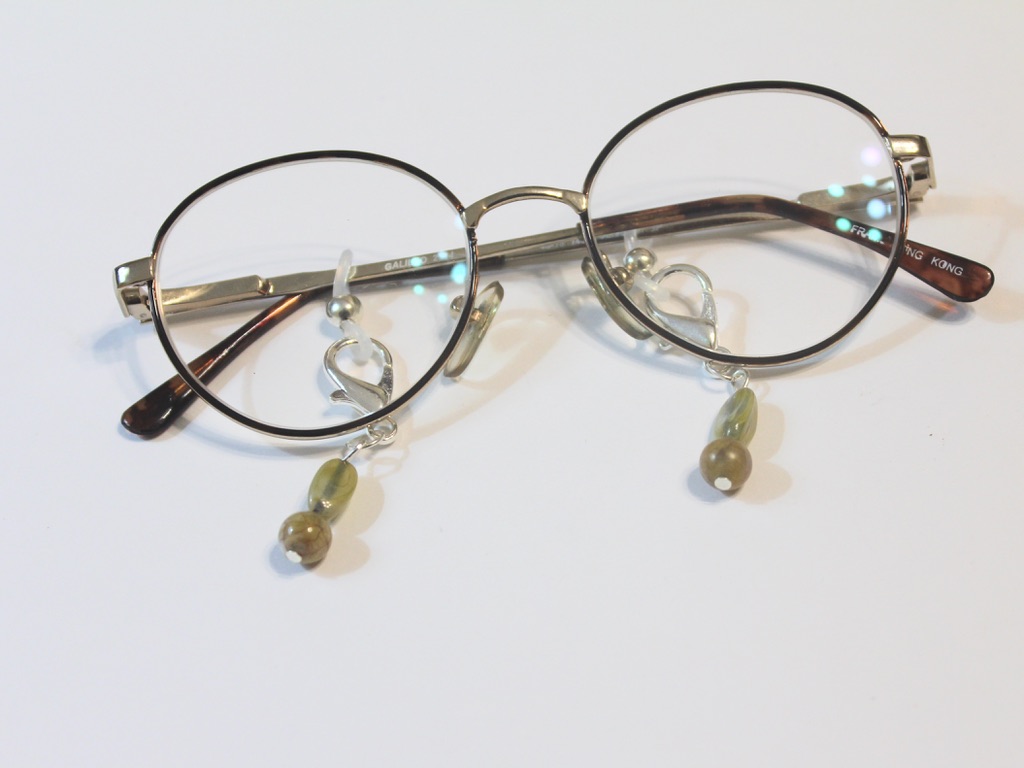
Do your glasses need a spruce up? Make these glasses charms!
These charms attach to the arms of your glasses to give them some extra pizzaz! Make them with some special beads to add some glam to your everyday pair of specs or shades. Because they feature large clasps, you can easily mix and match them with new charms that you make!
You’ll need the following tools and materials to make these glasses charms:
1: Two rubber glasses holders.

2: Pliers. I used round nose and flat nose pliers.

3: Two jump rings.

4: Two large lobster clasps.

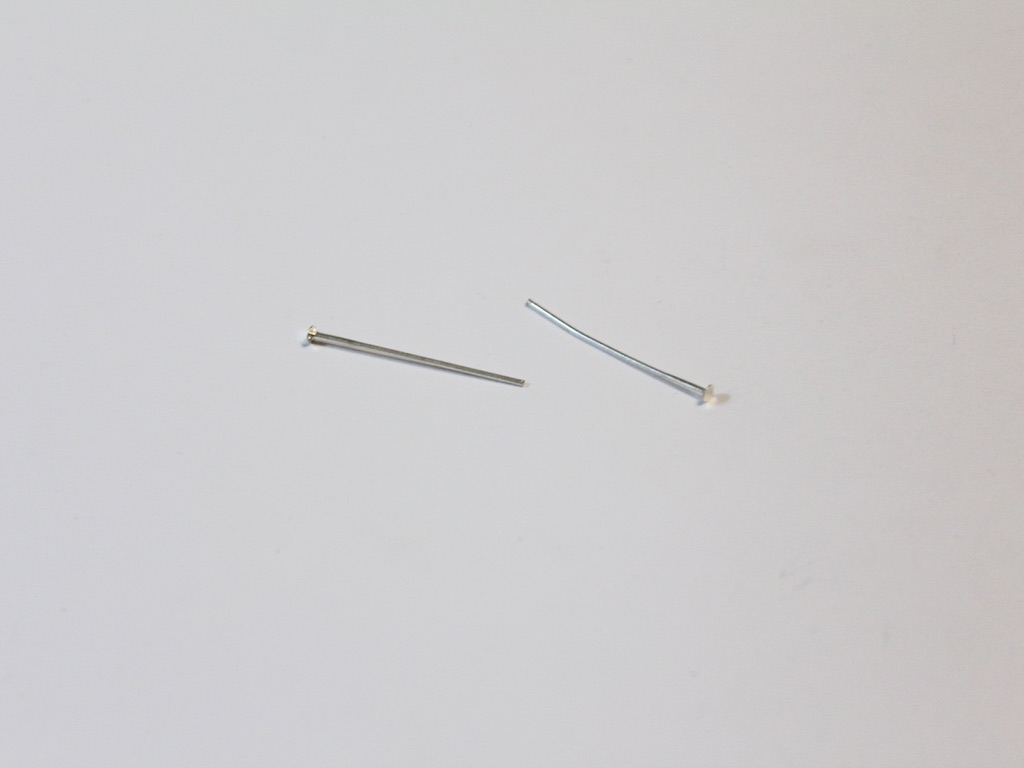
5: Two head pins.
6: Beads. I used these vintage plastic beads.

Follow these steps to make your glasses charms:
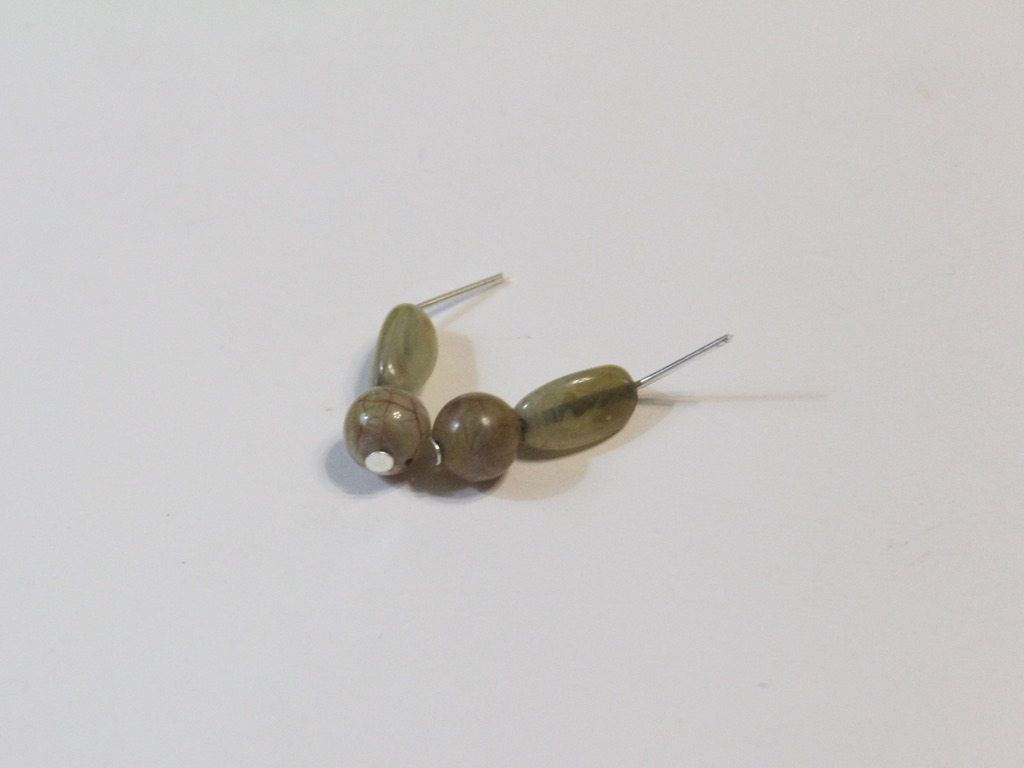
1: Add the beads to each of the pins.

2: Bend the pin to form a right angle and form a loop at the top of the pin using the round nose pliers. This will secure the beads on the pin.


3: Attach the charms to each of the lobster clasps using the jump rings.


4: Attach the lobster clasps to the rubber holders to finish the charms off.


Pop your charms onto your favourite glasses and then wear them!


This tutorial contains affiliate links.
-
This Tutorial Will Let You Take Your Most Sentimental Gems and Charms With You Everywhere
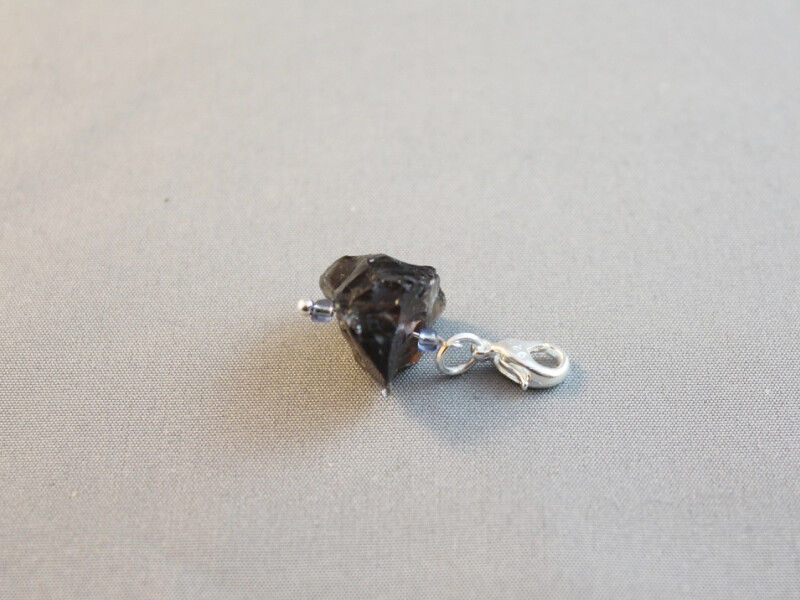
Do you have a favorite bead or a special gemstone that you want to add to your favorite piece of jewelry? You should try making this detachable charm! Please note that this tutorial contains affiliate links for which the website may receive a commission.
You will need the following tools and materials to make this charm:
1: Pliers. You will need your round nose pliers and flat nose pliers to make this charm.
2: One small head pin.
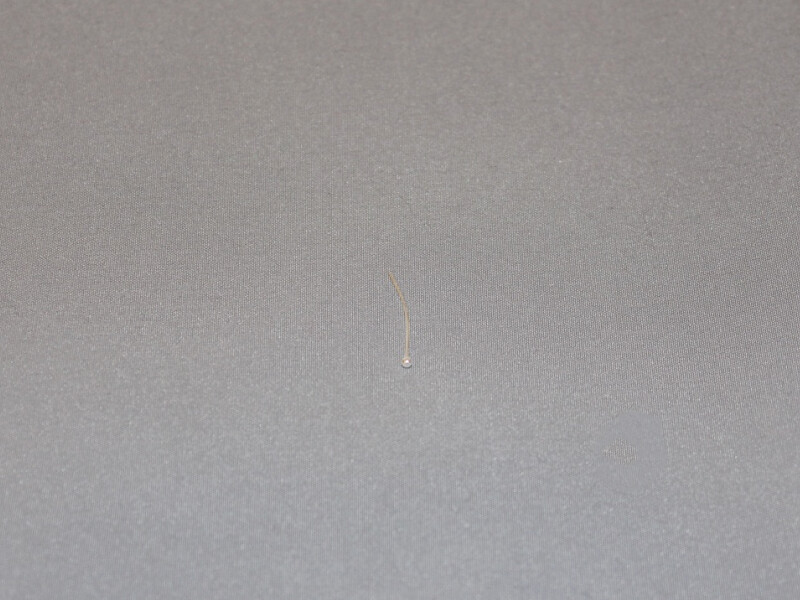
These ones have hearts on the end! https://ebay.us/8hzGNJ
3: One lobster clasp.

4: One jump ring.

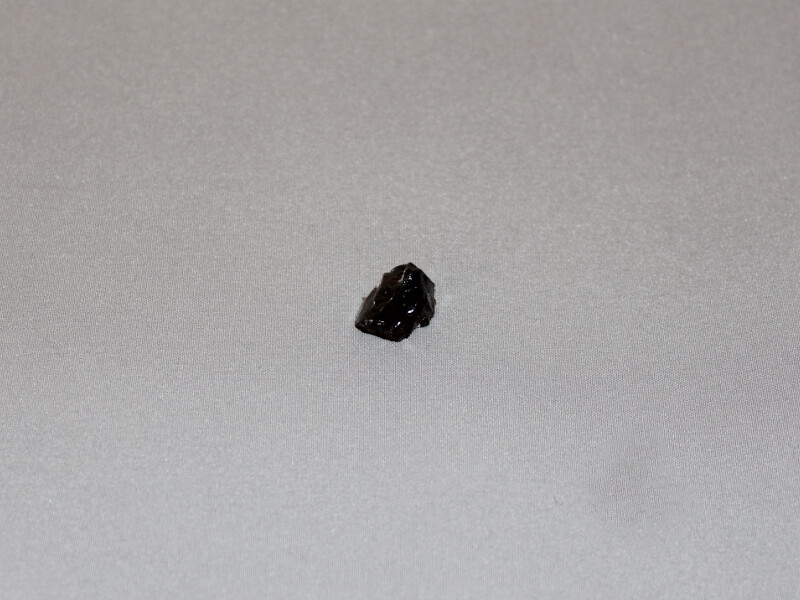
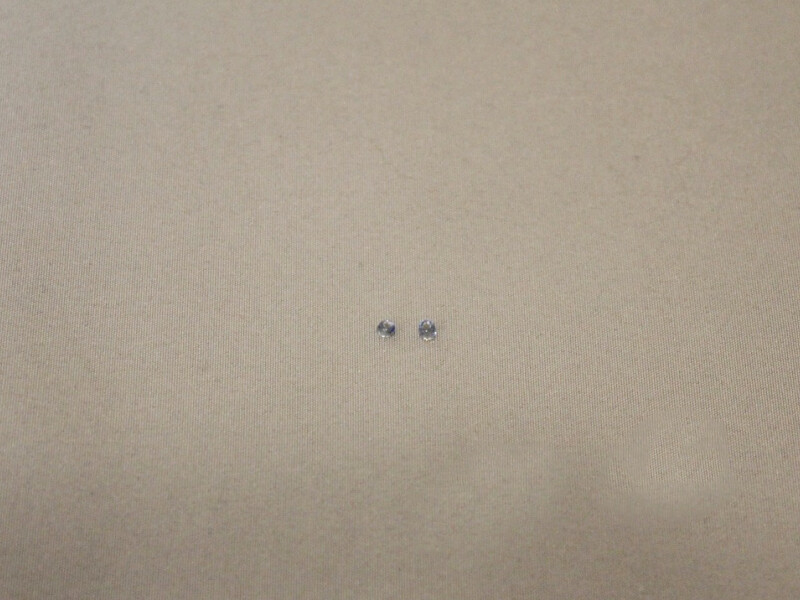
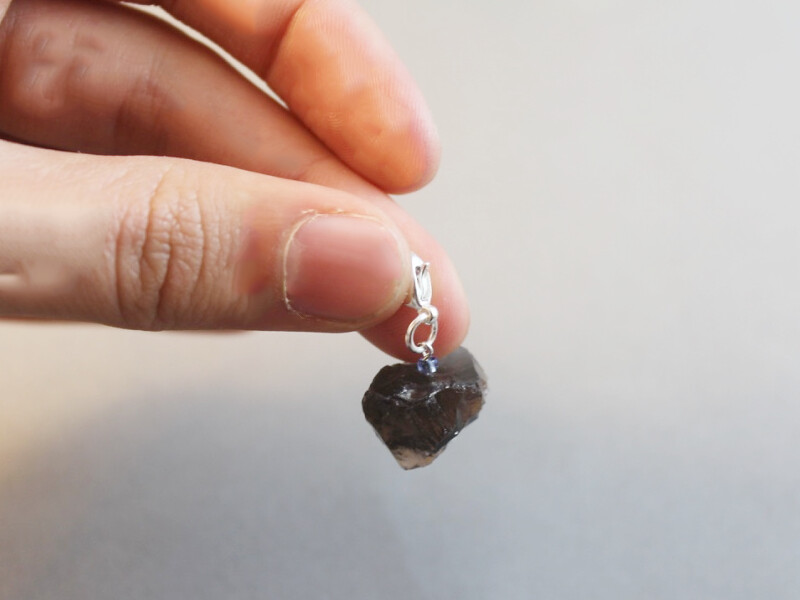
5: Beads of your choice. I used this rough smoky quartz bead and two blue glass seed beads.
Follow these steps to make your detachable charm:
1: Add the beads to the head pin. I put a seed bead either side of the quartz feature bead.
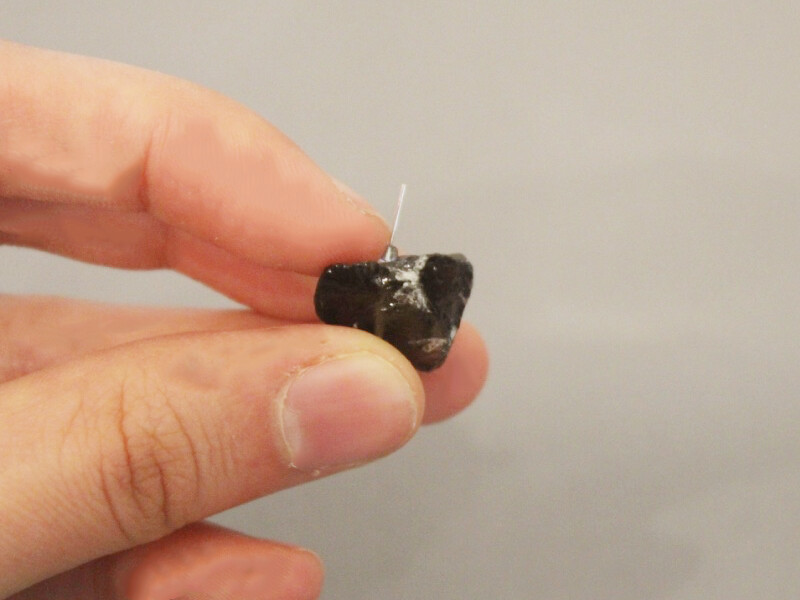
2: Create a loop at the top of the pin using the round nose pliers to secure the beads in place.
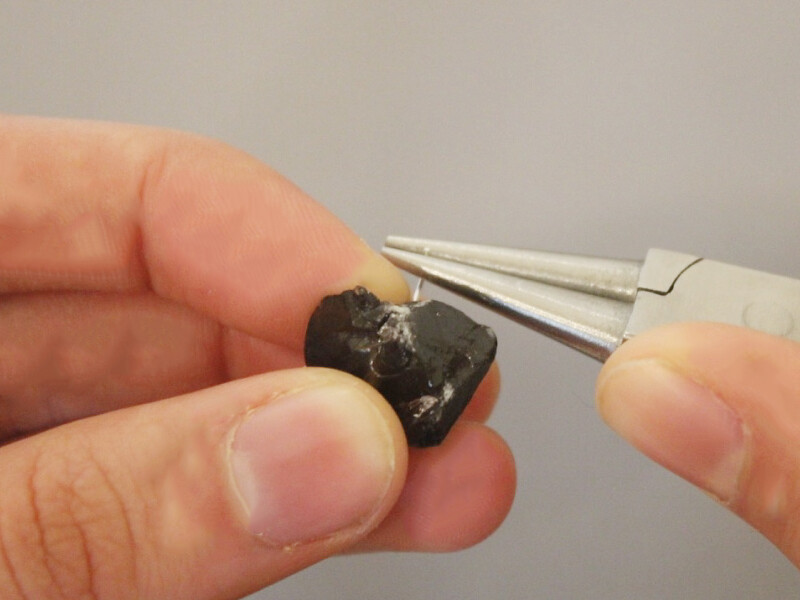
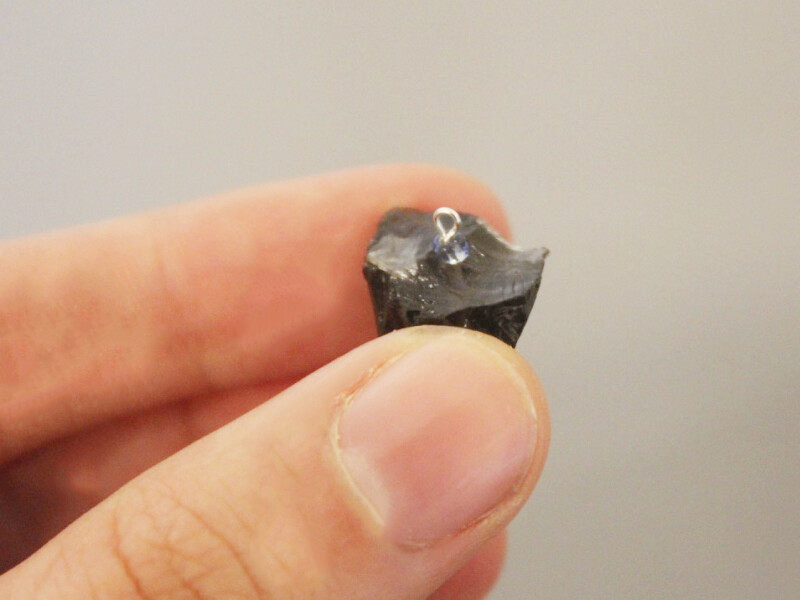
3: Add a jump ring to the top of the charm.
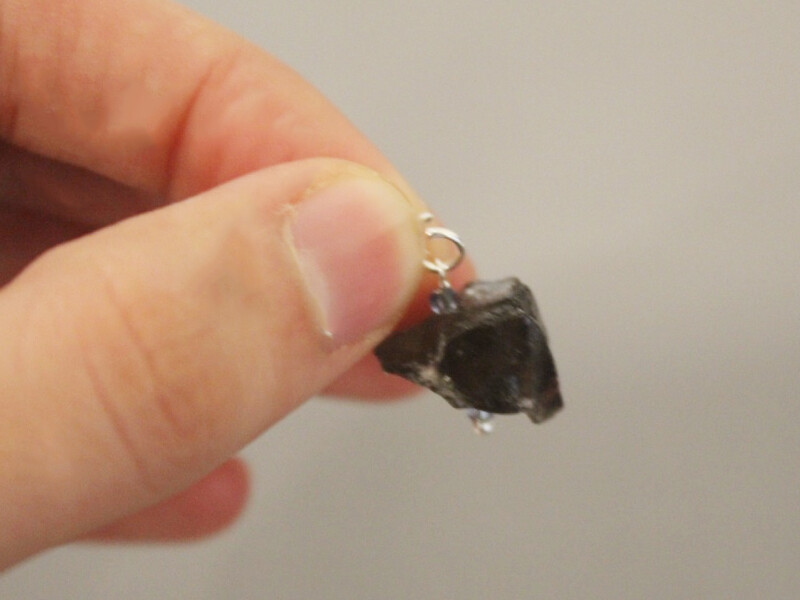
4: Add the lobster clasp to the open jump ring. Close the ring to secure the clasp in place.
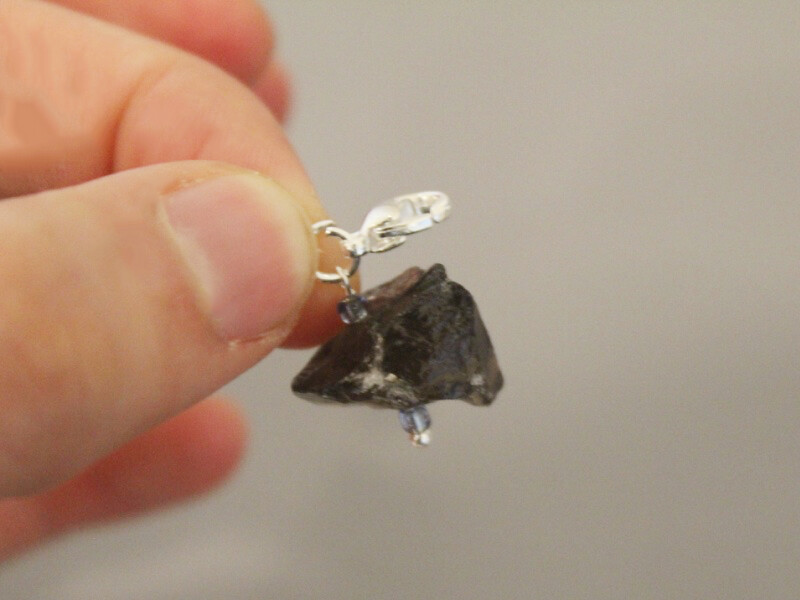
Once the clasp is attached the charm is finished! What piece of jewelry will you attach your charm to?
-
Got some seed beads lying around? Make this amazing diamond shaped pendant!
This diamond-shaped pendant looks great on a necklace, it is a little fiddly to make but well worth it at the end! You’ll be able to use up all your colorful seed beads to make this special pendant.
You will need the following tools and materials to make this pendant:
1: Pliers. You will need your round nose pliers and flat nose pliers.
2: Twelve eye pins.

3: Two small jump rings.

4: Small seed beads. I used these pink and blue seed beads. You can use as many colors as you like.


Follow these steps to make your beaded diamond pendant:
1: Add the seed beads to each of the pins in any pattern you like. I decided to only bead four pins in blue and the rest in pink.


2: Bend each pin at a right angle to the beaded section using your round nose pliers.

3: Create a loop at the end of each pin to secure the beads in place using your round nose pliers.


4: Connect four pins together to make a square.


5: Connect four pins to each corner of the square.


6: Use one of the jump rings to connect the four corner pins in the center forming a pyramid shape.


7: Repeat step five and six for the other side of the pendant.


Once all your pins are connected your charm is complete. Connect it to some chain or some earring hooks and wear it with pride!


Here’s another beaded diamond pendant made with multiple colors attached to a necklace chain.