-
How to make some gorgeous chain earrings from scratch!
Have you ever wanted to make your own chain? This lovely earring tutorial shows you how to make your own simple chains from scratch and turn them into a stunning pair of earrings. Please note that this tutorial contains affiliate links for which the website might receive a commission.
You’ll need the following tools and materials:
1: Two earring posts with charm connectors on them. I used sterling silver ball post findings.
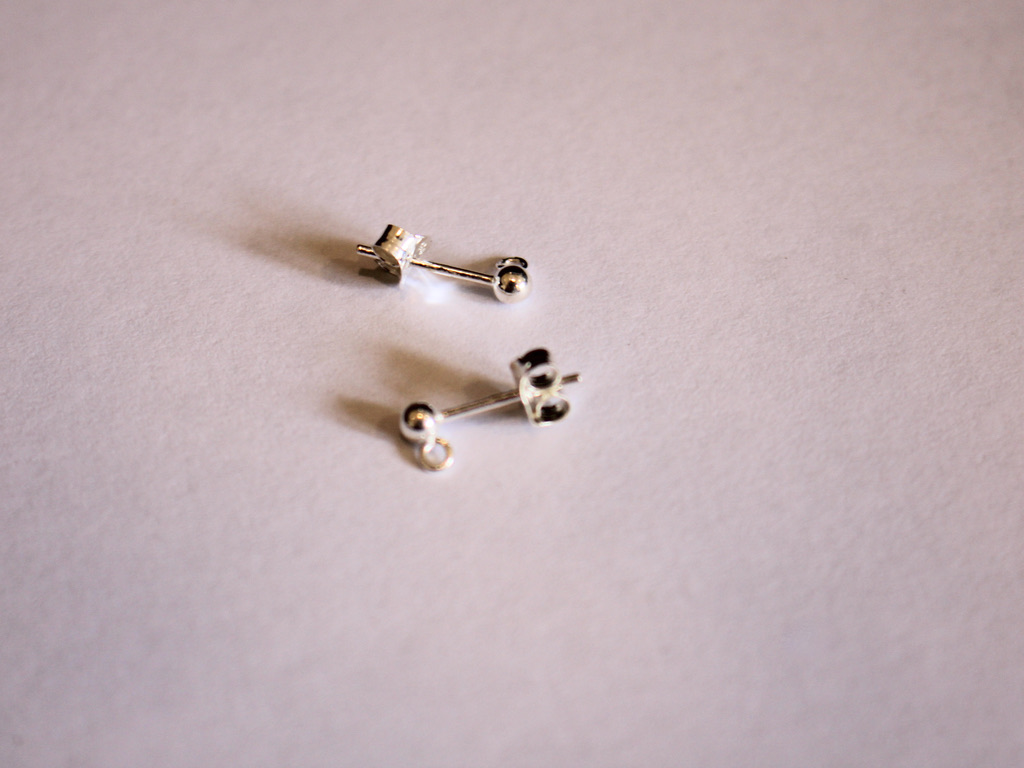
2: Two large jump rings. I used sterling silver.

3: Sixteen smaller jump rings. Mine were made from sterling silver.

4: A pair of drilled gemstone beads. You want beads that are drilled through the top rather than the middle like a typical bead. I used some greenstone disk beads.

5: Pliers. I used my flat nose and parallel pliers to open and close all the jump rings.


Follow these steps to make your gorgeous chain drop earrings:
1: Add one of the large jump rings to each of the beads, use your pliers to open and close them making sure to get the ends close together so that your bead doesn’t fall off.


This picture shows one jump ring in place and the other attached to the bead but not yet closed. 
Both of the beads with closed jump rings in place 2: Start adding some of the smaller jump rings together to form a chain. Do this by sliding a jump ring though a closed one, then closing the next one using your flat nosed pliers. You can see this in the pictures where I join two jump rings together. Create 2 chains that are 8 jump rings long, one for each earring.


The full chain formed with one jump ring left open at the end ready to attach to the bead. 3: Attach the chain to the jump ring attached to the bead, closing it carefully with pliers.


4: Attach the chain to the earring post by opening one of the jump rings at sliding it onto the charm connector, close the jump ring again to secure it.


5: Repeat steps 3 and 4 for the second earring to finish them off.

Now you have a gorgeous pair of earrings featuring a handmade chain detail. How special is that? Below are some pictures of the finished product!


