-
Combine gold wire and pearls with these amazing statement earrings
These earrings use different materials to create a loop of gold wire and rainbow beads with a sweet dangly pearl in the centre. This tutorial contains affiliate links.
You’ll need the following tools and materials to make your earrings:
1: Pliers. I used my cutting pliers (left), flat nose pliers (right) and round nose pliers (middle).

2: Two pieces of 0.8mm wire approximately 7-10cm long. I used gold fill wire.

3: Two pieces of tiger tail wire, around 10-15cm long.

4: Four small jump rings.

5: Two head pins.

6: Two larger jump rings.

7: Post earrings with charm loops.

8: Beads. I used mixed glass beads.

9: Two pearl beads.

10: Eight crimp beads.

11: Something round to form your wires around. I used a bead container.
Follow these steps to make your earrings:
1: Take one of the pieces of tiger tail wire and add two crimp beads and a small jump ring to the end.

2: Loop the end of the wire around the jump ring and through the crimp beads. Pull it tight.

3: Squash the crimps using flat nose pliers.

4: Add beads to the tiger tail wire until you have a length you like.

5: Once fully beaded add another two crimp beads and another small jump ring to the end of the wire.
6: Pull the end of the wire around the jump ring and back through the crimps and last few beads.

7: Squash the crimp beads at the end and trim the excess wire.

8: Repeat steps 1 to 8 for the second bead strand.

9: Add each of the pearl beads to the head pins and use round nose pliers to curl the tops, this secures the beads on to the pins.


10: Add the pearls to each beaded strand.

11: Bend the wires around your round thing to form an arch shape.


12: Add a loop to either end of the wire using the round nose pliers.


13: Attach a bead strand to each of the wires using the jump rings.


14: Add an earring post to each earring, attaching it using the remaining two larger jump rings.


Now your earrings are finished and ready to put on! Perfect for adding some color to neutral outfits!


-
Crystals are Classic… here’s how to make a crystal necklace.
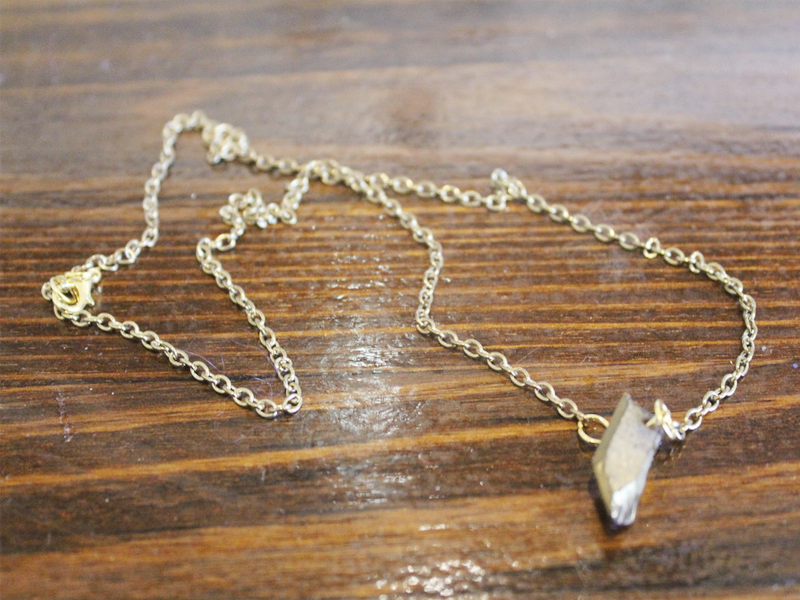
This crystal necklace is a classic piece that you can wear alone or layer with other pieces.
You will need the following tools and materials to make your crystal necklace:
1: Pliers. You will need your round nose pliers, flat nose pliers and cutting pliers.
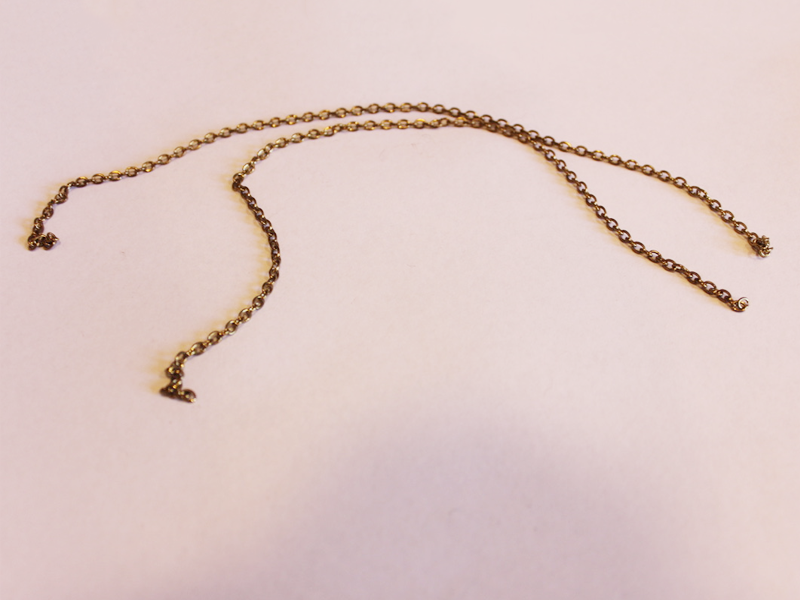
2: Two pieces of chain long enough to form a necklace.
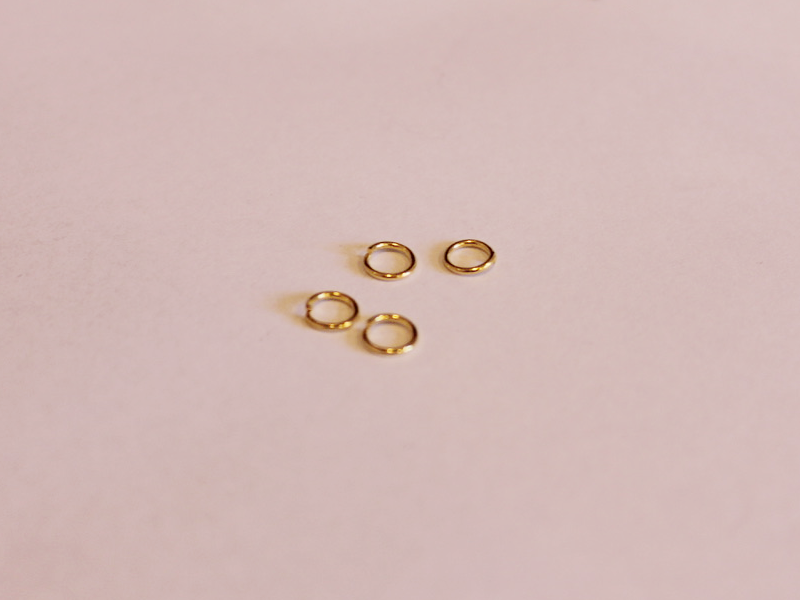
3: Four jump rings.
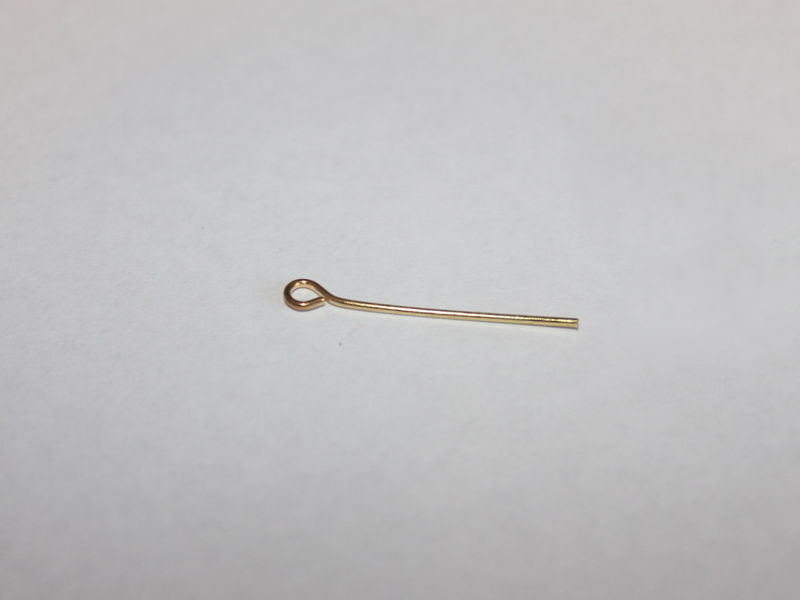
4: One eye pin.
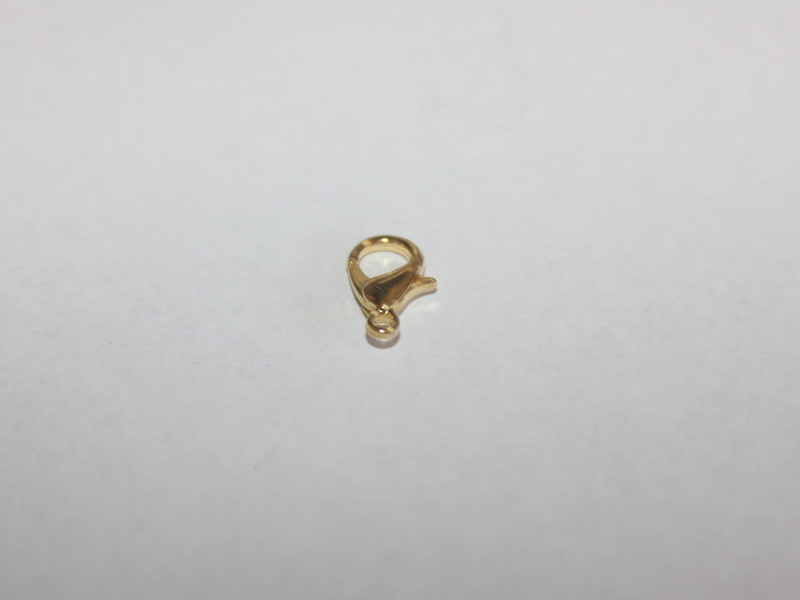
5: A lobster clasp.
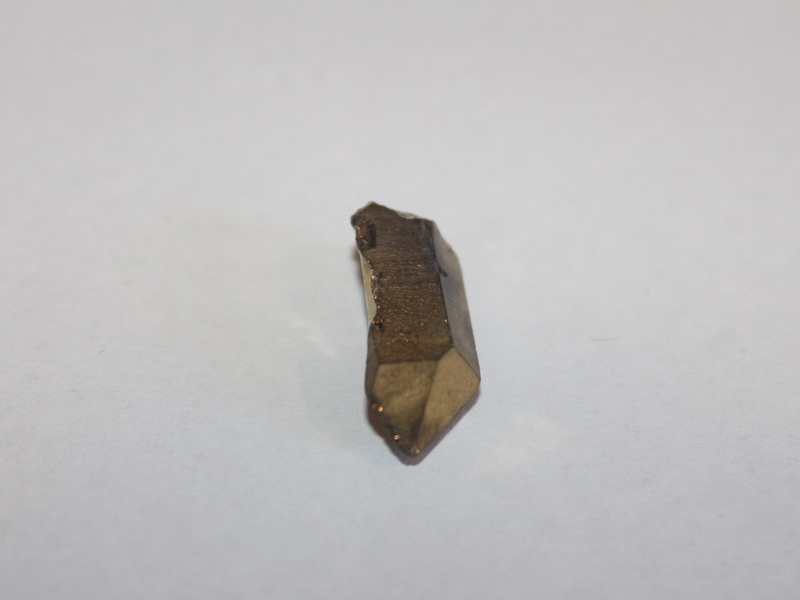
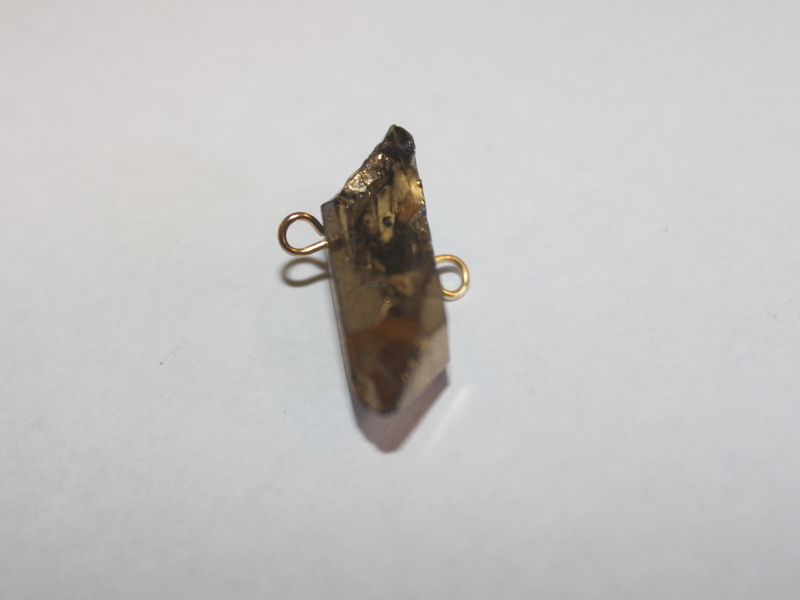
6: A crystal bead. I used this crystal bead with a metallic coating on it.
Follow these steps to make your crystal necklace:
1: Add the bead to the eye pin.
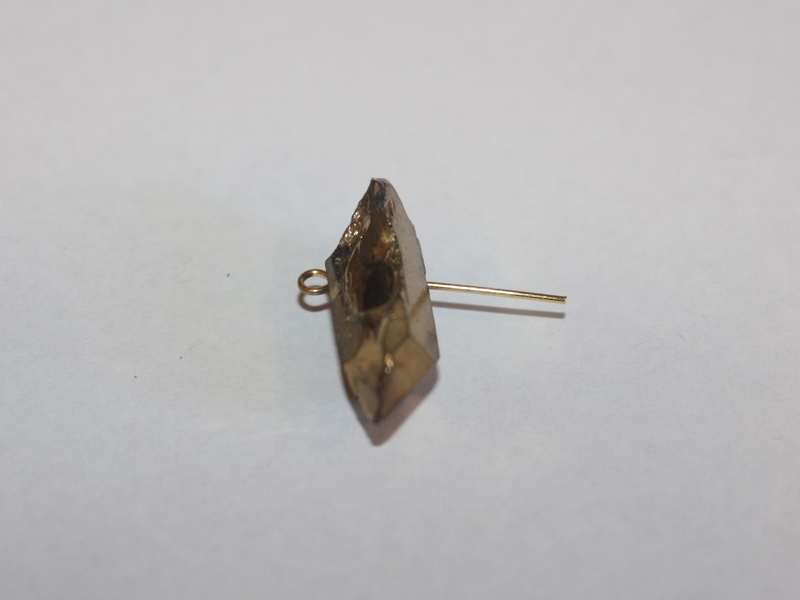
2: Trim the eye pin using the cutting pliers.
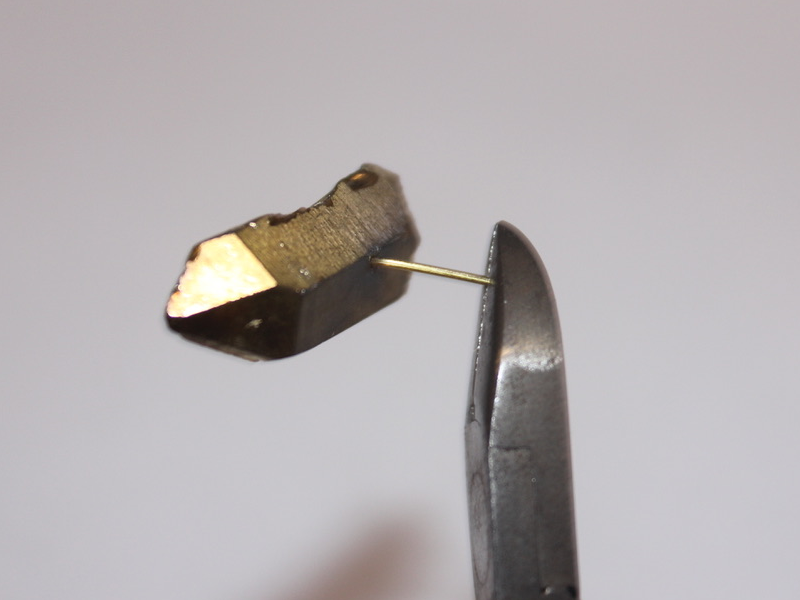
3: Create a loop at the end of the wire using the round nose pliers to secure the crystal bead on to the pin.
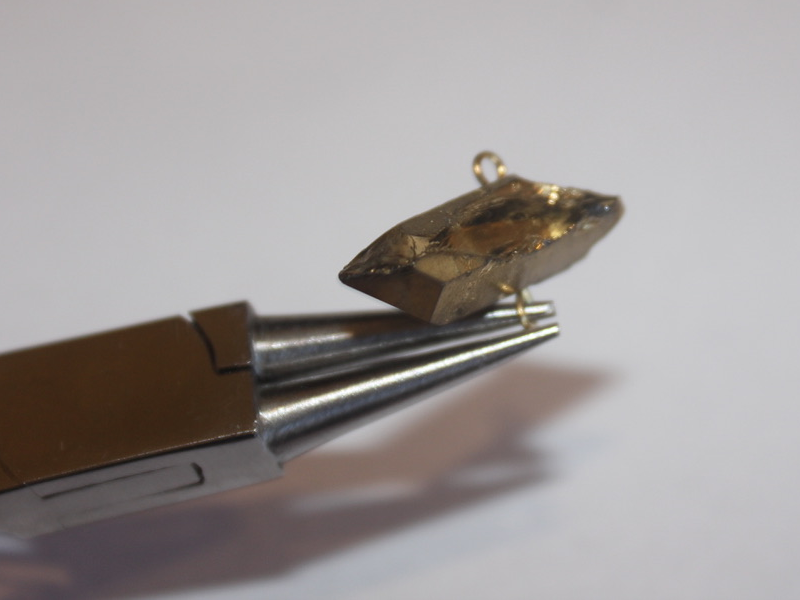
4: Attach one of the chains to one side of the crystal using one of the jump rings.
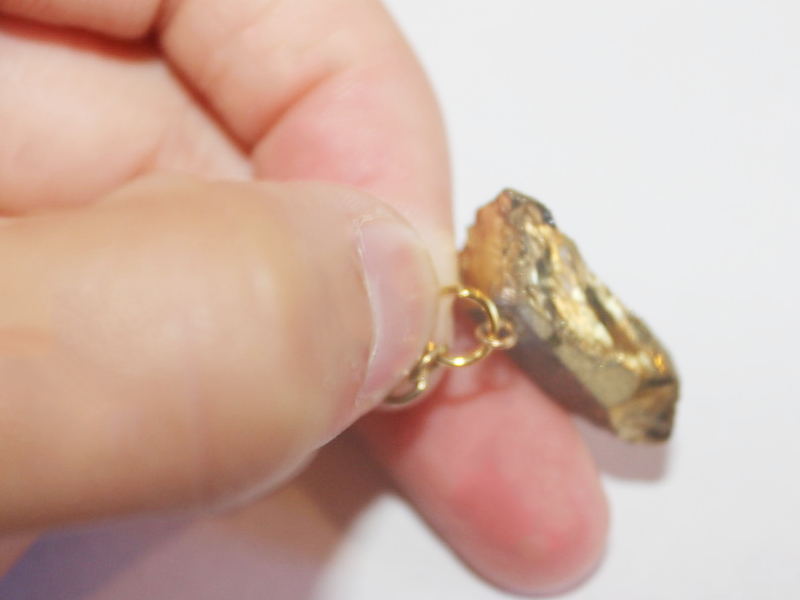
5: Attach the other chain to the other side of the crystal with another jump ring.
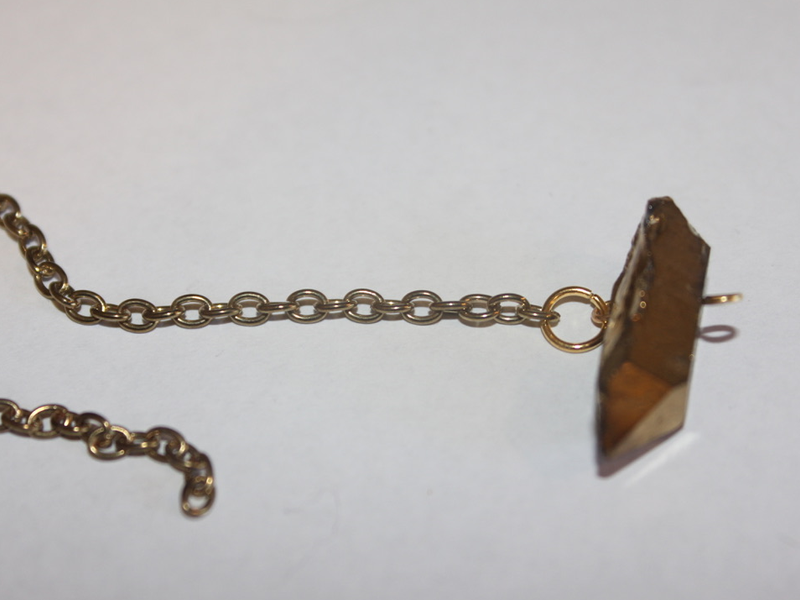
6: Add a jump ring to one of the ends of the chains and attach the lobster clasp.
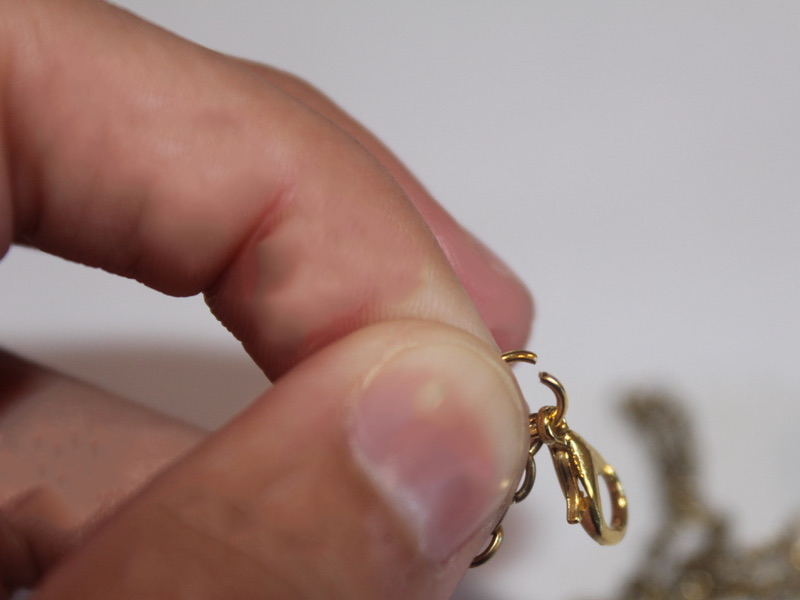
7: Add the other jump ring to the other side of the necklace to finish it off.
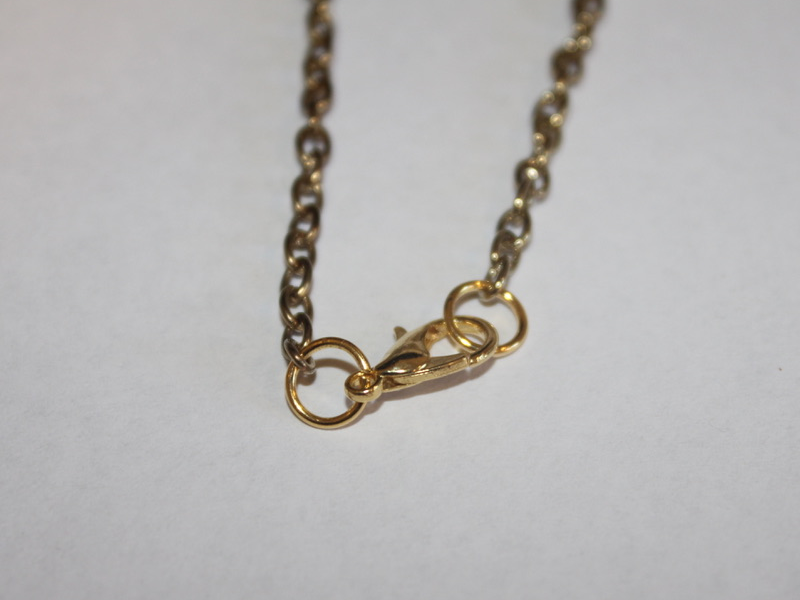
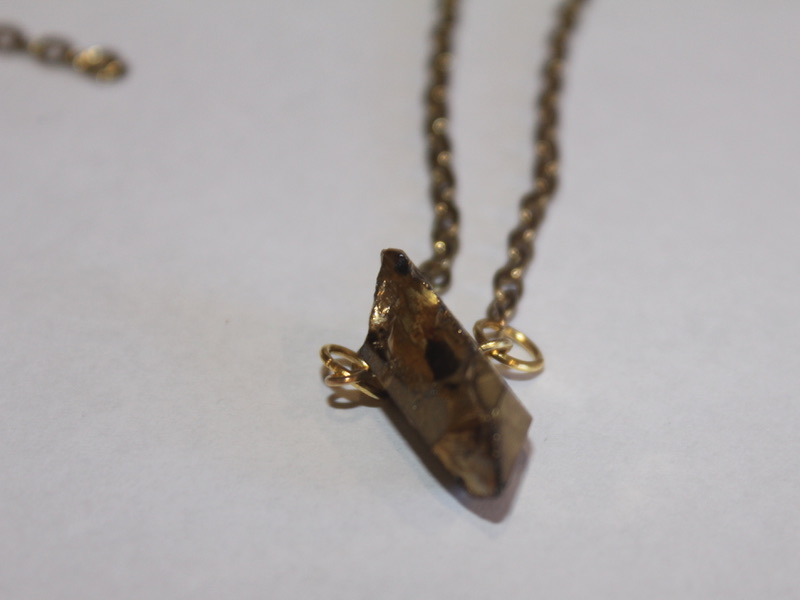
Now your crystal necklace is finished! How will you style yours?

-
I am seeing fancy hair clips everywhere, here’s how to make a pair of rhinestone embellished clips.

Continuing the rhinestone trend on DIY Jewelry Hub with these rhinestone embellished clips!
You will need the following tools and materials to make these hair clips:
1: Two hair clips. I used these alligator clips that I had at home and wasn’t using. I added a lick of color using some old nail polish.

2: Two short rhinestone strands. Cut them to the length of the clip you intend to glue them too.

3: Glue. I used superglue but you will probably get a better result using Araldite glue.

or

Follow these steps to make your rhinestone clips:
1: Add a dab of your chosen glue to the top of the clip and stick one end of a rhinestone strand in place, with the long side draping towards the body of the clip.


2: Continue adding glue down the clip and put the rest of the rhinestone strand in place.

3: Set the first clip aside to dry and repeat steps 1 and 2 for the second clip.
Once they’re dry those sparkly hair clips are ready to wear!

Here’s another pair that I made using some resin charms.

here are some more DIYs for rhinestone crystal embellished hair accessories:
- A rhinestone and chain embellished barrette
- This rhinestone crystal hair comb
- Rhinestone crystal headband
- Statement rhinestone headband
This tutorial contains affiliate links