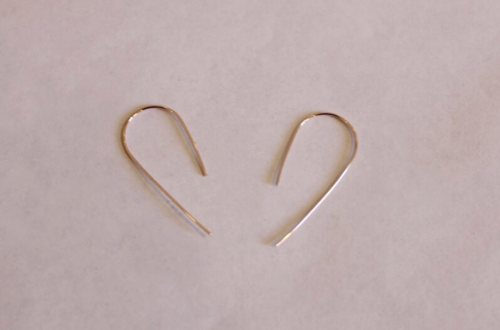
Give your lobes some love with these chain loop earrings!
These earrings are a hybrid of two past tutorials. The chain loop necklace tutorial and the triangle earring tutorial. I think they fuse together to make something pretty special!
You will need the following tools and materials to make these chain loop earrings:
1: Pliers. You will need your flat nose pliers and round nose pliers to make these earrings.


2: Two eye pins.

3: Two longer pieces of chain. These will be the top part of the earrings.

4: Two shorter pieces of chain. These will form the loop at the bottom of the earrings.

5: Two earring hooks.

6: Beads of your choice. I used these malachite chip beads.

7: Two large jump rings.

Follow these steps to make your chain loop earrings:
1: Add the beads to each of the eye pins.

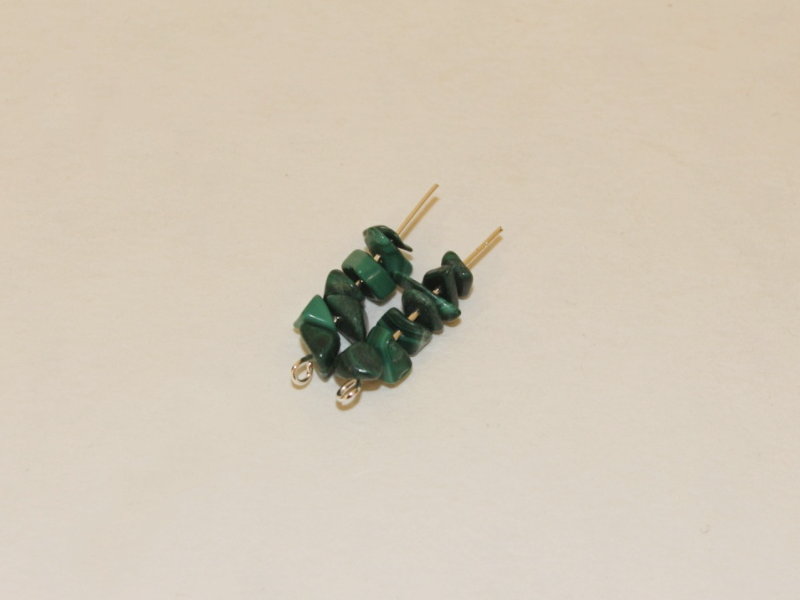
2: Use the round nose pliers to bend each pin at a right angle to the beaded section.


3: Then create a loop at the end of each pin to secure the beads in place.


4: Take one of the pins and open a loop on one side.

5: Add the shorter piece of chain to the open loop.

6: Add a longer piece of chain to the same open loop and then close the loop to secure the chains in place.


7: Open the loop on the other side of the pin and loop both pieces of chain around and slide them onto the other side. Make sure that you don’t cross them over. You want the shorter chain to fall on one side and the longer chain to fall on the other without the chains overlapping.

8: Close the loop again to secure the chains in place.

9: Open one of the large jump rings and slide it through a chain link at the center of the longer chain.

10: Add the earring hook to the open jump ring. Secure the earring in place by closing the jump ring with your pliers.


11: Repeat steps 4 to 10 for the second earring.

12: Once both your earrings are complete all that’s left to do is pop them on your lobes!

Here’s another pair made with gold findings and some round smoky quartz beads.


DIY Jewelry Hub
Welcome to DIY Jewelry Hub. If you’ve ever wanted to learn how to make your own jewelry this is the place to start! Jewelry is a great way to show off your individuality and style. You’ll be surprised at how easy it is to create your own unique pieces! DIY Jewelry Hub will equip you with all the knowledge and inspiration you need to make your own jewelry.
You May Also Like
Here’s how to get on the cool bead jewelry trend: with some rainbow pearl drop earrings!
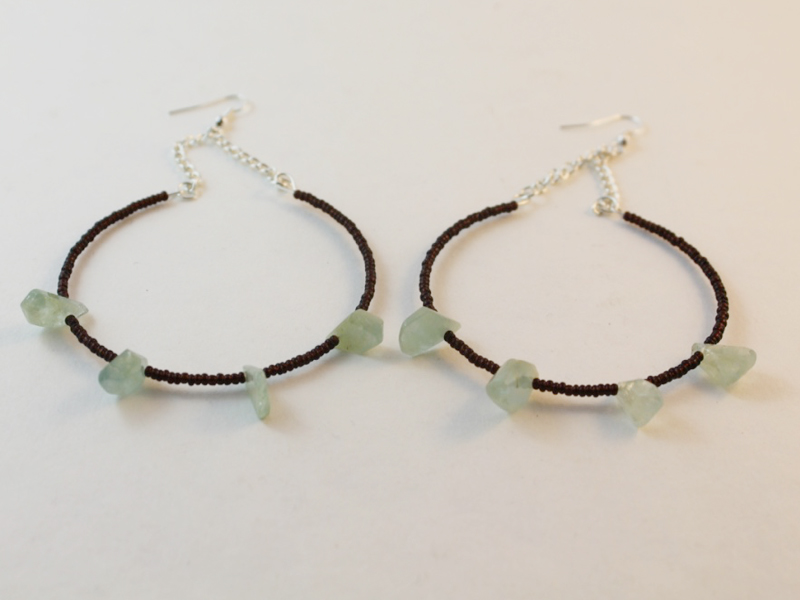
Hoops, Loops and a Whole Lotta Wow! How to Make Statement Hoop Earrings