-
How to make a super simple pair of earrings! These are perfect for people who don’t like heavy earrings.
These earrings are really cute! Turn lightweight beads into some pretty little dangles, perfect for people who can’t bear the weight of heavy statement earrings but still want to look cute! Please note that this tutorial contains affiliate links.
You will need the following tools and materials to make your earrings:
1: Pliers. I used my round nose pliers (middle), flat nose pliers (right) and cutting pliers (left) to make these earrings.

2: Two head pins.

3: A pair of earring hooks.

4: A pair of beads. I used these recycled timber beads.

Follow these steps to make your little dangling earrings:
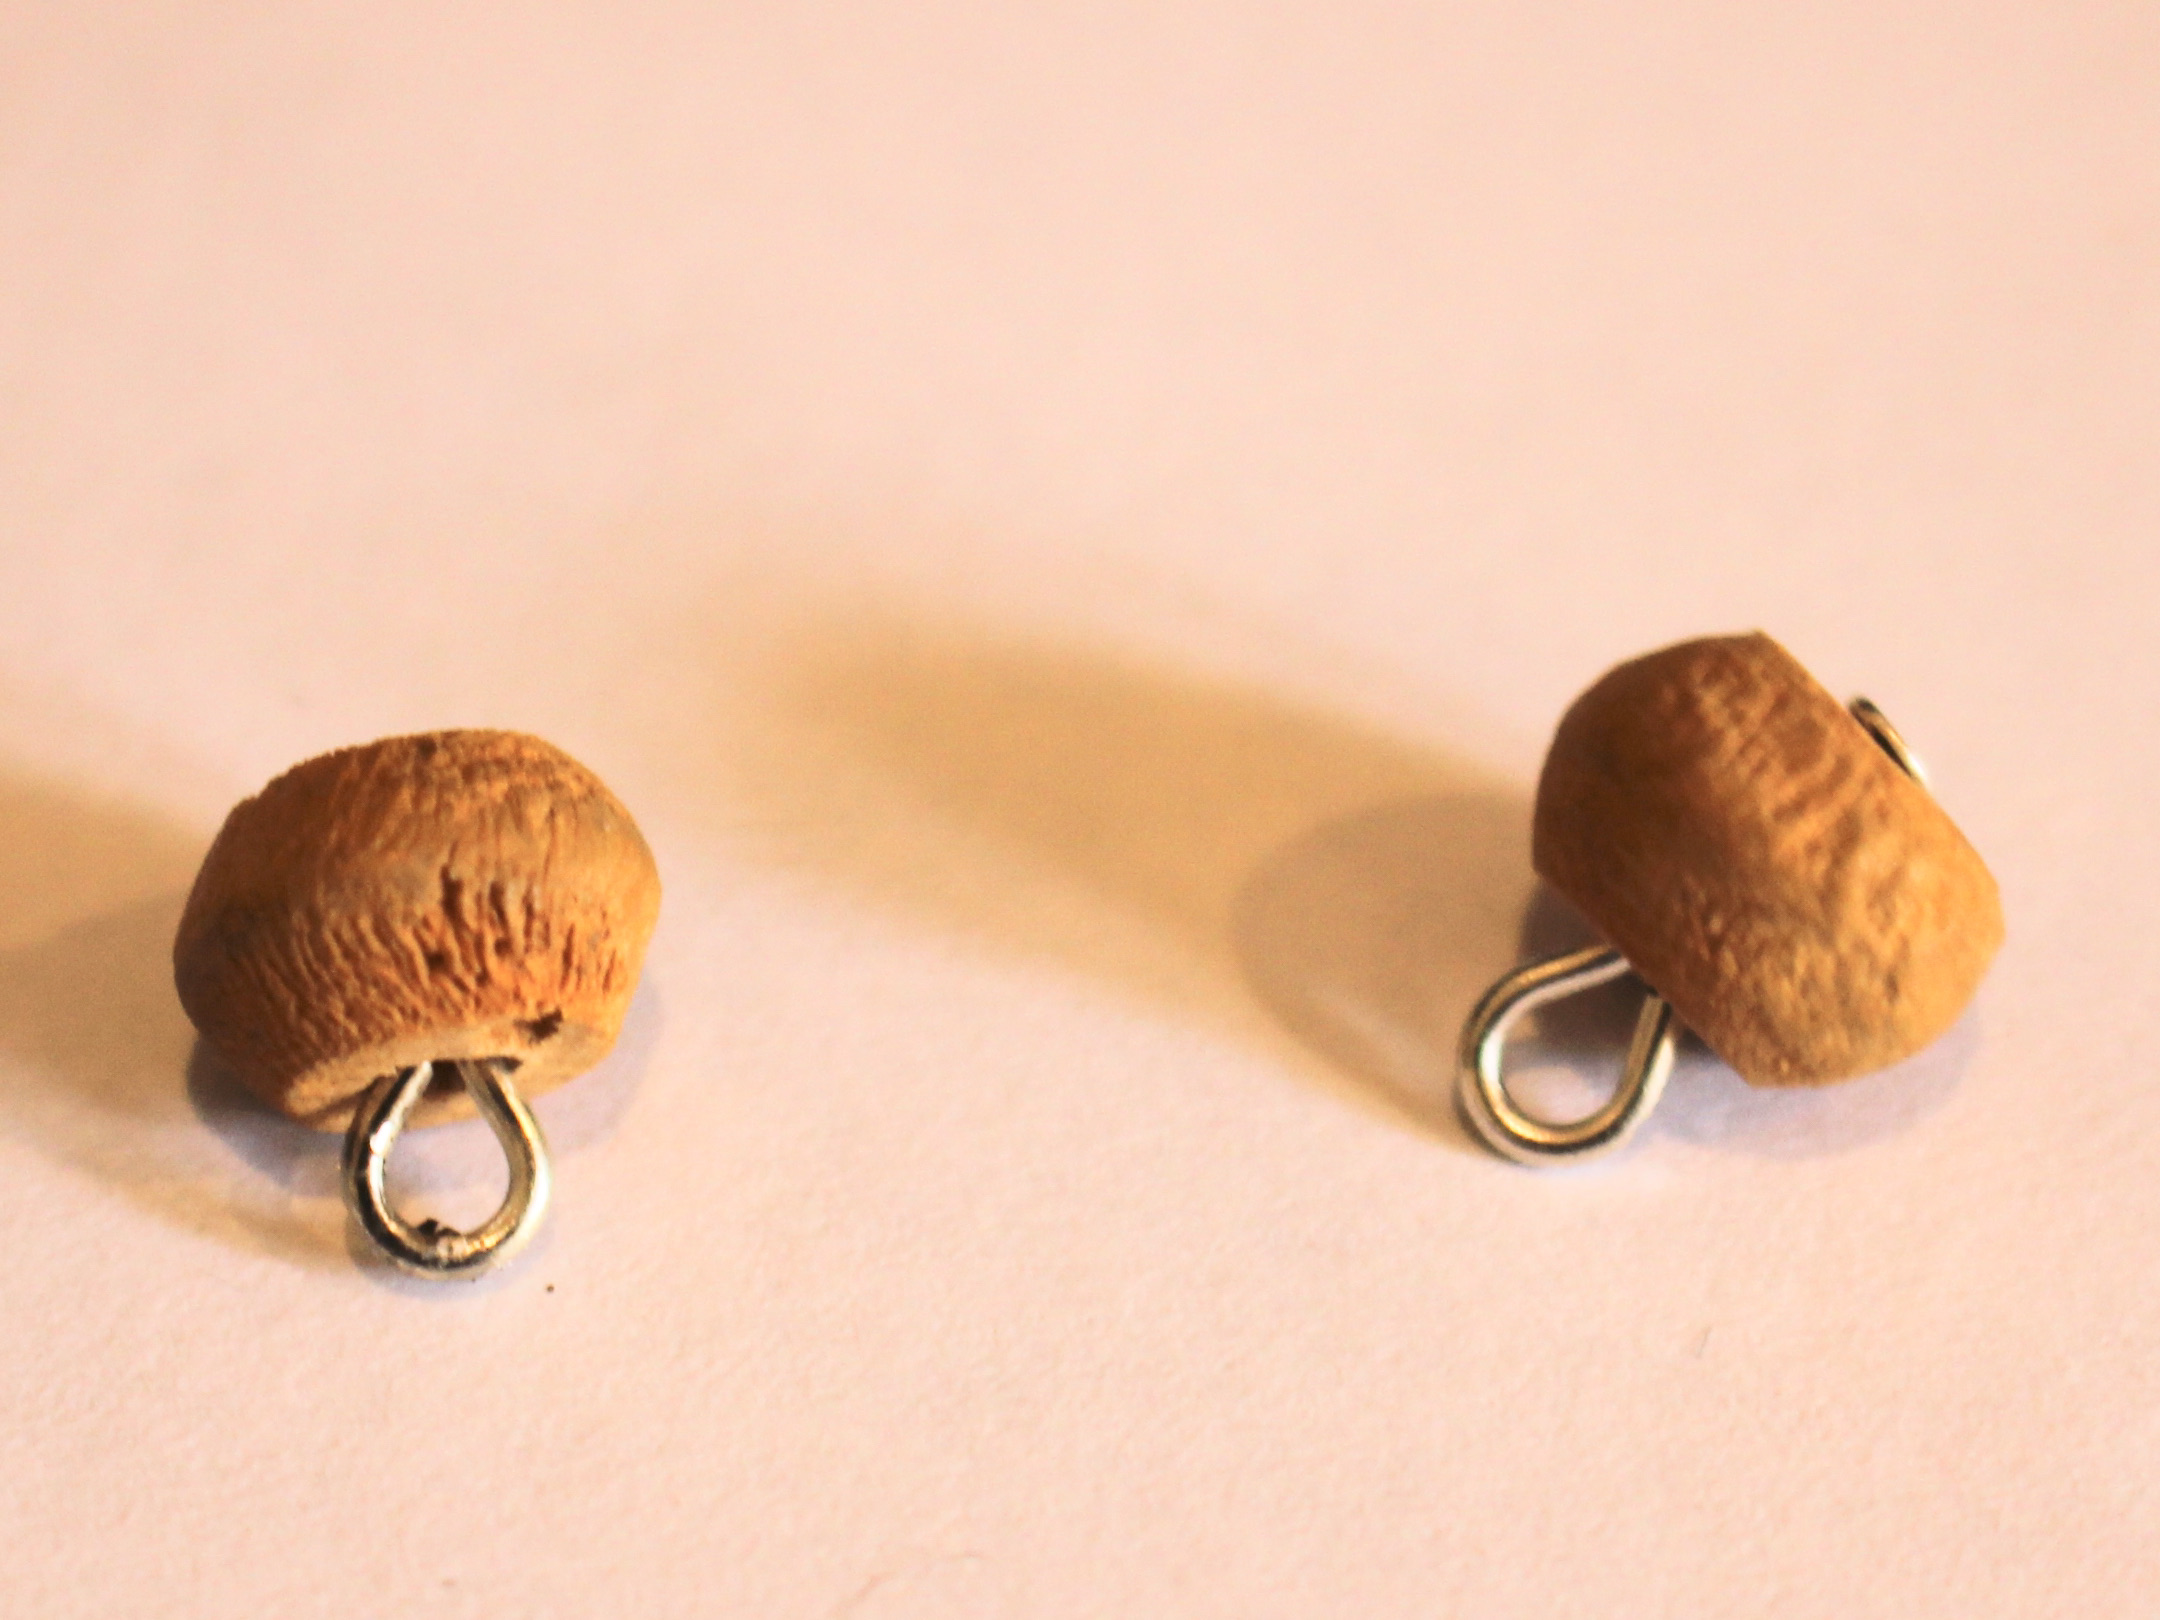
1: Add each of the beads to the head pins.

2: Bend the head pins to form a right angle.
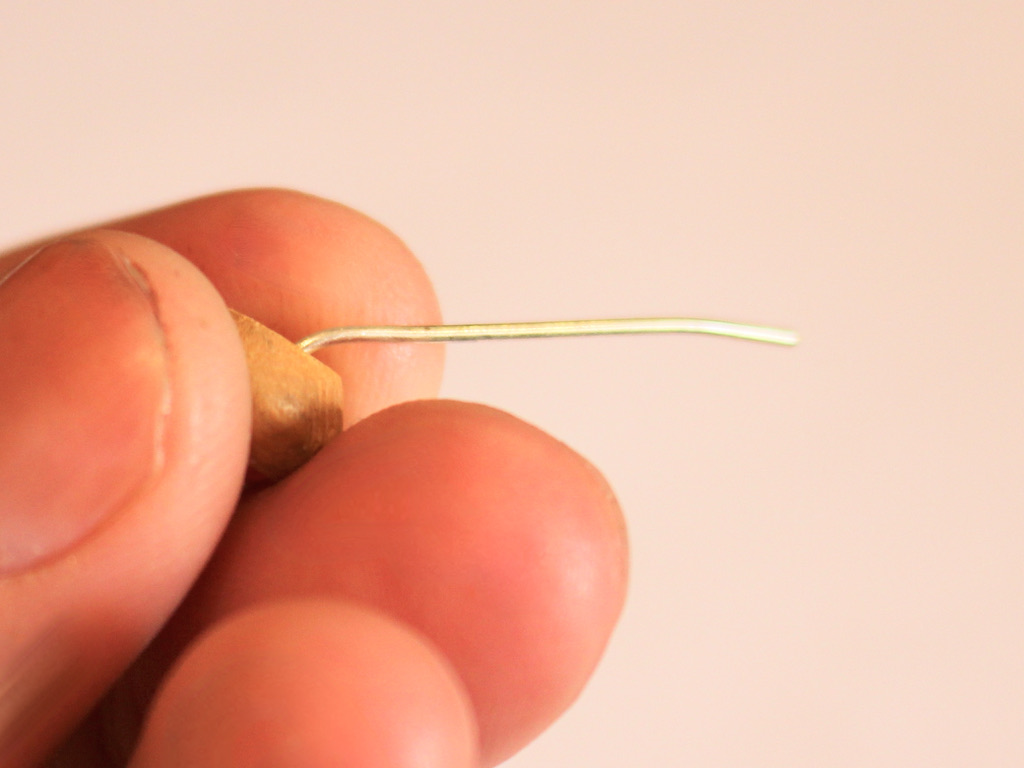

3: Trim each pin so there is approximately 1cm left coming out of the top of the beads.


4: Form each pin into a loop to secure the beads onto the pins.


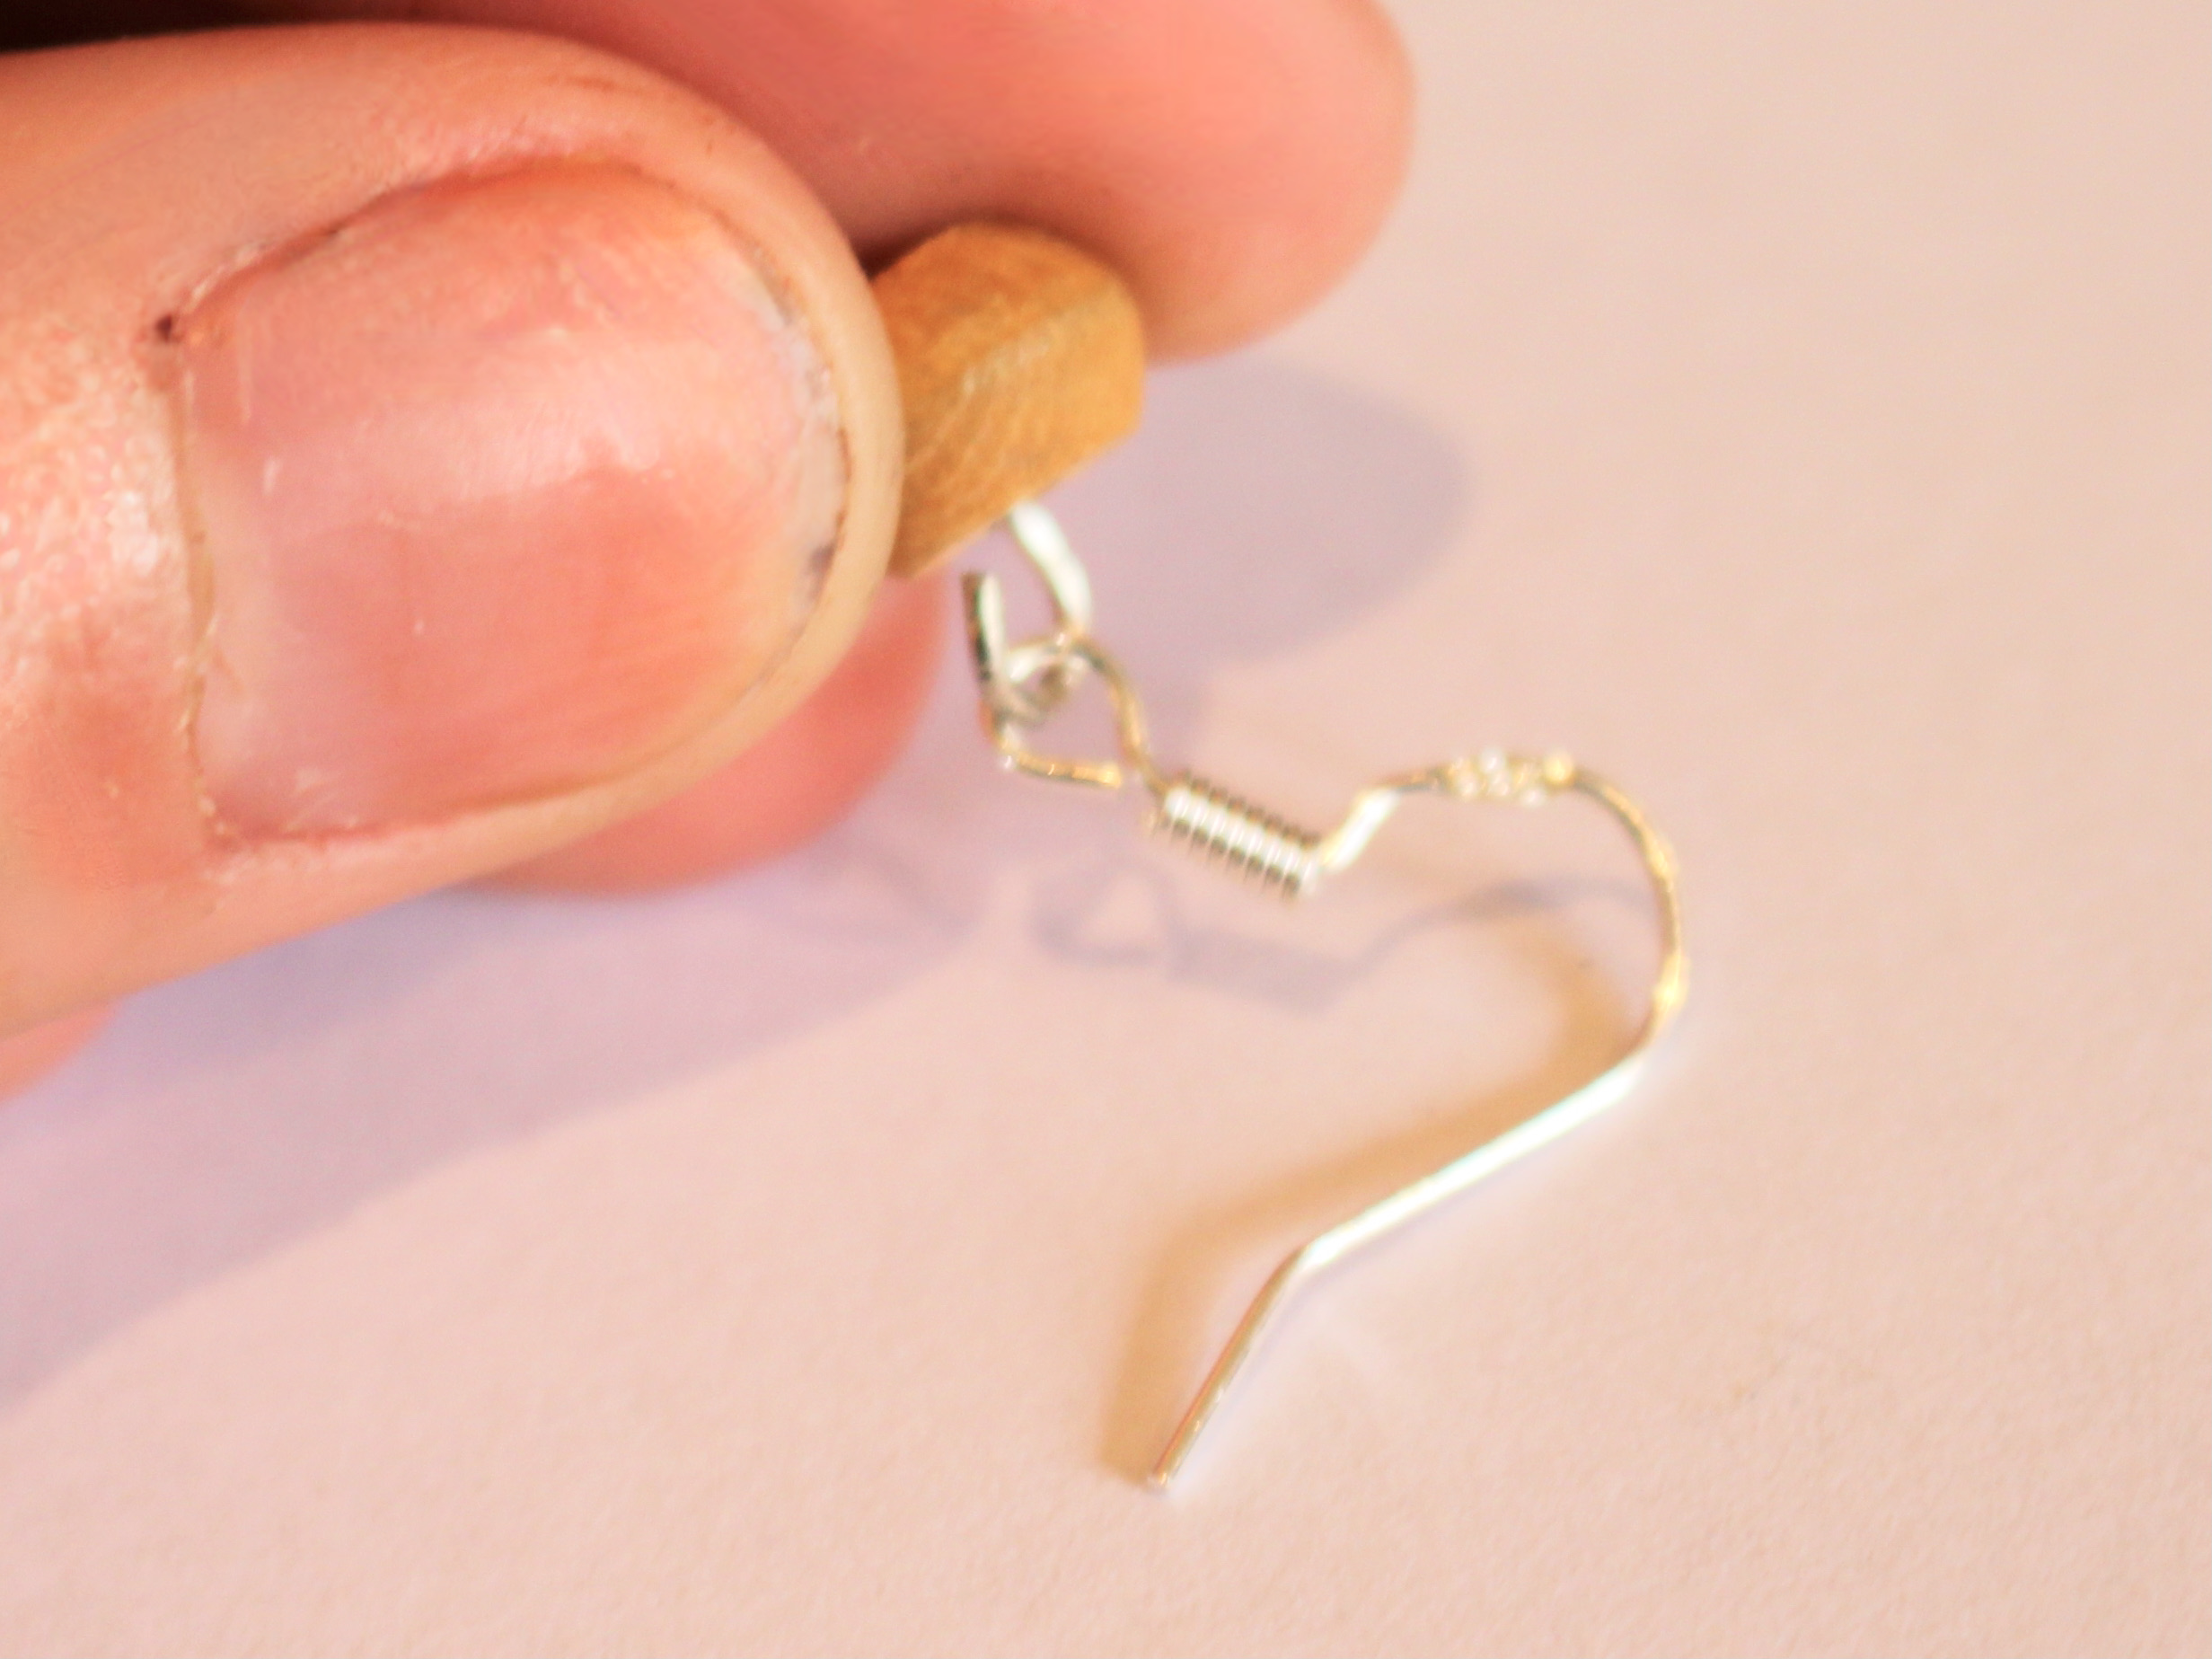
4: Open up each loop slightly and then attach each beaded pin to each of the hooks.


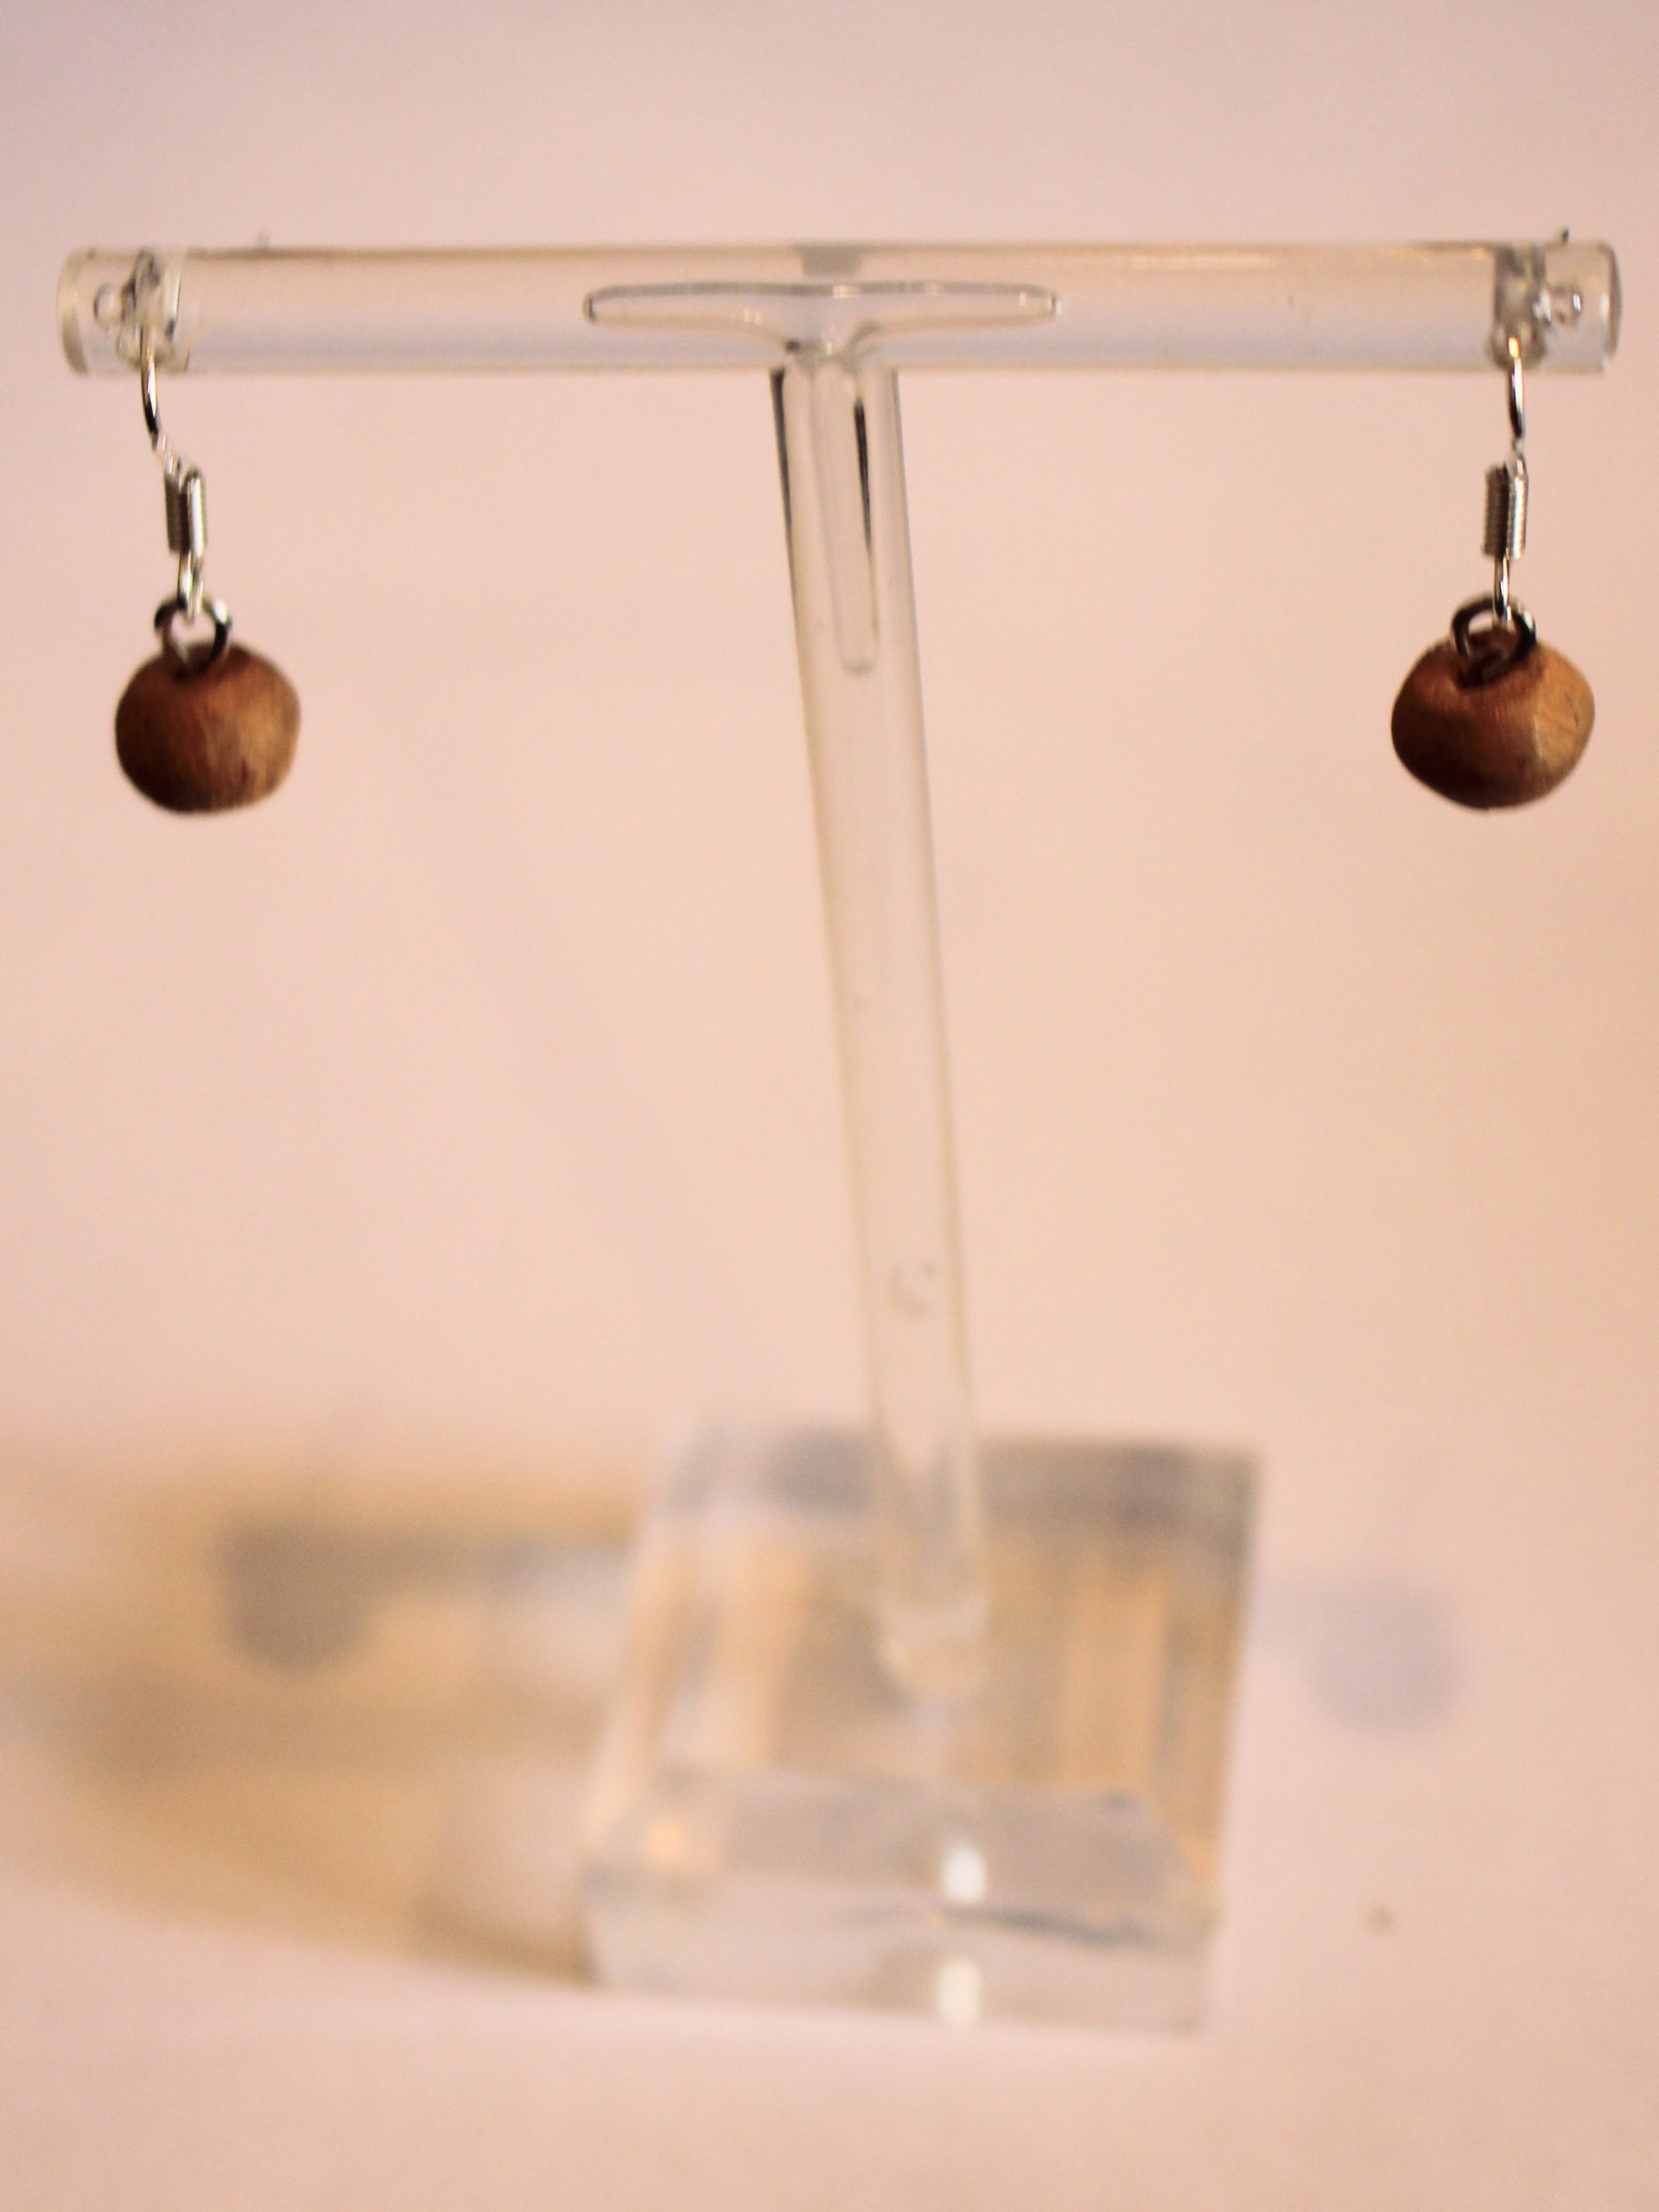
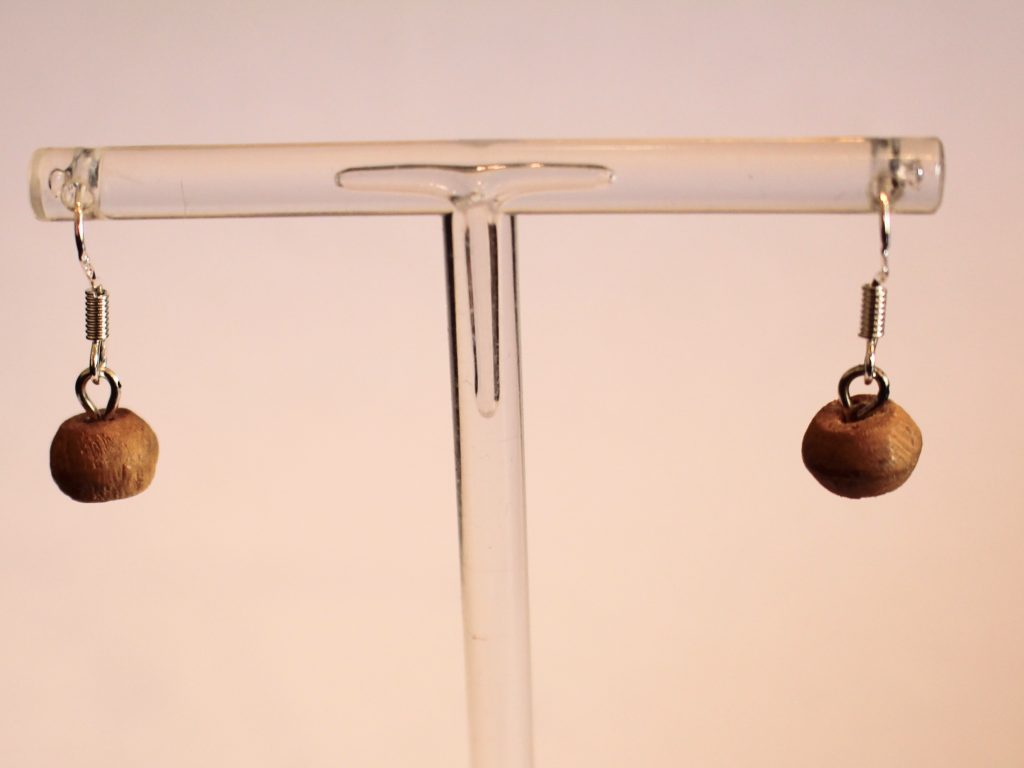
Now they’re finished and ready to wear! Super cute, lightweight and fun!


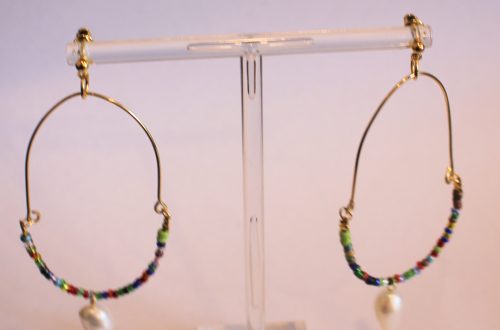
Here are some other simple, lightweight earrings you can make:
-
How to make cute knotted earrings! These are adorable.
These beaded knot earrings are really pretty! Use any beads you like to form a delightful beaded knot that dangles from each ear. This tutorial is really cool.
You’ll need these tools and materials to make your beaded knot earrings:
1: Pliers. You’ll need your cutting pliers, round nose pliers and flat nose pliers.
2: Two pieces of tigertail wire, a longer wire will give you a tighter knot. I made my pieces approximately 13cm long.

3: Eight crimp beads.

4: Four smaller jump rings.

5: Two larger jump rings.

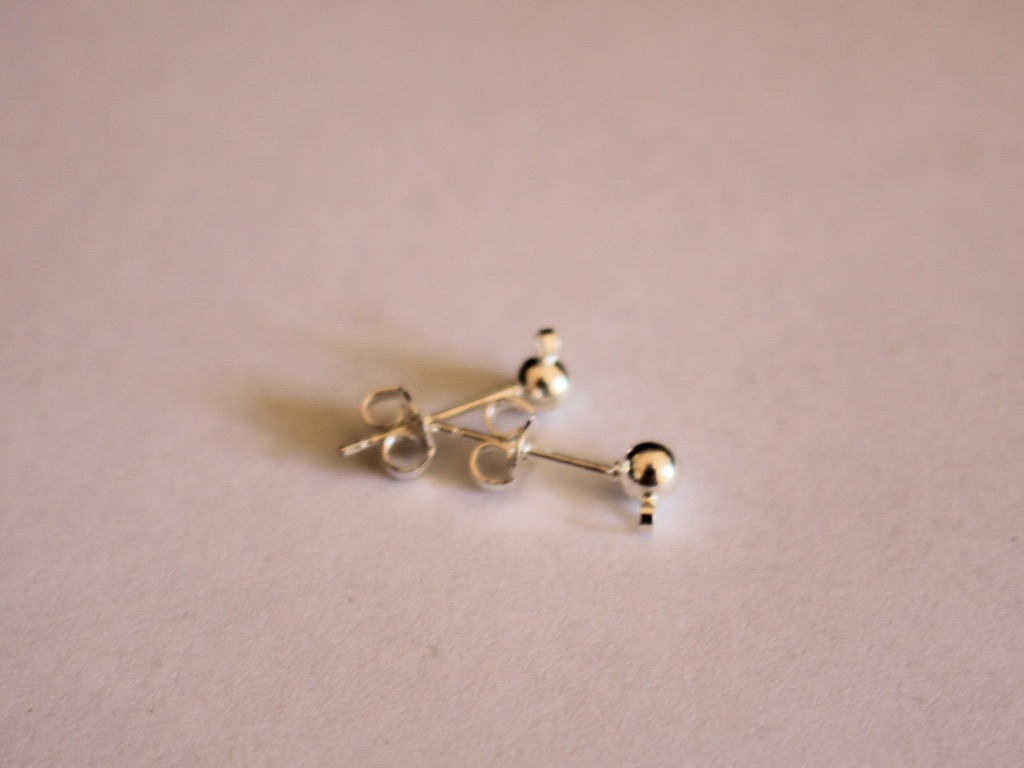
6: Two earring posts with charm connectors on the bottom.
7: Beads. I used these mixed glass beads.

Follow these steps to make your knot earrings:
1: Add two crimp beads to one end of one of the pieces of tiger tail wire.
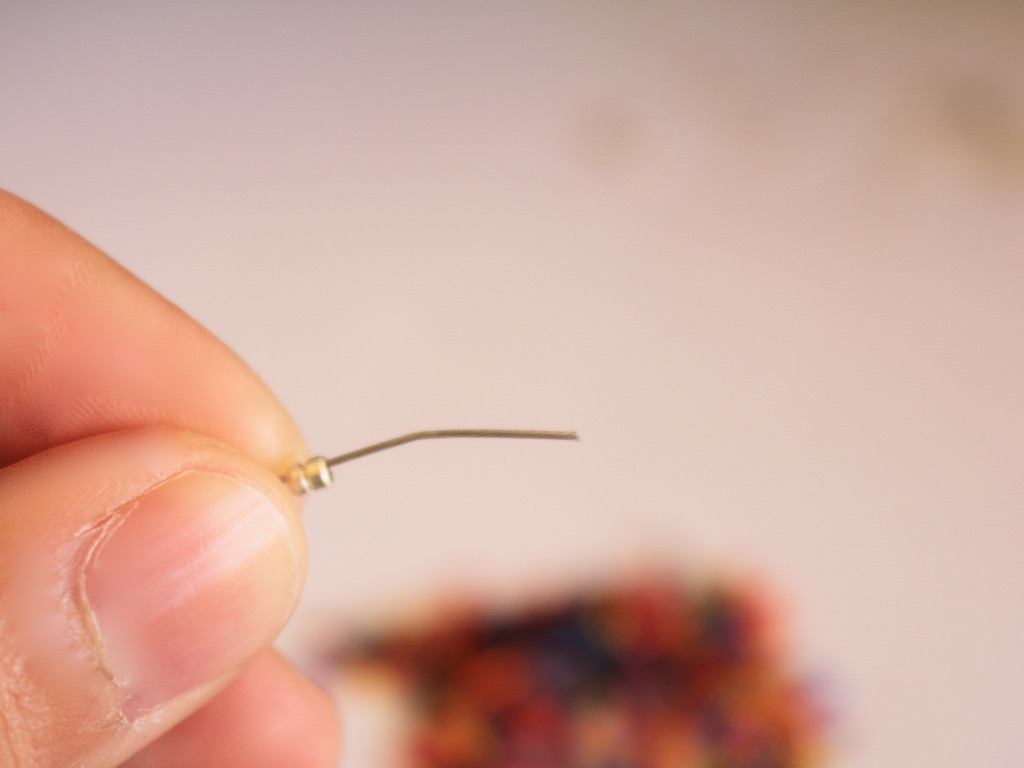
2: Add a jump ring to the end of the wire.
3: Fold the end of the wire around the jump ring and through the crimp beads.

4: Squash the crimp beads using the flat nose pliers to secure the end.

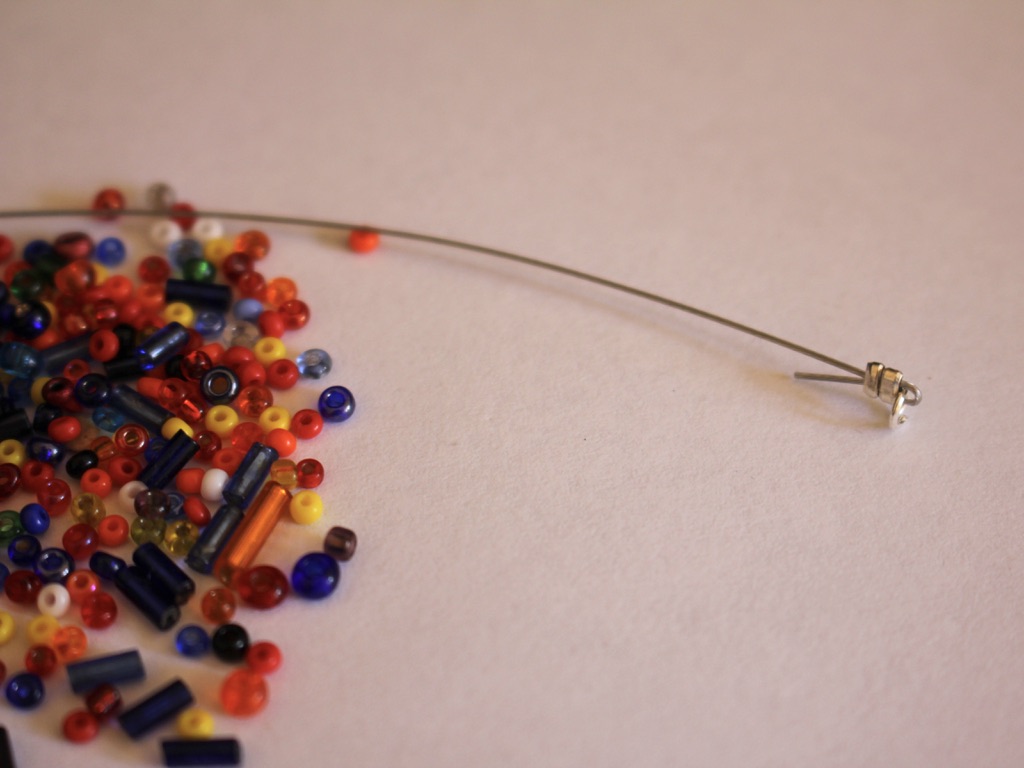
5: Add the beads to the wire.

6: Once you have reached the length you like, add another pair of crimp beads and another jump ring to the end of the wire.
7: Loop the end of the wire around the jump ring and back through the crimps and first couple of beads on the end of the wire.
8: Pull the wire tight and squash the crimps to secure the beads.
9: Trim the excess wire.
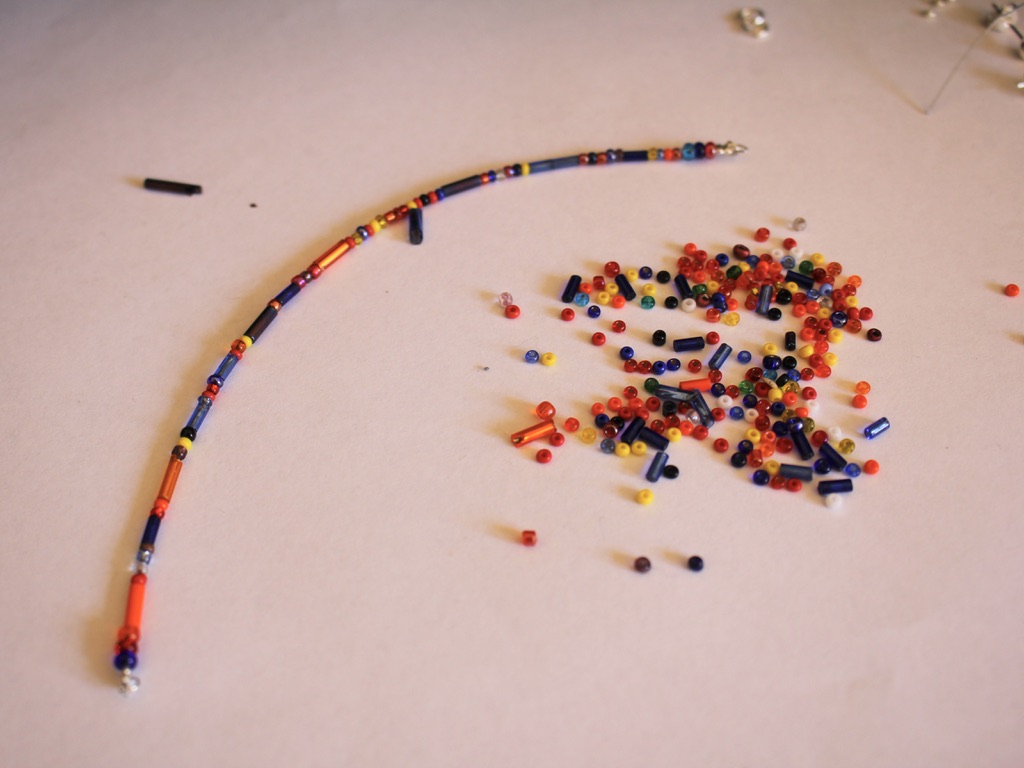
10: Repeat steps 1-10 for the second wire.

11: Loosely knot both the wires. Don’t try to pull it really tight, you’ll bend the wire out of shape.


12: Attach the ends of the wires together using the two larger jump rings.


13: Attach each of the knots to the earring posts using the same jump rings you used to secure the ends of the knots together.


Now your earrings are finished and ready to wear. Lightweight and beautiful.
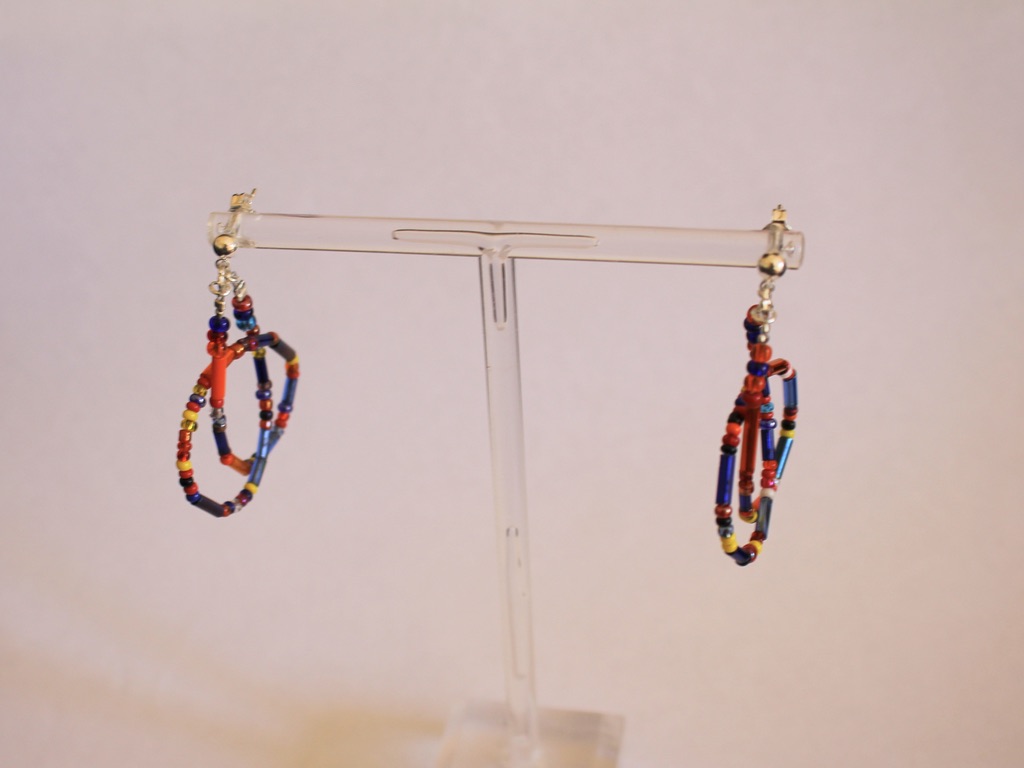

Here’s another pair I made using citrine chip beads and yellow glass beads.


-
Love dangly earrings but hate the weight? These sequin earrings might be perfect for you!
These cool shiny earrings are made using some lightweight iridescent sequins so they will have a great visual impact without weighing your lobes down.
You’ll need these tools and materials to make these lightweight earrings:
1: A stack of smaller jump rings.

2: A pair of charm connector studs. I used these gold-tone ones.

3: Sequins. I used 10 of these round sequins that had holes at the top.

4: Pliers. Your round and flat nose pliers will be useful for this tutorial.
5: Two larger jump rings.

Follow these steps to make your sequin earrings:
1: Attach one of the jump rings to the top of one sequin.

2: Attach another jump ring to the first one, this will be the start of a chain.
3: Continue steps 1 and 2 until you have 5 sequins attached together with one dangling from the bottom.


4: Repeat this for the second earring.

5: Find the top of the earring and attach it to one of the post earrings using one of the larger jump rings.

6: Repeat step 5 for the second earring.

Now your lightweight and shiny sequin earrings are finished and ready to put on. Perfect for dancing!


This tutorial contains affiliate links.