-
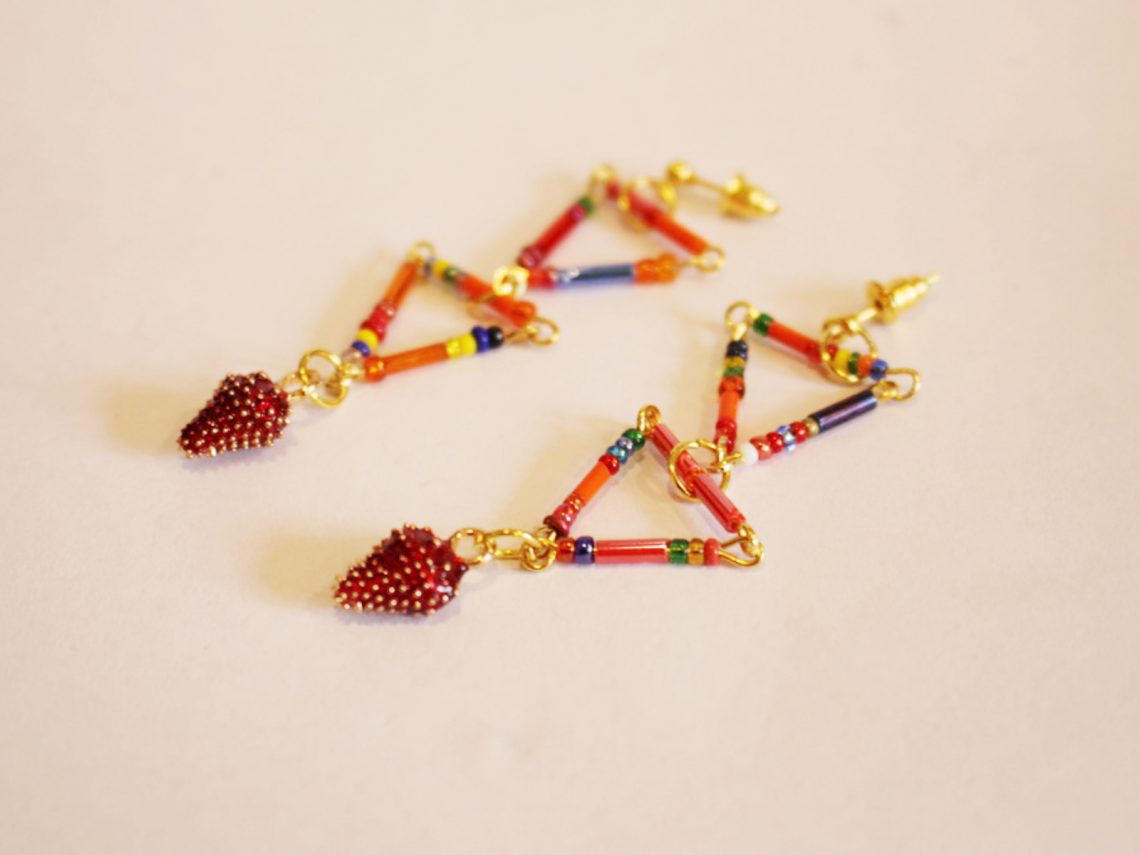
How to make some dangly triangle earrings with cute strawberry charms!
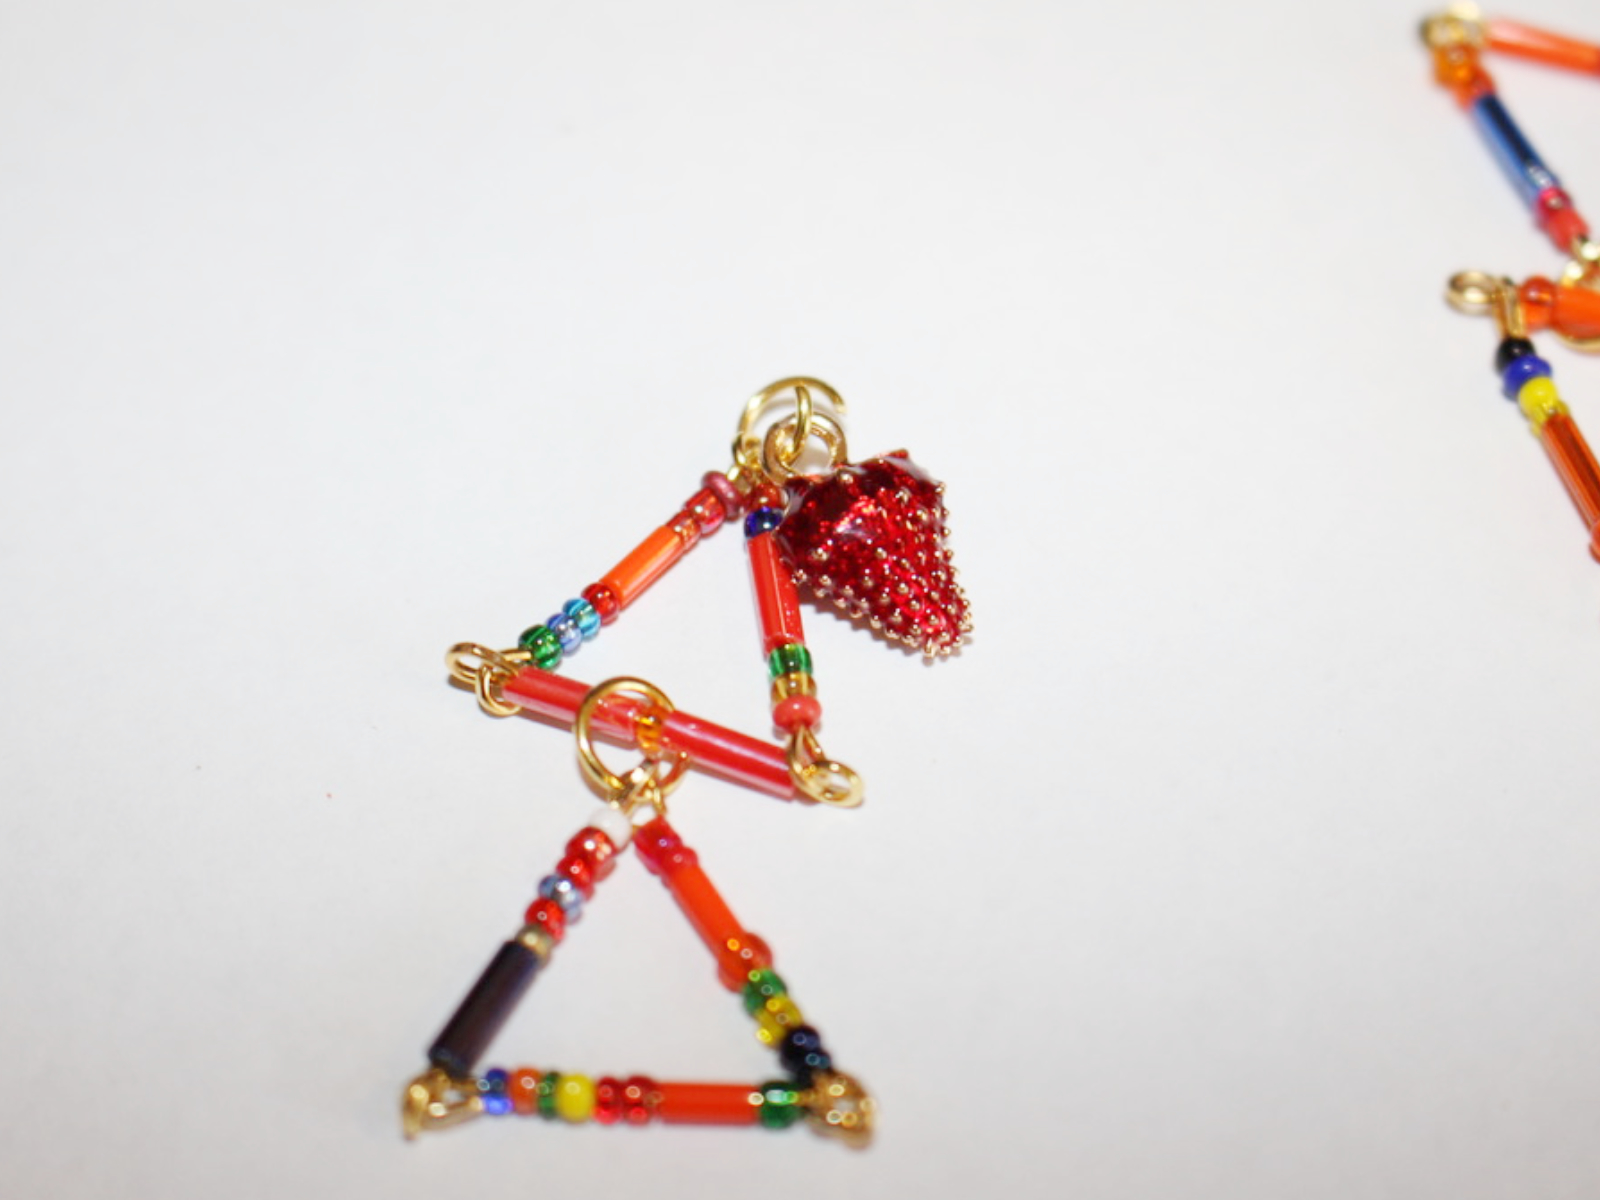
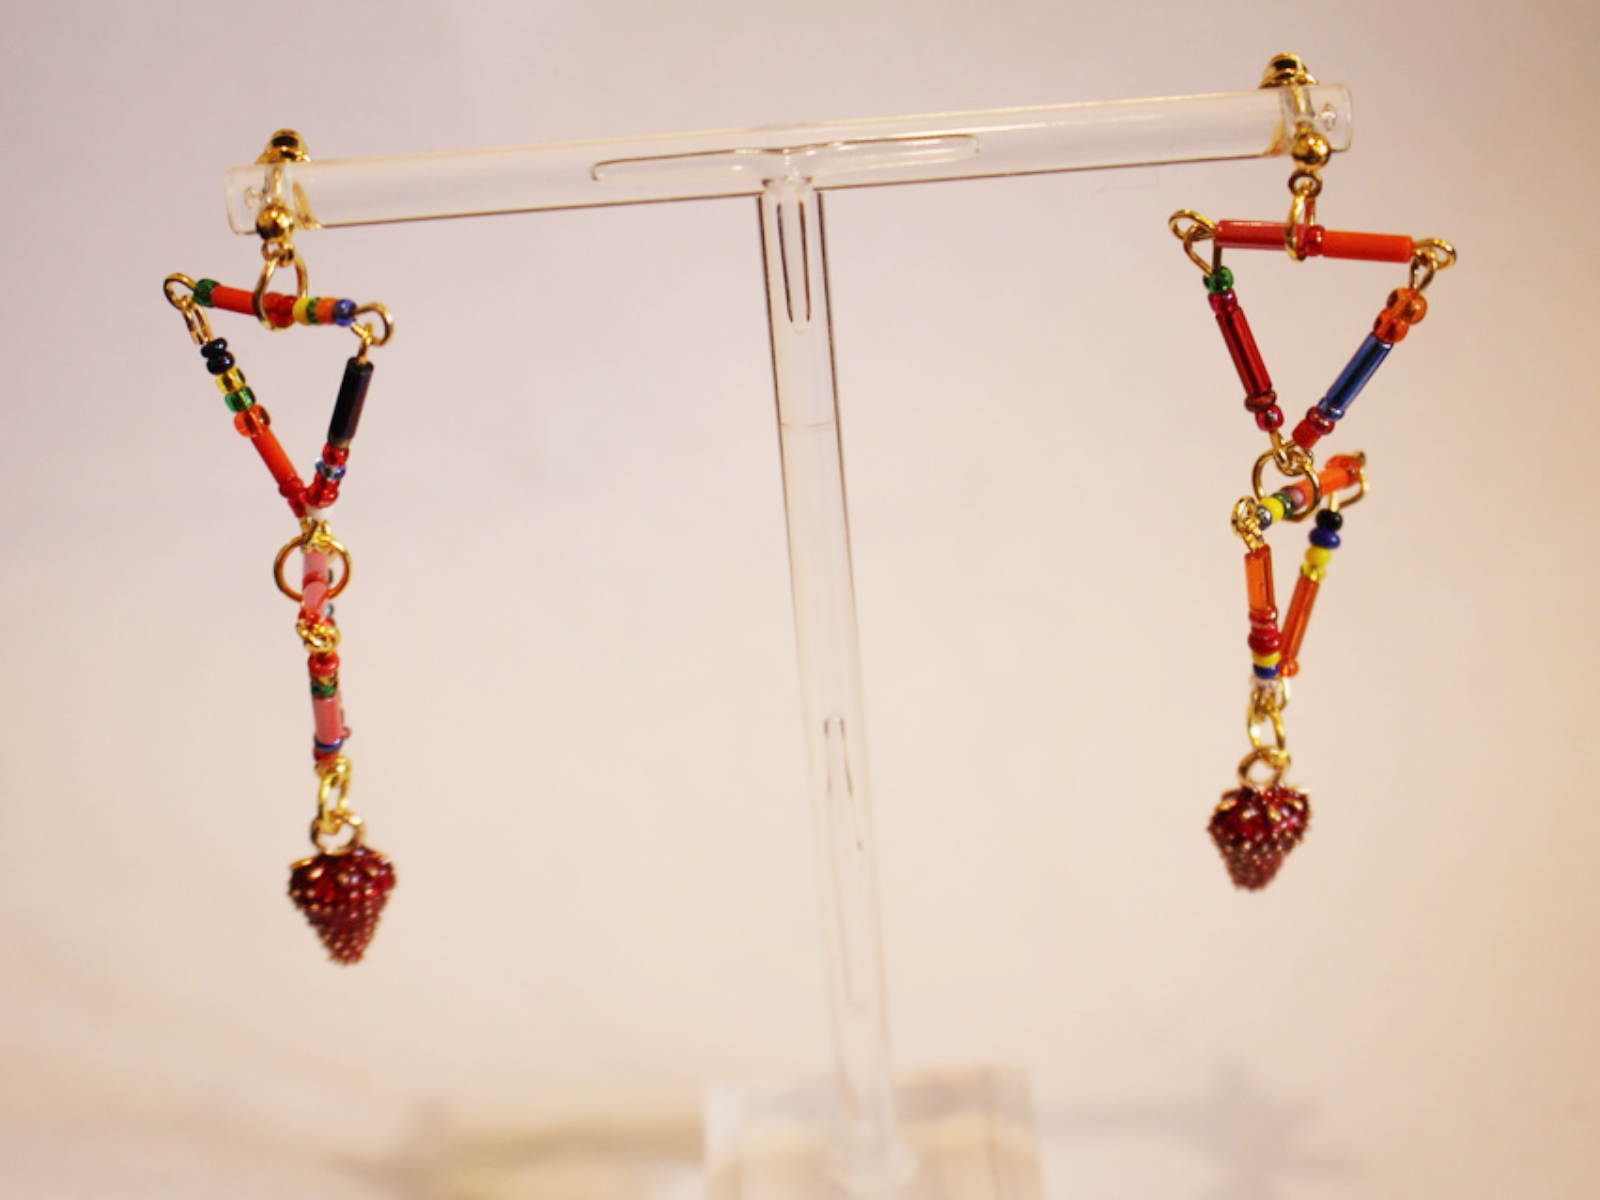
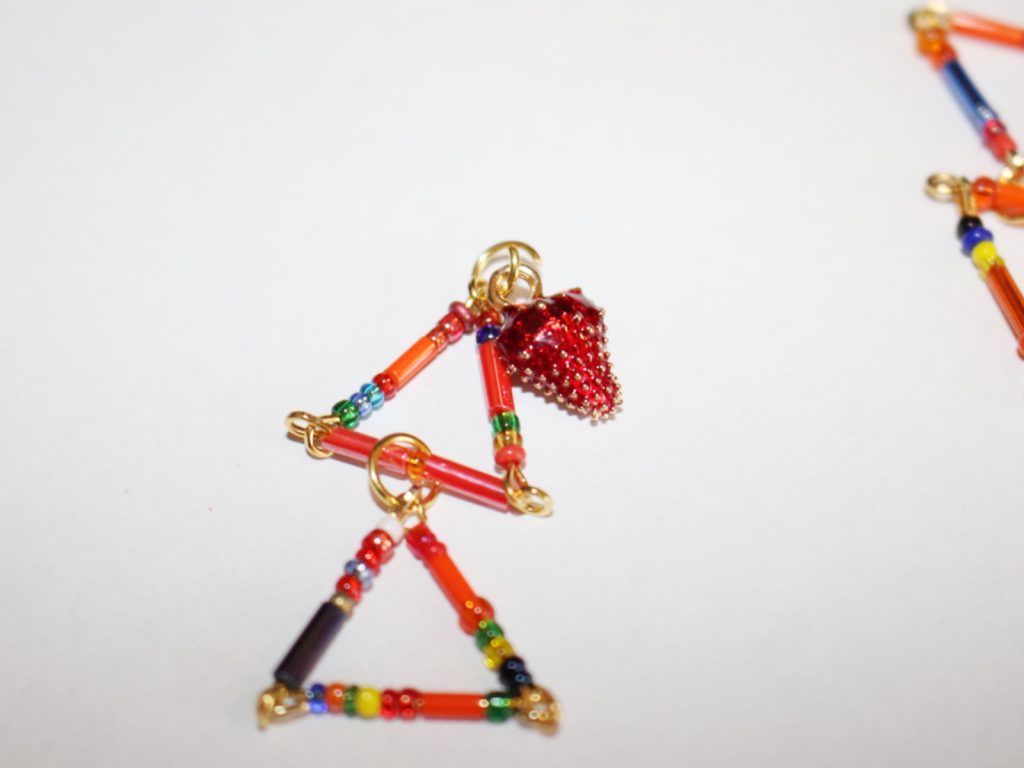
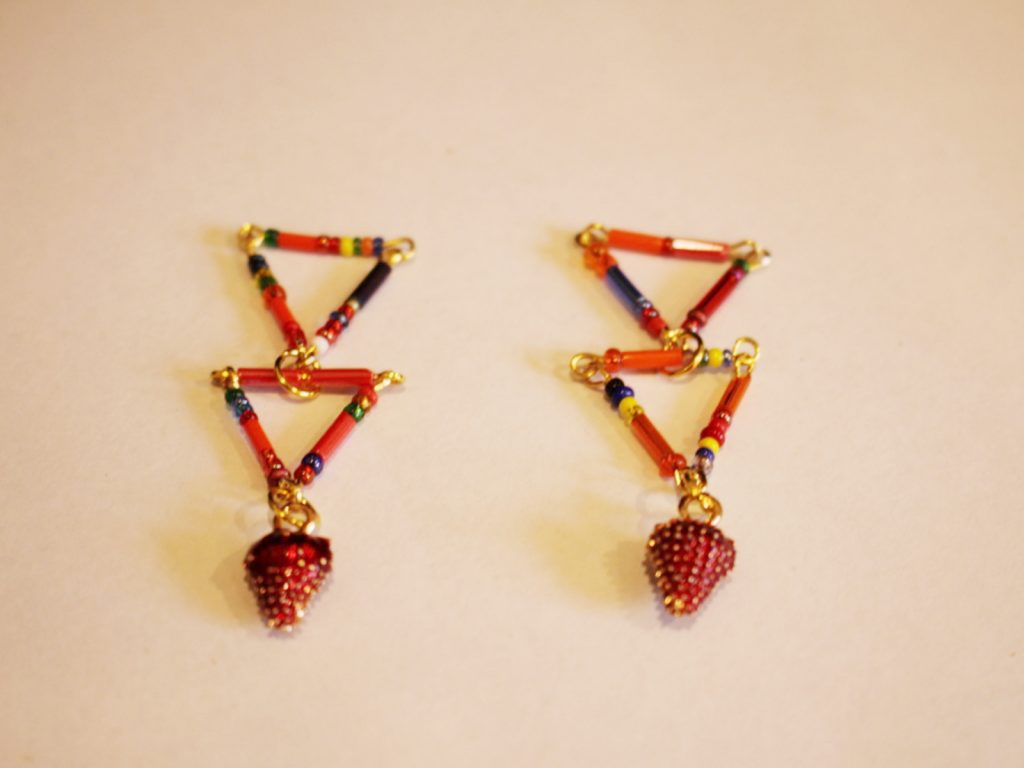
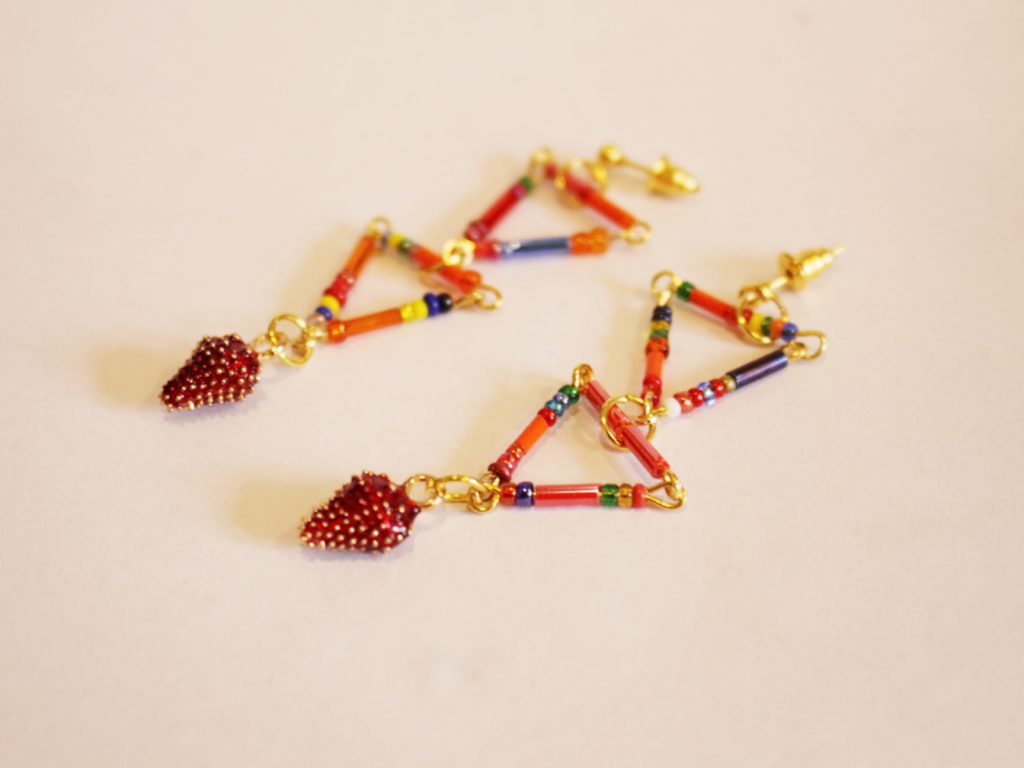
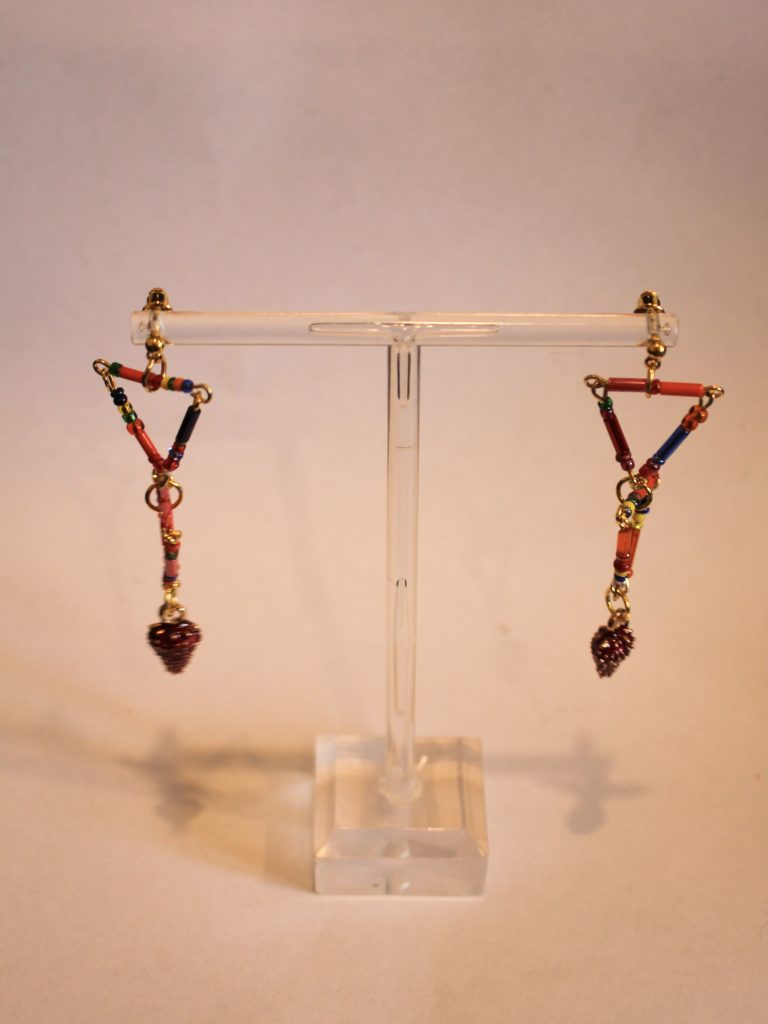
These earrings are pretty fun! They are constructed from eye pins to form some dynamic triangle charms, and as an added bonus, there’s a cute gold-tone and enamel strawberry charm dangling from the bottom of each earring. This pair of triangle strawberry earrings is perfect for framing your face with some fun colour and they’re pretty simple to make.
Please note that this tutorial contains affiliate links.
Here are the tools and materials you’ll need to make your earrings:
1: Pliers. I used my round nose and flat nose pliers for this design. Keep your cutting pliers on hand just in case!


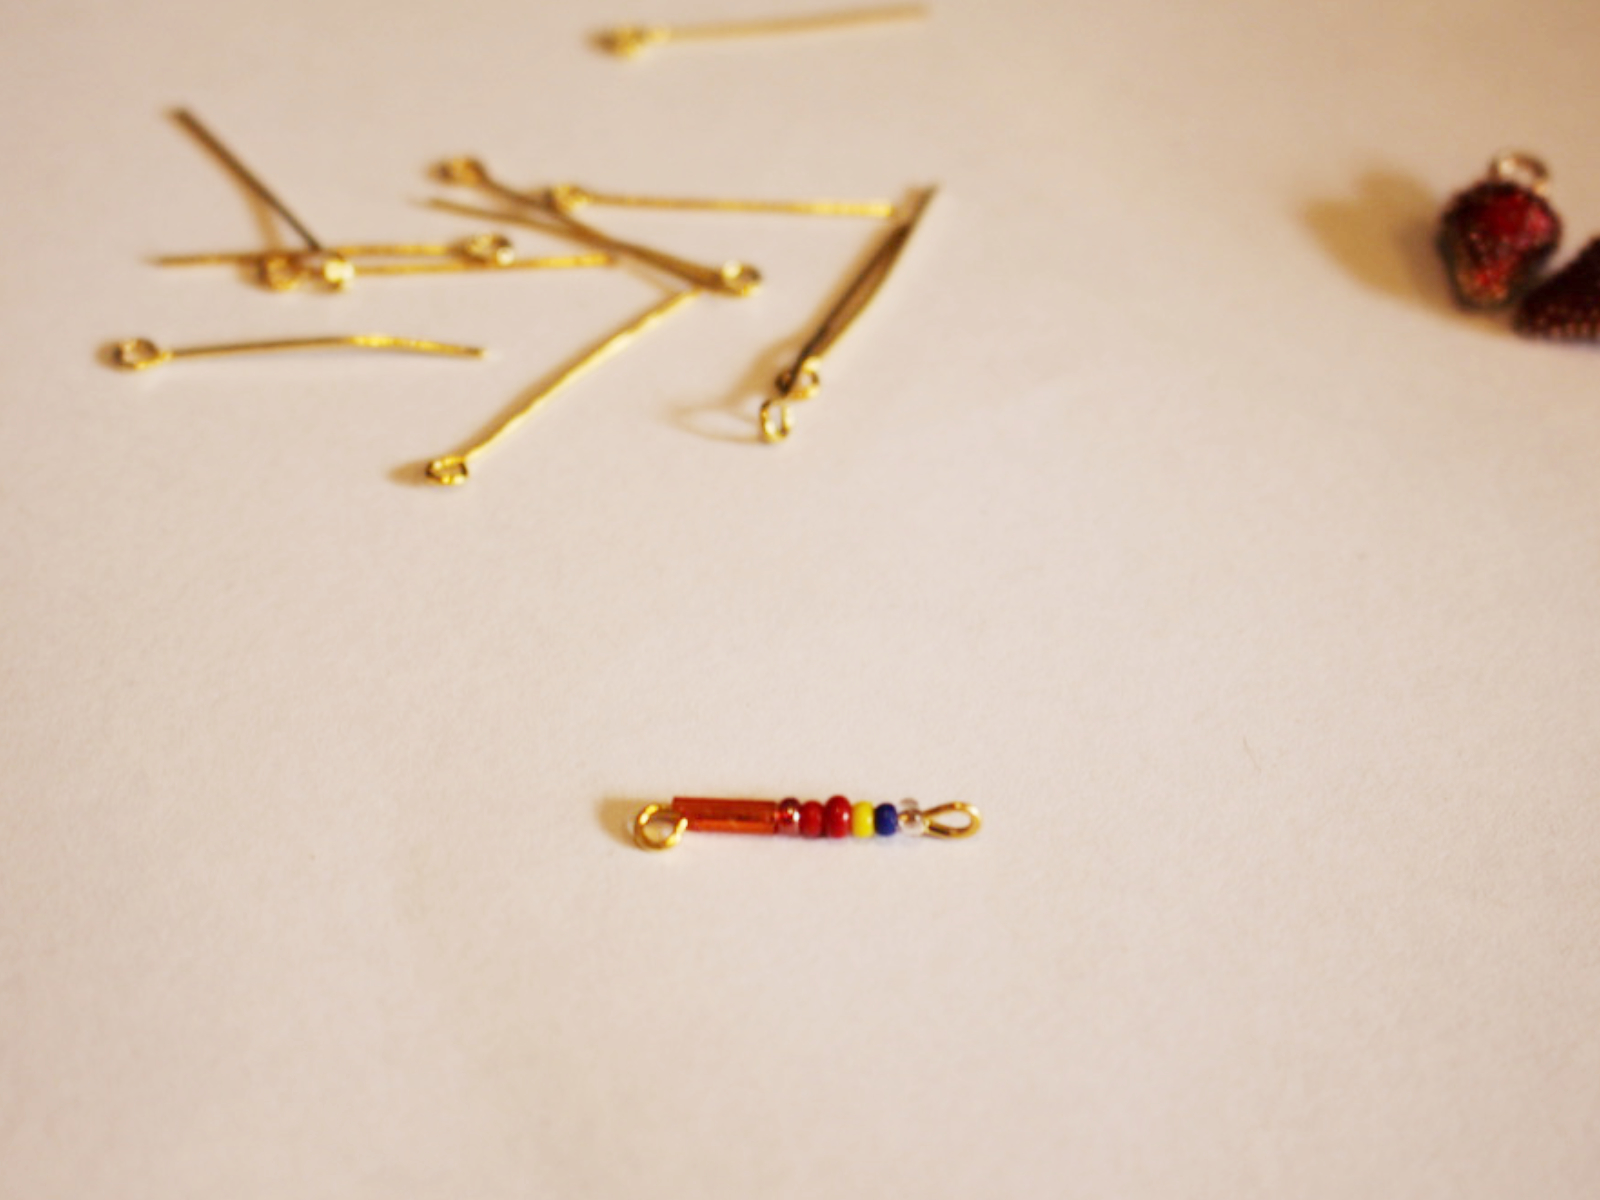
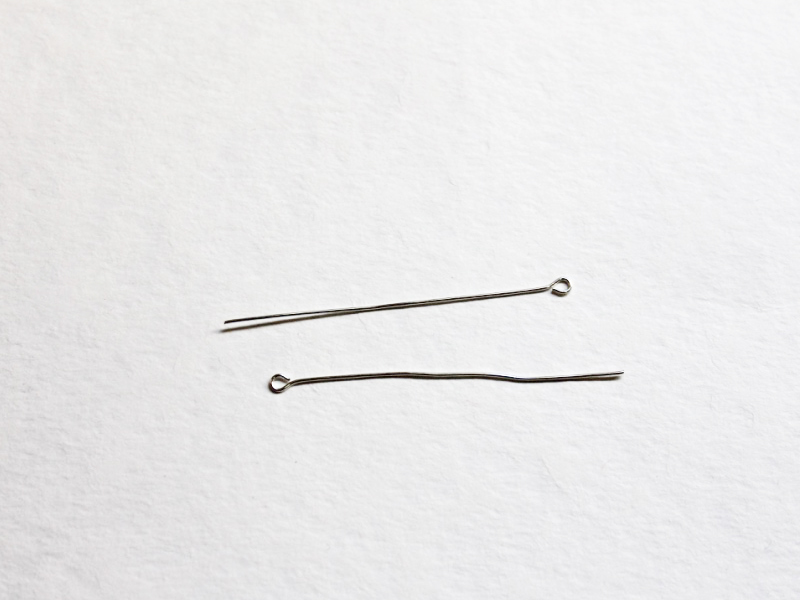
2: Twelve (12) eye pins. I used gold-tone ones.

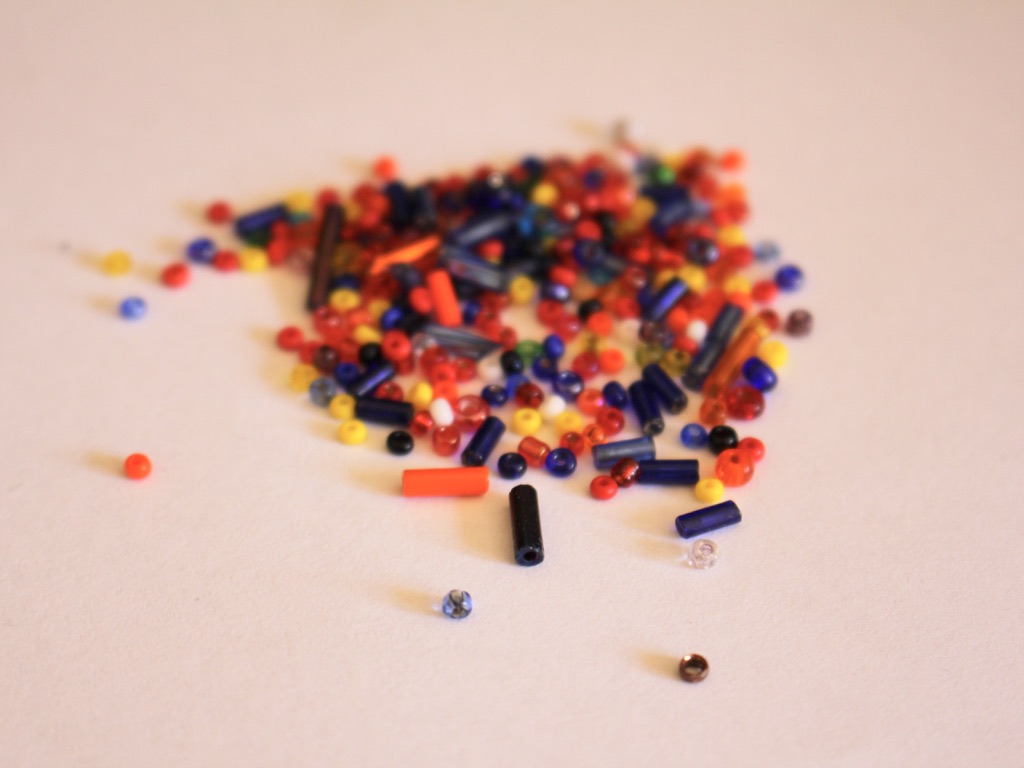
3: Beads. I used mixed seed and bugle beads made from glass.
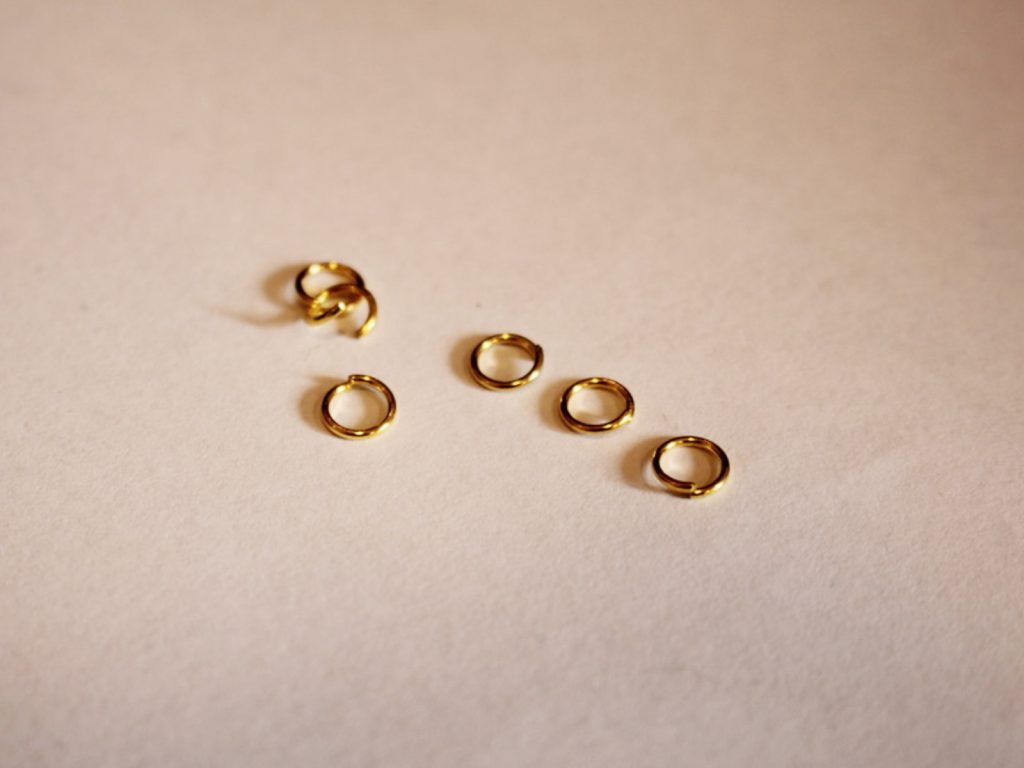
4: Six (6) jump rings. I used gold-tone to match my eye pins and other findings.
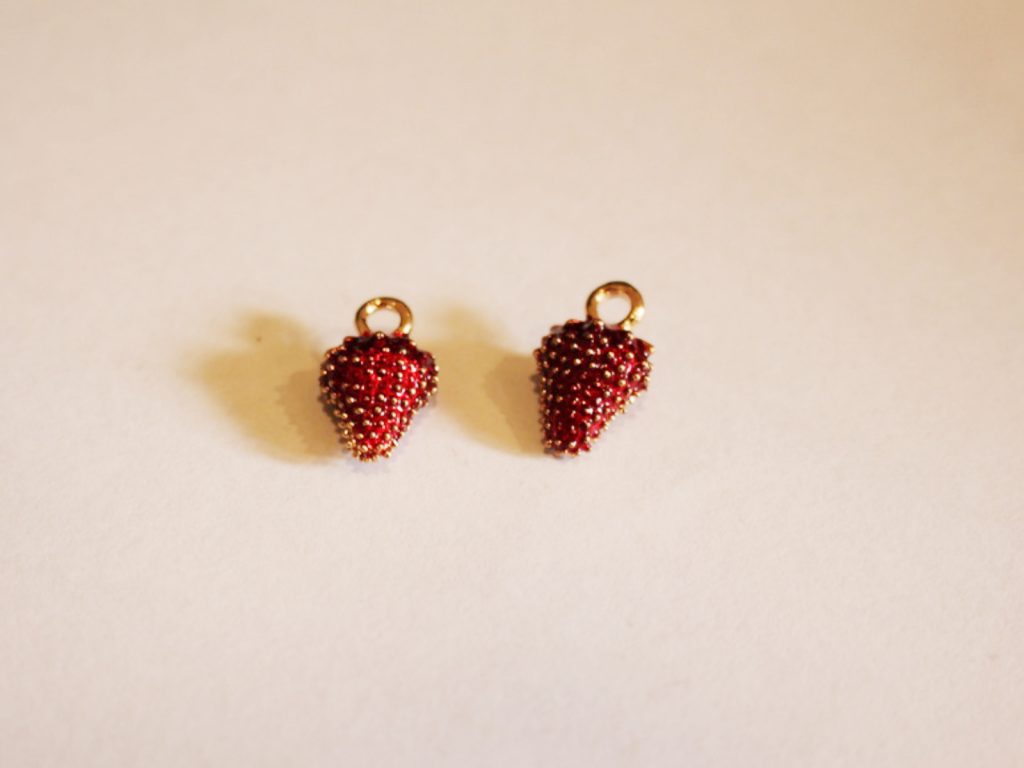
5: Two (2) strawberry charms.
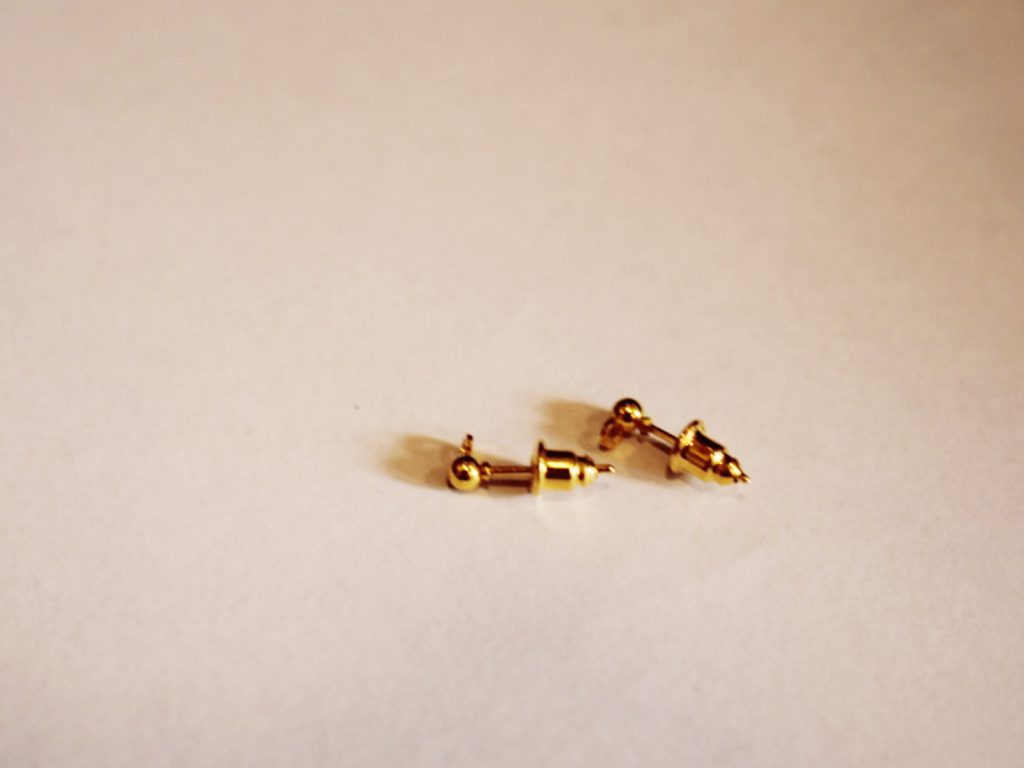
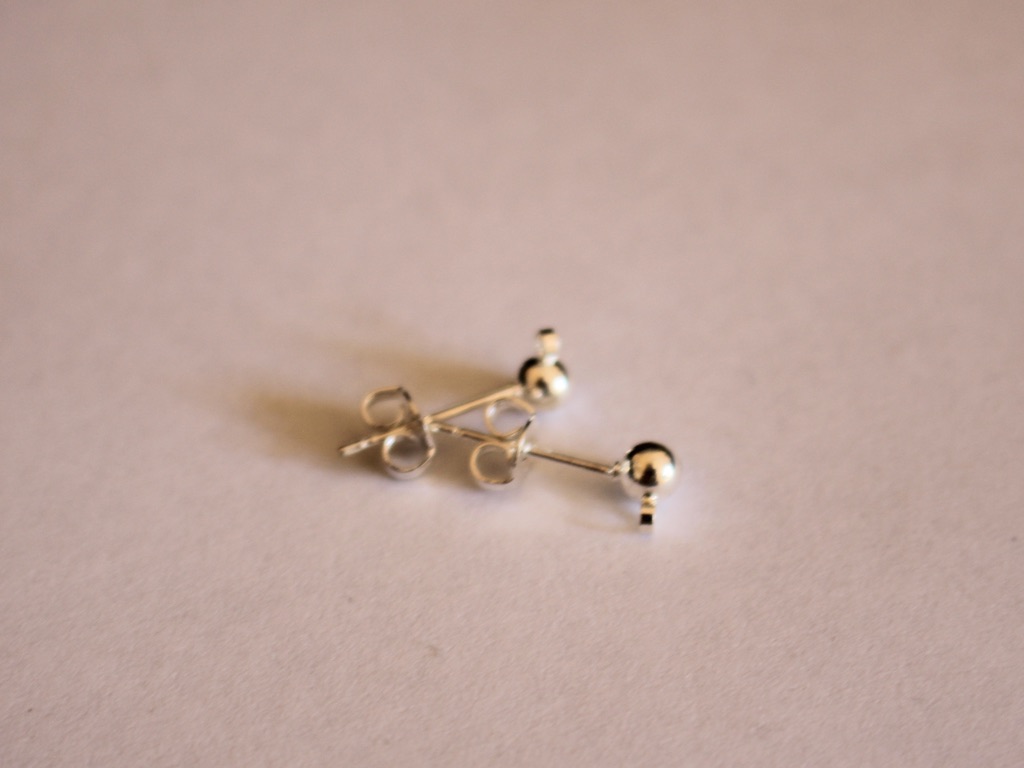
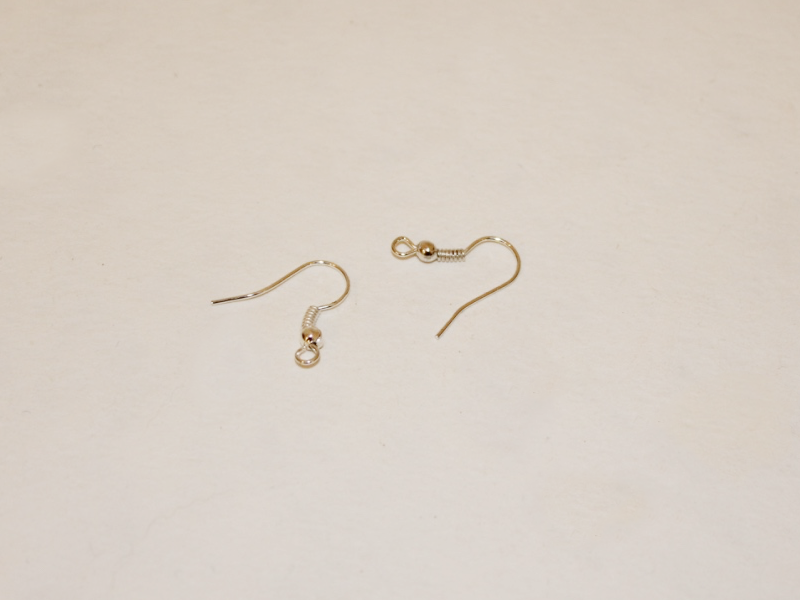
6: Two (2) post earring findings.
Now here are all the steps to follow to make your triangle and strawberry dangle earrings:
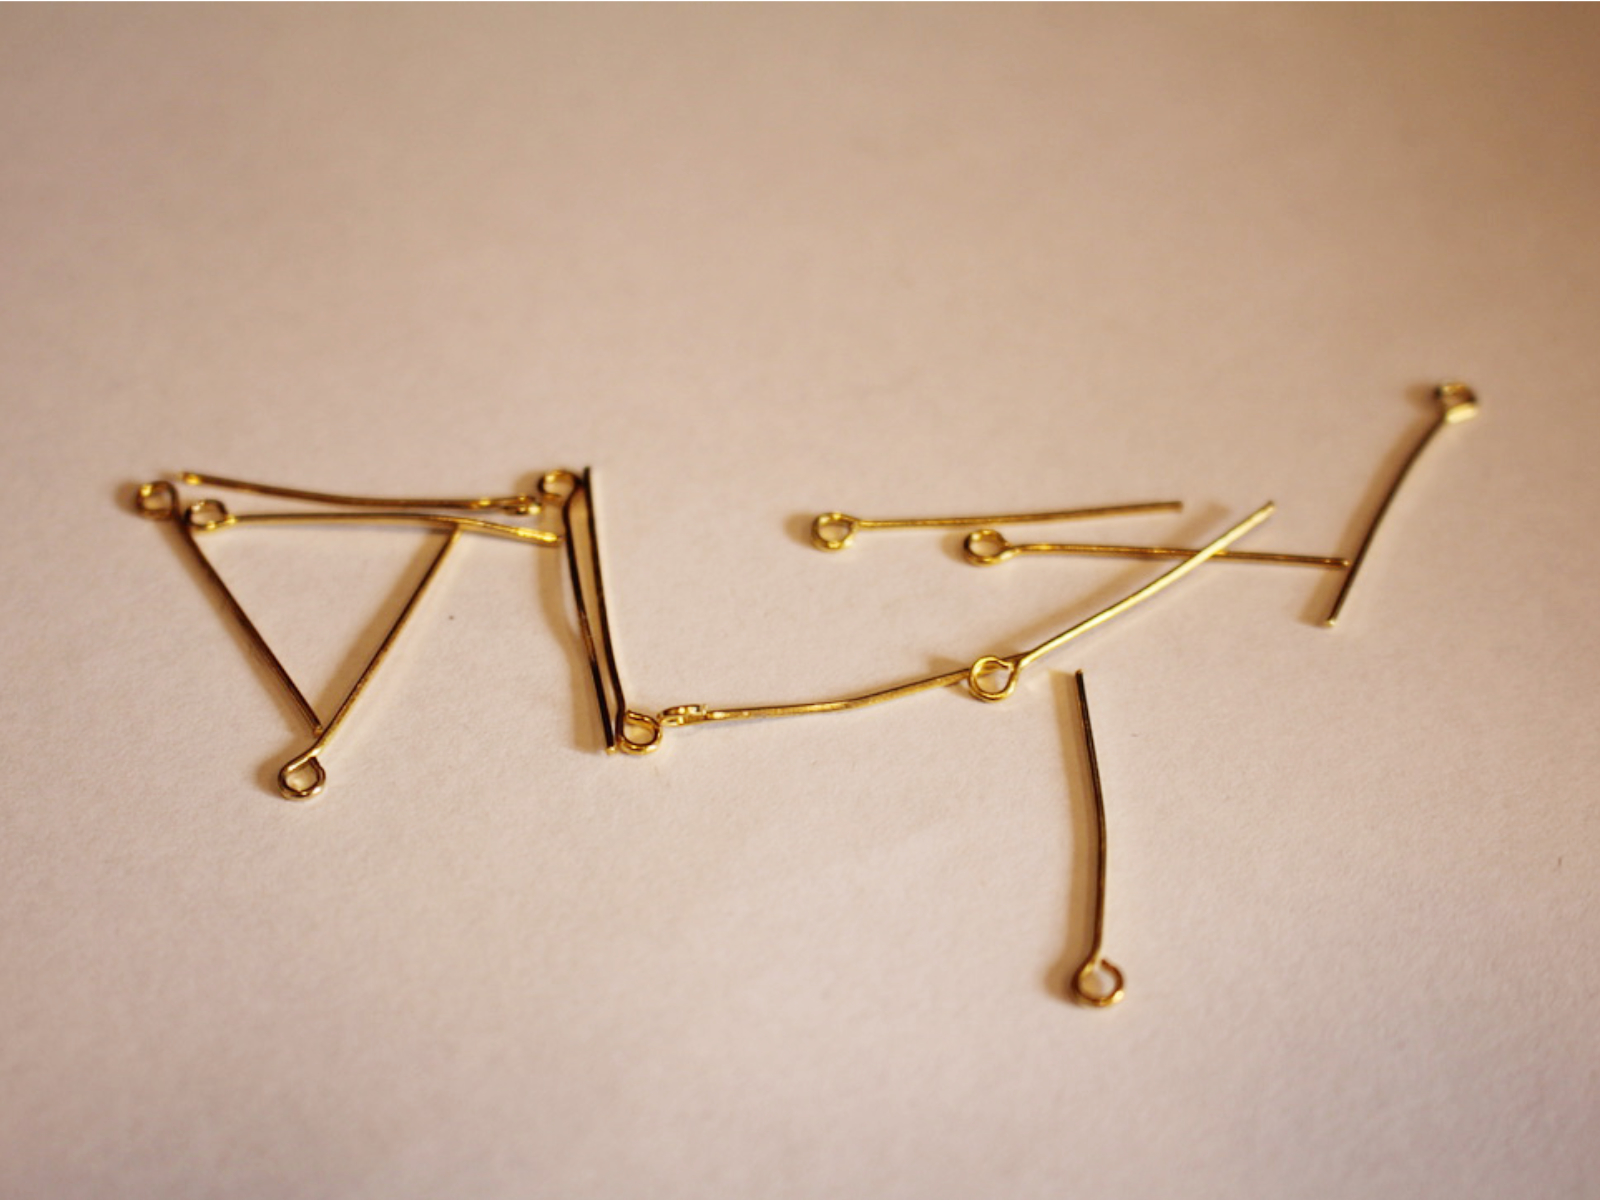
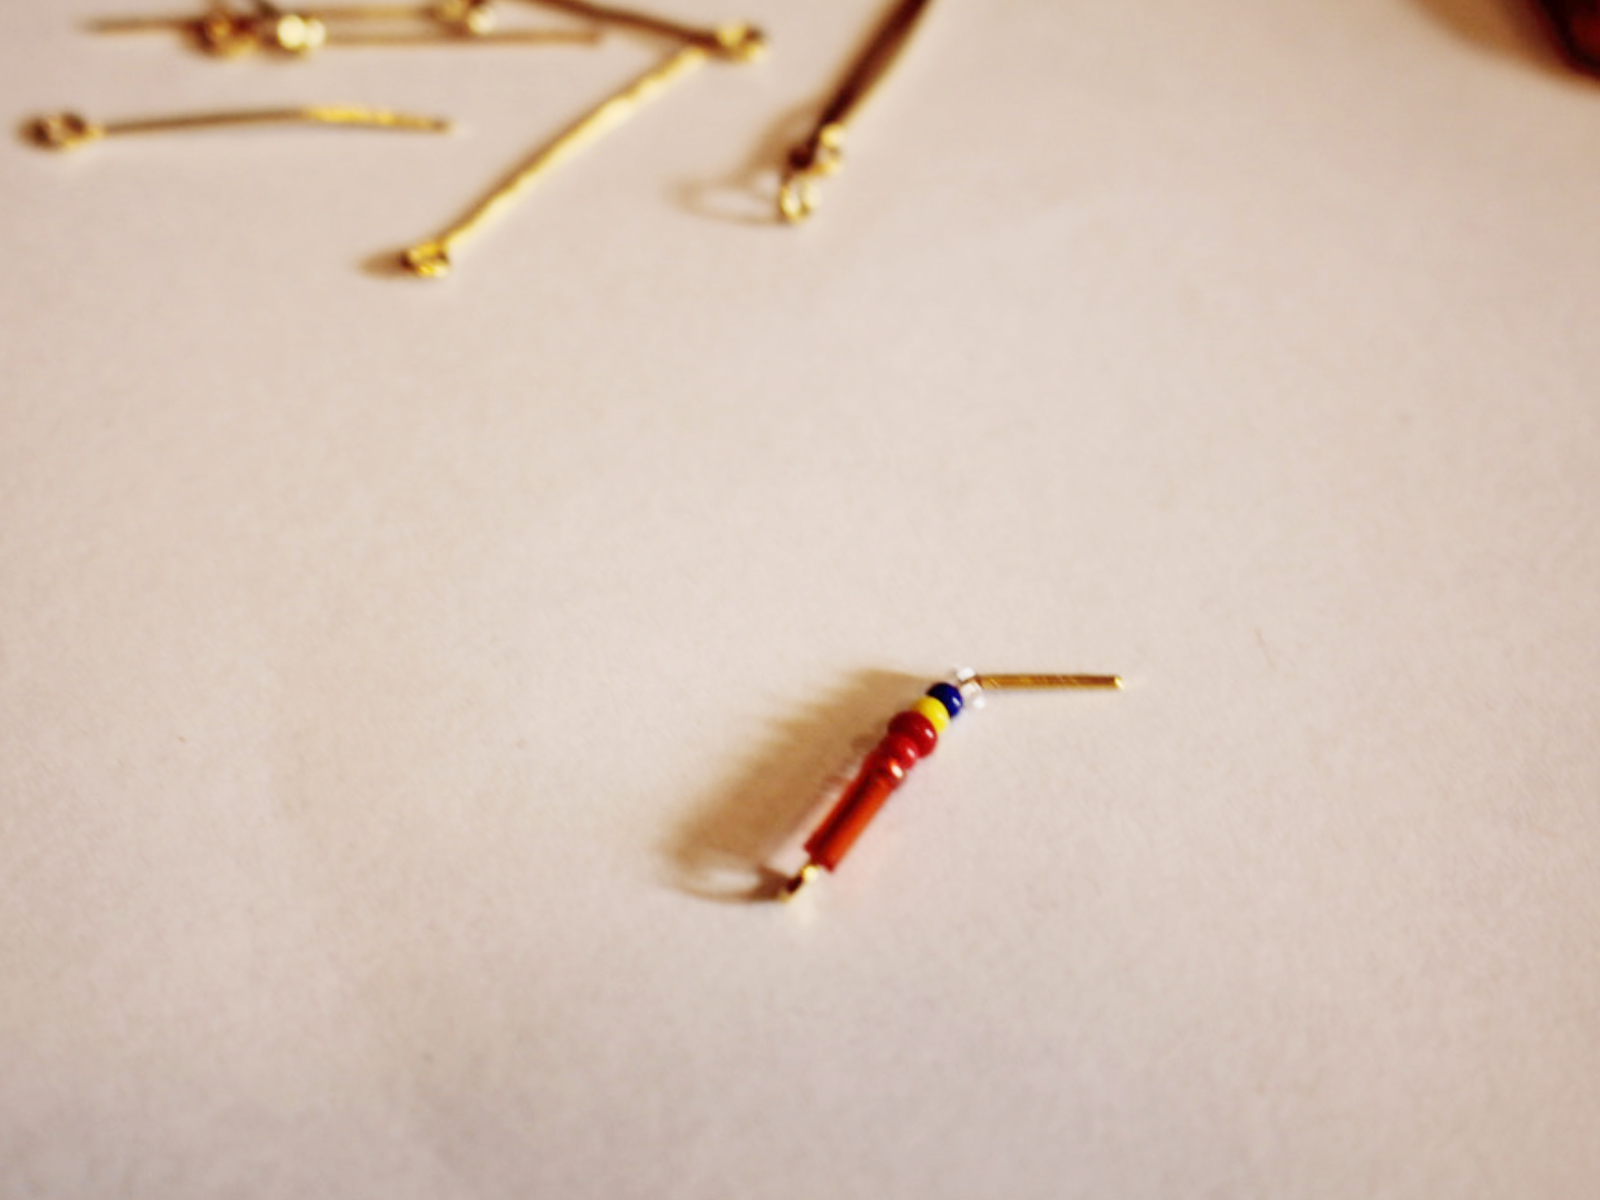
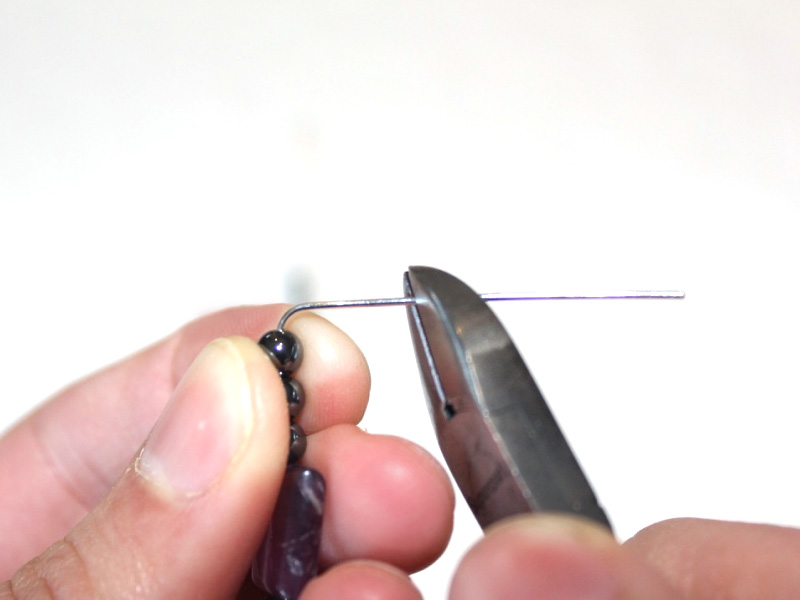
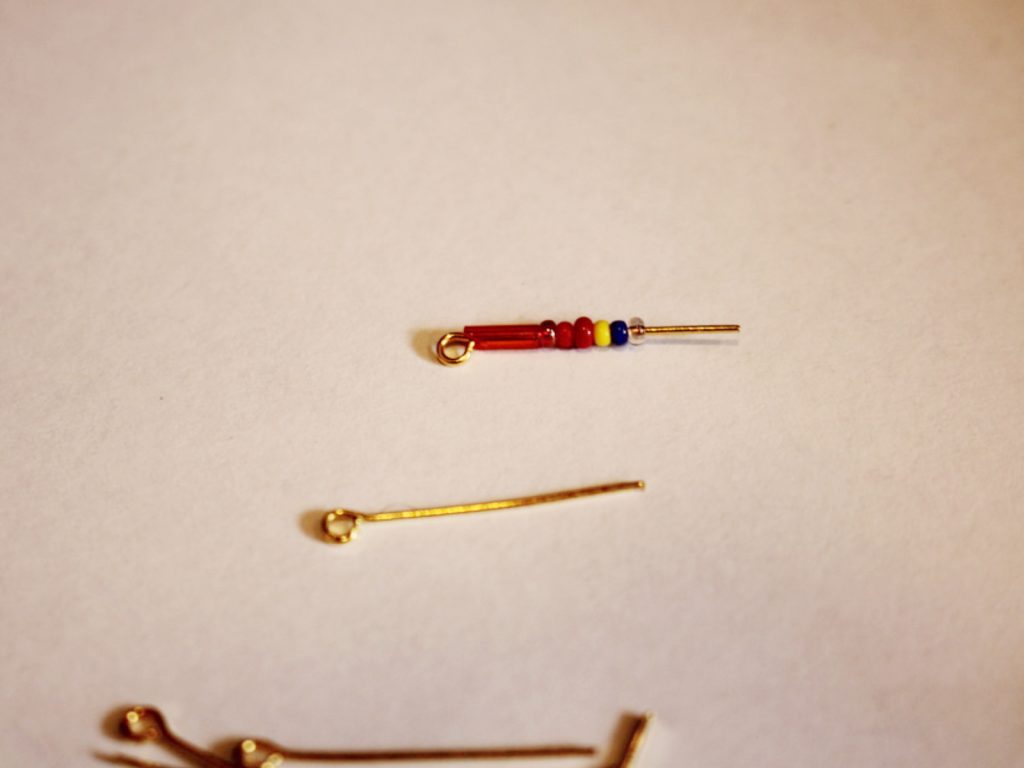
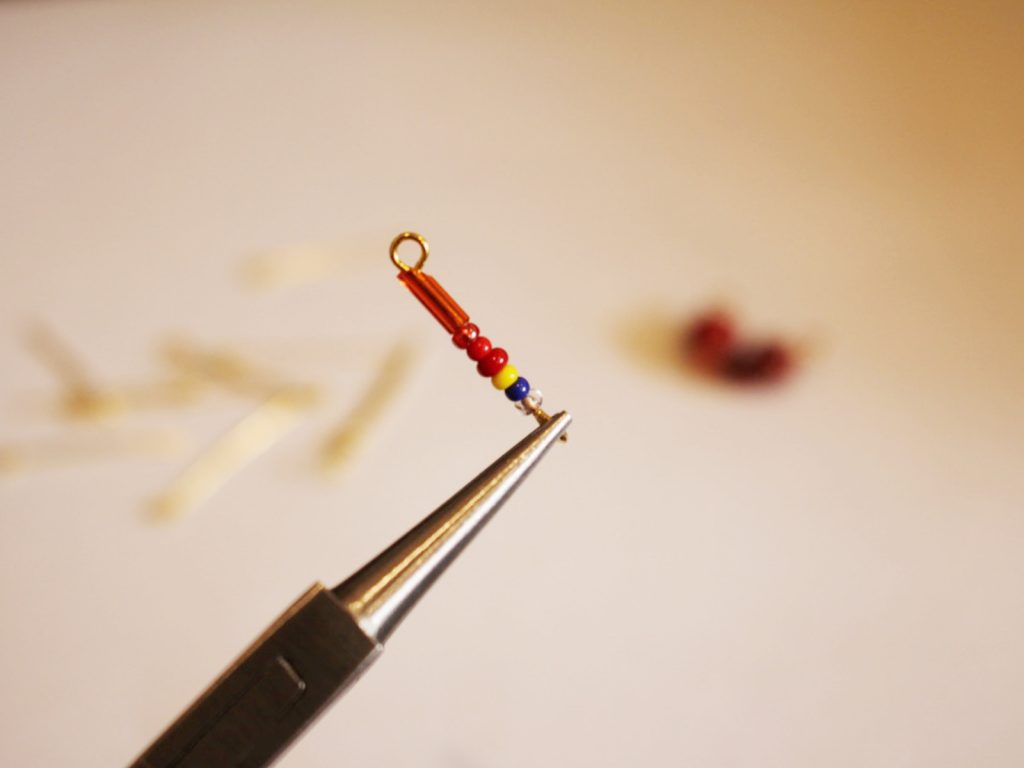
1: Add beads to one of the eye pins. Leave approximately 0.8-1cm without beads, this is the section that you will bend into a loop.
2: Using round nose pliers, bend the pin to form an angle.
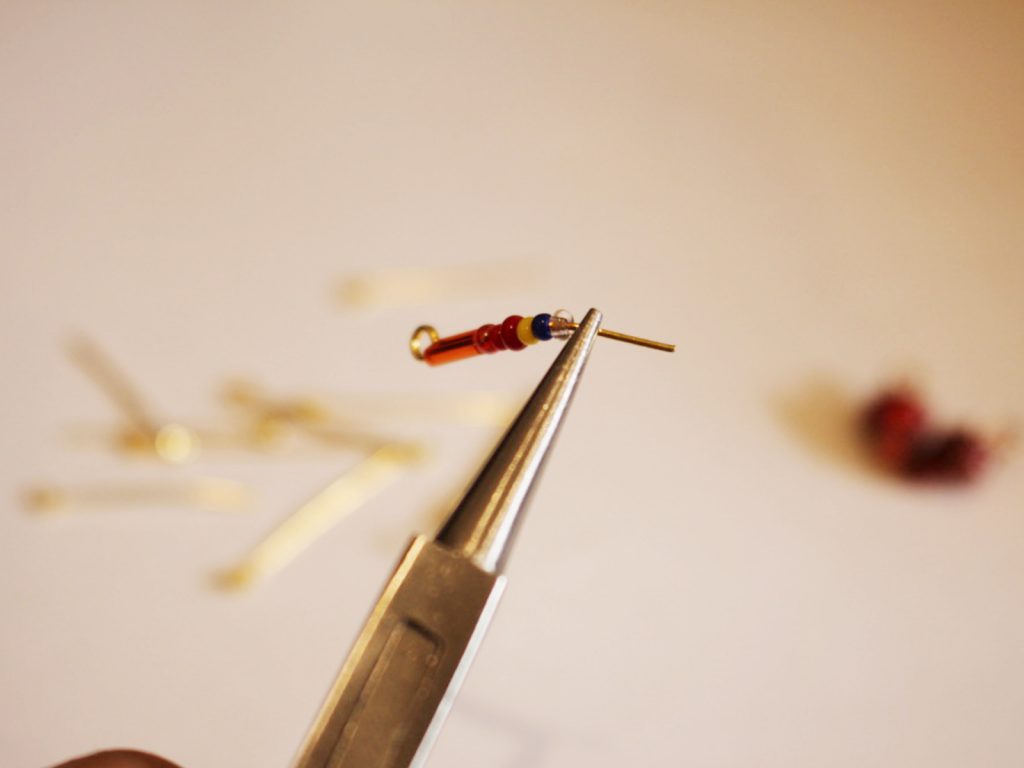
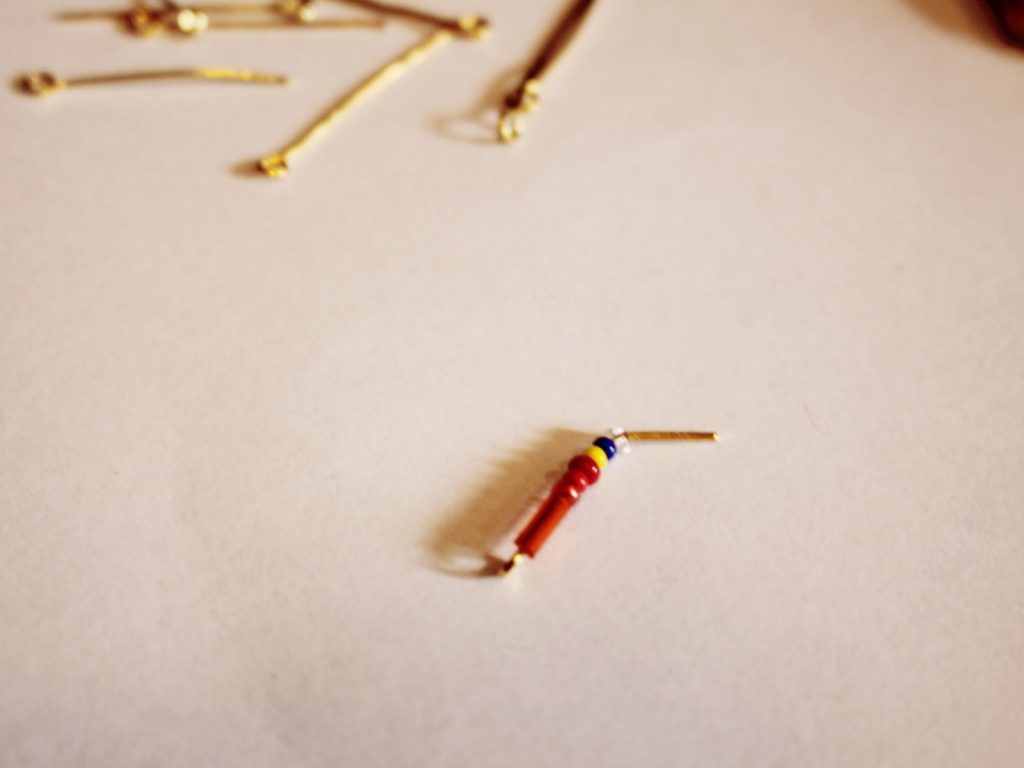
3: Bend the top of the wire around the barrel of the round nose pliers to create a loop. Now the beads are secured onto the pin.

4: Repeat steps 1-3 for the remaining eye pins.
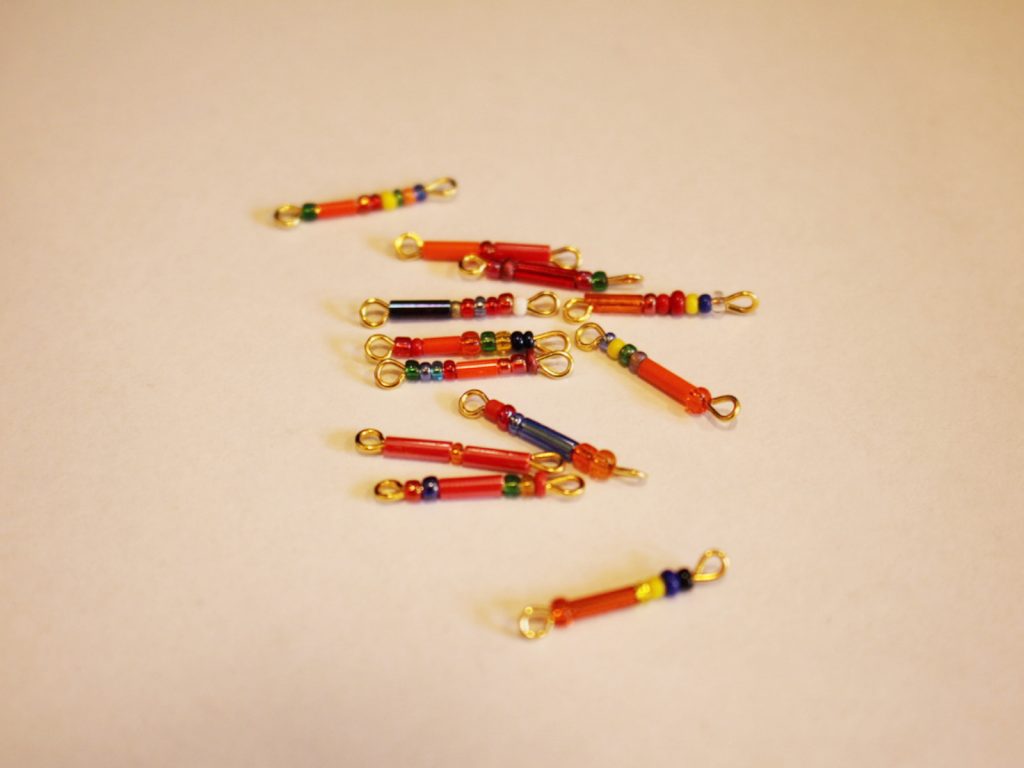
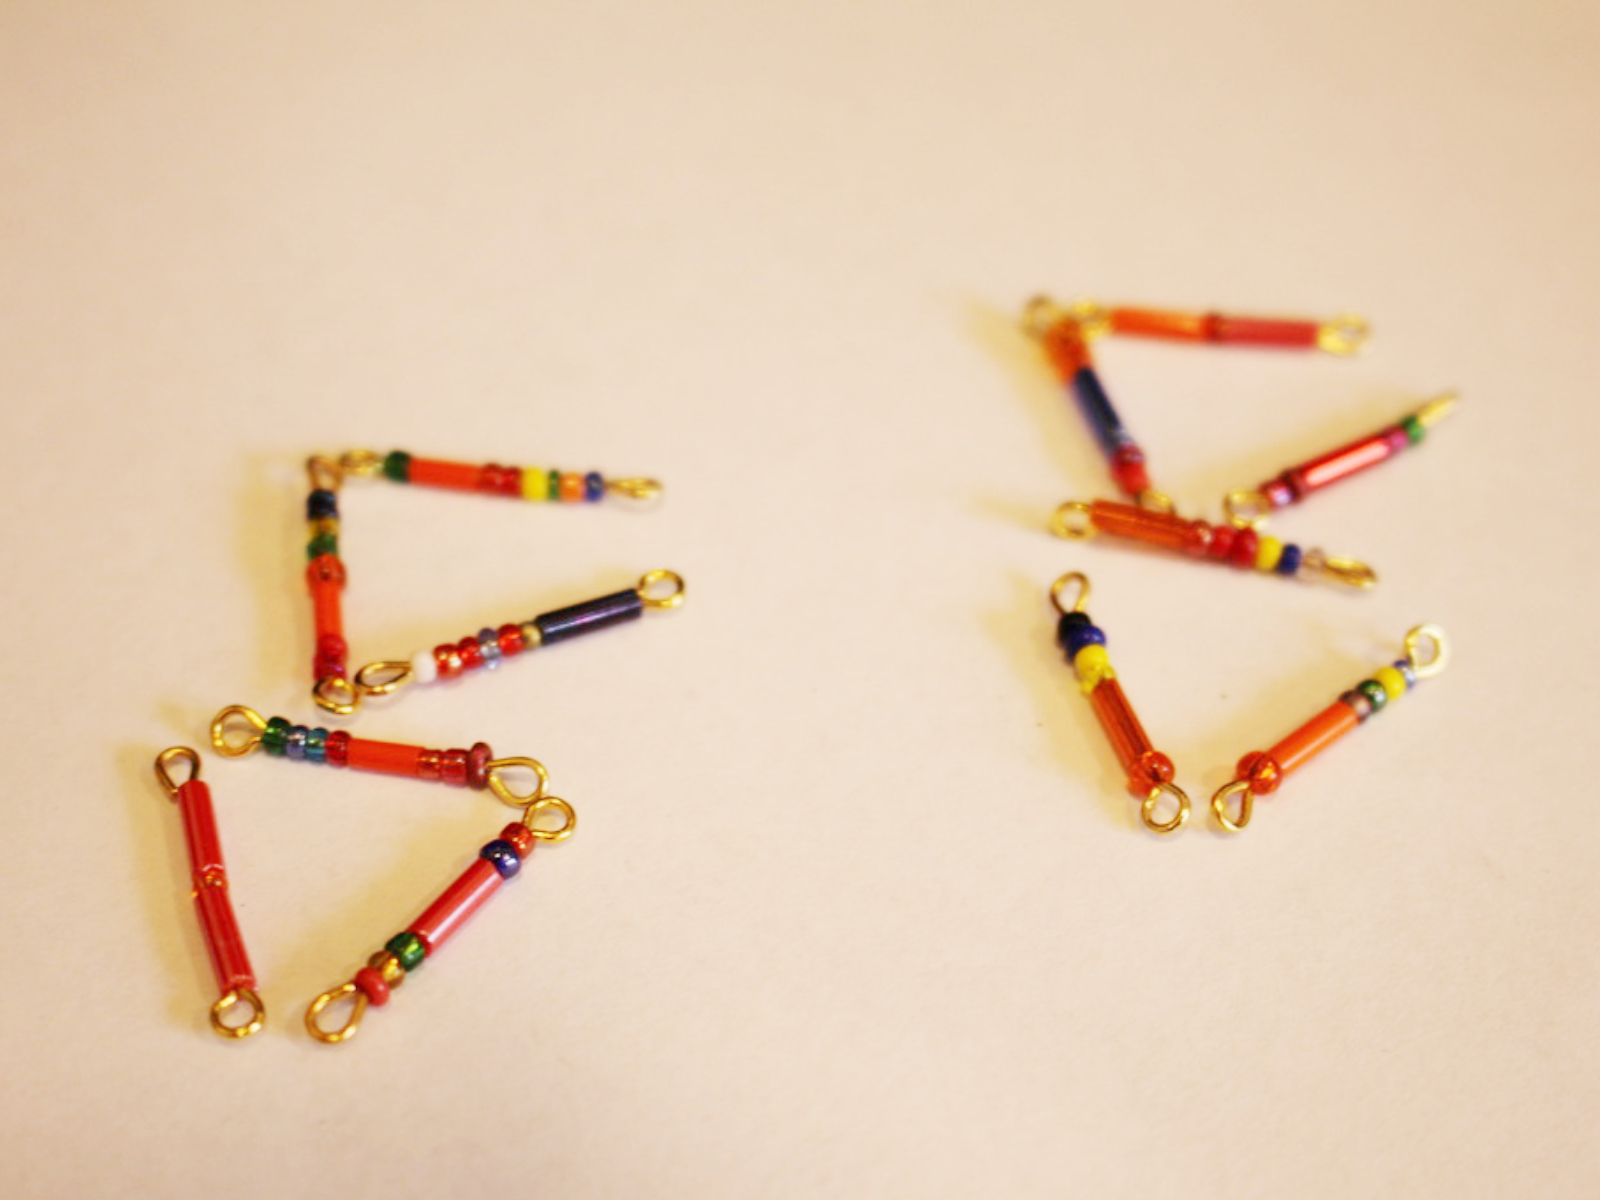
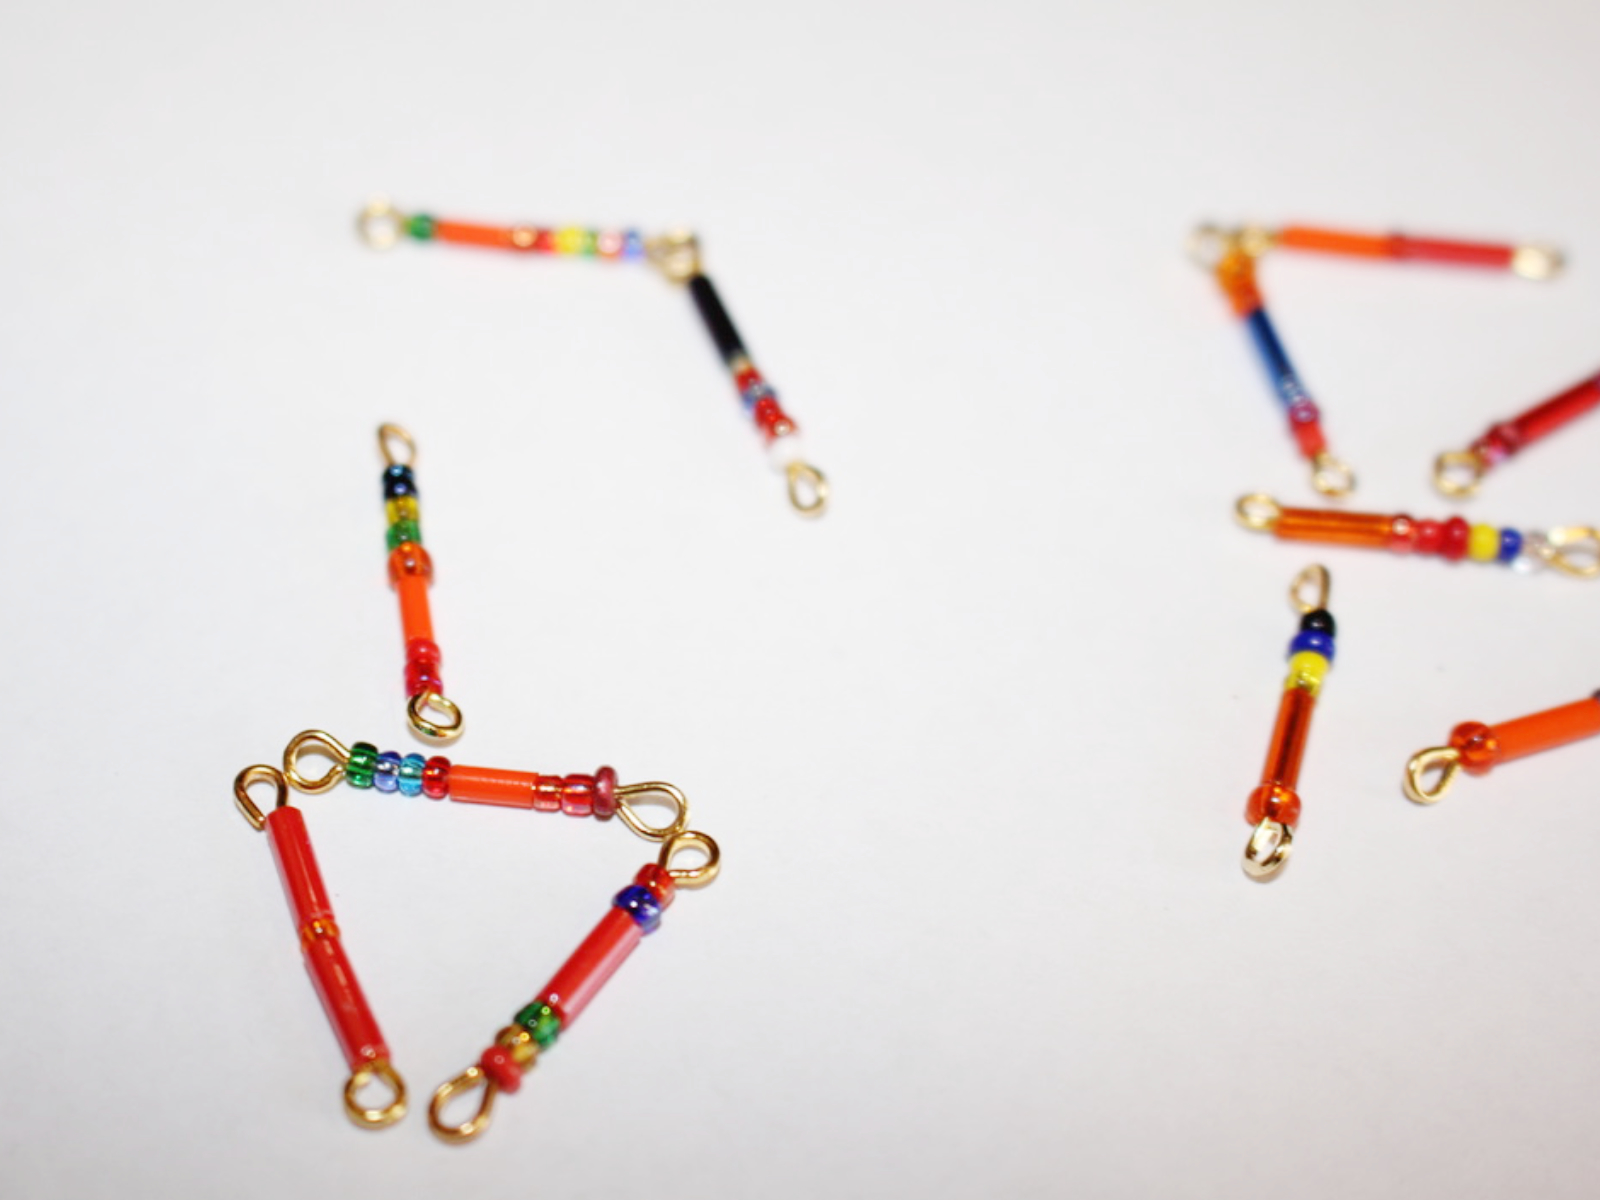
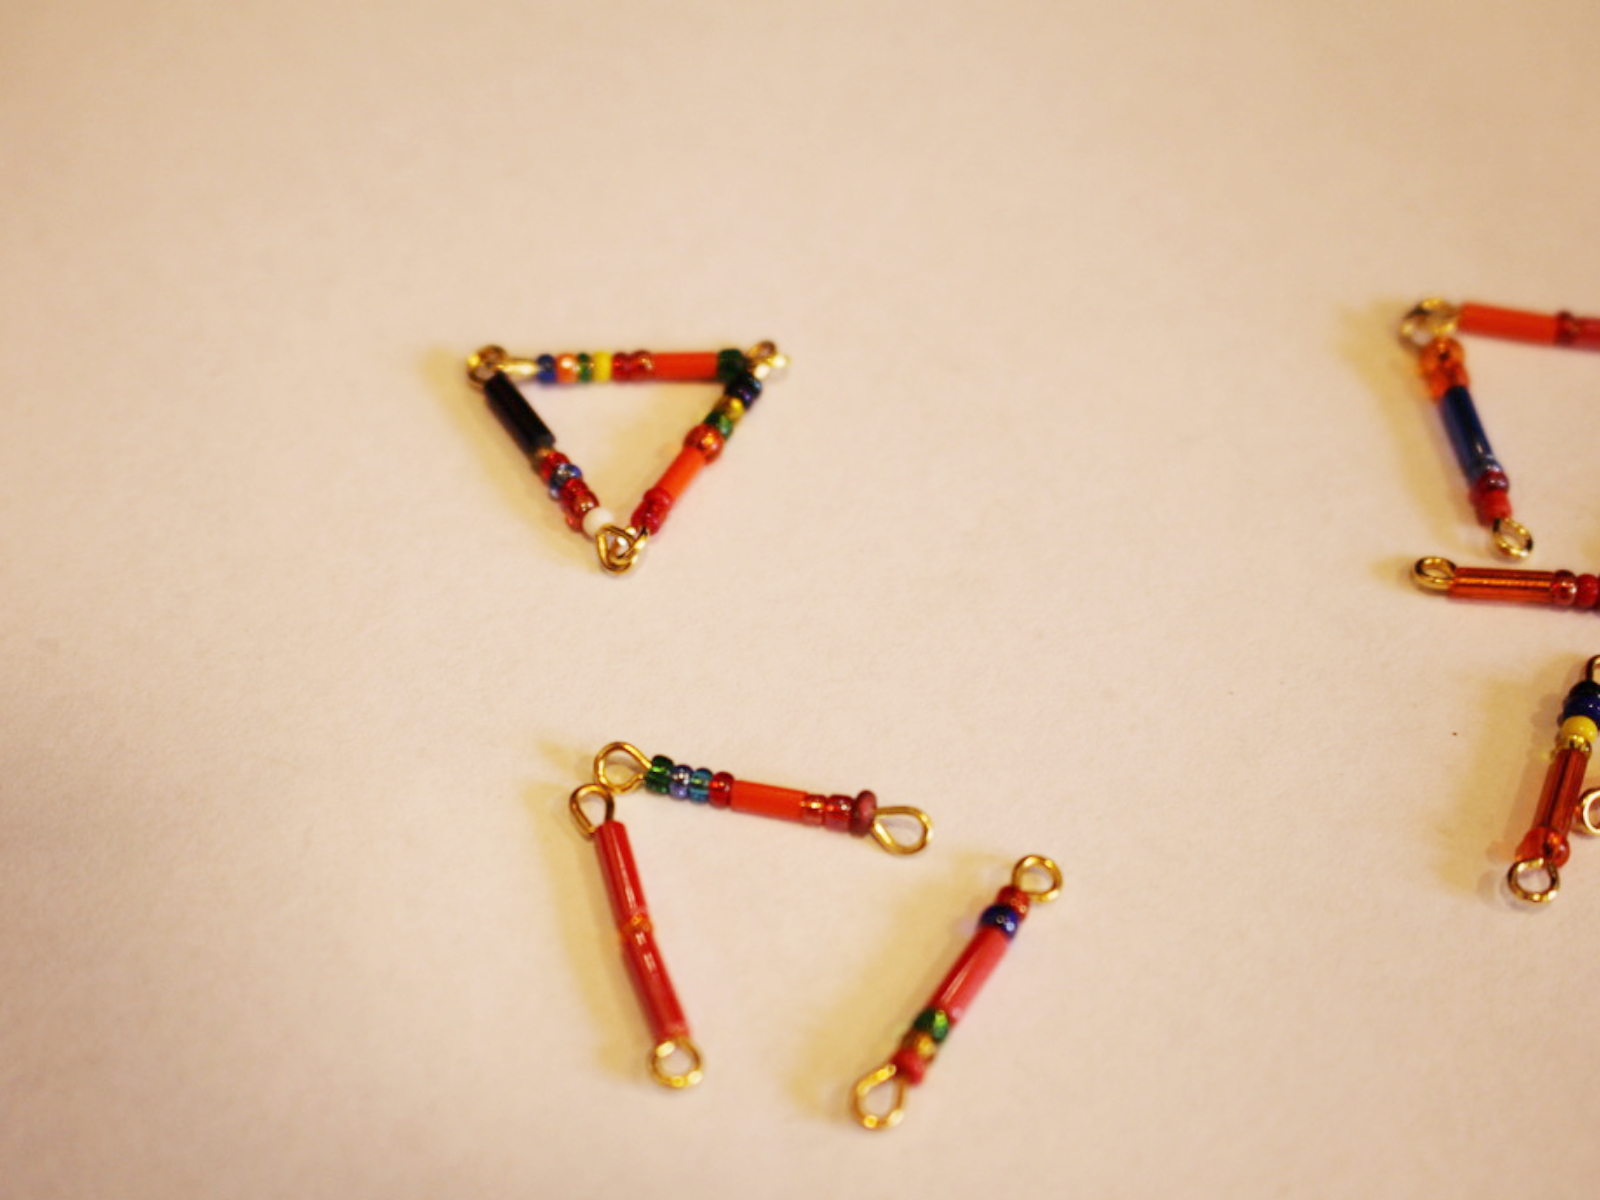
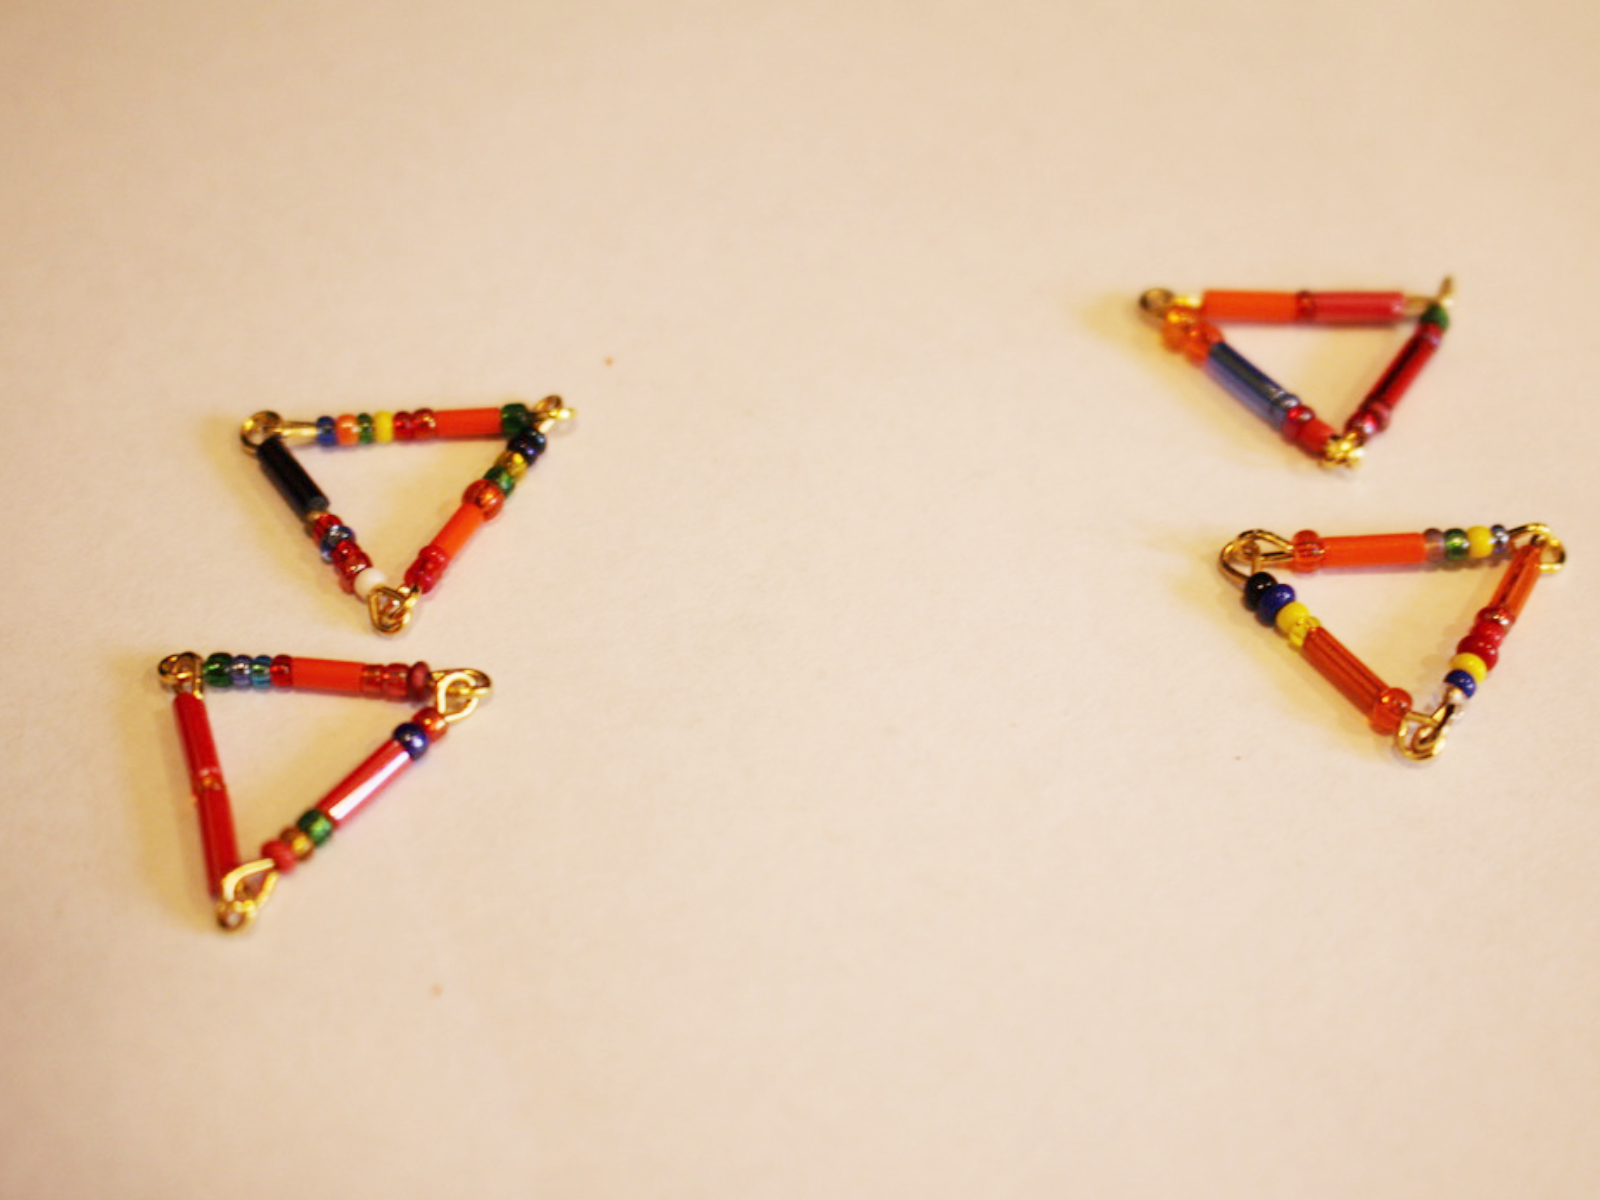
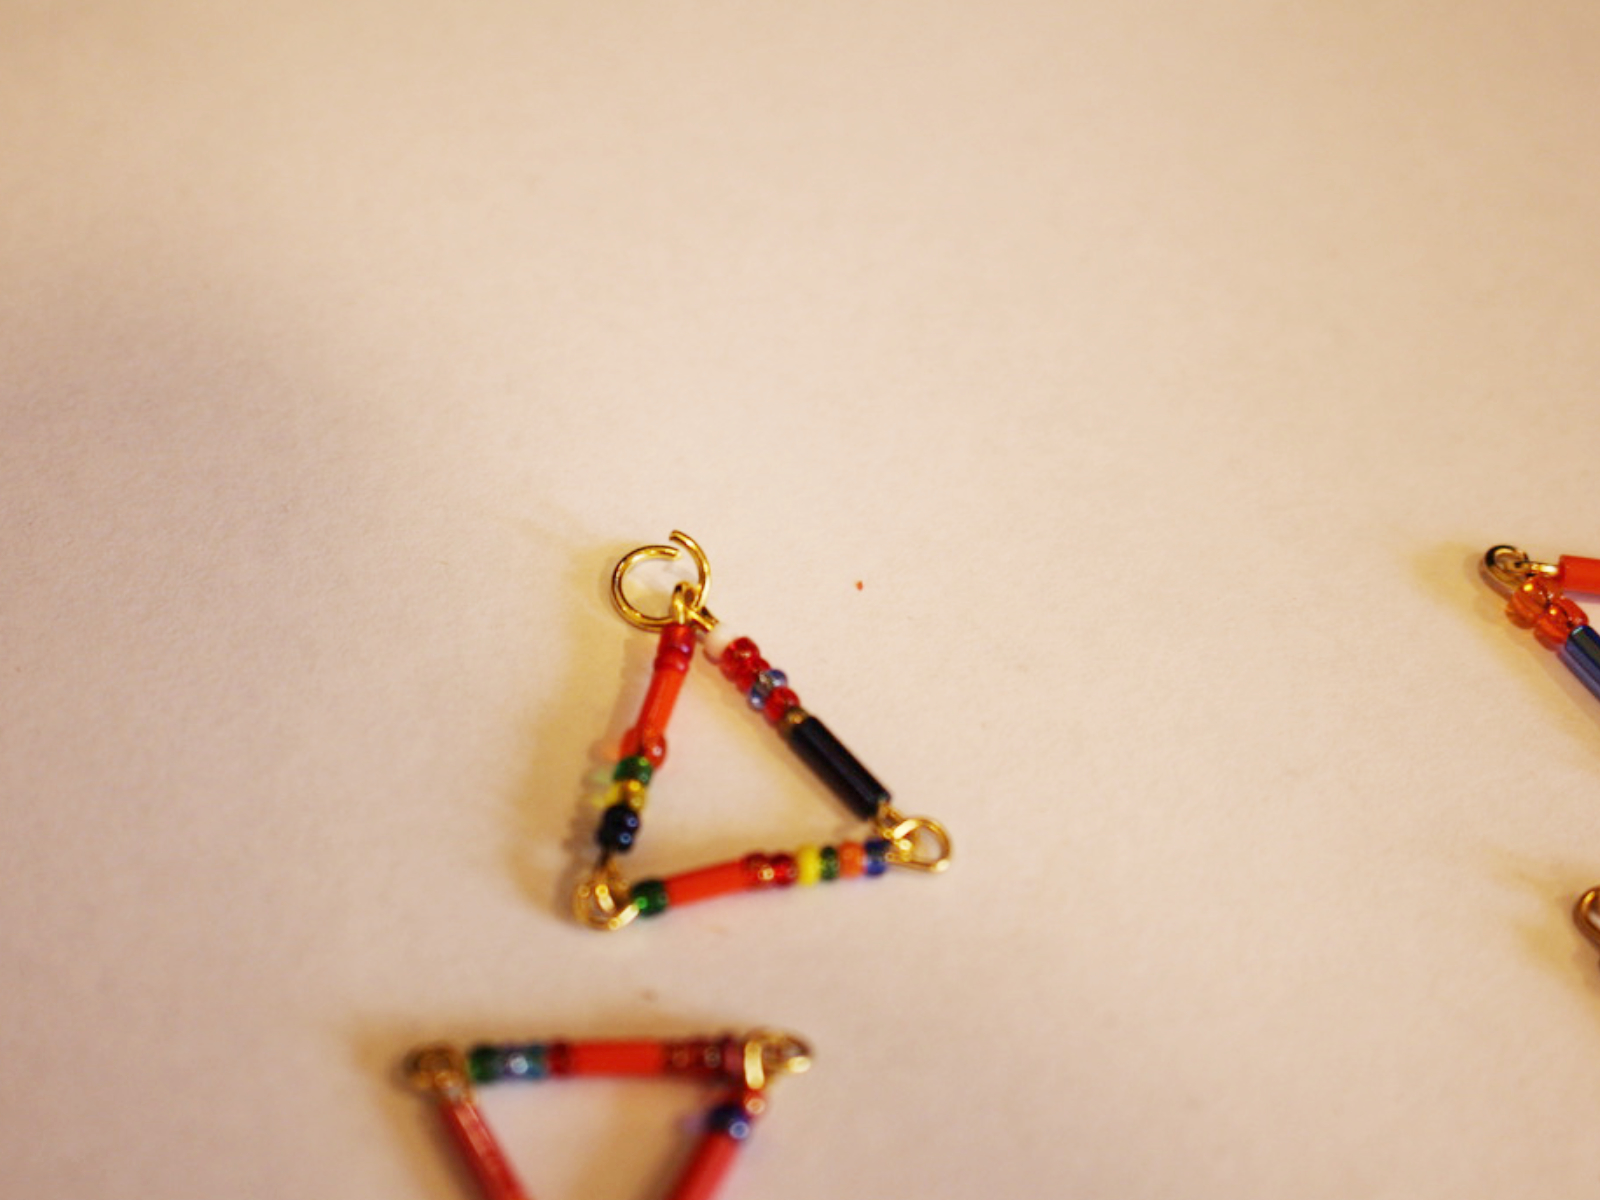
5: Now you have all your eye pins beaded you can begin attaching them together to form your triangles.

6: Attach one eye pin to another to form a mini-chain.

7: Attach another eye pin to the first two.
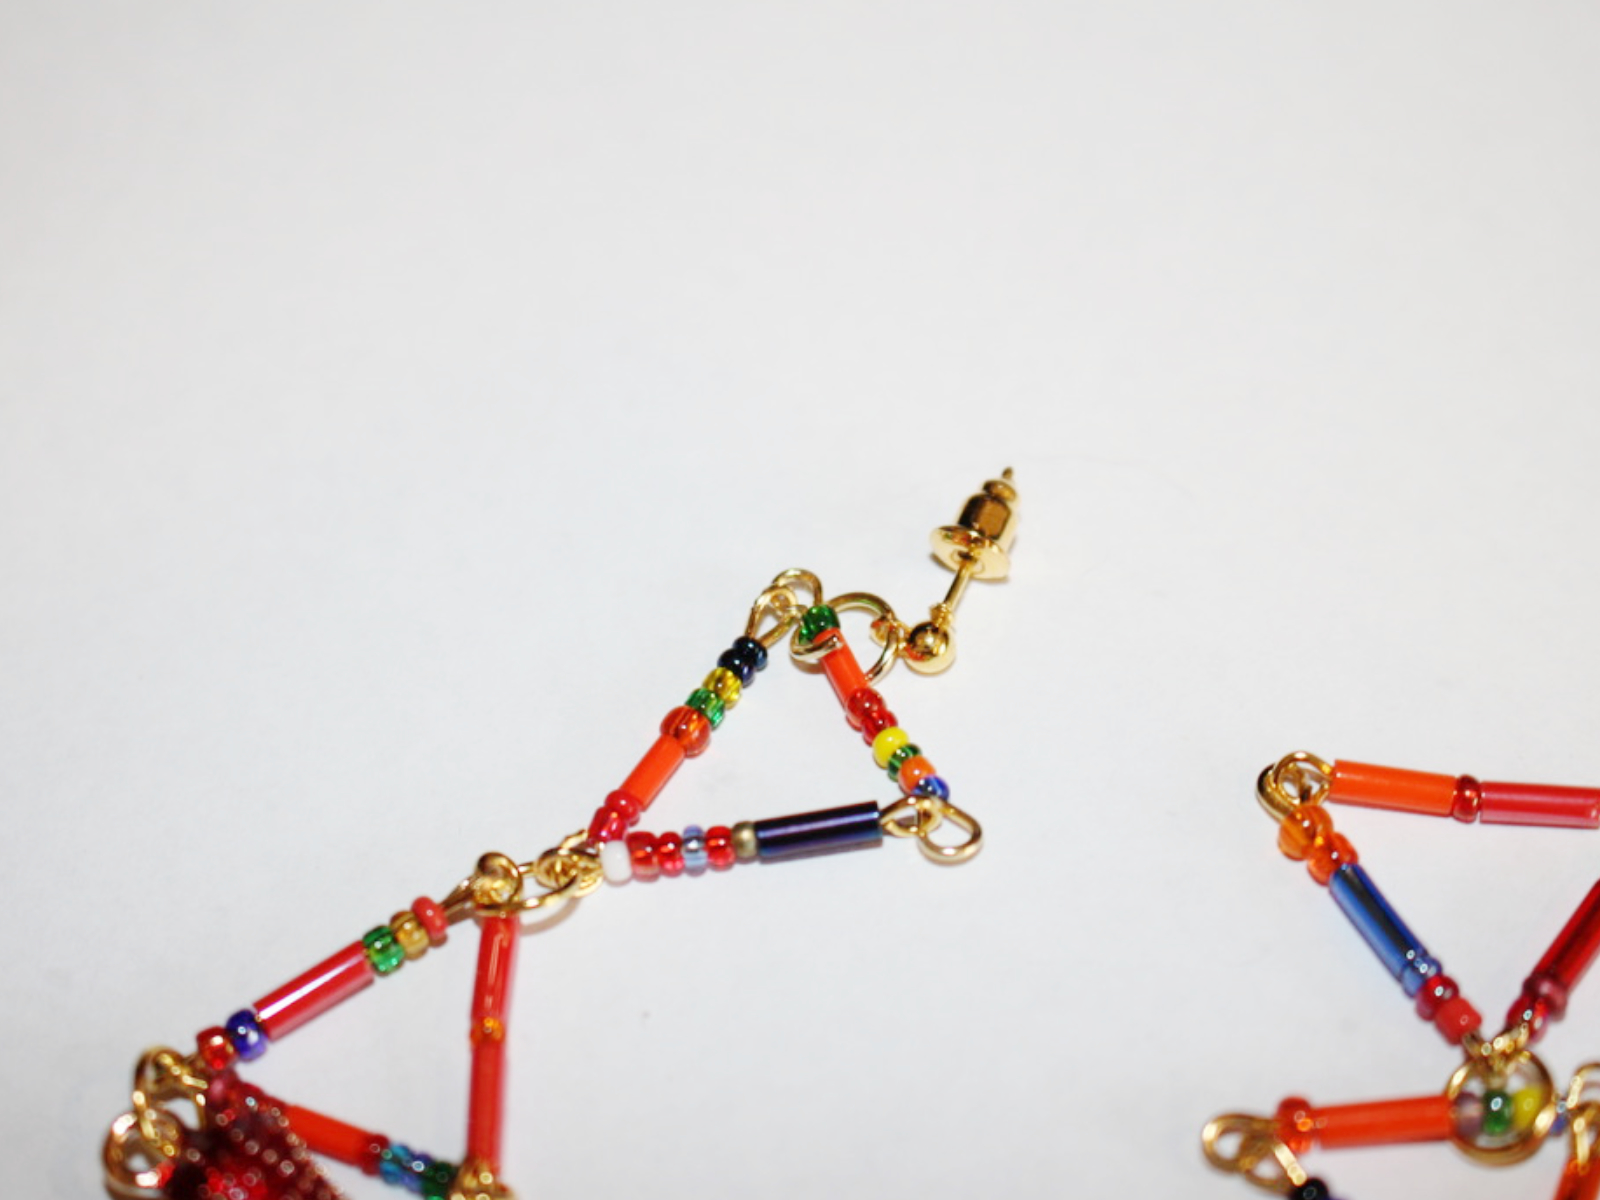
8: Now attach the loose end of the first eye pin to the end of the last eye pin to form a triangle shape. Close the loops to secure the eye pins together.
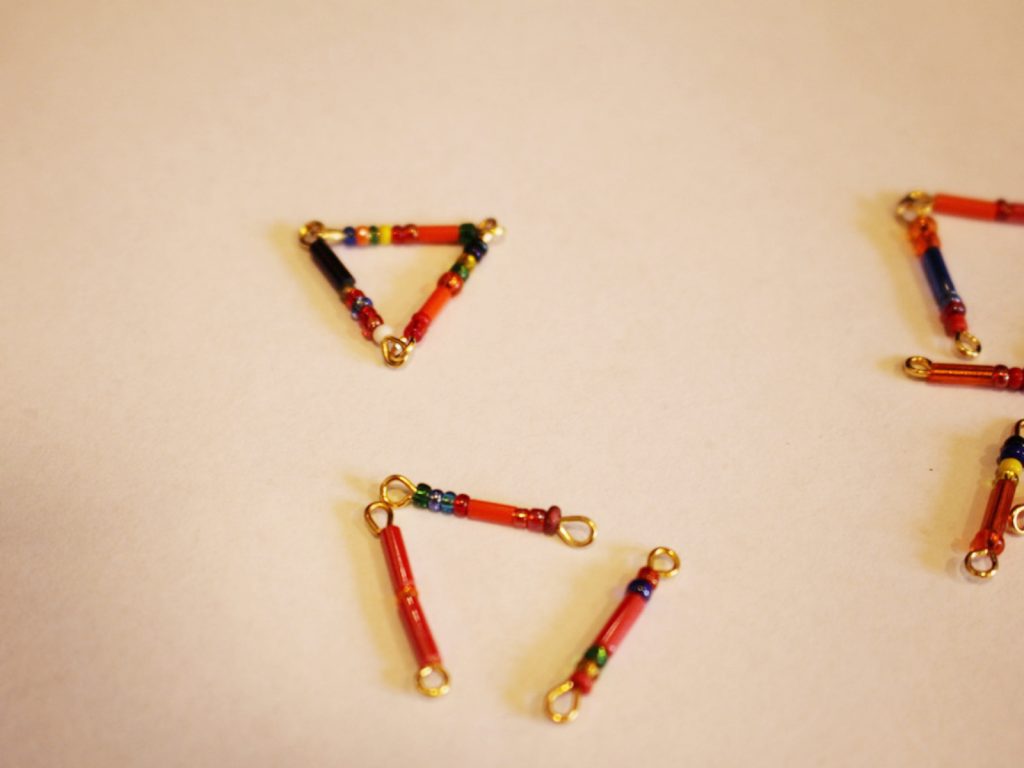
9: Repeat steps 6 to 8 for the other eye pins so that you have four triangles.

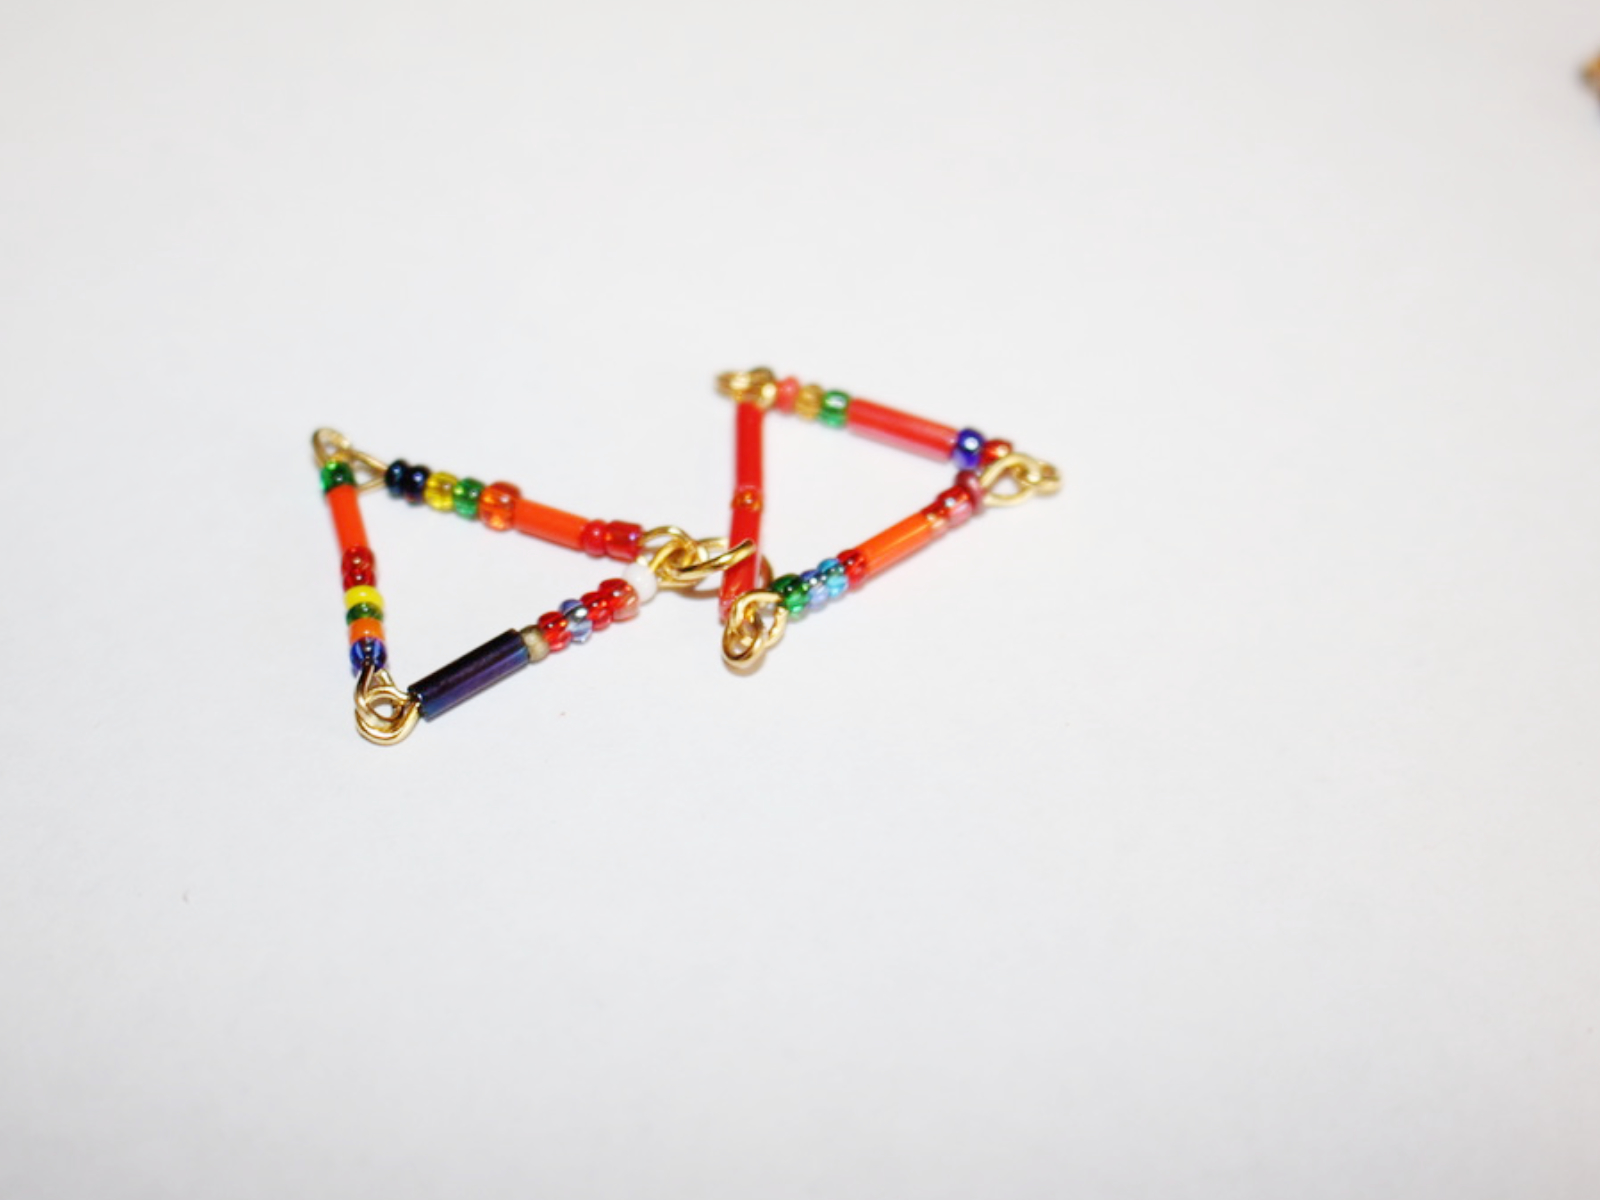
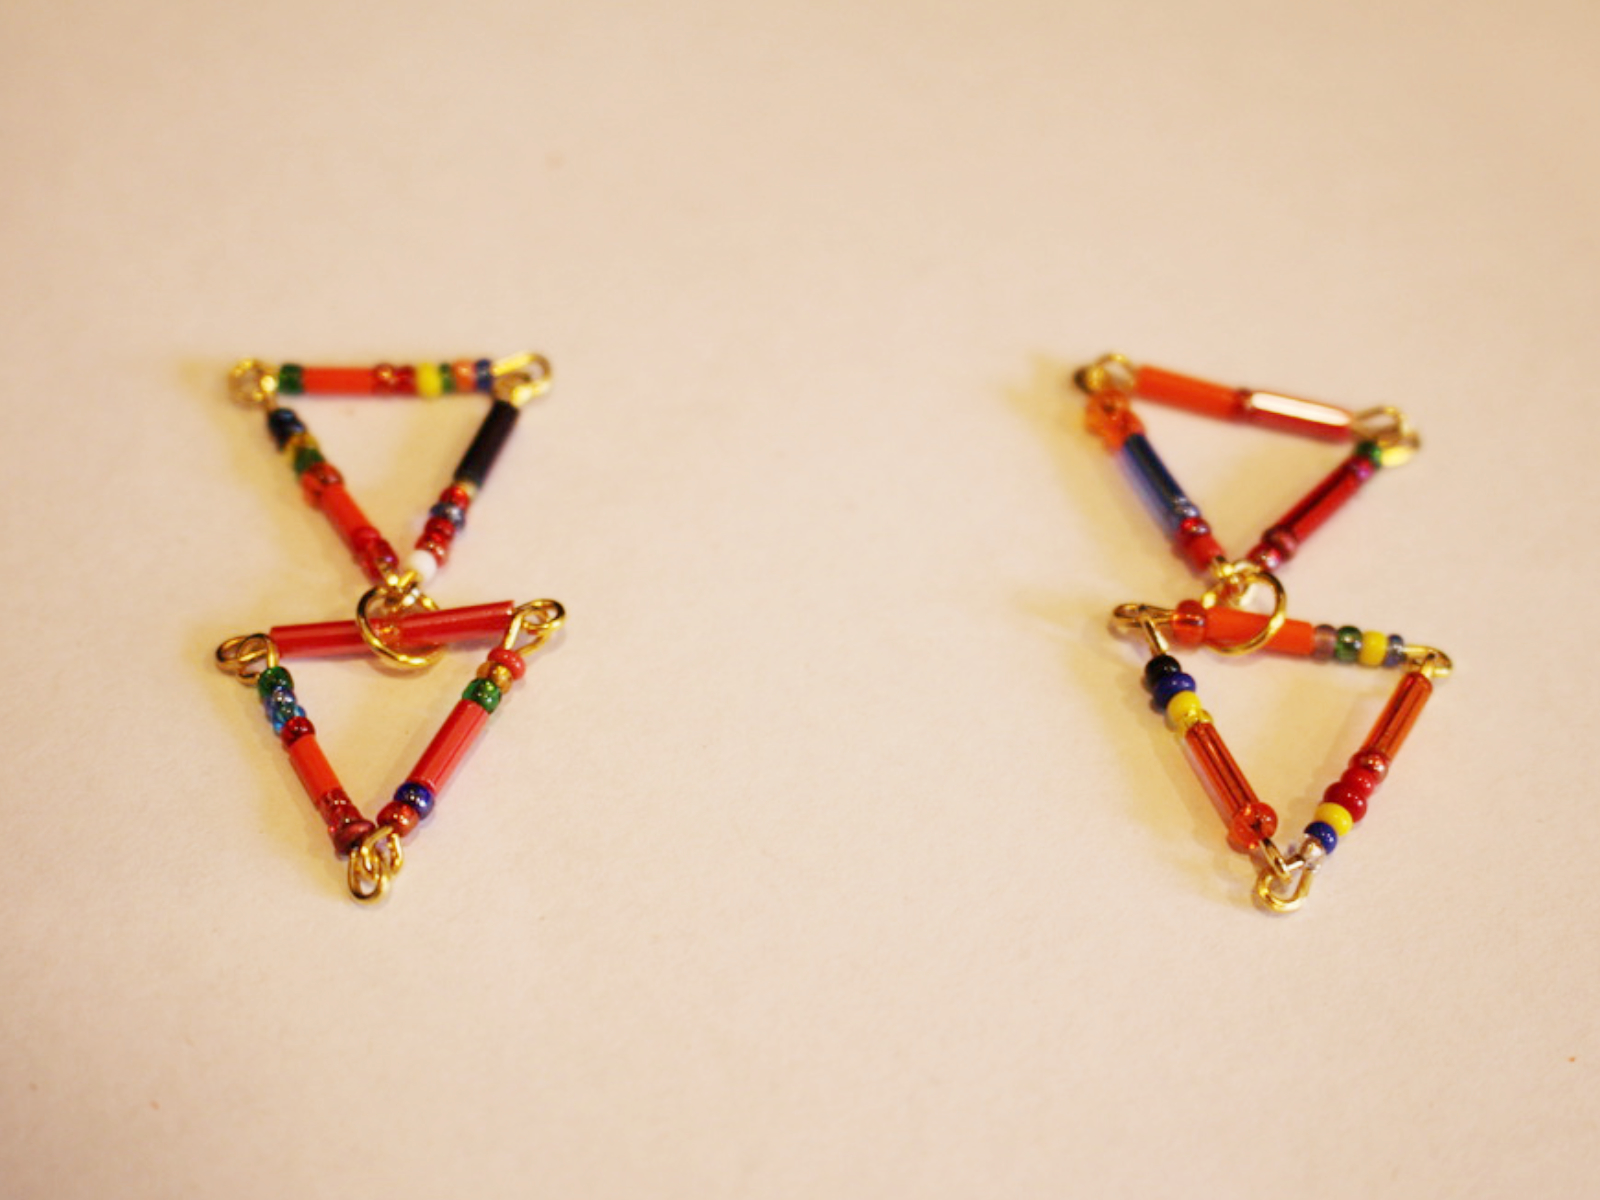
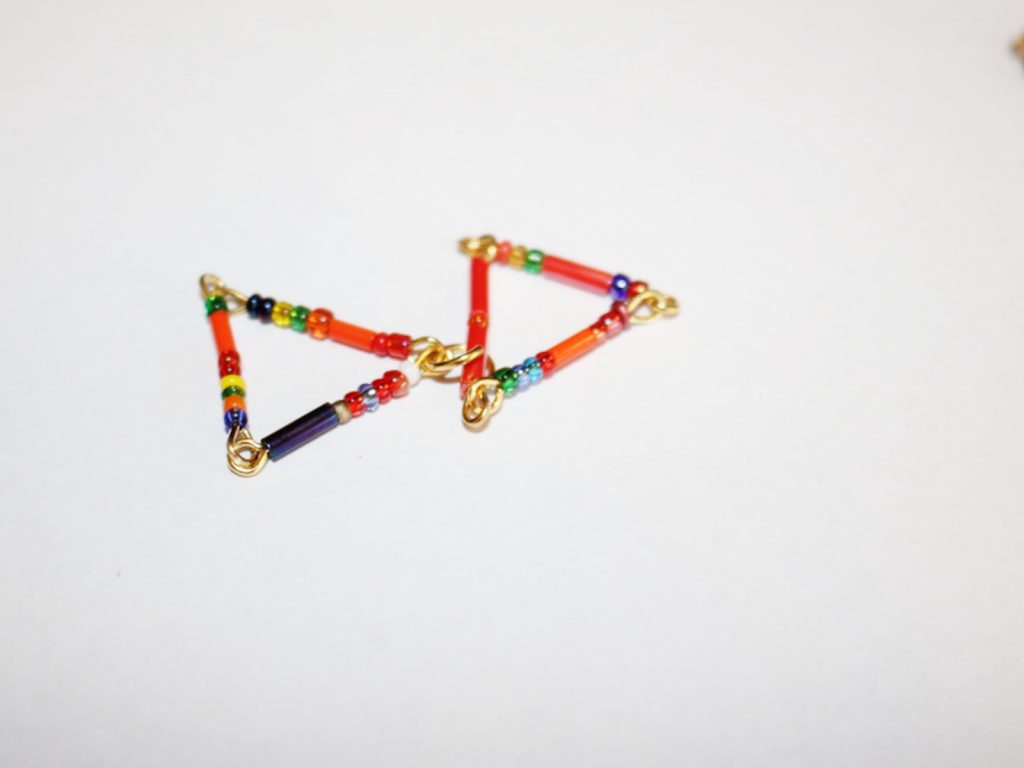
10: Use one of the jump rings to attach two of the triangles together.


11: Attach a strawberry charm to the bottom of the pair of triangles using another jump ring.
12: Repeat steps 10 and 11 for the other earring.
13: Attach the earring posts to each of the triangle charms using the remaining two jump rings to finish them off.


Now your super cute triangle and strawberry earrings are finished and ready to wear! Pop them on at home to add some glamour and fun to your WFH outfit, or throw them on to head out to work, the shops… anywhere really! I really hope you have fun not just wearing these babies, but also making them too!

Here are some other triangle designs to try if these cuties tickled your fancy!
- Some long triangle ladder earrings.
- Some cute tiny triangle dangles.
- A triangle pendant necklace made with long tube beads.
- Or a fun triangle pendant that uses chain and gravity to its advantage.
- Simple upside-down triangle earrings.
- A pretty lariat with a triangle detail.
- A video tutorial that shows you how to make triangle tassel earrings.
- Beaded chain triangle earrings.
- A bunting inspired triangle bracelet.
- Another video tutorial that shows you how to make a triangle statement pendant.
- Some simple bead and chain gravity triangle earrings.
Or maybe it’s fruit jewelry that has caught your eye… here are some other fruity pieces you can make:
-
How to make cute knotted earrings! These are adorable.
These beaded knot earrings are really pretty! Use any beads you like to form a delightful beaded knot that dangles from each ear. This tutorial is really cool.
You’ll need these tools and materials to make your beaded knot earrings:
1: Pliers. You’ll need your cutting pliers, round nose pliers and flat nose pliers.

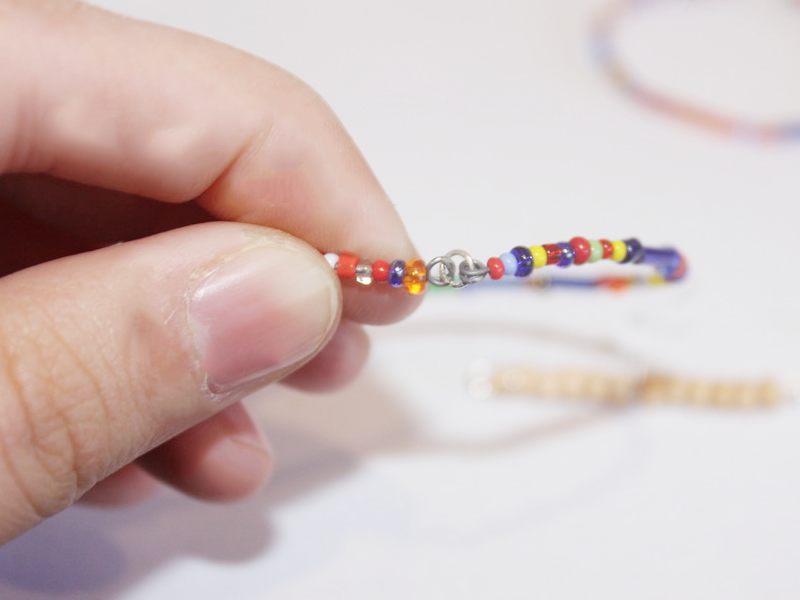
2: Two pieces of tigertail wire, a longer wire will give you a tighter knot. I made my pieces approximately 13cm long.

3: Eight crimp beads.

4: Four smaller jump rings.

5: Two larger jump rings.

6: Two earring posts with charm connectors on the bottom.
7: Beads. I used these mixed glass beads.
Follow these steps to make your knot earrings:
1: Add two crimp beads to one end of one of the pieces of tiger tail wire.
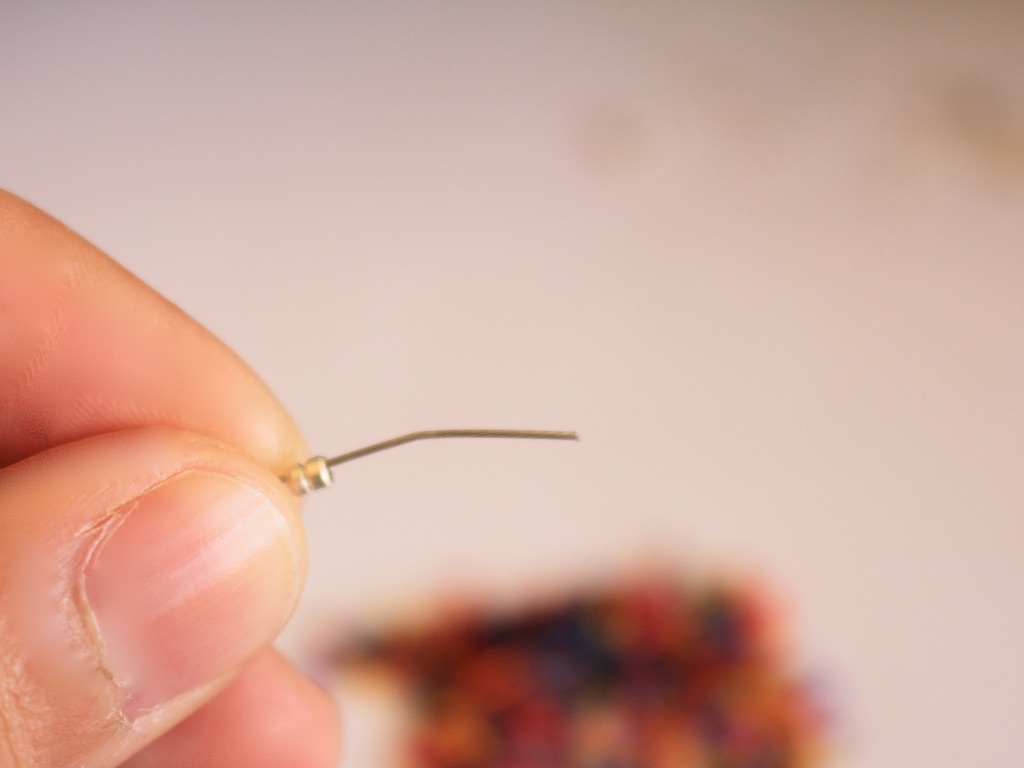
2: Add a jump ring to the end of the wire.
3: Fold the end of the wire around the jump ring and through the crimp beads.

4: Squash the crimp beads using the flat nose pliers to secure the end.

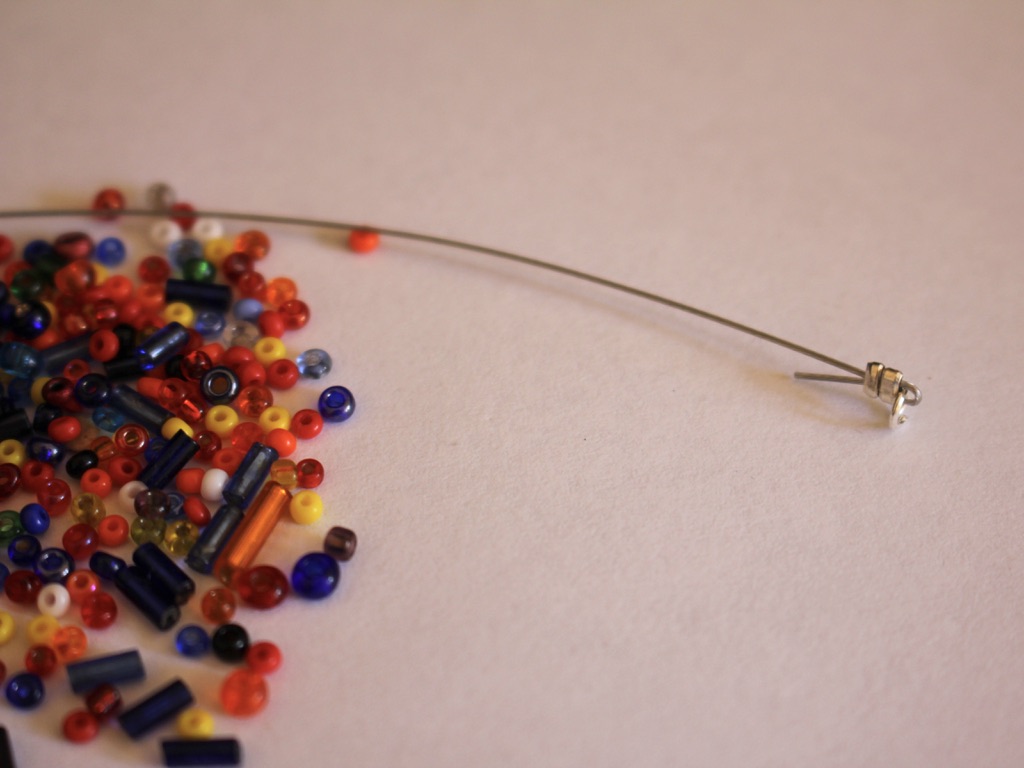
5: Add the beads to the wire.

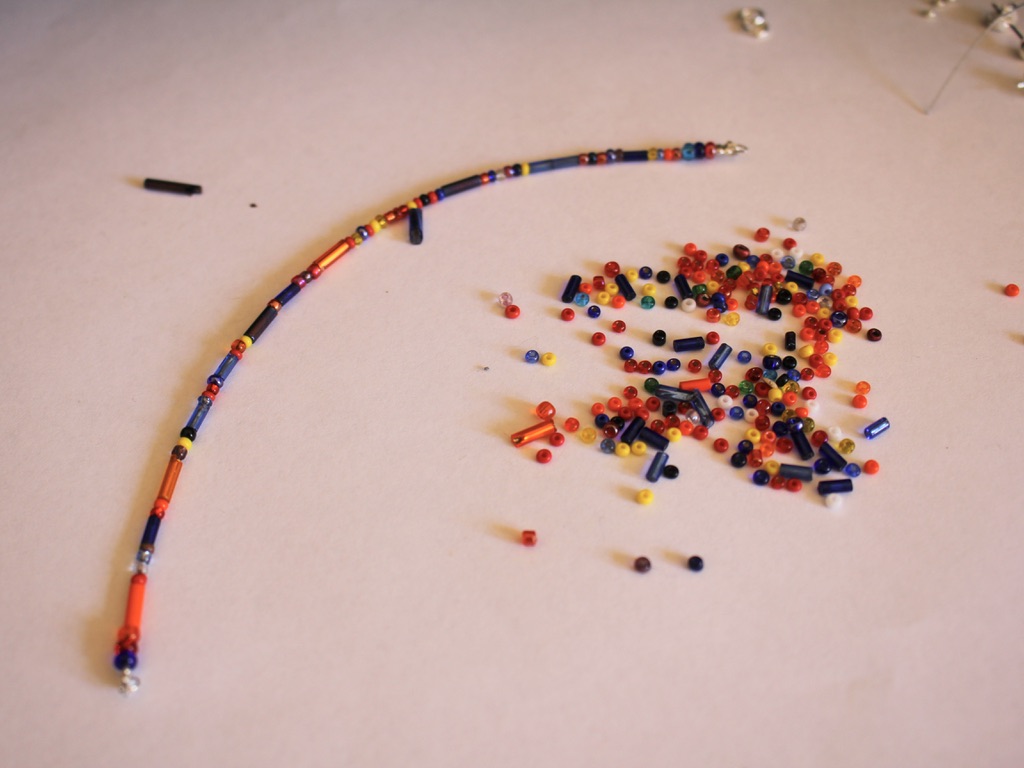
6: Once you have reached the length you like, add another pair of crimp beads and another jump ring to the end of the wire.
7: Loop the end of the wire around the jump ring and back through the crimps and first couple of beads on the end of the wire.
8: Pull the wire tight and squash the crimps to secure the beads.
9: Trim the excess wire.
10: Repeat steps 1-10 for the second wire.

11: Loosely knot both the wires. Don’t try to pull it really tight, you’ll bend the wire out of shape.


12: Attach the ends of the wires together using the two larger jump rings.


13: Attach each of the knots to the earring posts using the same jump rings you used to secure the ends of the knots together.


Now your earrings are finished and ready to wear. Lightweight and beautiful.


Here’s another pair I made using citrine chip beads and yellow glass beads.


-
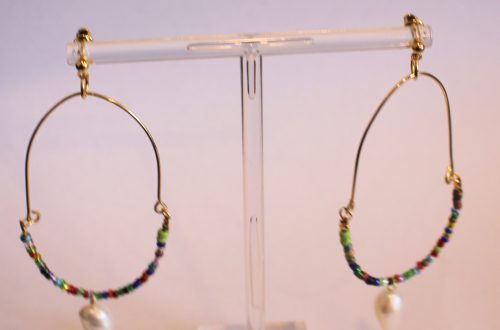
Here’s how to make some crescent moon shaped earrings with wire :)
These earrings look one way when you lay them down… but then when you hang them from your ears they turn into beautiful crescent moons. So cute! Please note that this tutorial contains affiliate links.
Here are the tools and materials you will need to make your own crescent moon earrings:
1: Pliers. I used my cutting pliers, round nose pliers and flat nose pliers.
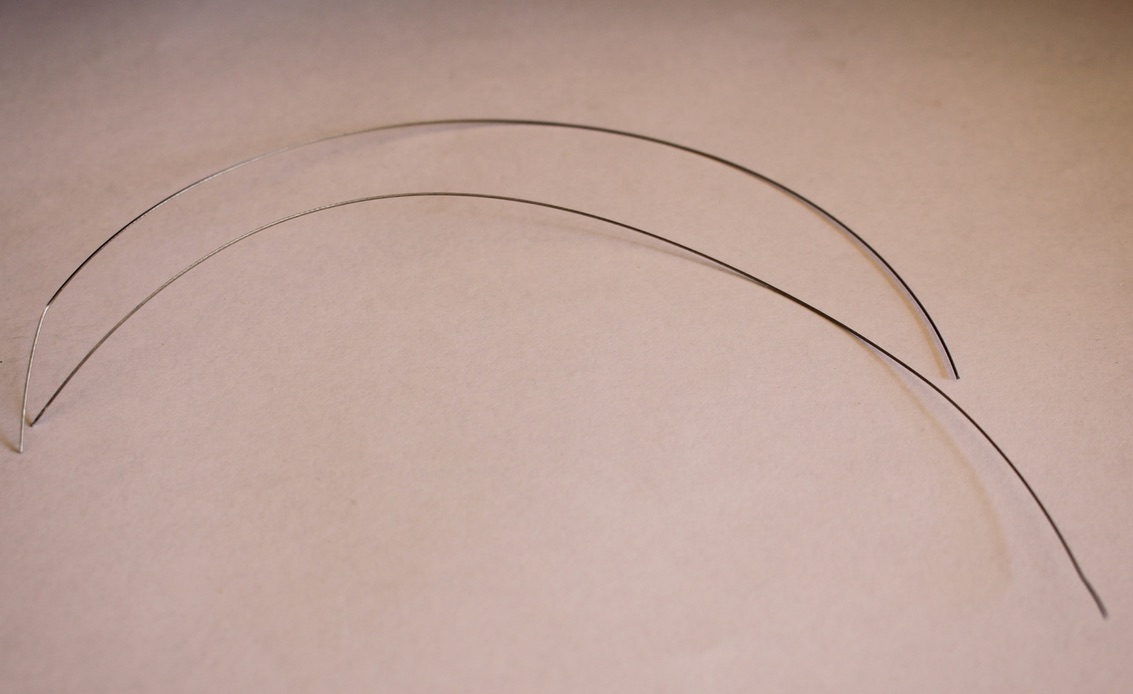
2: Some bracelet length memory wire cut into four half circle lengths.

3: Four small jump rings.

4: Two larger jump rings.

5: Six small head pins.

6: Earring hooks.

7: Beads. I used mixed glass seed beads and six pink freshwater pearl beads.

https://rover.ebay.com/rover/1/705-53470-19255-0/1?mpre=https%3A%2F%2Fwww.ebay.com.au%2Fitm%2F1kg-SUPER-MIX-Glass-Seed-Bugle-BEADS-Mixed-Assorted-Sizes-Colors-BULK%2F322739925149%3Fhash%3Ditem4b24cc709d%3Ag%3AXHgAAOSw791ZuJjX%26frcectupt%3Dtrue&campid=5338747881&toolid=10001&customid=5338747881 
Follow these steps to make your cute crescent moon earrings:
1: Add each of the pearls to the head pins and curl the tops using your round nose pliers to secure the pearls in place. Once you have made all your pearl charms you can set them aside.


2: Take one of the memory wire pieces and create a loop at one end using the round nose pliers. I curled my wires in towards the inside of the curve.


3: Add beads to the wire until there is about 1cm left without beads.


4: Loop the other end of the wire to secure the beads on.

5: Repeat steps 2 to 4 for the remaining three pieces of memory wire.

6: Take two of the pieces of memory wire and attach them at one end using one of the small jump rings.

7: Attach the bottom of the memory wire pieces together using another of the small jump rings to form an oval shape.

8: Repeat steps 6 and 7 using the remaining beaded memory wire pieces and small jump rings.

9: Add three of the pearl charms to one of the larger jump rings and attach it to the end of the memory wire ovals. Repeat this for the remaining three pearls and attach them to the other memory wire charm.


10: Add an earring hook to the top of each of the ovals to finish the earrings off.


Now you can hang them from your ears and have some fun!


-
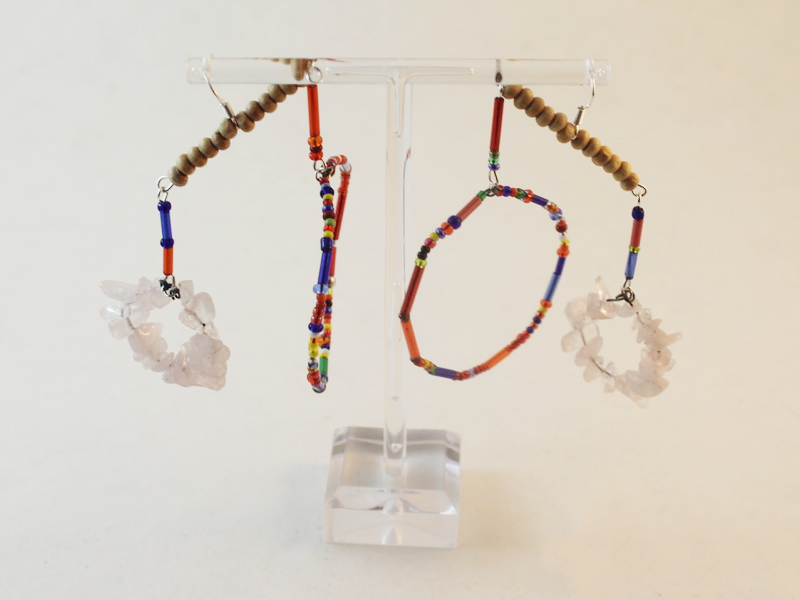
Here’s how to make some cool chandelier earrings!

These earrings are pretty cool! They feature some differently sized hoops that hang from a beaded bar for a stunning statement.
You will need the following tools and materials to make your earrings:
1: Pliers. You’ll need flat nose pliers and round nose pliers. Keep your cutting pliers around just in case.
2: Some thin wire. I used some wire recycled from an old design and cut it into four pieces, two long and two short.

3: Two long eye pins.
4: Four smaller eye pins.

5: Earring hooks.
6: Four small jump rings.

7: Beads. I used some timber beads, rose quartz beads and mixed glass beads.


Follow these steps to make your chandelier earrings:
1: Curl the end of one of the long thin wires using the round nose pliers.

2: Bead the wire using the mixed glass beads.

3: Curl the other end of the wire to secure the beads in place. Then form the wire into a circle shape.

4: Repeat steps 1 to 3 for the other thin wires. I used the rose quartz beads on the shorter pieces of wire.


5: Link the ends of each circle using the jump rings.
6: Add more of the coloured beads to the four small eye pins.

7: Loop the end of each eye pin and set them aside.


8: Add some of the wooden beads to one of the longer eye pins. I added six to meet the middle of the pin (but leaving room for the end to be looped later). The add one of the earring hooks to the pin.

9: Add another set of beads so that there is an even amount either side of the earring hooks. Repeat this for the second pin.

10: Loop the ends of the pins to secure the beads and earring hook in place.

12: Attach each of the smaller eye pins to the top of each of the circle charms.

13: Attach the charms to either side of the long pins with the earring hooks, make sure that each earring has one large and one small circle charm.


Now your earrings are finished and ready to wear! How special are these?