How to Make Stud Earrings. You’ll Wanna Get These Stunners on Your Ear Lobes!
These earrings are easy to make and make a great impact. This design is made using your choice of components, some stud earring posts and some Araldite glue. If you’ve tried out the statement ring tutorial then you’ll already have an idea of how easy this design is to make, all you need to do is to mix up the glue and piece together your components.
You will need the following tools and materials to make these earrings:
1: Glue. I used Araldite two part glue to make these earrings. Make sure you use this glue in a well ventilated area.

2: A skewer for mixing glue with.

3: A piece of scrap paper to mix the glue on.

4: Post earrings and earring backs.

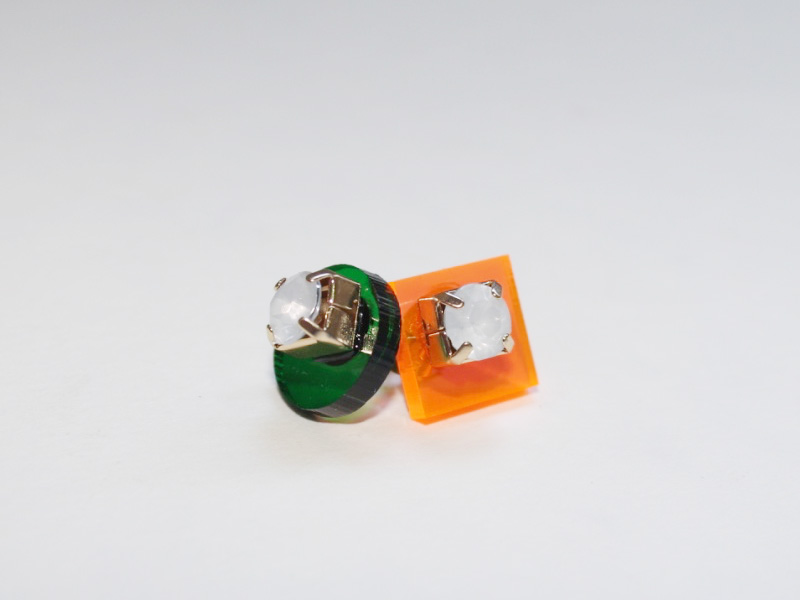
5: Two base pieces to attach the earrings to. In this design I used two pieces of laser cut acrylic in different shapes.

6: Two decorations to attach to the front of your chosen base pieces. In this design I chose to use two rhinestones.

The Steps:
1: Squeeze a little bit of glue out of the tube, keeping it in equal parts. This glue sets quickly so you might need to make a few batches to finish off your earrings.


2: Mix the glue carefully using the skewer.

3: Collect some glue on the end of the skewer and apply it carefully to the back of the rhinestones.

4: Carefully place each rhinestone onto each of the acrylic pieces. Once they are in place, leave the pieces to dry.

5: Once the rhinestones have dried, begin applying glue to the bed of each earring post.

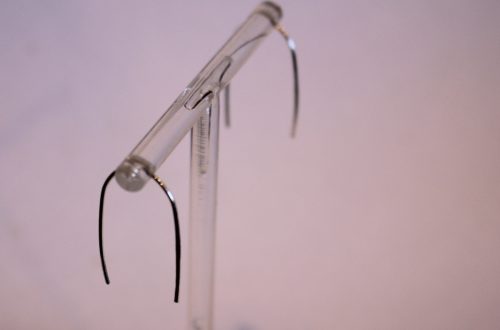
6: Carefully place each post on the back of each acrylic piece. Once they are in place you will need to prop up the earrings to be level to prevent the earring backs from moving out of place before they dry.

9. Once the glue has dried your earrings are complete and ready to wear.
Stud earrings are a wardrobe staple and we’ve got many different styles for you to DIY, check out these other stud earring tutorials:
- Beaded flower stud earrings
- Shell stud earrings
- Adorable pompom stud earrings
- Cute bow studs
- How to turn old clip on earrings into studs for pierced ears
- Tiny hammered wire studs
- Crystal statement studs
- Sweet ladybug studs
- How to transform buttons into stud earrings
- DIY Design Inspiration: Asymmetrical stud earrings
This tutorial contains affiliate links.
DIY Jewelry Hub
Welcome to DIY Jewelry Hub. If you’ve ever wanted to learn how to make your own jewelry this is the place to start! Jewelry is a great way to show off your individuality and style. You’ll be surprised at how easy it is to create your own unique pieces! DIY Jewelry Hub will equip you with all the knowledge and inspiration you need to make your own jewelry.


You May Also Like

Got Some Old Buttons or plastic cabochons lying Around? Here’s How to Turn Them into Earrings!
Got Some Special Beads You Want to Show Off? Try Making These Triangle-Shaped Ladder Earrings