-
How to make a fun sequinned waist chain! It can also be a sparkly necklace.
This waist chain is so much fun! Attach a rainbow of sequins to your waist length chain for a fun and festive accessory you can add to all your fave outfits! Please note that this tutorial contains affiliate links.
You’ll need the following tools and materials:
1: Pliers. I used my flat nose and round nose pliers for this DIY.


2: A piece of chain long enough to fit around your waist. I used some copper tone rolo chain.

3: A bunch of small jump rings.

4: A bunch of sequins with holes at the top.

5: Two larger jump rings.

6: A lobster clasp.

Here are the steps for making your sequin waist chain:
1: Add one of the larger jump rings to one end of the chain and attach the lobster clasp. Close the ring to secure the clasp in place.


2: Add the other larger jump ring to the other end of the chain.

3: Take a sequin and slide it onto one of the smaller jump rings.

4: Attach the sequin to the chain by sliding the open jump ring onto one of the chain links. Close the jump ring to secure it in place.


5: Continue adding sequins in your chosen pattern as you did in step 4 until the whole chain is sequinned up.

Now your rainbow sequin waist chain is ready to wear! So fun!


Here are some other sequin jewellery tutorials:
-
Here’s how to make a sequin charm bracelet. This is such a joyful design!
I really love this design, it is super fun to wear! Transform a piece of chain into a fun and sparkly charm bracelet with some large iridescent sequins. This is the perfect mate for our lightweight sequin earrings tutorial. Pop these guys on at home for the perfect video chat look! This tutorial contains affiliate links.
You’ll need the following tools and materials to make your sequin charm bracelet:
1: Pliers. I used round nose and flat nose pliers.
2: A piece of bracelet length chain with large-ish links.

3: Two large jump rings.

4: A lobster clasp.

5: A bunch of smaller jump rings.

6: Sequins with holes at the top.
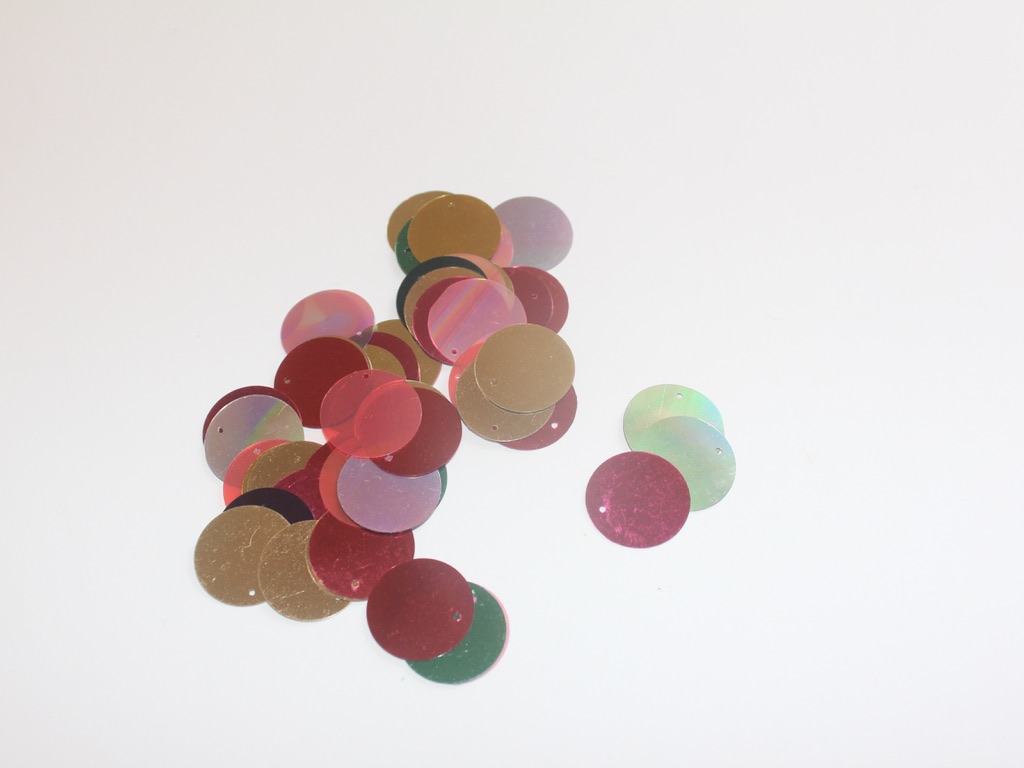
Follow these steps to make your cute sequin charm bracelet:
1: Attach the large jump rings and clasp to either end of the bracelet chain.


2: Take a sequin and add one of the small jump rings to the top.

3: Keeping the jump ring open, slide it through one of the links of the chain.
4: Close the jump ring to secure the first sequin to the bracelet.

5: Repeat steps 2-4 until the bracelet is fully covered with sequin charms. I added mine approximately 4 links apart. These sequins are large so that they will overlap.


Once all your sequins are attached your sequin charm bracelet is finished and ready to wear!!


This tutorial contains affiliate links.
-
These Pom Pom hoop earrings are the CUTEST!

Here’s a quick tutorial that shows you all the steps to make a pair of adorable and colorful pom pom hoop earrings. Contains affiliate links.
You will need the following tools and materials to make your pom pom hoop earrings:
1: Small pom poms. I added four to each earring.

2: Two hoop earrings.

3: A cutting mat.

4: A pointed tool for poking a hole in each pom pom (be careful!)

Follow these steps to make your pom pom hoop earrings:
1: Using your cutting mat, carefully poke a hole in the first pom pom. If you puncture it too close to the edge it will fall off the earring.


2: Carefully slide the punctured pom pom onto the hoop earring.

3: Continue puncturing 3 more pom poms and put them on the first earring.
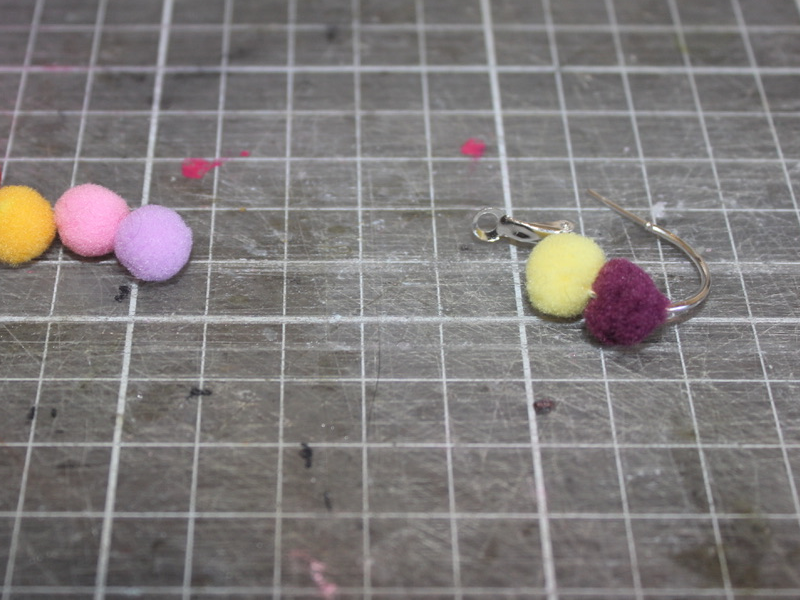

4: Repeat steps 1-3 for the remaining 4 pom poms and the second hoop earring.
Now your earrings are finished! How adorable are these fuzzy rainbow hoops?!
Here’s another pair made with matching pom poms.


-
Here’s how to make some cool chandelier earrings!

These earrings are pretty cool! They feature some differently sized hoops that hang from a beaded bar for a stunning statement.
You will need the following tools and materials to make your earrings:
1: Pliers. You’ll need flat nose pliers and round nose pliers. Keep your cutting pliers around just in case.

2: Some thin wire. I used some wire recycled from an old design and cut it into four pieces, two long and two short.

3: Two long eye pins.
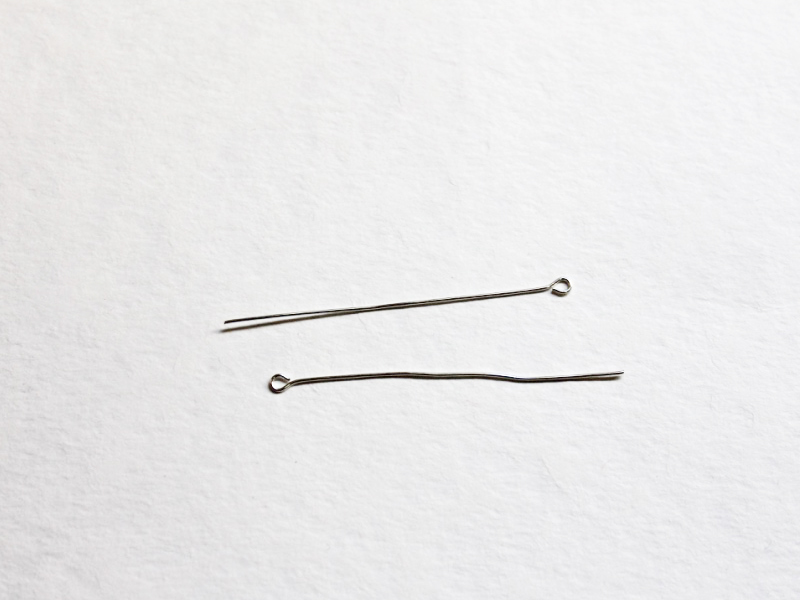
4: Four smaller eye pins.

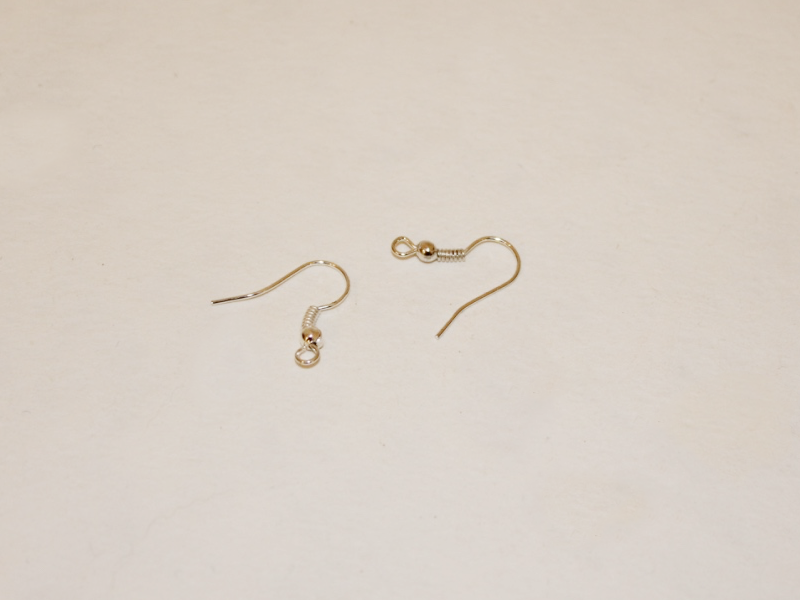
5: Earring hooks.
6: Four small jump rings.

7: Beads. I used some timber beads, rose quartz beads and mixed glass beads.


Follow these steps to make your chandelier earrings:
1: Curl the end of one of the long thin wires using the round nose pliers.

2: Bead the wire using the mixed glass beads.

3: Curl the other end of the wire to secure the beads in place. Then form the wire into a circle shape.

4: Repeat steps 1 to 3 for the other thin wires. I used the rose quartz beads on the shorter pieces of wire.


5: Link the ends of each circle using the jump rings.
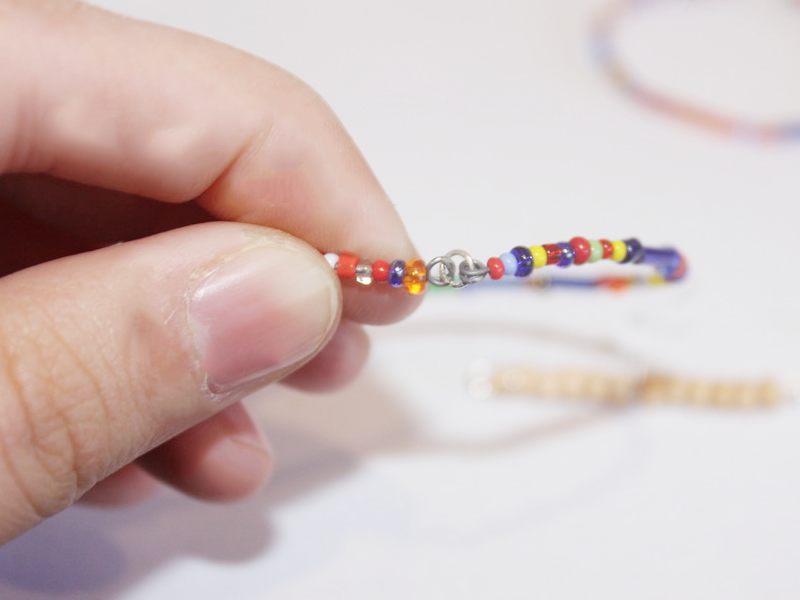
6: Add more of the coloured beads to the four small eye pins.

7: Loop the end of each eye pin and set them aside.


8: Add some of the wooden beads to one of the longer eye pins. I added six to meet the middle of the pin (but leaving room for the end to be looped later). The add one of the earring hooks to the pin.

9: Add another set of beads so that there is an even amount either side of the earring hooks. Repeat this for the second pin.

10: Loop the ends of the pins to secure the beads and earring hook in place.

12: Attach each of the smaller eye pins to the top of each of the circle charms.

13: Attach the charms to either side of the long pins with the earring hooks, make sure that each earring has one large and one small circle charm.


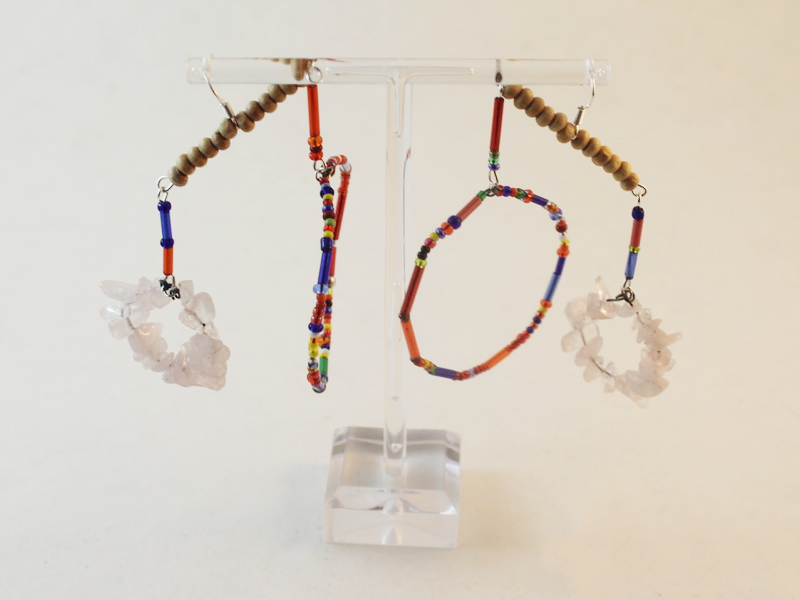
Now your earrings are finished and ready to wear! How special are these?
-
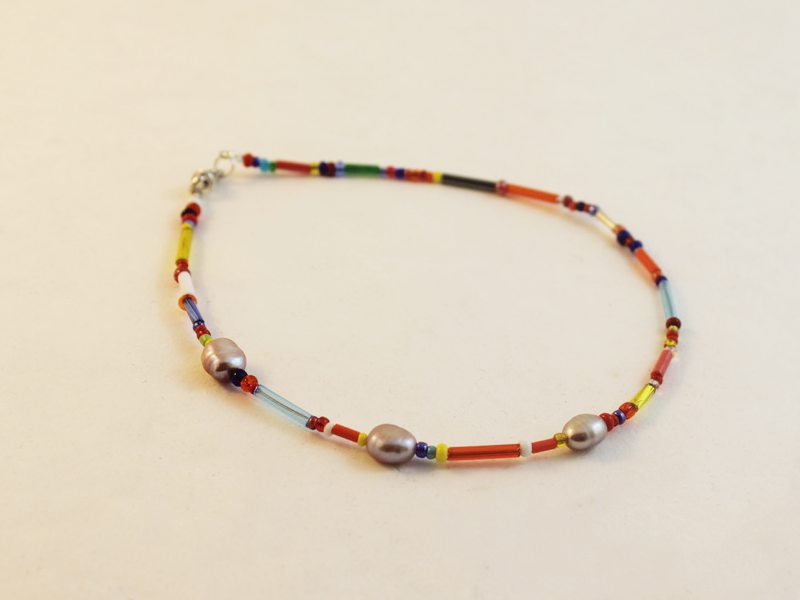
Combine the latest trends in one awesome design with this pearl anklet!

Pearls and anklets are having a moment right now. Hop in on the trend with this rainbow pearl beaded anklet. Contains affiliate links.
You’ll need the following tools and materials to make your pearl anklet:
1: Pliers. You’ll need cutting pliers, flat nose pliers and round nose pliers to make your anklet.
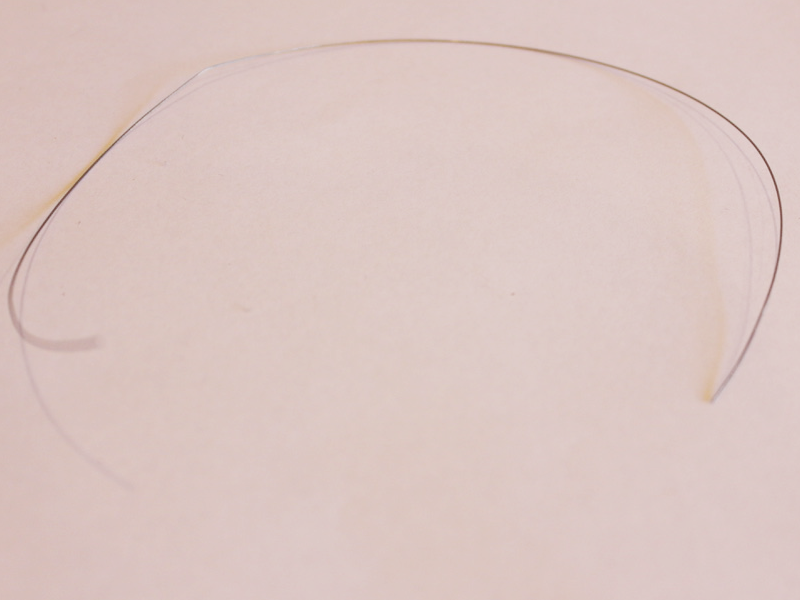
2: Tiger tail wire. Cut it a little longer than the length you want to make your anklet.
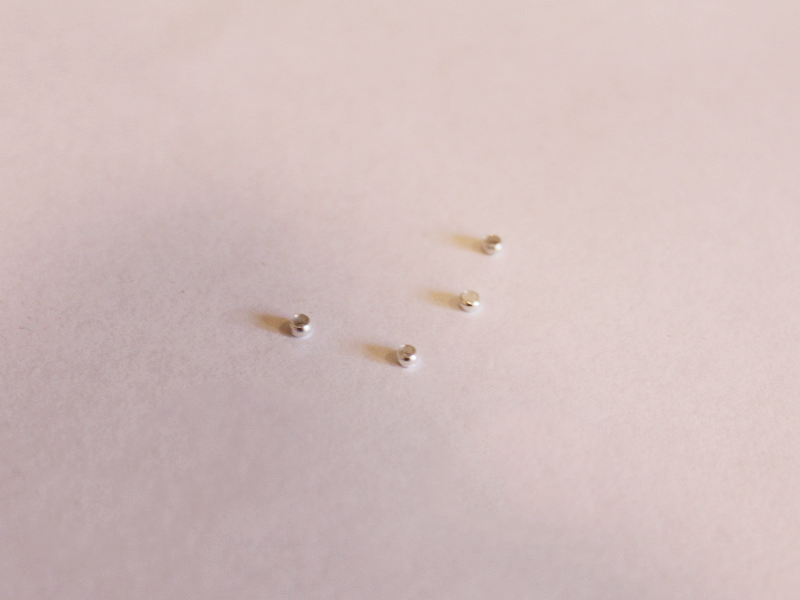
3: Four crimp beads.
4: Two jump rings.
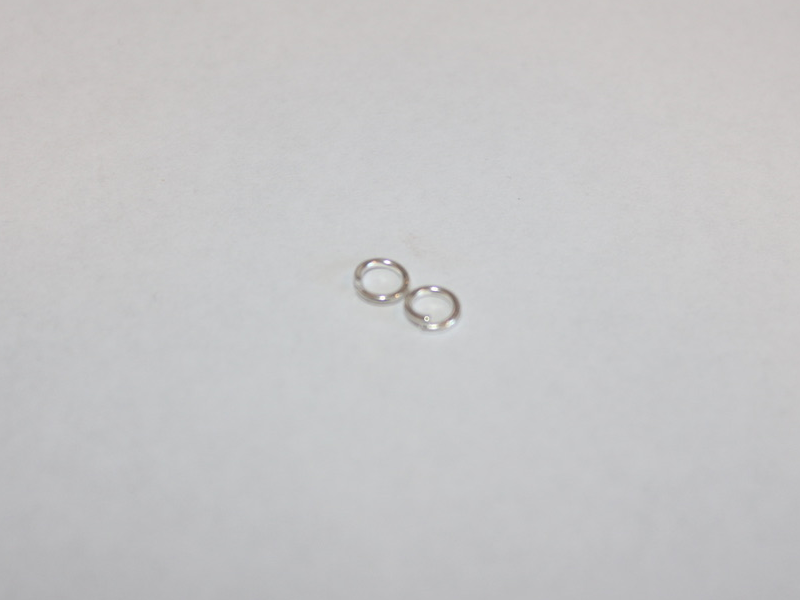
5: A lobster clasp.

6: Pearl beads. I used three pink freshwater pearls.

7: Mixed beads. I used a mix of bugle and seed beads.
Follow these steps to make your pearl anklet:
1: Add two crimp beads to one end of the wire.
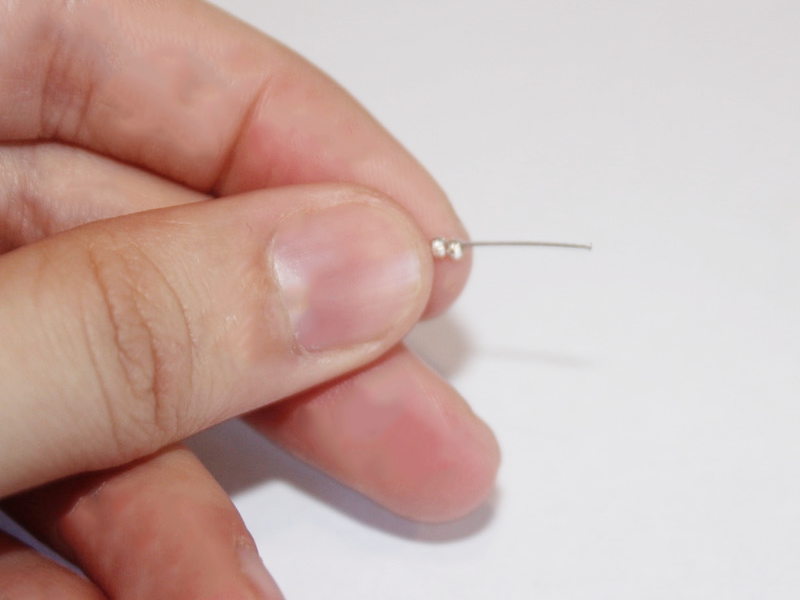
2: Add a jump ring.
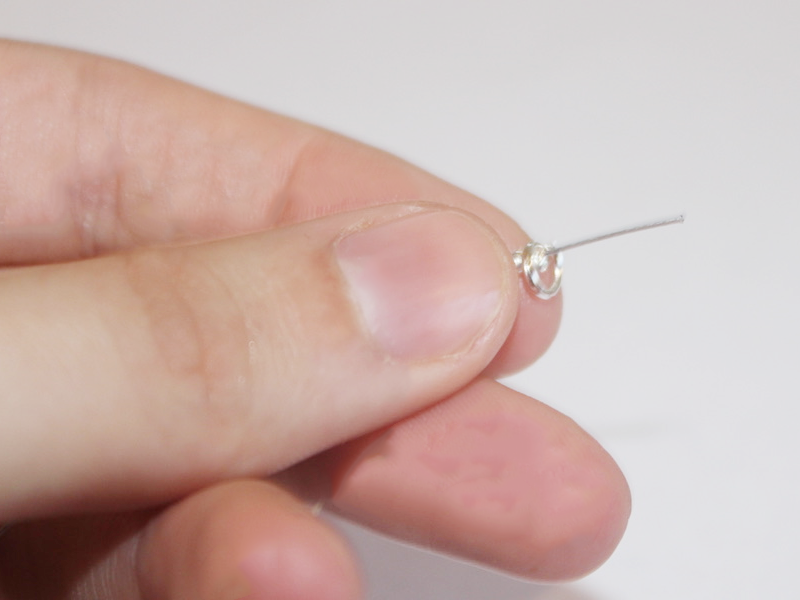
3: Loop the wire around the jump ring and through the crimp beads.
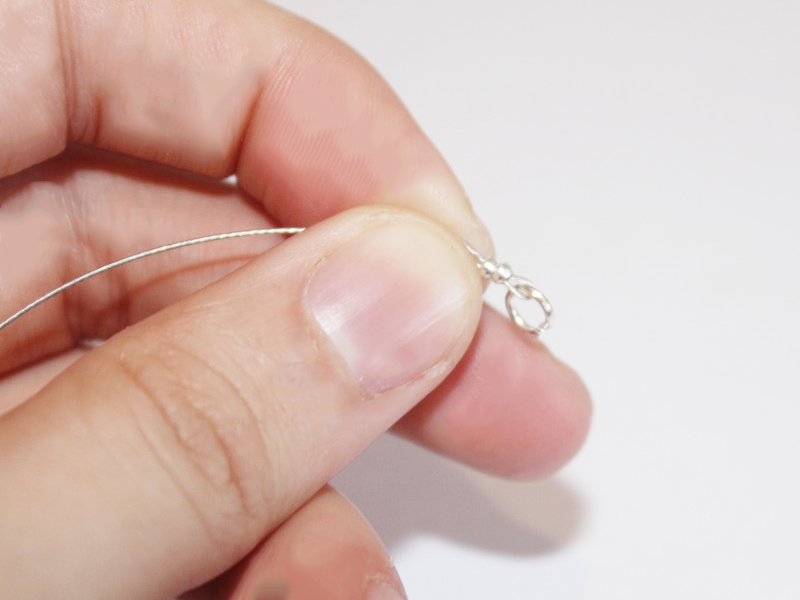
4: Squash the jump rings using the flat nose pliers.

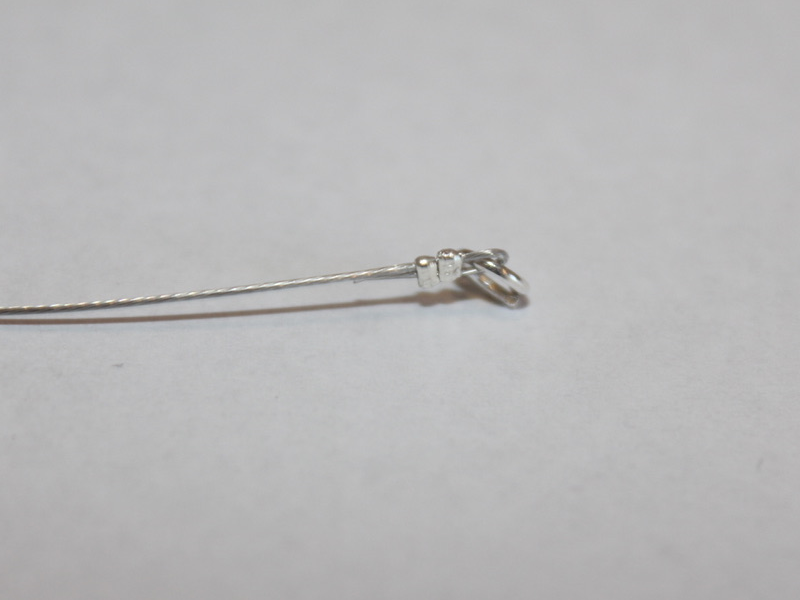
5: Add your beads. I added mine in a pattern with the pearls situated close to one side of the anklet.
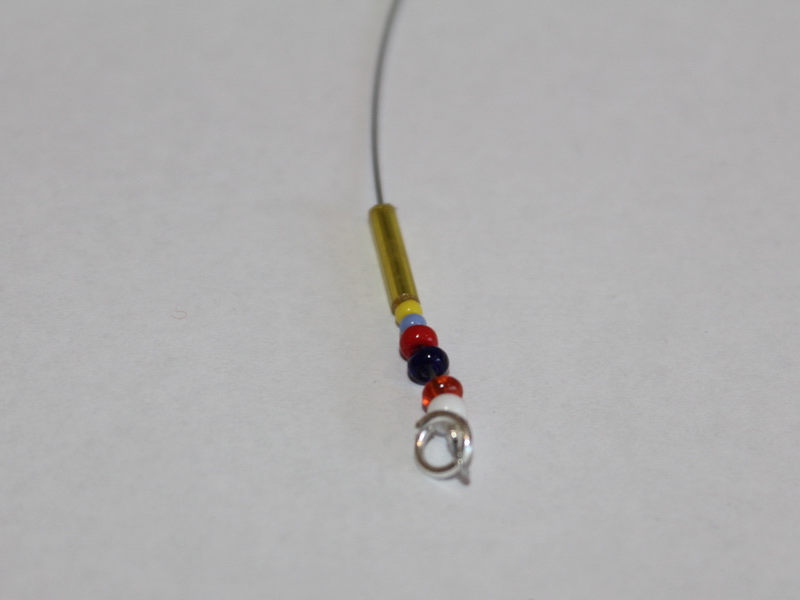
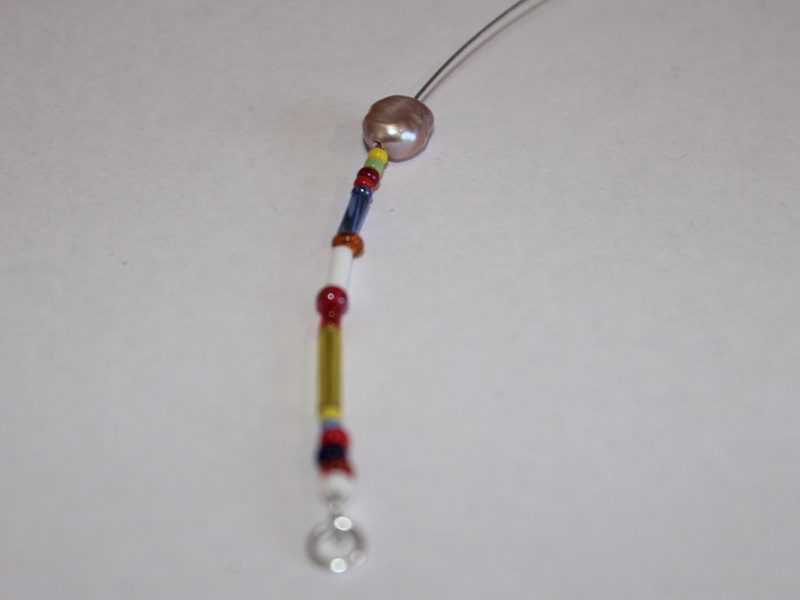

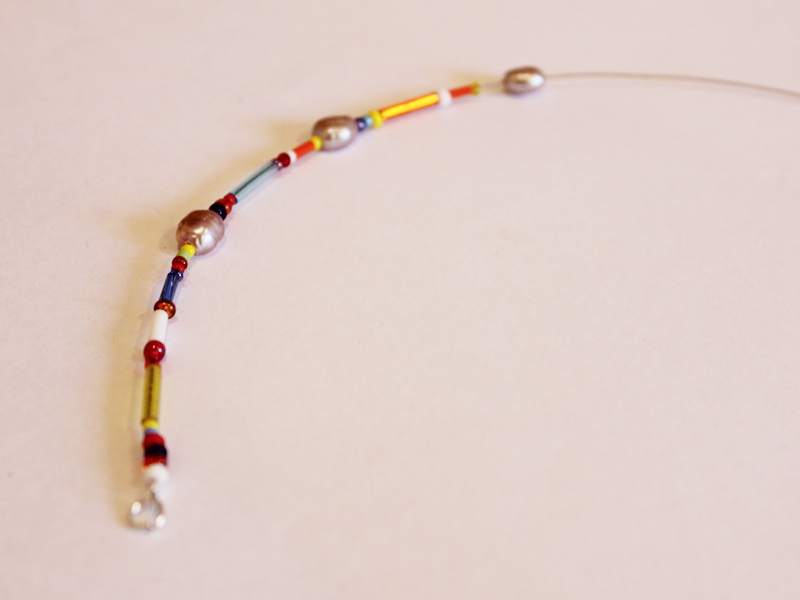
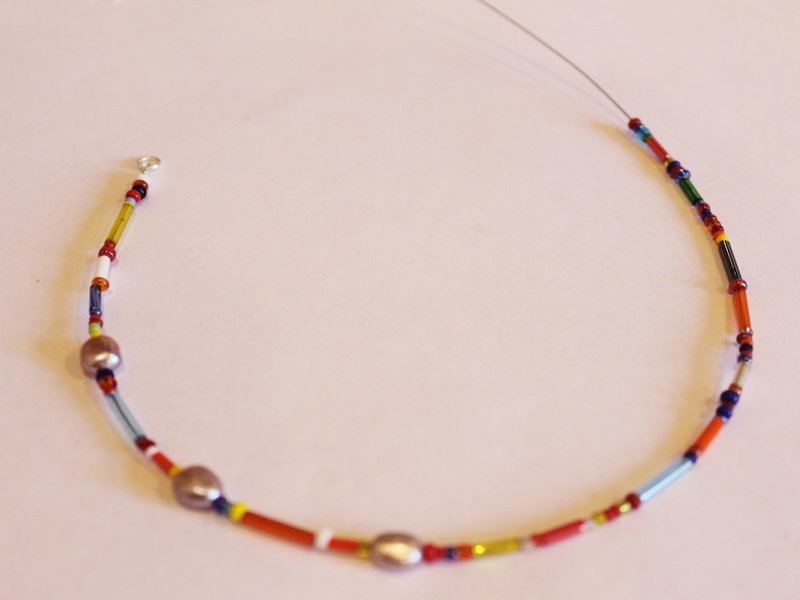
6: Once your anklet is fully beaded add the remaining crimp beads.
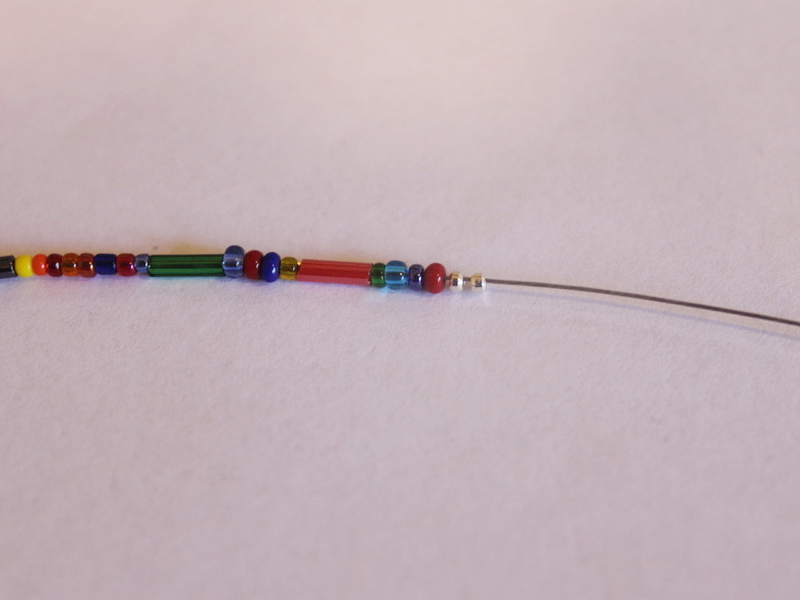
7: Add the second jump ring.
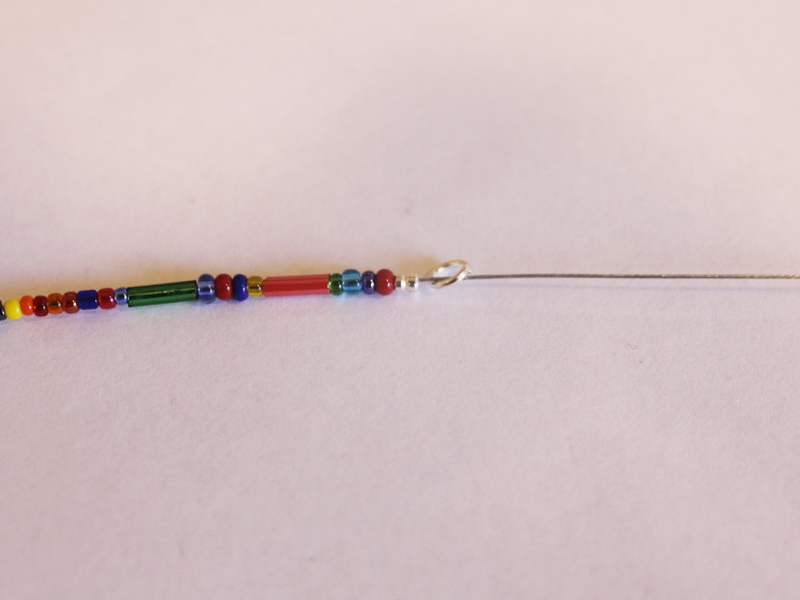
8: Loop the end of the wire around the jump ring and through the crimp beads and the end few glass beads.
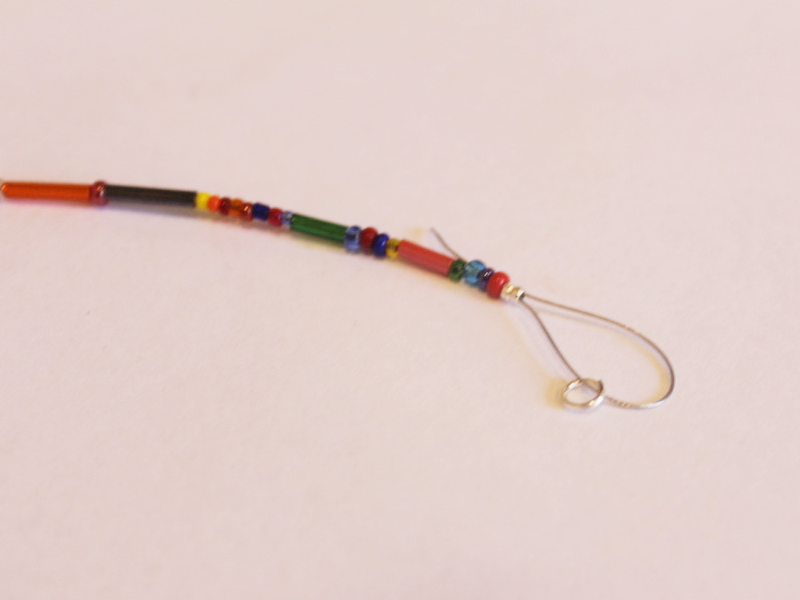
9: Pull the wire tight.
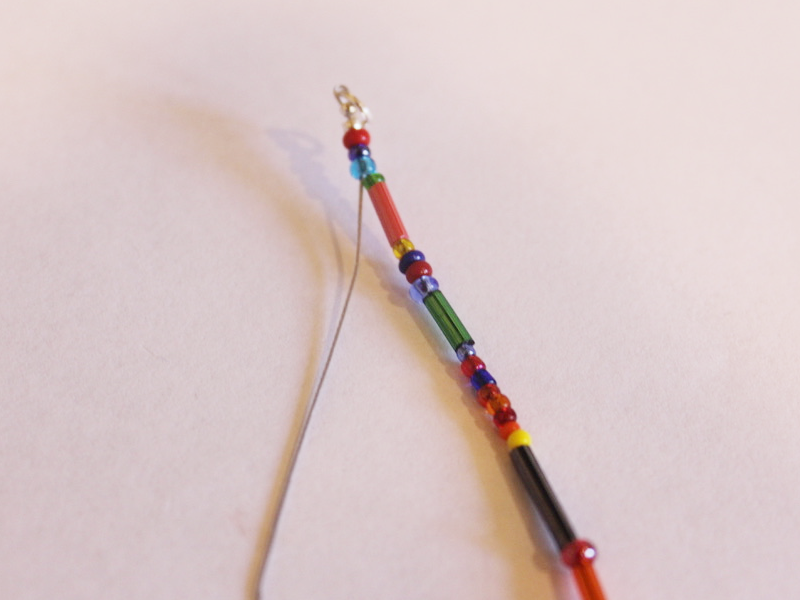
10: Squash the crimps using the flat nose pliers.
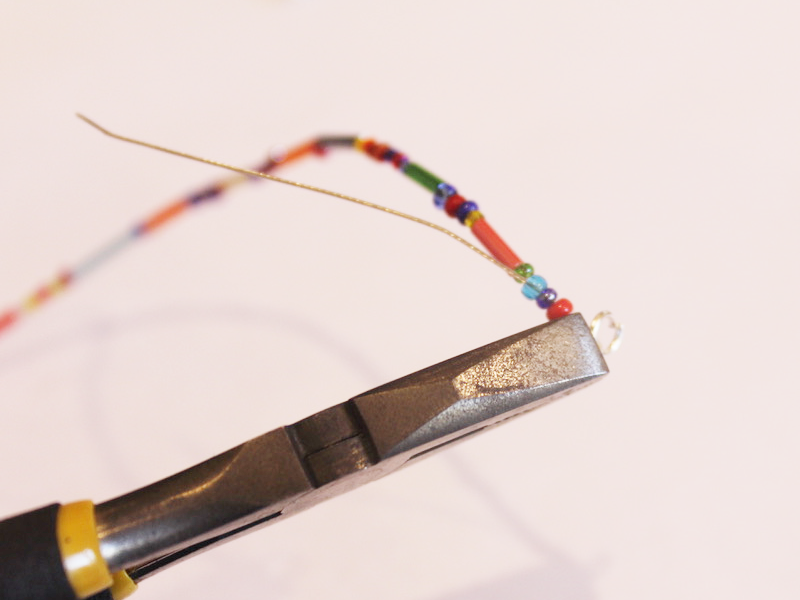
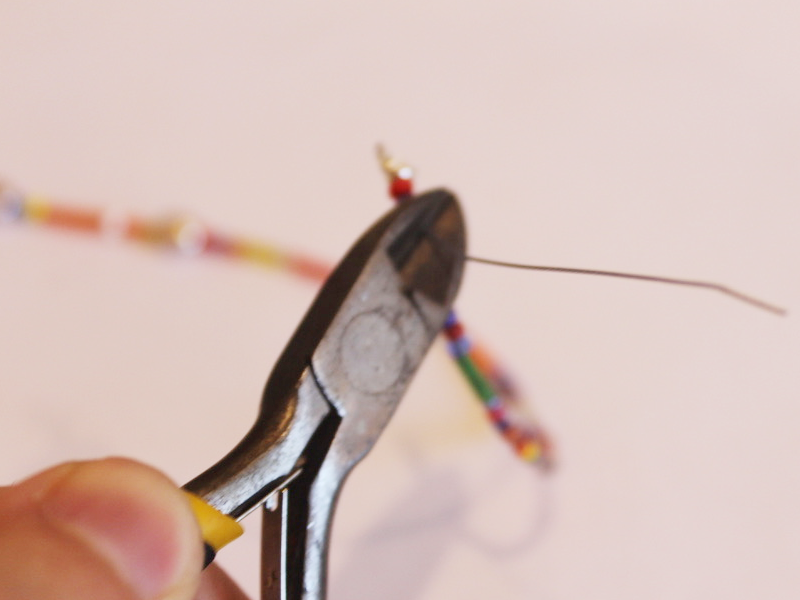
11: Trim the excess tiger tail wire.
12: Add the clasp to one side of the anklet. Close the jump ring to secure it in place.
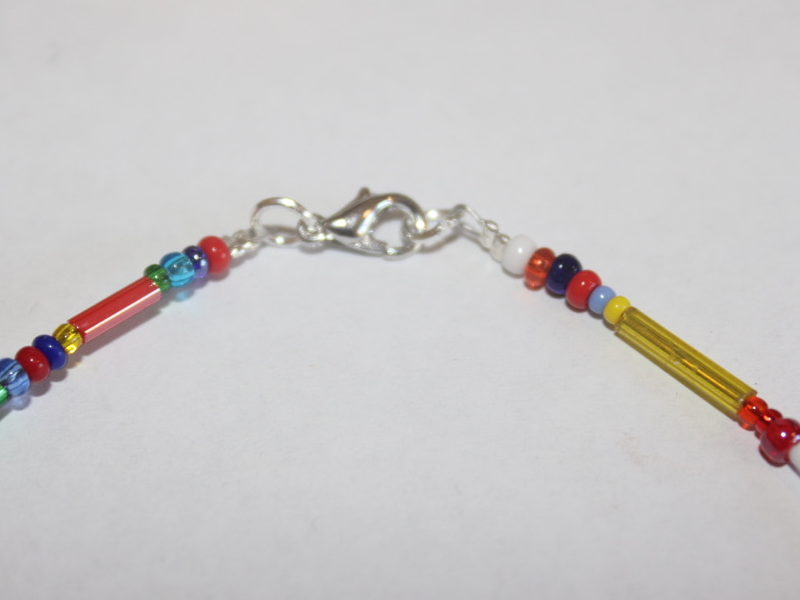
Now your pearl anklet is finished and ready for a summer #ankleparty.
-
Hop on the pearl trend with these beaded pearl hoop earrings!
I am loving the pearl jewelry trend right now! Here’s how you can DIY your way into unconventional pearl earrings. Contains affiliate links.
You will need the following tools and materials to make your beaded pearl hoops:
1: Pliers. I used cutting pliers to cut my wire, round nose pliers and flat nose pliers.
2: Some wire. I used this wire that I reclaimed from an old jewelry project.

3: Charm connector stud earrings.

4: Two small jump rings.

5: Two medium jump rings.

6: Two larger jump rings.

7: Two small head pins.

8: Two pearl beads. I used these freshwater pearl beads.

9: Seed beads. I used these mixed glass seed beads.

Follow these steps to make your beaded pearl hoops:
1: Curl the end of the wire to form a loop using the round nose pliers.

2: Add the seed beads to the wire.

3: Once the wire is beaded and there is only about 1cm left of the wire left use the round nose pliers again to curl the end into a loop.

4: Repeat steps one to three for the second piece of wire.

5: Form the beaded wires into circle shapes.

6: Join the ends of the wires using the two small jump rings and then set the hoops aside.


7: Add the pearls to each of the head pins.

8: Create a loop at the top of each pin using the round nose pliers. This will secure the pearls on the pins.

9: Attach each of the pearl charms to the beaded hoops using the medium sized jump rings.


10: Attach the earring posts to the top of the hoops using the largest jump rings.

Once the earring posts are in place they are ready to wear! How cute are they?!

Here’s another pair I made with some green pearls.