-
Here’s how to turn two necklaces into one unique statement piece.
I’ve made a few tutorials that show you how to reuse your existing jewellery to make something new, and this tutorial is another technique to add to your set of jewelry styling skills. This tutorial requires two different necklaces, I used a beaded one and a chain one, that are looped together to make something new. Please note that this tutorial contains affiliate links for which the website may receive a commission.
You will need the following tools and materials to make your looped mixed material necklace:
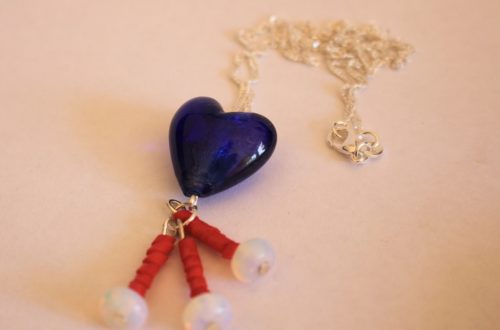
1: A chain necklace. I used this gold tone chain.

You can get something similar here:
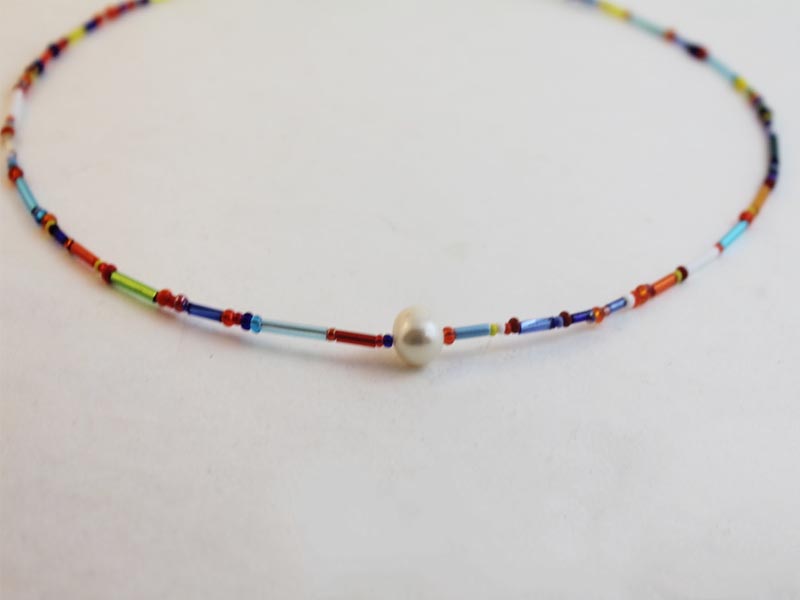
2: A beaded necklace of a similar length. I used this rainbow beaded one I made earlier.

You can make your own by following these instructions (just skip the pearl), or you can buy a similar one here:
Follow these steps to make your new necklace:
1: Undo each of the necklaces and loop them together.

2: Clip the ends of each necklace closed to make two loops.
3: Open one of the clasps and attach it to the other side (without letting go of the loop you just made) to secure it around your neck.


The different materials of these necklaces allows you to create a more sculptural piece that shows off your unique style. I think it looks elegant and edgy at the same time. So cool. Here’s what it looks like on.


If you like this tutorial, here are some similar ones you can follow:
-
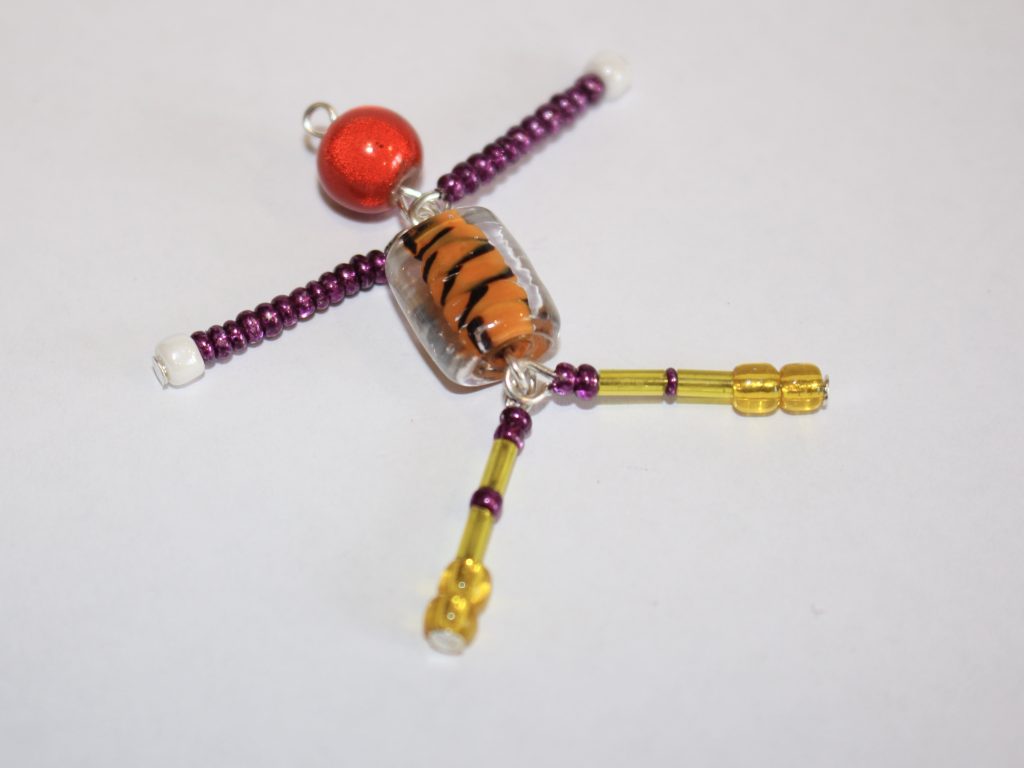
Here’s how to make a necklace strand for your cute beaded person charm…
Remember this charm? Here’s how to make a crazy mixed bead necklace to hang it on and wear about! This tutorial makes use of those random mixed beads you aren’t sure what to do with! Please note, this tutorial contains affiliate links.
You’ll need these tools and materials to make your beaded necklace:
1: A person charm, you can follow the tutorial here.
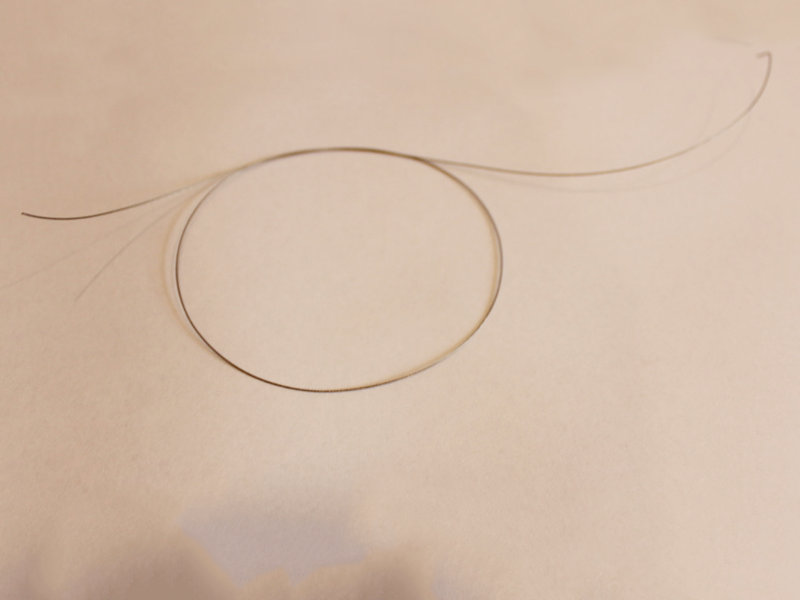
2: A piece of tigertail wire, long enough for your desired necklace length, plus a few extra centimetres.

3: Four crimp beads.

4: A toggle clasp.

5: Two jump rings.

6: Pliers.

7: A selection of beads.

Follow these steps to make your necklace for your cute person charm:
1: Take the tigertail wire an add two crimps to one end.

2: Add a jump ring to the end of the wire.

3: Fold the end of the wire around the jump ring and through the crimp beads.

4: Squash the crimp beads using the flat nose pliers.


5: Begin adding beads.

6: Continue adding beads until you have a length you like.

7: Add the second set of jump rings to the other end of the necklace.

8: Add the second jump ring.

9: Loop the end of the wire around the jump ring and back through the crimp beads and the last couple of beads on the strand. Pull the wire tight.

10: Squash the crimp beads to secure the jump ring in place at the end of the necklace.

11: Trim the excess wire.

12: Open one of the jump rings using pliers and add the person charm.

13: Add the circle side of the toggle clasp and close the jump ring to secure the components together.


14: Add the other side of the toggle clasp and close the jump ring to finish the necklace off.


Now your adorable person charm necklace is finished and ready to wear! How cute!!


-
How to make a rainbow beaded pearl necklace

I’ve seen a lot of pearl and glass bead jewelry online lately so I thought it would be a good time to share a rainbow pearl necklace tutorial so you can DIY these expensive jewels at home. Contains affiliate links.
You will need the following tools and materials to make your rainbow pearl necklace:
1: Pliers. You’ll need your cutting pliers, round nose pliers and flat nose pliers.
2: Tiger tail wire.
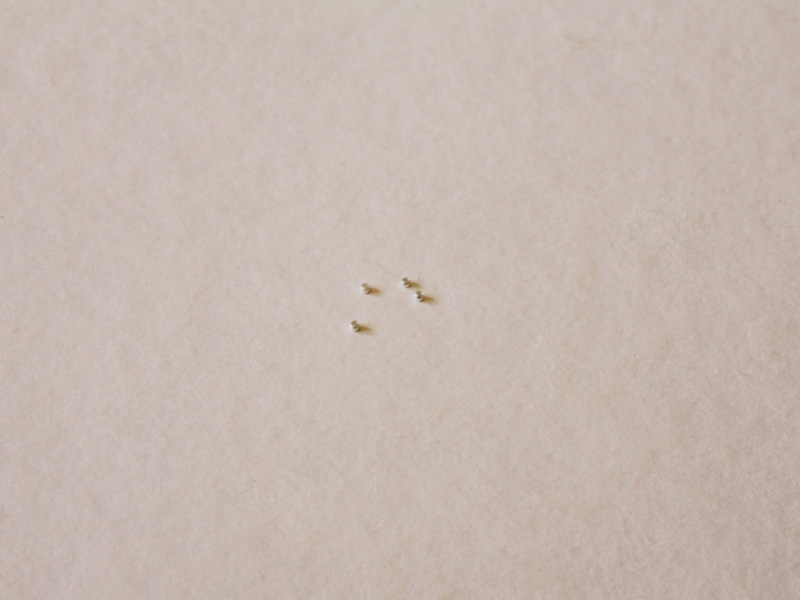
3: Four crimp beads.
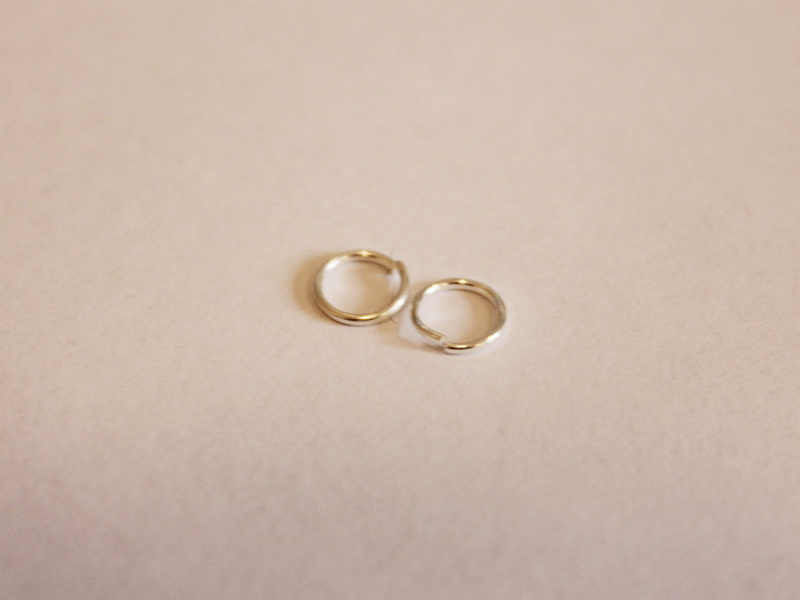
4: Two jump rings.
5: A lobster clasp.

6: Multicolored glass beads. I used these mixed glass beads.

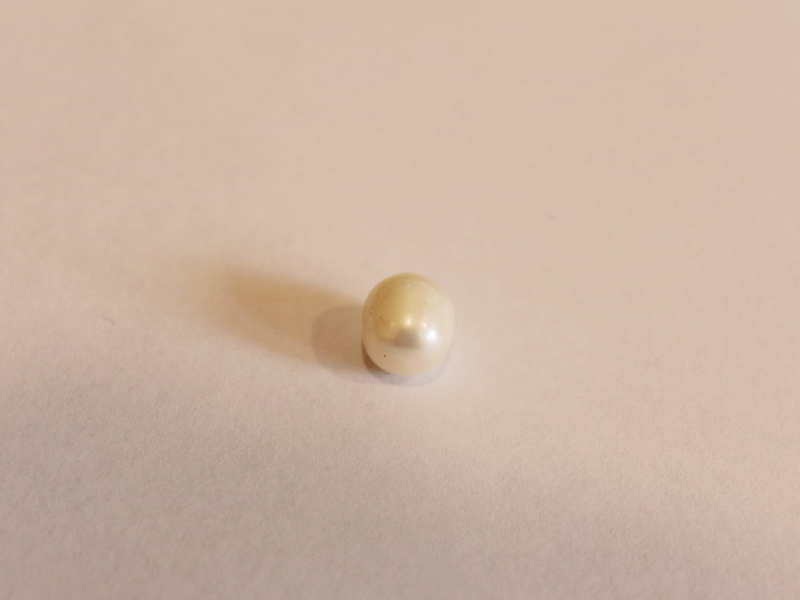
7: A pearl bead. I used this white pearl bead.
Follow these steps to make your rainbow pearl necklace:
1: Add two of the crimp beads to the tiger tail wire.
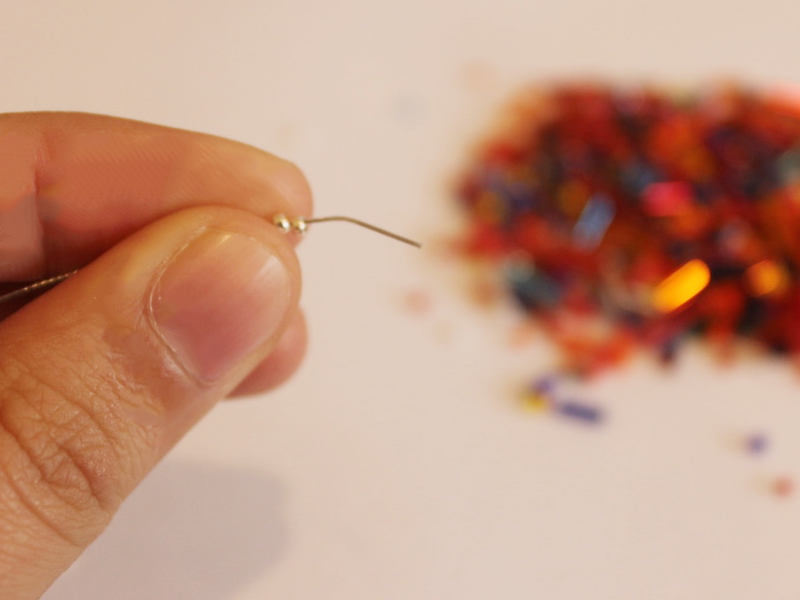
2: Add a jump ring to the wire.
3: Fold the end of the wire around the jump ring and through the crimp beads.
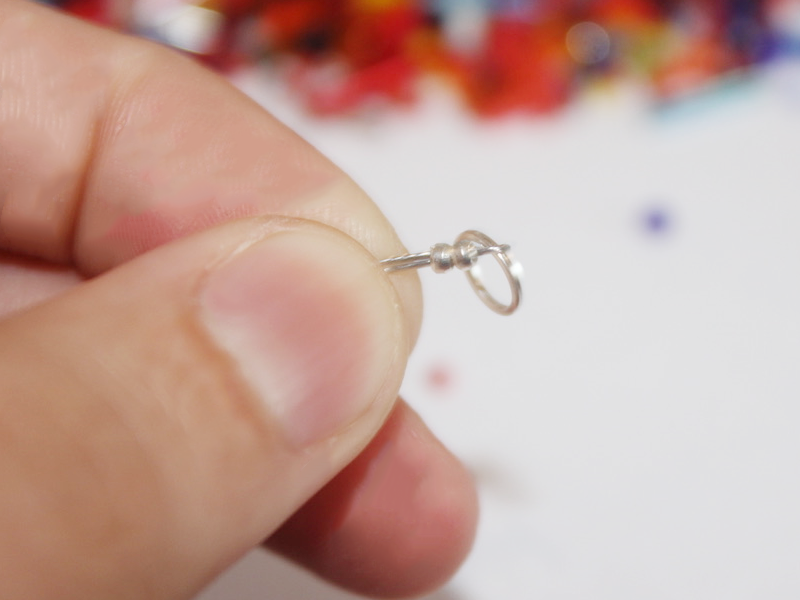
4: Squash the jump rings using the flat nose pliers.
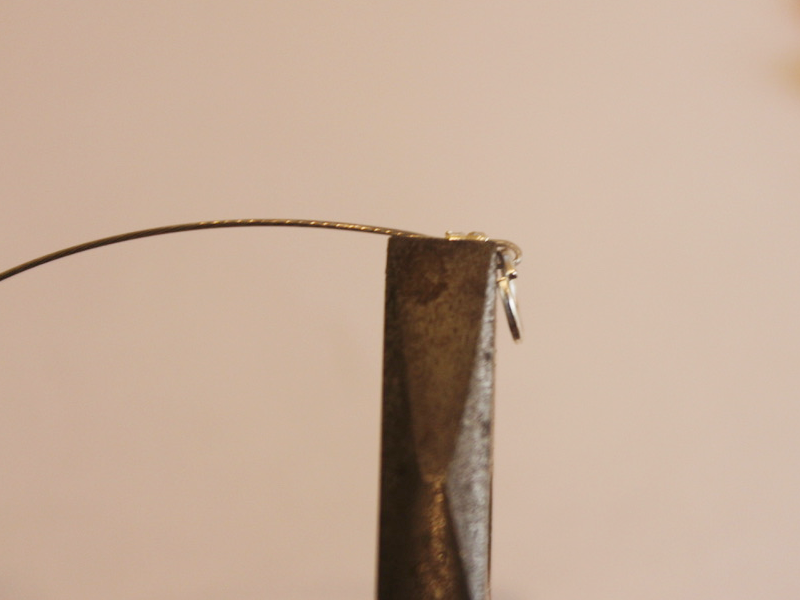
5: Start adding the glass beads to the wire.
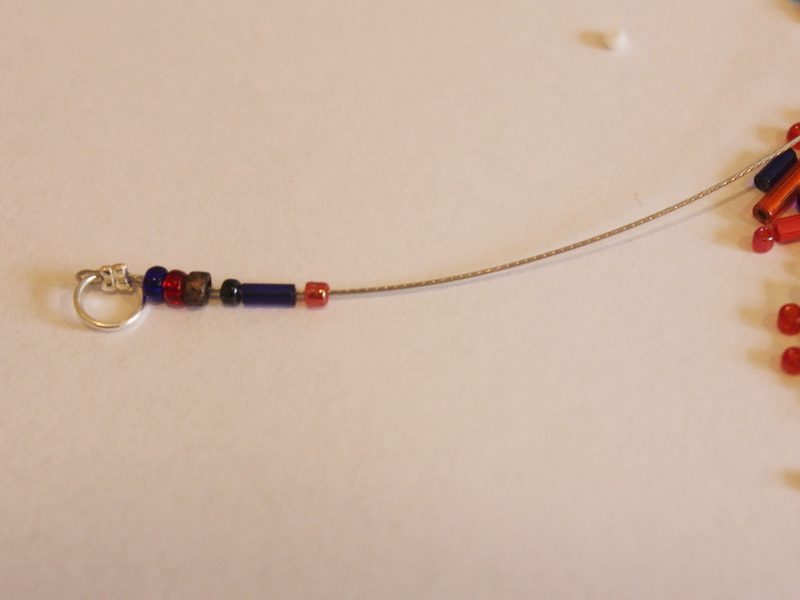
6: Add beads to half of the length you want your necklace and add the pearl. beads.
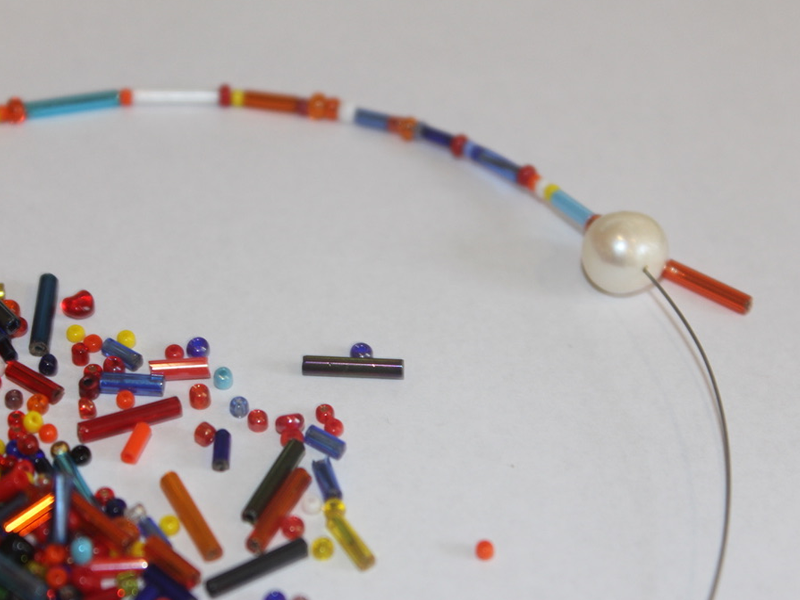
7: Add the glass beads to the rest of the wire so that the pearl sits in the middle.
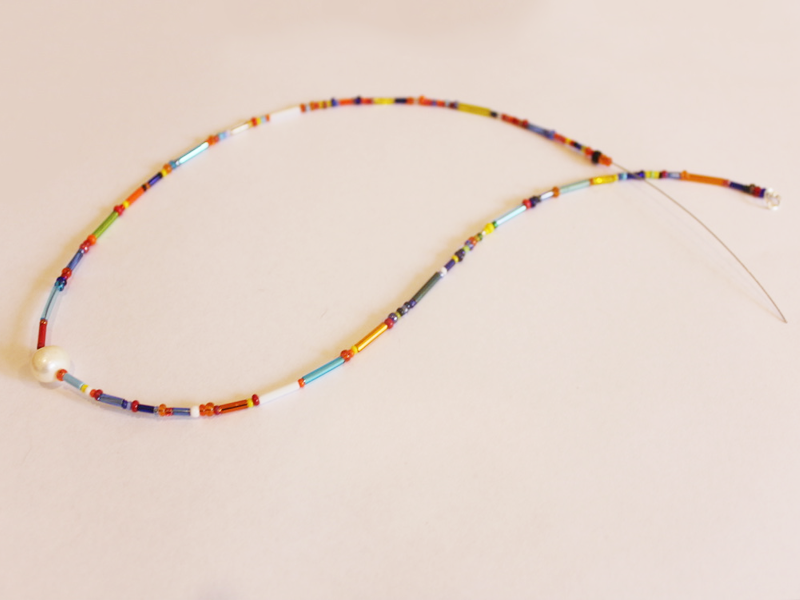
8: Add the remaining crimp beads and the other jump ring to the wire.

9: Fold the end of the wire around the jump ring and through the crimp beads and the last few glass beads.
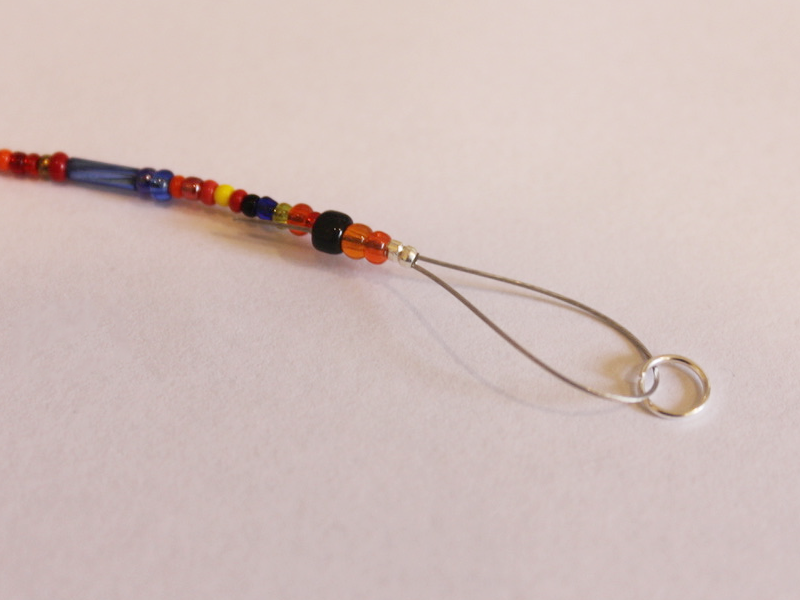
10: Pull the wire tight.
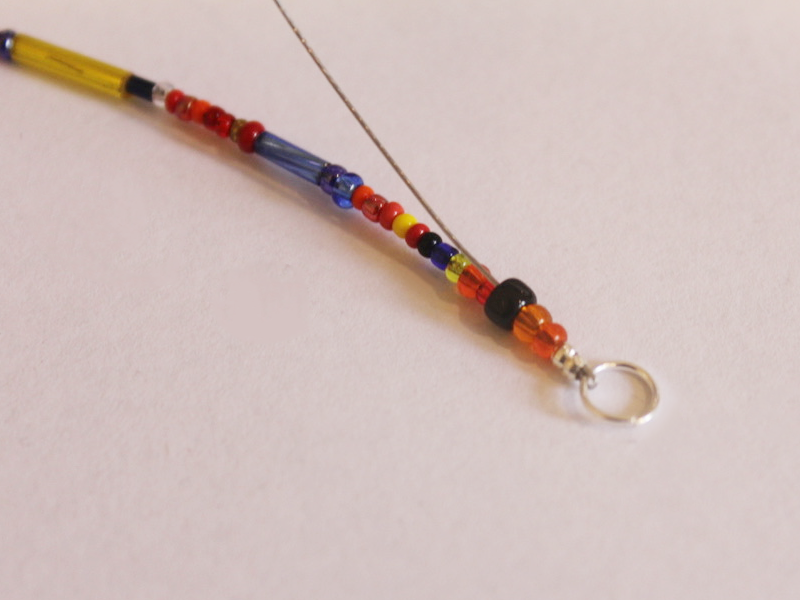
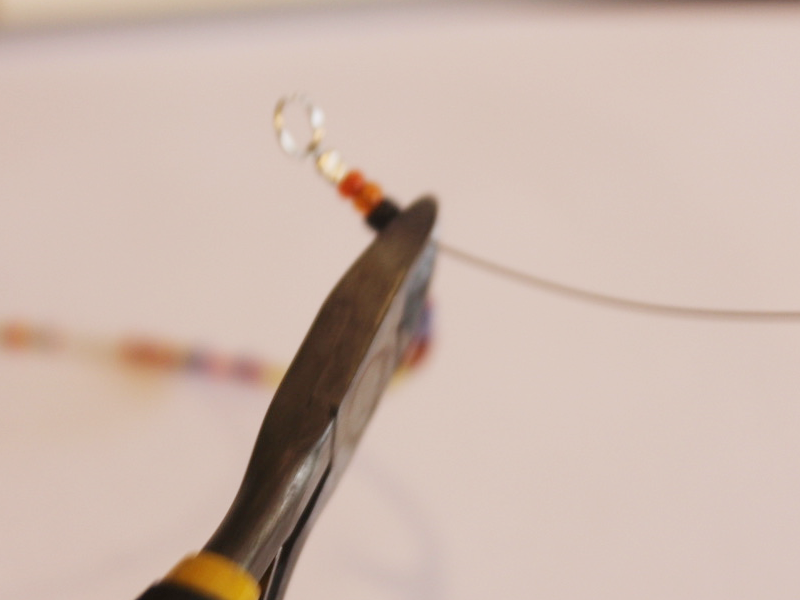
11: Squash the jump rings using the flat nose pliers.

12: Trim the excess wire using the cutting pliers.
13: Attach the lobster clasp to one side of the necklace onto one of the jump rings.
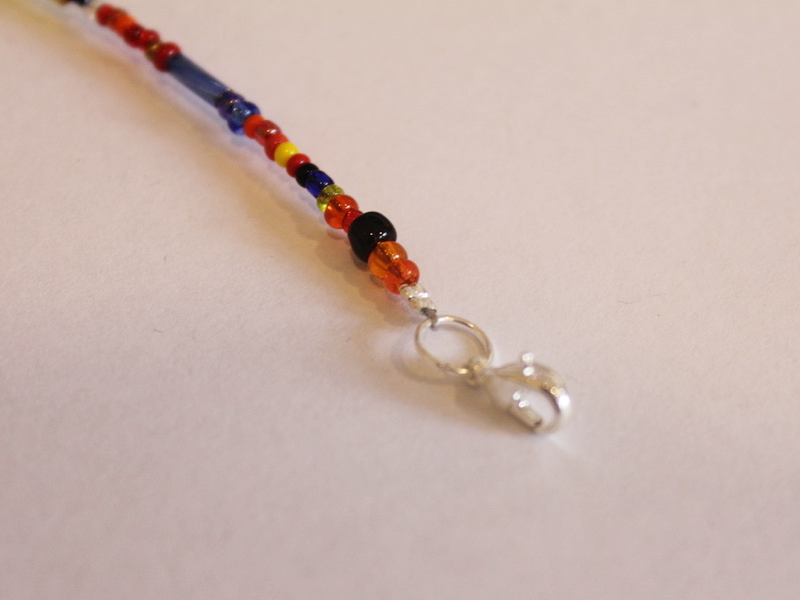
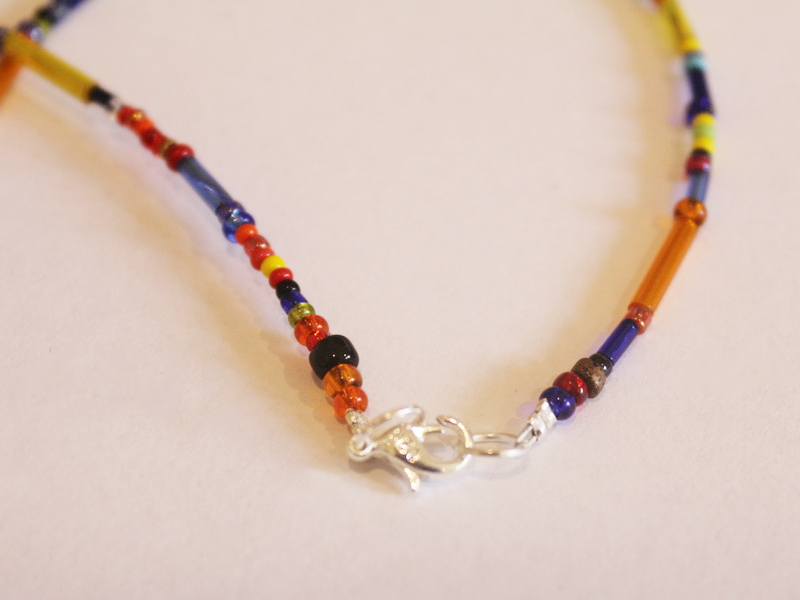
Now your rainbow pearl necklace is finished! How satisfying to get the look for less by making it yourself?