-
Here are some romantic handmade jewelry ideas for Valentine’s Day.
Valentine’s day can be kind of cheesy and generic, but these handmade jewelry ideas will bring some sentimental value to your Valentine’s day gift for your lover! Here is a list of tutorials that you could follow to make some amazing and thoughtful Valentine’s day gifts.
Love heart earrings and a matching necklace


This one is kind of obvious, but what is more lovely for Valentine’s day than a set of love heart themed jewelry? Here are two tutorials that show you how you can made a pair of beaded love heart earrings and a matching pendant necklace. Here are the links:
Turn an old sentimental piece of costume jewelry into something new

This tutorial shows you how to transform an old costume ring into a pendant necklace. This idea is perfect for the sentimental lover who will appreciate being able to wear a piece of jewelry from their past in a new way. Here is the link.
For something a little sexy, why not make this bra chain harness?

This is perfect for adding a little spice to your V-Day celebrations. This harness is shiny and sexy! Find the link here.
If you are short on time, here is a super easy bracelet DIY
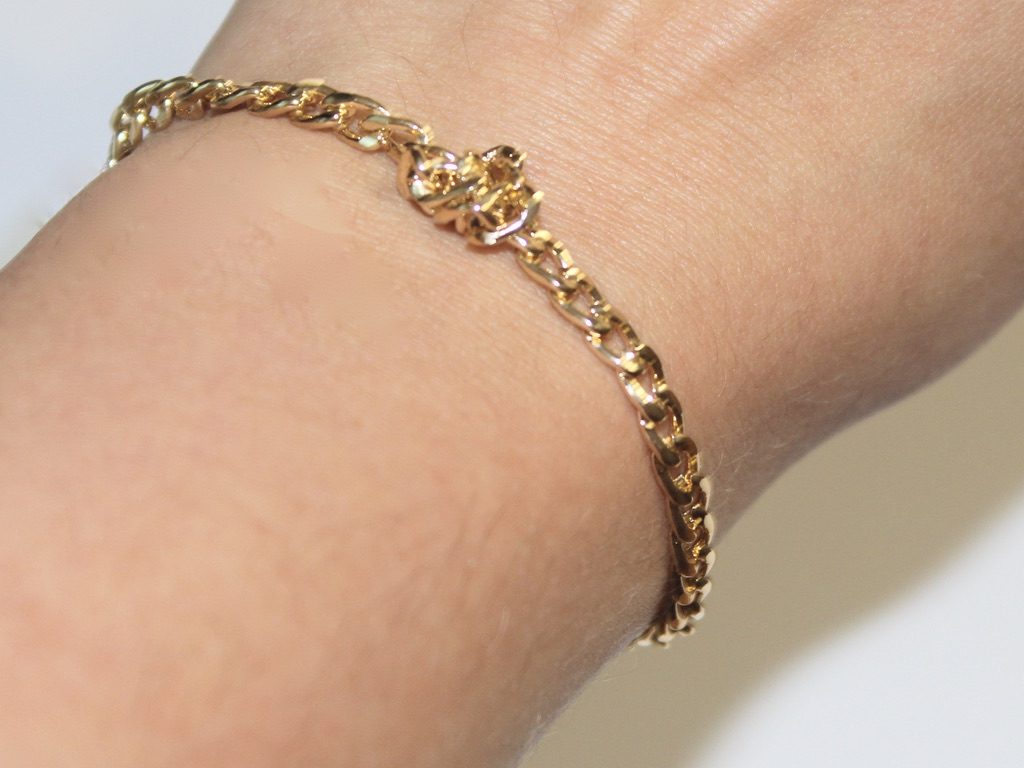
Make this bracelet for a quick but special handmade piece. This bracelet is super easy to make but looks great. Put it together when you have a few minutes and are in need of a handmade gift for your loved one. Here’s the link.
Make this peach anklet for the cheeky fun lover in your life!

The peach emoji has become synonymous with the butt. Celebrate your lover’s great bum with this peach charm anklet! Find the link here.
-
Here’s how to incorporate recycled materials into a glasses chain DIY

Are you interested in incorporating recycled materials in to your DIY jewelry designs? Here’s an idea for you… a glasses chain made with a recycled headphone cord.
You will need the following tools and materials to make your glasses chain:
1: Pliers. You will need your round nose pliers, flat nose pliers and cutting pliers.

2: A piece of cord from an old broken pair of headphones. I used this cord leftover from another project.

3: Beads with holes big enough to fit your cord. I used 10 of these painted wooden beads.

4: Two crimp ends.

5: Two jump rings.

6: Two rubber glasses holders.

Follow these steps to make your glasses chain:
1: Trim excess material from your cord using the cutting pliers.


2: Add the beads to the cord.


3: Fold one of the crimp ends around one end of the cord using the flat nose pliers.


4: Add the second crimp end to the other end of the cord.

5: Attach the glasses holders to each end of the cord using the jump rings.


Now your glasses chain is finished and ready to use. Perfect for windy spring days or for when you’re getting active outside!

Here’s another version I made using some broken apple headphones and some plastic heart shaped beads.

-
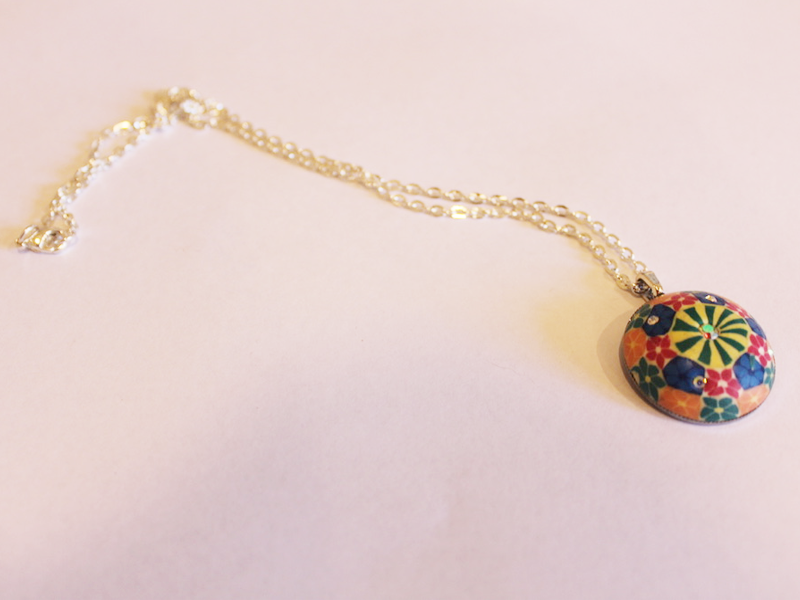
How to transform an old ring into a pendant.
If you are like me you might have some old costume jewelry lying around that isn’t really your style any more. Instead of throwing it away here’s a way that you can transform an old ring into a wearable pendant.
You will need the following tools and materials to make your pendant:
1: An old ring. I used this ring with a soldered on ring shank.

2: Flat nose pliers for pulling the ring apart.

3: A glue on bail.

4: Araldite glue.

5: A skewer.

6: Scrap paper.

8: A necklace chain.

Follow these steps to transform your old ring into a necklace pendant:
1: Remove the ring shank from the top of the ring, gently pulling it off with your flat nose pliers.


2: If there is excess metal use a file to remove it. I didn’t have to do this for this project.
3: Squeeze out the Araldite glue in equal parts onto the scrap paper.


2: Mix the glue using the skewer.

3: Add the glue to the bail and the back of the ring.


4: Place the bail onto the glued part of the ring and set aside to dry.

5: Add the dry pendant to the necklace to finish it off!
Now your new pendant is ready to wear! Such an easy way to upcycle old jewelry.
-
Having Trouble deciding what to make? Here are my top 10 fave tutorials!
Here is a count down of my top 10 favorite tutorials on DIY Jewelry hub so far. I hope some of your faves are in here too!
10.
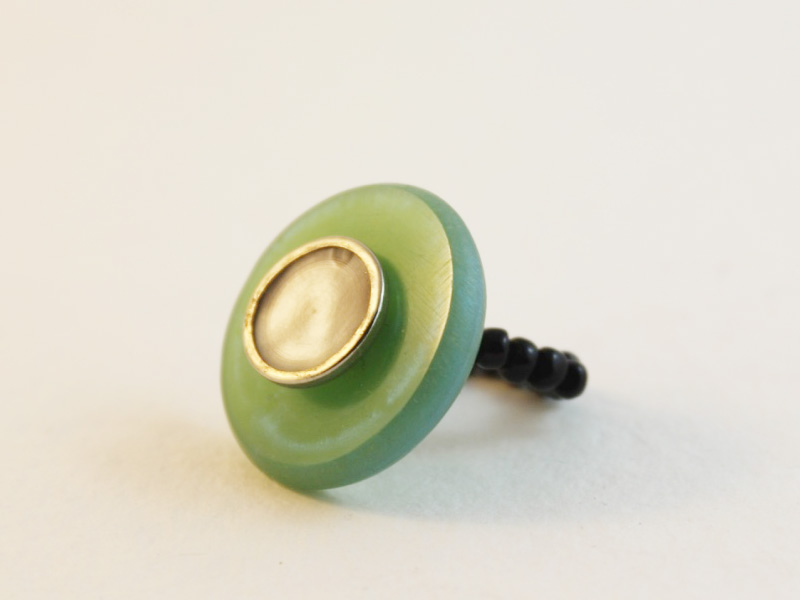
Transform beautiful buttons into stunning and unique earrings. This tutorial is a personal favorite of mine and I wear my button earrings all the time!
Check out the button earring tutorial out here!


9.
This one is for the fellas! A quick DIY that leaves you with some incredible and unique cufflinks. I gave a special pair to my Dad.
Click here to make your own unique cufflinks.


8.
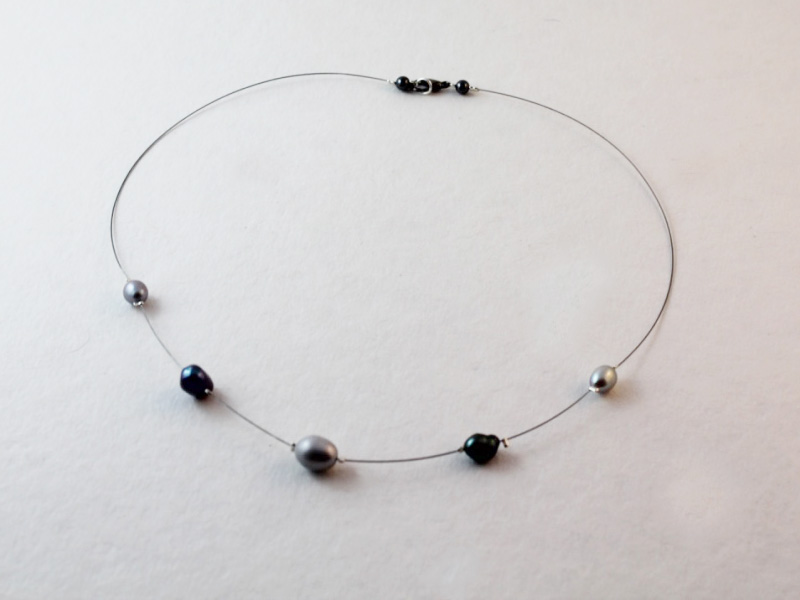
This design is pretty cool! Using memory wire and some crimp beads you can make your beads float across your chest.
Here are all the steps to make your own floating bead necklace.

7.
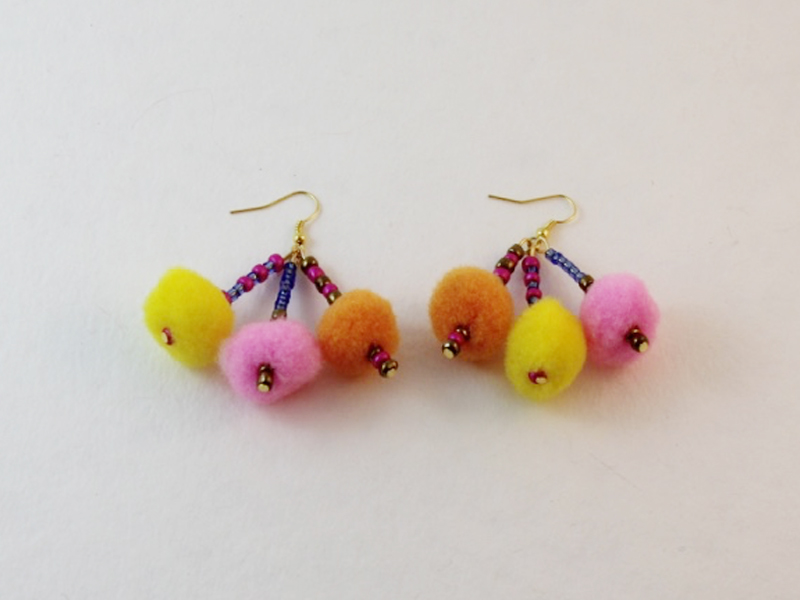
How cute are these? I love these festive pom pom earrings, especially as the silly season is coming up soon!
Make your own pom pom earrings, follow these steps.
6.
Recycling doesn’t have to be messy! I love upcycling old cardboard tubes and and plastic rings into jewelry.
Make yourself some recycled ribbon bangles!


5.
This beaded triangle pendant is one of my favorite designs! All you need are some awesome beads and three eye pins and you’re on your way.
Check out the triangle pendant tutorial video for some DIY inspiration!

4.
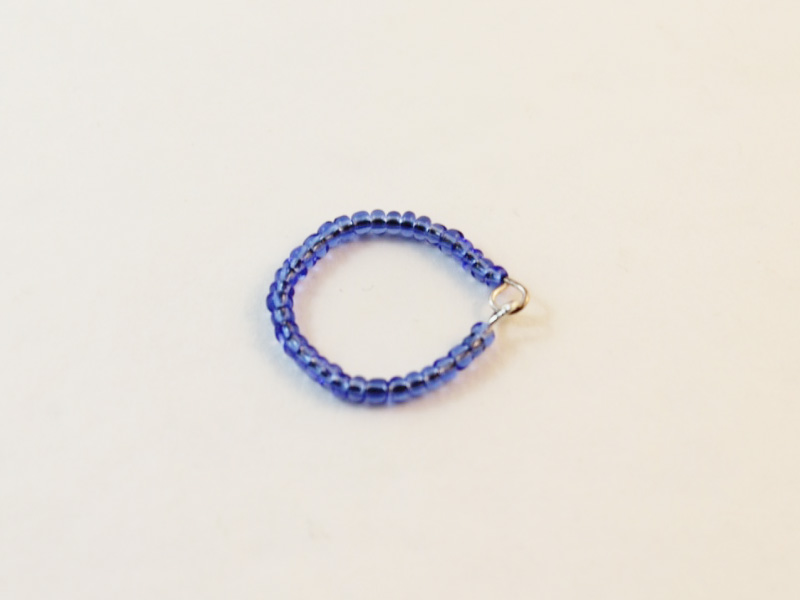
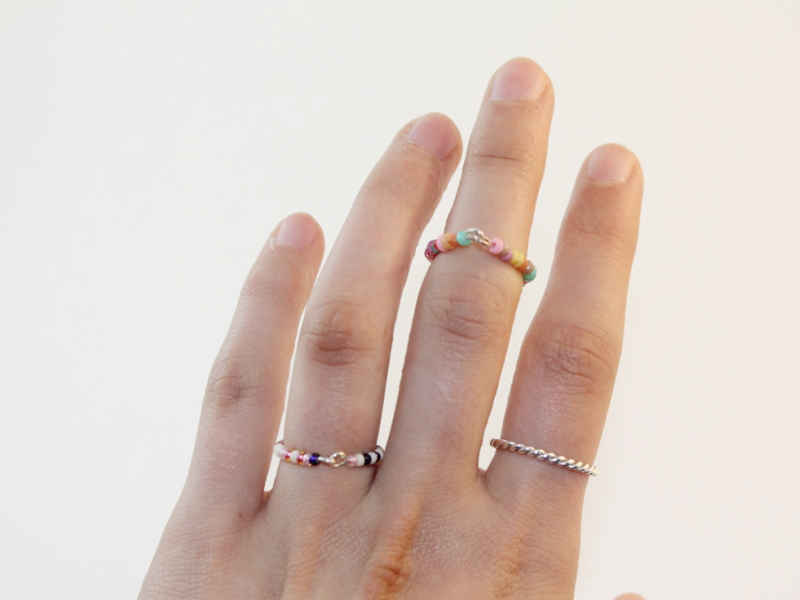
Want to make your own beaded rings without using a ring finding? Here’s how! You’ll be decorating your fingers with these delicate beauties.
All the steps to make beaded rings are right here.
3.
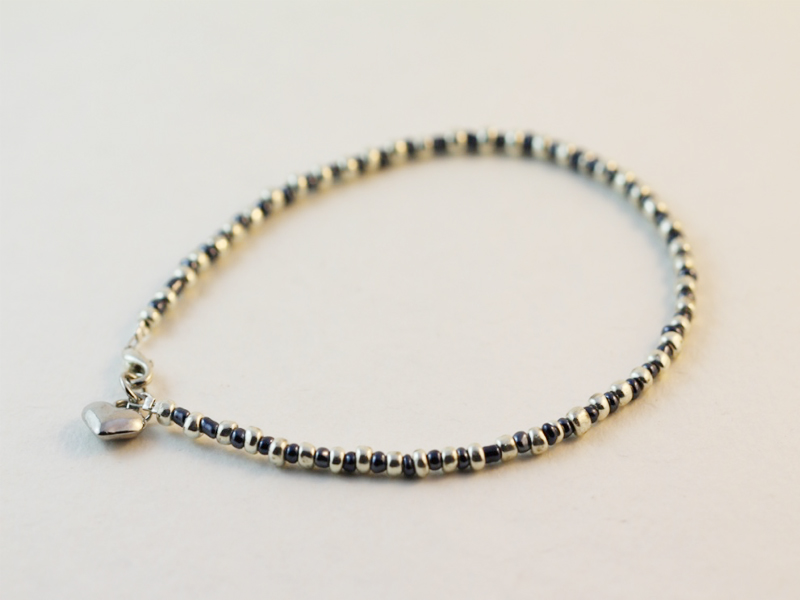
Anklets are great, especially in summer. This video tutorial shows you how to make a simple beaded anklet to make that ankle shine!
Follow the anklet making steps right here.
2.
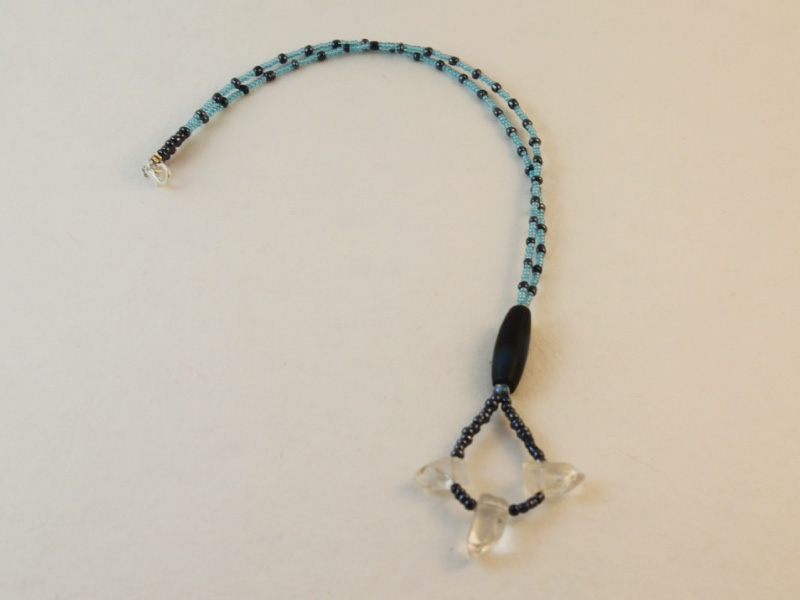
This looping technique is super easy to do and gives a great effect! I bet every necklace you make using this technique will look completely different. This tutorial is also perfect for making gifts.
Check the beaded loop necklace tutorial out right here!
1.
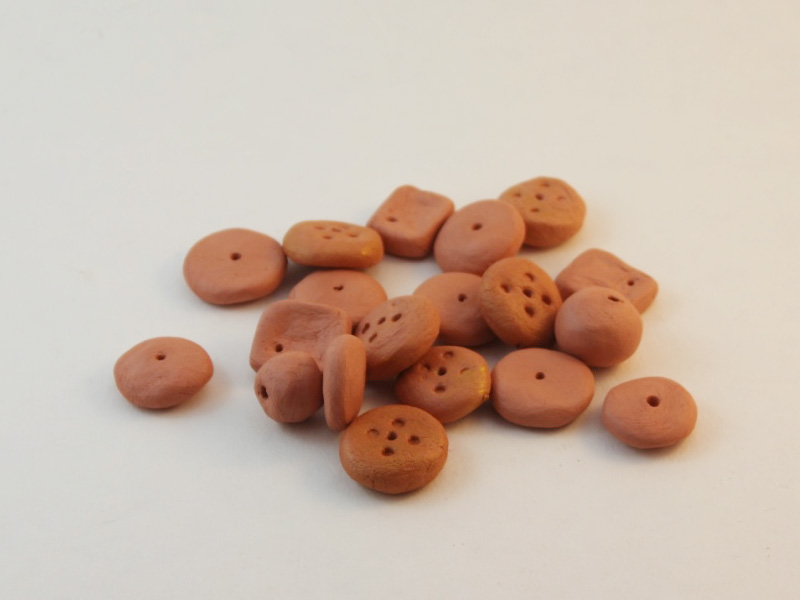
What’s more exciting than making your own bead jewelry? Making your own beads! Using air dry clay to make your own beads is easy, fun (and just the right amount of messy).
Get stuck into the bead making, all the steps are right here!