-
Here’s another sparkly shoe chain tutorial for you…
Shoe jewellery is pretty fun! Here’s how to make a sparkly decoration for your fave shoes using some string and some rhinestone embellished beads. I made this one long enough that you could also clip the ends together so you can wear it around boots. Please note that this tutorial contains affiliate links.
You’ll need these tools and materials to make this shoe chain:
1: A piece of string about 35-40cm long.

2: Two large lobster clasps.

3: Some beads. I used these second-hand rhinestone embellished metal beads.

4: Scissors for trimming the string.

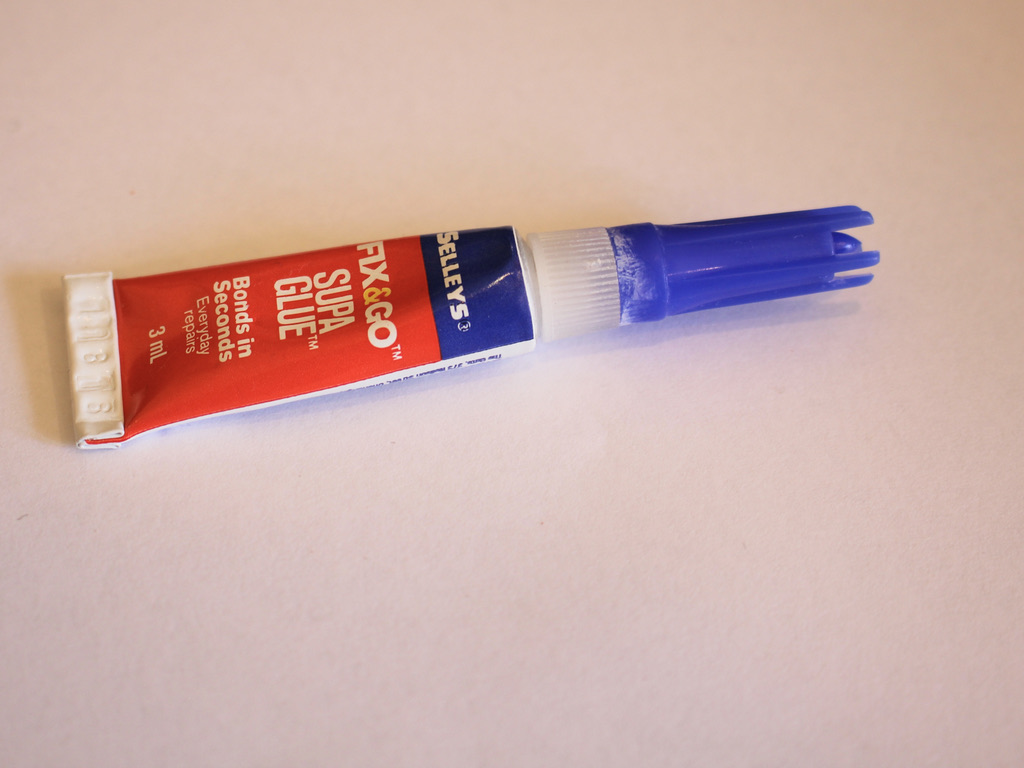
5: Some superglue.
Follow these steps to make your shoe chain using string and beads:
1: Add one of the lobster clasps to one end of the string and tie a knot.


2: Tie two more knots, leaving the end for now.

3: Add the beads to the string.
4: Add the second lobster clasp to the other end of the string and tie three knots as you did in steps 1 and 2.

5: Trim the ends of the string using your scissors.

6: Add a dab of superglue to the knots to secure them then set it aside to dry.
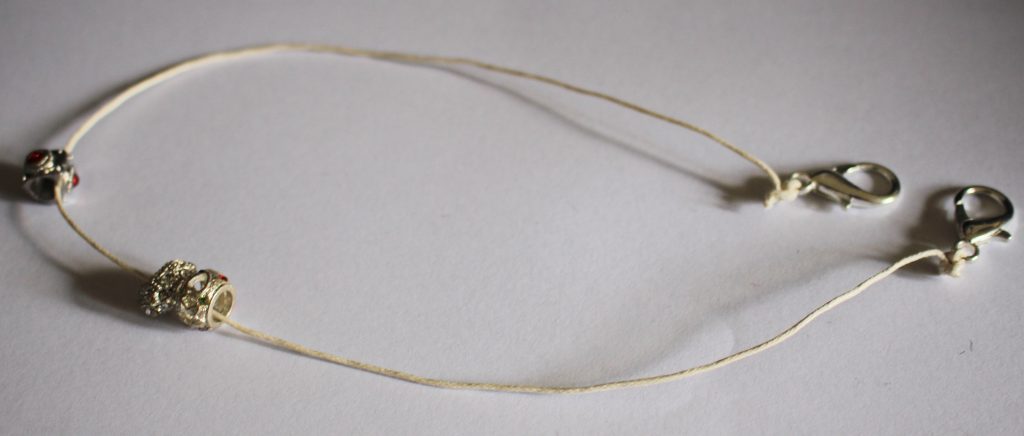
Now your shoe chain is finished. Here it is clipped to some low top sneakers, but you could experiment and add them to high-tops or boots!


-
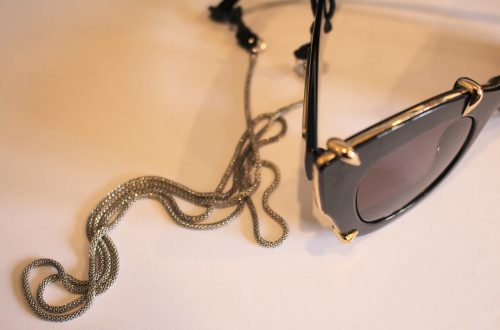
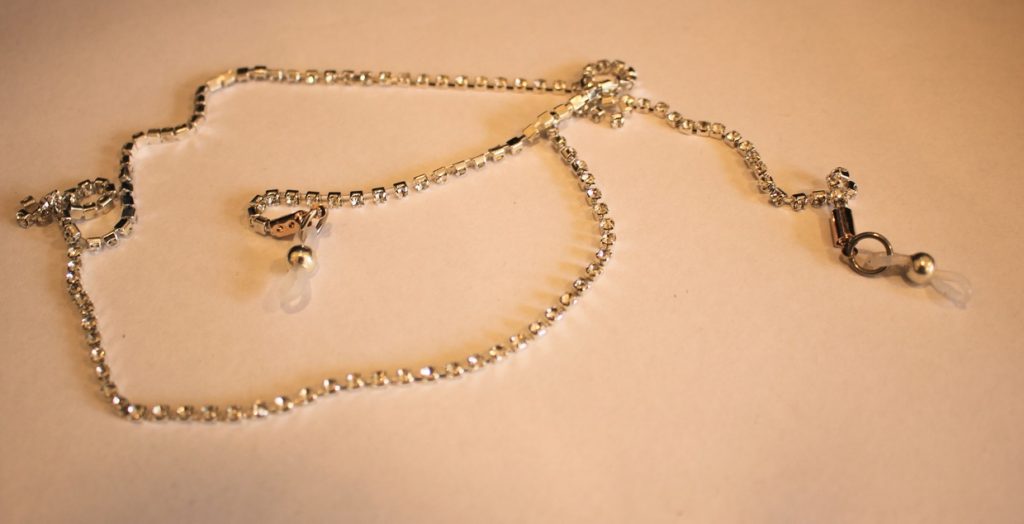
How to make a rhinestone glasses chain!
I think glasses chains are so cool! This glasses chain design is super glam, made from a sparkly rhinestone string for some practical glamour! Please note that this tutorial contains affiliate links.
You’ll need these tools and materials to do this DIY:
1: A length of rhinestone chain at a length you like. Check this by wrapping it around the back of your neck and seeing where it falls against your chest.

2: Pliers. I used my cutting pliers to cut the rhinestone chain. I also used my flat nose pliers and round nose pliers.

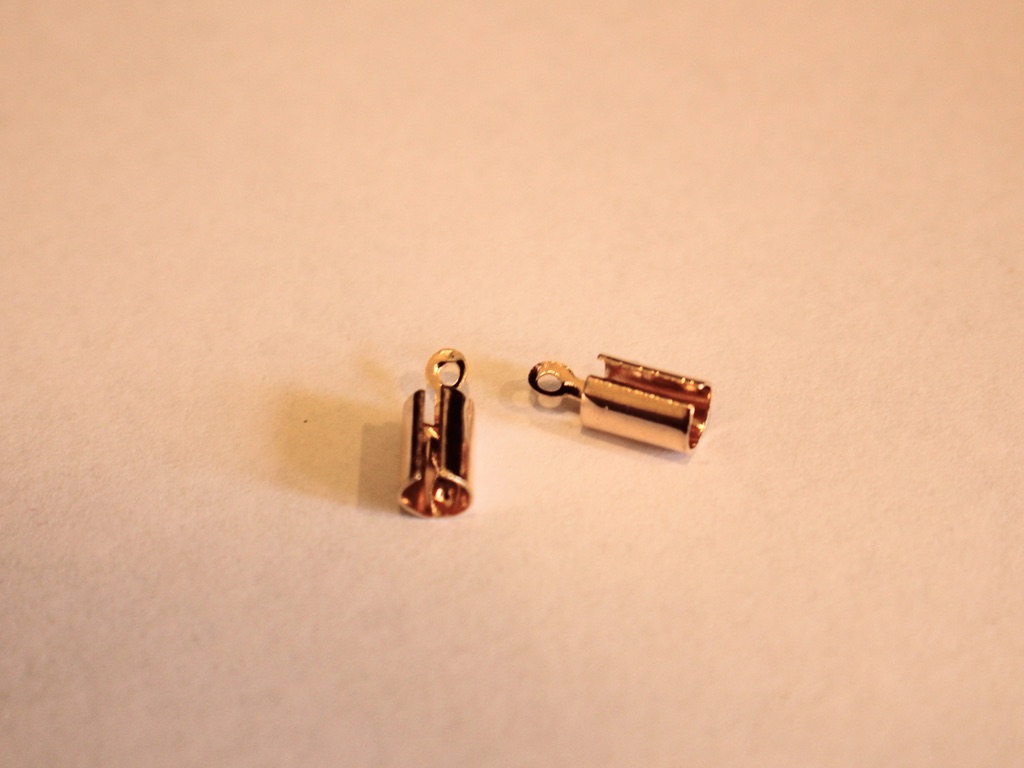
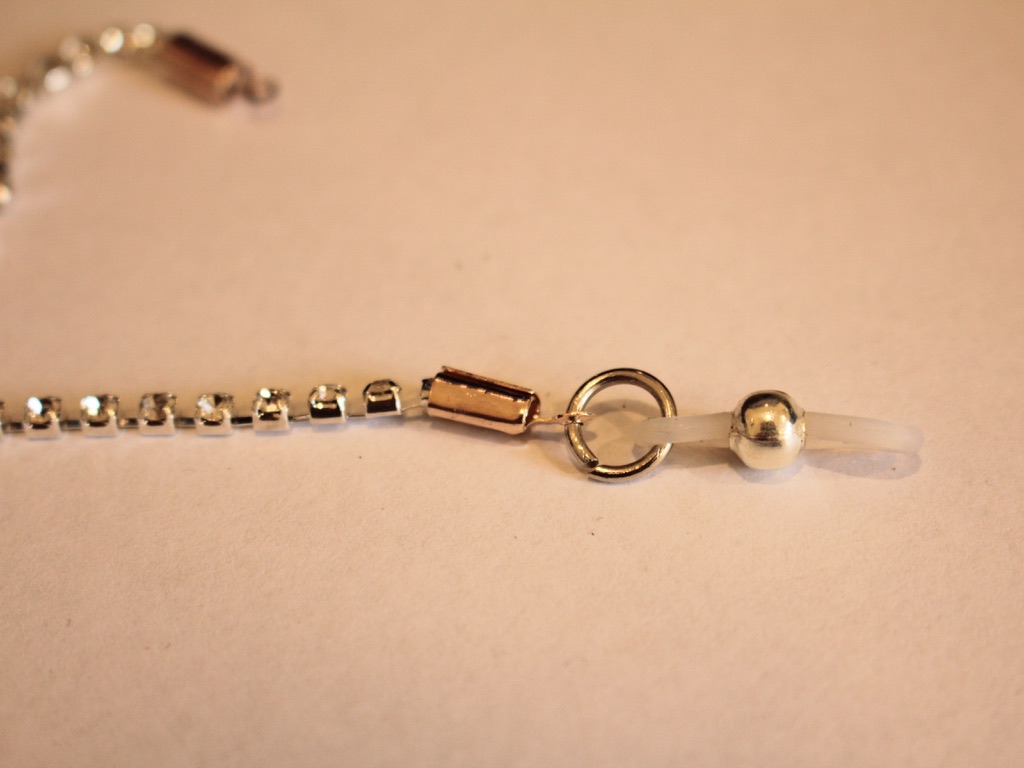
3: Crimp ends that fit around the rhinestones. I used these rose gold coloured ones.
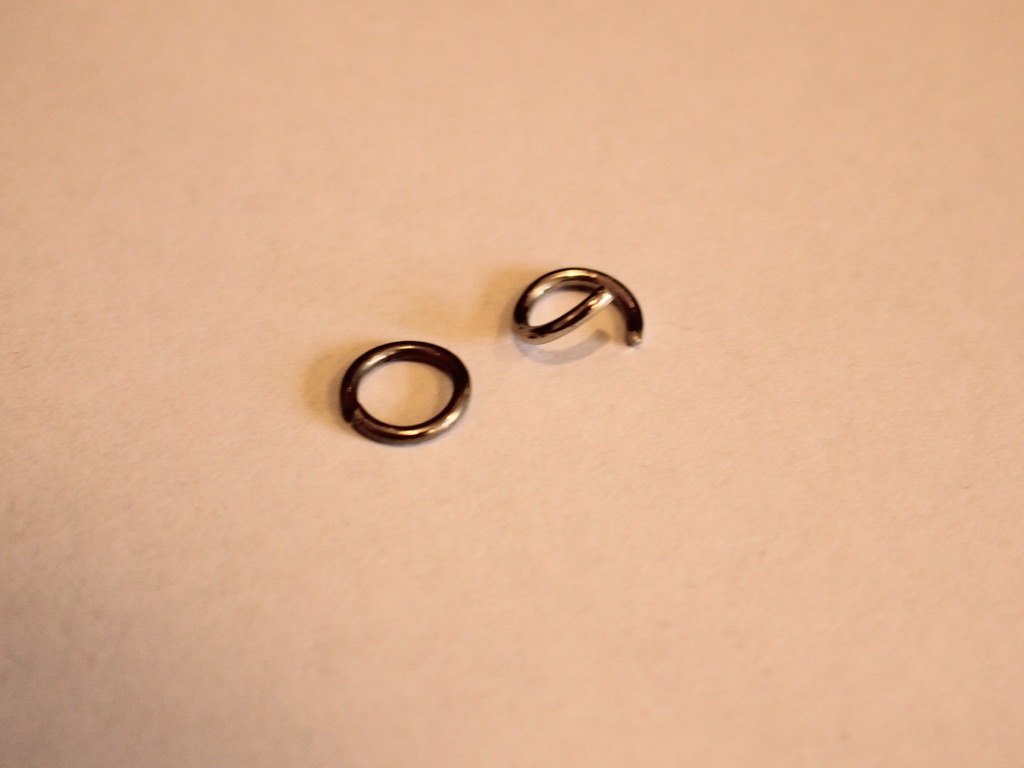
4: Two jump rings.
5: Two rubber glassses holders.
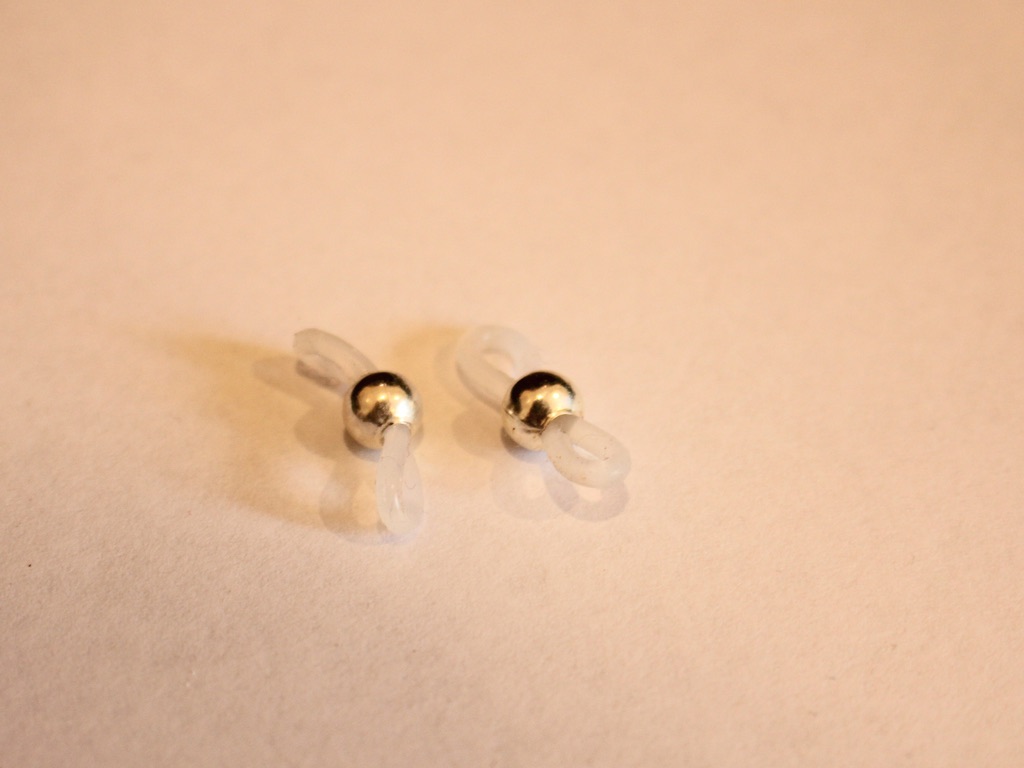
Follow these steps to make your cute rhinestone glasses chain:
1: Take one end of the rhinestone chain and place it inside one of the crimp ends.
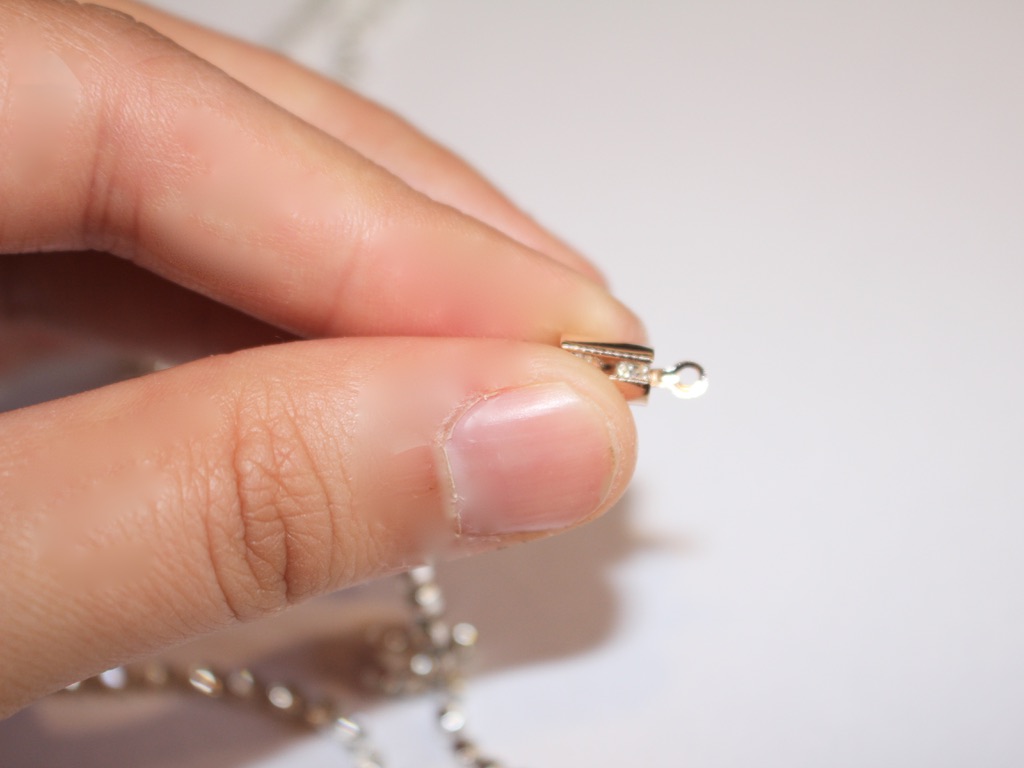
2: Squash one side of the crimp end around the rhinestone strand using the flat nose pliers. Be careful here because the rhinestones like to pop out.
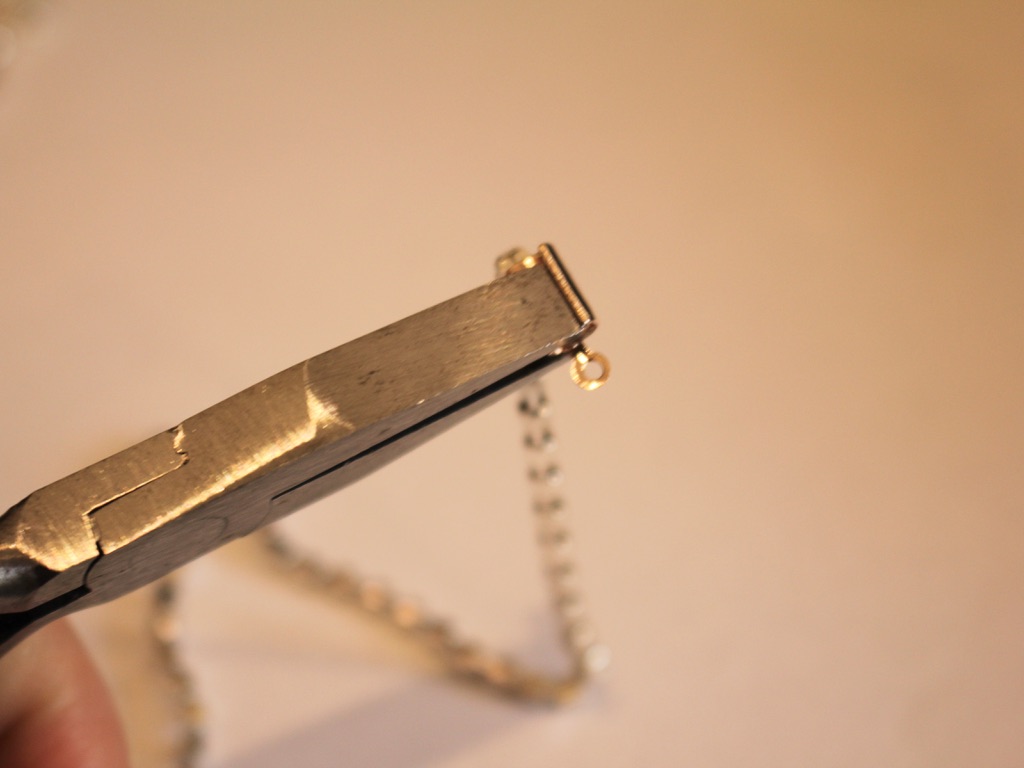
3: Squash the other side of the crimp around the rhinestones and the first side using the flat nose pliers again. Now your crimp end should be secured onto the strand.
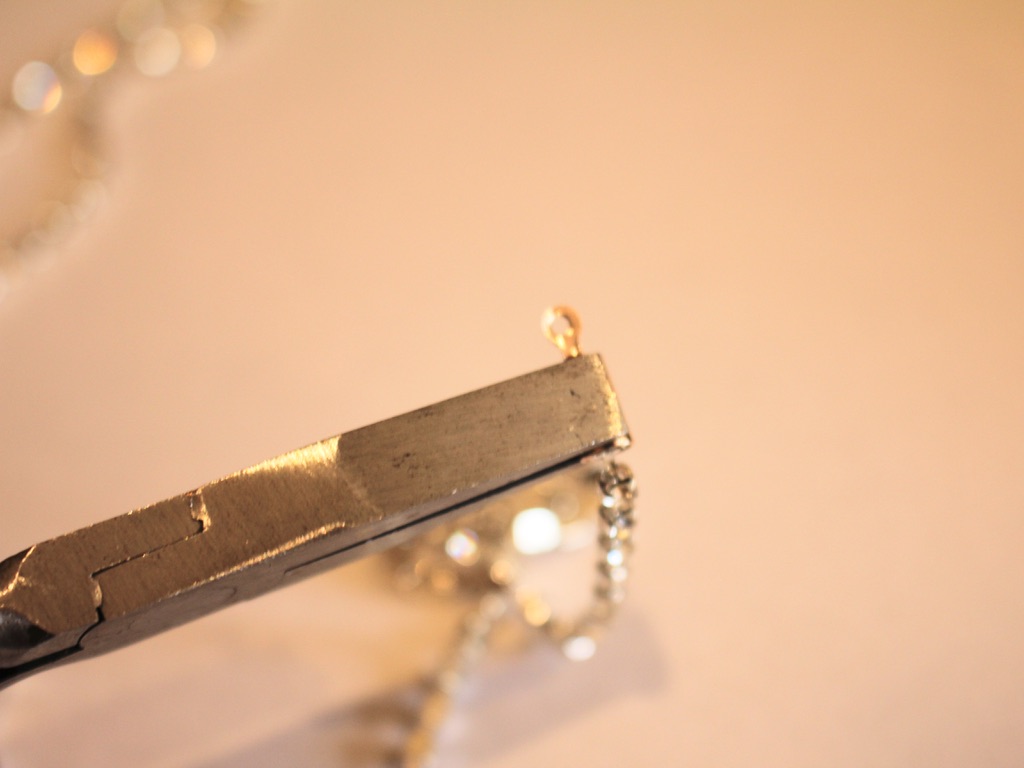
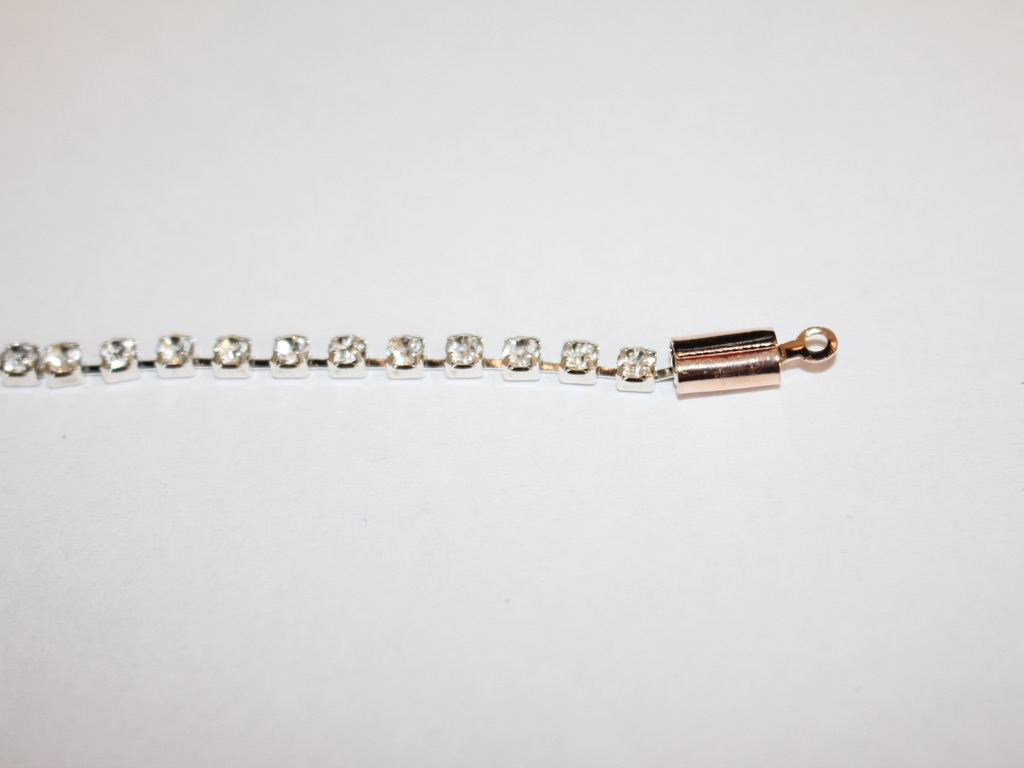
4: Repeat step 3 for the second crimp end on the other side of the rhinestone chain.
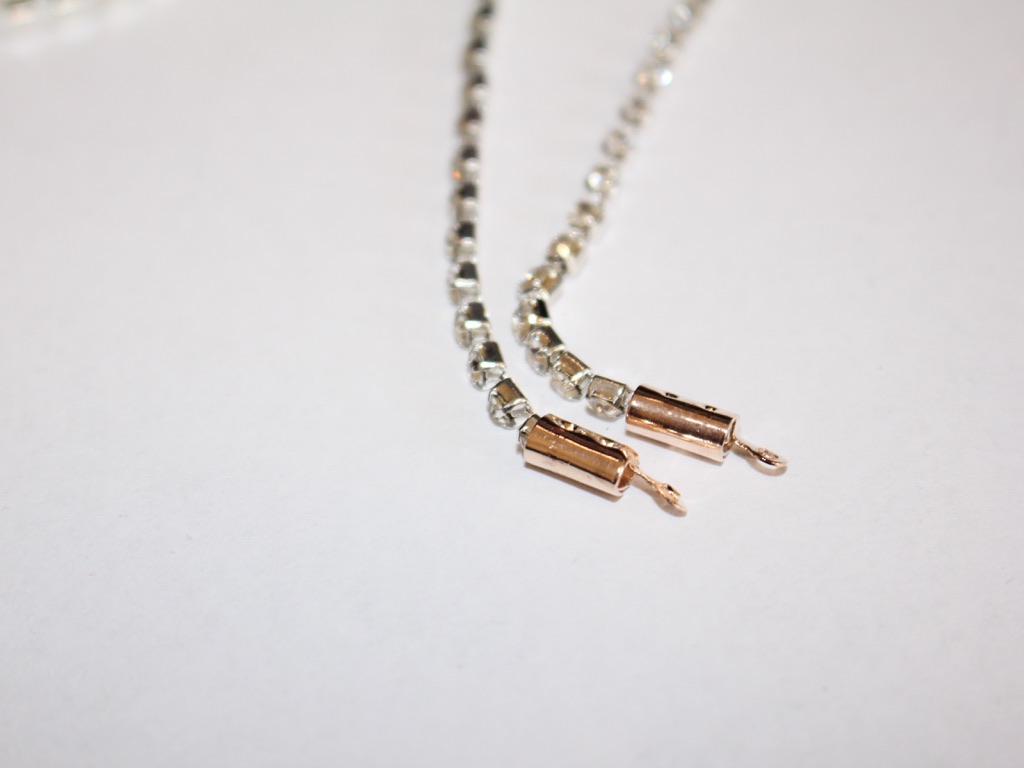
5: Add a jump ring to one end of the chain and use it to secure the rubber glasses holder in place. Repeat this for the other end of the chain to finish your DIY off.
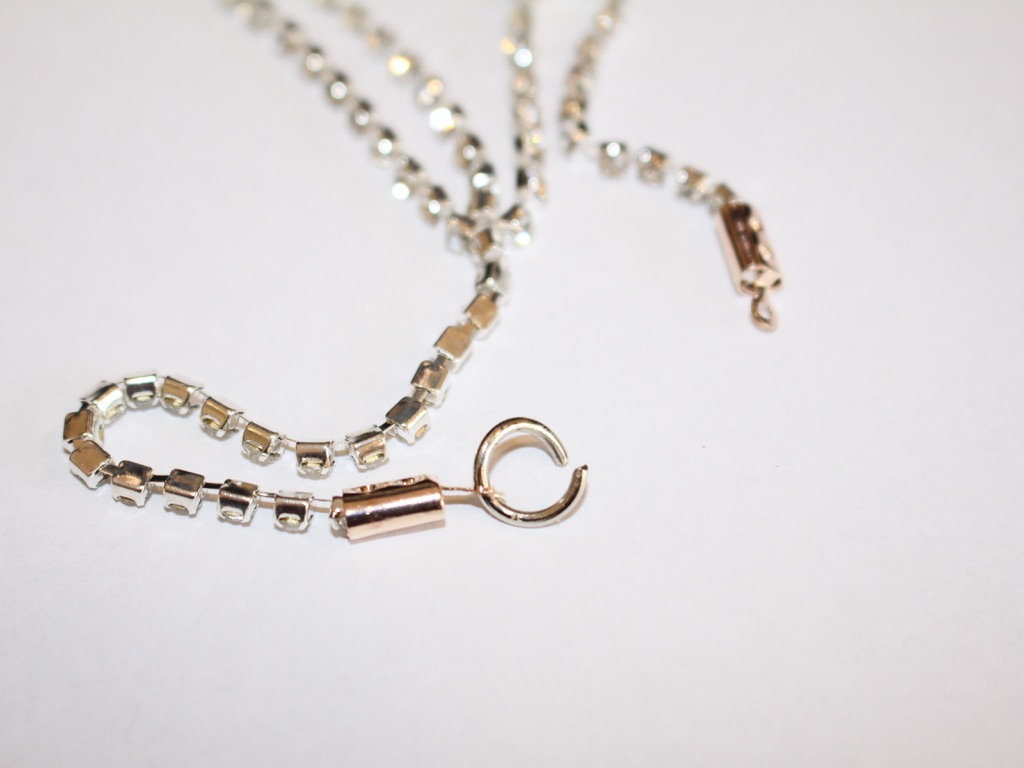
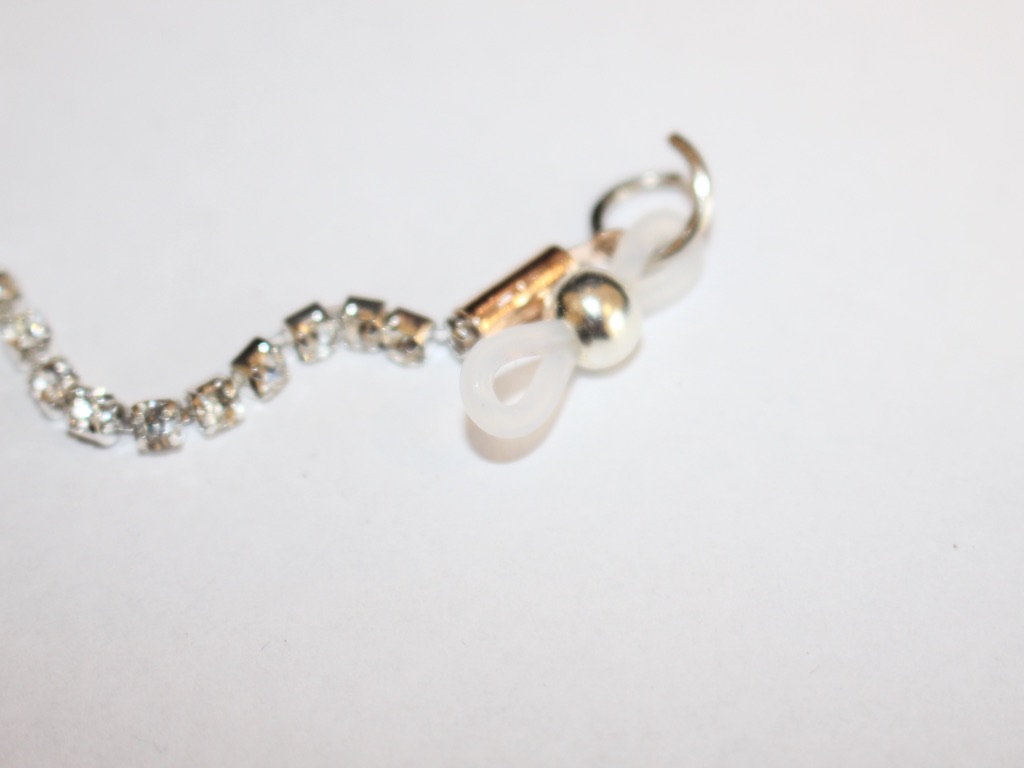
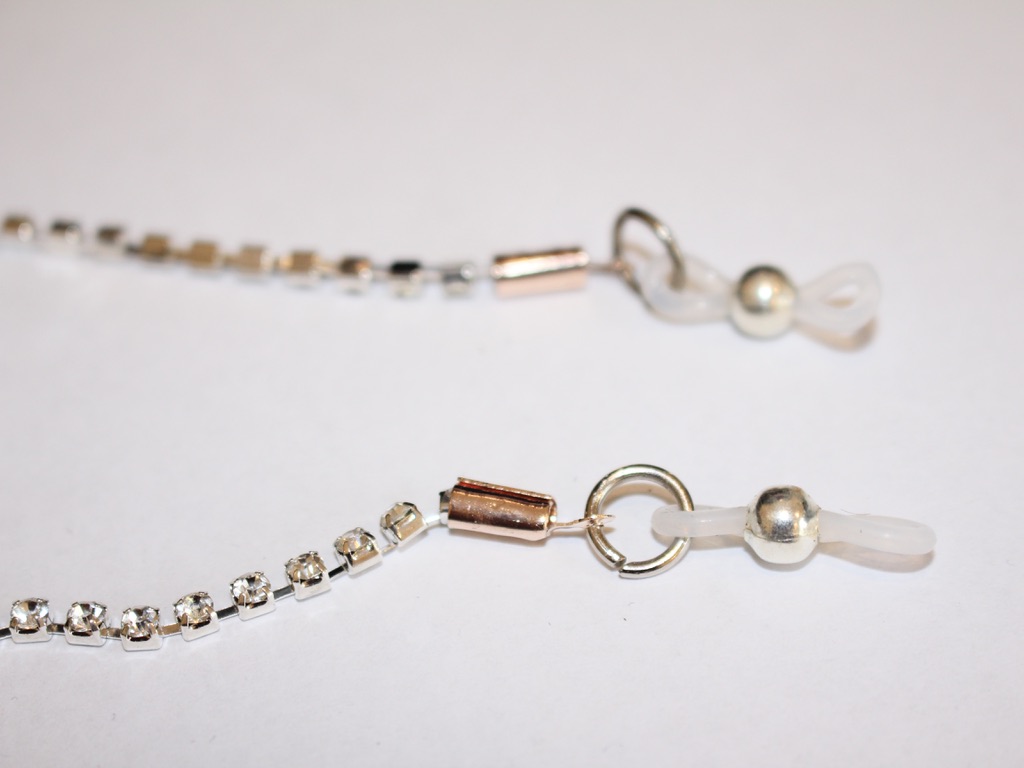
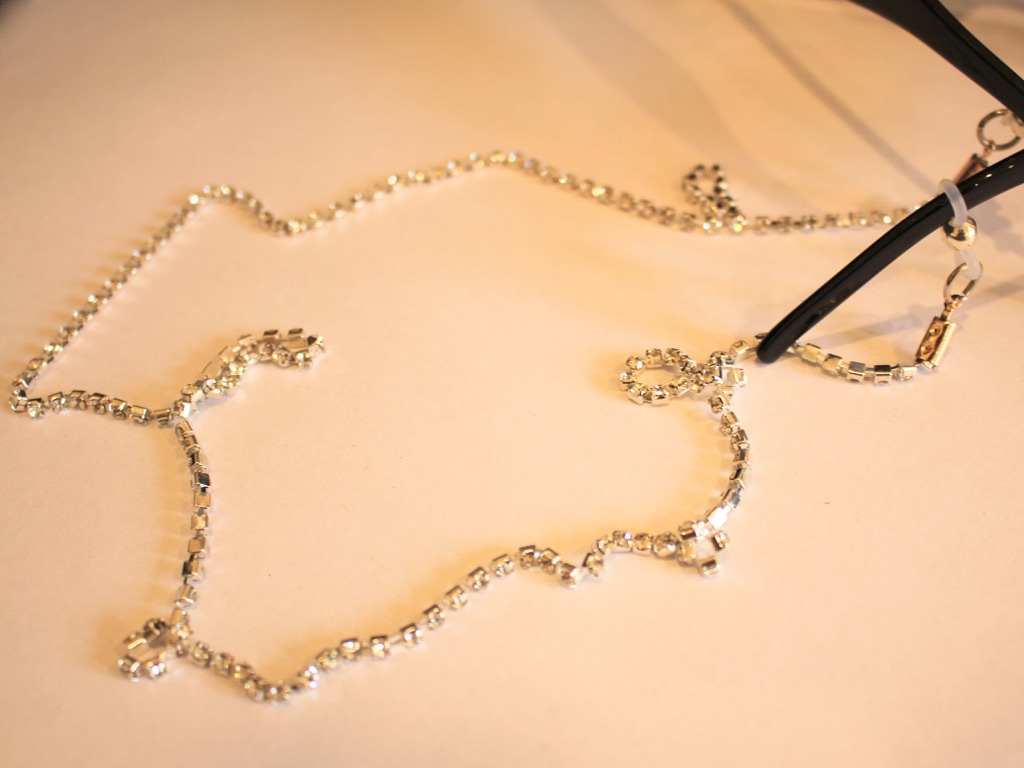
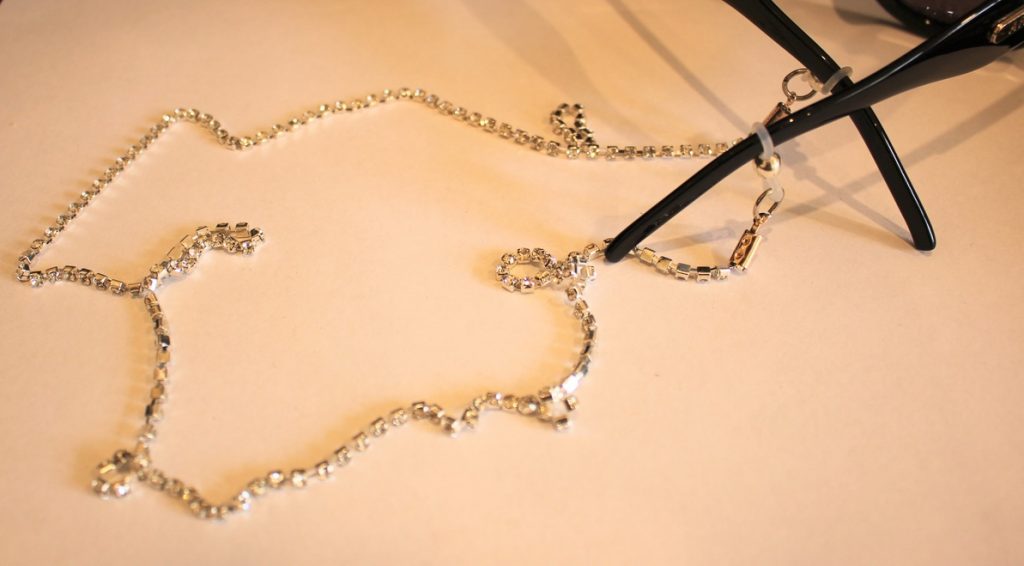
Now your rhinestone glasses chain is ready to use! Pop them onto your favorite spectacles or sunnies and shine on.

Here are some other rhinestone DIY’s you can make:
- A rhinestone embellished hair comb
- This cute pair of rhinestone alligator hair clips
- These two different rhinestone headbands
- Some crazy rhinestone statement earrings, check them out here and here
- An amazing rhinestone brooch
-
Need a sparkly accessory to cheer up the 2020 silly season? Make this waist chain in time for Christmas this year!
2020 has been wild and hard for lots of people. Some sparkly accessories might not fix anything, but they might help cheer you up a little bit! Please note that this tutorial contains affiliate links.
Here are all the things you need to make this waist chain:
1: Some rhinestone chain long enough to fit comfortably around your waist.

2: Pliers. I used my cutting pliers to cut my chain to length. I also used my flat nose and round nose pliers.
3: A couple of jump rings.

4: Two crimp ends.

5: A large lobster clasp.

Follow these steps to DIY your own fun sparkly waist chain:
1: Add one of the crimp ends to one end of your chain, holding it in place around the chain.

2: Squash one side of the crimp around the rhinestone chain using the flat nose pliers. Be careful with this step to ensure that the chain doesn’t pop out of the crimp.

3: Squash the other side of the crimp to secure it onto the strand.

4: Repeat steps 2 and 3 using the other crimp on the other side of the rhinestone strand.

5: Add a jump ring to one end of the strand and attach the lobster clasp. Secure the clasp in place by closing the jump ring.


6: Add the remaining jump ring to the other side of the waist chain to finish it off. Now your rhinestone waist chain is finished and ready to wear! I hope it brings some necessary sparkle into your life!


-
Do your barrettes need something more? Make this cute hair clip with a beaded chain feature.
I think that this hairclip design is so cute! It features sparkly charms and an awesome dangling chain that will loop elegantly across your hair.
You will need the following tools and materials to make your beaded chain hairclip:
1: Pliers. You’ll need your flat nose and round nose pliers.


2: A hairclip finding with holes in either side.

3: Two large jump rings.

4: Eye pins, I didn’t use as many as are pictured here.

5: A selection of beads. I used these mixed glass beads.

6: A selection of glue on charms. I used this mix of resin charms and rhinestones. I didn’t use all of these either.

7: Two part epoxy glue. I used Araldite glue.

8: A scrap piece of paper for mixing the glue.

9: A skewer.

Follow these steps to make your sparkling chain hair clip:
1: Add beads to the eye pins and attach them together by forming loops using the round nose pliers.


2: Once your chain is at your preferred length attach it to the hairclip using the two large jump rings.


3: Squeeze out the glue in equal parts and mix it using the skewer.
4: Add the glue to the hairclip using the skewer.

5: Add the charms to the hairclip. Here’s a tip, I used some blue tack to keep the hairclip and charms in place while the glue was drying.


Once your hairclip is dry it is ready to wear! So cute and trendy.

Here is another one I made using shells and some rose quartz beads.

-
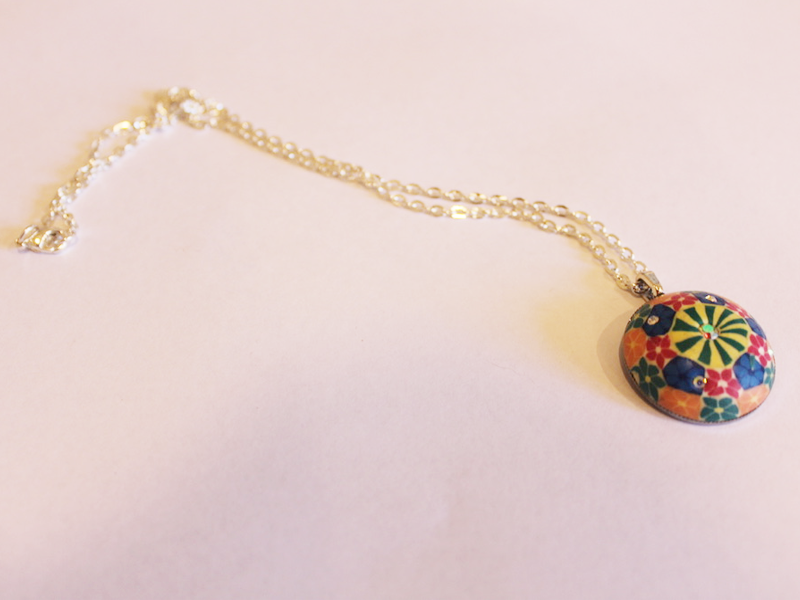
How to transform an old ring into a pendant.

If you are like me you might have some old costume jewelry lying around that isn’t really your style any more. Instead of throwing it away here’s a way that you can transform an old ring into a wearable pendant.
You will need the following tools and materials to make your pendant:
1: An old ring. I used this ring with a soldered on ring shank.

2: Flat nose pliers for pulling the ring apart.
3: A glue on bail.

4: Araldite glue.
5: A skewer.
6: Scrap paper.
8: A necklace chain.

Follow these steps to transform your old ring into a necklace pendant:
1: Remove the ring shank from the top of the ring, gently pulling it off with your flat nose pliers.


2: If there is excess metal use a file to remove it. I didn’t have to do this for this project.
3: Squeeze out the Araldite glue in equal parts onto the scrap paper.


2: Mix the glue using the skewer.

3: Add the glue to the bail and the back of the ring.


4: Place the bail onto the glued part of the ring and set aside to dry.

5: Add the dry pendant to the necklace to finish it off!
Now your new pendant is ready to wear! Such an easy way to upcycle old jewelry.
-
Are you sick of the hair accessory trend yet? If not, why not make a rhinestone hair comb?

This rhinestone hair comb is super easy to make and is the perfect way to add some sparkle to your hair! I love this cute piece so much, I wear it at the back of my head to add some style to my messy bun, just tuck it into your hair! So comfortable and cute.
Please note that this tutorial contains affiliate links for which we may receive a commission.
You will need the following tools and materials to make this rhinestone hair comb:
1: A metal hair comb.

You can get hair combs here:
2: Rhinestones. I used three of these silver backed rhinestones.

You can get something similar here:
3: Two-part epoxy glue, I used Araldite.
You can get glue here:
4: A skewer.
You can get skewers here:
5: Scrap paper.
Follow these steps to make your rhinestone comb:
1: Squeeze out the glue in equal parts onto the scrap paper.
2: Mix the glue using the skewer.
3: Add glue to the top of the comb where you want to place your rhinestones.

4: Add glue to the back of the rhinestones and place them on the comb.


5: Set the comb aside to dry.
Once the glue is dry your rhinestone embellished hair comb is ready to use!
Here’s another one that I made using resin charms.

Here are some other rhinestone hair accessory tutorials:
- Rhinestone embellished hair clips
- A headband with a rhinestone crown
- Upgrade an old headband with statement rhinestones
This tutorial contains affiliate links
-
I am seeing fancy hair clips everywhere, here’s how to make a pair of rhinestone embellished clips.

Continuing the rhinestone trend on DIY Jewelry Hub with these rhinestone embellished clips!
You will need the following tools and materials to make these hair clips:
1: Two hair clips. I used these alligator clips that I had at home and wasn’t using. I added a lick of color using some old nail polish.

2: Two short rhinestone strands. Cut them to the length of the clip you intend to glue them too.

3: Glue. I used superglue but you will probably get a better result using Araldite glue.

or
Follow these steps to make your rhinestone clips:
1: Add a dab of your chosen glue to the top of the clip and stick one end of a rhinestone strand in place, with the long side draping towards the body of the clip.


2: Continue adding glue down the clip and put the rest of the rhinestone strand in place.

3: Set the first clip aside to dry and repeat steps 1 and 2 for the second clip.
Once they’re dry those sparkly hair clips are ready to wear!

Here’s another pair that I made using some resin charms.

here are some more DIYs for rhinestone crystal embellished hair accessories:
- A rhinestone and chain embellished barrette
- This rhinestone crystal hair comb
- Rhinestone crystal headband
- Statement rhinestone headband
This tutorial contains affiliate links
-
I am loving rhinestone right now! Here’s how to DIY a rhinestone headband

I love this headband! Such a cool hair accessory, simple and sparkly… what more could you ask for?
You’ll need the following tools and materials to make this headband:
1: A headband. I used this one covered in a red ribbon.
2: A strand of rhinestones long enough to cover the headband.

3: Superglue.
Follow these steps to make your rhinestone headband:
1: Add some glue to the end of the headband.

2: Place the end of the rhinestone strand on the glued part to secure it in place. Be careful not to glue your fingers!

3: Add some more dabs of glue along the headband securing the rhinestones down as you go.

4: Secure the other end of the rhinestone strand down at the other end of the headband to finish it off!


Now it’s ready to wear!
-
Gaudy crystals are in! Here’s how to make some bold crystal earrings.

These crystal earrings pack a visual punch! Perfect for spicing up your go to outfit. This tutorial contains affiliate links.
You will need the following tools and materials to make these rhinestone crystal earrings.
1: Two strands of rhinestone crystals. I made mine approximately 12cm long.

2: Two larger rhinestones.

3: Two glue on stud earrings with backs.

4: Araldite glue
5: A skewer.
6: Scrap Paper.
Follow these steps to make your rhinestone crystal earrings:
1: Squeeze the Araldite glue out into equal parts and mix it on the paper.
2: Add the glue to the edge of the first large rhinestone.

3: Drape one of the rhinestone strands around the rhinestone and set it aside to dry. I recommend placing them on a cutting mat so that you don’t get paper stuck on your earrings.

4: Repeat steps 2 and 3 for the second set of rhinestones.
5: Add more glue to the earrings and place them on the back of the large rhinestones.

Once your earrings are dry they’re ready to wear! How perfect are these?
Here’s another pair I made using shorter pieces of rhinestone chain.

-
Get the look without the pain! Make this faux double piercing earring.

Do you like the look of earrings made for two piercings but don’t want to get any new holes? Why not make this faux double piercing earring?
You will need the following tools and materials to make this earring:
1: Pliers. You will need your flat nose pliers and round nose pliers.
2: Araldite glue.
3: A skewer.
4: A scrap piece of paper.
5: One clip on earring finding.

6: One earring post.

7: One butterfly back.

8: Two jump rings.

9: A small piece of chain.

10: Glue on charms. I used a piece of acrylic and a couple of rhinestones.


Follow these steps to make your faux double piercing earring:
1: Squeeze out the glue in equal parts onto the scrap paper.
2: Mix the glue with the skewer.
3: I glued one of the rhinestones onto the acrylic piece first.


4: Glue the rhinestones onto each earring. Make sure you leave the charm loop exposed on the clip on earring finding.


5: Set the earrings aside to dry.

6: Once the earrings are dry add a jump ring to the butterfly back. Slide one end of the chain onto the open jump ring and close it to secure the components together.


7: Add the remaining jump ring to the loop on the clip on earring.

8: Secure the other end of the chain to the clip on earring and close the jump ring to secure the earrings together.

Once your earrings are connected with the chain they are ready to wear, pop the earring post into your piercings and clip the other end onto the side of your ear! How cute?!