-
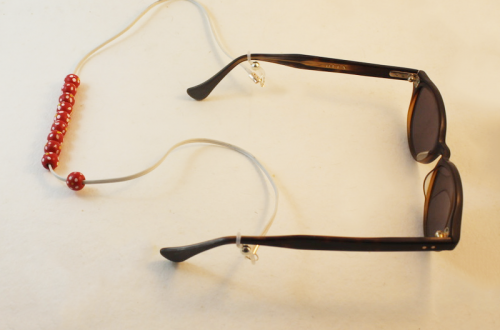
Here’s how to make a 2 in 1 glasses and mask chain.
People are starting to wear masks as part of every day life, if you want to add a bit of your own style to your mask why not make this cute mask chain? Add some glasses holders and you’ve got a piece that works double time! Clip it to your mask or pop it on the arms of your glasses, whatever you like! This tutorial contains affiliate links.
You’ll need the following tools and materials to make your mask/glasses chain:
1: Pliers. I used my flat nose pliers.

2: A ball chain. I used this rose gold-tone ball chain.

3: Two crimp ends. I used these rose gold ones that match my chain.

4: Two large lobster clasps. I used these silver tone ones.

5: Two rubber glasses holders.

6: Two jump rings.

Follow these steps to make your mask/glasses chain:
1: Remove the clasp on the ball chain.

2: Add one of the crimp ends to one end of the ball chain.

3: Use the flat nose pliers to carefully close and squash the crimp end around the end of the chain.


4: Repeat steps 2 and 3 for the other end of the chain.

5: Add one of the jump rings to one of the crimp ends.

6: Add one of the clasps and one of the glasses holders to the jump ring.


7: Close the jump ring to secure the clasp and rubber holder in place.

8: Repeat steps 5 to 7 for the other end of the chain to finish it off!

You can use the clasps to attach the chain to your mask or the rubber holders to secure them to your glasses! How good?!

This tutorial contains affiliate links.
Check out some of our other glasses chain tutorials:
-
How to make a charm embellished threader earring…
Are you looking for a way to use the charm you made in this tutorial? Why not make a cool single statement threader earring. This earring looks so cool in a second piercing or worn on its own! This tutorial contains affiliate links.
The Materials
You’ll need the following tools and materials to make this earring:
1: Pliers. I used my round nose pliers and cutting pliers.


2: A piece of wire at your choice of length, mine was approximately 6.5cm long. My wire was a piece of rose gold-filled wire approximately 0.65mm wide.

3: A pen or something else round to form your earring wire around.

4: A file or course sandpaper to smooth the ends of the wire.

5: The charm you made in this tutorial.

The Steps
Follow these steps to make your single charm threader earring:
1: Cut your wire to the desired length using cutting pliers.
2: Place your wire on the pen and gently bend it around to form a curve that will allow it to stay in your lobe. I made it so that one side was longer than the other.


3: Create a loop on the short end of the bent wire using the round nose pliers.

4: Open the loop slightly to attach the charm. Close it using your pliers to secure it in place.

5: File or sand the end of the wire so that it isn’t sharp any more.
Now your cute little charm threader earring is ready to wear!


Here’s another pair of charm threader earrings I made using silver wire and a square bending technique. The gemstone beads on this design are made of moonstone (the white round ones) and malachite (The green chip beads). I like to wear these next to each other in my double piercings, they look really cool when paired together.

Here are some other wire threader earring tutorials:
- Minimalist silver threader earrings
- Hammer texture arch earrings
- Rounded threader earrings
- Beaded threader earrings with hammered ends
This tutorial contains affiliate links.
-
How to make a cute pearl charm out of wire!
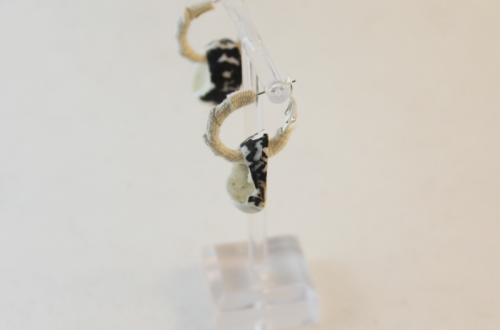
Maybe you’ve got some earrings that you want to change up a bit, like a pair of hoops that could use some extra charm… why not make this tiny pearl pendant out of hammered wire?
You’ll need the following tools and materials to make this little charm:
1: Cutting pliers and round nose pliers.
2: A steel block to hammer on.

3: A hammer. I used a normal hammer but a jewelry hammer might be more appropriate 😉

4: A piece of wire. I used some rose gold-filled wire, approximately 3cm long.

5: Pearl beads. I used these two small white pearls.

6: A file or sandpaper for finishing off the ends of the wire.
Here are the steps to follow to make your cute pearl charm:
1: Cut the wire to the length you want it, make sure you leave enough room for hammering and curling the top of the wire.
2: Place the wire on the hammering block.

3: Hammer one end of the wire, flipping it over to make sure both sides are even. Keep hammering until the wire is wide enough to stop your bead from falling off.

4: Place the beads on the wire. They should be stopped from sliding off by the newly hammered end.

5: Bend the wire to form a right angle at the top.

6: Loop the wire using the round nose pliers to secure the beads from sliding off the other end.

7: File or sand the hammered end of the wire to ensure that there are no sharp edges.
Now your charm is finished! What will you decorate with yours?

If you liked this design, here’s another hammered charm tutorial.
Here are some other hammered earring tutorials
- Hammered wire arch earrings with gemstones
- Simple hammered studs
- Hammer texture threader earrings
- Beaded wire threader earrings
This tutorial contains affiliate links.
-
Here’s how to make some cute studs out of some wire!
These tiny studs are made using a hammer and some gold-fill wire, I love them!

You will need the following tools and materials to make your wire stud earrings.
1: Two short pieces of wire. I used some rose-gold fill wire.

2: A steel block.

3: A hammer.

4: Some plastic nose pliers for bending the wire.

5: A file.
Follow these steps to make your wire stud earrings:
1: Place the wires on the steel block and hammer one side of each wire flat.


2: File the ends of the wires so that they are smooth.
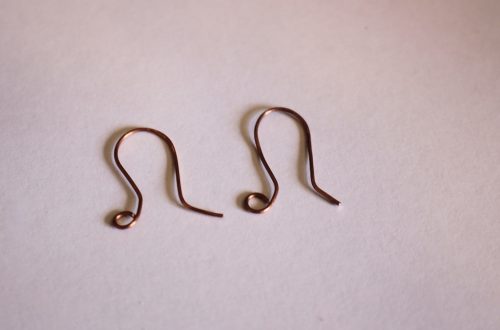
3: Fold the wires around the pliers. Make sure you leave the posts long enough to fit in your lobes. I had to adjust mine a little bit after I took this photo.


4: Add the earring backs and now you’re done! How cute are these little guys?

Here’s another pair I made using thicker gold-fill wire.

-
Last Minute Handmade Gifts for Christmas 2018!
Have you left your gifts to the last minute? Why not make your friends and family some special accessories? Here are five DIY Christmas gift ideas.
A Festive Headband.
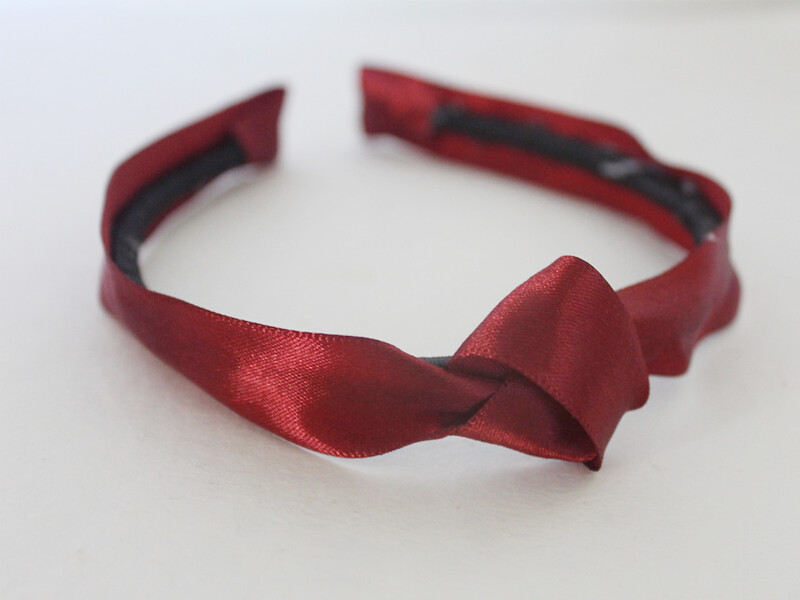
Headbands are back! This headband design uses some luxurious ribbon for a cool effect. Find all the steps here.
Collar clips for your stylish friend with all the flair!
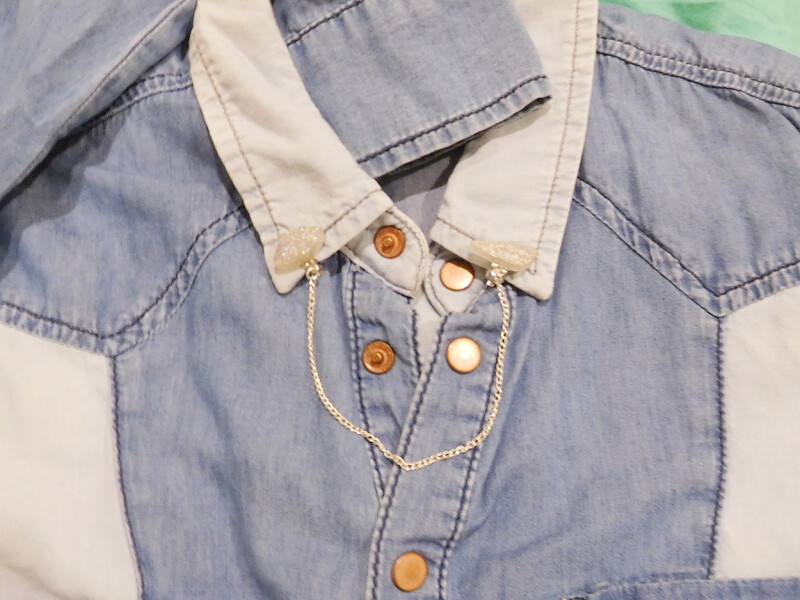
These collar clips make clever use of clip on earrings. They’re perfect for people who love quirky accessories. Find out how to make them here.
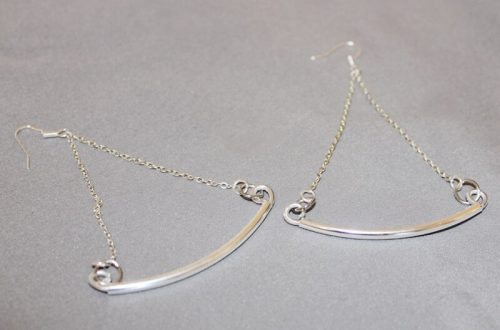
For the person who likes to keep it simple: curved threader earrings.
These earrings look so delicate and elegant! Make your own by following this tutorial.
For the crystal lover: a leather and crystal choker.
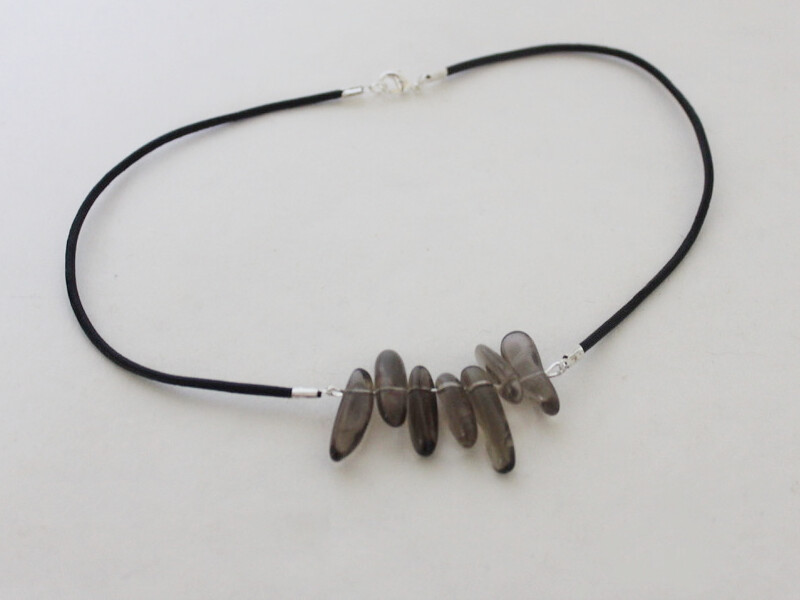
This choker design is perfect for showing off those protective crystals. Find all the steps here.
Here’s something for the sentimental: Earrings made with found feathers.
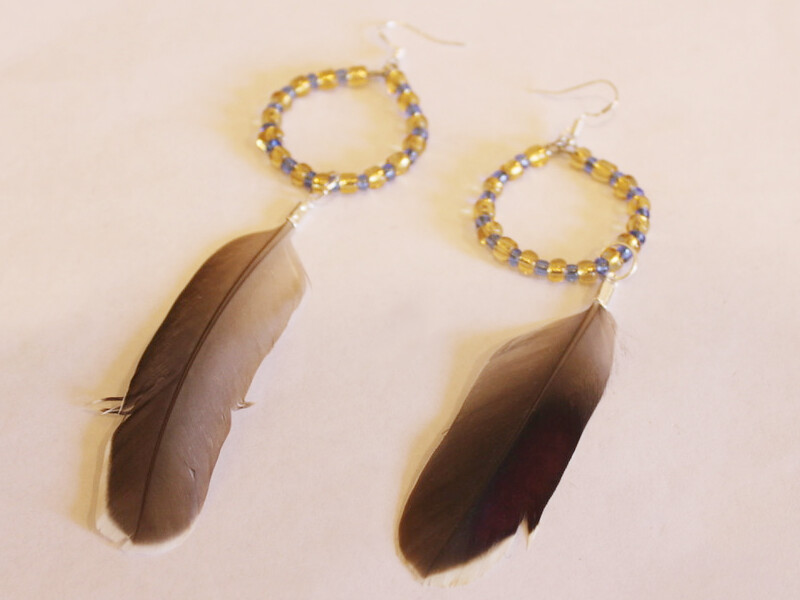
I made these earrings using feathers I found myself. Using found materials can make your designs extra special for the people who receive them. Here’s how to make these feather earrings.
-
Here’s another way to make threader earrings

So we’ve already had a couple of tutorials that show you how to make square top threader earrings, which you can find here and here. So here’s one that shows you how to make threader earrings with a curved top.
You will need the following tools and materials to make these earrings:
1: Pliers (you will need cutting pliers to cut your wire).
2: Two pieces of wire the same length. I used some rose-gold fill wire. Mine were approximately 8.5cm long.

3: A pen or something else that is round to bend your wire around.
4: Tape.

5: A file.
Follow these steps to make your curved threader earrings:
1: Line up the ends of the wire and tape it to your pen.

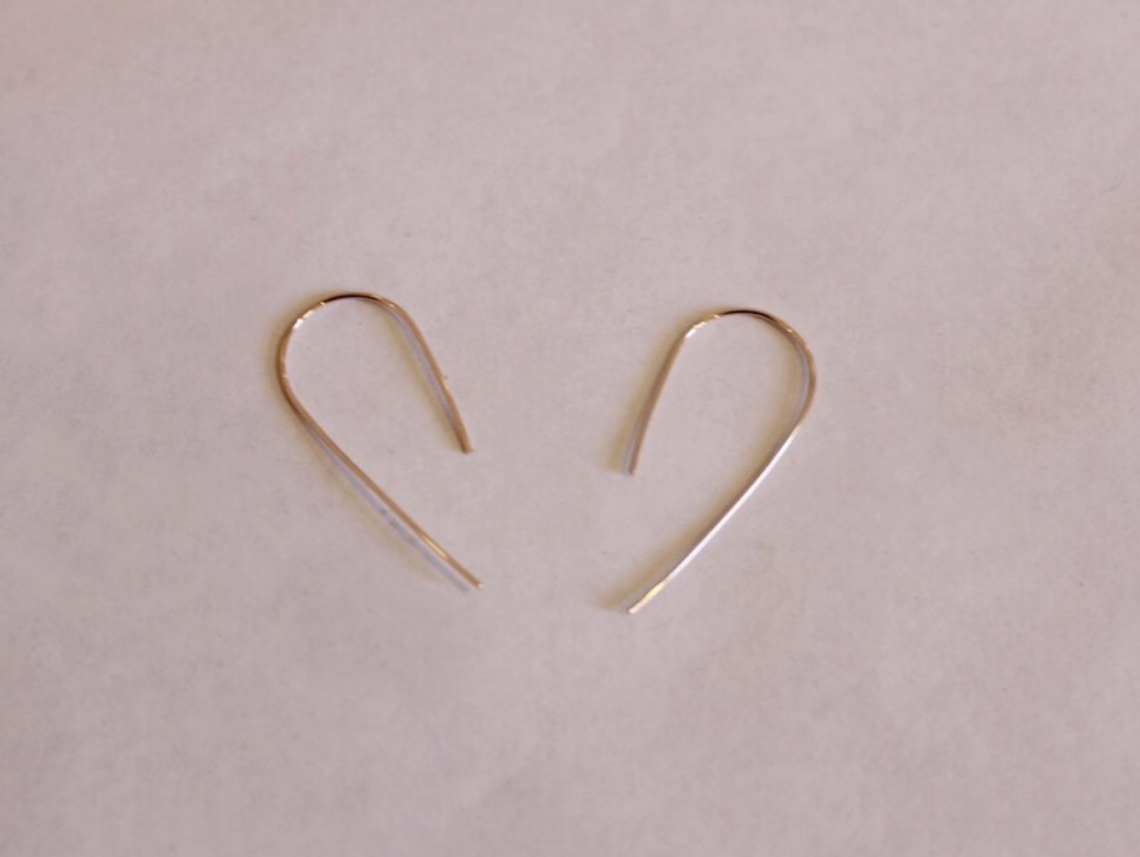
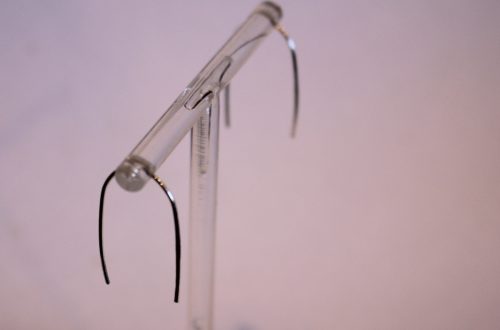
2: Gently push the wire around the pen until you have the shape you like.


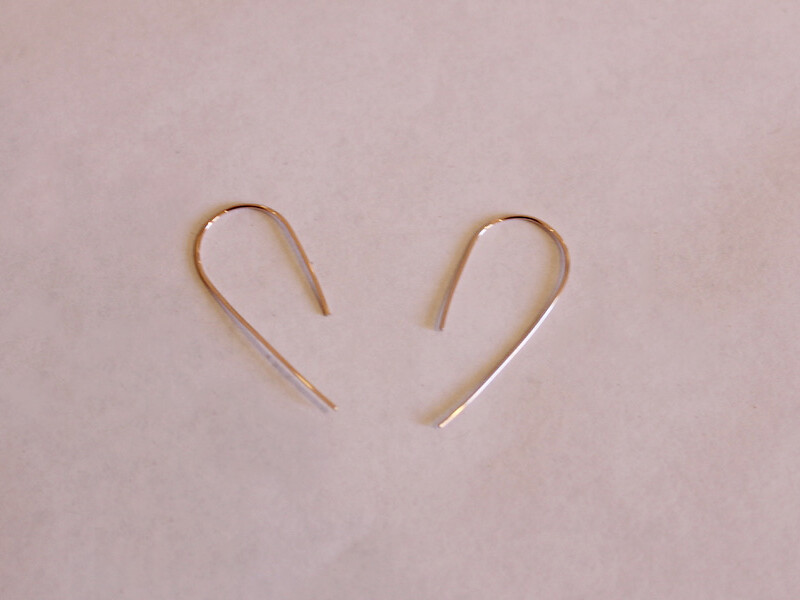
4: Take the earrings off the pen.

5: Use the file to smooth down the ends of the earrings so that they are the same length.
Once you have finished filing your earrings are finished and ready to wear! Who thought it would be so easy to make such delicate and elegant earrings.
You can find another way to make curved wire threader earrings here.
This tutorial contains affiliate links.