-
How to add cute square charms to a pair of hoop earrings!
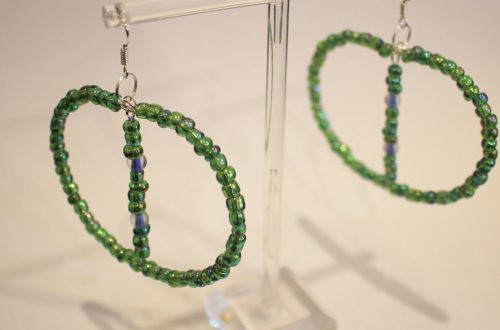
These hoop earrings are really cute! Each hoop has a little dangly beaded square charm which moves prettily as you wear them! This is a really special way to upgrade a basic hoop finding. Please note that this tutorial contains affiliate links.
Grab these tools and materials to make your earrings:
1: A pair of hoop findings.

2: Eight eye pins.

3: Four head pins.

4: Four small jump rings.

5: Four large jump rings.

6: Glass beads. I used yellow glass e-beads.

7: Some accent beads, I used four blue seed beads and four silver-tone beads.


8: Pliers. I used my flat nose and round nose pliers for this pair of earrings.


Follow these steps to make your elevated hoop earrings:
1: Add beads to one of the eye pins.

2: Bend the end of the pin to form an angle.

3: Curl the end of the pin around the round nose pliers to make a loop. This secures the beads in place.


4: Repeat steps 1-3 for the remaining seven eye pins. Now you will have eight beaded pins.

5: Take four of the pins and join them together to form a chain.


6: Do this again for the second set of pins.

7: Attach the ends of each chain together to make a square shape.


8: Set the two squares aside.
9: Add two of the accent beads to the head pins.


10: Wrap the end of the pin around the round nose pliers to create a loop.


11: Repeat steps 9 and 10 for the other three pins, using up the rest of the beads.

12: Attach two of the charms you just made to the bottom corners of each of the squares using the small jump rings.


13: Add the larger jump rings to the top corners of the squares.


14: Using the larger jump rings, slide a charm onto each of the hoops.


Now your elevated hoop earrings are finished and ready to wear! How fun is this design? I love how they move and wiggle as I wear them!

Here are some other ways you can incorporate beaded squares into your jewelry:
-
This is a bit of fun, how to make clip charms for your hoop earrings.
This DIY is a little bit silly, but hopefully a bit of fun as well. It is a way to make the most of your face hoop earrings and show off your favorite charms. This design uses large lobster clasps that you can use to clip different charms onto your hoops. This tutorial contains affiliate links.
You’ll need these tools and materials to make your customizable charm hoop earrings:
1: Pliers. I used my round nose and flat nose pliers.
2: Hoop earrings. I used these silver hoop earrings with a lever back.
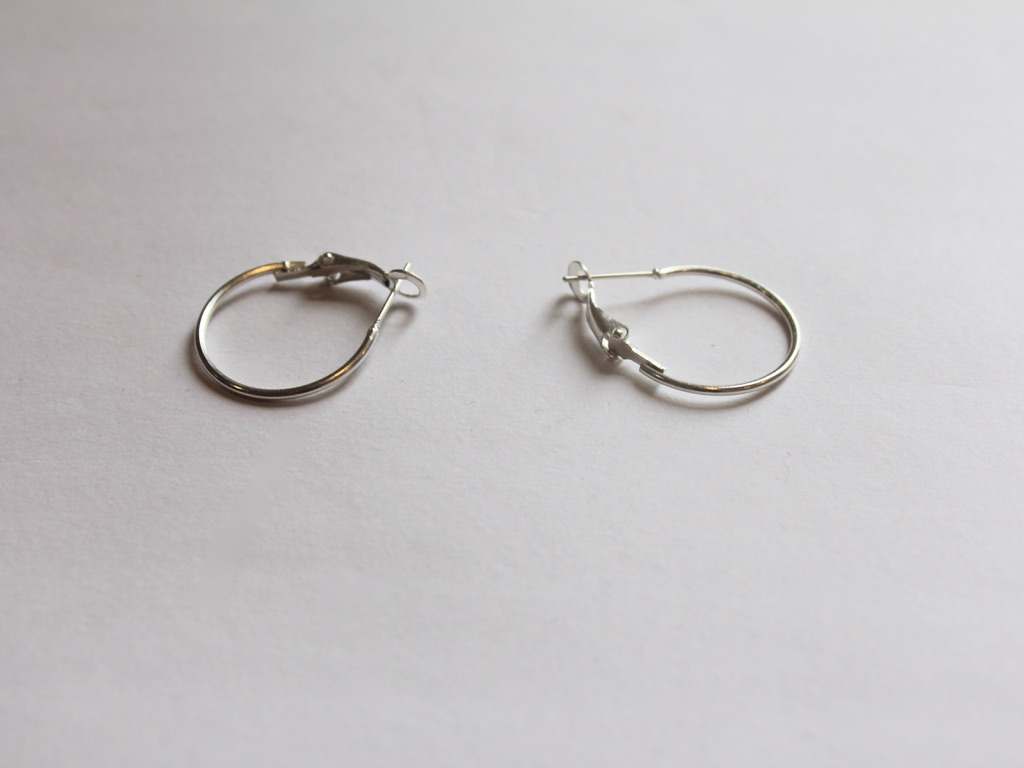
3: Jump rings to attach to your charms.
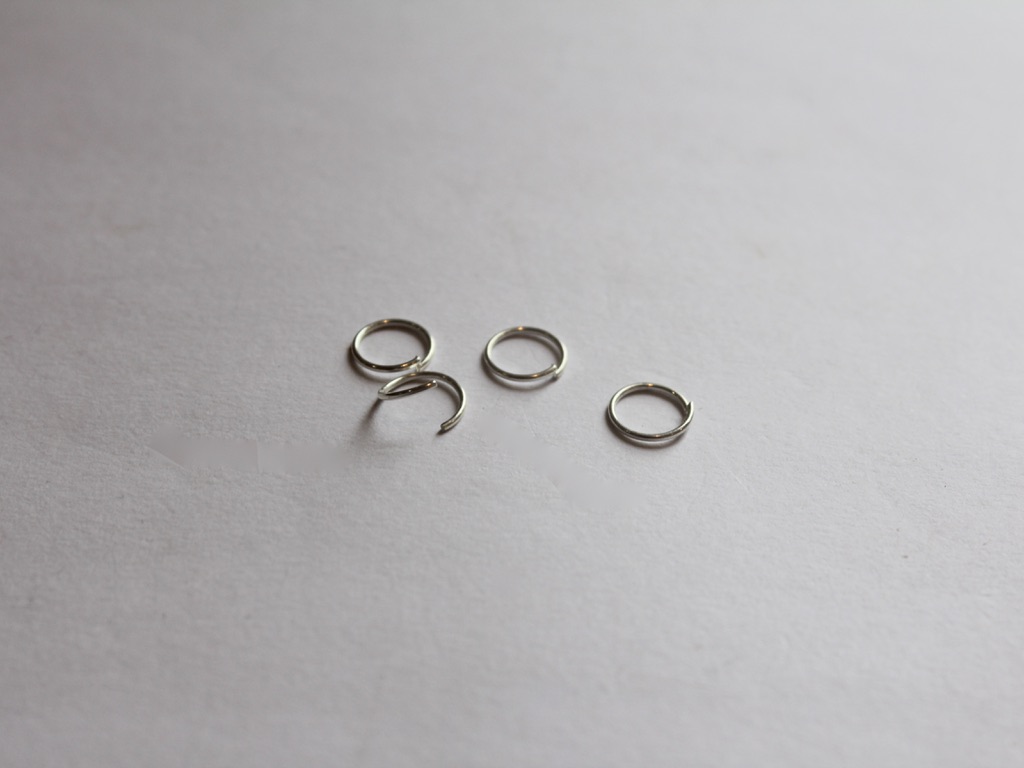
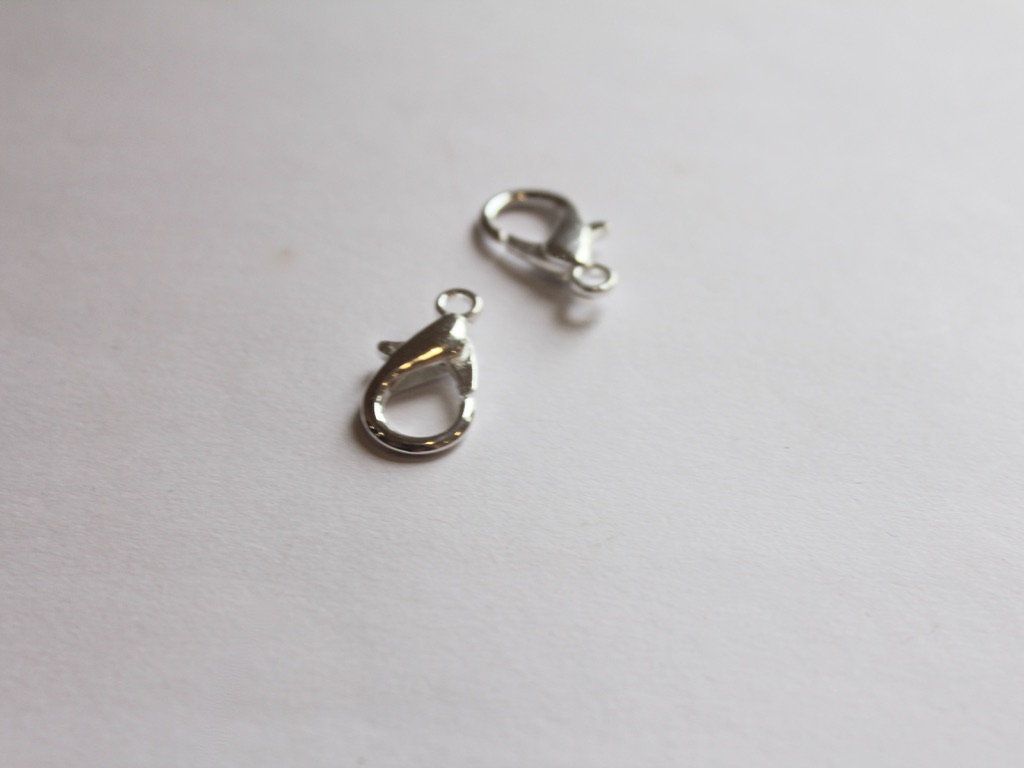
4: Two large lobster clasps the same color as your hoops.
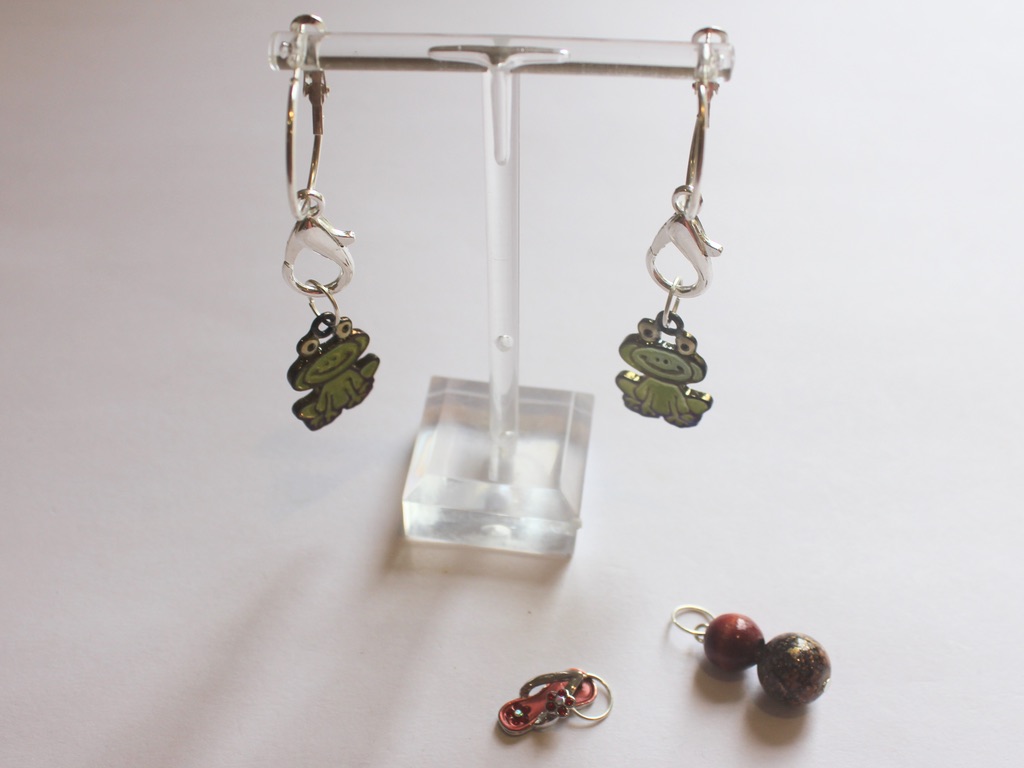
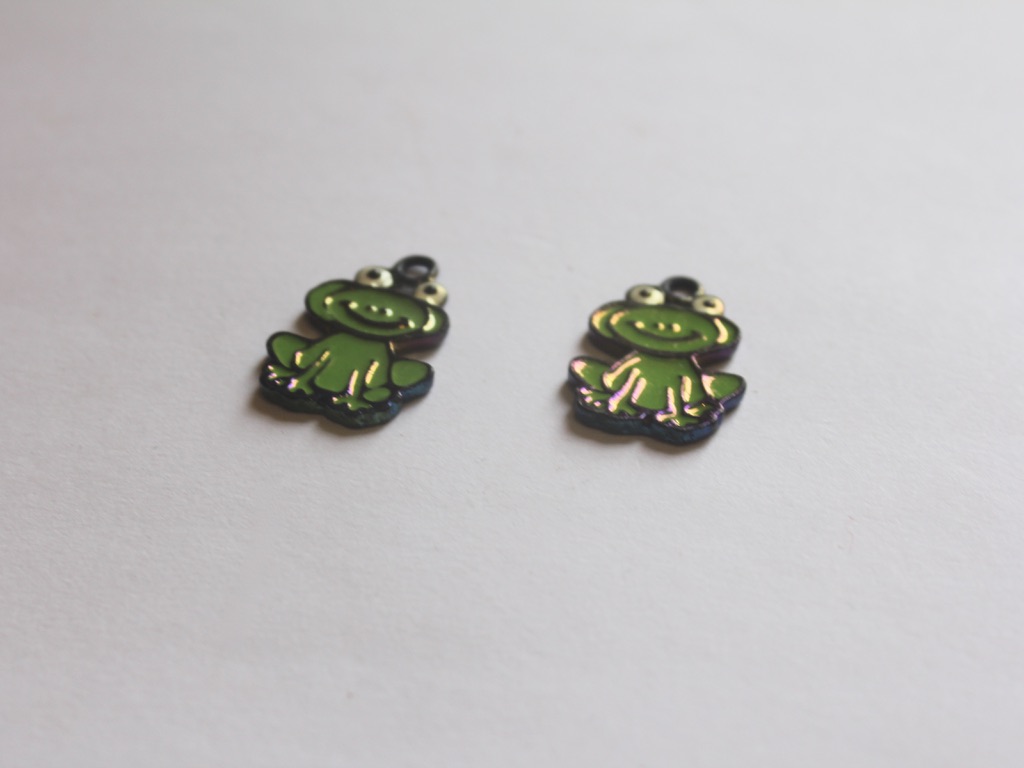
5: Charms or beads and head pins. I used both to make some mismatched charms.
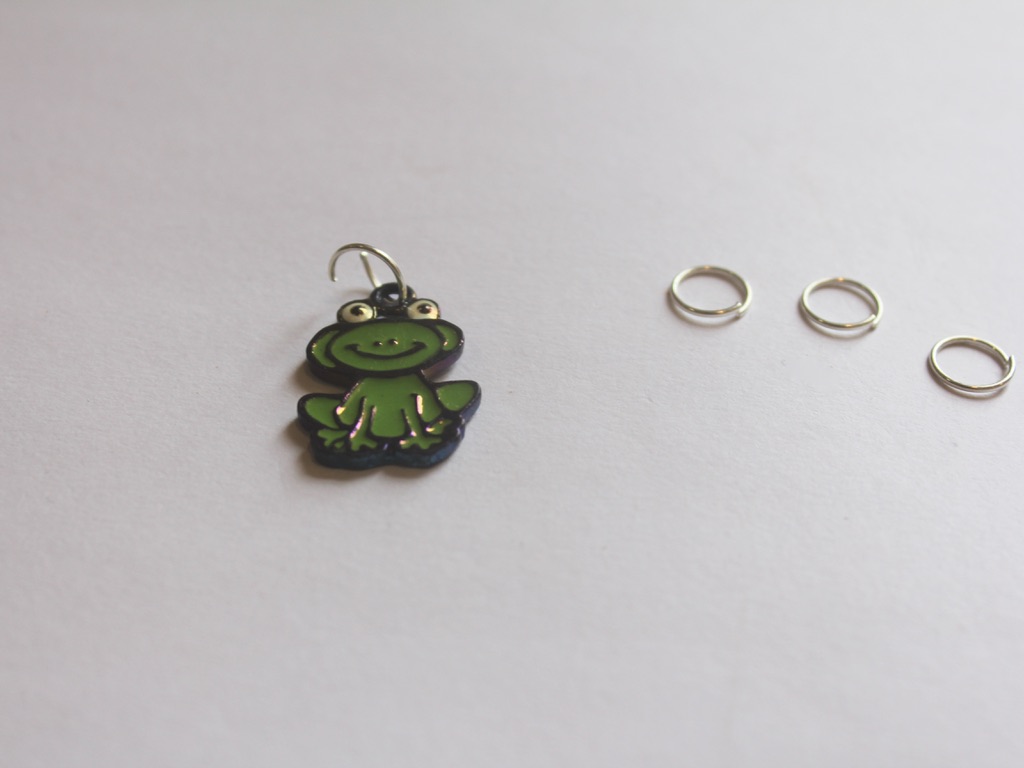
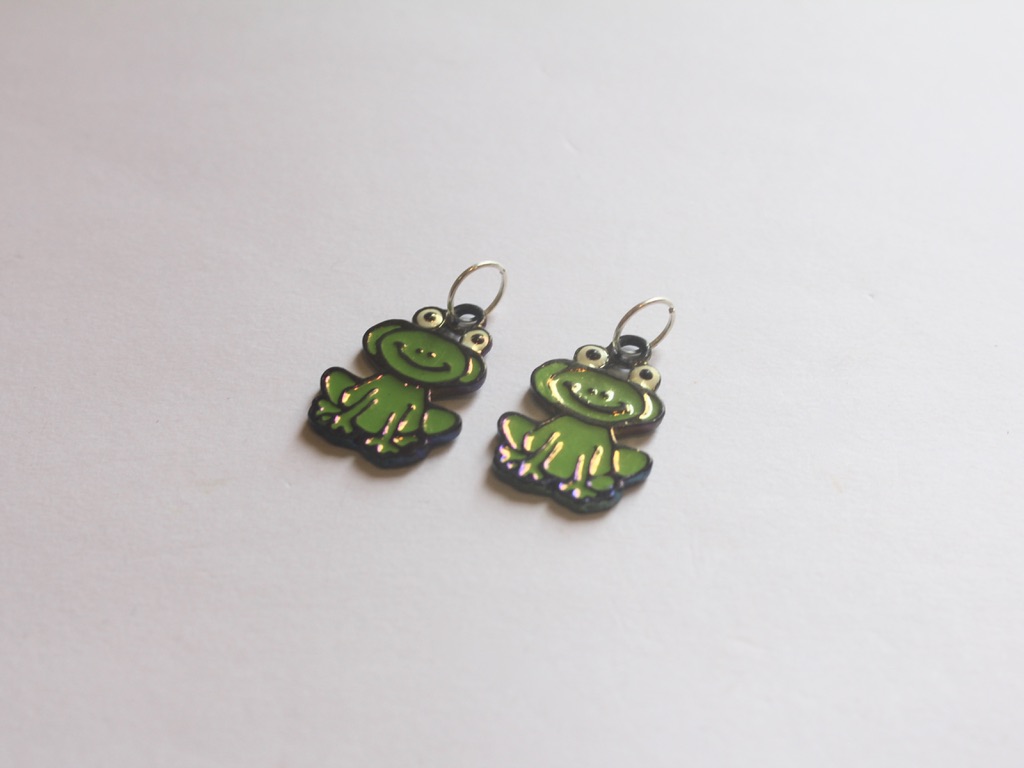
I used these cartoon frog charms.
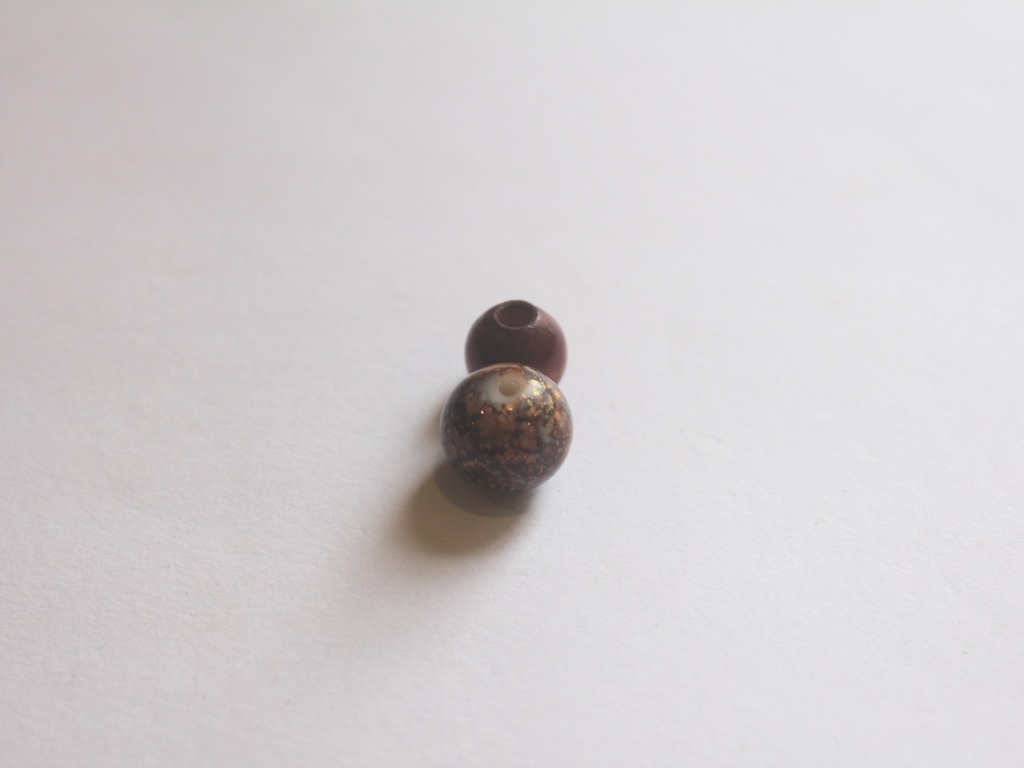
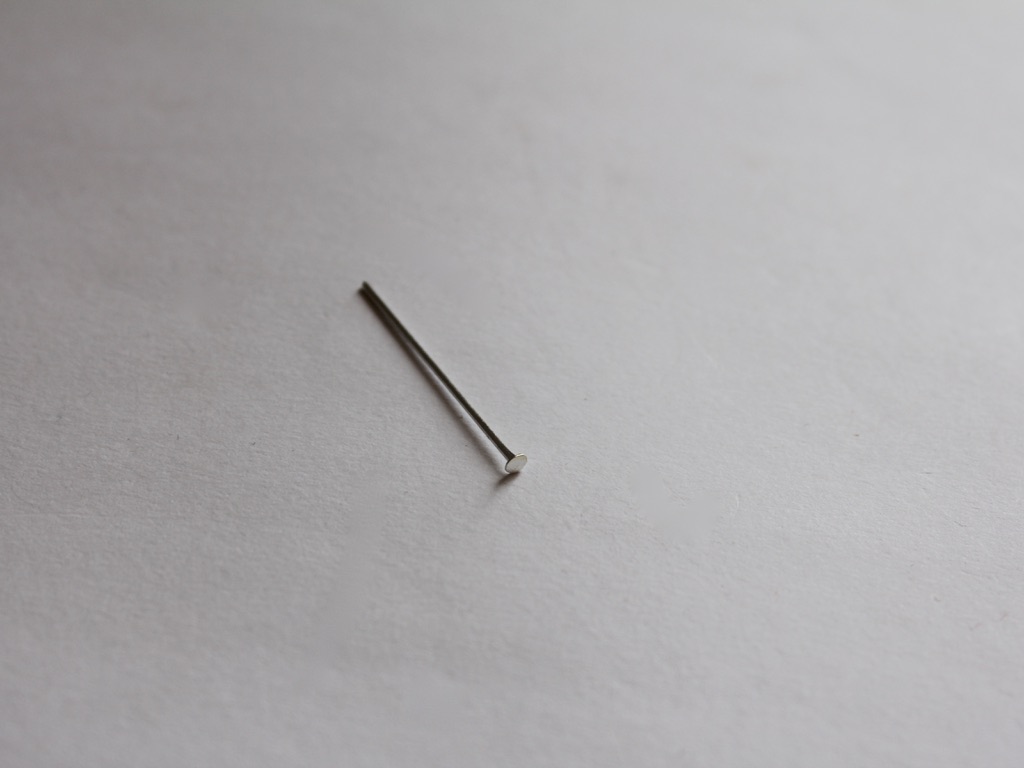
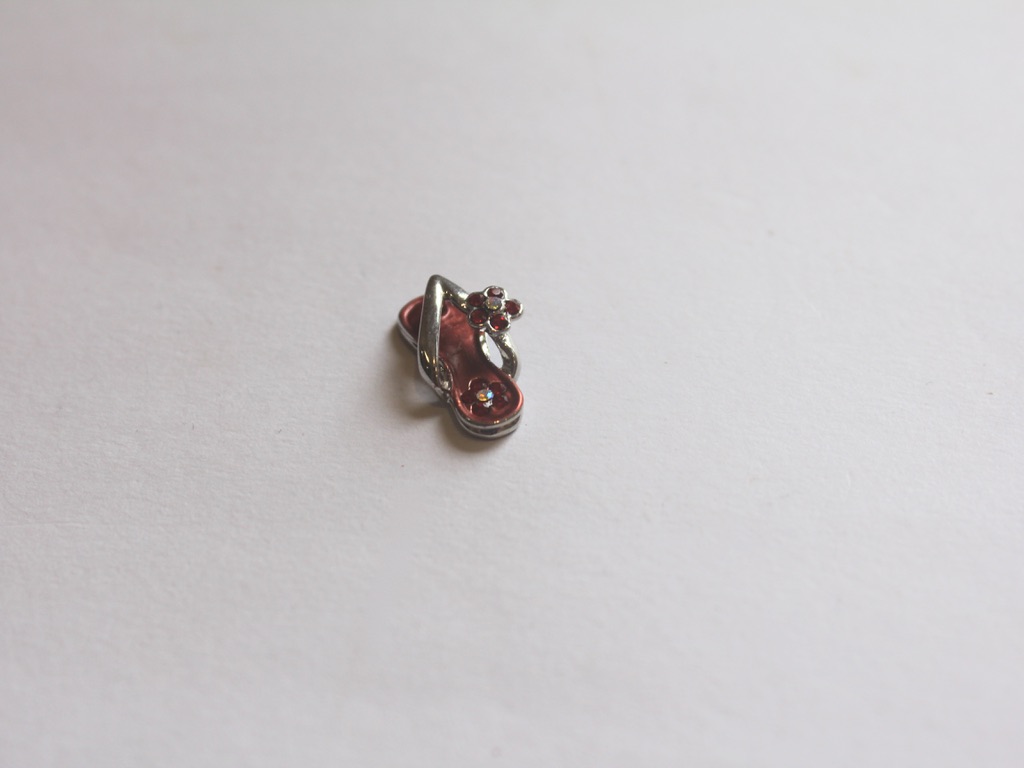
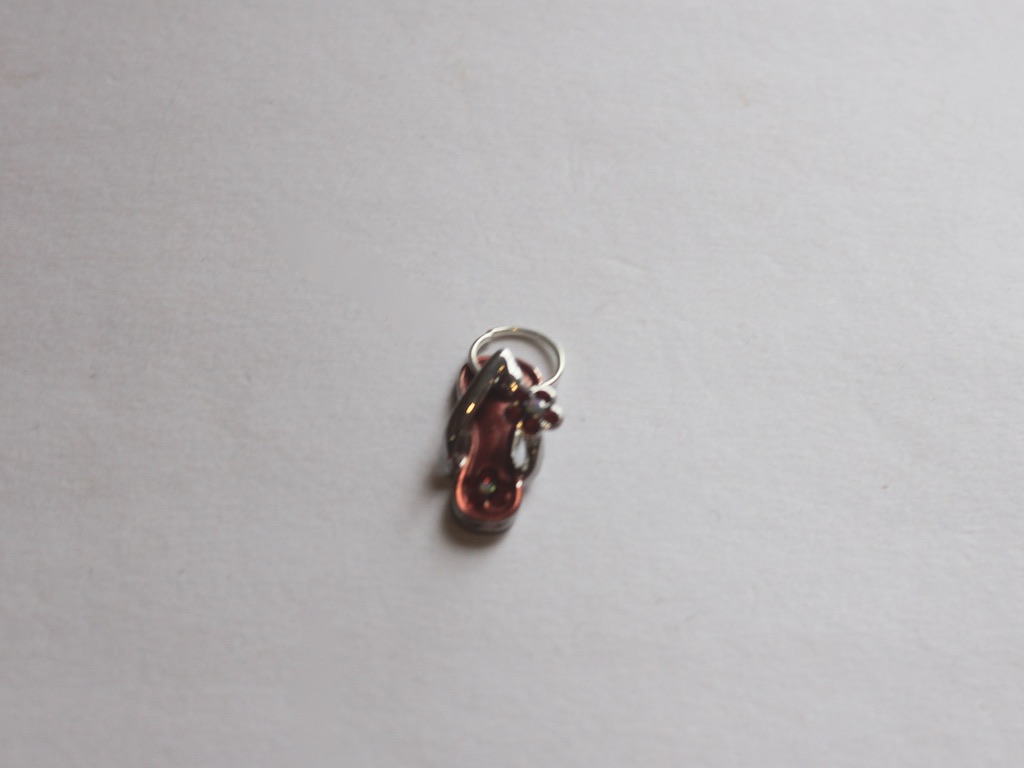
And some beads and a head pin with a flip flop charm.
Follow these steps to make your customisable hoop earrings:
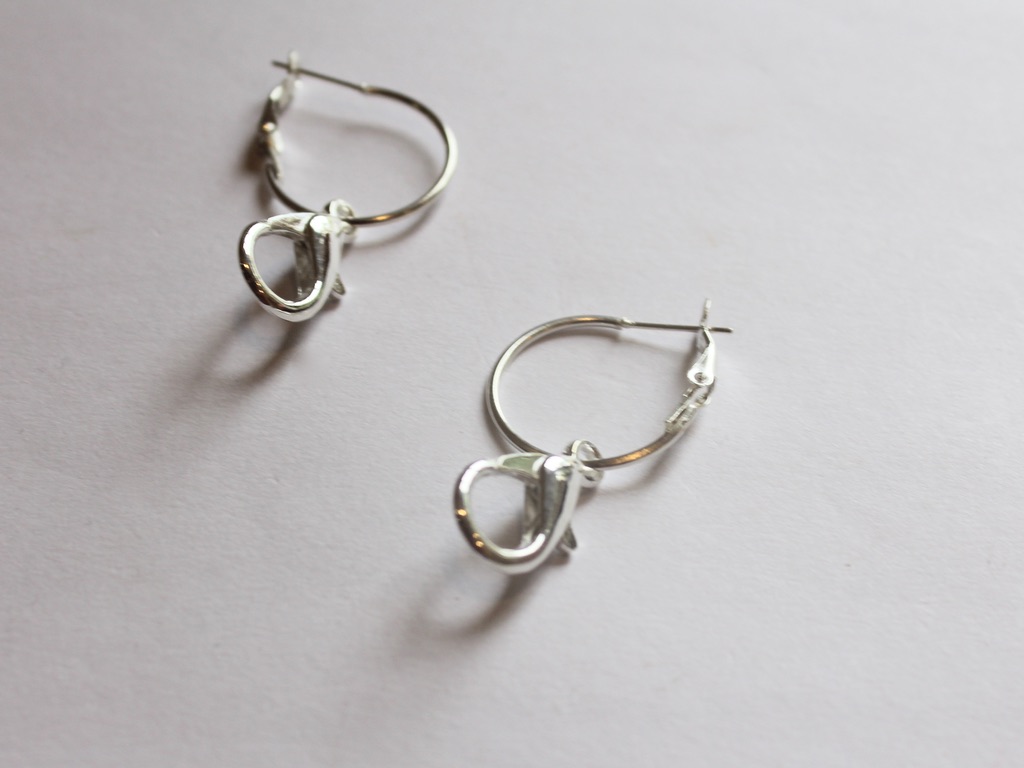
1: Add each of the lobster clasps to the hoops.
2: Add jump rings to the top of each charm you want to feature on your earrings.
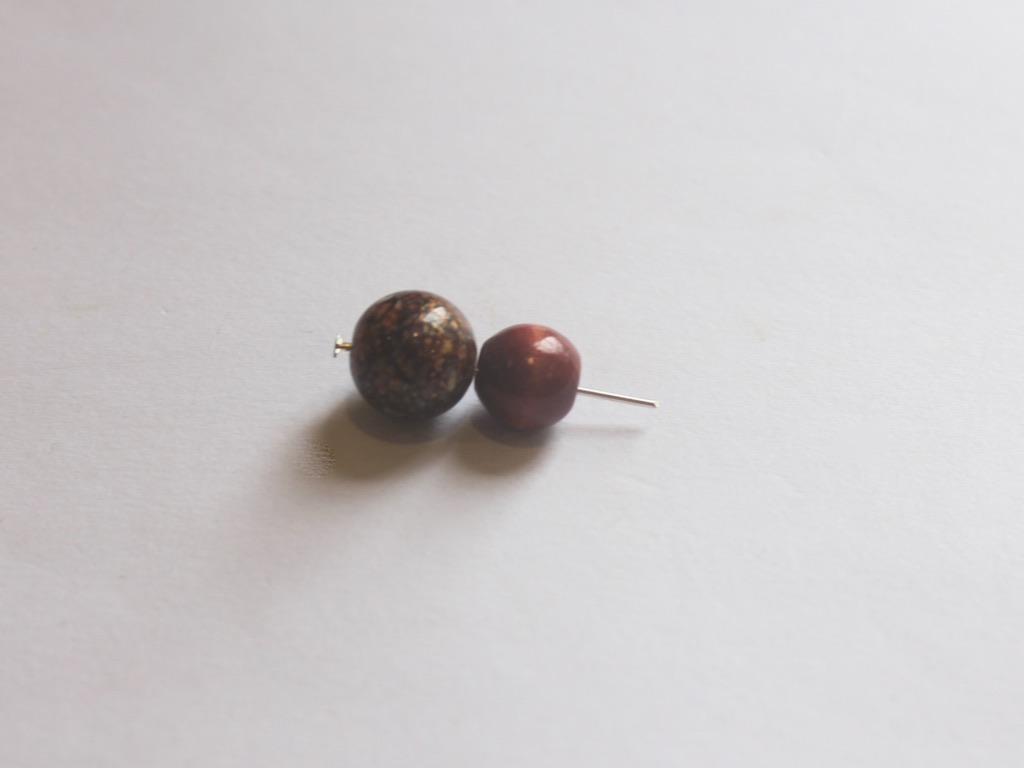
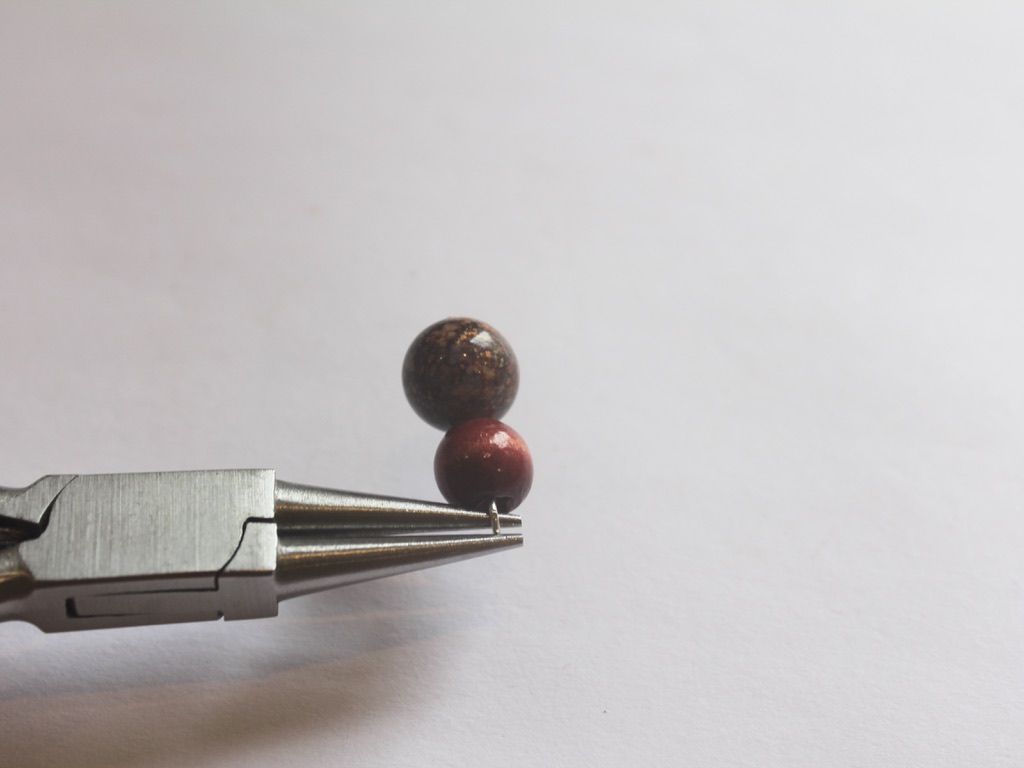
3: Create your bead charms, do this by adding beads to your head pin and curl the tops into a loop using the round nose pliers. Add a jump ring to the top if you need it.
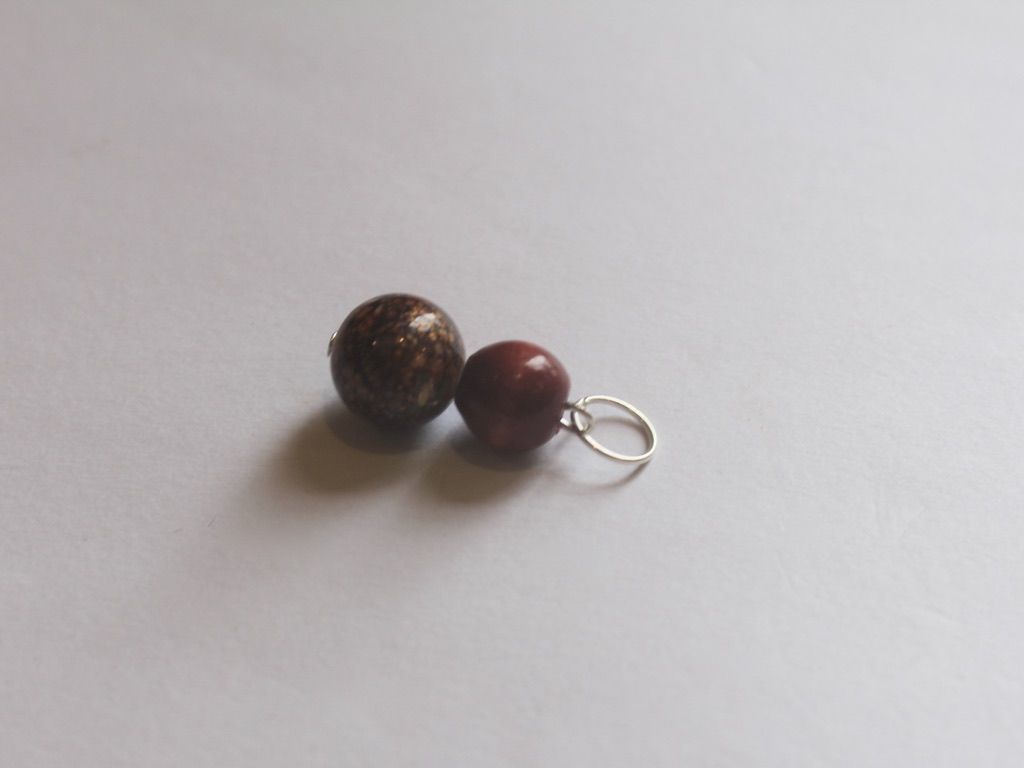
Now you can clip on the charms you like, mix and match for a unique look!
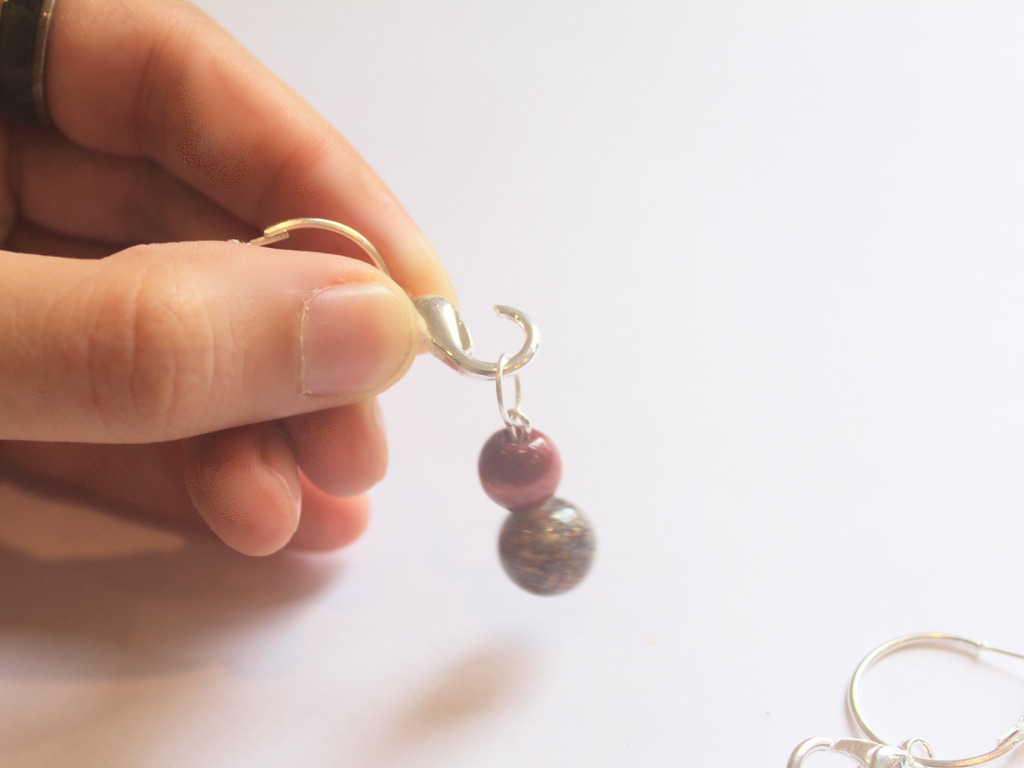
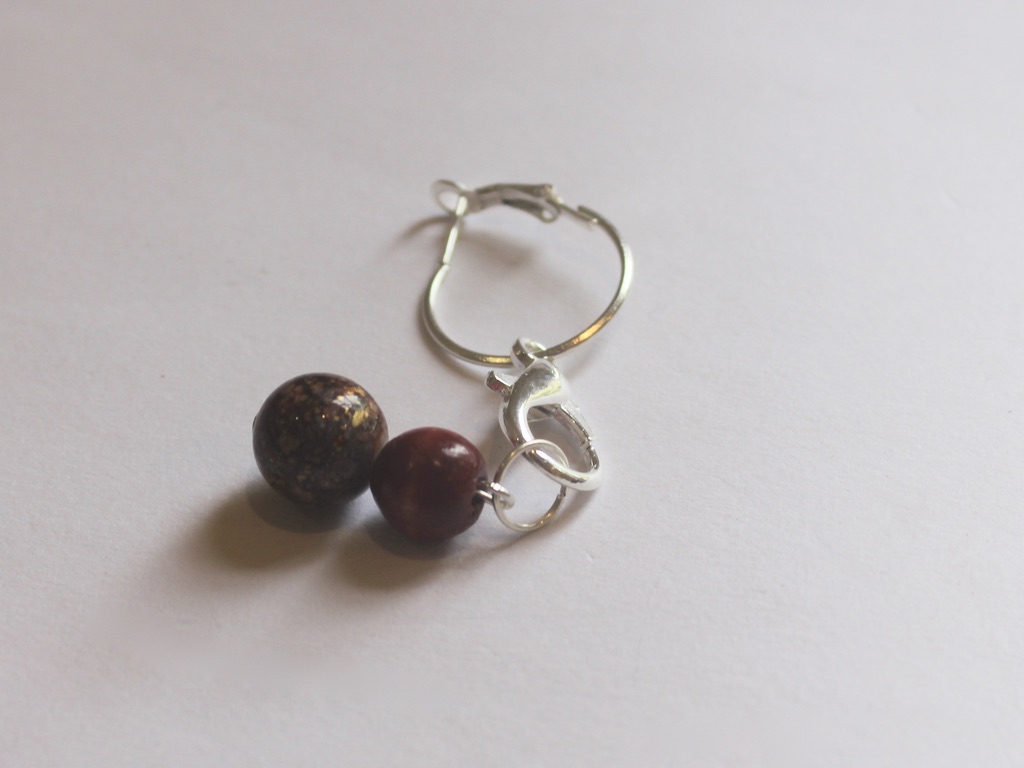
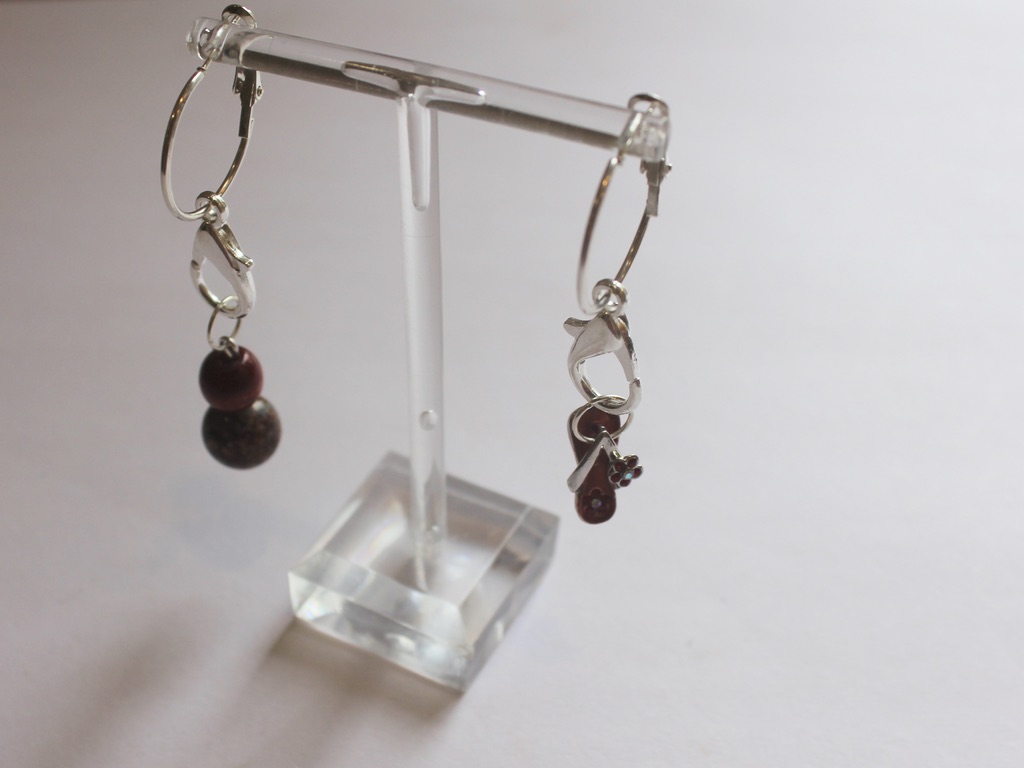
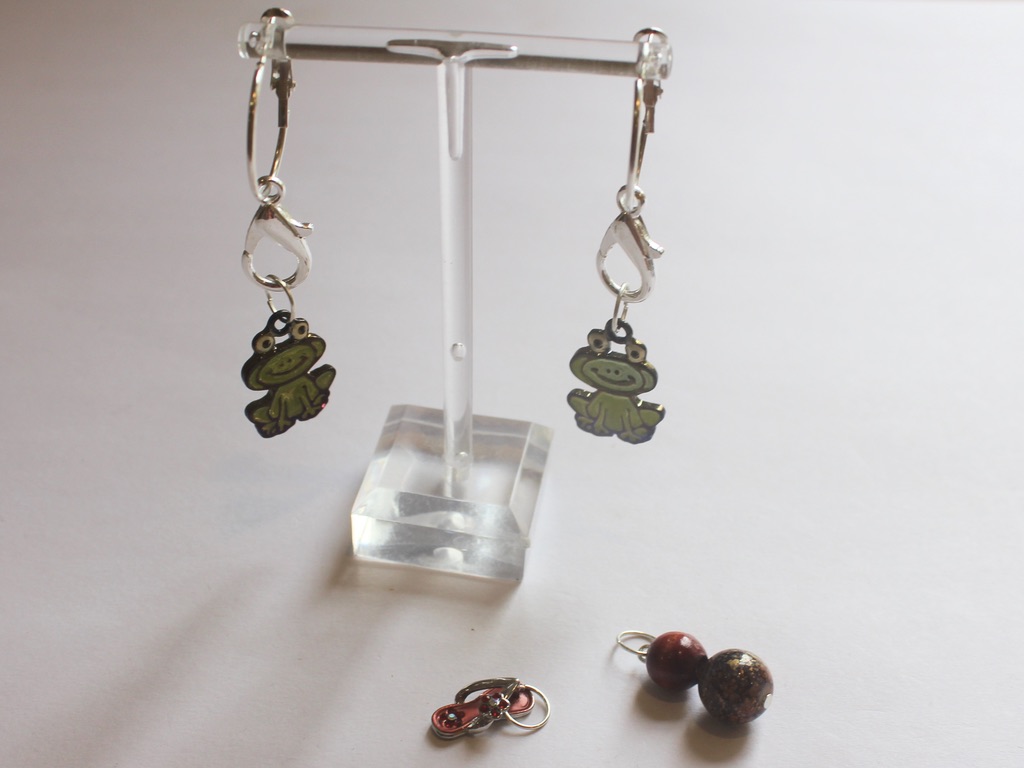
I think this tutorial is great for showcasing the charms you already have at home, but this post also contains affiliate links if you want to buy some new charms and materials.
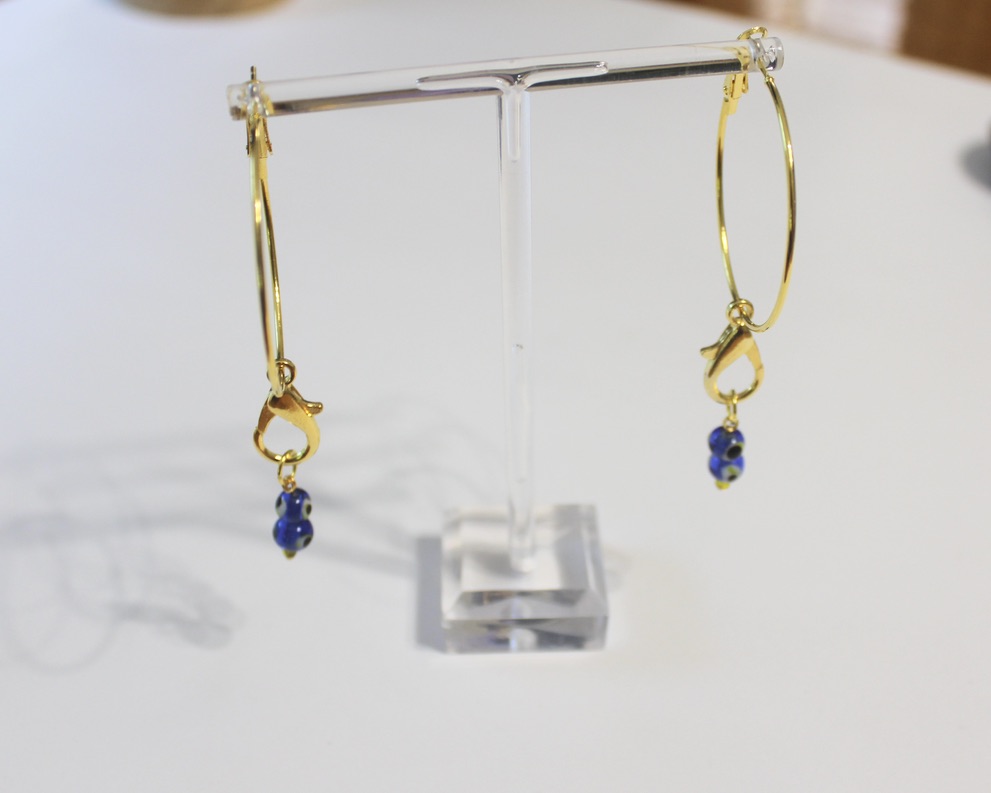
Here’s another pair I made using gold-tone materials and glass beads.
-
These Pom Pom hoop earrings are the CUTEST!

Here’s a quick tutorial that shows you all the steps to make a pair of adorable and colorful pom pom hoop earrings. Contains affiliate links.
You will need the following tools and materials to make your pom pom hoop earrings:
1: Small pom poms. I added four to each earring.

2: Two hoop earrings.

3: A cutting mat.

4: A pointed tool for poking a hole in each pom pom (be careful!)

Follow these steps to make your pom pom hoop earrings:
1: Using your cutting mat, carefully poke a hole in the first pom pom. If you puncture it too close to the edge it will fall off the earring.


2: Carefully slide the punctured pom pom onto the hoop earring.

3: Continue puncturing 3 more pom poms and put them on the first earring.
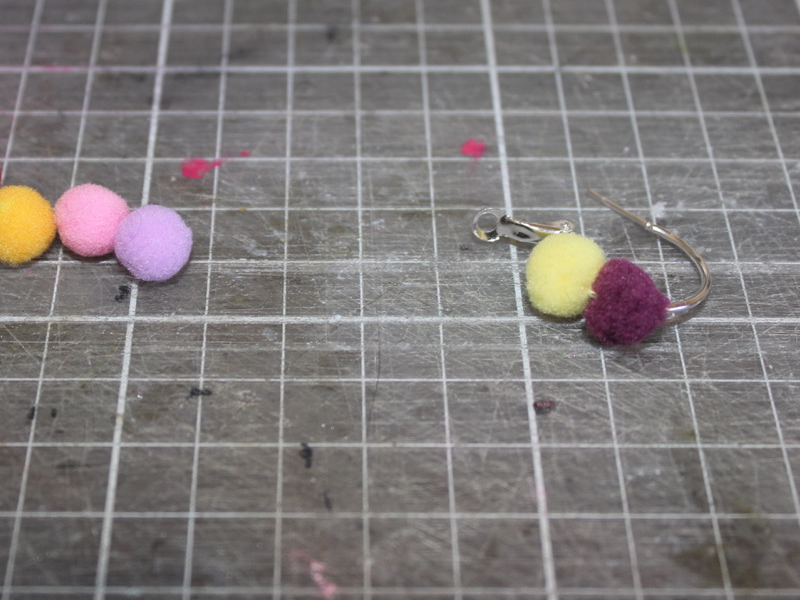

4: Repeat steps 1-3 for the remaining 4 pom poms and the second hoop earring.
Now your earrings are finished! How adorable are these fuzzy rainbow hoops?!
Here’s another pair made with matching pom poms.