-
Last Minute Handmade Gifts for Christmas 2018!
Have you left your gifts to the last minute? Why not make your friends and family some special accessories? Here are five DIY Christmas gift ideas.
A Festive Headband.
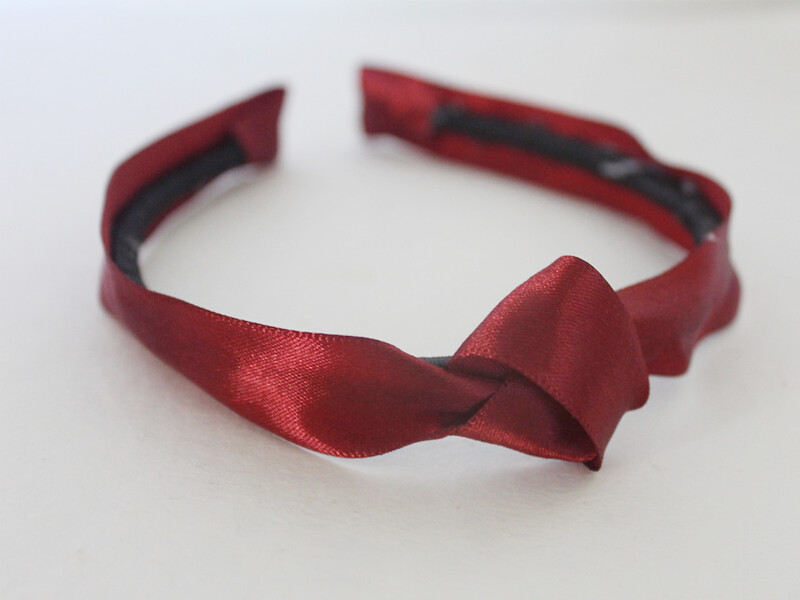
Headbands are back! This headband design uses some luxurious ribbon for a cool effect. Find all the steps here.
Collar clips for your stylish friend with all the flair!
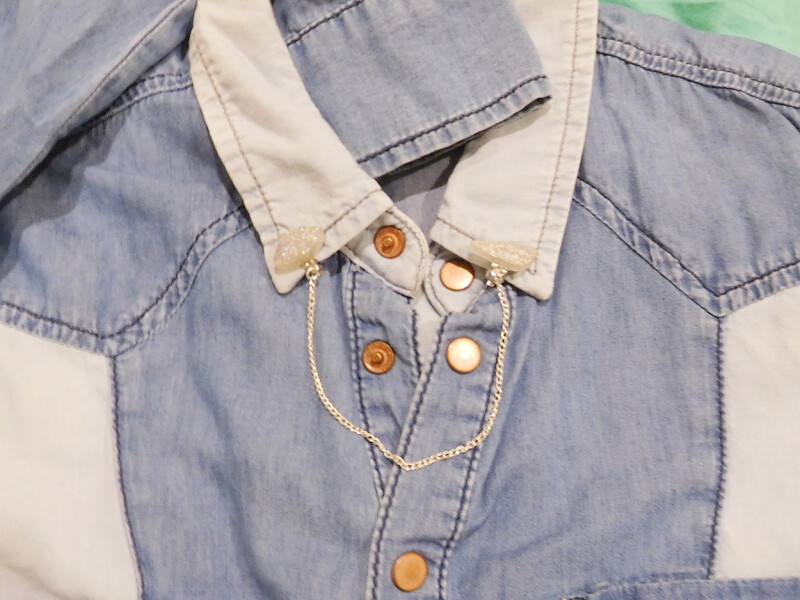
These collar clips make clever use of clip on earrings. They’re perfect for people who love quirky accessories. Find out how to make them here.
For the person who likes to keep it simple: curved threader earrings.
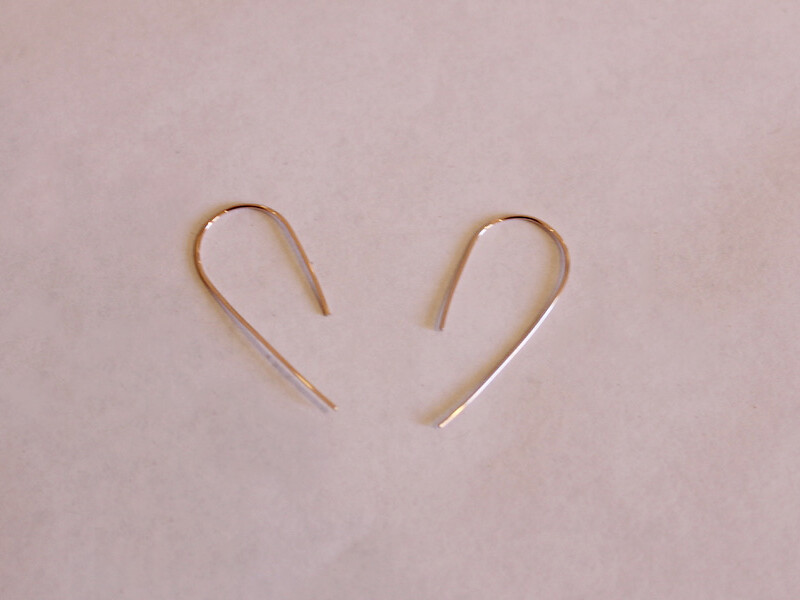
These earrings look so delicate and elegant! Make your own by following this tutorial.
For the crystal lover: a leather and crystal choker.
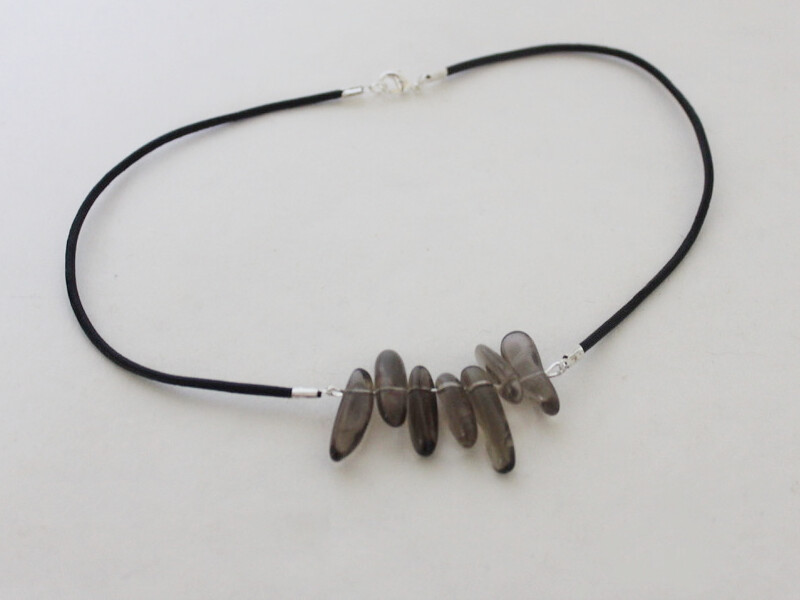
This choker design is perfect for showing off those protective crystals. Find all the steps here.
Here’s something for the sentimental: Earrings made with found feathers.
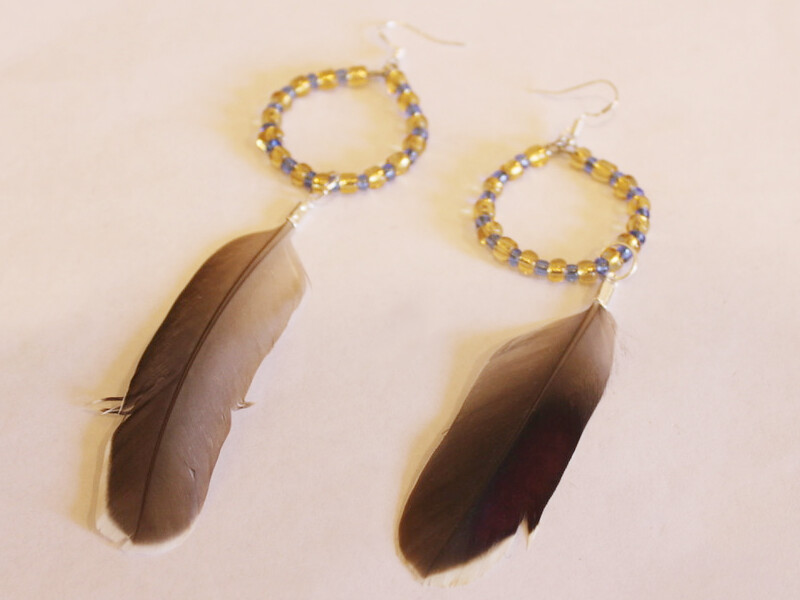
I made these earrings using feathers I found myself. Using found materials can make your designs extra special for the people who receive them. Here’s how to make these feather earrings.
-
Need something tough but healing? Make this crystal choker necklace!
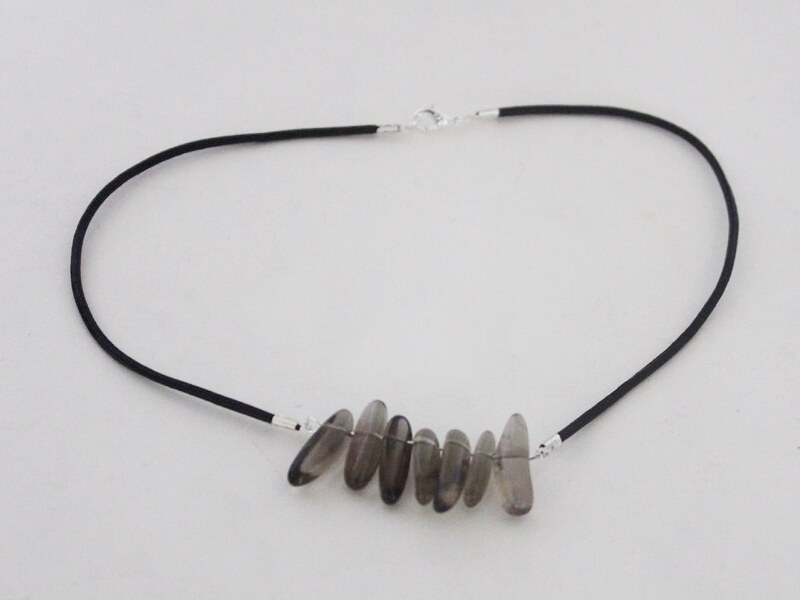
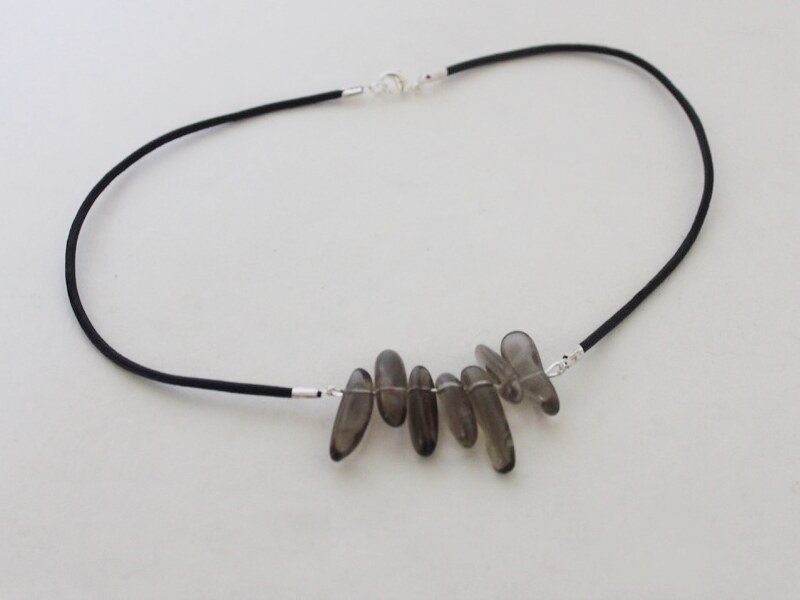
Do you need a cute new accessory to jazz up your jewelry collection? Make this awesome crystal choker necklace.
You will need the following tools and materials to make your crystal choker necklace:
1: Pliers. You will need your cutting pliers, flat nose pliers and round nose pliers.
 2: A long eye pin.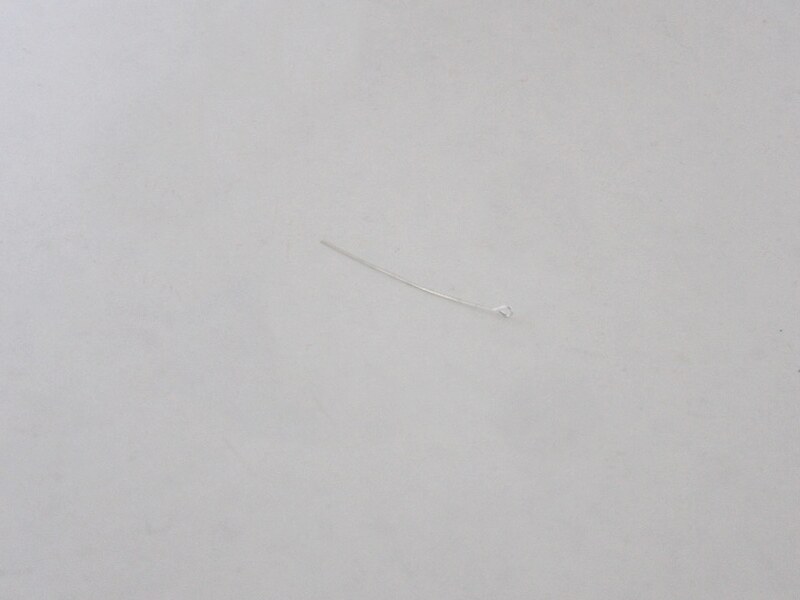
3: Gemstone beads. I used these smoky quartz beads.

4: Two pieces of leather cord. Approximately 15.5 cm long.
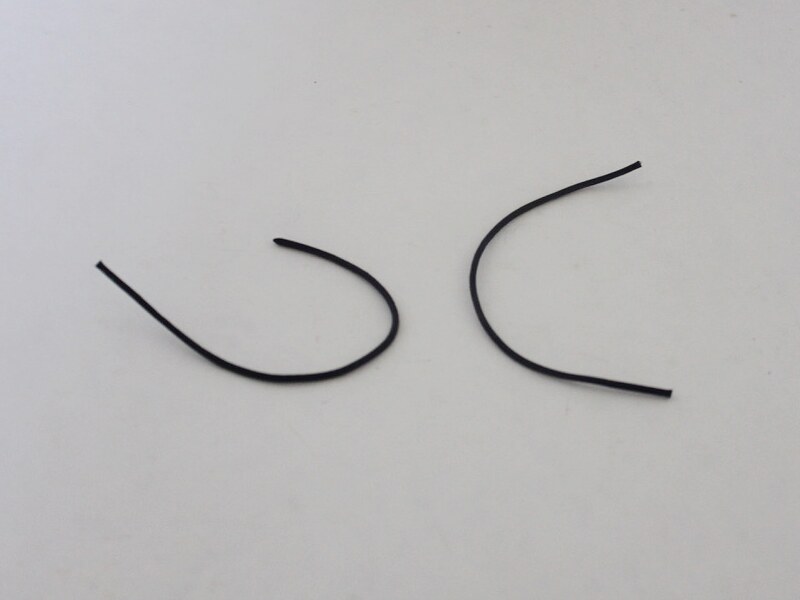
5: Four leather crimp ends.

6: Two jump rings.

7: A lobster clasp.

Follow these steps to make your crystal choker:
1: Add the beads to the eye pin.
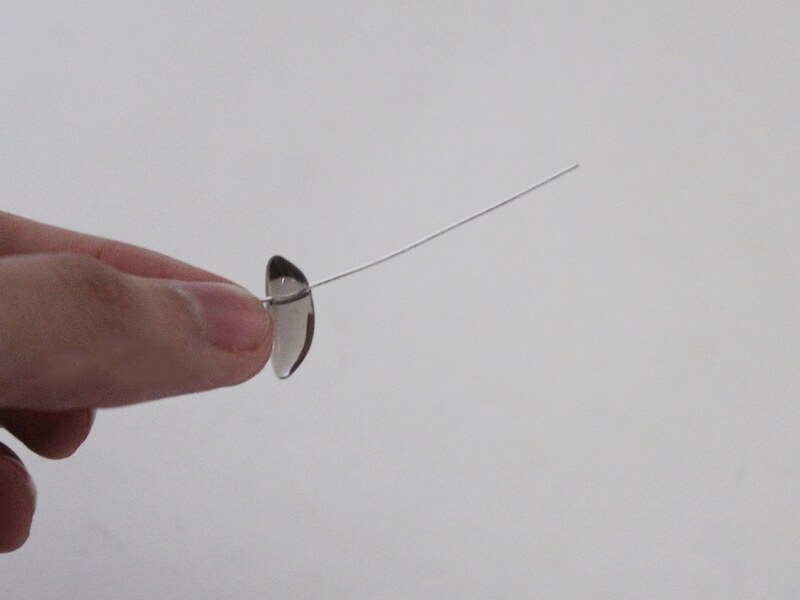
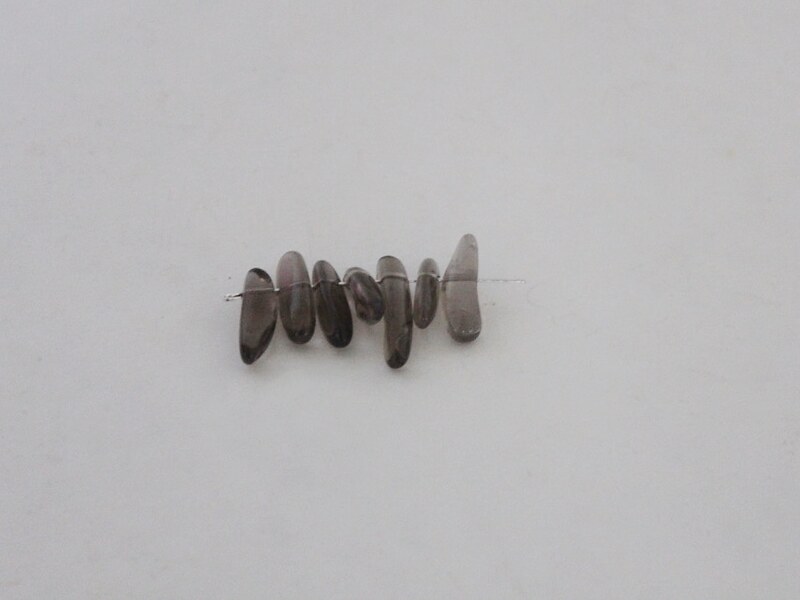
2: Bend the end of the pin to form a right angle using the round nose pliers.
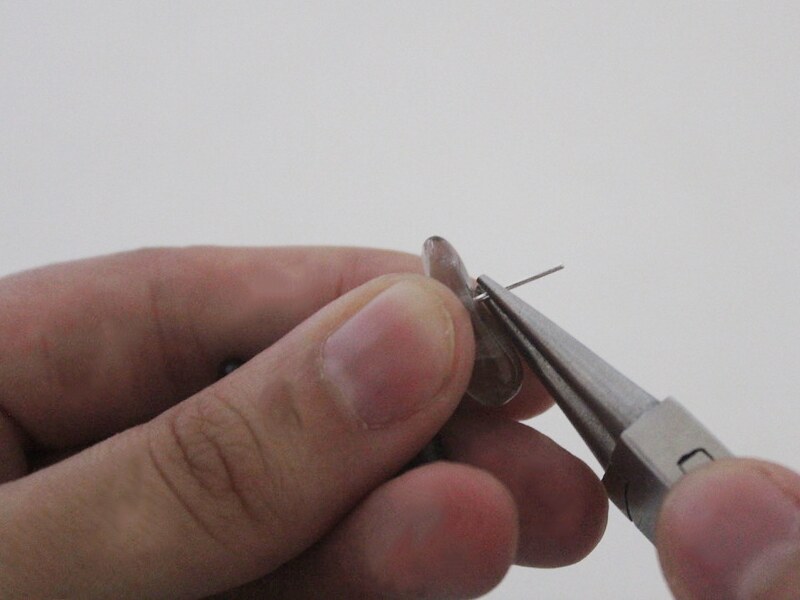
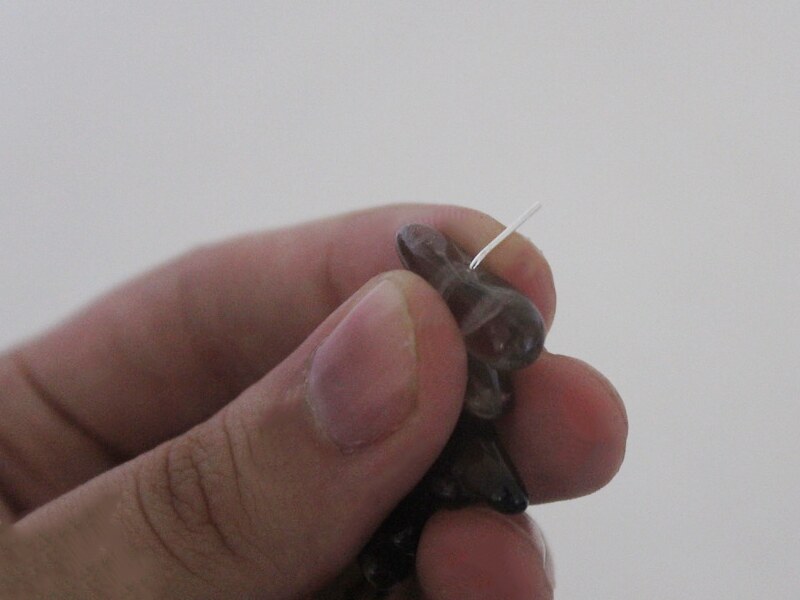
3: Create a loop at the end of the pin using the round nose pliers. This will secure the beads on the pin.
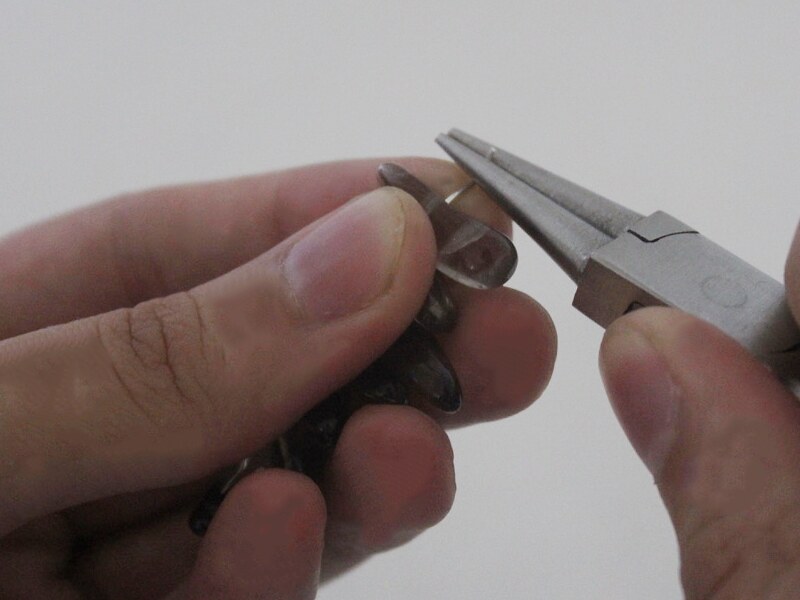
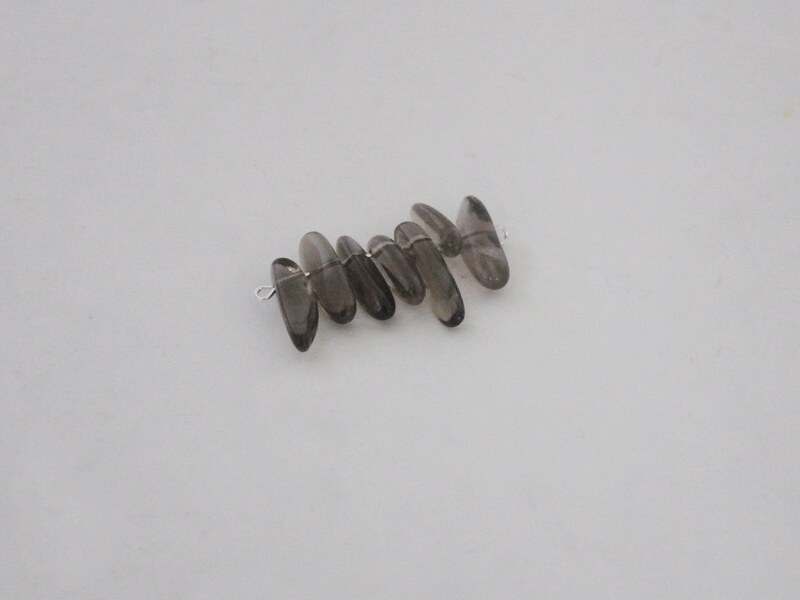
4: Add each of the crimp ends to the ends of the leather. Fold each side of the crimps around the leather using the flat nose pliers.
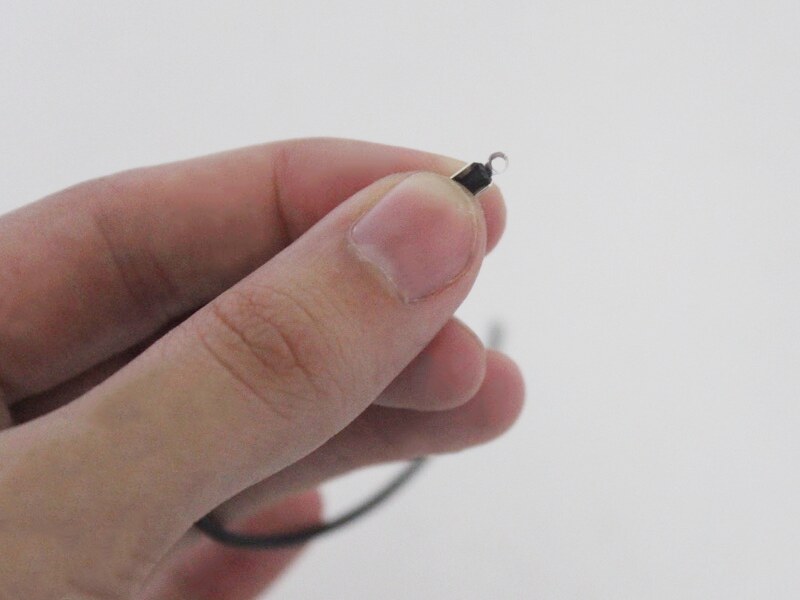
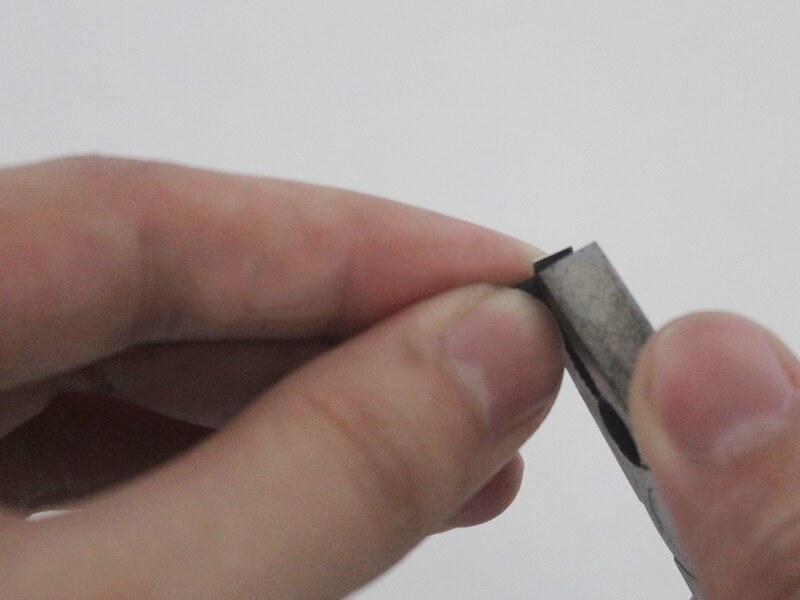
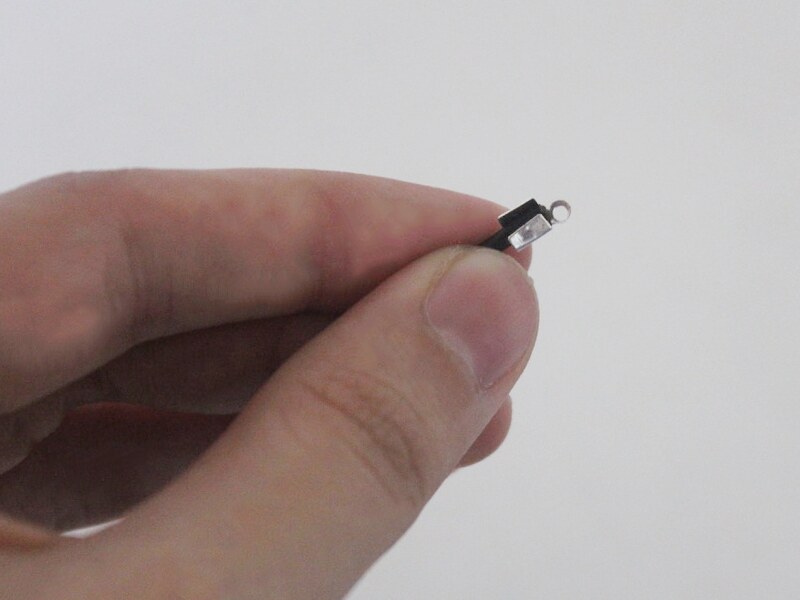
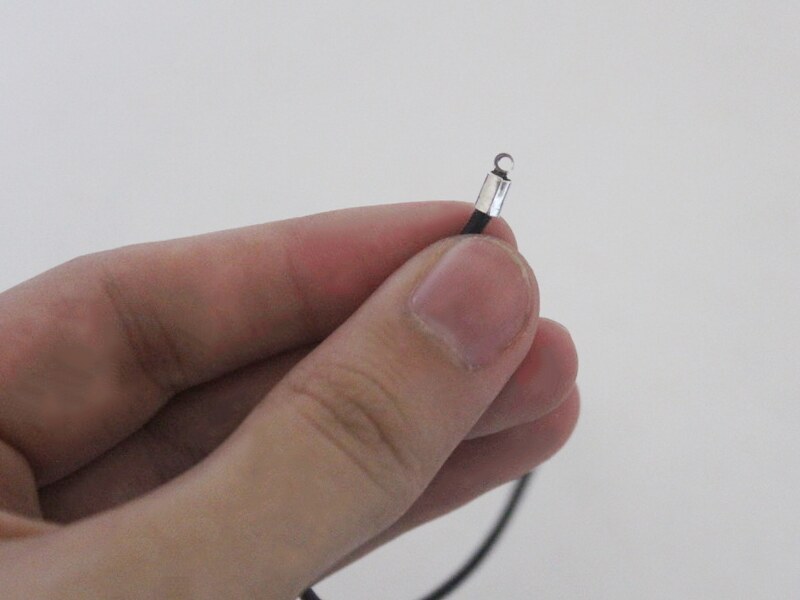
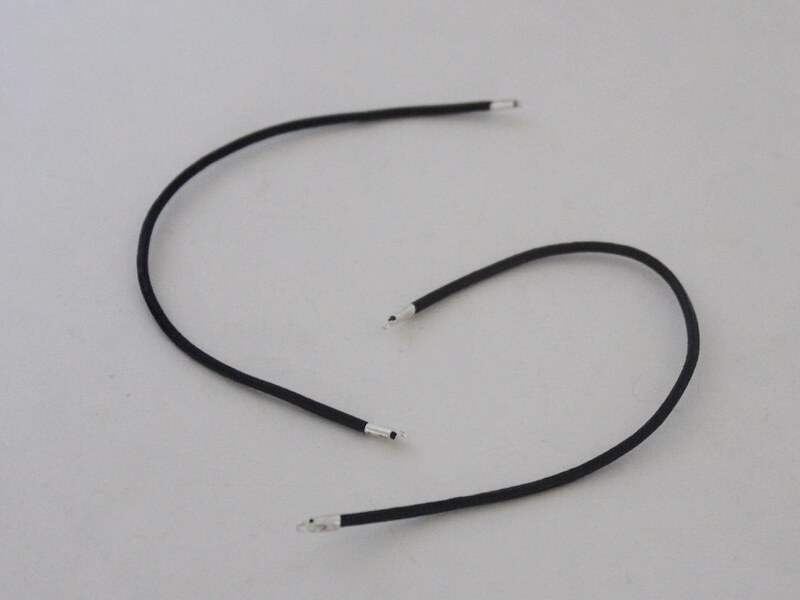
5: Attach a piece of leather to each side of the crystal beaded pin.
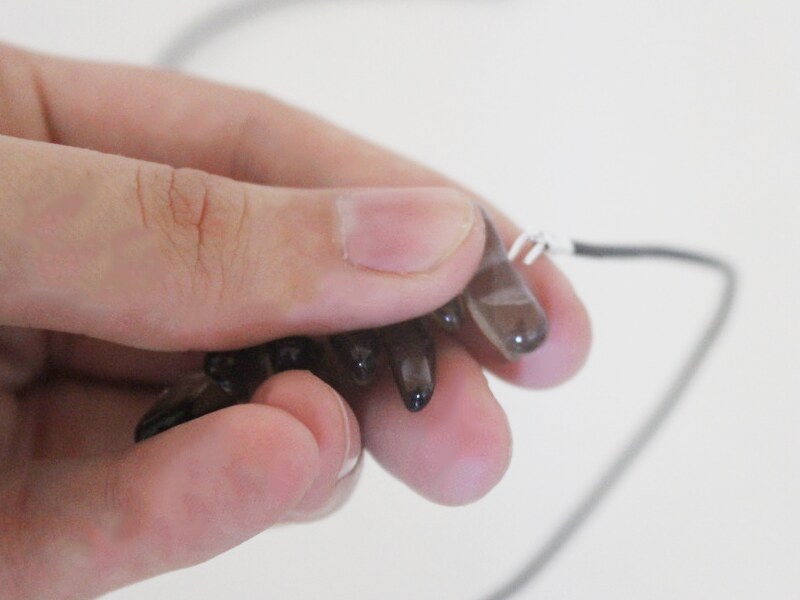
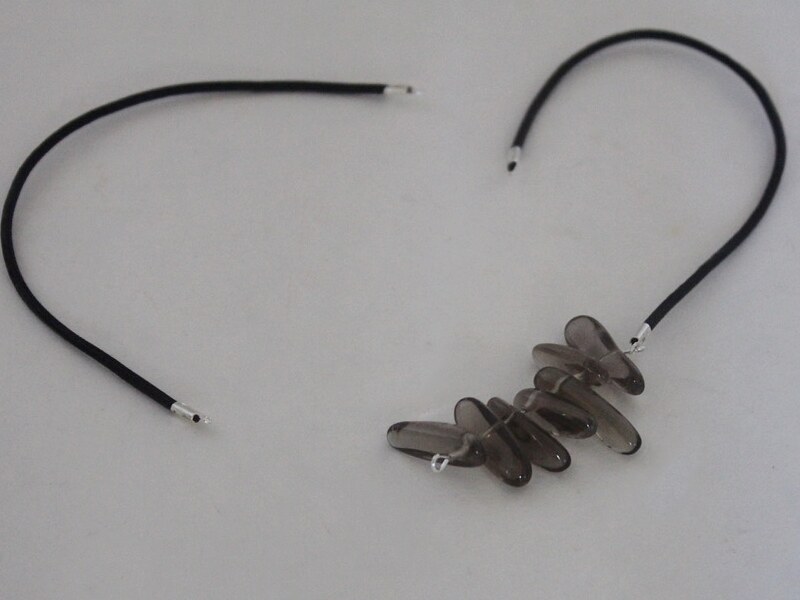
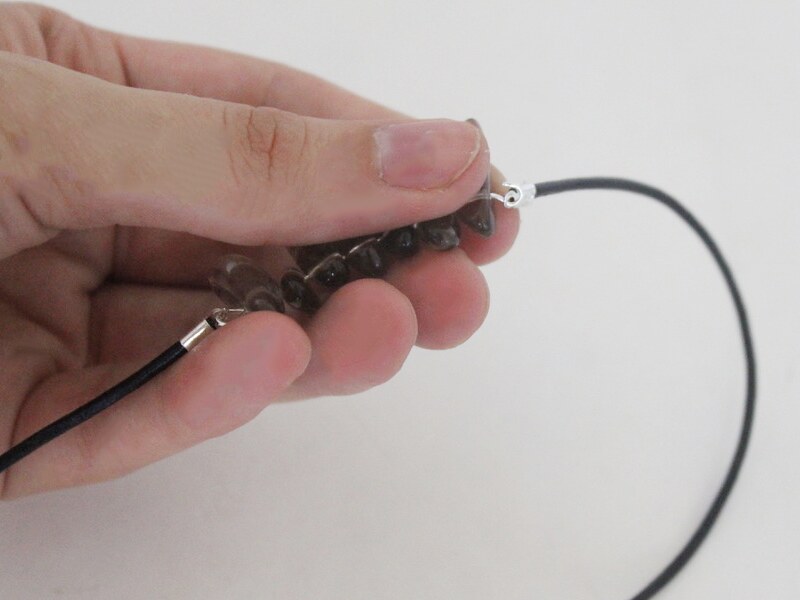

6: Add a lobster clasp to one side of the necklace using one of the jump rings.
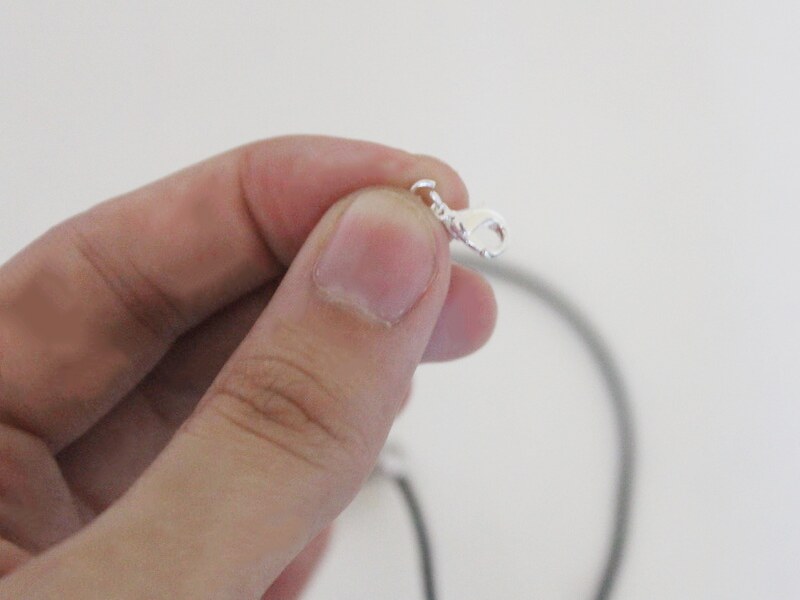
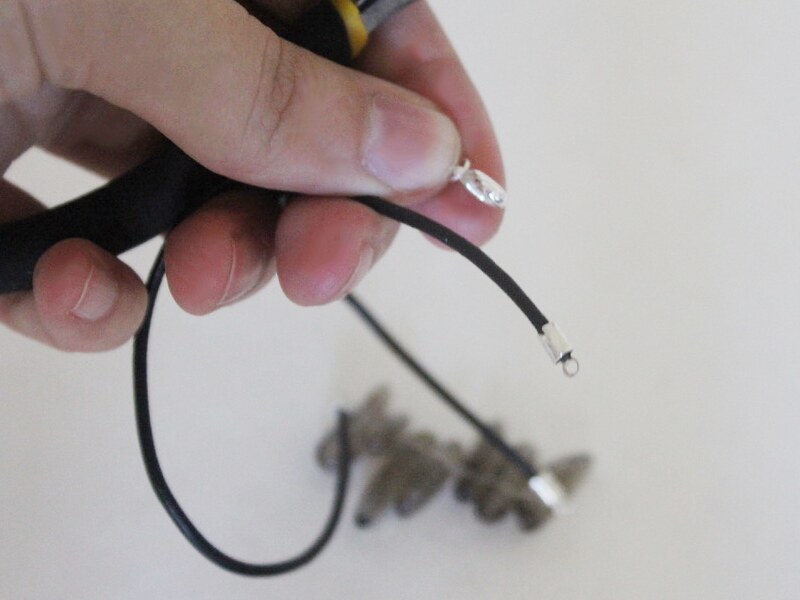
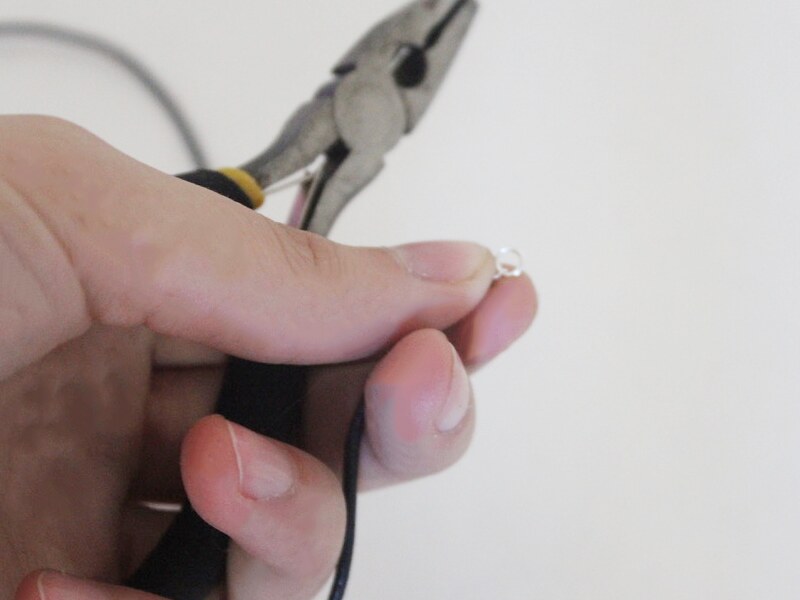
7: Add the remaining jump ring to the other side of the necklace to finish your necklace.
Now it’s ready to wear… a perfect combination of tough and whimsical!
-
This Tassel Necklace Design Is A Chain-Laden Delight!

Want to add some drama to your delicate chain jewelry? Why not try making this pretty chain tassel necklace?
You will need the following tools and materials to make this necklace:
1: Pliers. You will need your cutting pliers, flat nose pliers and round nose pliers.
2: a feature bead of your choice. I used this rough smoky quartz bead.


4: A piece of chain long enough for a necklace.

5: Six short pieces of chain.

6: One large jump ring.
7: Three small jump rings.

8: One lobster clasp.

Follow these steps to make your chain tassel necklace:
1: Add the feature bead to the eye pin.

2: Bend the pin at a right angle to the bead using the round nose pliers.

3: Trim the pin using the cutting pliers.

4: Create a loop with the round nose pliers.


5: Add a jump ring to the closed loop.

6: Add one side of the necklace chain to the open jump ring.

7: Add the other side of the chain to the same jump ring and then close the ring to secure the chain in place.


8: Add all of the smaller chains onto the large jump ring.

9: Add the jump ring with the chains to the bottom of the bead charm.


10: Split the middle of the necklace chain and add a jump ring to one side.

11: Add a lobster clasp to the open jump ring and close the jump ring to secure the clasp in place.


12: Add another jump ring to the other side of the necklace to complete it.

Once that last jump ring is in place your necklace is complete! How cute is this chain tassel necklace? Use this design to show off your favorite gemstones.


Here is another one I made using gold chain and a jasper gemstone bead.