-
Here’s how to add some cute beads to your handmade hoop earrings!
So I recently showed you how to make your own metal hoop earrings at home, but if those are too plain for you, here’s a quick tutorial that shows you how to add some beads to your home made hoops. Please note that this tutorial contains affiliate links.
You’ll need these tools and materials to make your beaded hoop earrings:
1: A pair of wire hoop earrings, you can follow this tutorial to make your own.

If you don’t feel like making your own, here’s a pair you can purchase: https://amzn.to/35q33gN
2: A pair of flat nose pliers.

3: Some beads. I used these vintage glass beads.

Follow these steps to add beads to your hoop earrings:
1: Take one of the hoops and unhook the ends.

2: You’ll need to slightly straighten the kinked end to allow the beads to pass over. Do this gently using your flat nose pliers.
3: Add the beads.

4: Bend the end of the hoop back to its original position to keep from falling off the hoop and to allow the earring to close again.
5: Repeat steps 1-4 for the second earring.


Now your handmade metal hoop earrings are officially beaded!
-
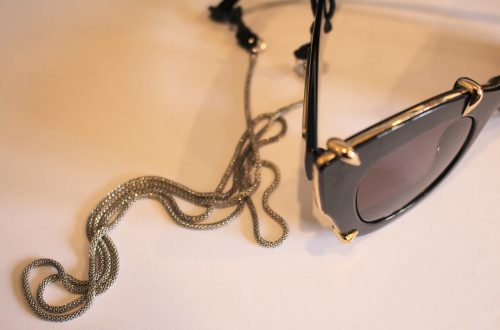
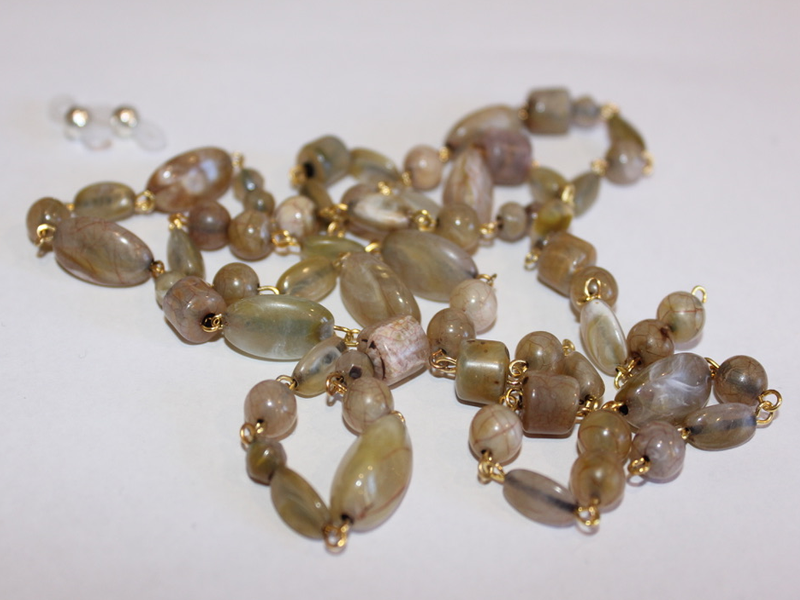
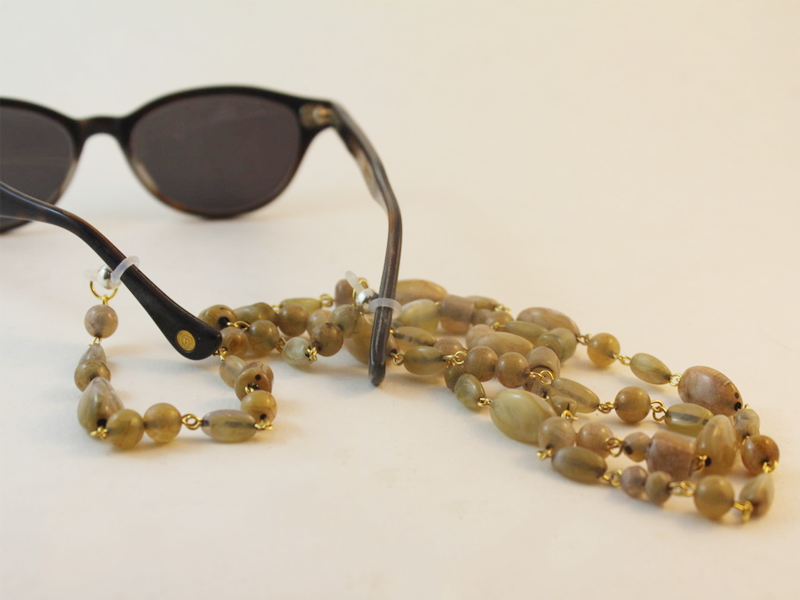
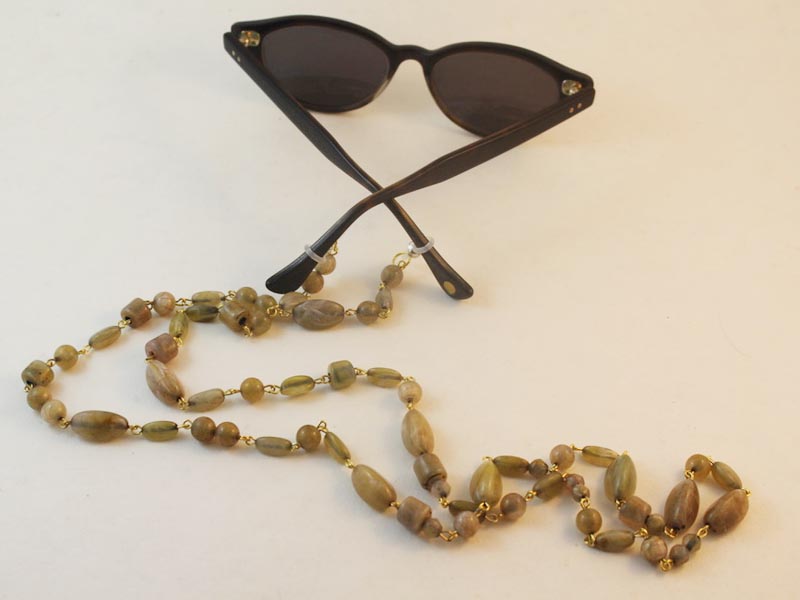
Glasses chains are HOT! Make your own cool sunglass chain holder for summer.

Glasses chains are really hot right now! If our other glasses chain tutorials aren’t for you why not try this one out? Contains affiliate links.
You’ll need the following tools and materials to make your glasses chain:
1: Pliers. You’ll need your flat nose and round nose pliers to make this glasses chain.

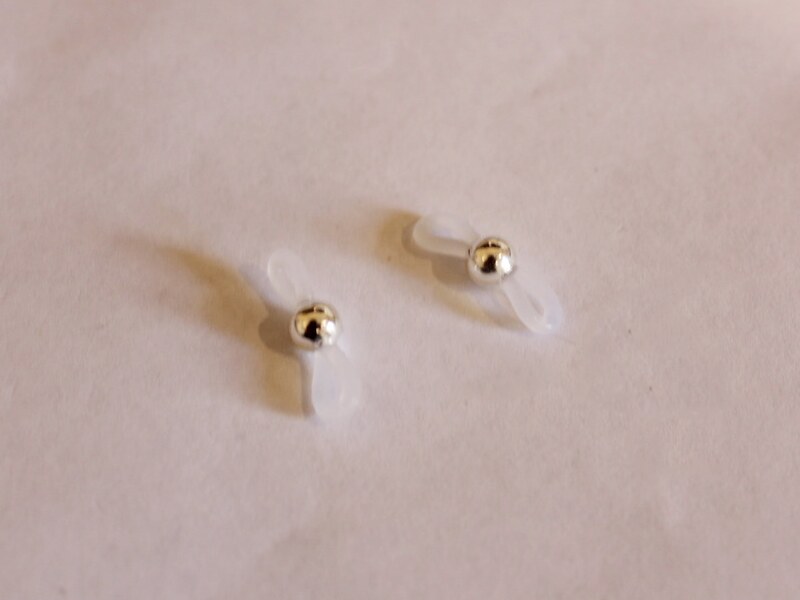
2: Two glasses holder findings.
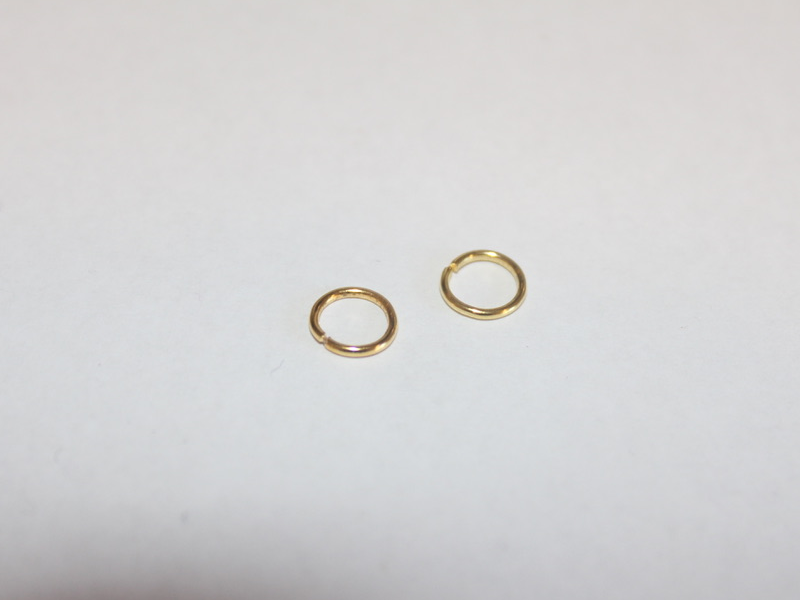
3: Two large jump rings.
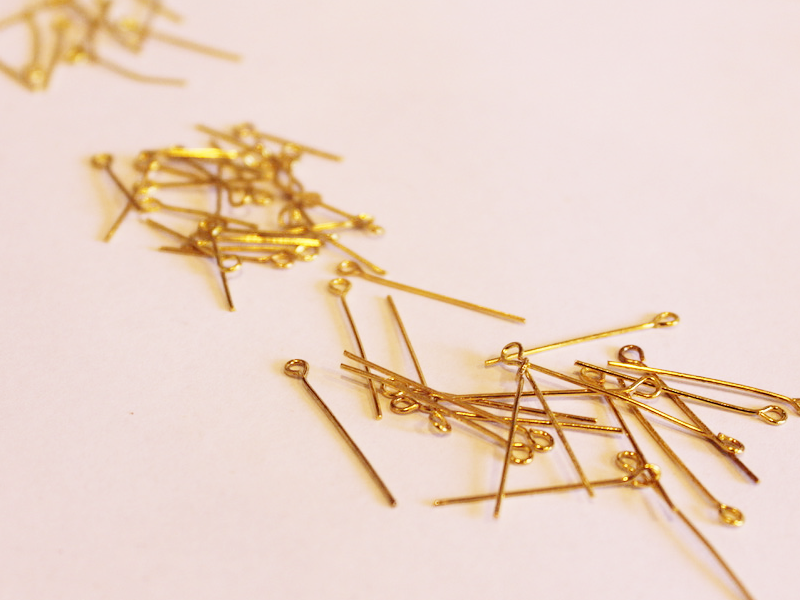
4: Eye pins.
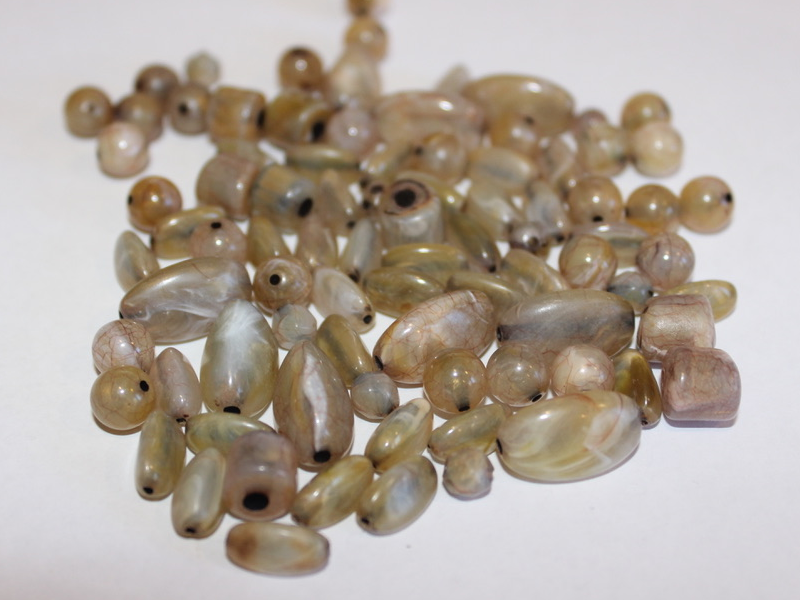
5: Beads. I used these vintage plastic beads recycled from a necklace I inherited.
Follow these steps to make your beaded glasses chain:
1: Add beads to the pins and loops the ends to secure them in place.
2: Start linking the beaded pins to form a chain.
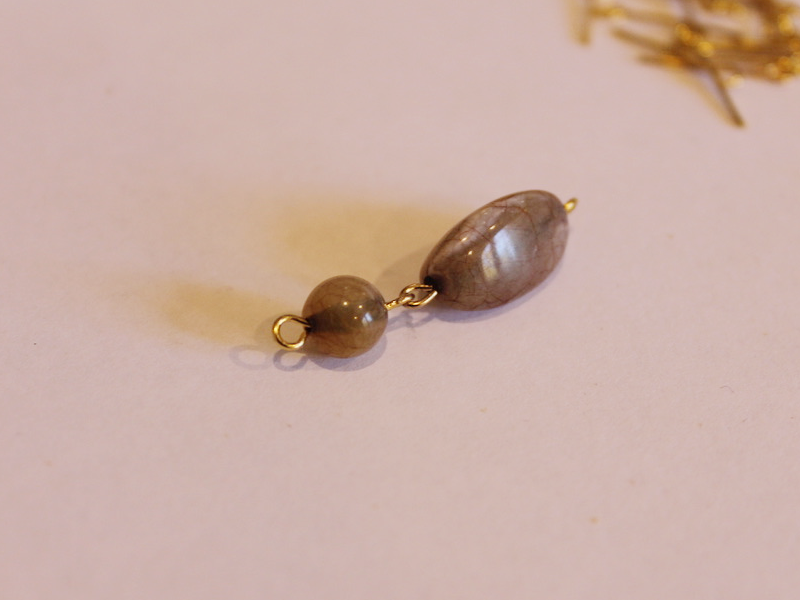
3: Continue making the beaded chain links until your chain is at your desired length.
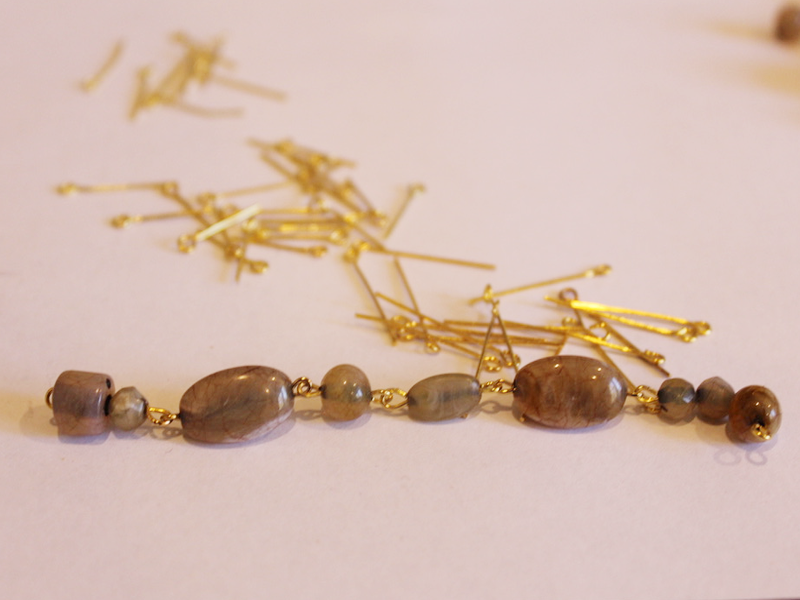
4: Attach a glasses holder to each end of the chain using the jump rings.
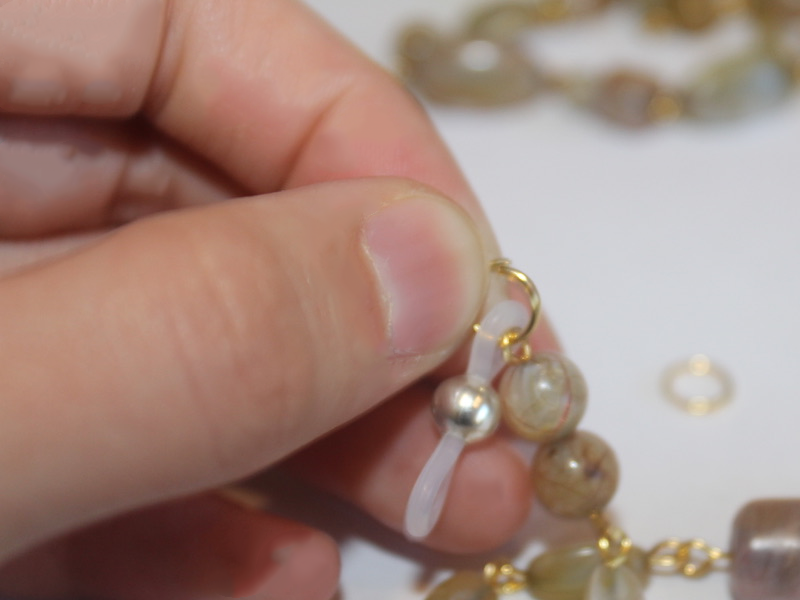
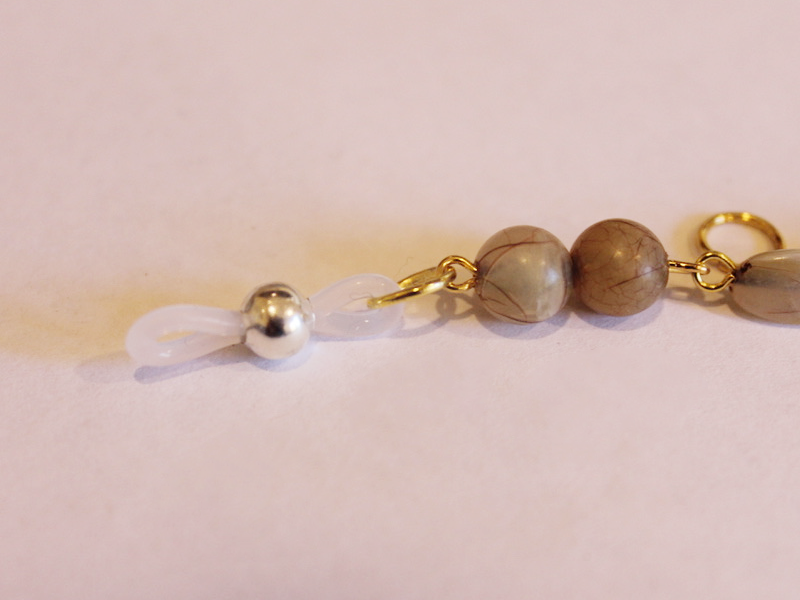
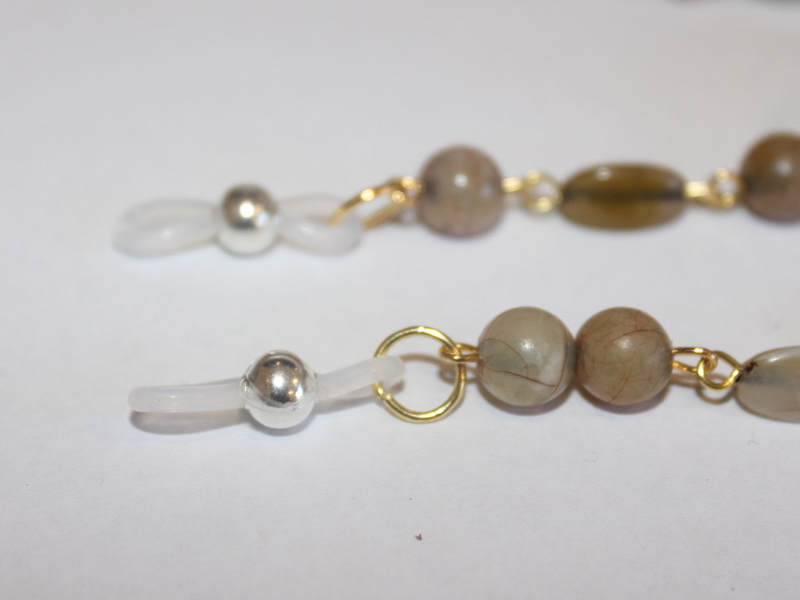
Now your glasses chain is finished and ready to use! Wonderful for keeping your glasses safe during summer activities.
-
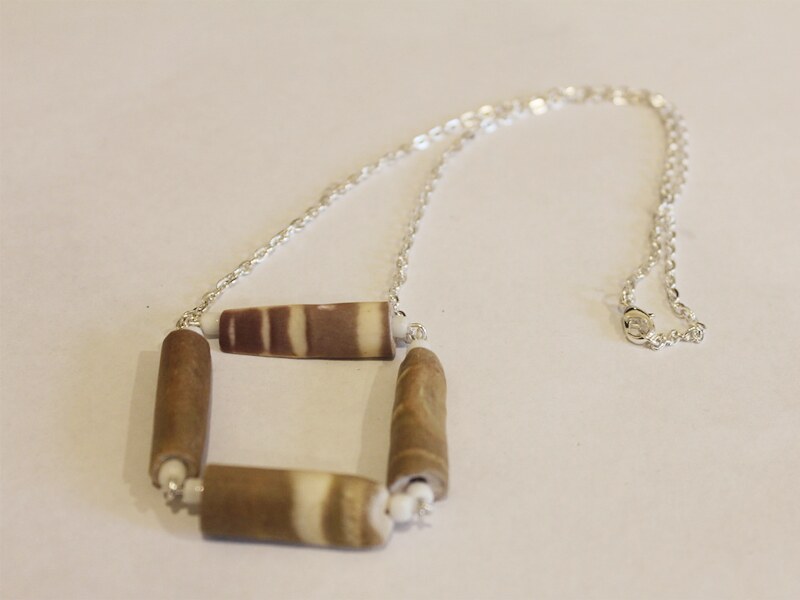
Here’s how to make a cute square pendant necklace
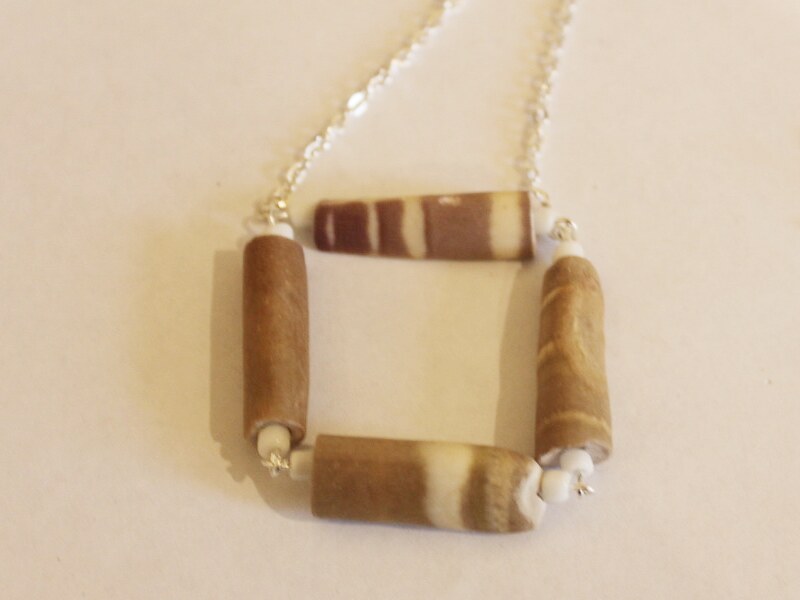
Remember the square earrings? Well here’s how you can make a square beaded pendant! This tutorial contains affiliate links.
You will need the following tools and materials to make your square pendant necklace:
1:Pliers. You will need your round nose pliers, flat nose pliers and cutting pliers.

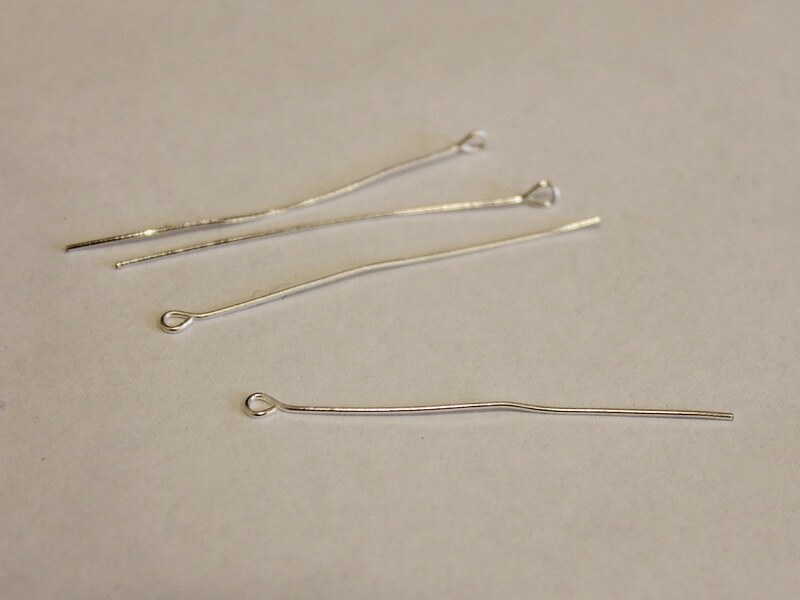
2: Four eye pins.
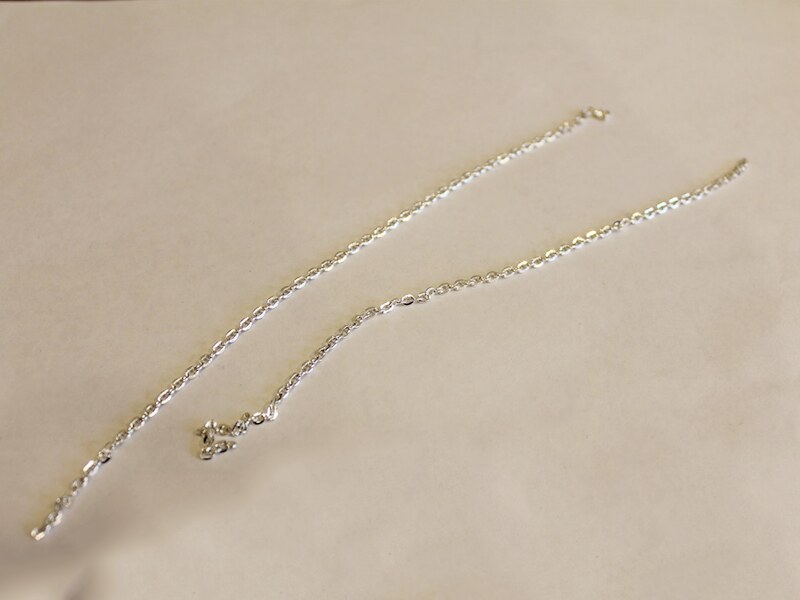
3: Two pieces of chain made to a length of your choice. I made mine approximately 15cm long.
4: A lobster clasp.

5: Two small jump rings.

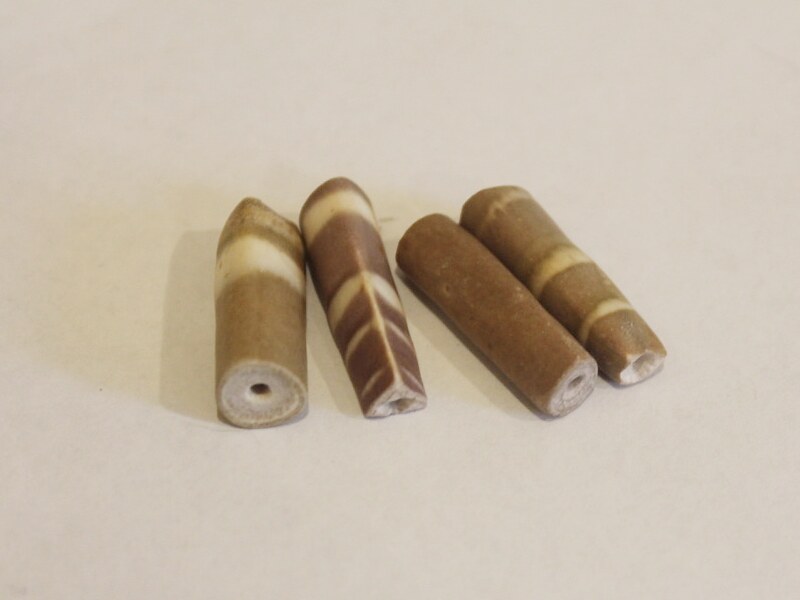
6: Beads of your choice. I used these long vintage beads with some white e-beads.

Follow these steps to make your square pendant necklace:
1: Add the beads to each of the pins.
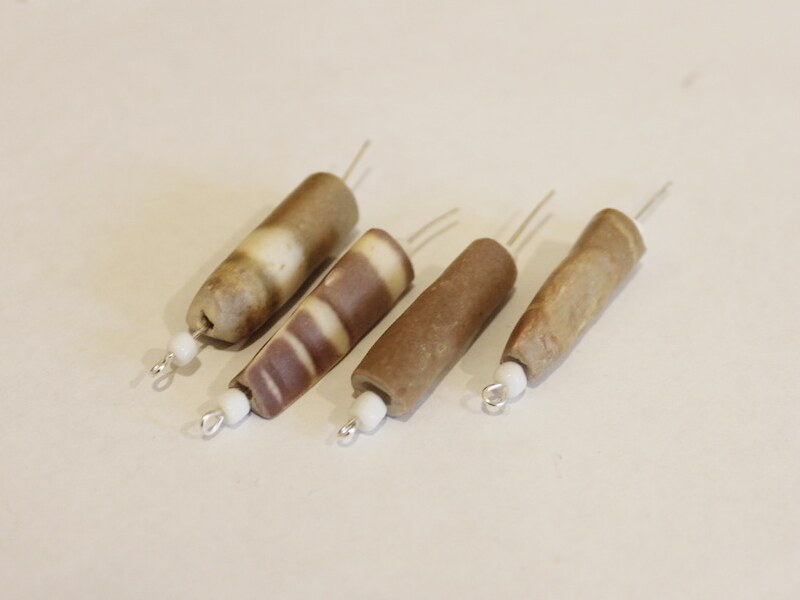
2: Bend the ends of each pin to form a right angle.
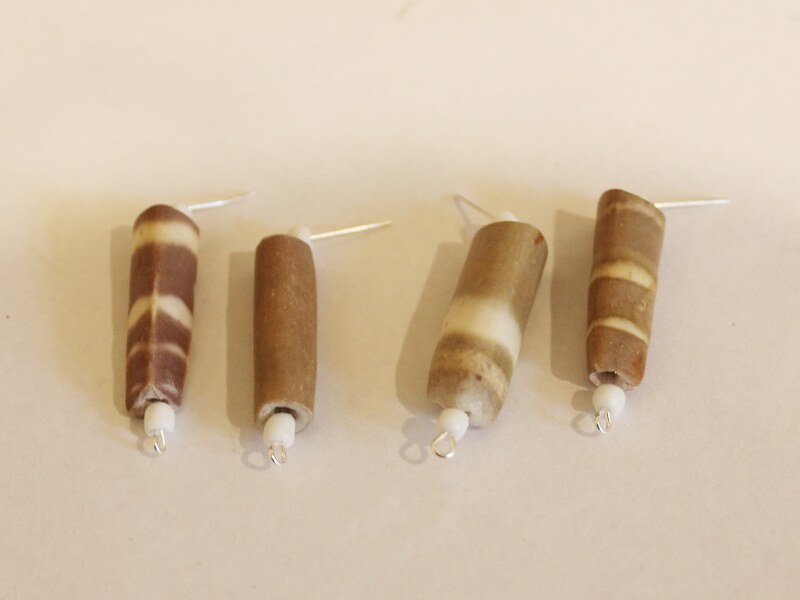
3: Trim each of the bent ends so that they are approximately 1cm long.

4: Create a loop at the top of each pin using the round nose pliers. This will secure the beads in place.
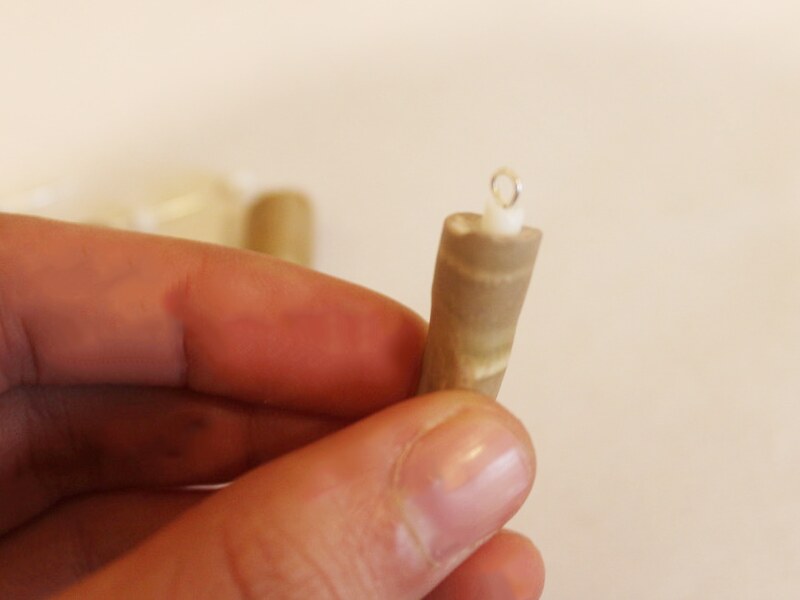
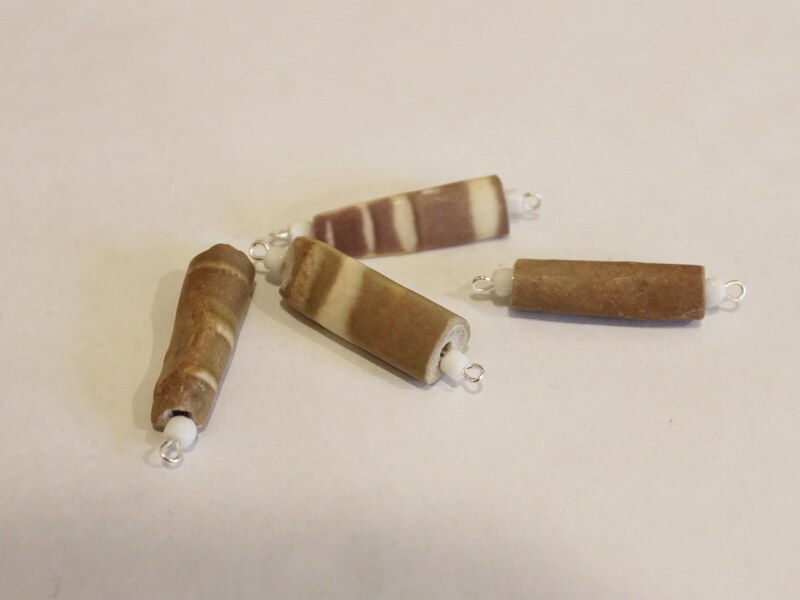
5: Link each of the beaded pins together.

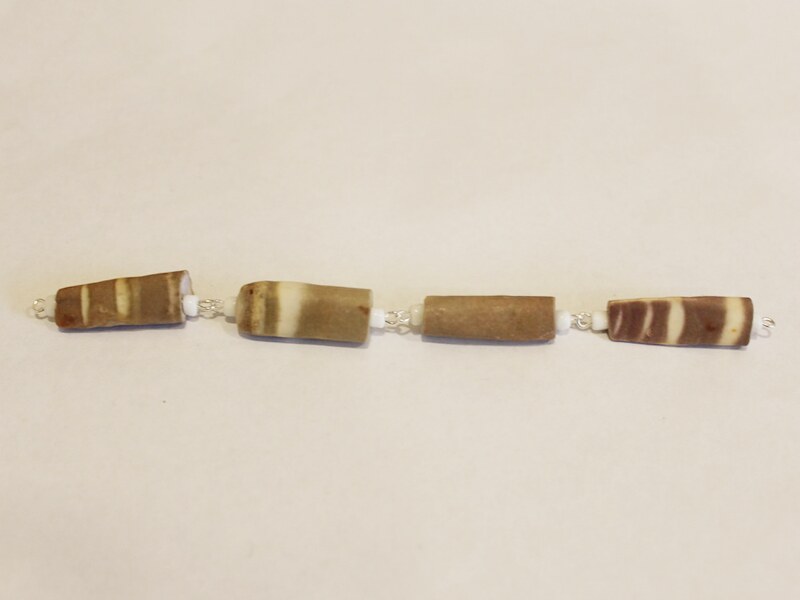
6: Link the two end pins together to form a square.
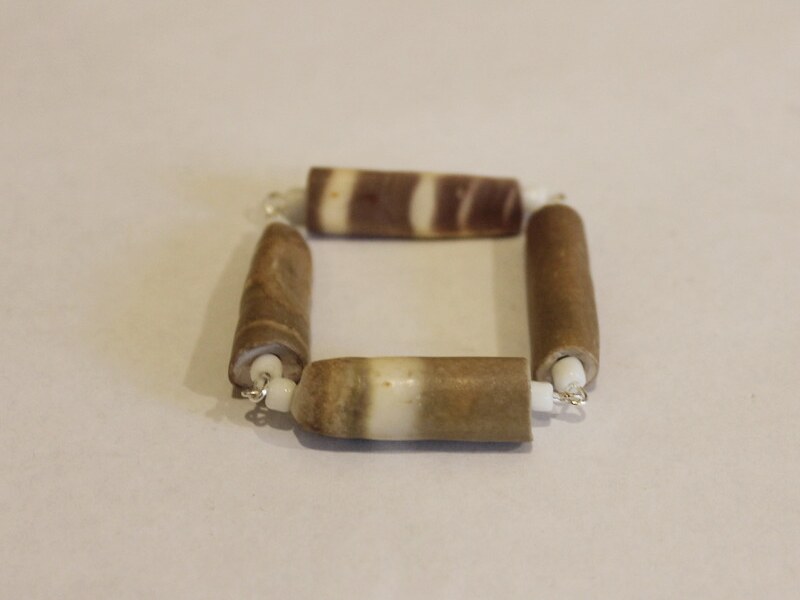
7: Add a piece of chain to either side of one of the eye pins.


8: Add a lobster clasp to one side of the chain using one of the small jump rings.

9: Add the remaining jump ring to the other side of the chain to finish the necklace.
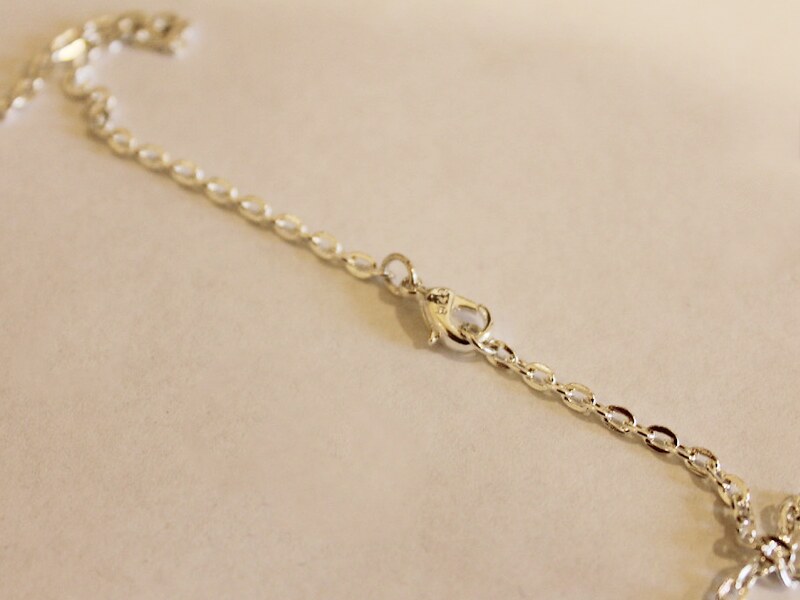
Now your square pendant necklace is finished and ready to wear!