-
Got a pair of dangly earrings you aren’t quite in love with? This tutorial shows you how you can swap earring hooks for studs.
I like dramatic earrings, but I don’t love the look of hook earrings, so I prefer my dangly earrings to have stud tops. If you’re like me, the following tutorial will show you how you can swap hooks for studs in a few easy steps. Please note that this tutorial contains affiliate links that may earn this website a commission.
You will need the following tools and materials to transform your hook earrings into dangly studs:
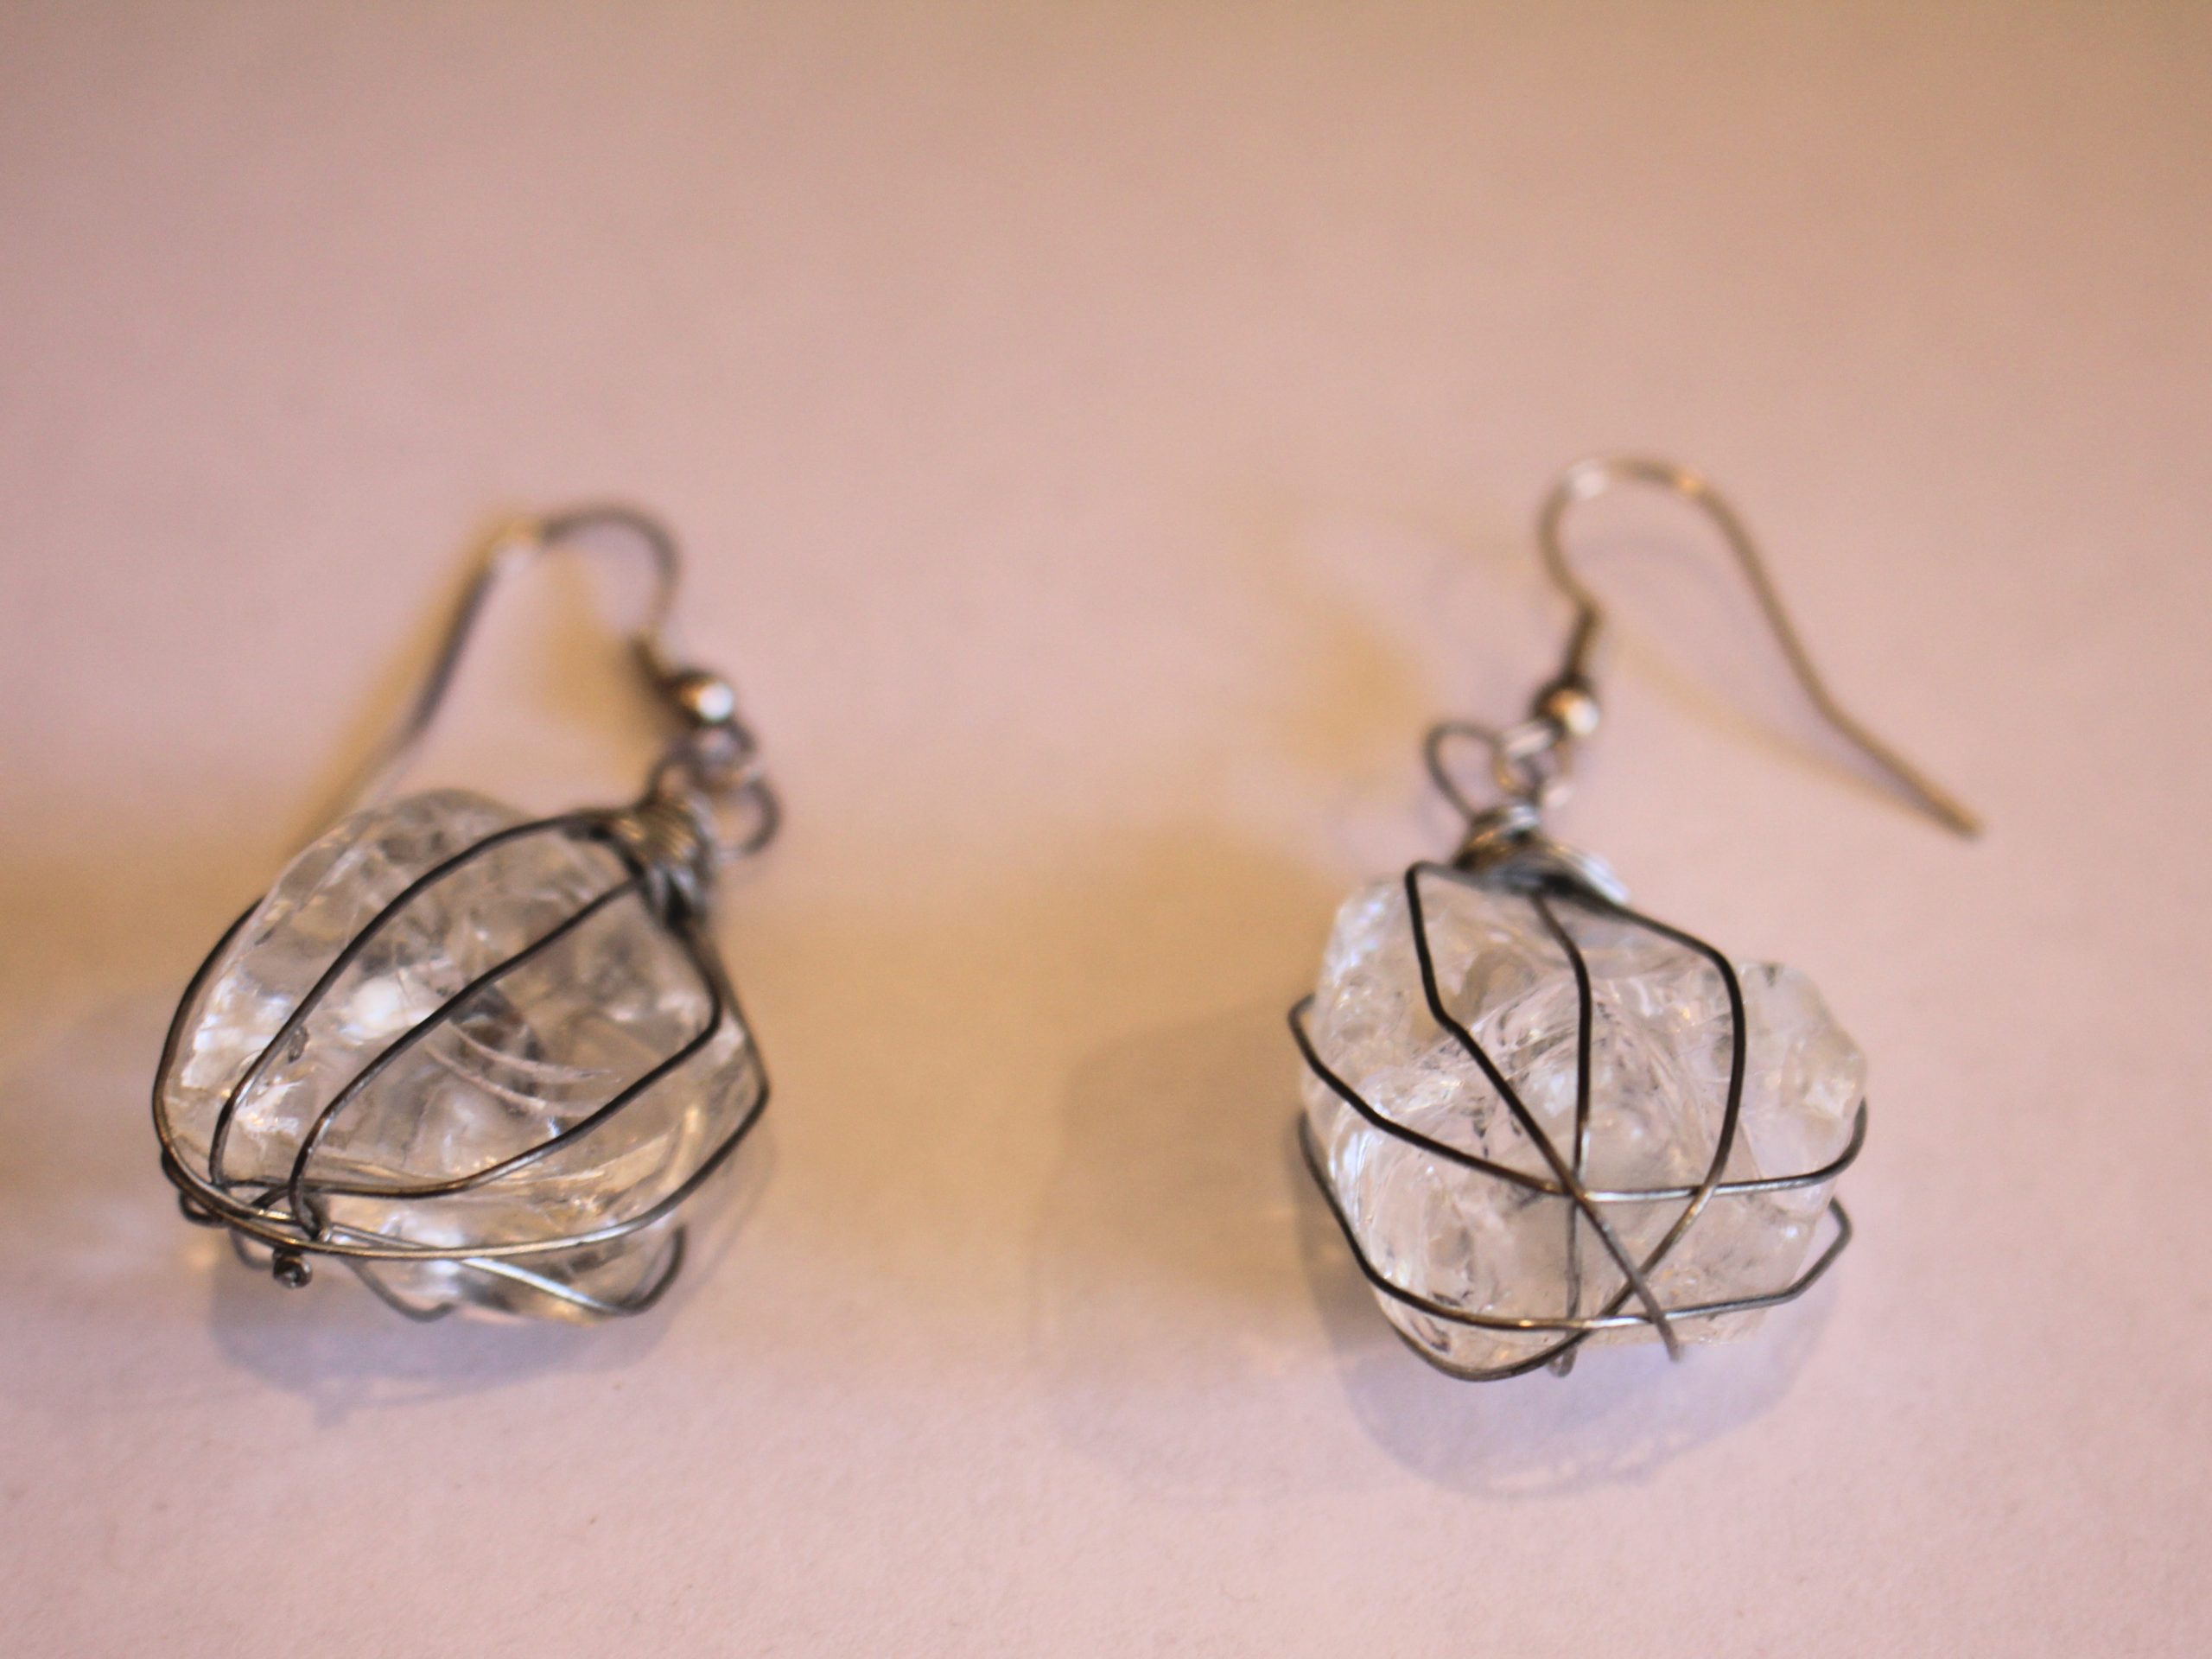
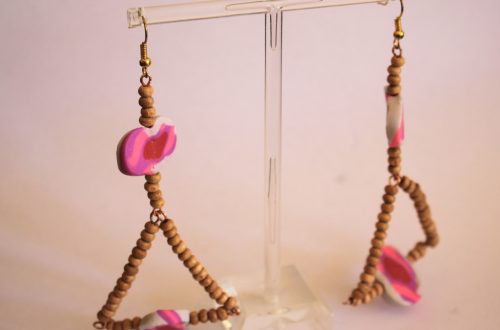
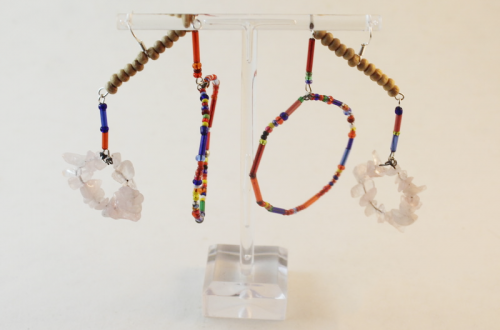
1: A pair of dangly earrings that have hooks. I used these earrings that were given to me as a gift.

You can use any earrings you like that have earring hooks, but here are some similar to the pair pictured:
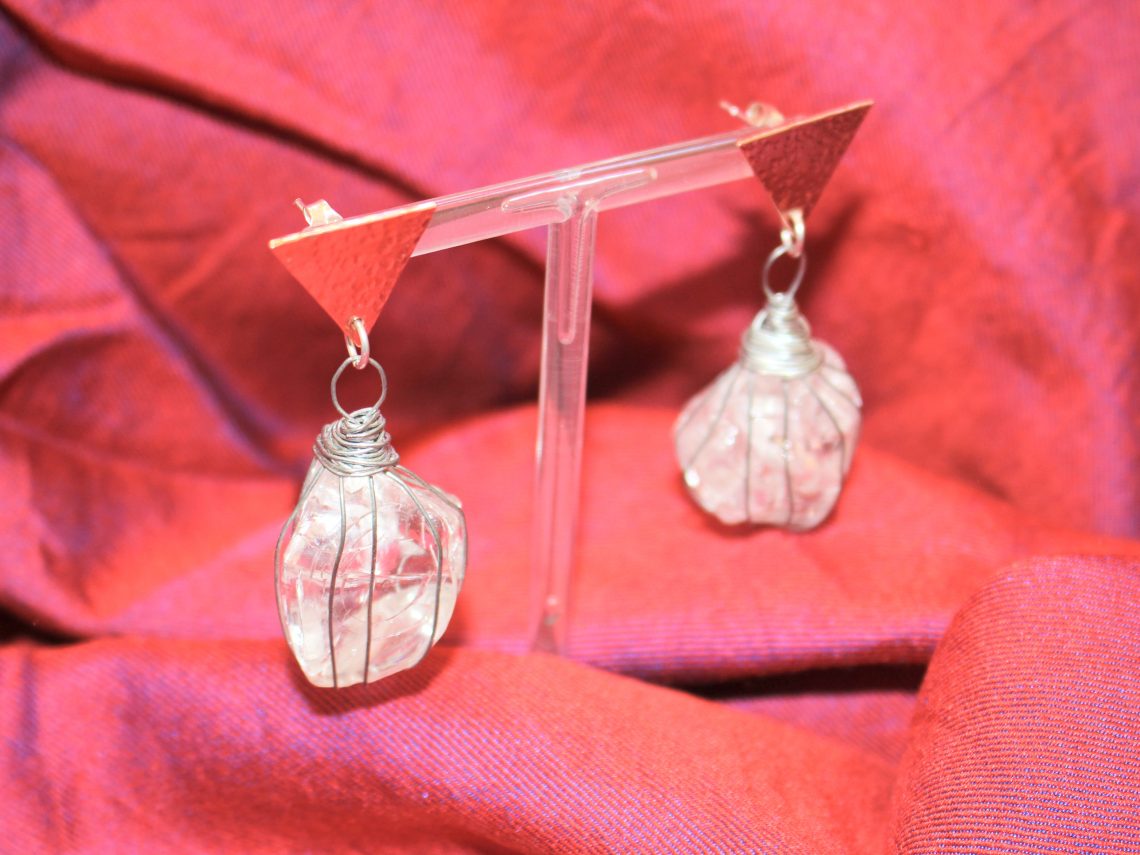
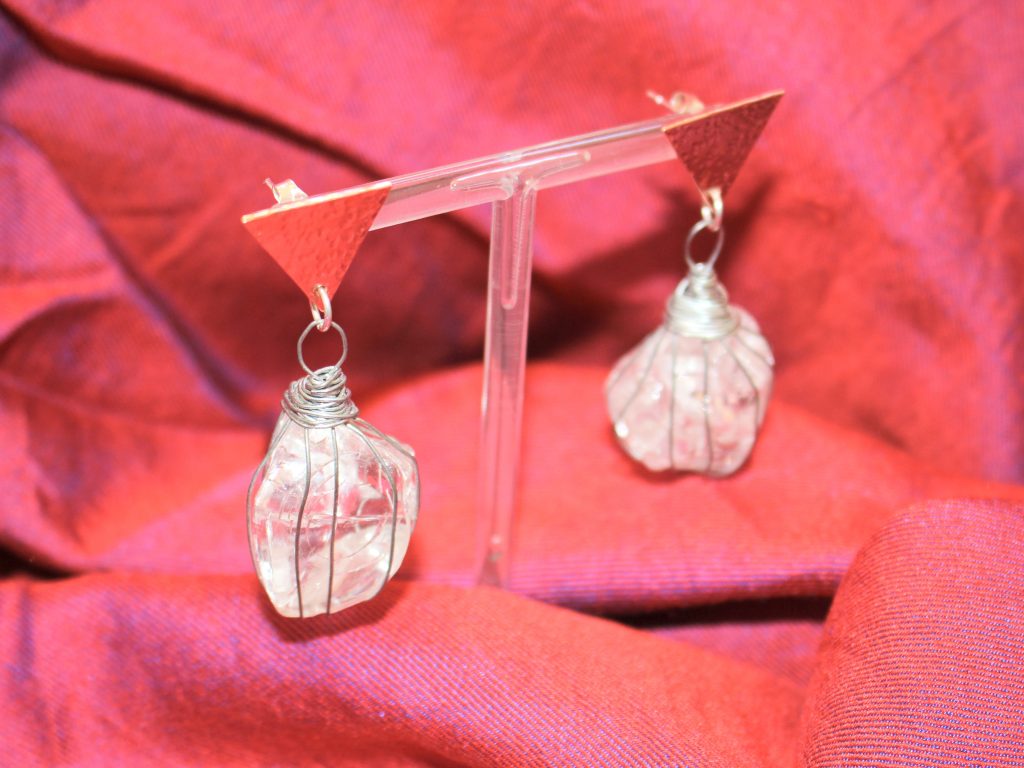
2: A pair of stud earrings with a hole or jump ring attached to them. Make sure you have earring backs as well.

These are handmade studs, but you can get something similar here:

3: A pair of jump rings.

4: Pliers. I used my flat nose and needle nose pliers.

Follow these steps to transform your dangly earrings:
1: Take a pair of pliers and open up the ring at the bottom of the earring hook on one of your earrings.

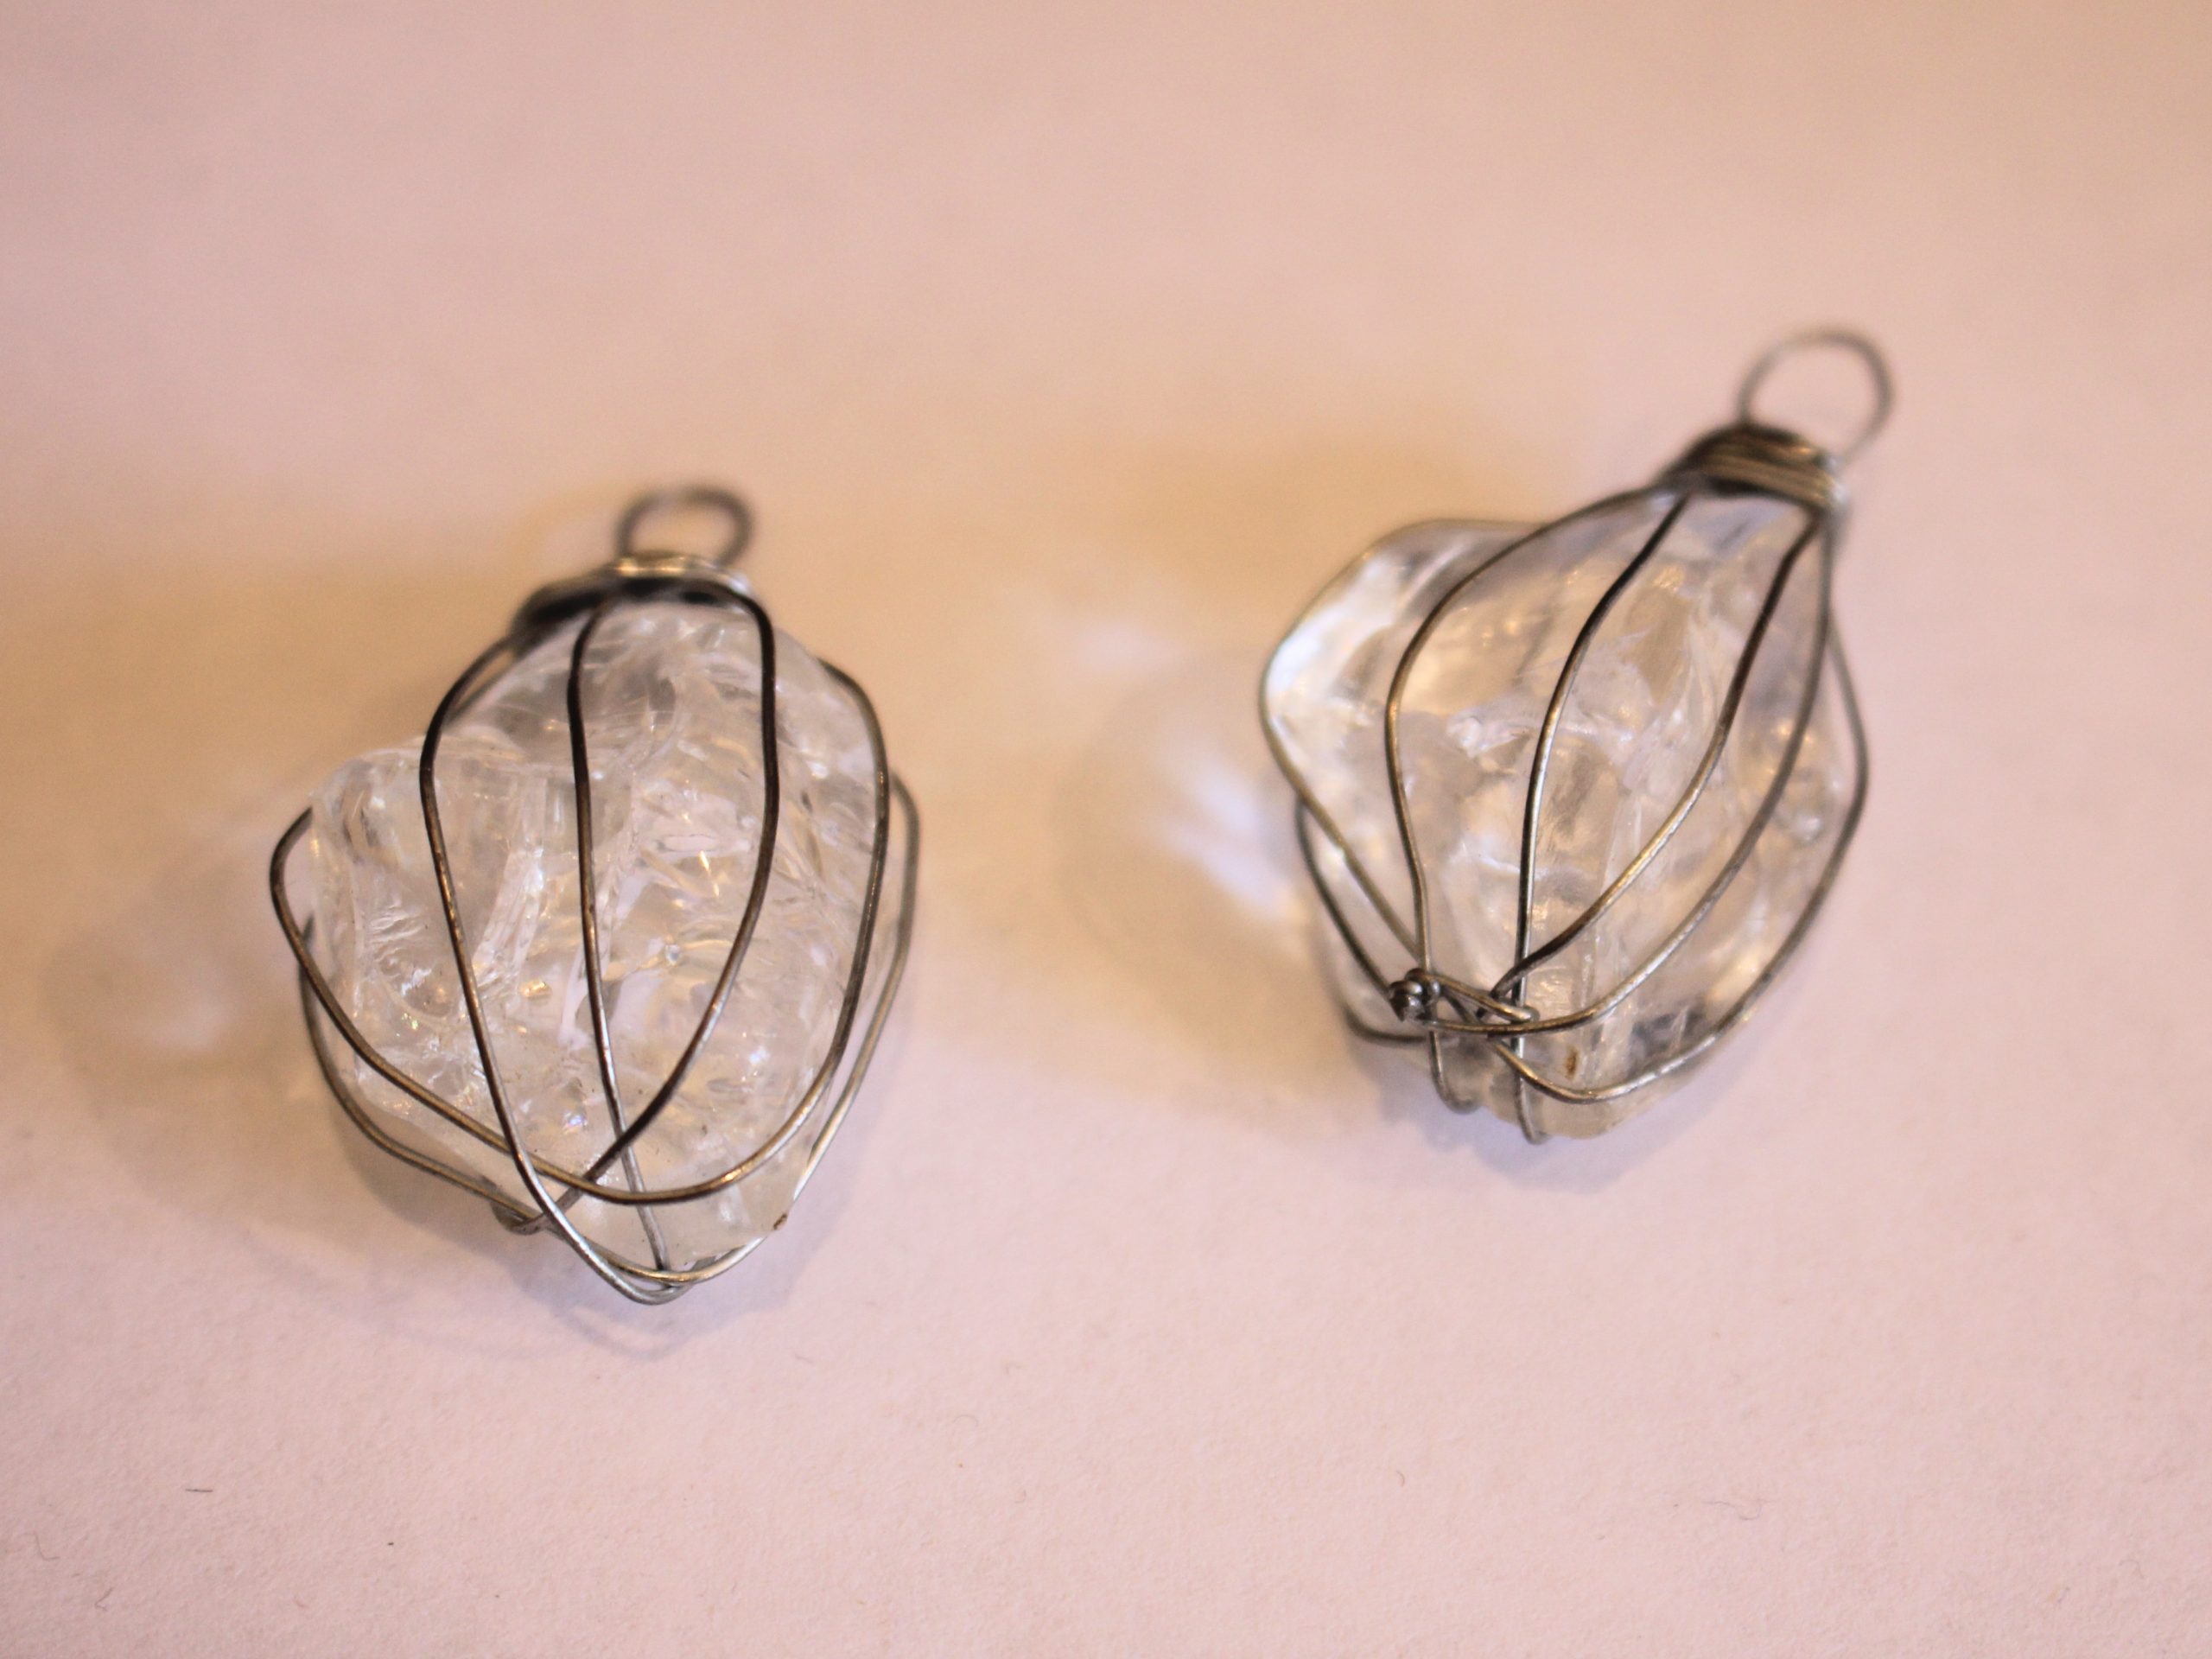
2: Remove the hook.

3: Repeat this for the second earring.

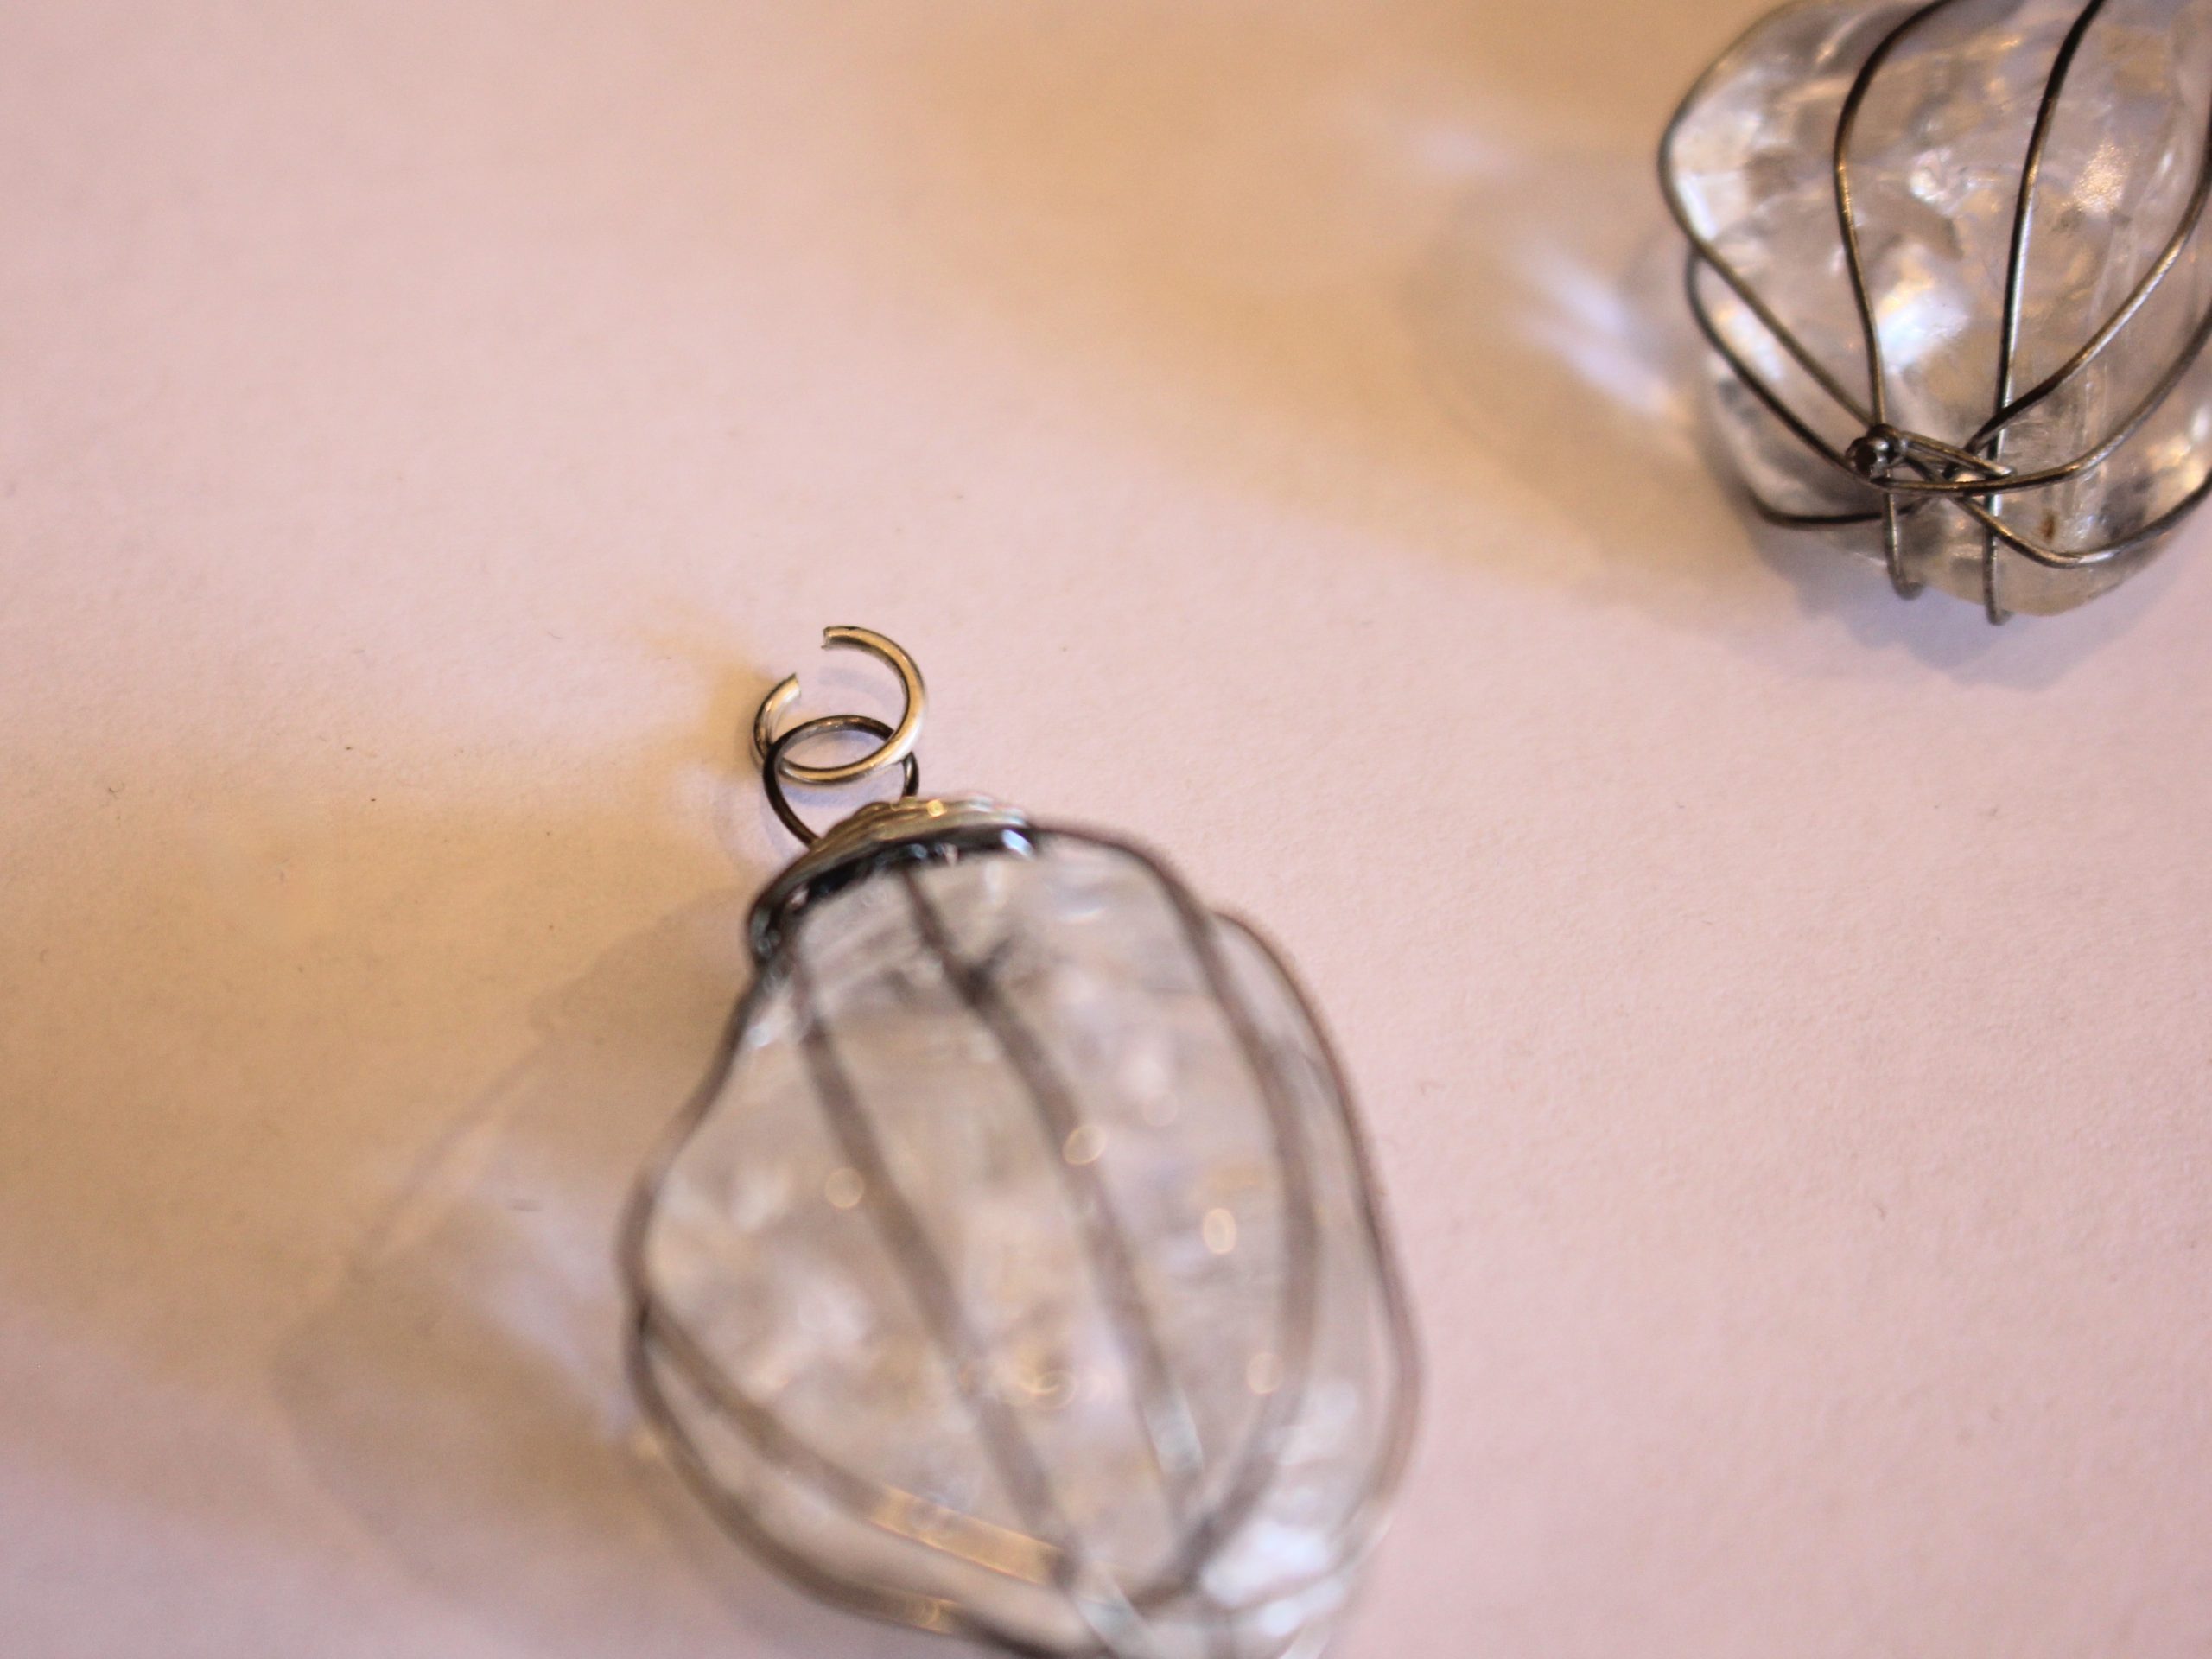
4: Take one of the jump rings and add it to the loop at the top of one of the earring charms.

4: Slide the jump ring through the hole at the bottom of the stud earring finding.

5: Close the jump ring using the pliers. Now you will have transformed one of your earrings.

6: Repeat steps four to five for the second earring.

Now you can use your old earring hooks for a new design and you have transformed your drab earrings into something more your style!

-
Here’s how to make your own Shepard hook earring findings using a wig-a-ma-jig!
I’ve already shown you how to make your own earring findings, here and here. But I haven’t shown you a way to make more traditional earring hooks from scratch. These simple Shepard hook earrings findings are made using some 0.8mm thick wire and a special contraption designed for wire-work called a ‘Wig-a-ma-jig’! Please note that this tutorial contains affiliate links.
You’ll need the following tools and materials to make your Shepard hook earring findings:
1: Some cutting pliers to cut your wire to length and trim any excess.

2: A pair of flat nose pliers to do some extra shaping to your earring hooks if required.
3: A Wig-a-ma-jig tool with pegs to create the shape for your earring hooks.

4: A needle file for smoothing the ends of your earrings, some sandpaper can be useful for getting a smooth finish as well.

5: Some wire. I used some copper wire in this demonstration but I suggest using sterling silver wire as it is a more suitable material for sensitive piercings. I used two pieces of copper wire about 0.8mm in diameter and about 8-10cm long. You will have some excess at the end that you will need to trim.

Follow these steps to make your earring hooks:
1: Arrange the Wig-a-ma-jig pins in the following formation, this will form the shape of your earring. The first peg is the bottom loop of the earring hook, the large top peg forms the arch of the earring and the last peg helps make the ‘kick’ at the end of the earring where it goes through your piercing.
2: Place the wire between the first two pegs as indicated in the picture below.

3: Take the long end of the wire and shape it around the large peg to form an arch

4: Loop the short end of the wire around the first smaller peg to form a circle shape, there will be some overlap at the end of the wire.
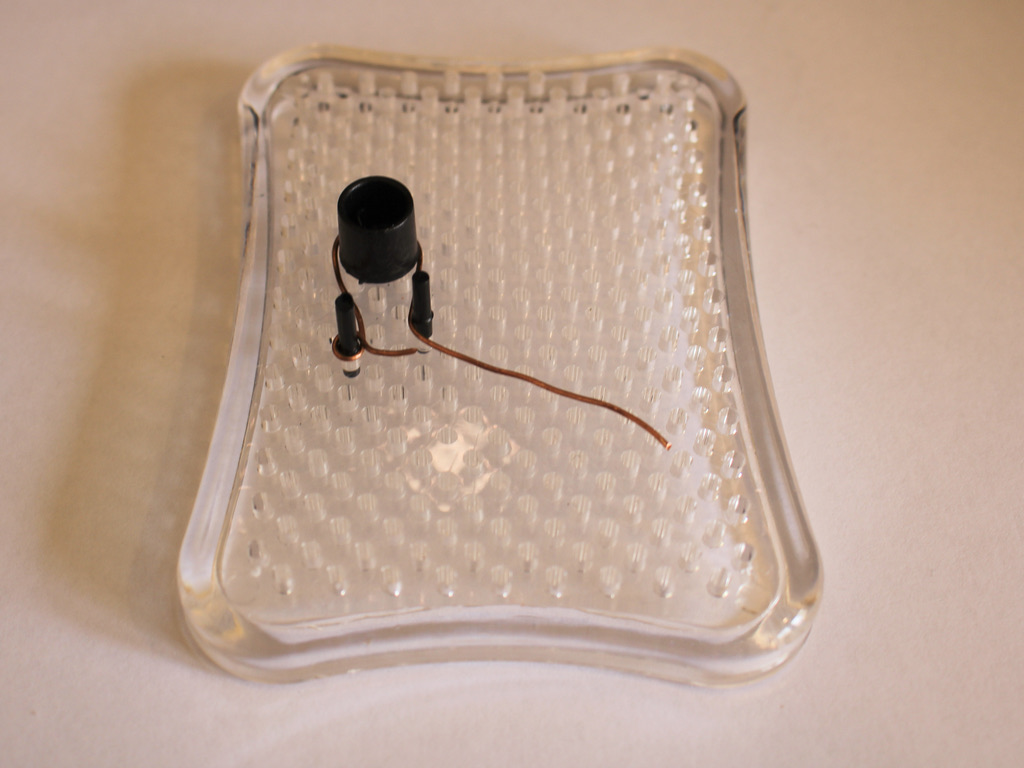
5: Kink the end of the wire underneath the last peg, there will be a lot of excess wire that will be trimmed later. You can see this pictured in the image above.
6: Take the wire shape off of the pegs. Do this carefully so as not to bend it out of the shape you just made.

7: Use the cutting pliers to trim the excess wire from the end of the earring and the loop overlap.


8: File the ends you just trimmed so they are smooth and won’t poke anyone wearing your earrings.

9: Repeat steps 2-8 for the second earring ensuring that the match.

Here’s my second earring on the jig 

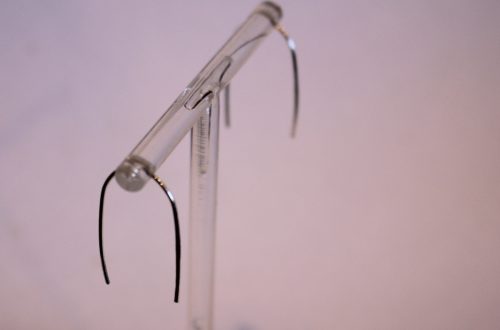
Once I had both earrings made, I did some small adjustments on them using my flat nose pliers to make sure they sat flat and were a nice shape, once I was happy with how they looked, these new earring findings were ready to use in a new earring creation! Below is a picture of the finished set of earring hooks.
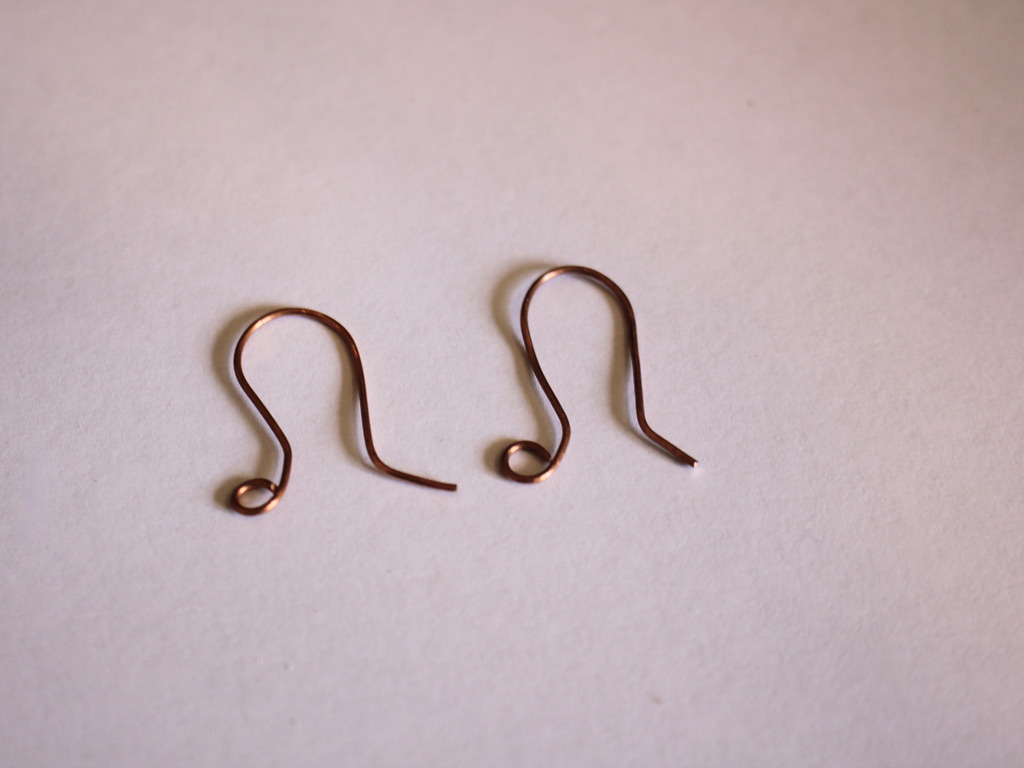
Making your own jewellery findings is a great way to elevate your jewelry designs and have them feel even more unique and special. What will you attach to your hand made Shepard hook earring findings?