-
Never Lose Your Phone Again: Learn How to Crochet Your Own Stylish Phone Lanyard!
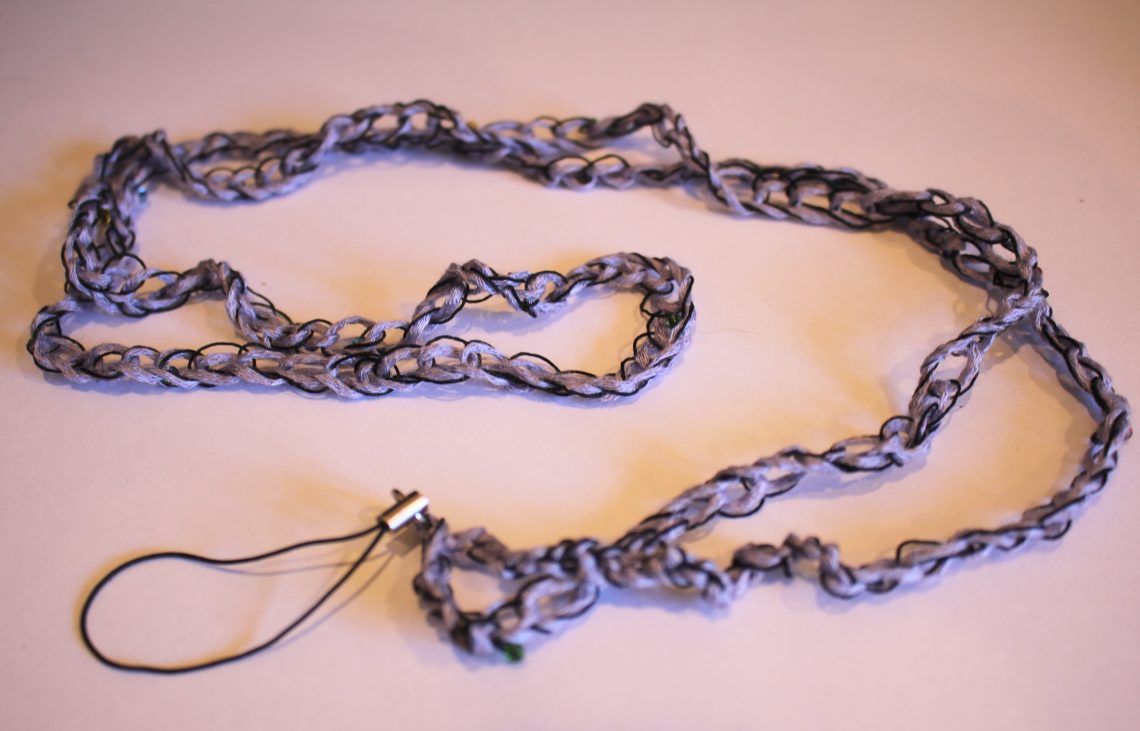
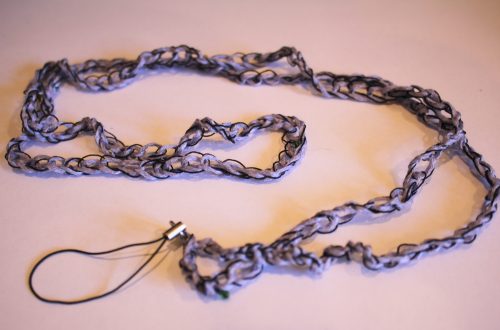
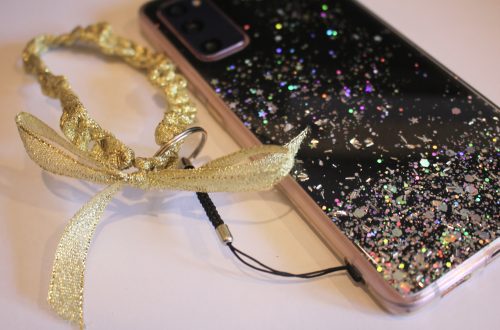
I sometimes worry that my phone could be easily lost or stolen from me, so I decided to make this sweet crochet lanyard so I can wear my phone and tuck it into my bag or pocket at the same time! This lanyard uses loose crochet and thin thread to add length. Kinda cute and also practical! Please note that this is a beginner crochet tutorial that contains affiliate links.
You’ll need the following tools and materials to make this phone lanyard:
1: Some yarn. I used two yarns held together, purple bamboo yarn and thin beaded thread.
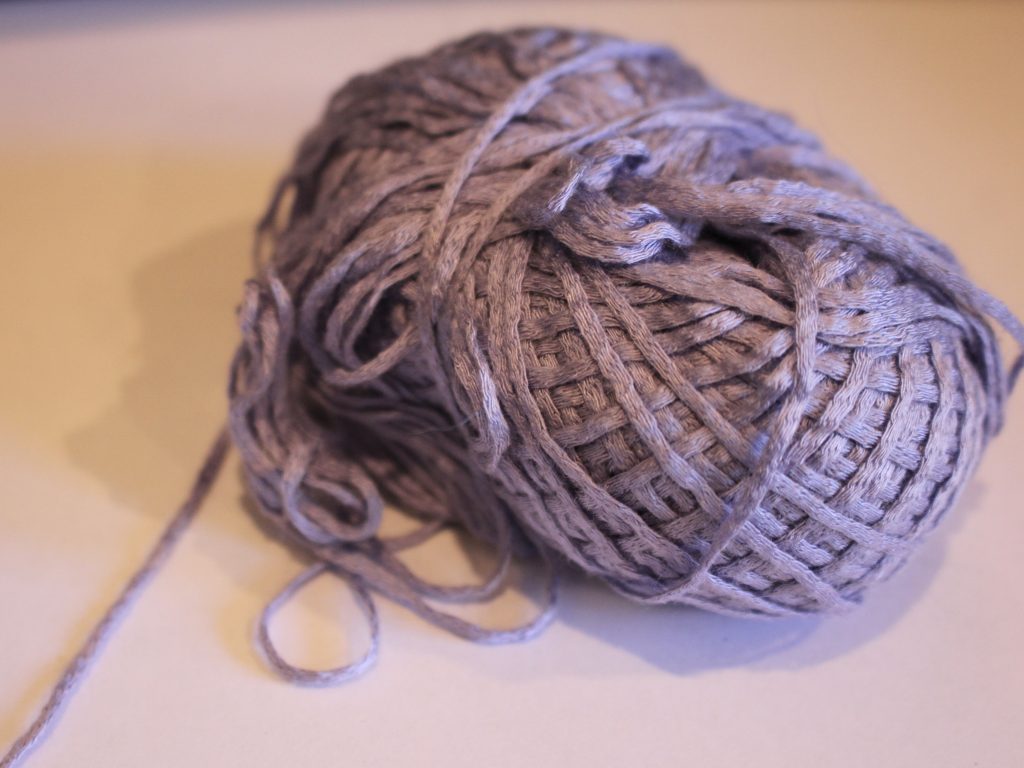
Get some purple bamboo yarn here: https://amzn.to/41yN7Qa

Get some black sequin yarn here: https://amzn.to/44VeNS8
or here: https://tidd.ly/3O34oxP
2: A crochet hook. I used one that was 3.5mm in size. If I made this again I would use a crochet hook that was slightly smaller. The size crochet hook you will need depends on the thickness of your yarn.
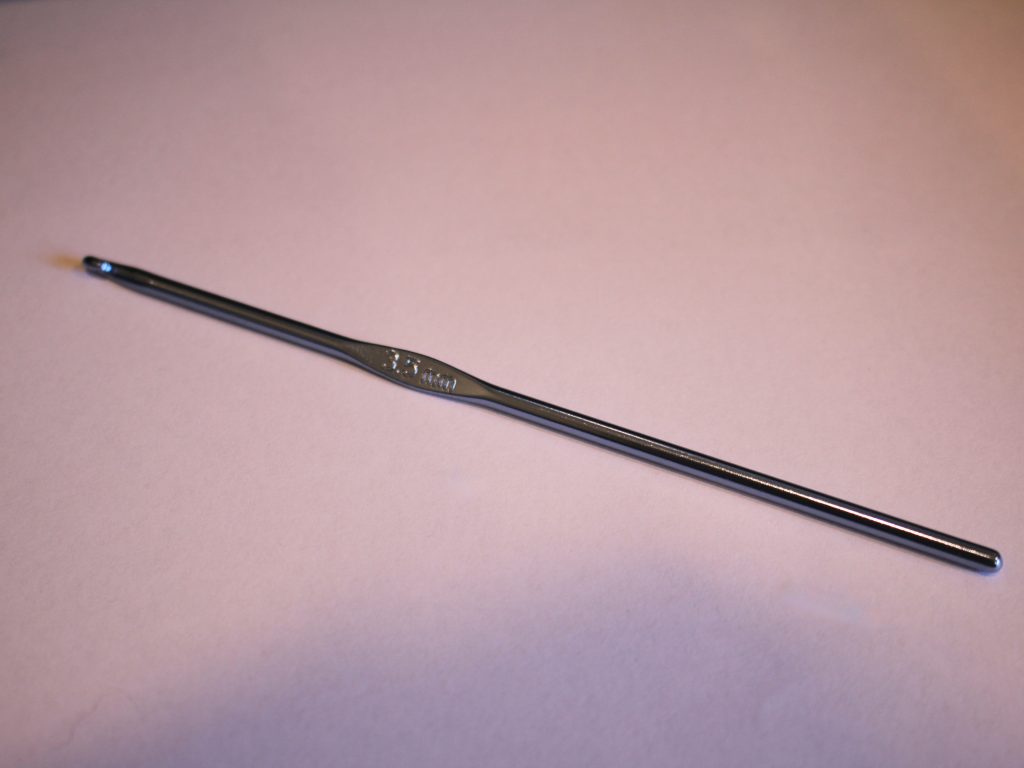
You can get a 3.5mm crochet hook here
Here: https://amzn.to/3Ml08si
or here: https://tidd.ly/3O2YDQF
3: A phone loop keychain.

You can get one here: https://amzn.to/42vJzzs, or 4: A thick needed for weaving in the ends of the yarn.

5: A pair of scissors.

Here are all the steps you need to follow to make your crochet phone lanyard:
1: Hold the two yarns together.

2: Create a slip knot with the two yarns held together.

3: Slide the open knot over the crochet hook and then tighten it around the hook.

4: Take the long thread and loop it around the hook close to the hook end and in front of the slip knot loop you just tightened. You can see a video of this technique here.
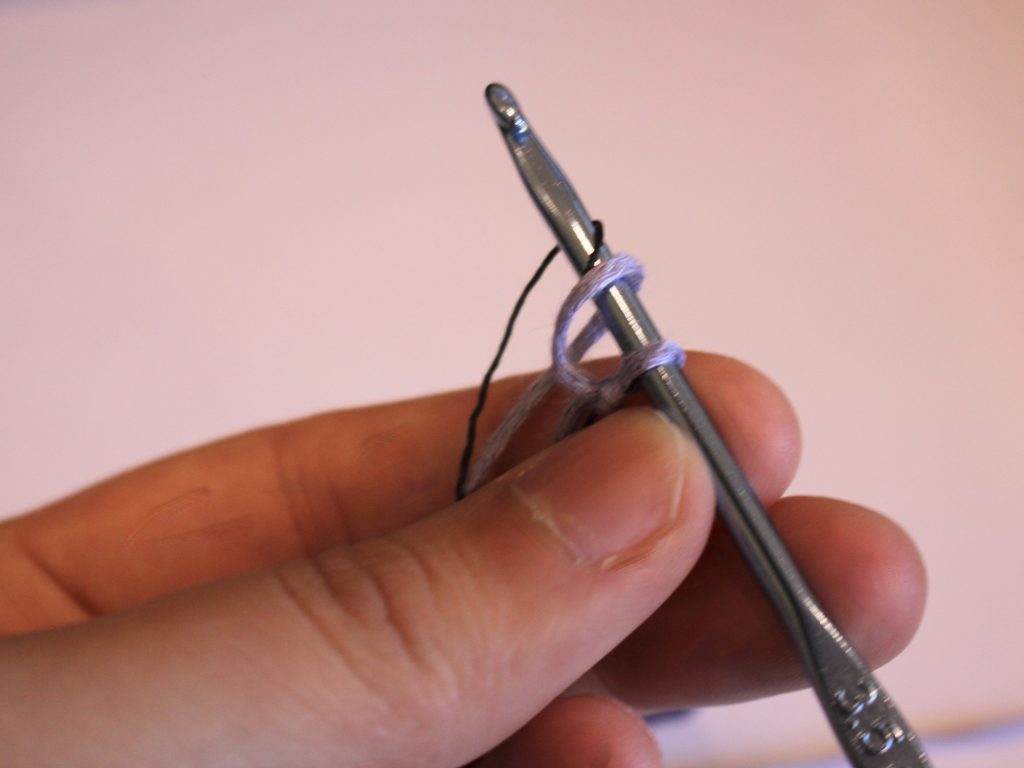
5: Now take the first loop and pull it over the second one and off the crochet hook.

6: Continue steps 4 and 5 to create your crochet chain. Keep making loops until you have a chain long enough to fit across your body like a cross body bag. You can use your favourite cross body back to measure a length you like.

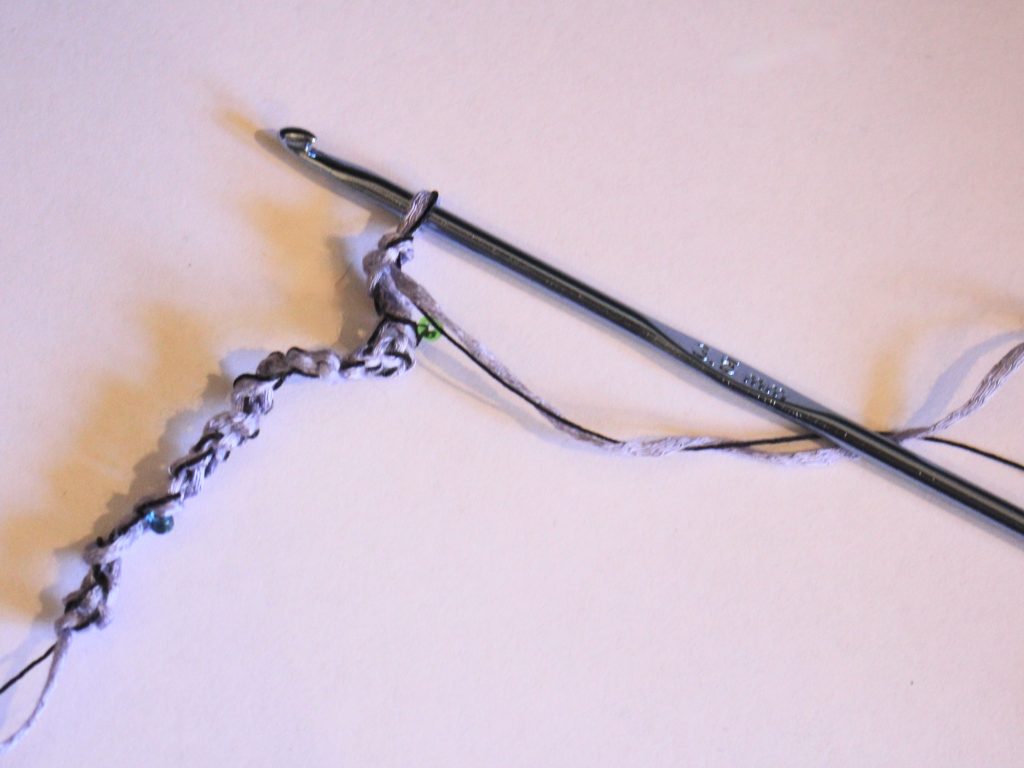
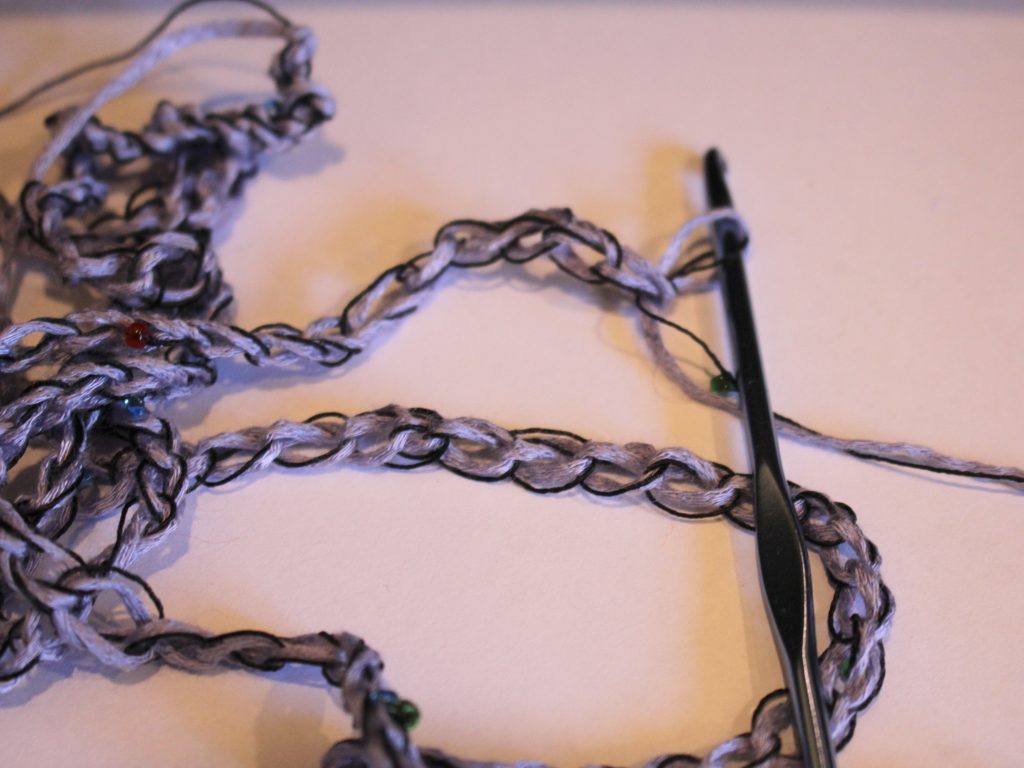
7: Once your crochet chain is long enough, cut the yarn so that you have a shorter length of yarn.

8: Take the last loop off of the crochet chain and loop the end of the yarn through it, pull it tight to create a knot and finish the crochet chain.

9: Knot the two ends of the crochet chain together.

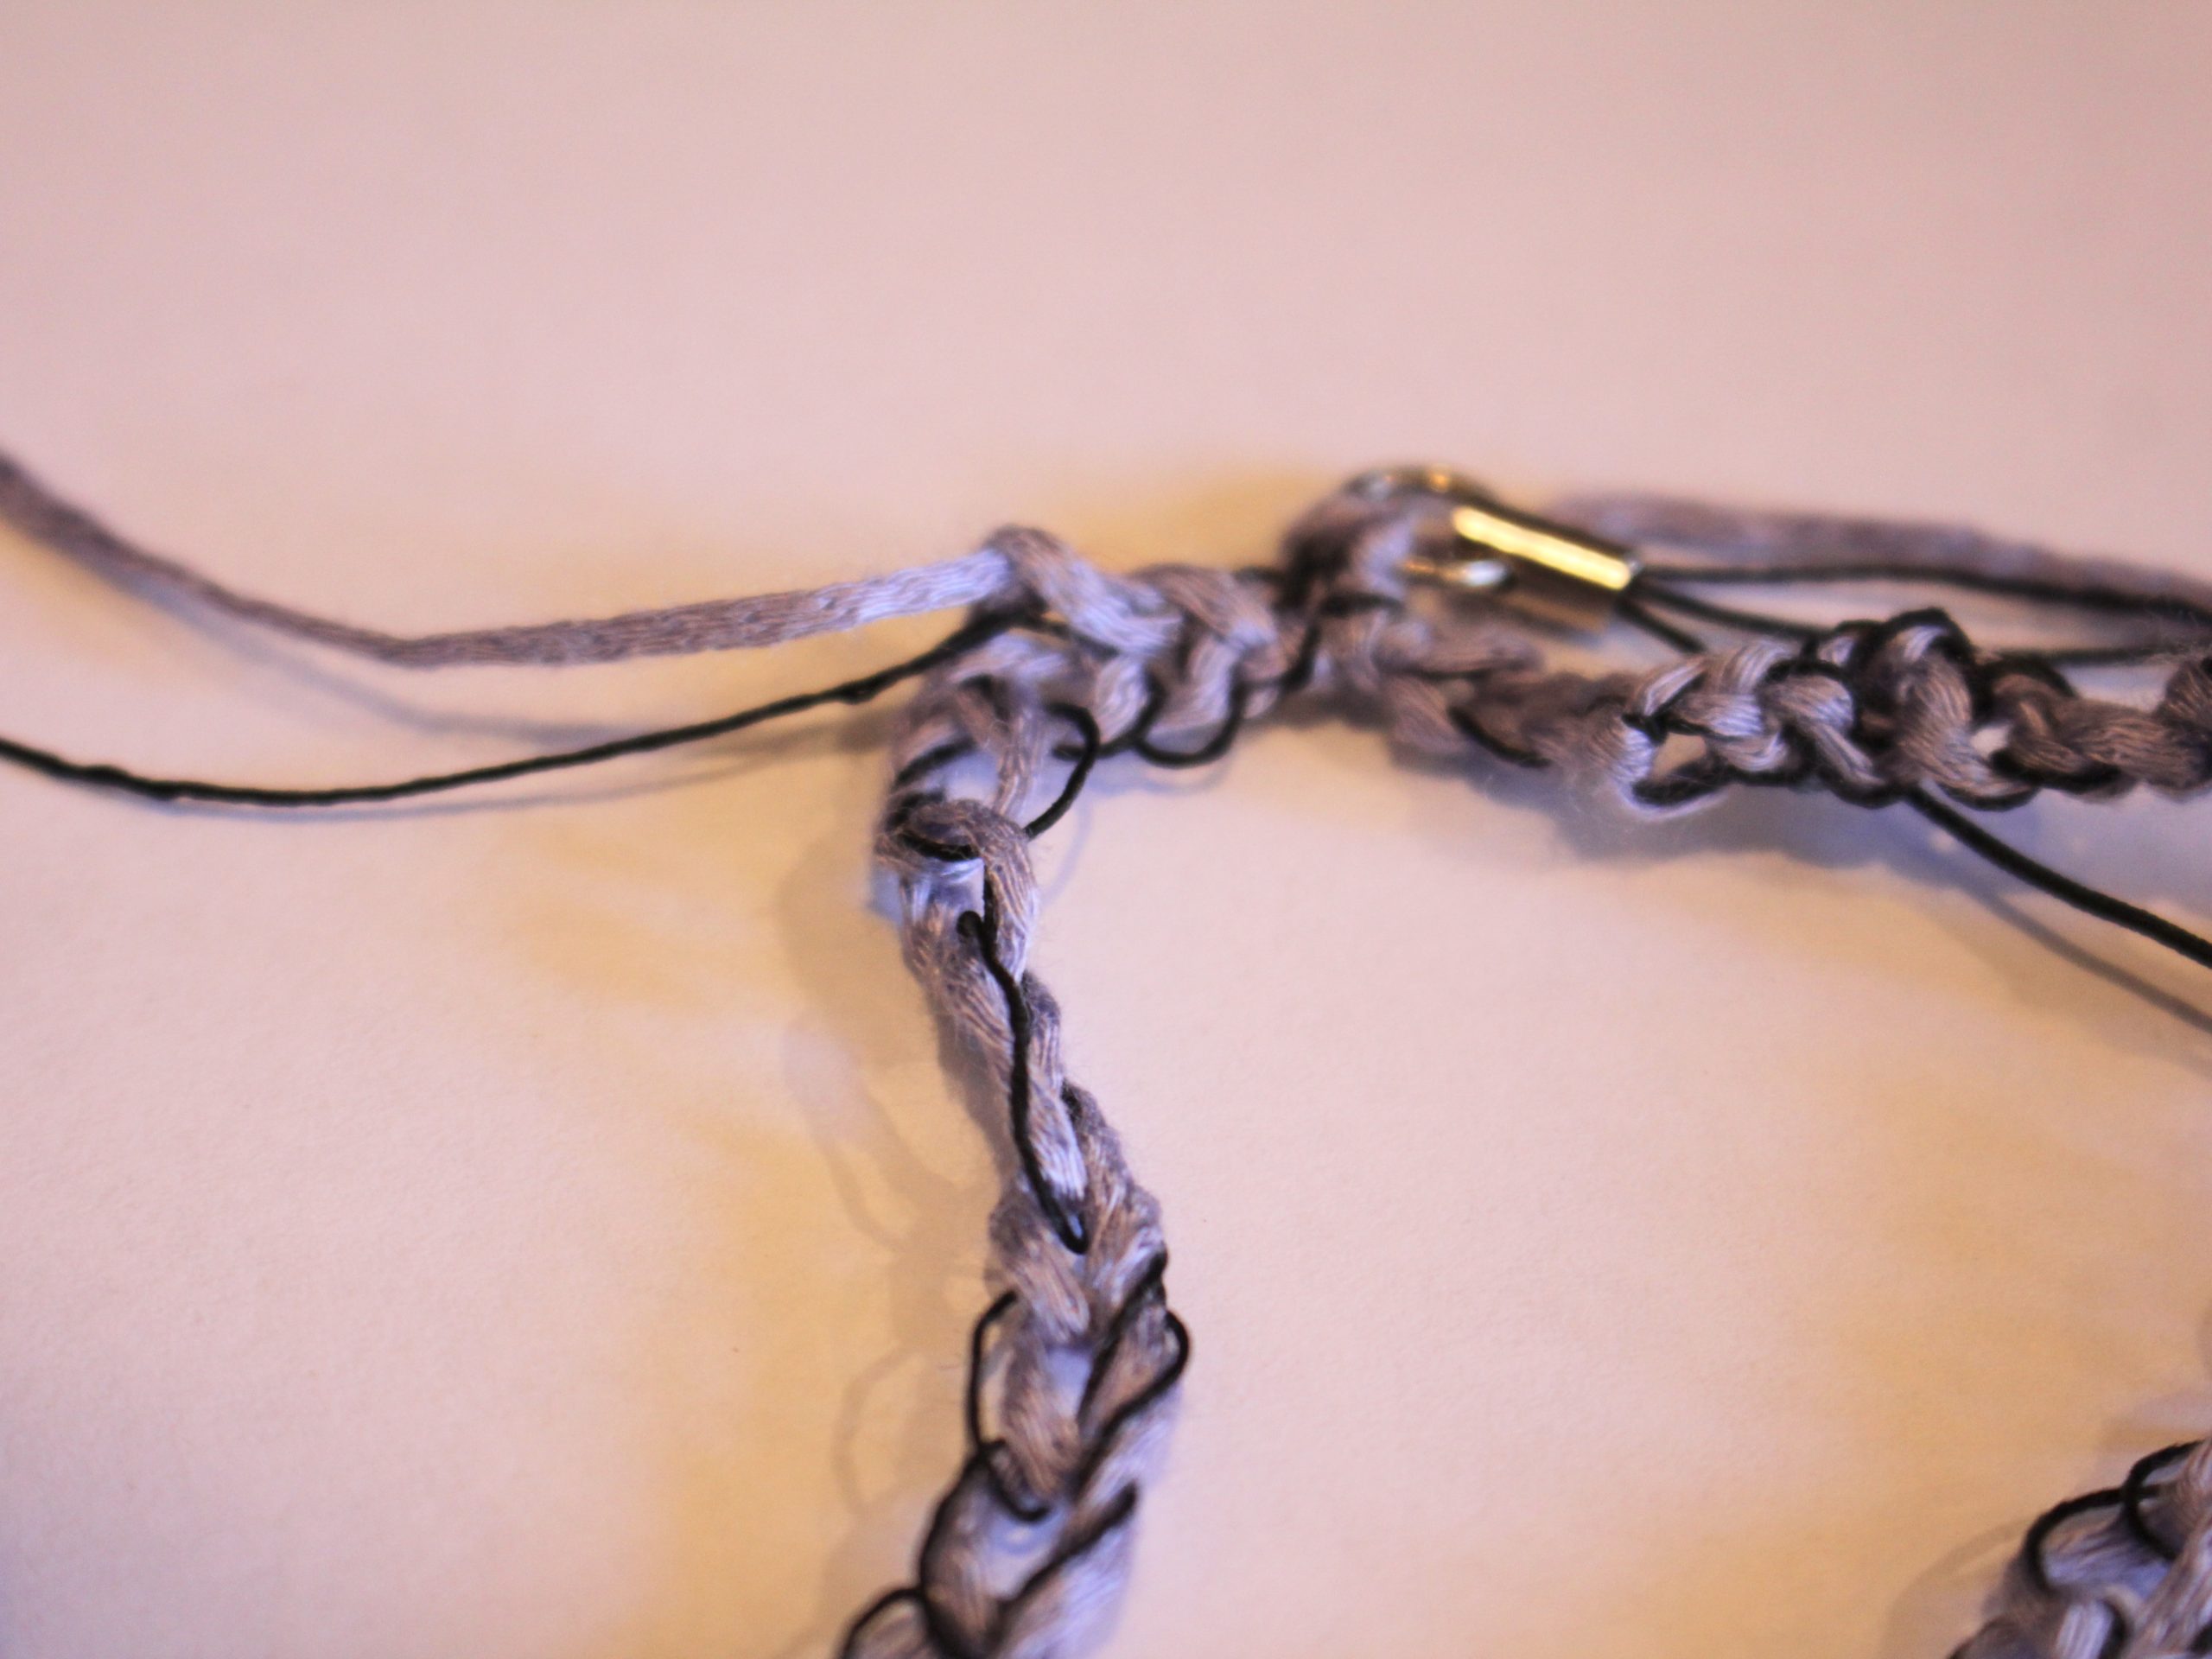
10: Slide the excess yarn through the jump ring at the end of the phone loop and then create a couple of knots.


11: Use the needle to weave the ends of the yarn into the crochet chain. Trim any excess.


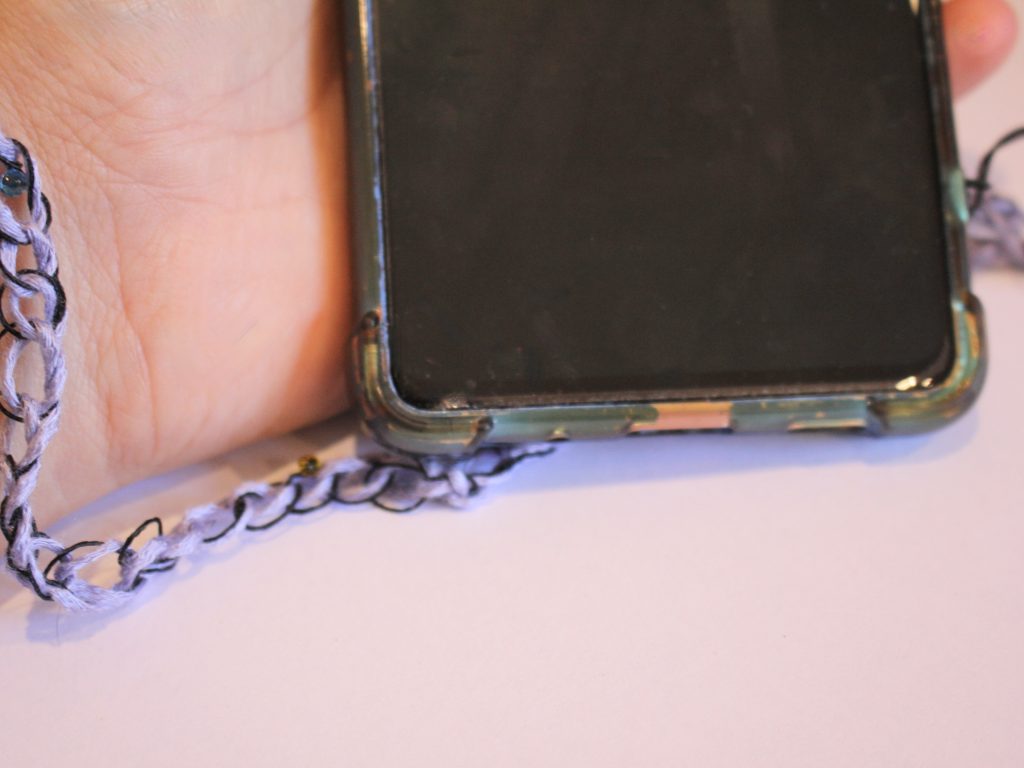
Now your crochet phone lanyard is finished and ready to use! Make one to protect your phone during your travels, or to keep it safe at home! I’ll be wearing mine across my body to protect my neck and help keep track of my phone.

If you want some other phone strap tutorials, you can find some here:
1: Turn a chain necklace into a phone wrist strap.
2: Transform some string into an amazing beaded phone strap.
3: Make your own sparkly rhinestone wrist strap for your phone.
4: Construct a simple chain phone strap.
And if you want some lanyard inspiration, here are some additional tutorials you can try:
-
Do you love the look of knit accessories? Why not try knitting your own bangle?
I’ve previously written an i-cord knitted bracelet tutorial, and this one is kind of similar, but the special twist here is the addition of a wire to give the knit structure so it wears more like a bangle than a bracelet! This simple tutorial requires some basic knitting skills, but I think the results are worth it. Please note that this tutorial contains affiliate links.
You’ll need the following tools and materials to make your knitted bangle:
1: Yarn. I used two leftover yarns, a sliver sparkly mohair and a pink boucle style yarn.

Hot pink yarn:
Sparkly black yarn:
2: A piece of wire. I used some recycled copper wire.

3: Pliers. I used my cutting pliers, flat nose pliers and round nose pliers.

4: Scissors.
5: A darning needle.
6: Two double pointed knitting needles. I used some 8mm needles to give myself a chunky i-cord. The width of your i-cord will depend on the size of your yarn and your needles. I recommend using a thick yarn and needles for a bold bangle. Alternatively, if you don’t like knitting, you can use an i-cord knitting machine.

Alternatively, you can try an i-cord knitting machine
Follow these steps to make your own amazing knitted bangle:
1: Hold the two yarns together.

2: Create a slip knot and add it to the needle, pull the yarn to tighten it around the needle.


3: Cast on two more stitches. After casting on the three stitches, slide them to the other end of the needle and begin knitting the first stitch. Knit the next two stitches. This will start to form a tube. You can see this process a bit in this video.
4: After finishing the first row, slide the stitches to the other end of the needle and repeat the knit pattern you did in step 3.

5: Once you have your desired length, it is time to cast off. To cast off, knit the first stitch onto the second needle, then knit the second stitch, after you slide it onto the next needle, take the first stitch and pull it over the second one, you will now have one stitch on each needle. Repeat this again until you only have one stitch left on the second needle.
6: Leaving the final stitch on the needle, trim the end of the yarn leaving a tail.

7: Remove the needle and then thread the tail through the loop and pull it tight. Now your cast off is complete.


8: Take the wire and start pushing it into the middle of the i-cord.


9: Create a loop on one end of the wire.


9: Form the wire into a large circle shape, this will be the form of your bangle.

10: Trim the excess wire using your cutting pliers, leaving a little excess on the end to allow for the loop.

11: Put the second end through the loop you made at the first end, then loop them together using your round nose pliers.


12: Push the knitted i-cord tube around to cover the loops you made. and then tie the two ends together using the tails you left.

13: Use the needle to weave the tails in and further cover the wire. Trim any excess yarn.


Now your knit bangle is finished and ready to wear! How cute is this design? I love it. I’m planning to make a whole stack to add some fun colourful accessories to my wardrobe.


Here are some other fibre focused jewelry tutorials you can follow:
-
Here’s how to make a colorful crochet lanyard!
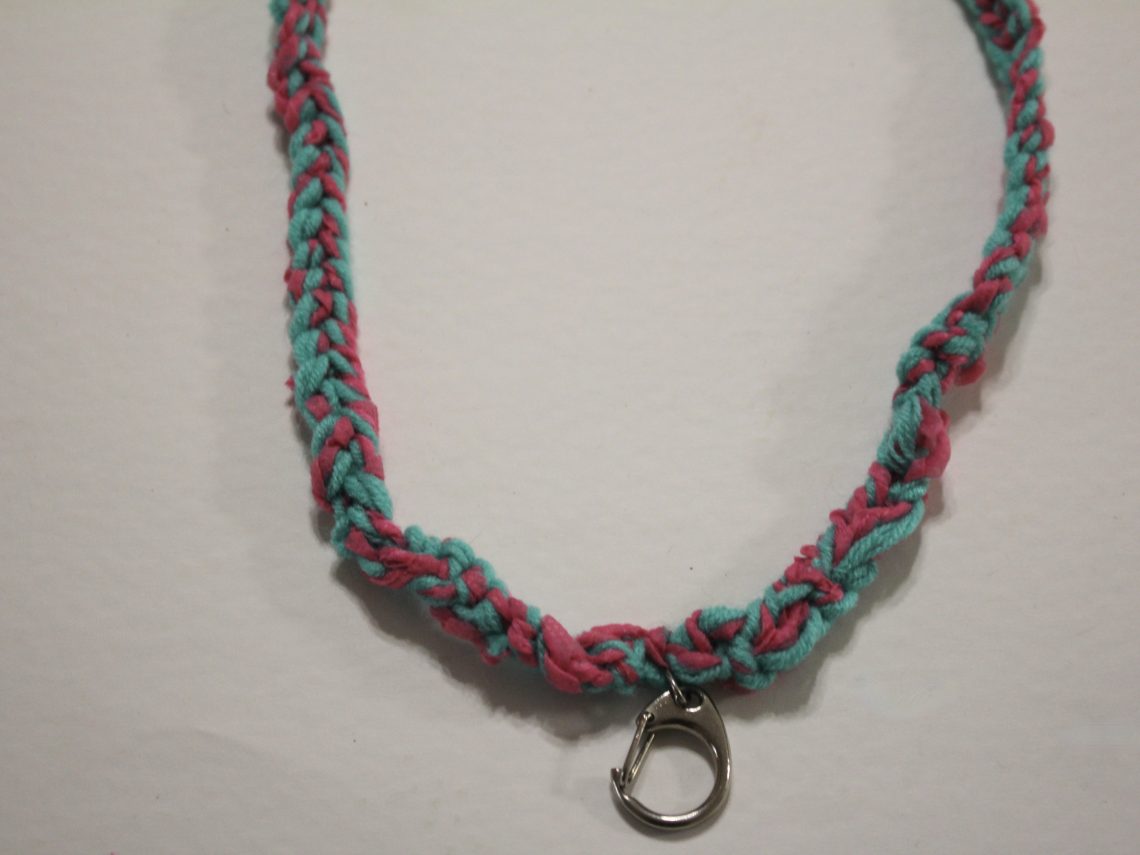
I have a teacher friend who loves a colourful lanyard, so this tutorial is inspired by her! This lanyard uses basic crochet combined with a large claw clasp to create a fun and practical accessory. I think this tutorial is a great way to use up scrap yarn and turn it into something useful. Please note that this tutorial contains affiliate links.
You’ll need these tools and materials to make this lanyard:
1: A crochet hook, large enough for chunky yarn. I used a 7mm hook.

2: Some yarn. I used three strands held together, two green strands and one pink strand.

Green yarn
Pink yarn
3: Scissors.
4: A darning needle.
5: A large lobster claw or similar. I used this chunky one that was recycled from an old keychain.
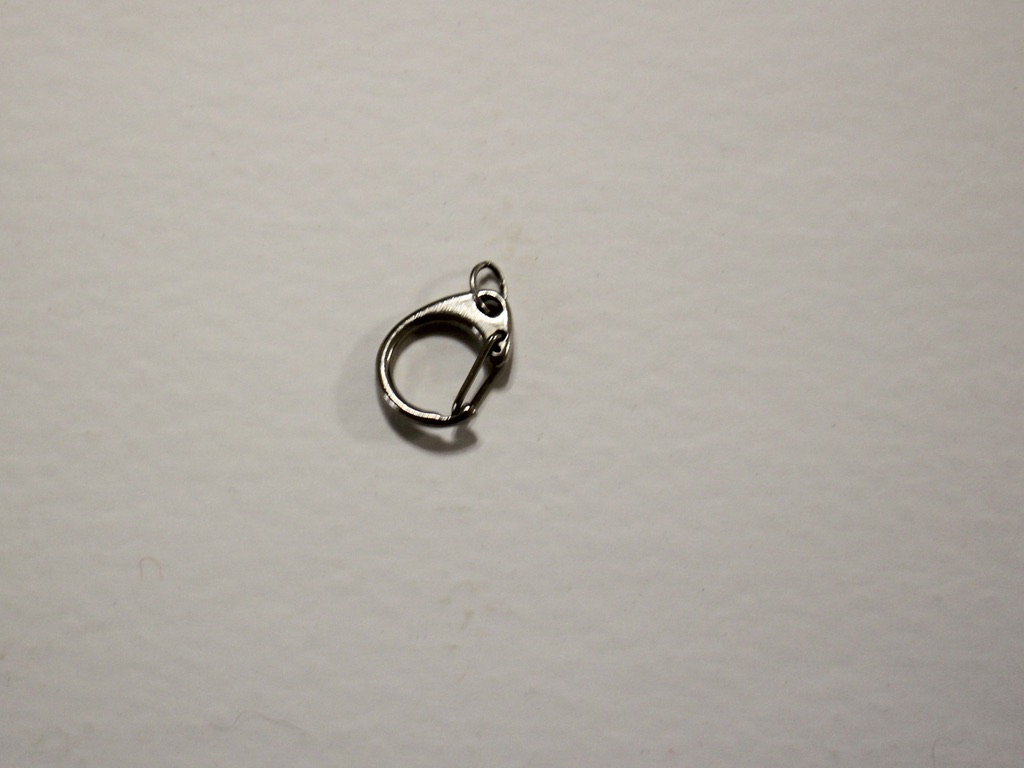
Here are the steps to make your own crochet lanyard.
1: Gather the three strands together.

3: Create a slip knot.

4: Place the loop around the crochet hook and pull the short end of the yarn to tighten it around the loop.

5: Take the long end of the yarn and wrap it around the hook before the first loop you made.

6: Grab the first loop and pull it over the top of the yarn you just wrapped around the crochet hook. This will leave you with just one loop on the hook again.

7: Repeat steps 5 and 6 to start creating a single row of crochet. Here’s a video that shows you what that looks like.

8: Continue crocheting until you have a length you like.

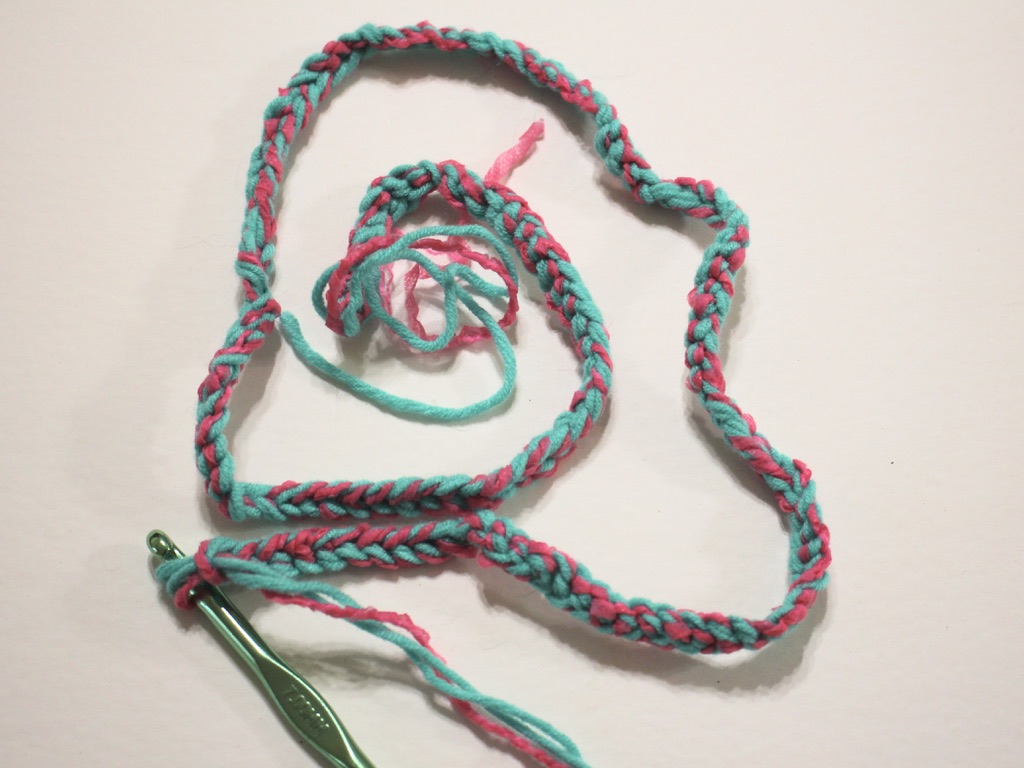
9: Cut the yarn leaving a reasonably long tail, about 15cm.

10: Remove the crochet hook and then loop the end of the yarn through the loop at the top.
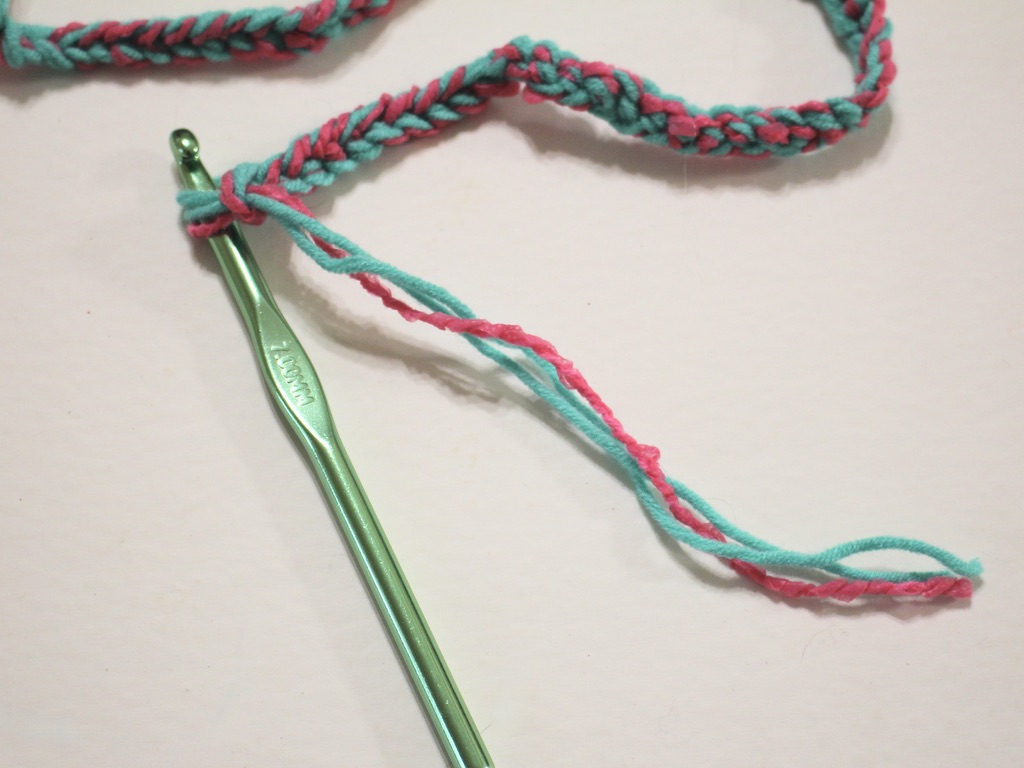
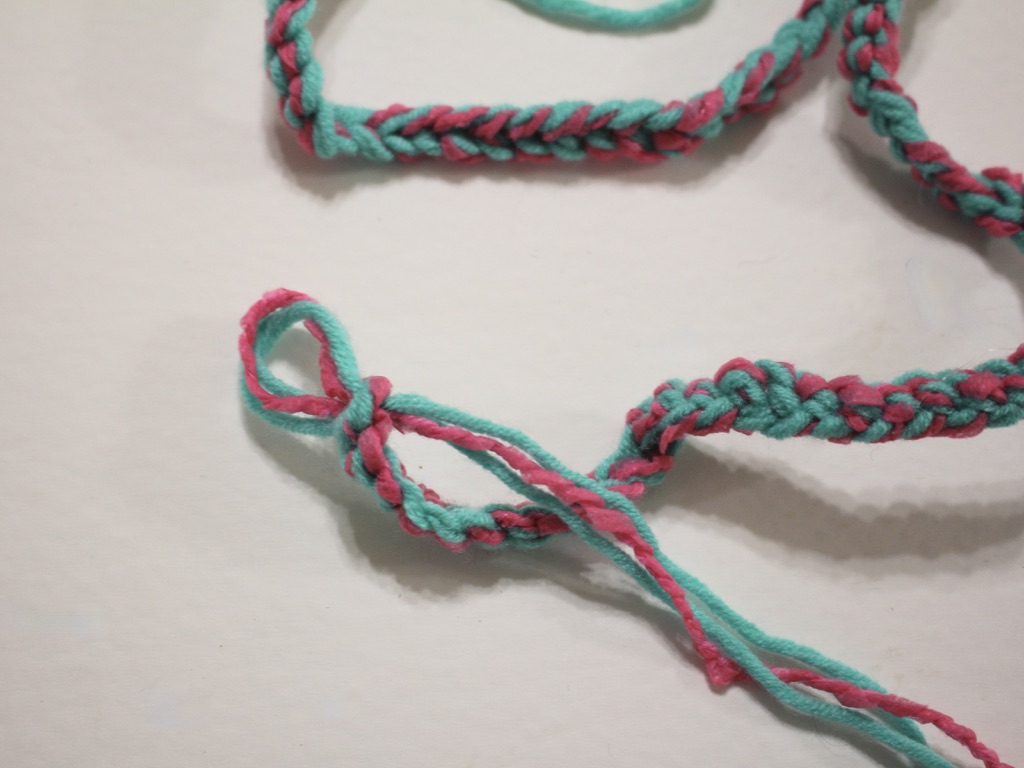
11: Pull the yarn tight to secure the end of the crochet cord closed.

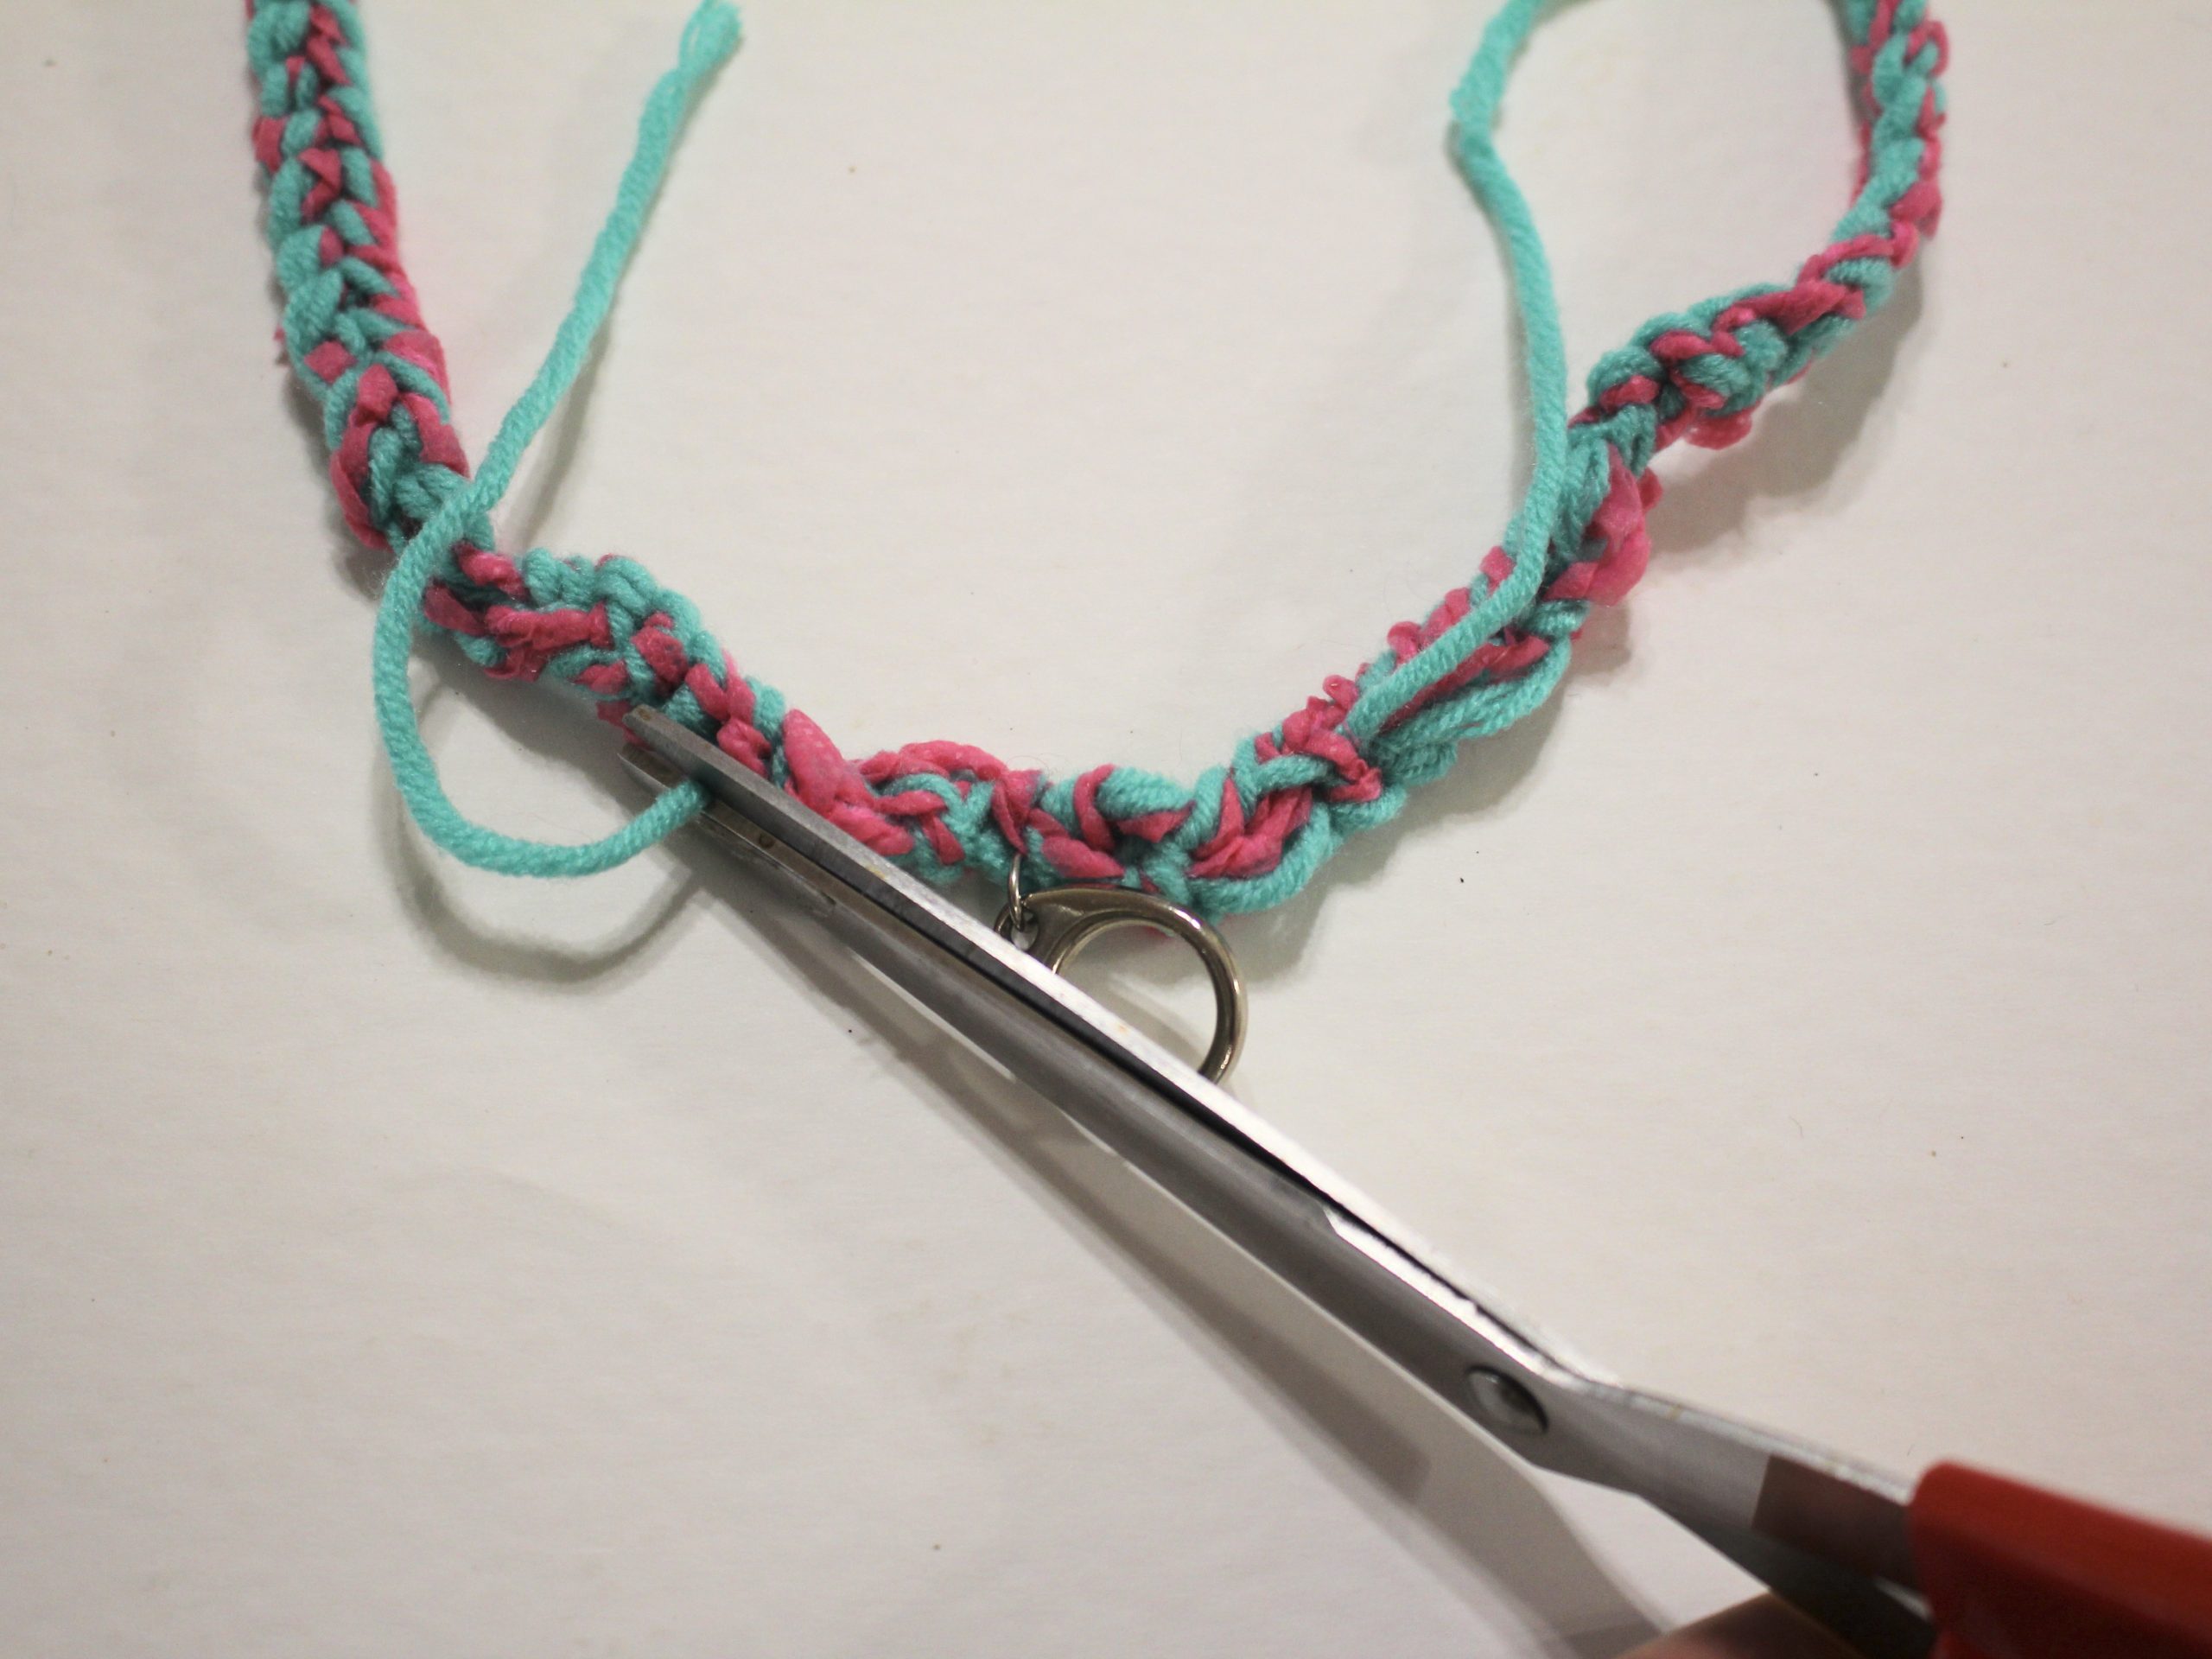
12: Once you’ve got your preferred lanyard length and have the ends secured, take two of the strands (out of three) on each side and tie them together.


13: Use the needle to weave the paired threads through the crocheted part of the lanyard, trim the ends when you’re done. Do this for both sides of the lanyard.


14: Use the remaining strands to tie the claw clasp to the lanyard. Do a couple of knots to secure it, and then use the needle again to weave in the ends. Trim any excess yarn.


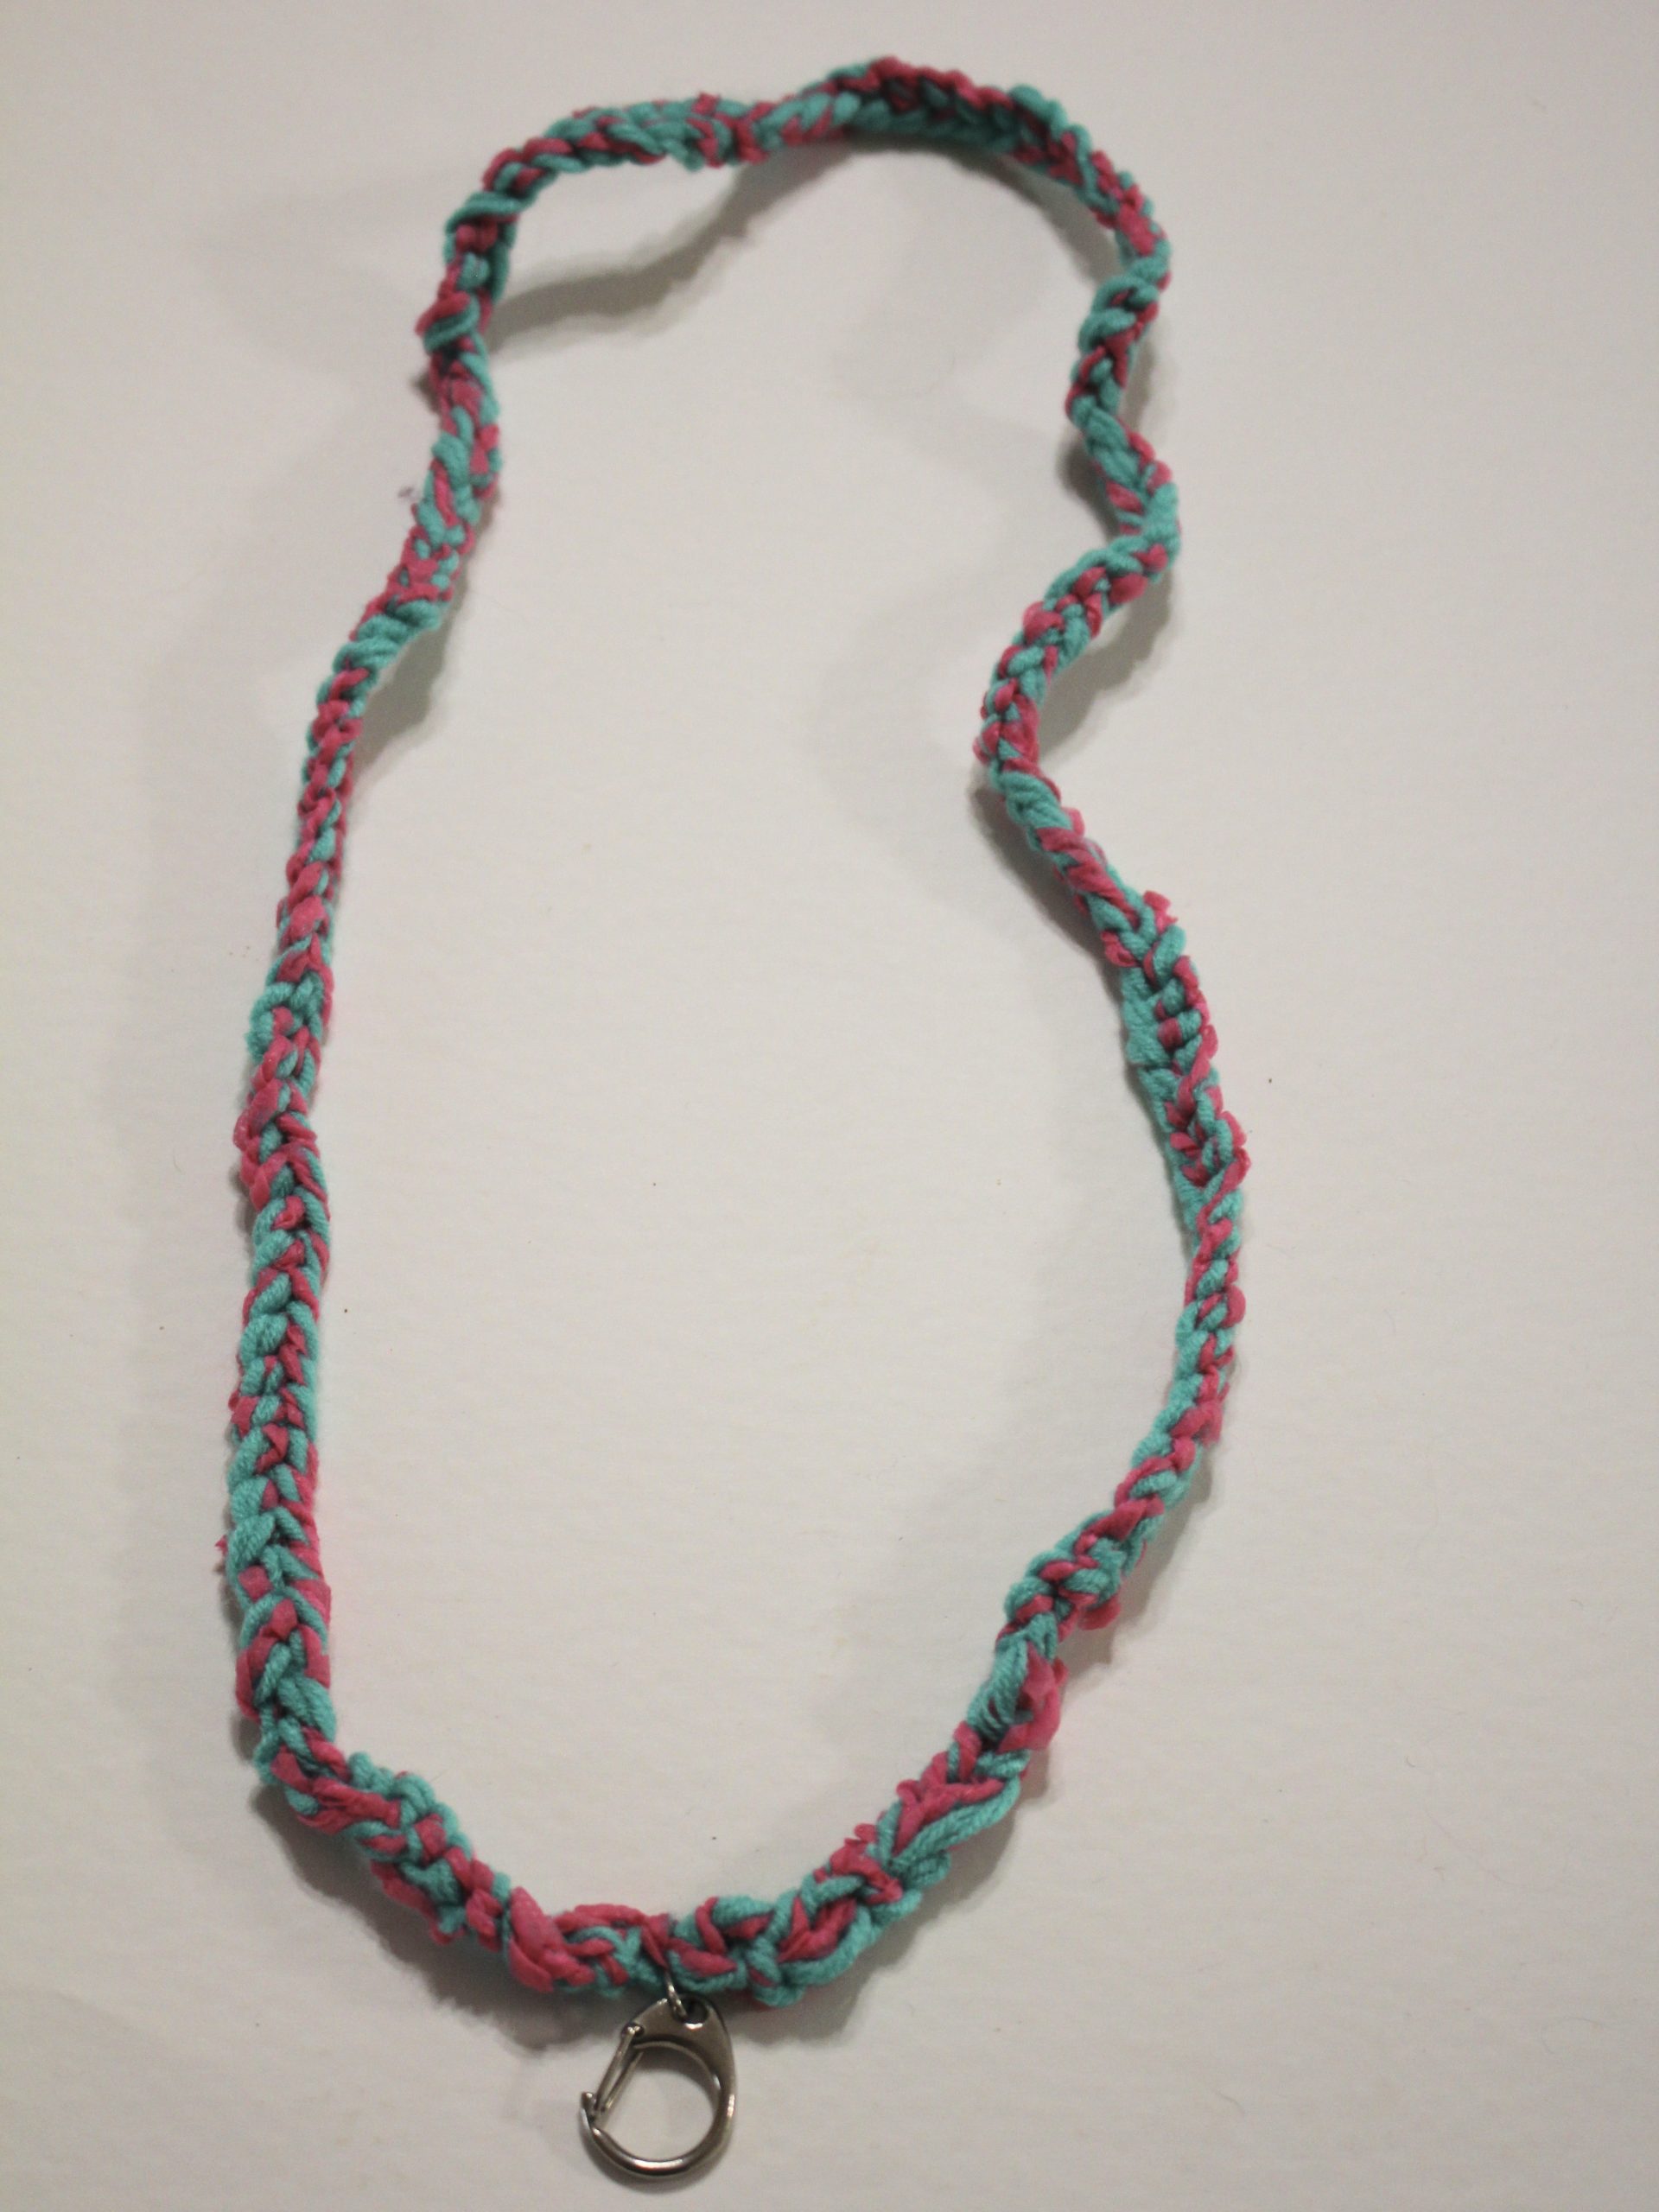
Once you’ve completed this step, your lanyard is ready to wear! Here’s what it looks like on using my needle sleeve as a sample ID 😉


What colours will your crochet your lanyard in? This is such a versatile technique, once you have your crochet base, you can add decorations by sewing in beads or buttons! You can even use a beaded yarn to add beads right from the start!
If you want to develop a lanyard collection, you can find out how to make a beaded lanyard here.
Here are some other yarn-based tutorials you can follow: