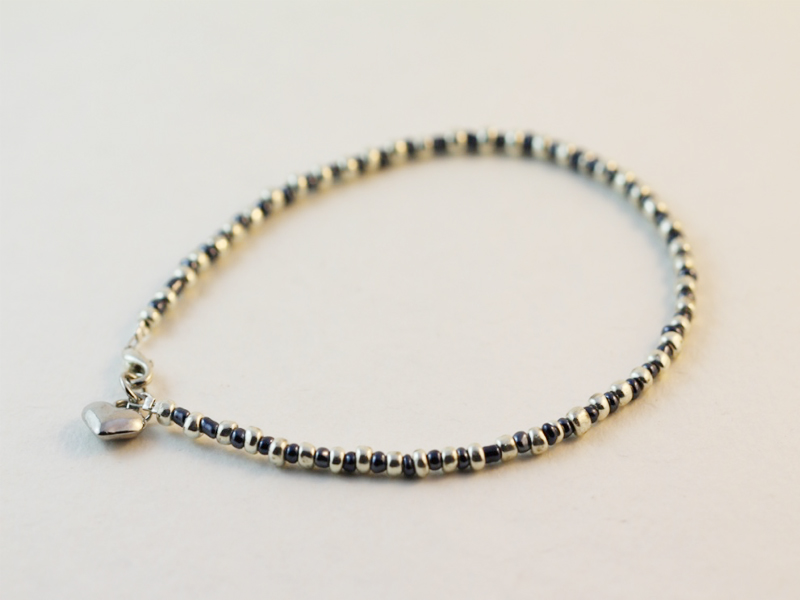
-
How to make a beaded necklace with cute little bead charms!
This is a cute little piece that looks great layered with chains! Use some fun gemstone beads to add some pizazz to your design. Please note that this tutorial contains affiliate links.
You’ll need these tools and materials to make this necklace:
1: Some tiger tail wire long enough to fit around your neck, plus some extra.

2: A set of pliers. I used my cutting pliers (left), flat nose pliers (right) and round nose pliers (middle).

3: Some glass beads. I used these green glass e-beads.

4: Some statement beads. I used 5 stone beads.

5: Four crimp beads.

6: Two jump rings.

7: Five head pins.

8: A lobster clasp.

Follow these steps to make your beaded charm necklace:
1: Add each of the statement beads to each of the head pins.

2: Curl the tops of each pin using the round nose pliers. This will keep the bead in place.


3: Set the charms aside.
4: Put two of the crimp beads onto the tiger tail wire.

5: Add one of the jump rings.
6: Loop the wire around the jump ring and back through the crimp beads. Pull the wire tight.

7: Squash the crimp beads using the flat nose pliers.


8: Begin adding beads to the wire.

9: Bead until you get to a length you like, before the middle of the wire.

10: Add the first bead charm from the set you made earlier.

11: Add some more glass beads and then add another bead charm.

12: Continue adding charms in your chosen pattern until they are all in place.


13: And now you can add the glass beads until your necklace is at the right length and is beaded evenly so that the bead charms are at the bottom.


14: Add the second pair of crimp beads and the jump ring.

15: Loop the wire around the jump ring and back through the crimps and the last few beads on the strand.

16: You should now pull the wire tight and squash the crimps with the flat nose pliers.


17: Now you can trim the excess wire with cutting pliers.

18: Open one of the jump rings and attach the lobster clasp. Close the ring to secure the clasp in place.


So now your necklace is finished and ready to wear! So so cute. What necklaces will you layer yours with?


Or maybe you’ll wear it as a statement on its own?!


-
Here’s how to make a really cute charm anklet!
Do you love the look of dangling charms? Why not drape some around your ankle with this beaded charm anklet design? This tutorial contains affiliate links.
Here are the tools and materials I used to make my beaded charm anklet:
1: Pliers. I used by round nose pliers (middle), flat nose pliers (right) and cutting pliers (left).
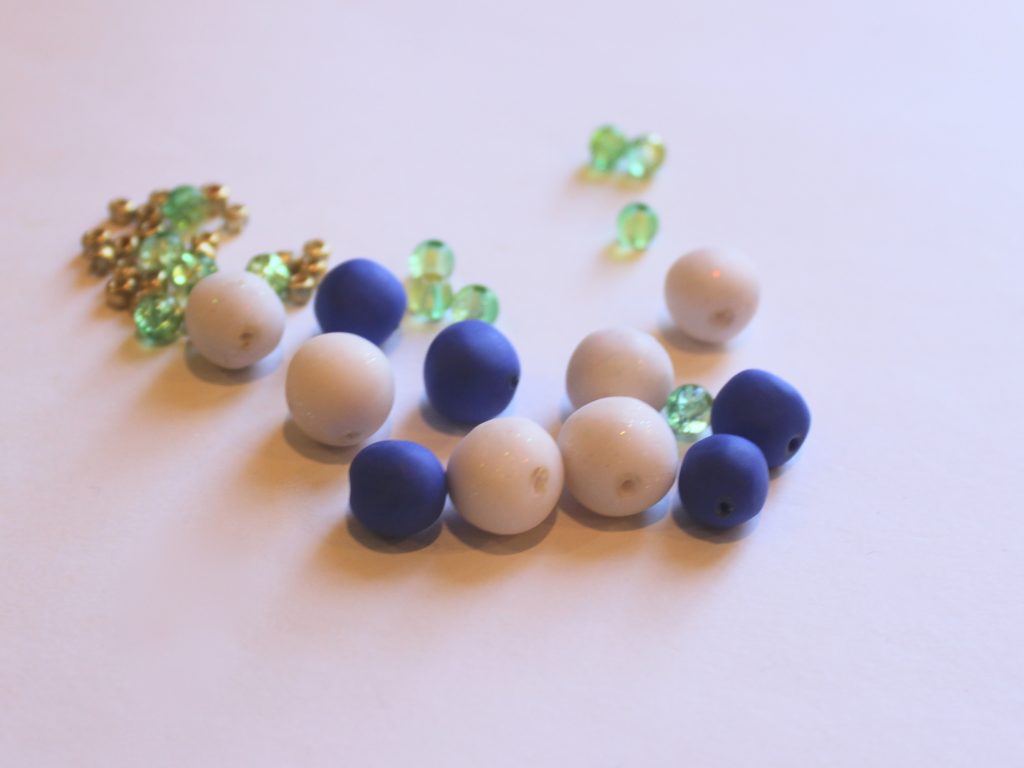
2: A selection of beads. I used some polymer clay beads that I made a while ago, some green glass beads and some gold e-beads.
3: Some chain long enough to fit around your ankle.

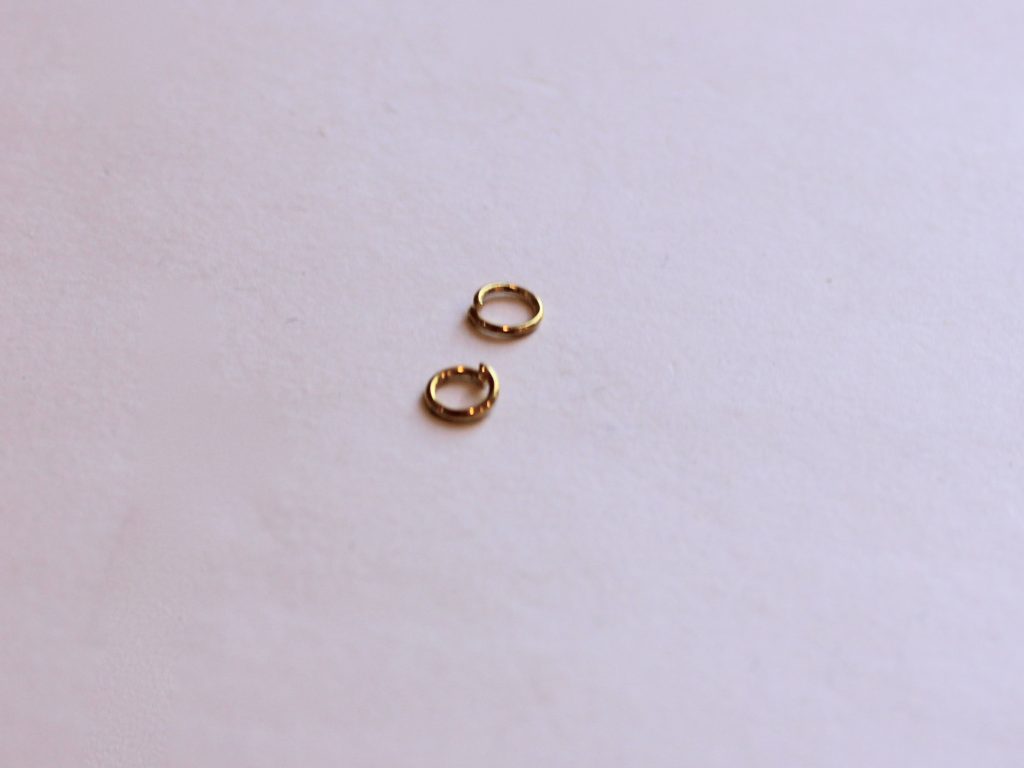
4: Two jump rings.
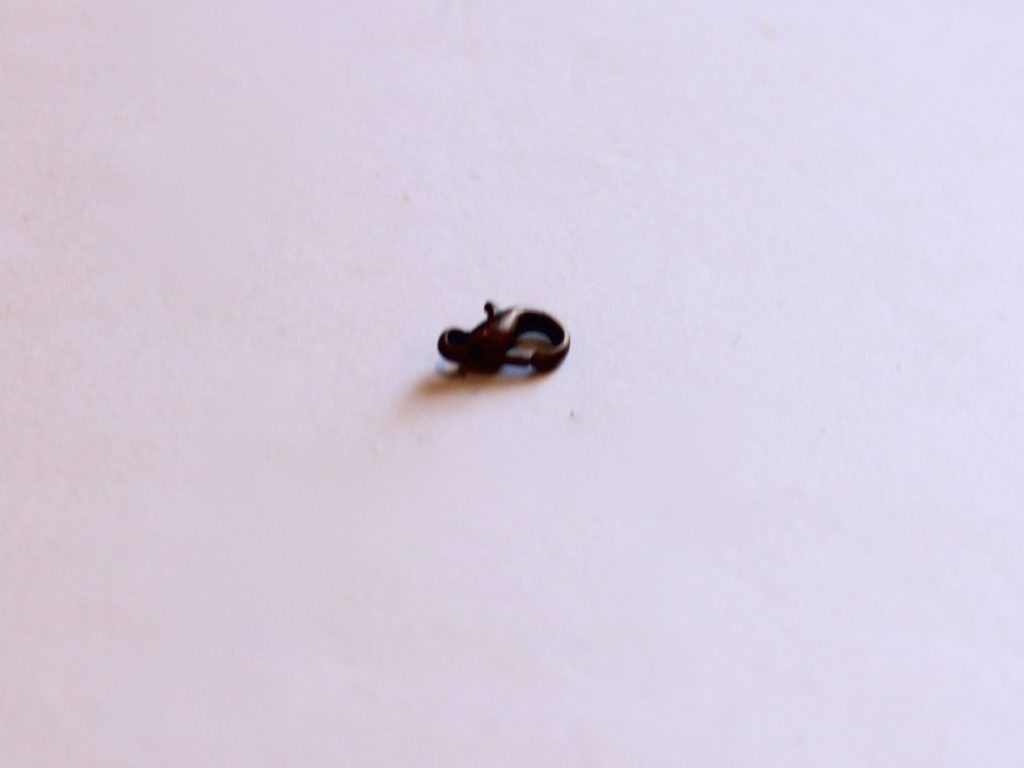
5: A lobster clasp.
6: A bunch of head pins.

Follow these steps to make your charm anklet:
1: Add beads to each of the head pins.
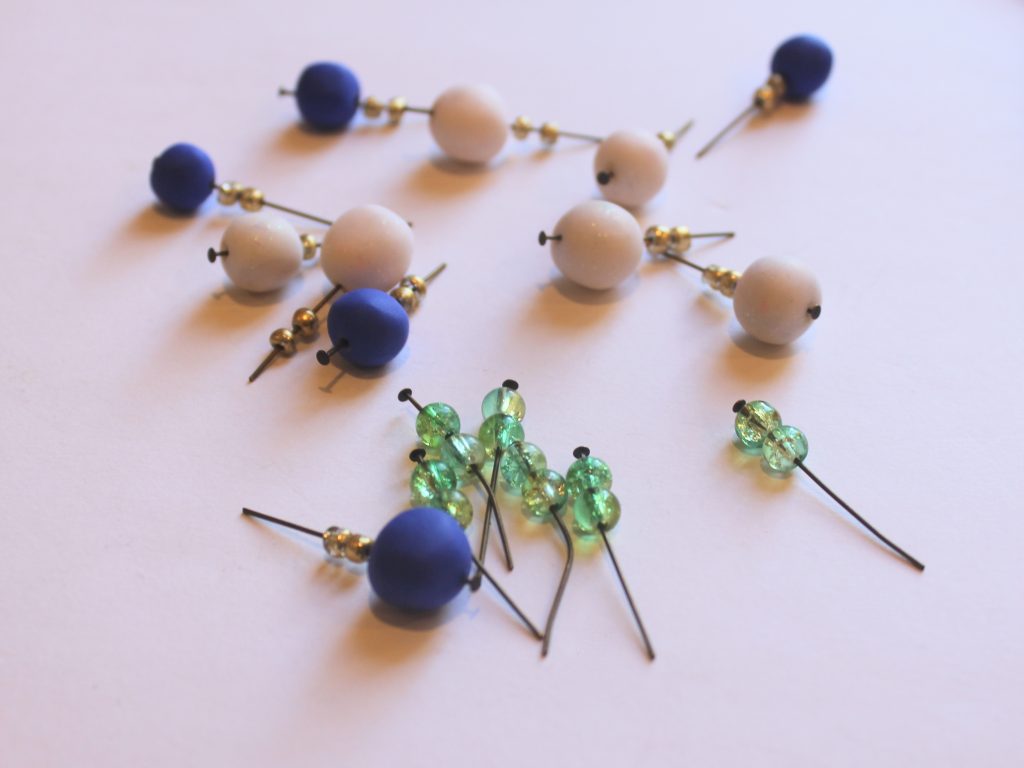
2: Bend each head pin to form a right angle.

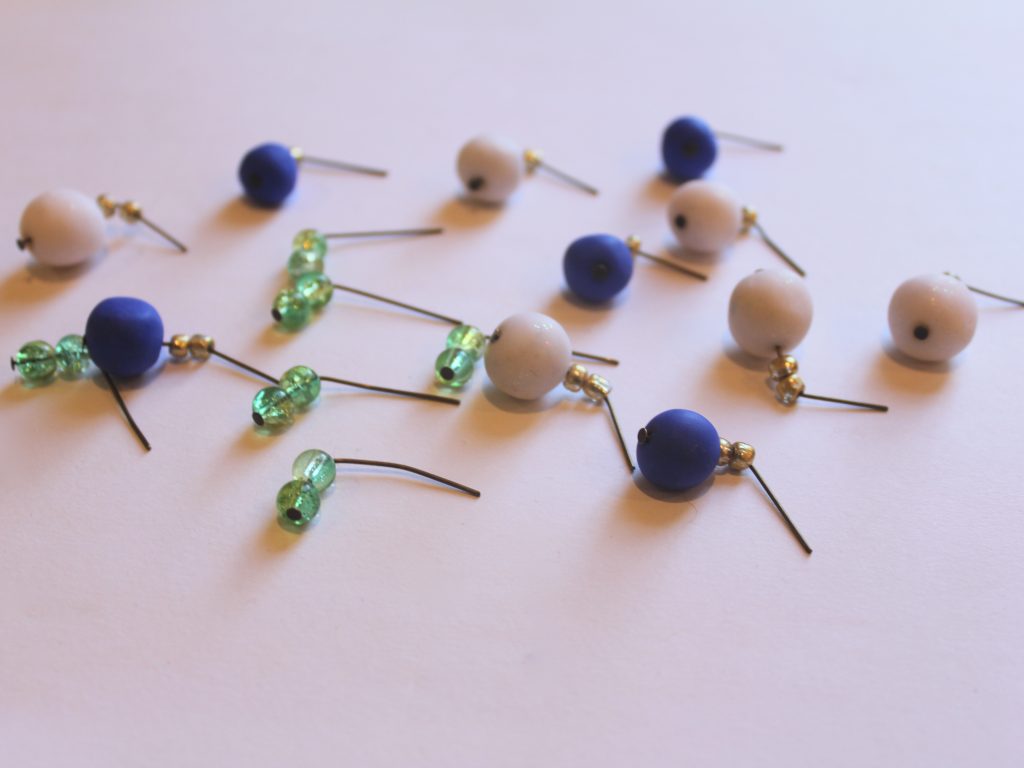
3: Trim the excess pin using the cutting pliers. Leave approximately 1cm unbeaded on all the charms.
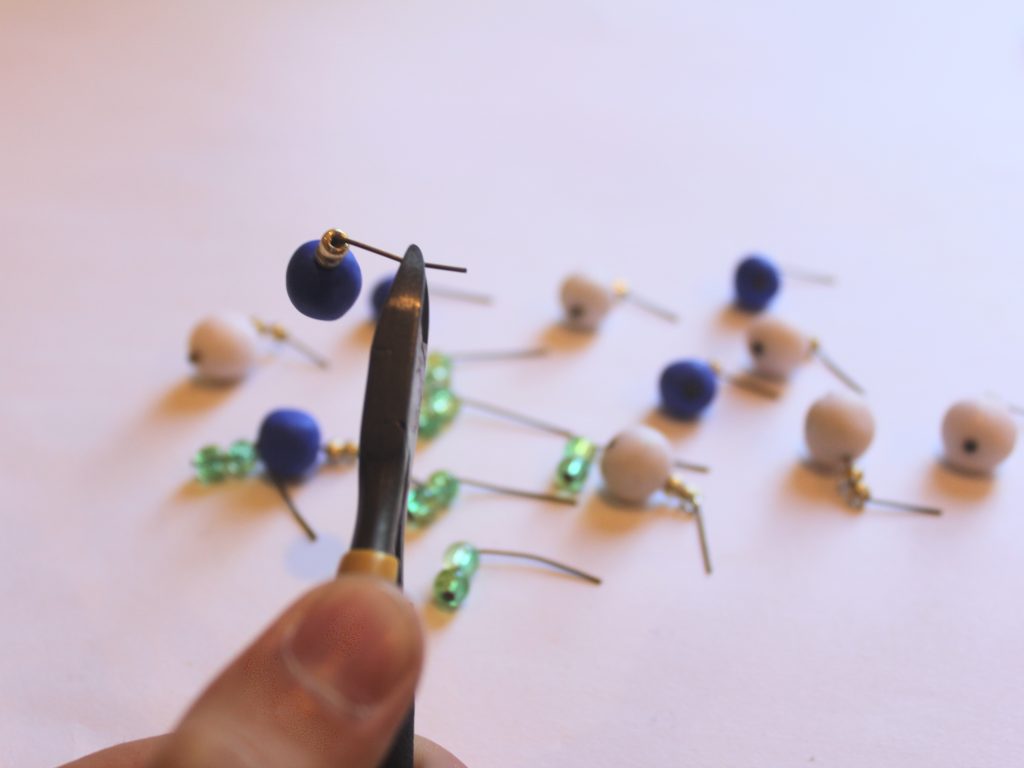
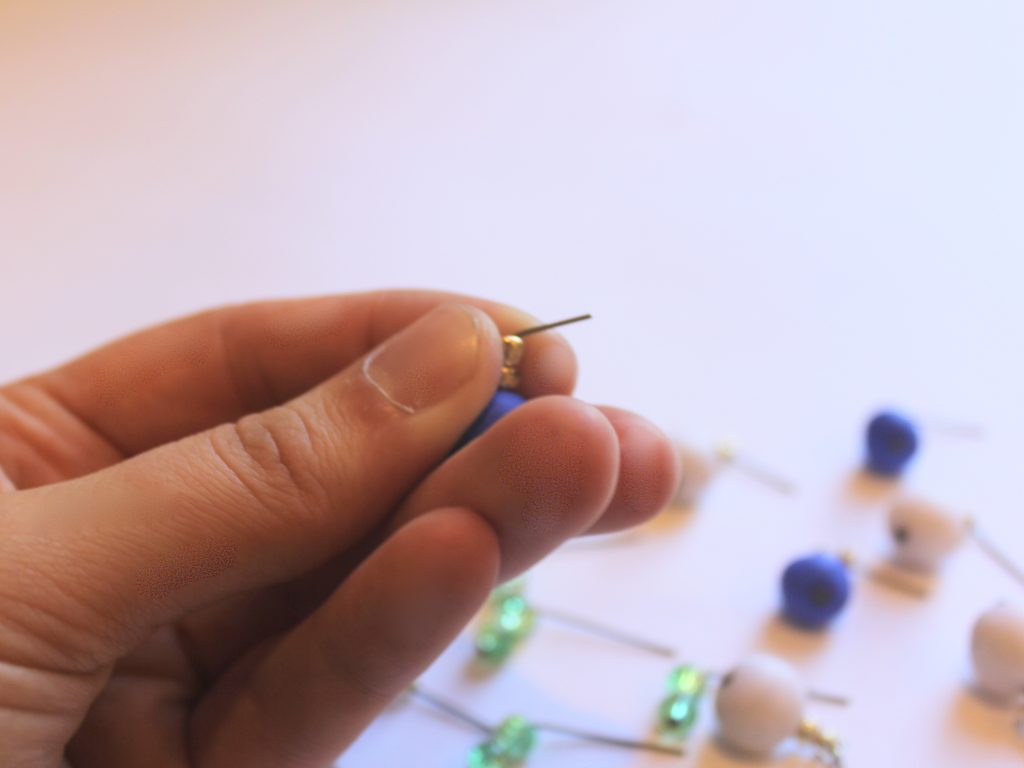
4: Loop the top of the pin using the round nose pliers to secure the beads in place.
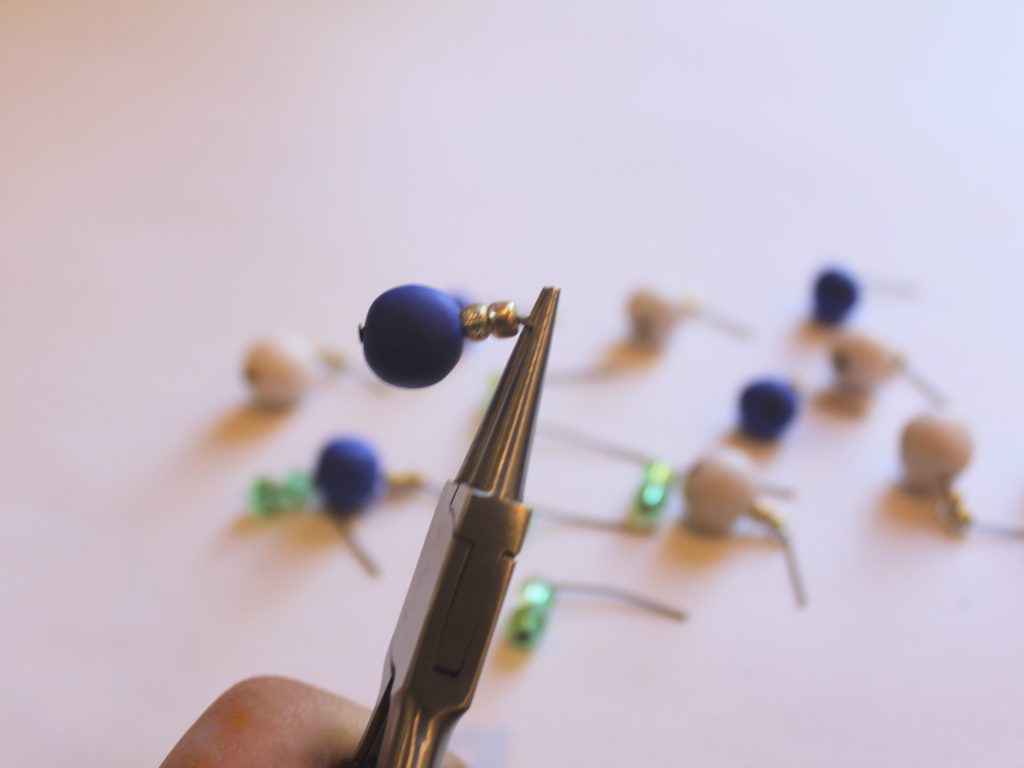

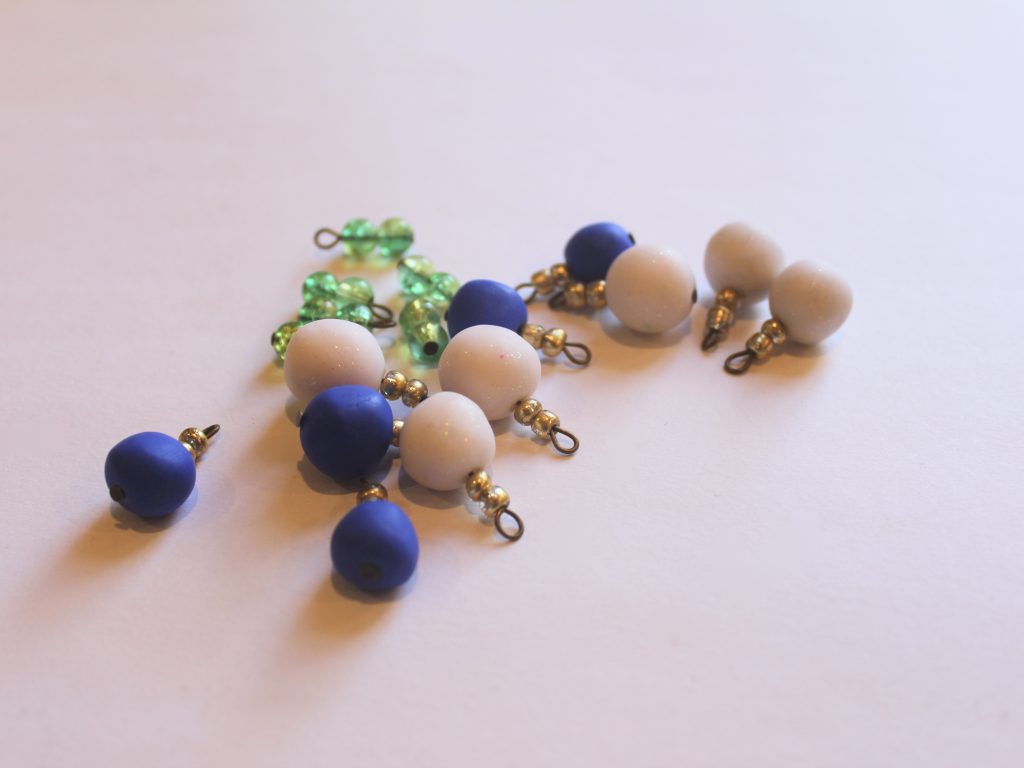
5: Add a jump ring to either end of the anklet chain and attach the lobster clasp to one of them.


6: Now you can attach the charms. Do this by opening the top loop slightly and sliding it through the chain links at spacing of your choice.


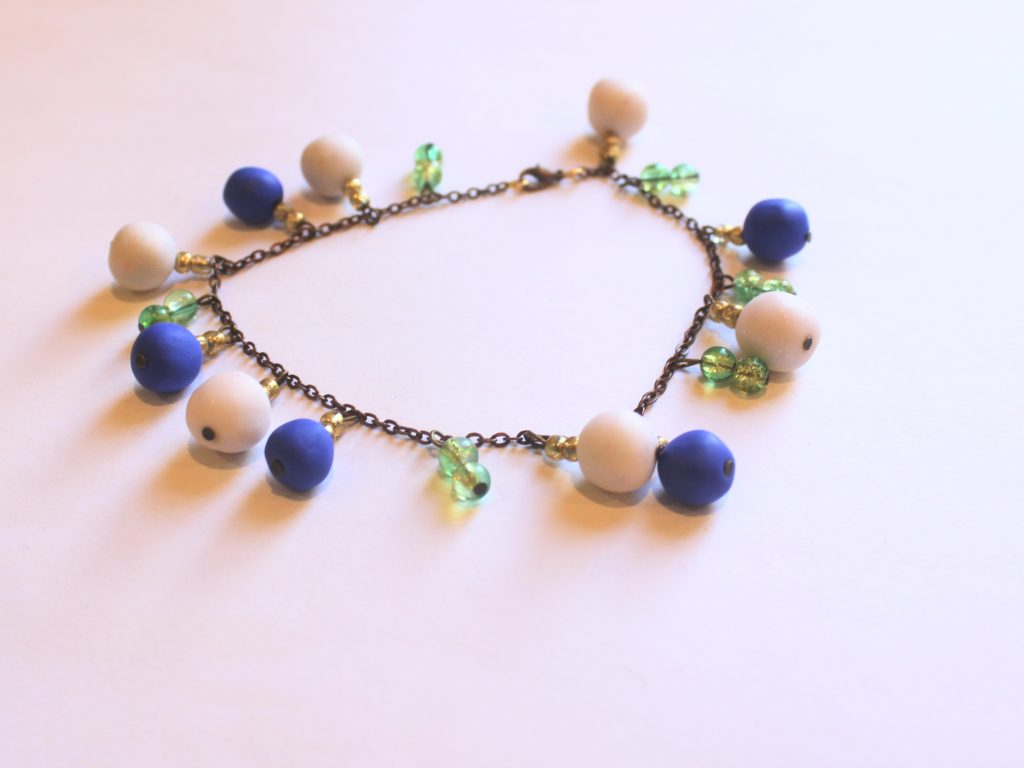
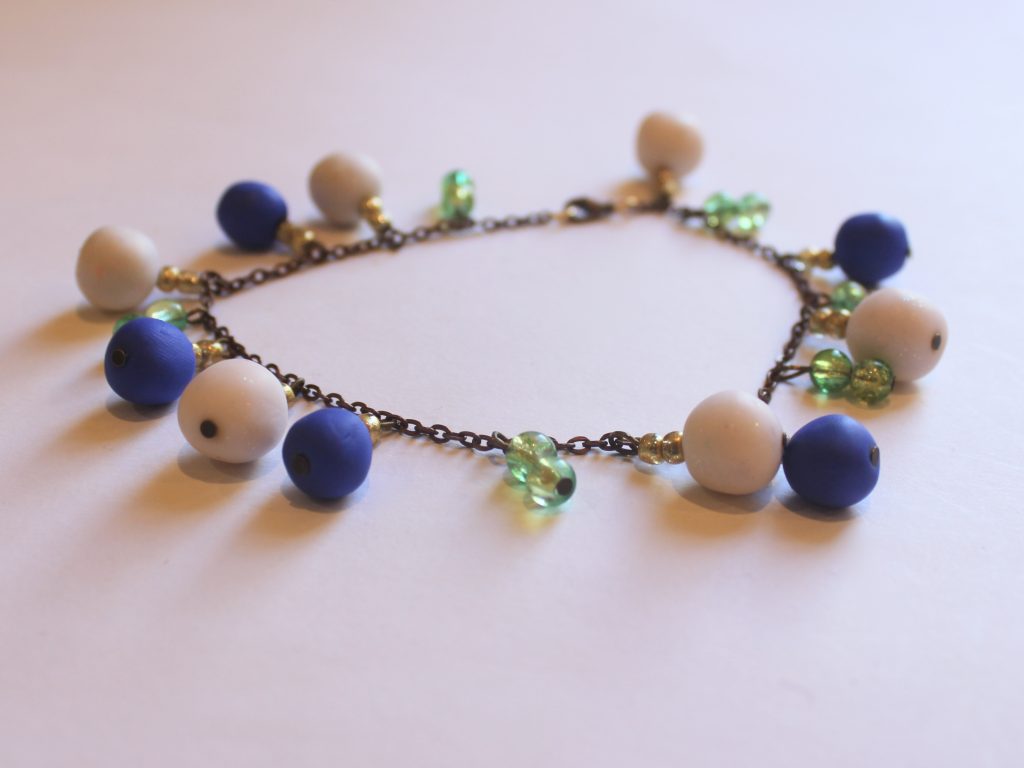
Now your charm anklet is finished and ready to wear! So fun!
This tutorial contains affiliate links.
-
Here’s how to make a bohemian waist chain with cute charms!
Summer in the Northern Hemisphere might be held mainly at home, but that doesn’t mean that you can’t dress for the occasion. Make this charm embellished waist chain to add some summer fun to your wardrobe! This tutorial contains affiliate links.
You’ll need these tools and materials to make this waist chain with charm embellishments.
The Materials
1: Pliers. I used my round nose pliers (centre), flat nose pliers (right) and cutting pliers (left).
2: A piece of chain that fits comfortably around your waist. I used copper tone chain.

3: Jump rings. I used two.

4: Some head pins. I ended up using a couple more because I added some charms I had made previously (see the second picture below).


5: Beads. I used a mixture of glass beads and a metal butterfly-shaped bead.

6: A lobster clasp. This is a bad picture but I used one that matched the tone of my chain.

The Steps
Follow these steps to make your charm embellished waist chain:
1: Add the jump rings to either end of the chain and attach the lobster clasp. Secure the clasp by closing the jump ring using pliers.


2: Find the middle of the chain and set it aside for a minute.
3: Add each of the beads to the head pins.

4: Bend the head pins to form right angles.

5: Trim the pins so that there is only approximately 1cm left. Use your cutting pliers.


6: Loop the top of the pins using the round nose pliers. This will secure the beads on the pins.


7: Attach the beads to the chain by looping the top of each charm through the chain links. I added my first charm to the centre and then worked outwards.


Now the waist chain is finished and ready to wear in the sun! Don’t forget your sunscreen though, this cool piece of jewelry could leave a weird tan line 😉


Here are some other waist chain tutorials:
This tutorial contains affiliate links.
-
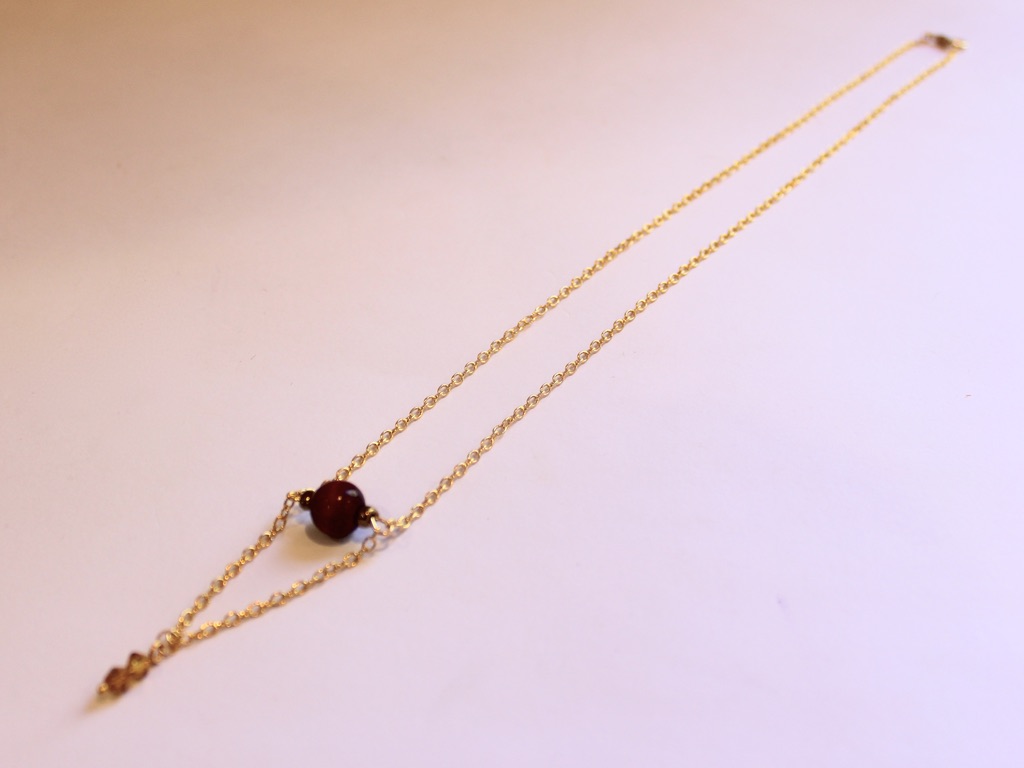
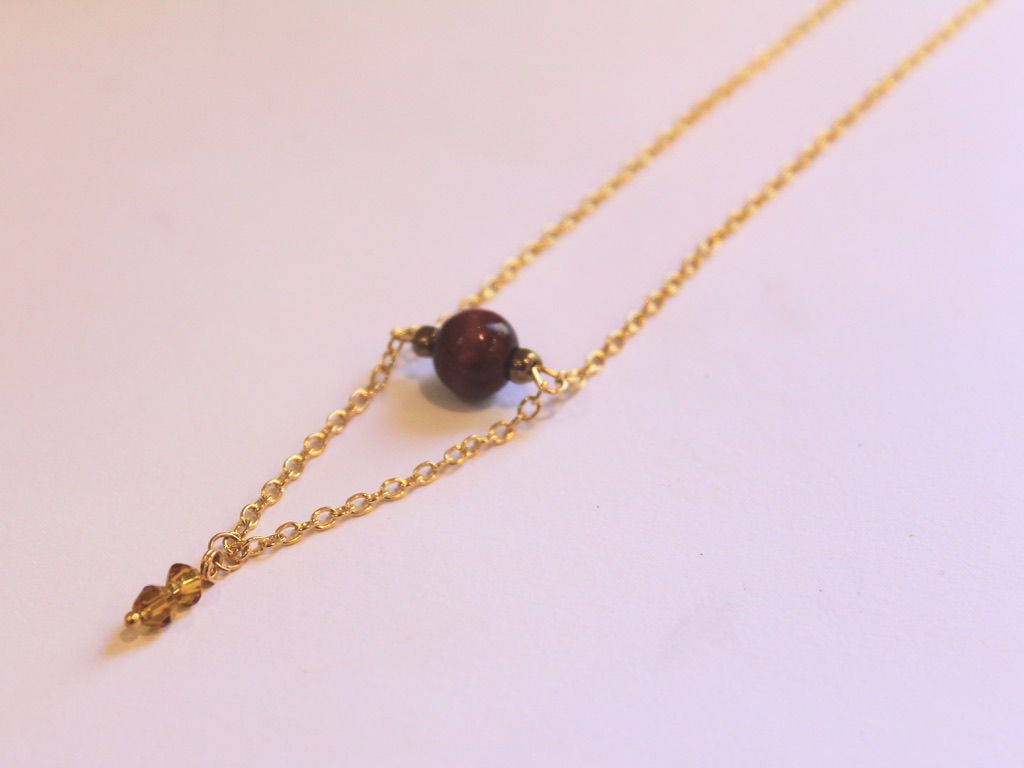
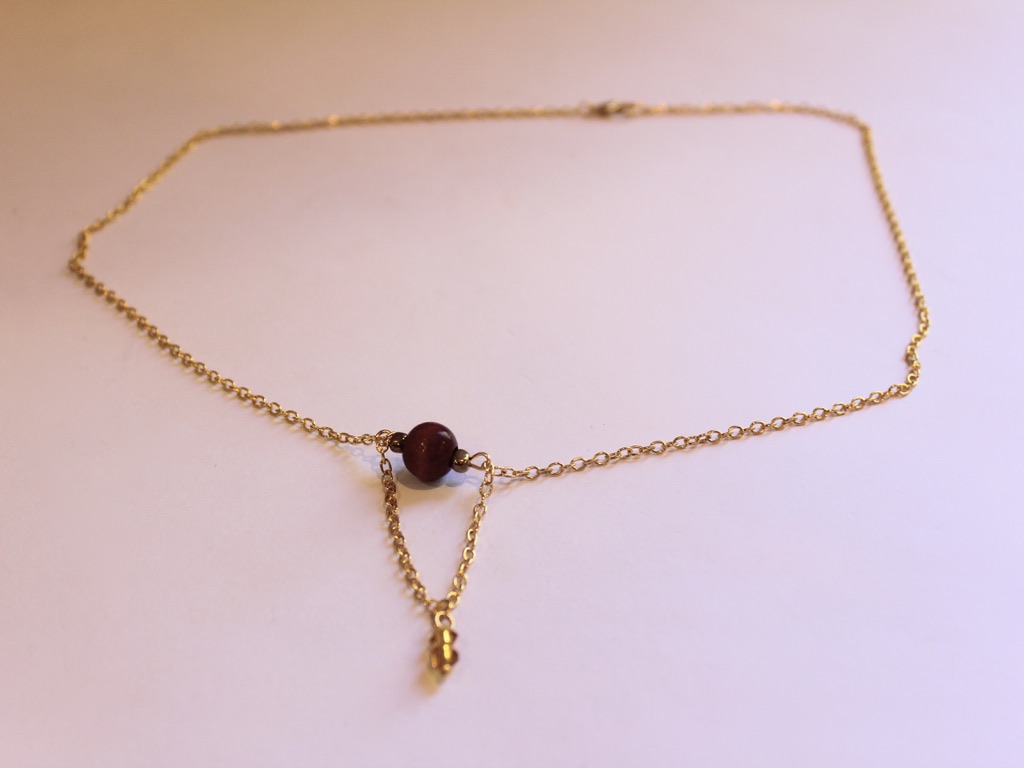
This necklace is kind of cute. It features a looped chain charm for something a little different.
I really like this necklace, it uses chains and pins to create a fun layered charm look. I used lots of different bead materials in this design, what kind of beads will you use? This tutorial contains affiliate links.
You’ll need these tools and materials to make this necklace:
1: Pliers. I used my round nose and flat nose pliers.


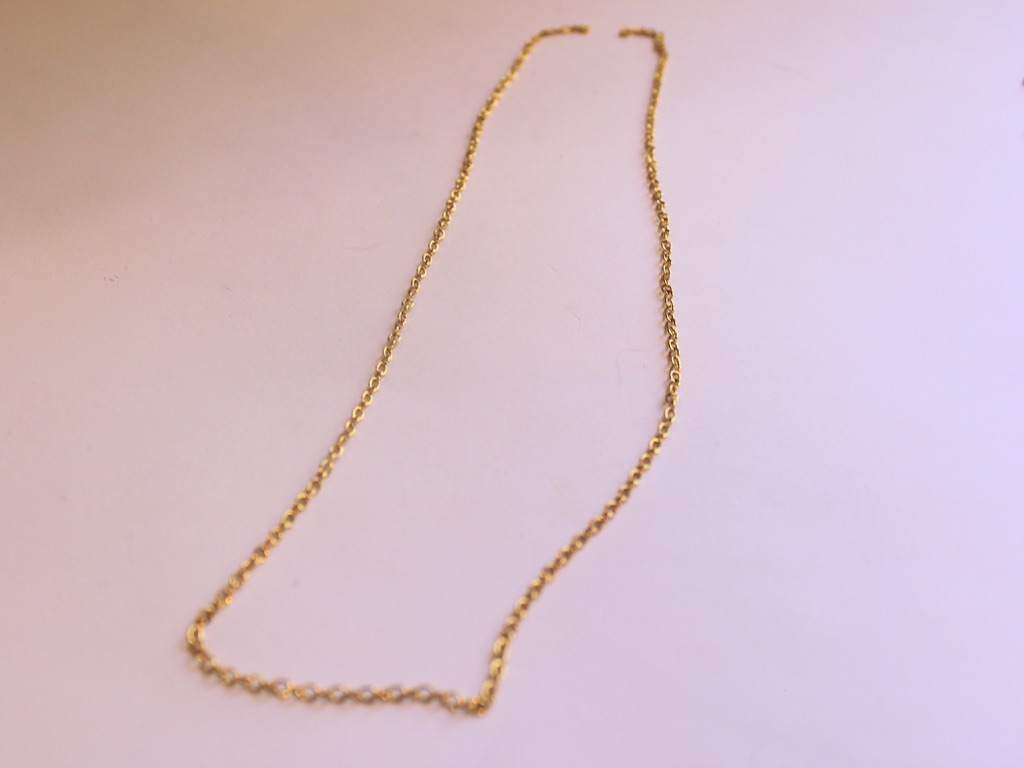
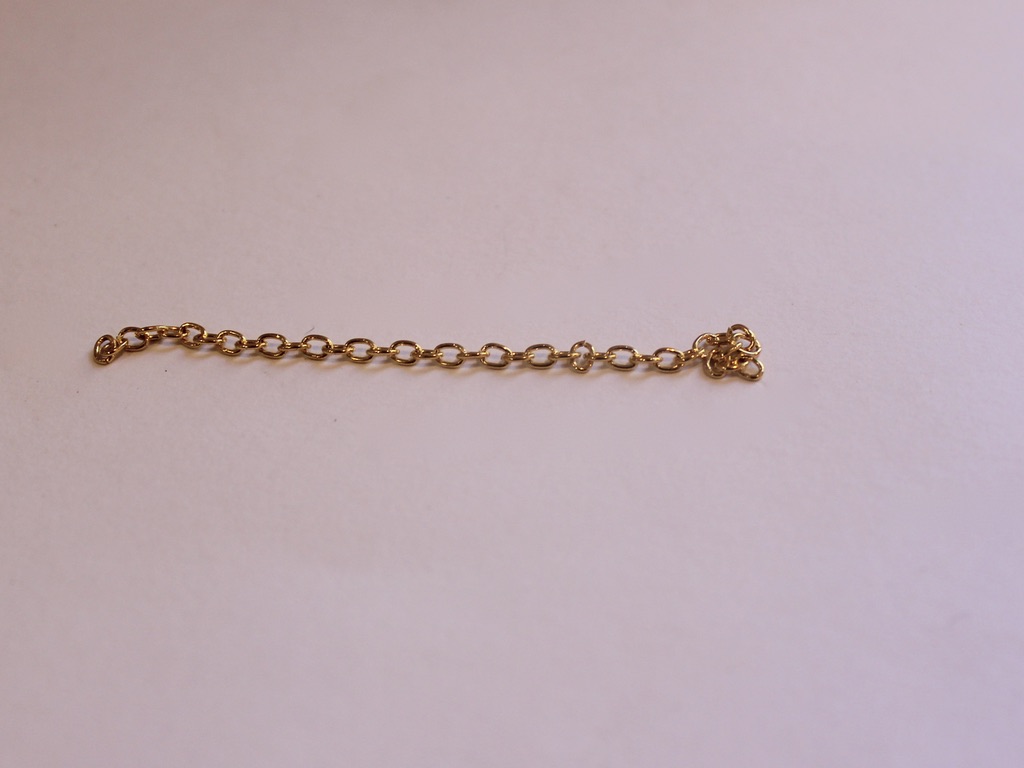
2: A necklace length chain and a shorter chain to make the bottom loop.
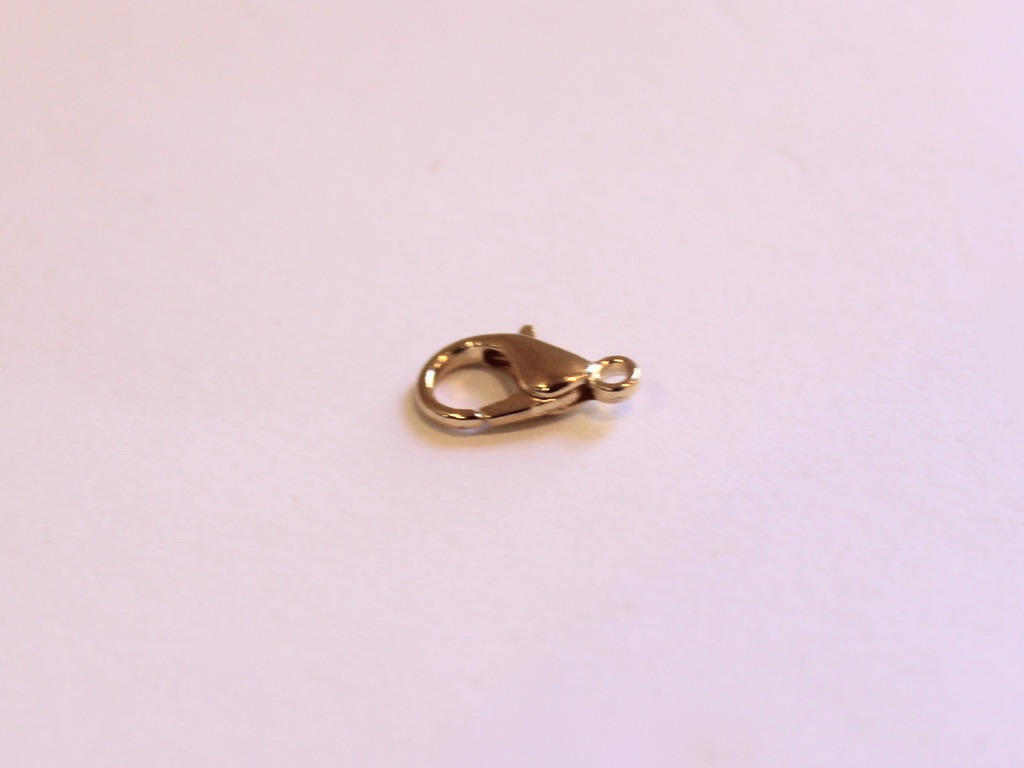
3: A lobster clasp that matches the metal tone of the chain.
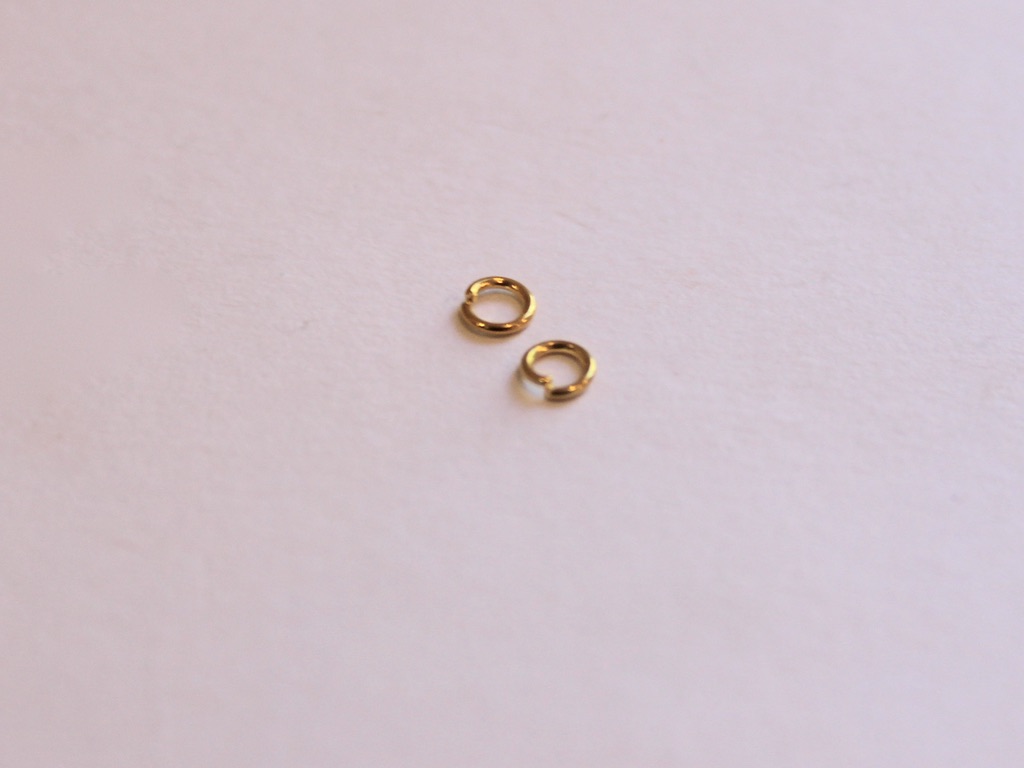
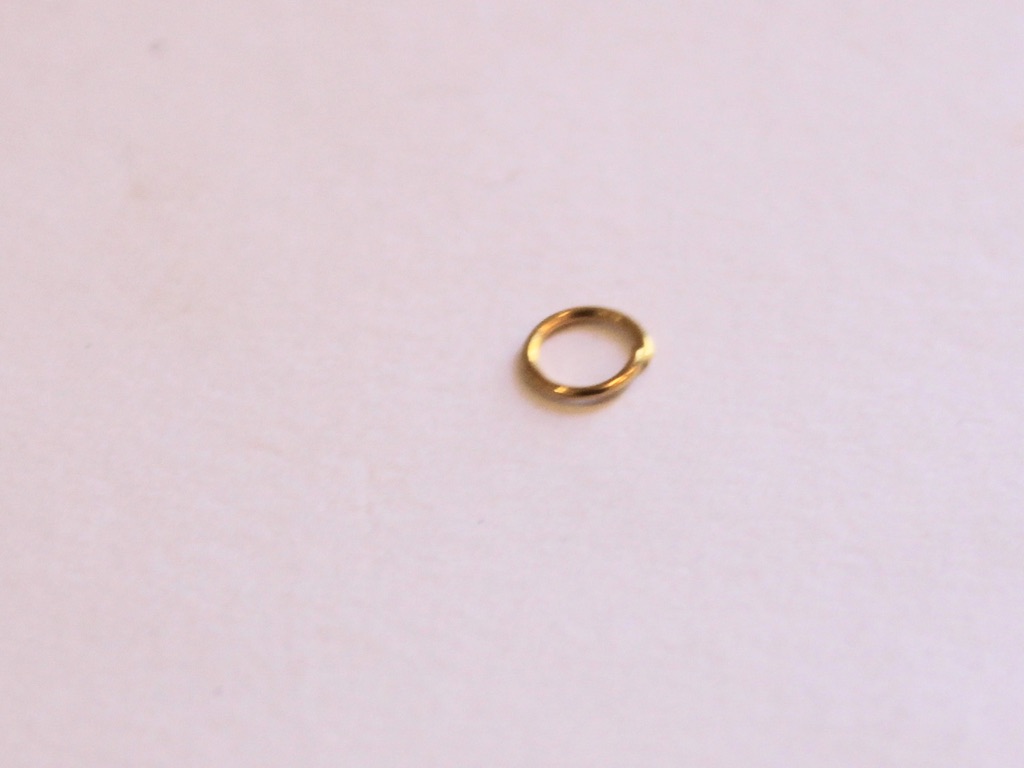
4: Three jump rings, two small and one large.
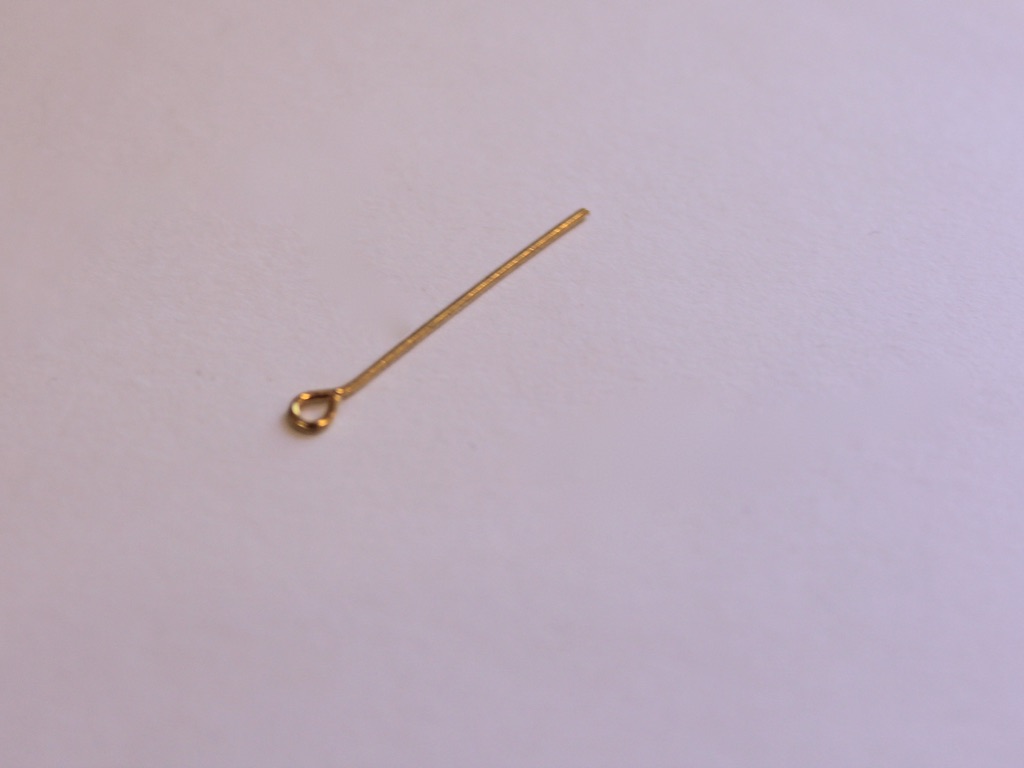
5: One medium length eye pin.
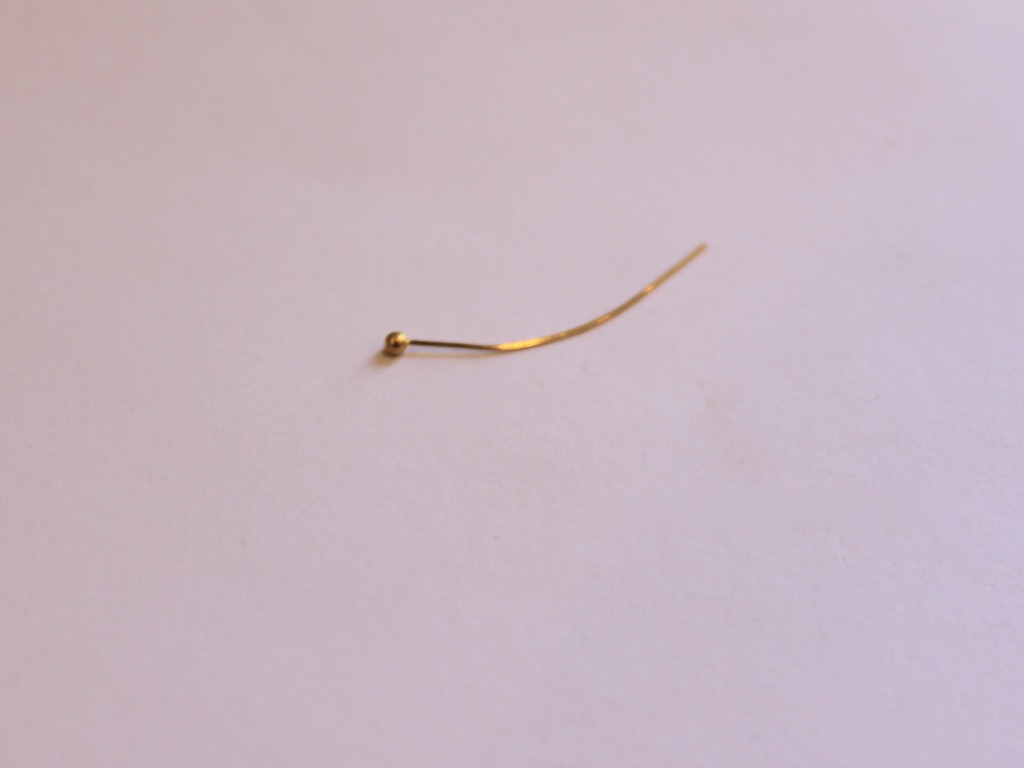
6: One head pin.
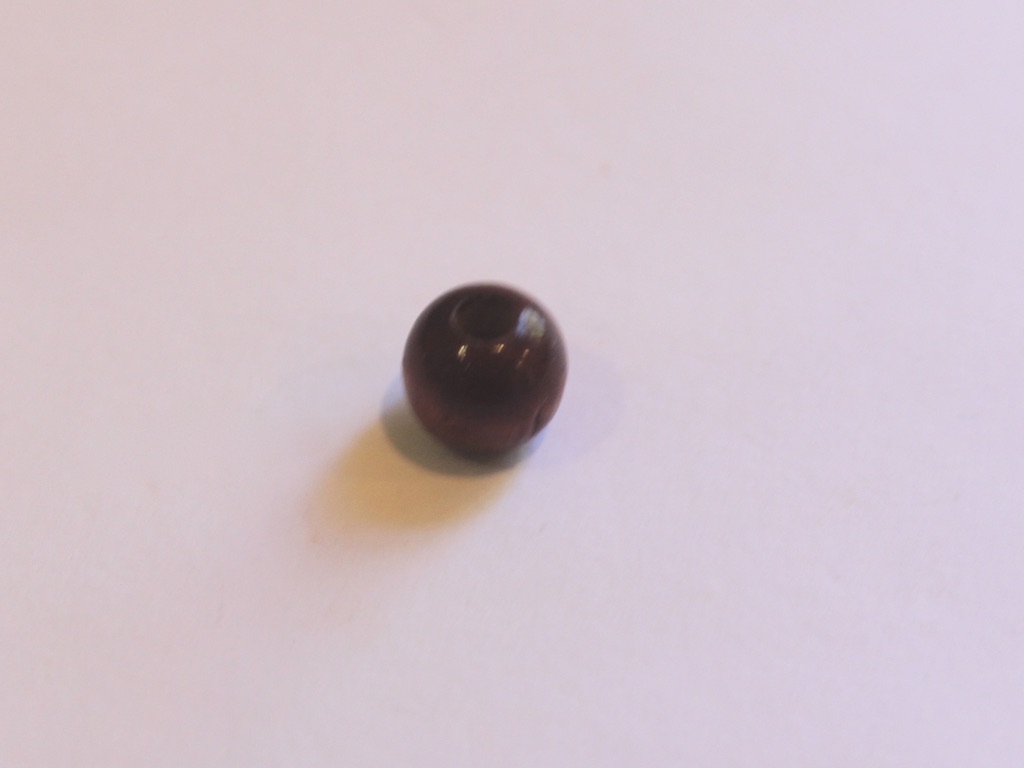
7: Beads. I used one red wooden bead, bronze tone e-beads and two yellow plastic faceted beads.
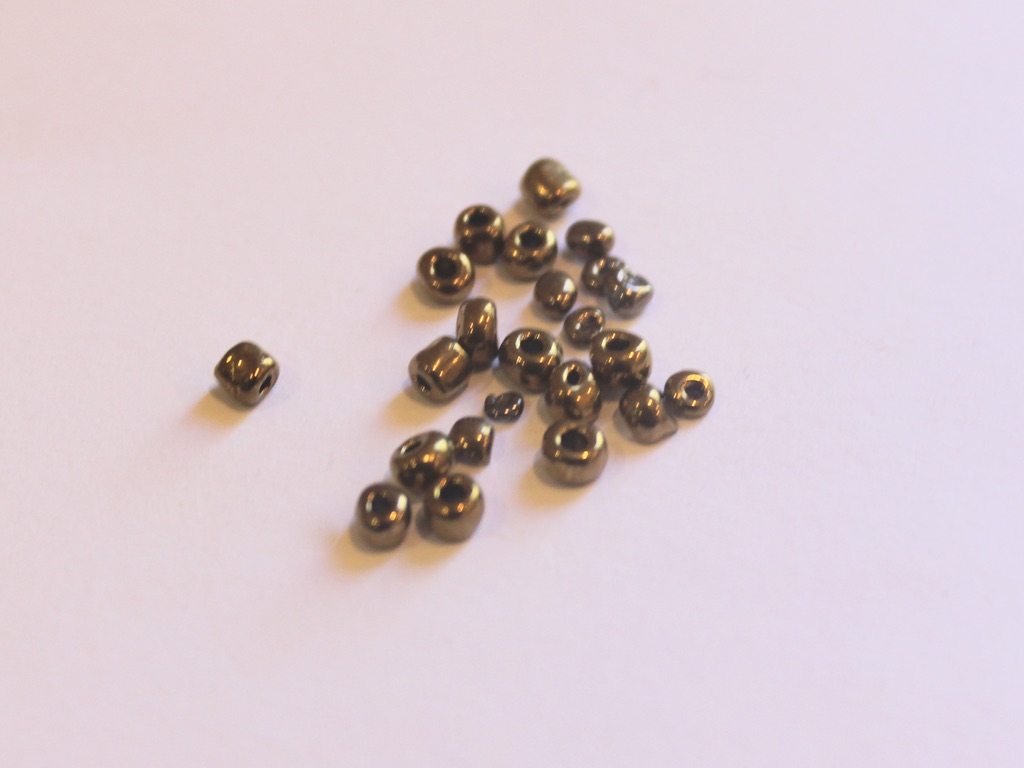
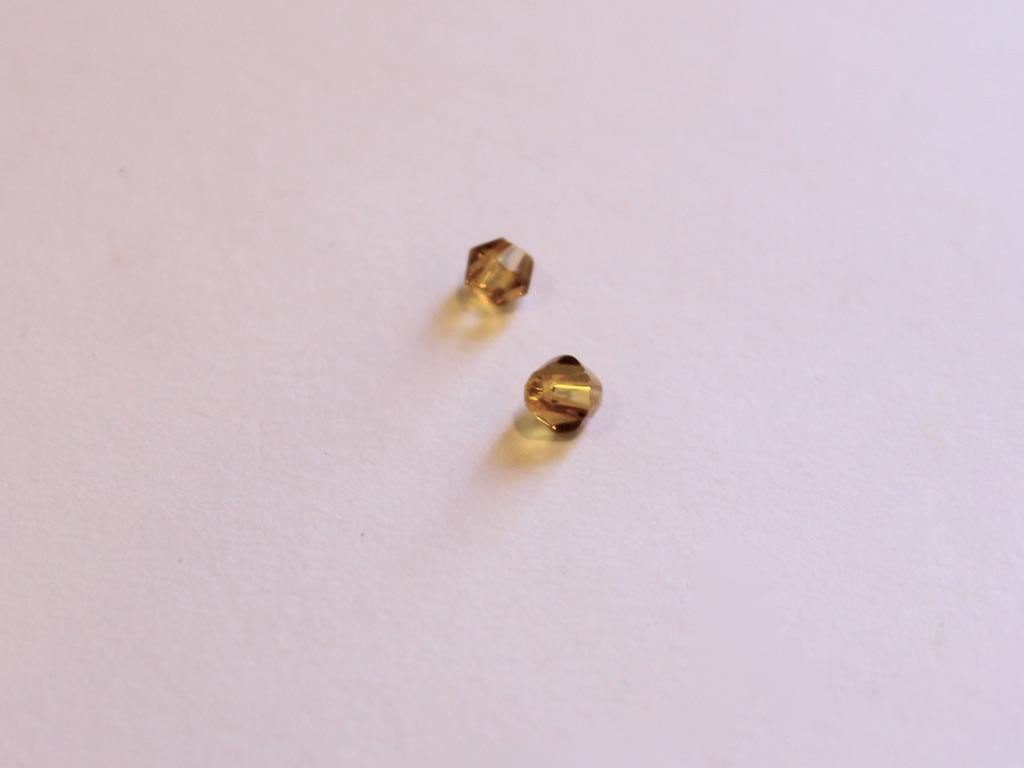
Follow these steps to make your new cute necklace:
1: Add the beads to the eye pin in your pattern of choice.
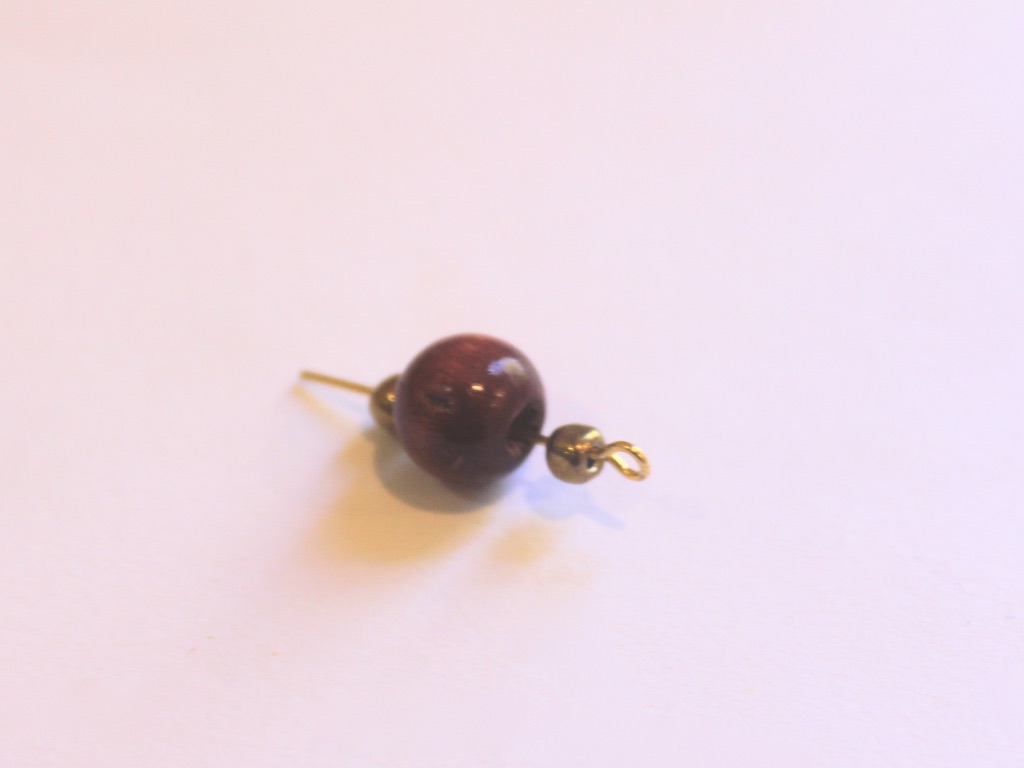
2: Bend the end of the pin into a loop using the round nose pliers.
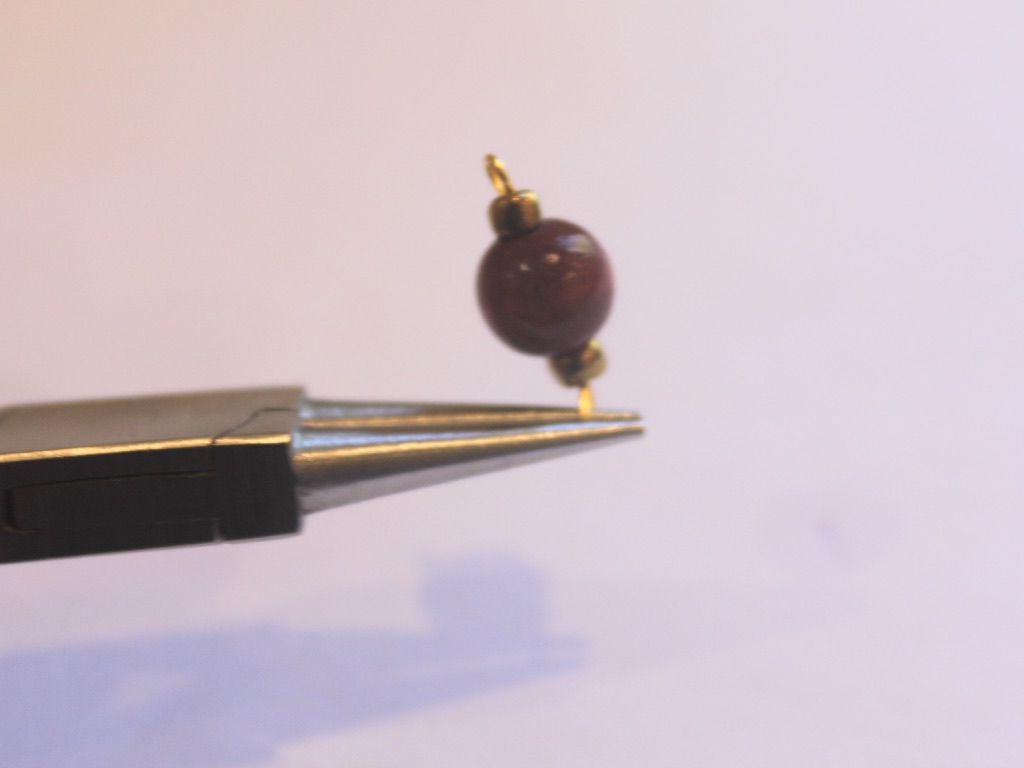
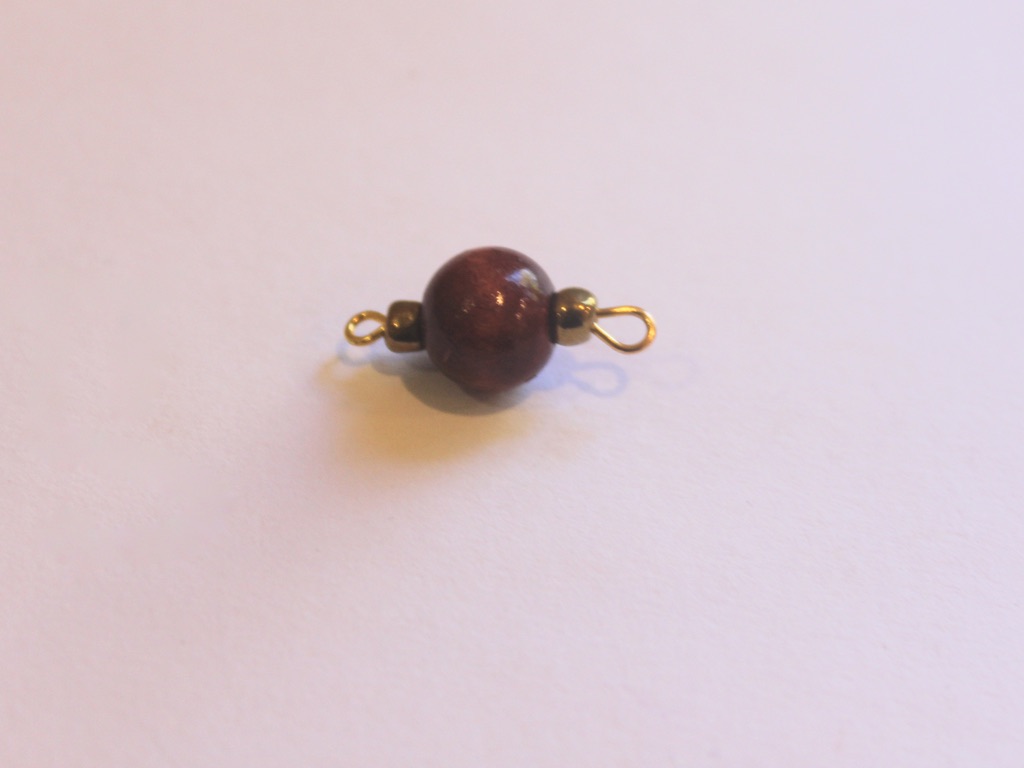
3: Attach the long and short chains to the charm so that they fall either side of it.
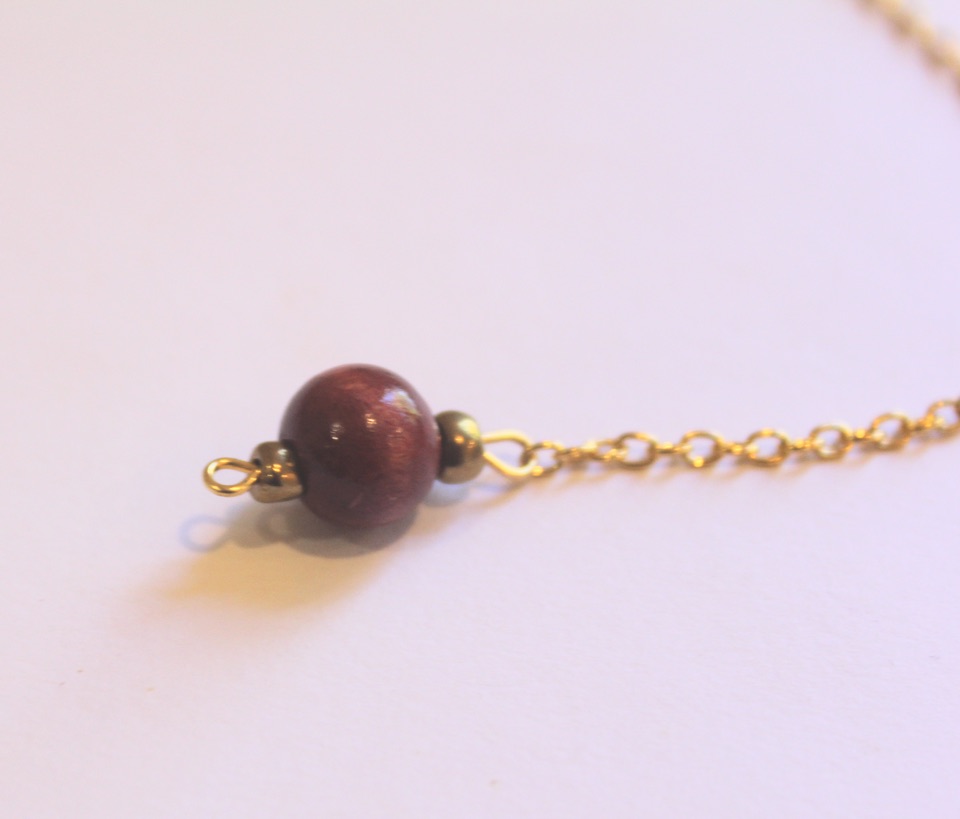
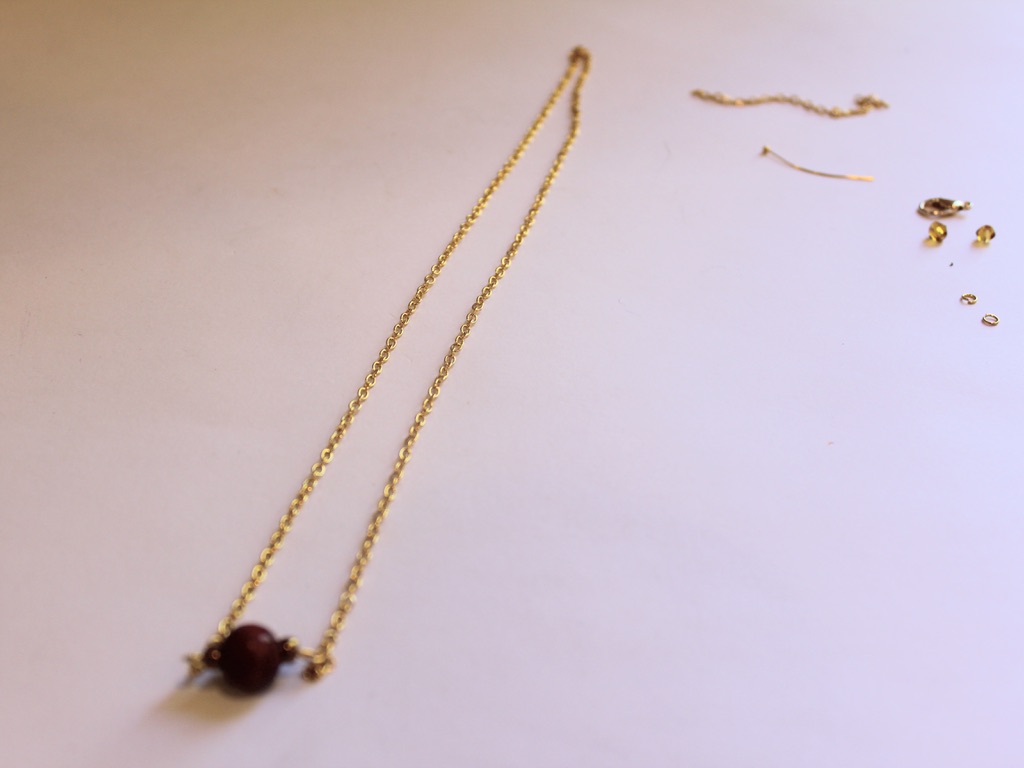
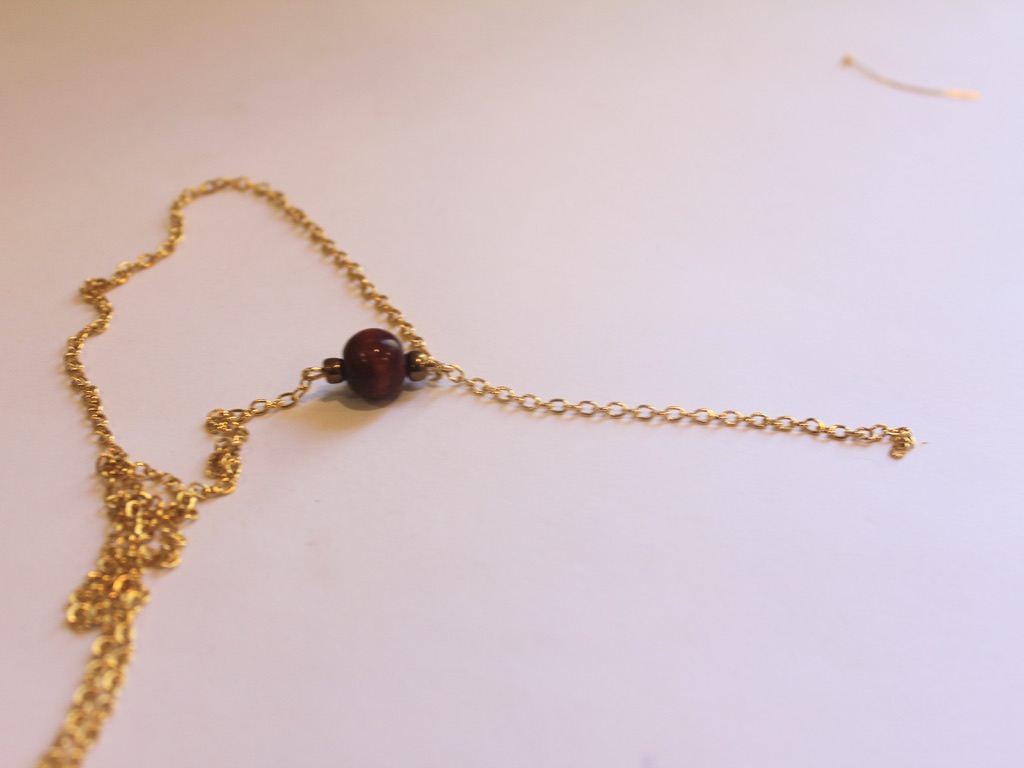
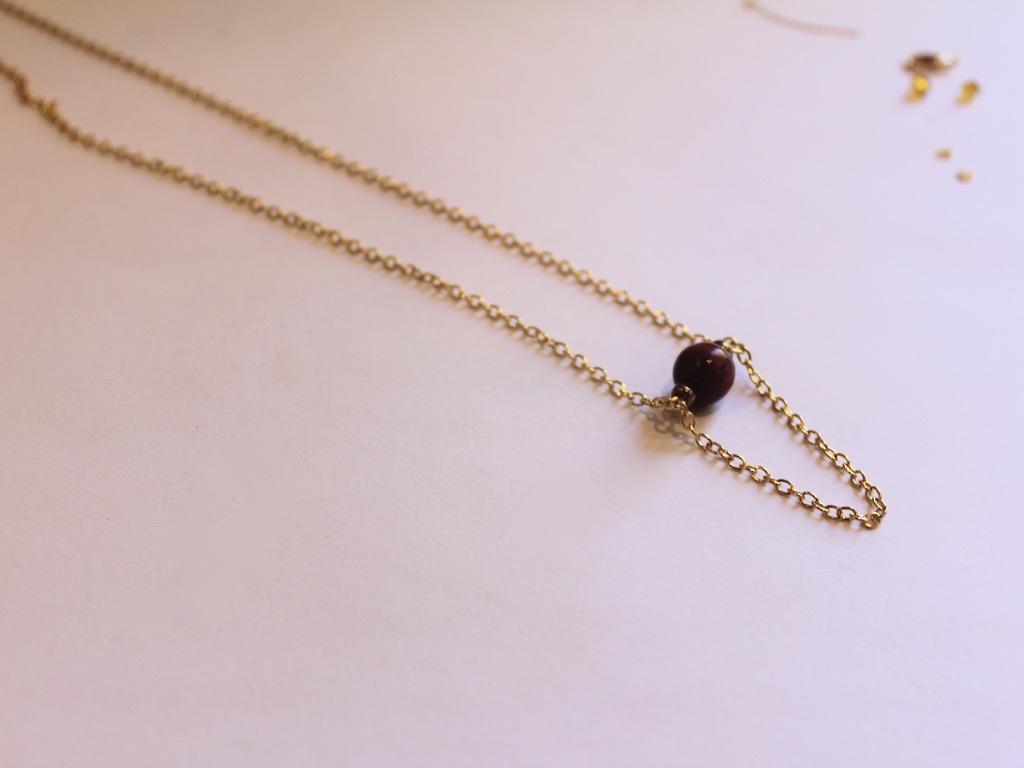
4: Add the other beads to the head pin and curl the top of it to secure the beads in place.
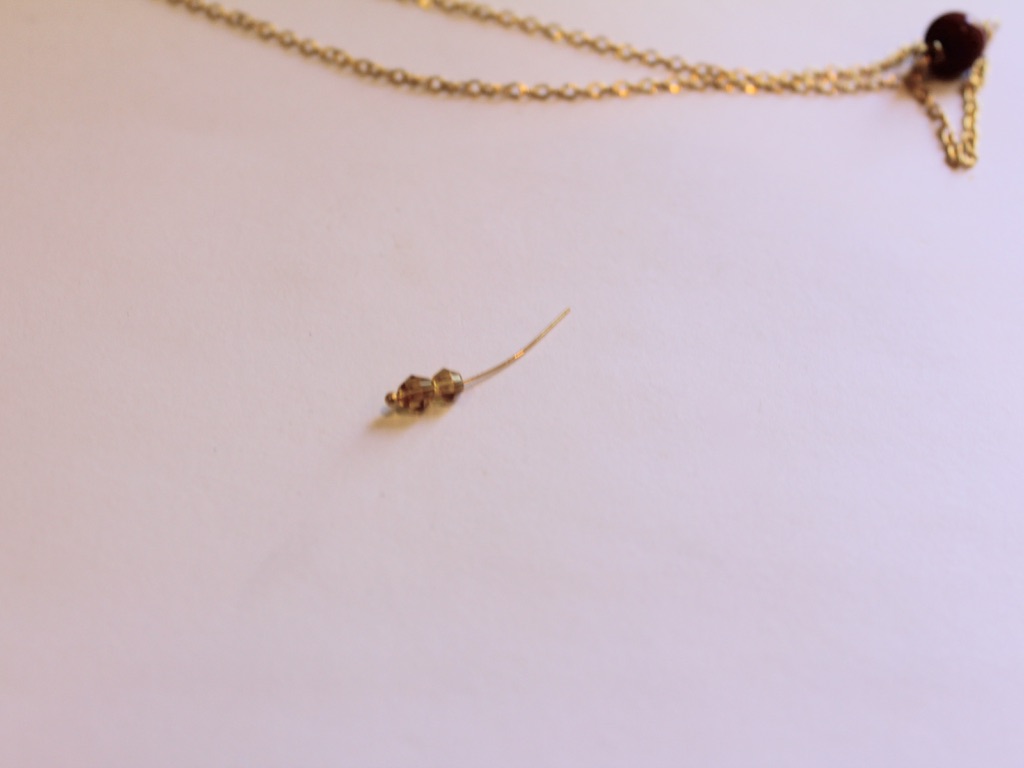
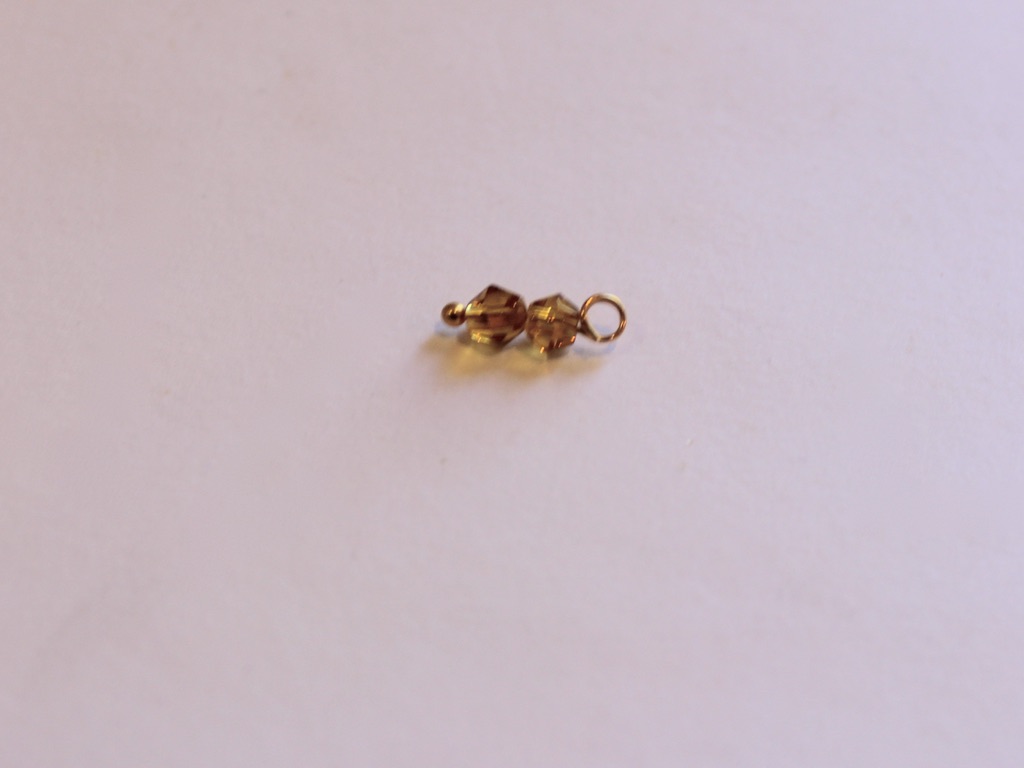
5: Attach the charm to the middle of the short chain with the larger jump ring.
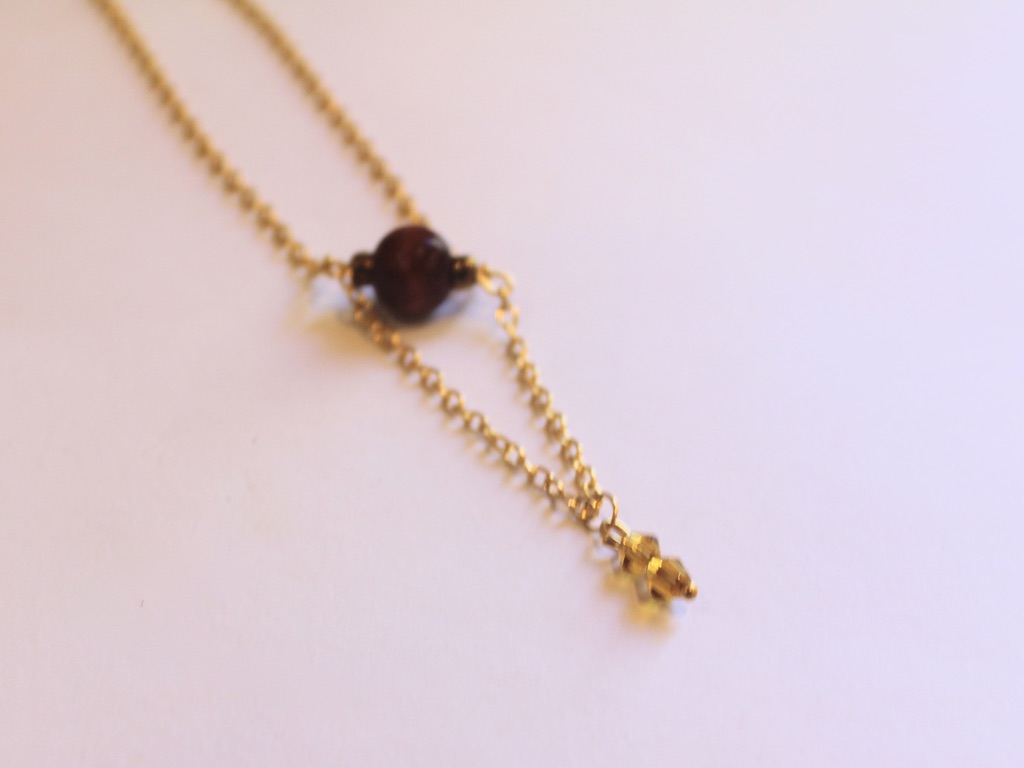
6: Split the necklace chain in the middle and use the small jump rings to secure the lobster clasp and a ring to close it on.
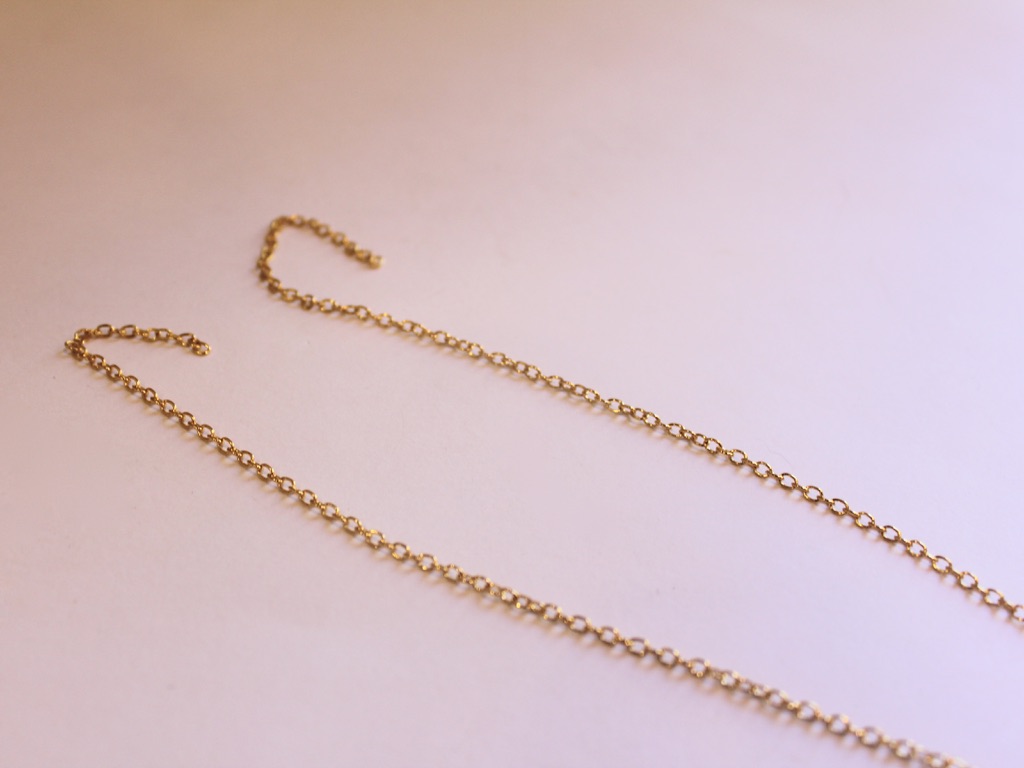
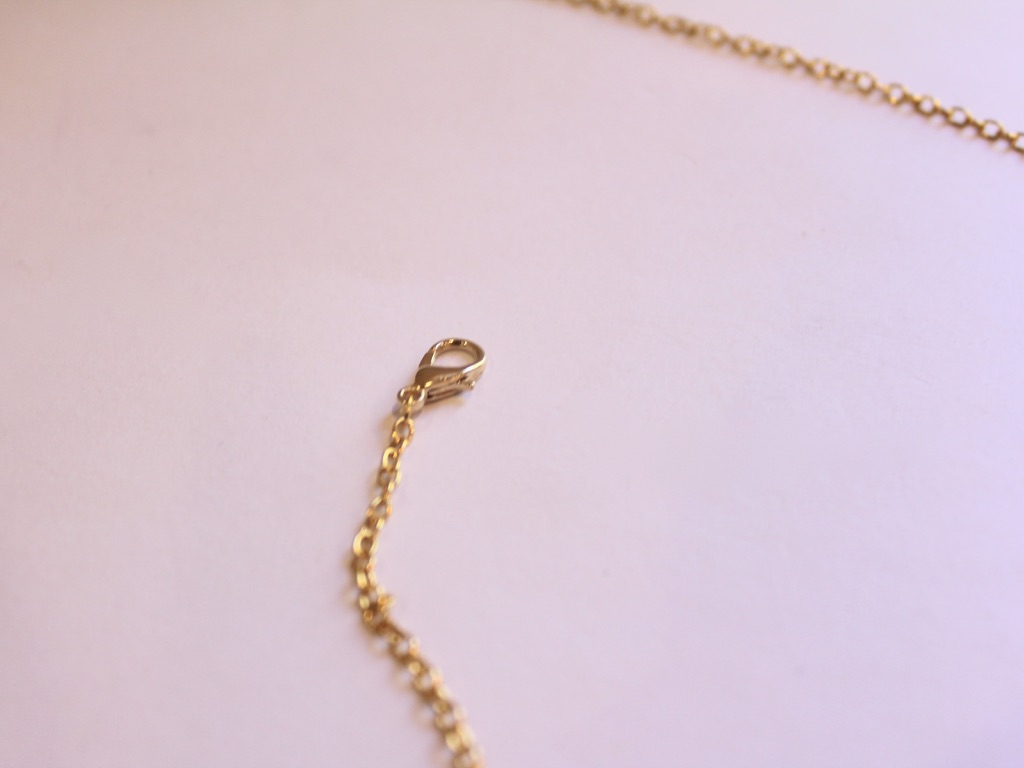
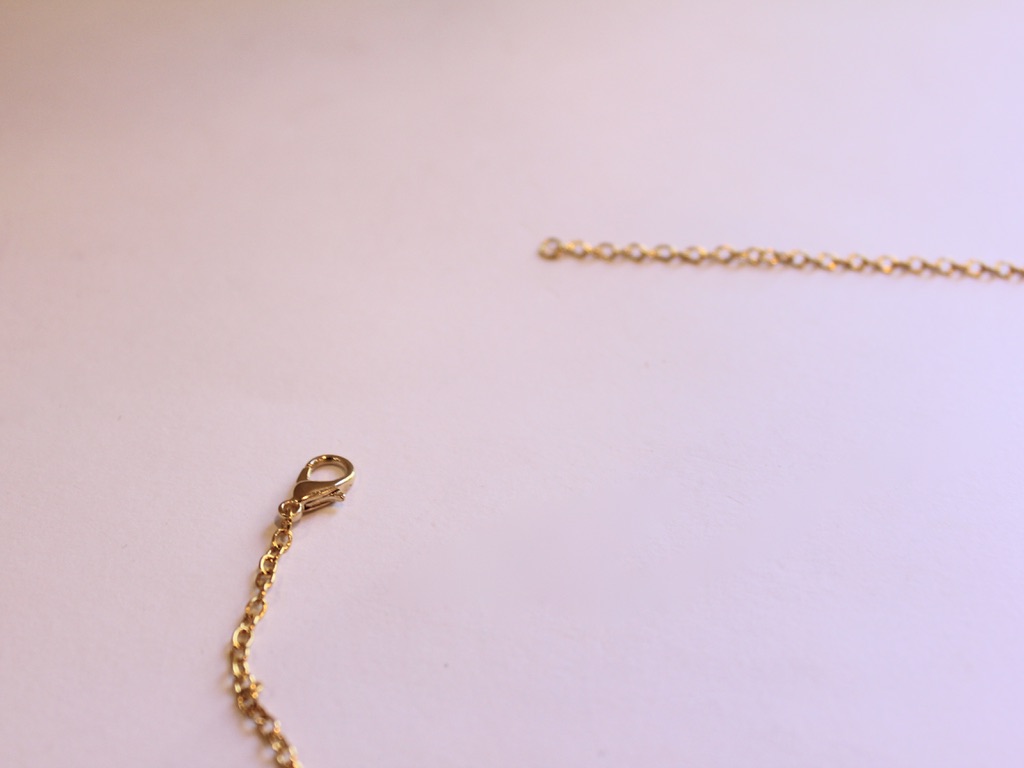
Now your new necklace is finished! I think this is a great design to showcase unique beads and charms.
This tutorial contains affiliate links.
-
This is a bit of fun, how to make clip charms for your hoop earrings.
This DIY is a little bit silly, but hopefully a bit of fun as well. It is a way to make the most of your face hoop earrings and show off your favorite charms. This design uses large lobster clasps that you can use to clip different charms onto your hoops. This tutorial contains affiliate links.
You’ll need these tools and materials to make your customizable charm hoop earrings:
1: Pliers. I used my round nose and flat nose pliers.
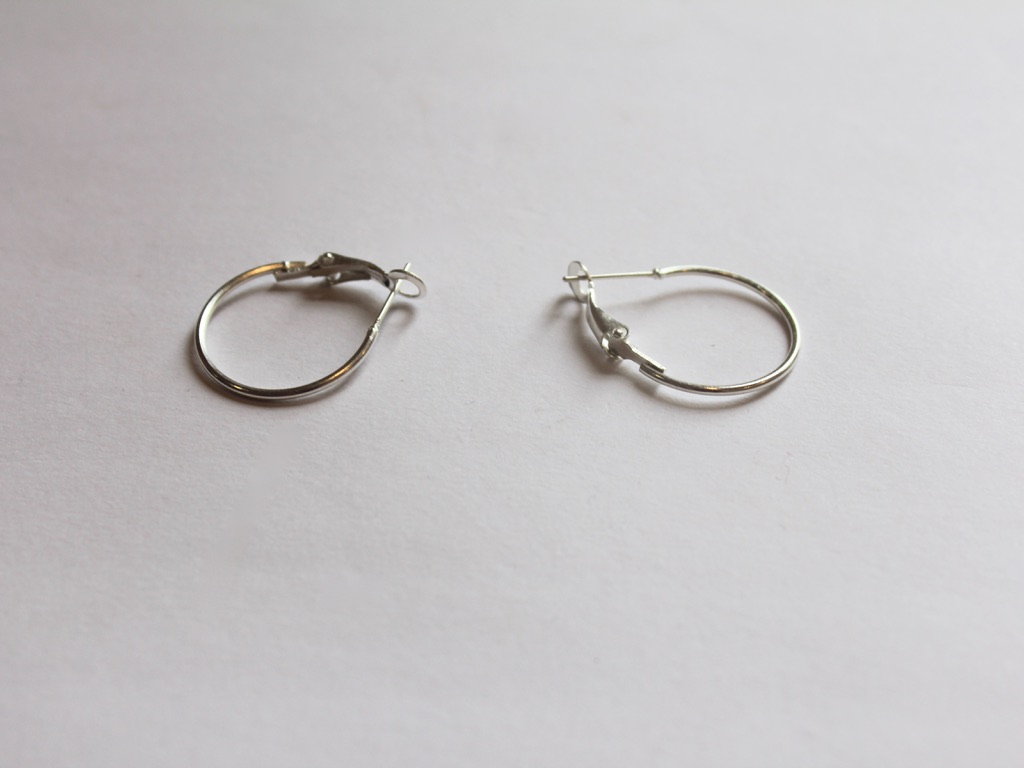
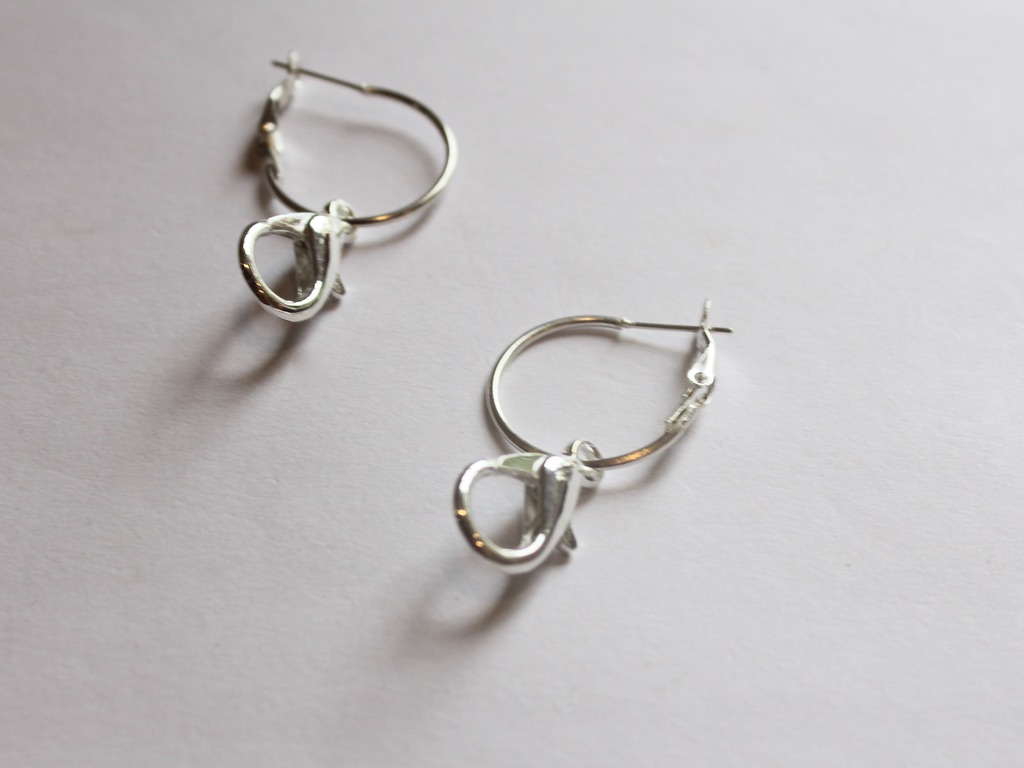
2: Hoop earrings. I used these silver hoop earrings with a lever back.
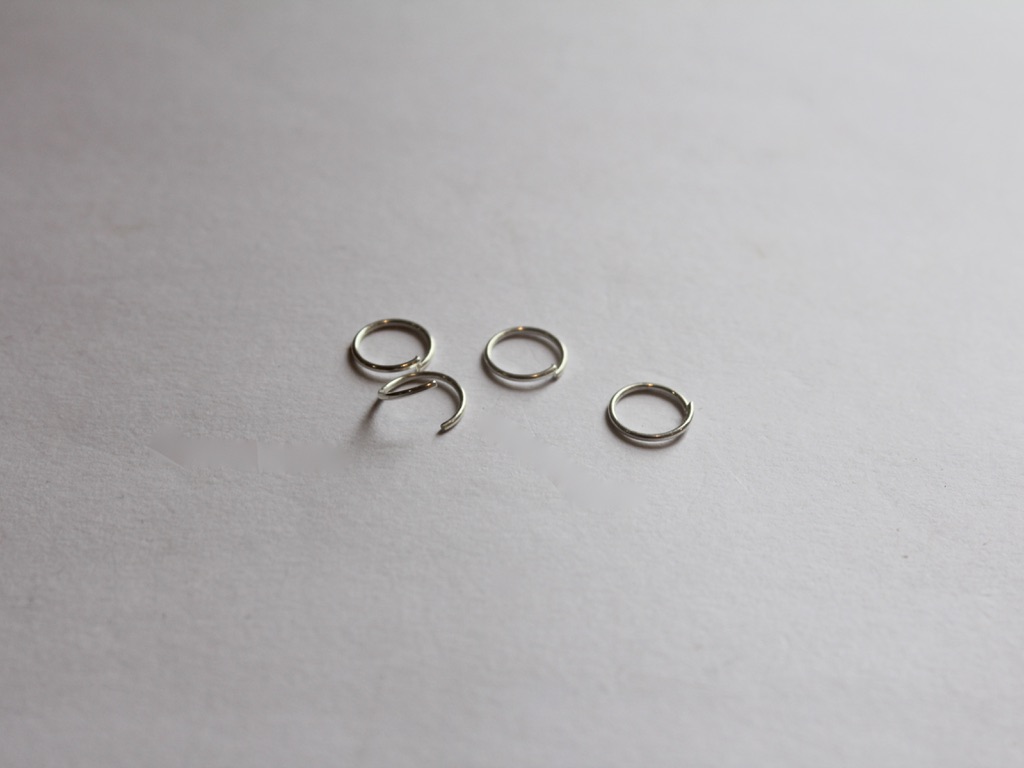
3: Jump rings to attach to your charms.
4: Two large lobster clasps the same color as your hoops.
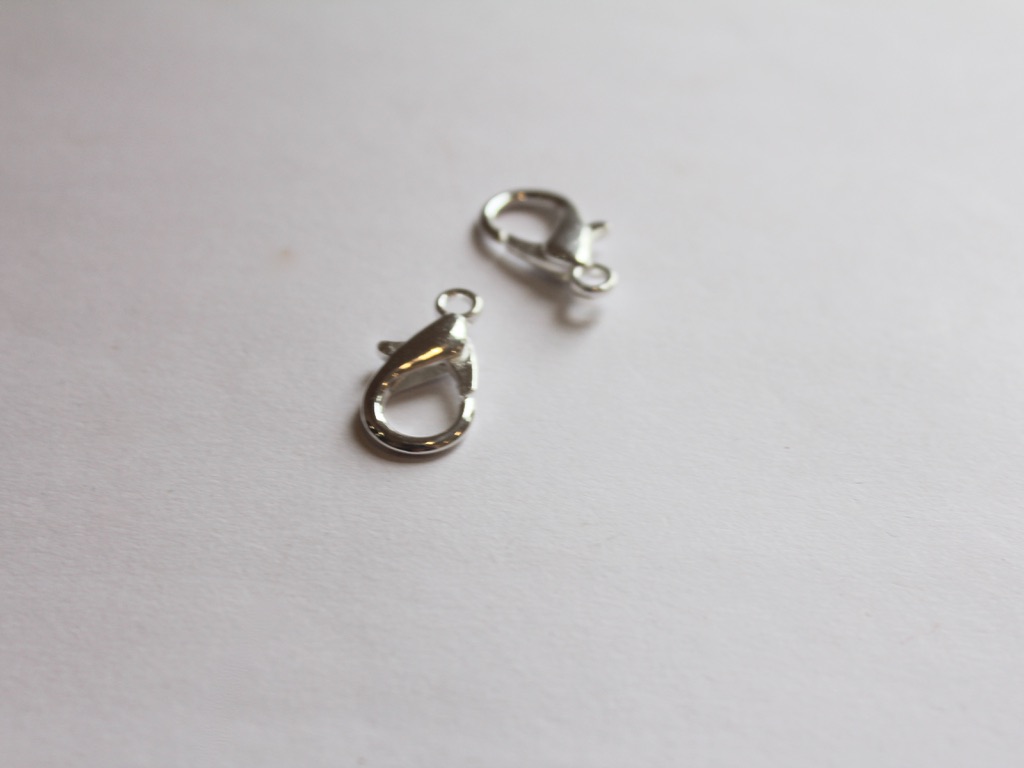
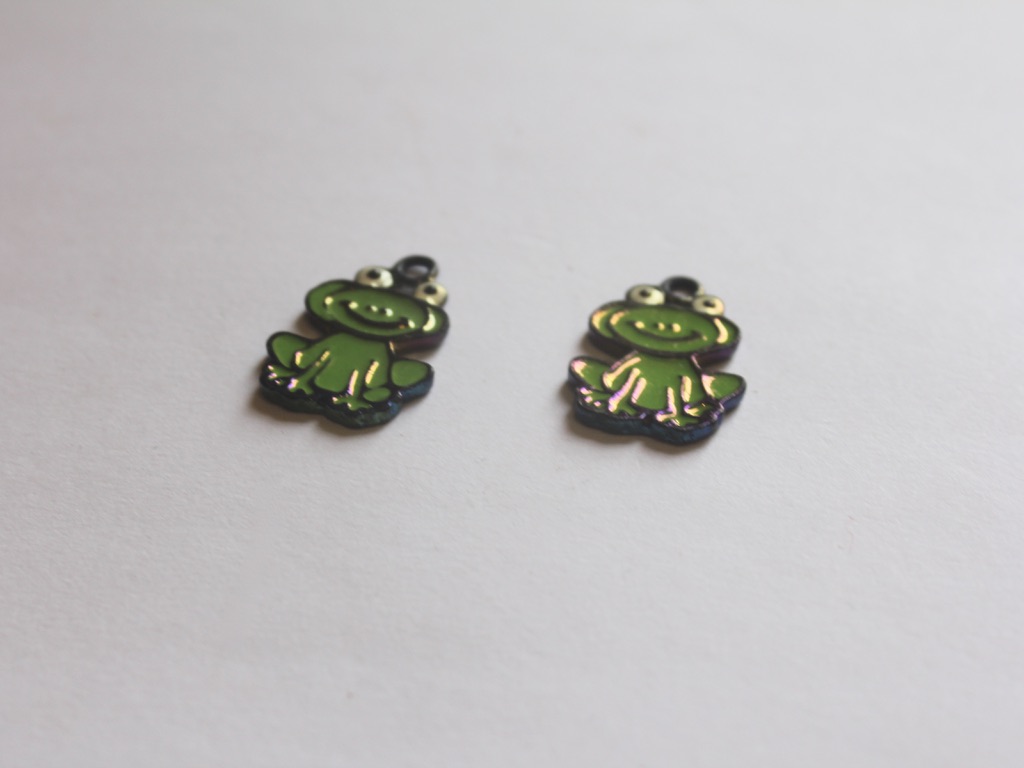
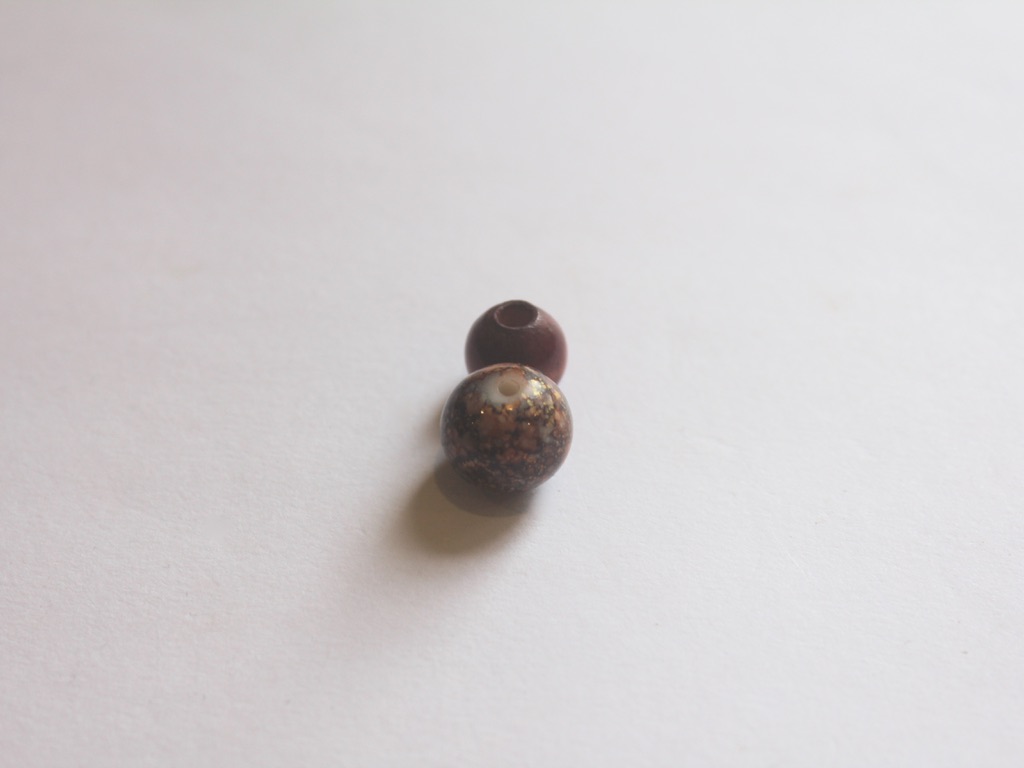
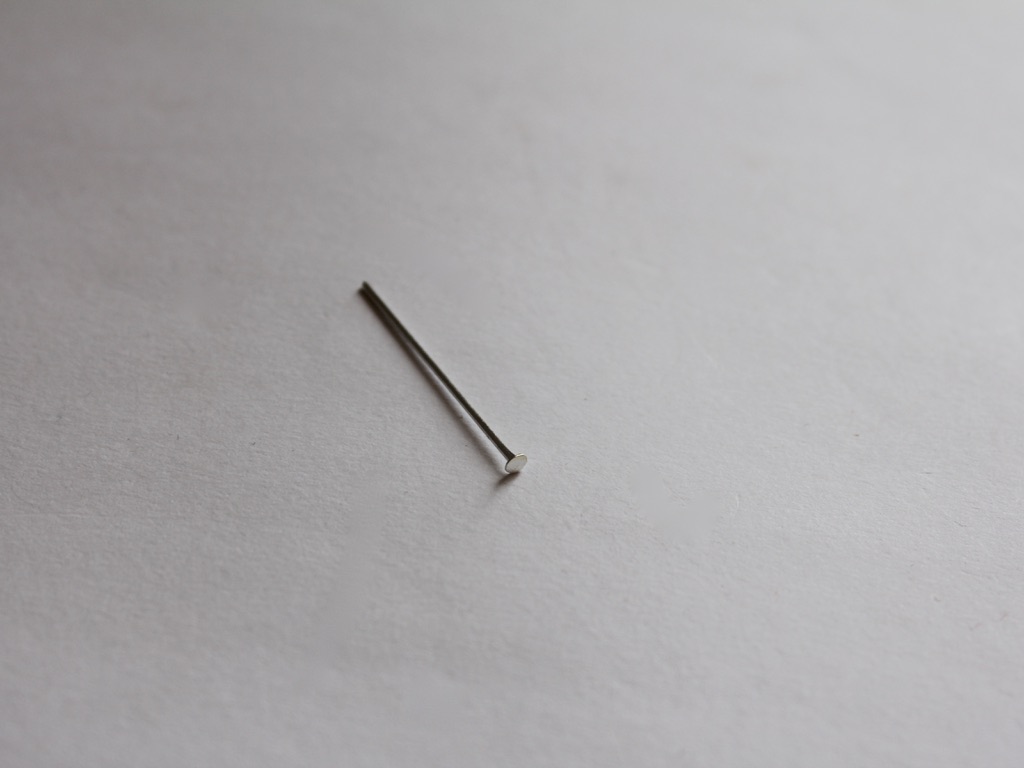
5: Charms or beads and head pins. I used both to make some mismatched charms.
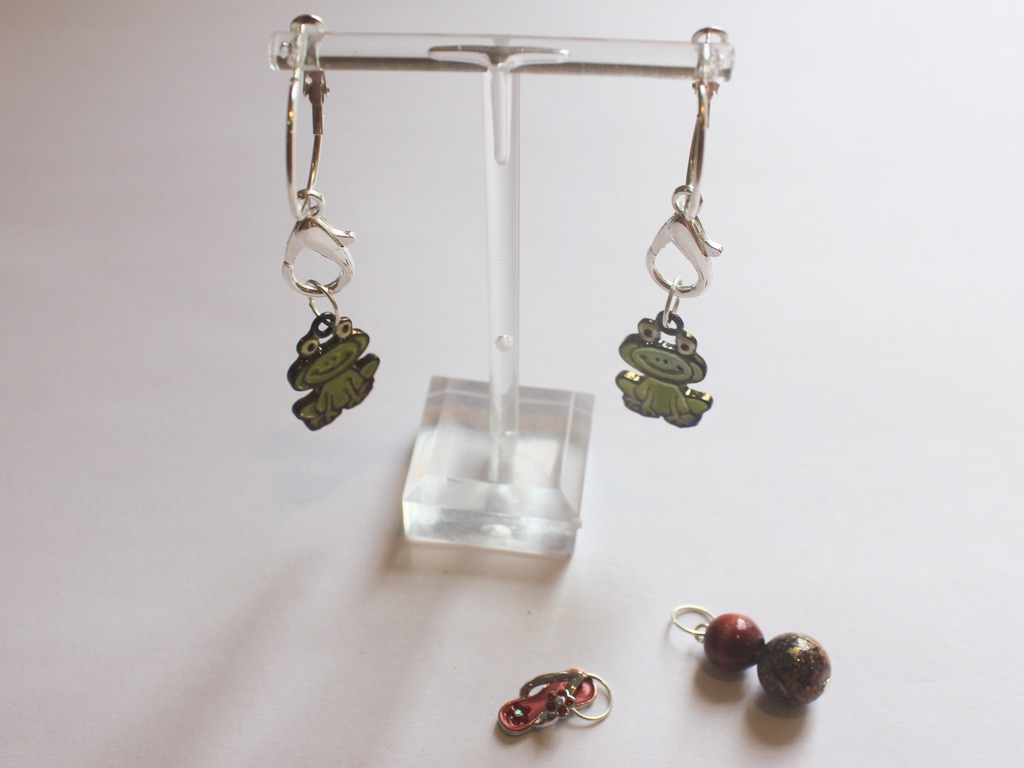
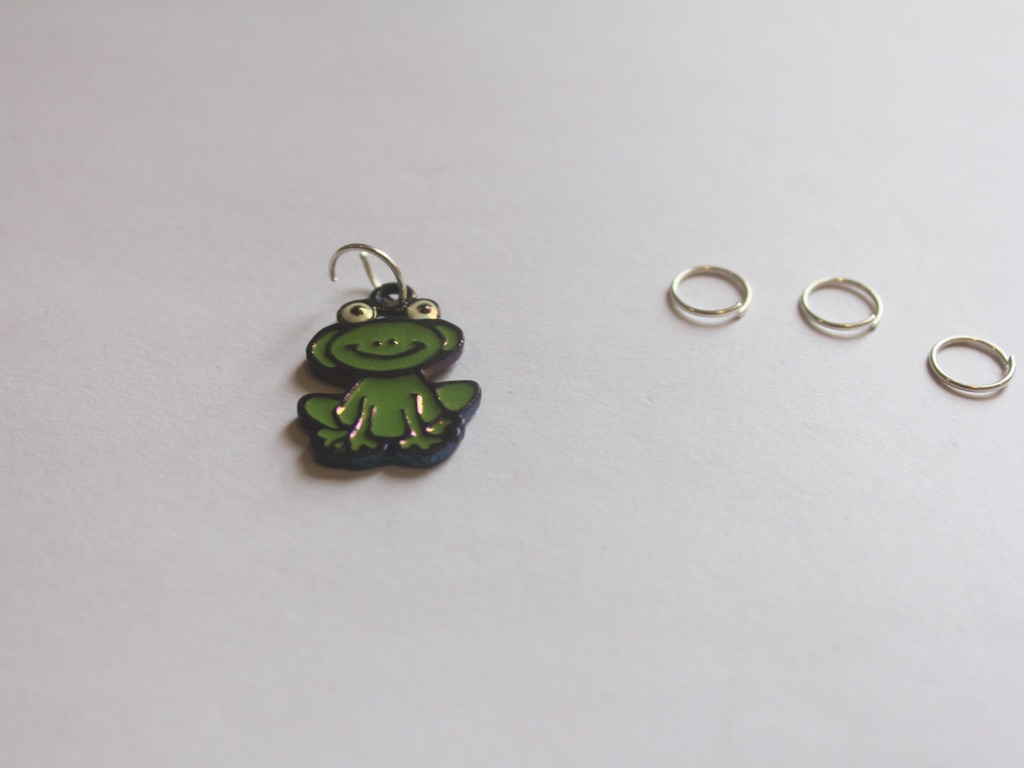
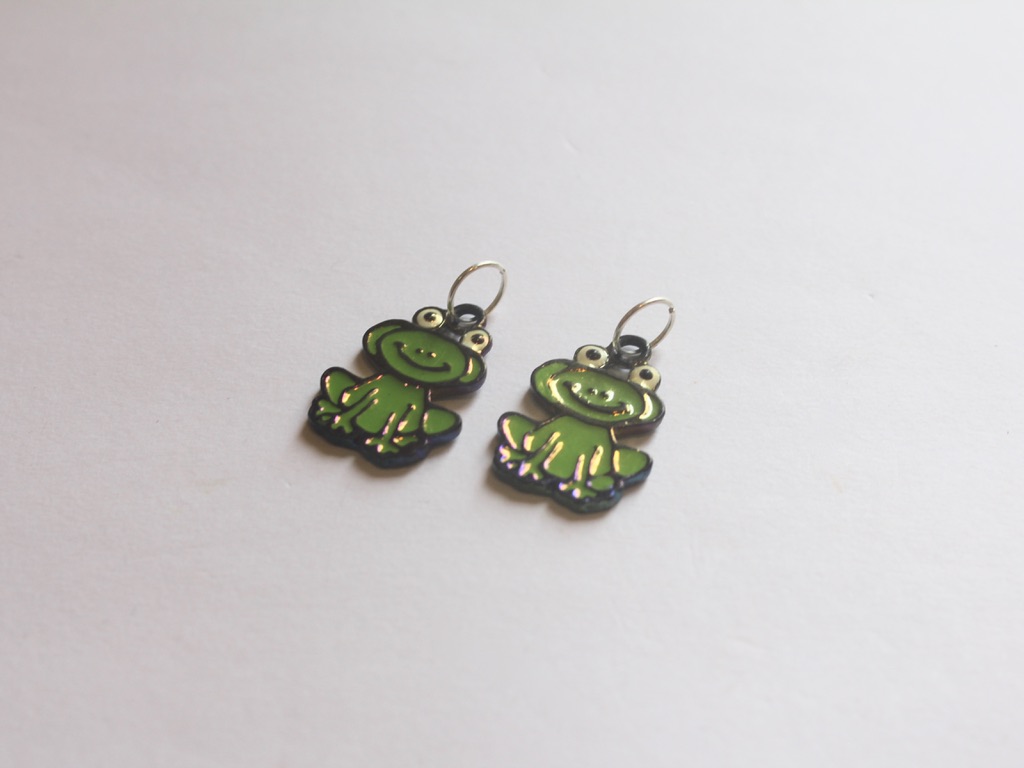
I used these cartoon frog charms.
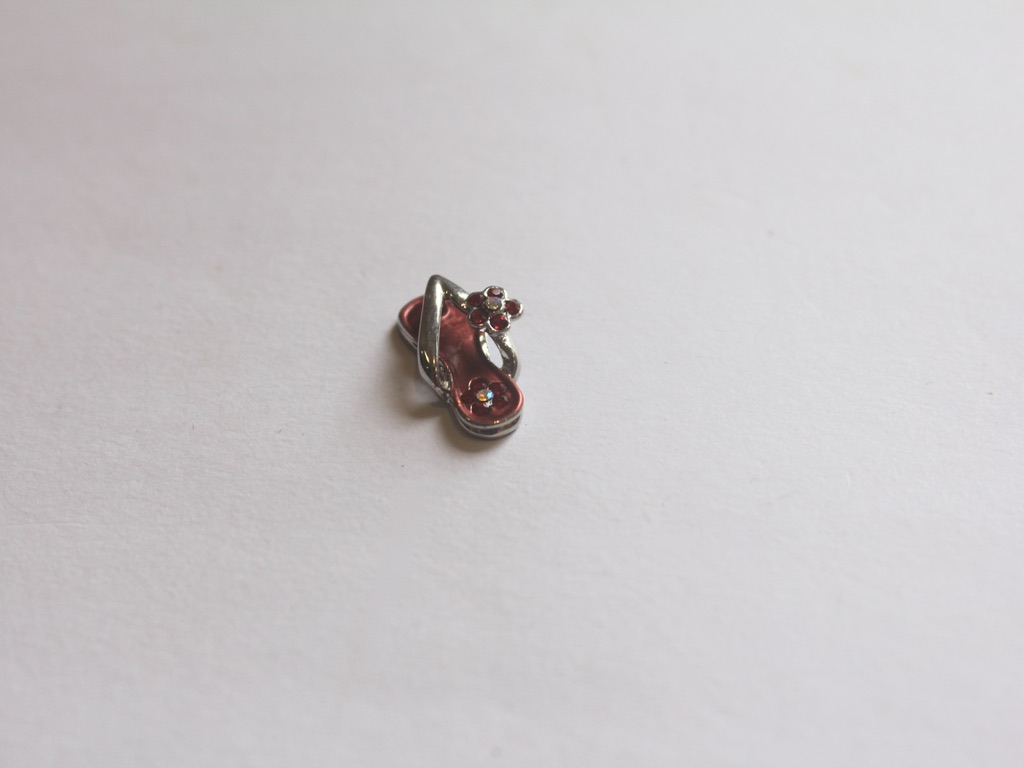
And some beads and a head pin with a flip flop charm.
Follow these steps to make your customisable hoop earrings:
1: Add each of the lobster clasps to the hoops.
2: Add jump rings to the top of each charm you want to feature on your earrings.
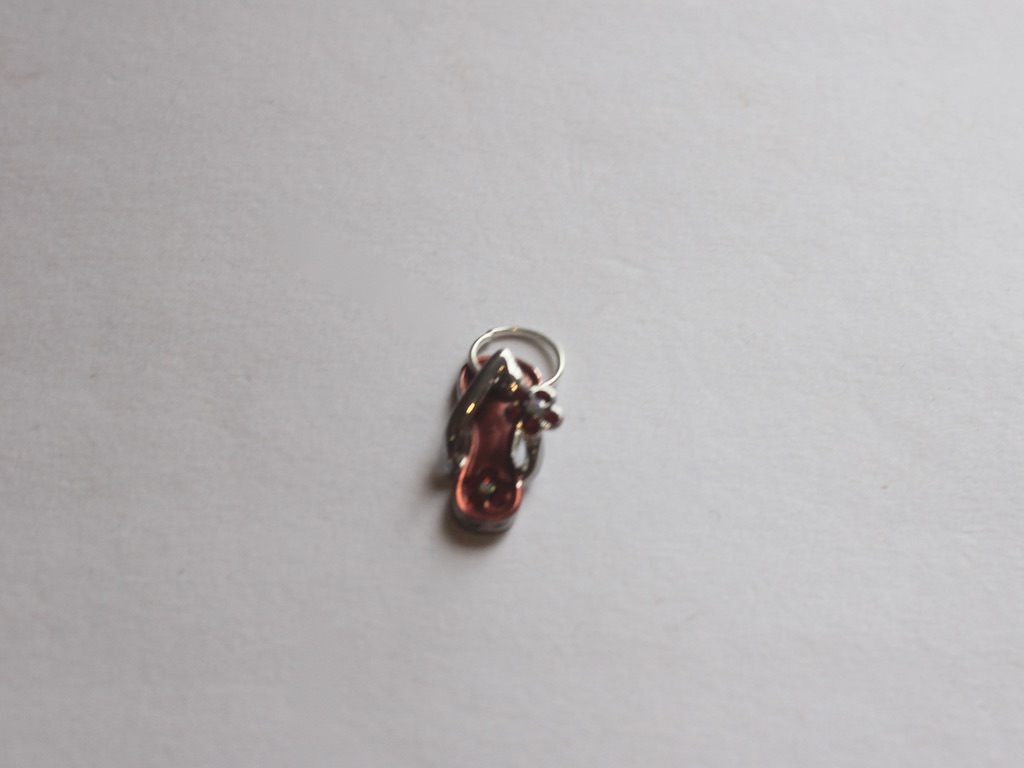
3: Create your bead charms, do this by adding beads to your head pin and curl the tops into a loop using the round nose pliers. Add a jump ring to the top if you need it.
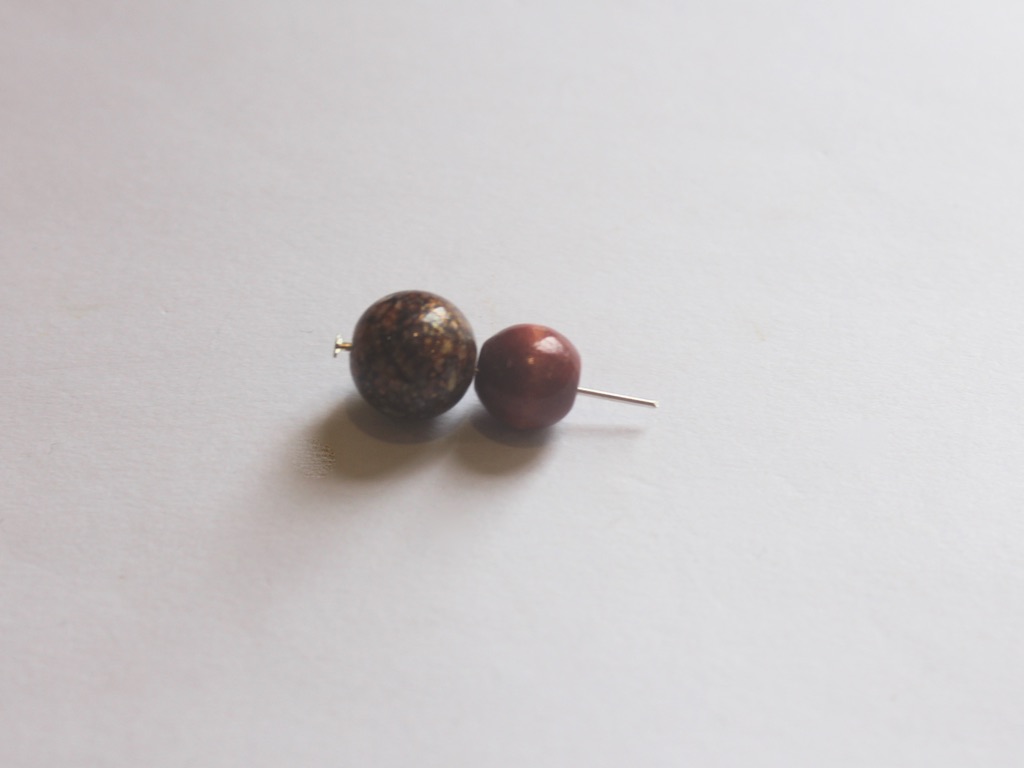
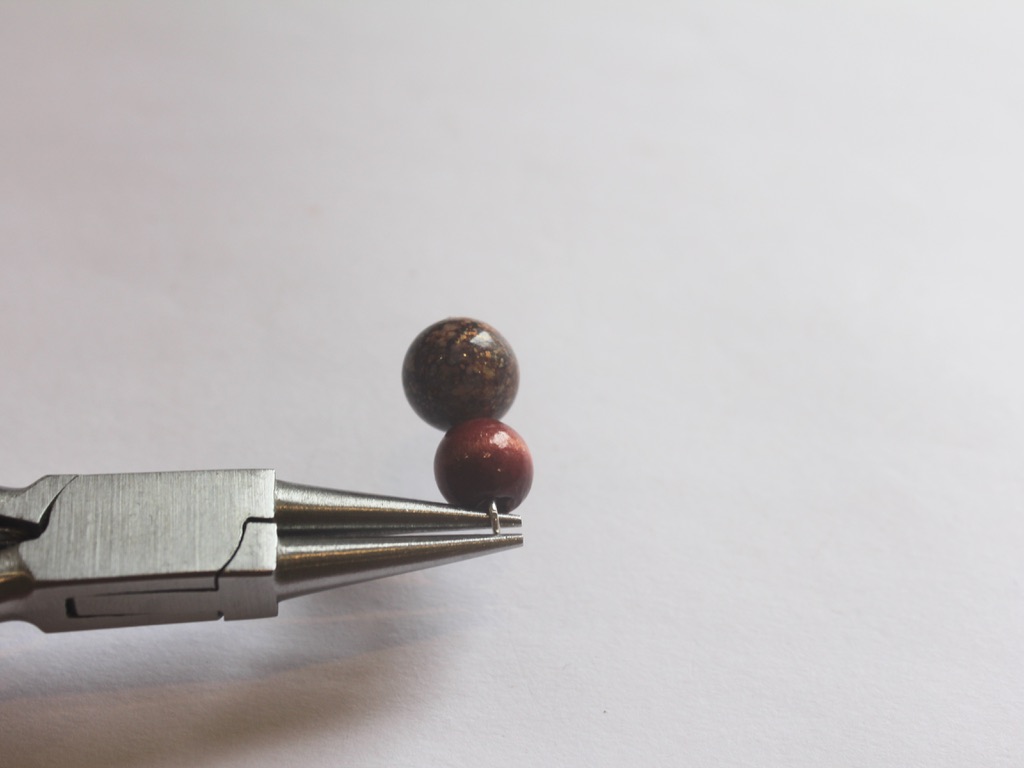
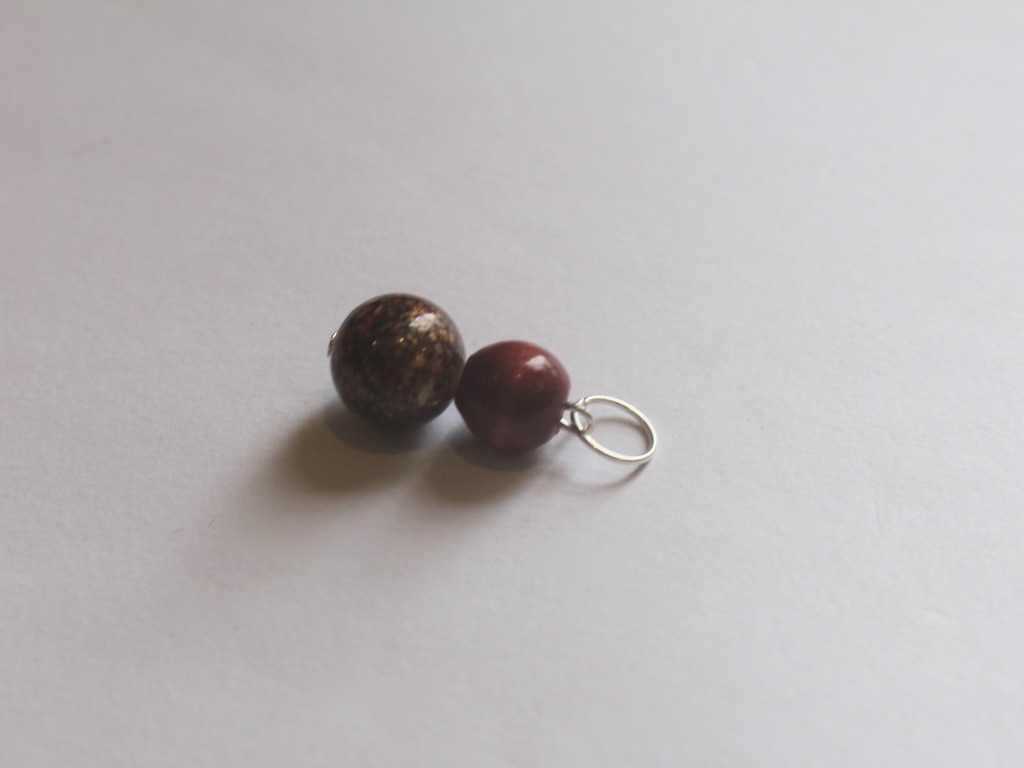
Now you can clip on the charms you like, mix and match for a unique look!
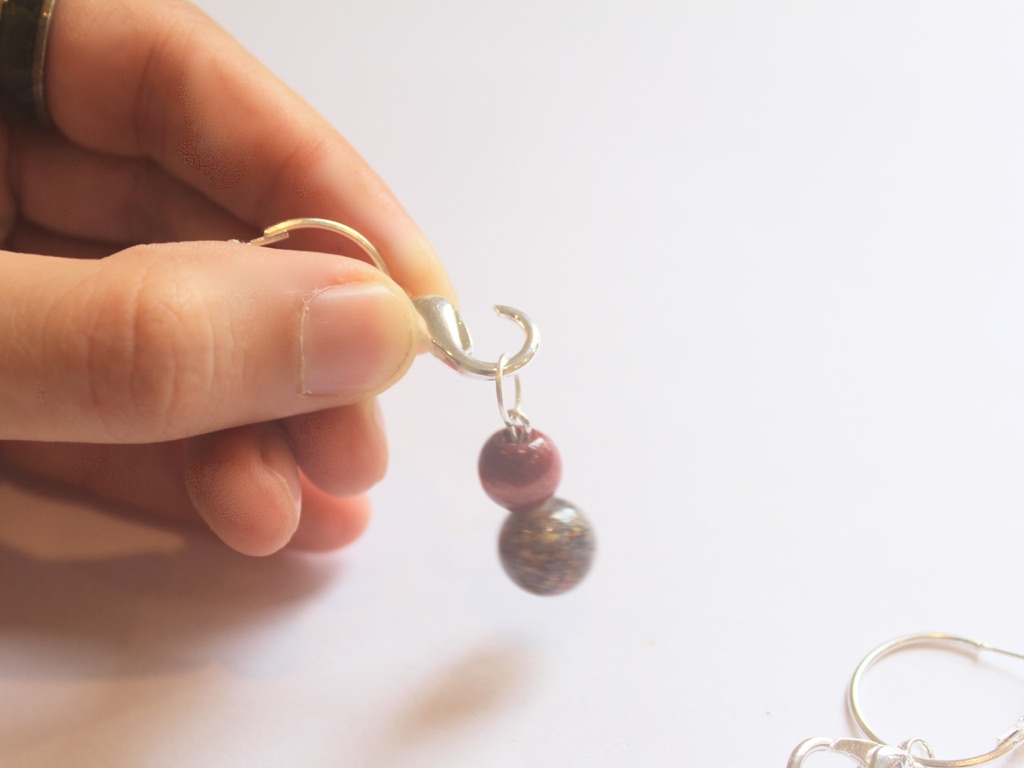
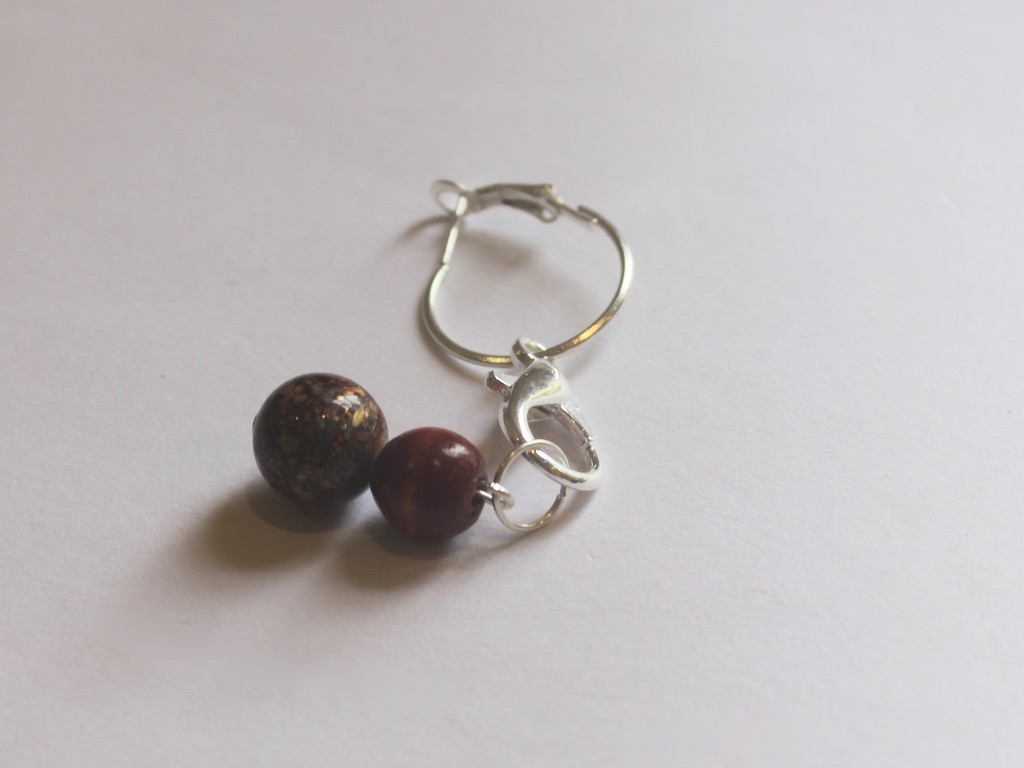
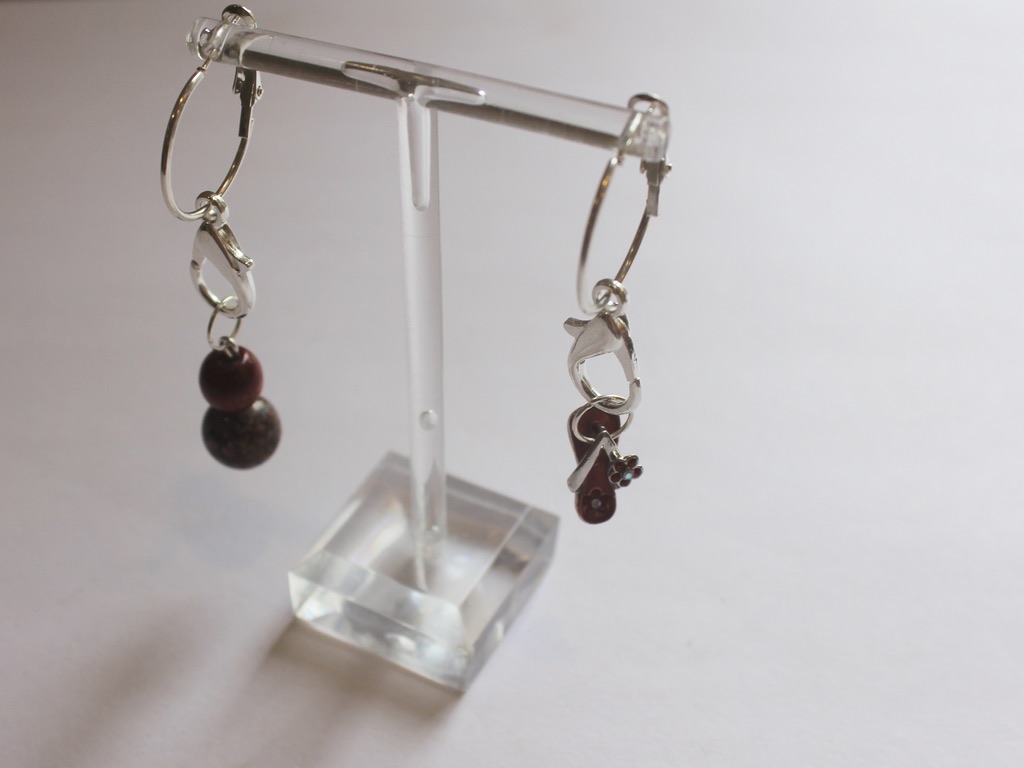
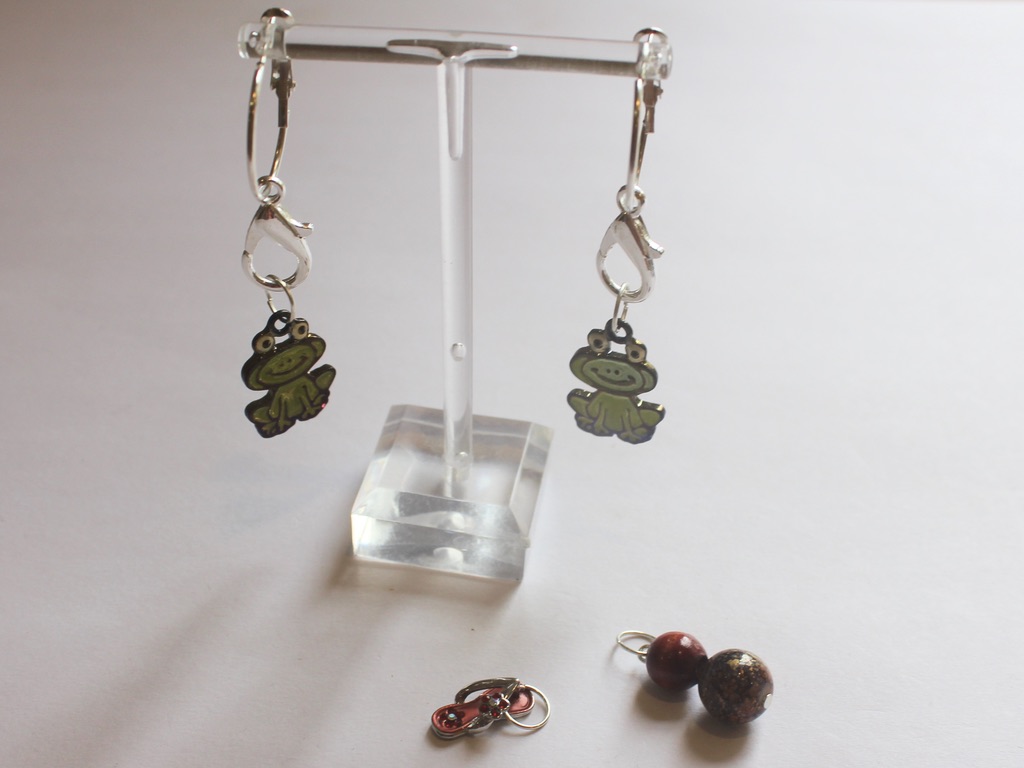
I think this tutorial is great for showcasing the charms you already have at home, but this post also contains affiliate links if you want to buy some new charms and materials.
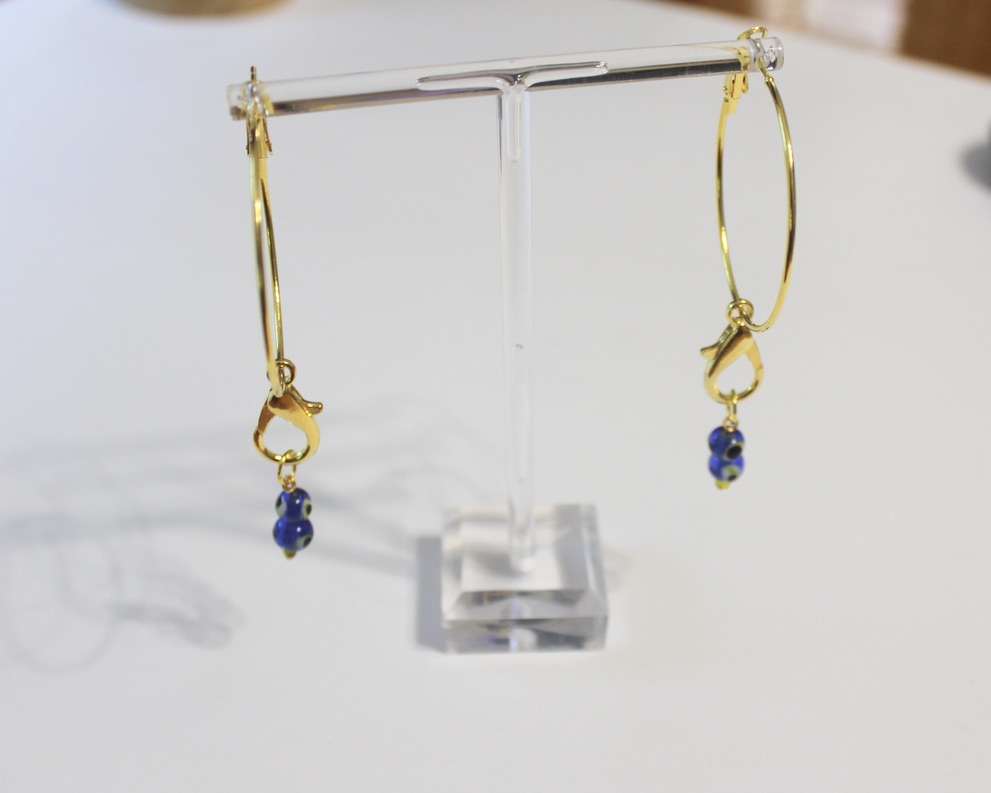
Here’s another pair I made using gold-tone materials and glass beads.
-
Ankle wear is cool! Here’s how to make a wrap anklet with clip on charms.
This anklet is so cool! It is made from chunky chain that wraps twice around your ankle and has three cute clip on charms. This is sure to keep you busy for a little while, make tonnes of charms so that your ankle feels fancy!
You’ll need the following tools and materials to make your wrap anklet with charms:
1: A length of chain long enough to wrap twice around your ankle.

2: Two medium sized jump rings.

3: A small lobster clasp.

4: Three head pins

5: Three large jump rings.

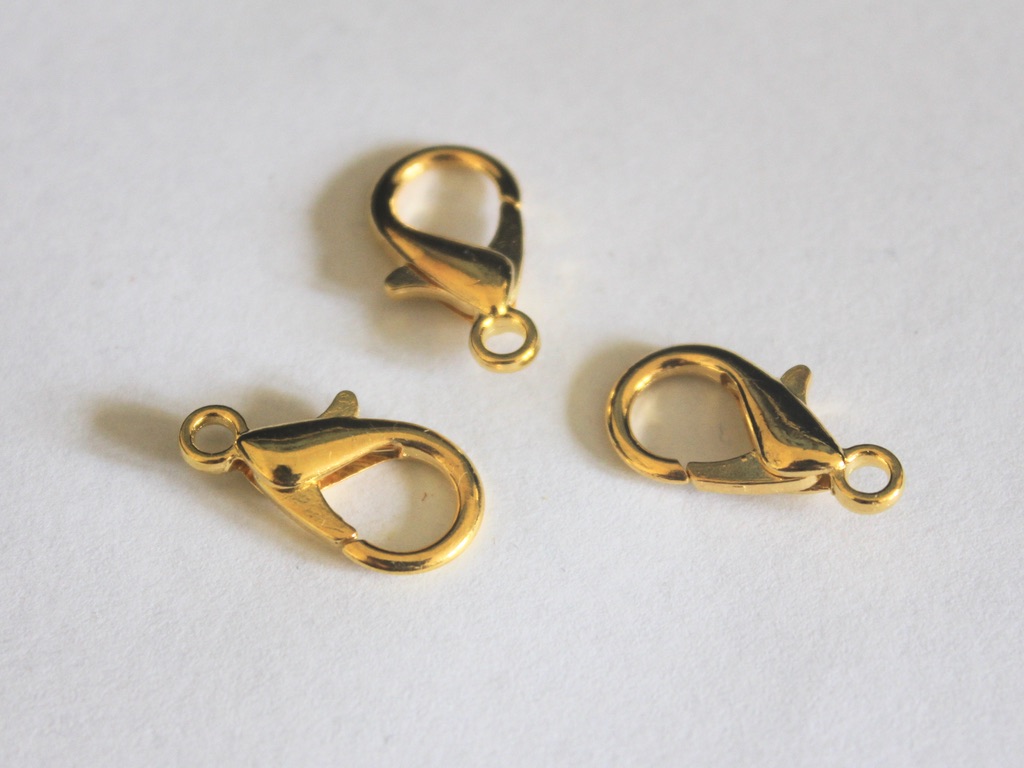
6: Three large lobster clasps.
7: Beads. I used these resin beads with some green glass beads.

8: Pliers. I used cutting pliers, round nose pliers and flat nose pliers.
Here are the steps to make your wrap anklet with clip on charms:
1: Add jump rings to either side of the length of chain.
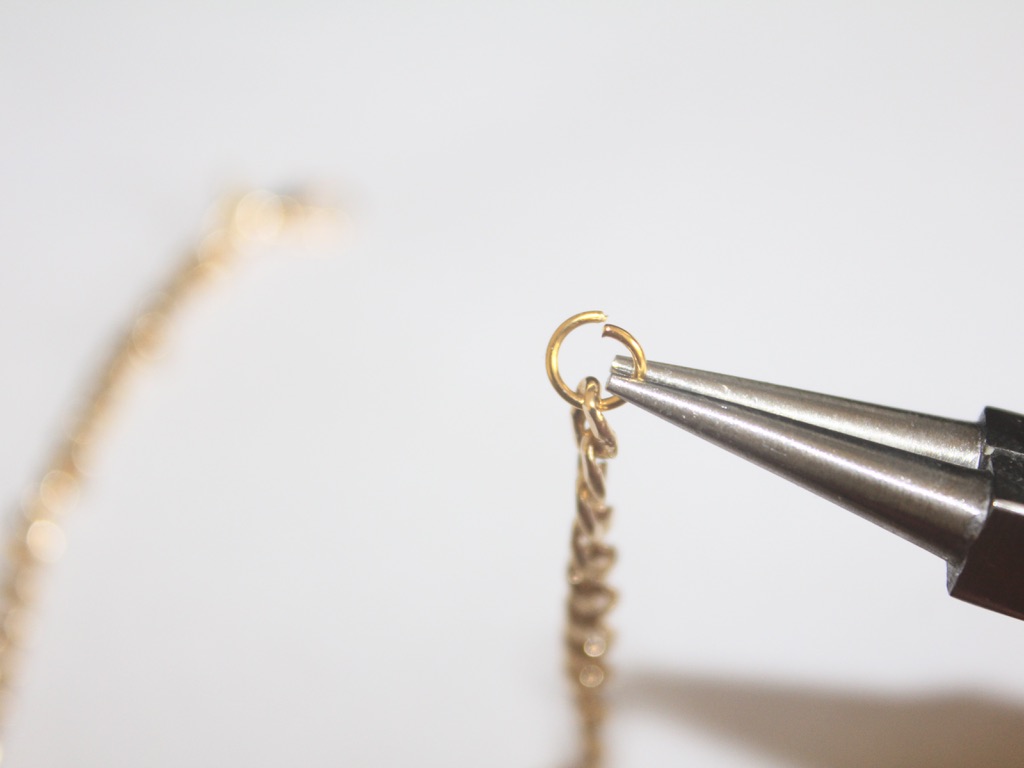
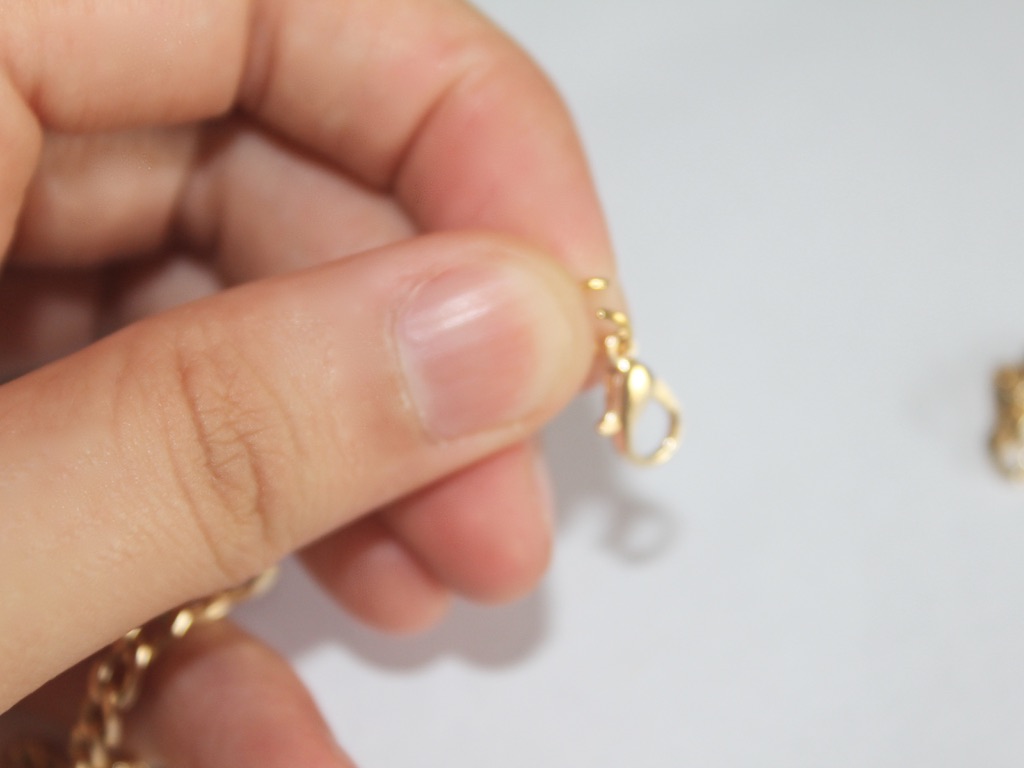
2: Before closing one of the jump rings add the small lobster clasp. You can set the chain aside for a moment at this stage.

3: Add the beads to each of the head pins.


4: Bend the pins at a right angle and trim them so that there is only approximately 1cm exposed.

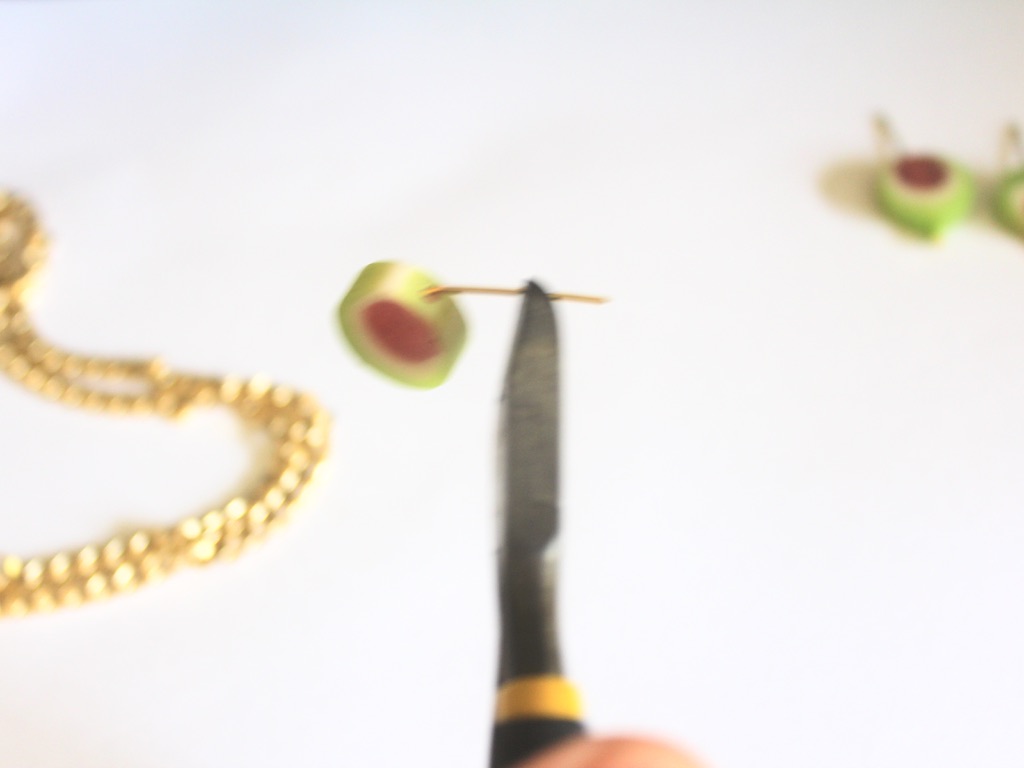

5: Loop the tops of each pin using the round nose pliers to secure the beads on the pins.


7: Add a jump ring to each charm.
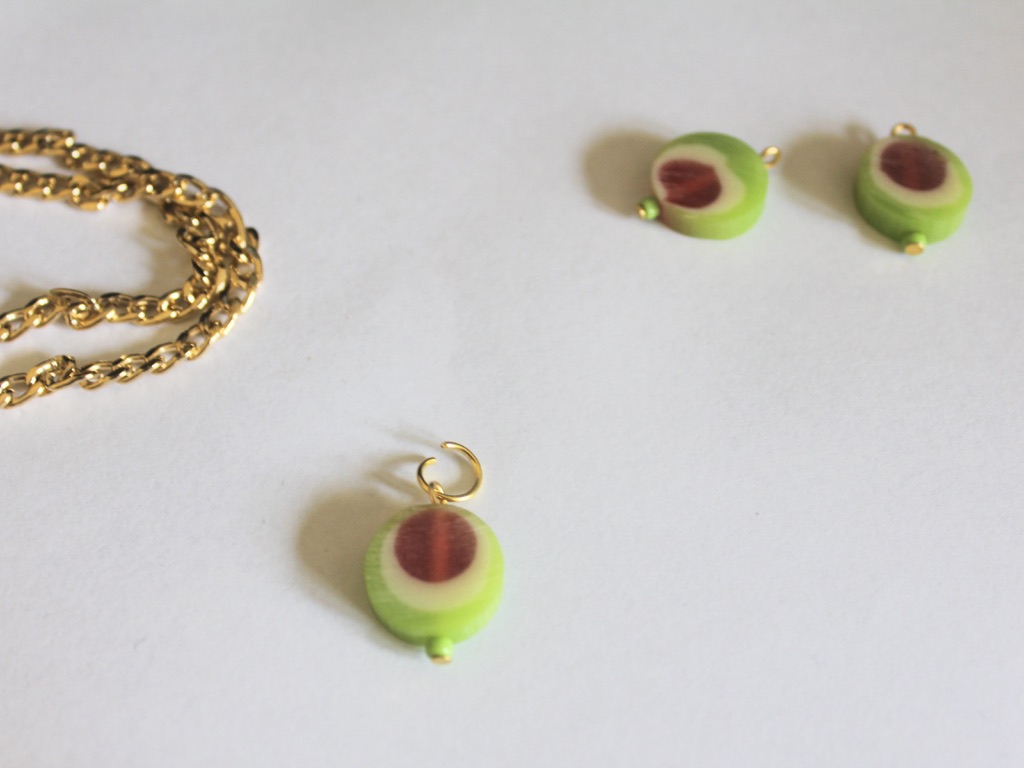
8: Attach each of the charms to each of the large lobster clasps and secure them by closing the jump ring.

9: Attach the charms to the chain wherever you choose. Now your anklet is finished!

Here’s what the finished product looks like on.

This tutorial contains affiliate links.
We have lots of other anklet DIYs you can follow if you want to shine up your ankle game:
- This fully beaded charm anklet
- Simple chain anklets that feature cool tube beads
- Chain anklets with cute charms
- A Gemstone embellished chain anklet
- Why not make a leather and bead charm anklet?
- Braid up this string and bead anklet
- Double chains for this anklet
- Recycle broken headphones to make this anklet
- Here’s how to add shell charms to a chain anklet
- Love charm connectors? Add one to a delicate anklet
- Construct a beaded chain anklet
- Add some fun to your ankle with this pearl beaded anklet
- Finger knit this bohemian shell anklet
- Use recycled shopping bag cords to make this anklet