-
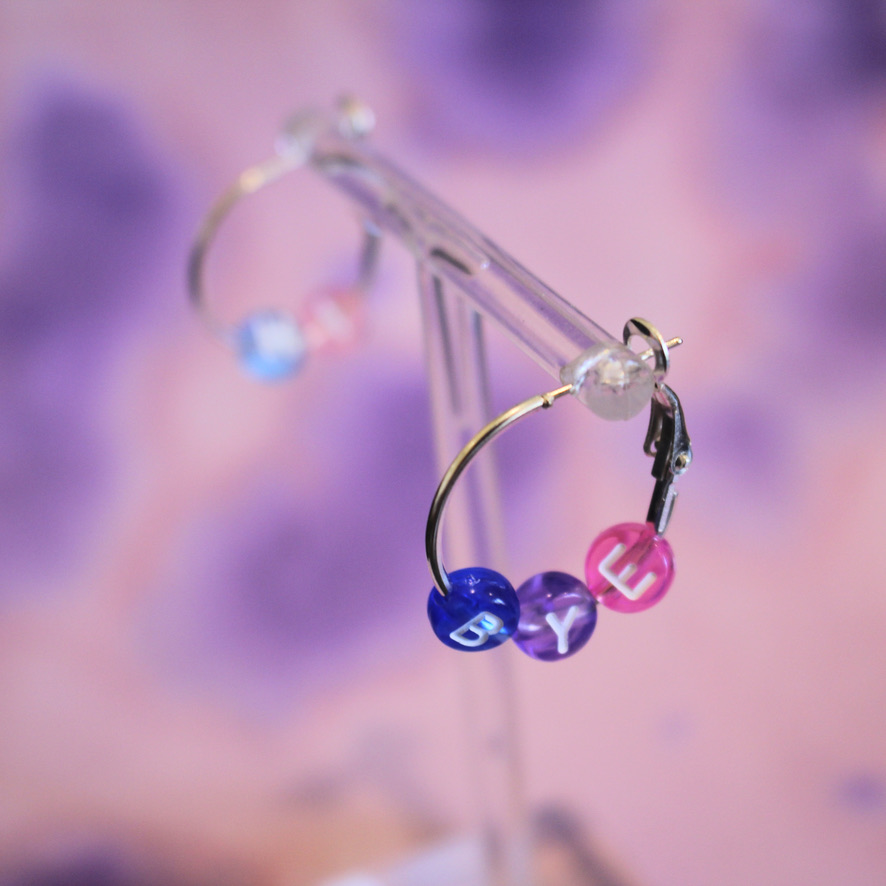
Here’s how to add some cute beads to your handmade hoop earrings!
So I recently showed you how to make your own metal hoop earrings at home, but if those are too plain for you, here’s a quick tutorial that shows you how to add some beads to your home made hoops. Please note that this tutorial contains affiliate links.
You’ll need these tools and materials to make your beaded hoop earrings:
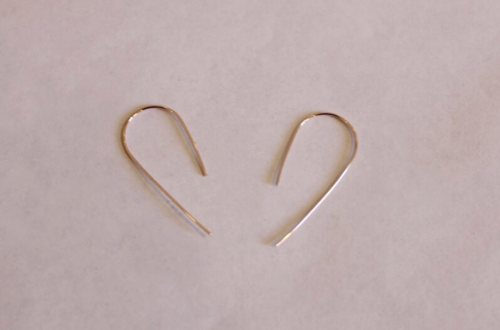
1: A pair of wire hoop earrings, you can follow this tutorial to make your own.

If you don’t feel like making your own, here’s a pair you can purchase: https://amzn.to/35q33gN
2: A pair of flat nose pliers.

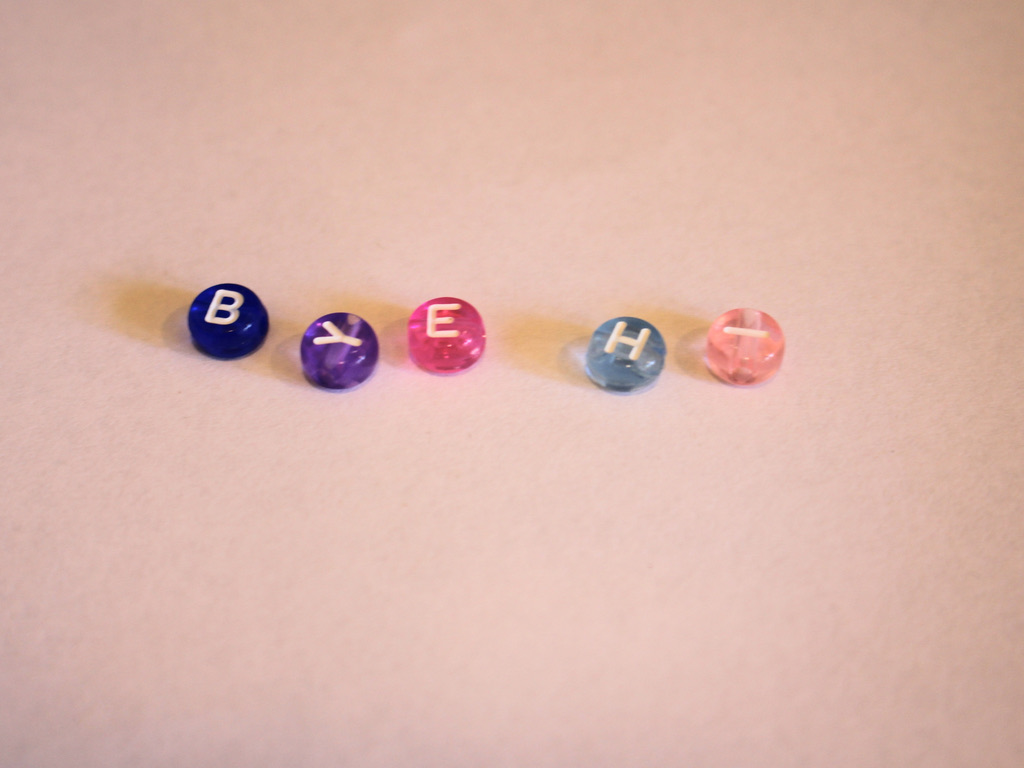
3: Some beads. I used these vintage glass beads.

Follow these steps to add beads to your hoop earrings:
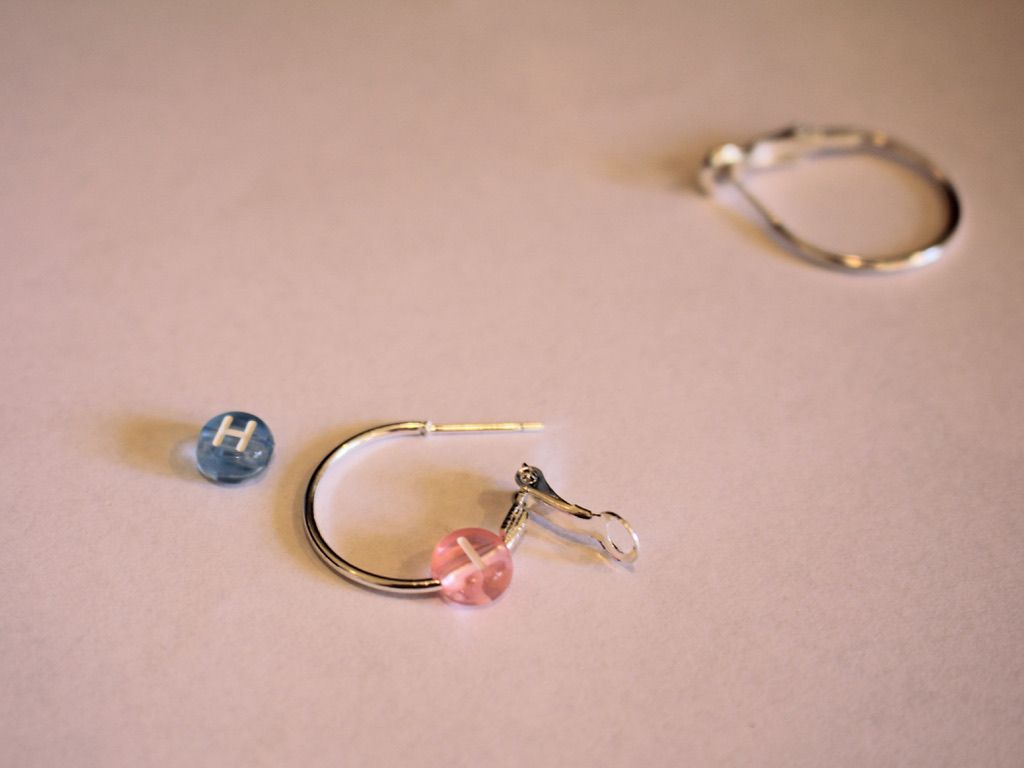
1: Take one of the hoops and unhook the ends.

2: You’ll need to slightly straighten the kinked end to allow the beads to pass over. Do this gently using your flat nose pliers.
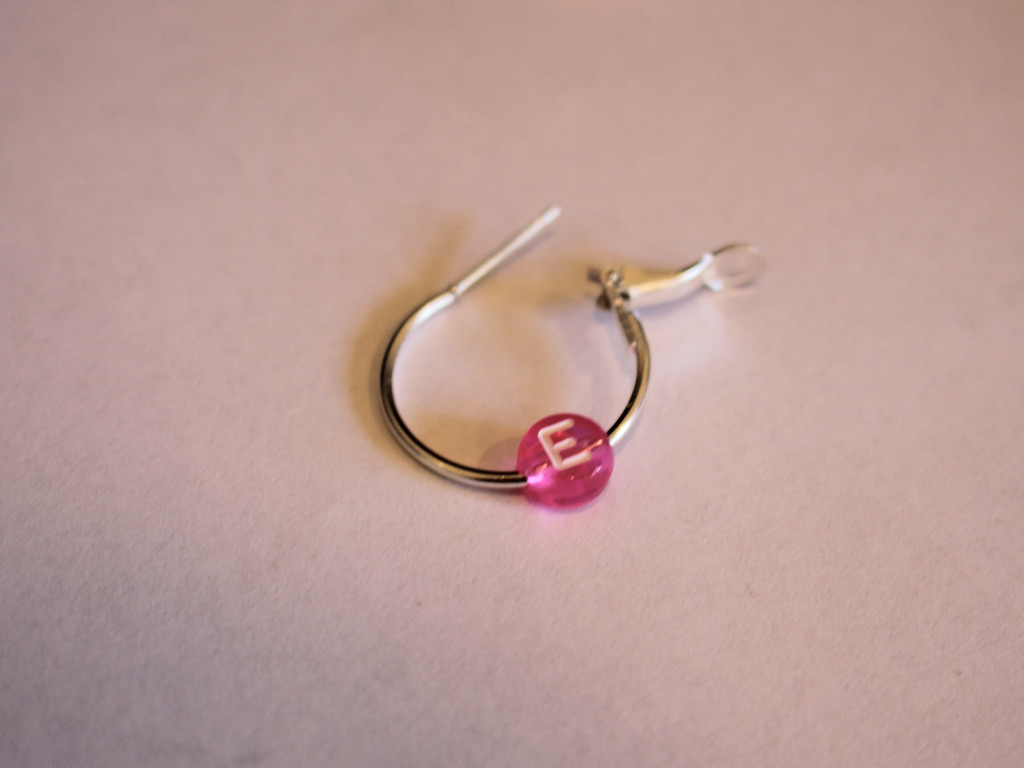
3: Add the beads.

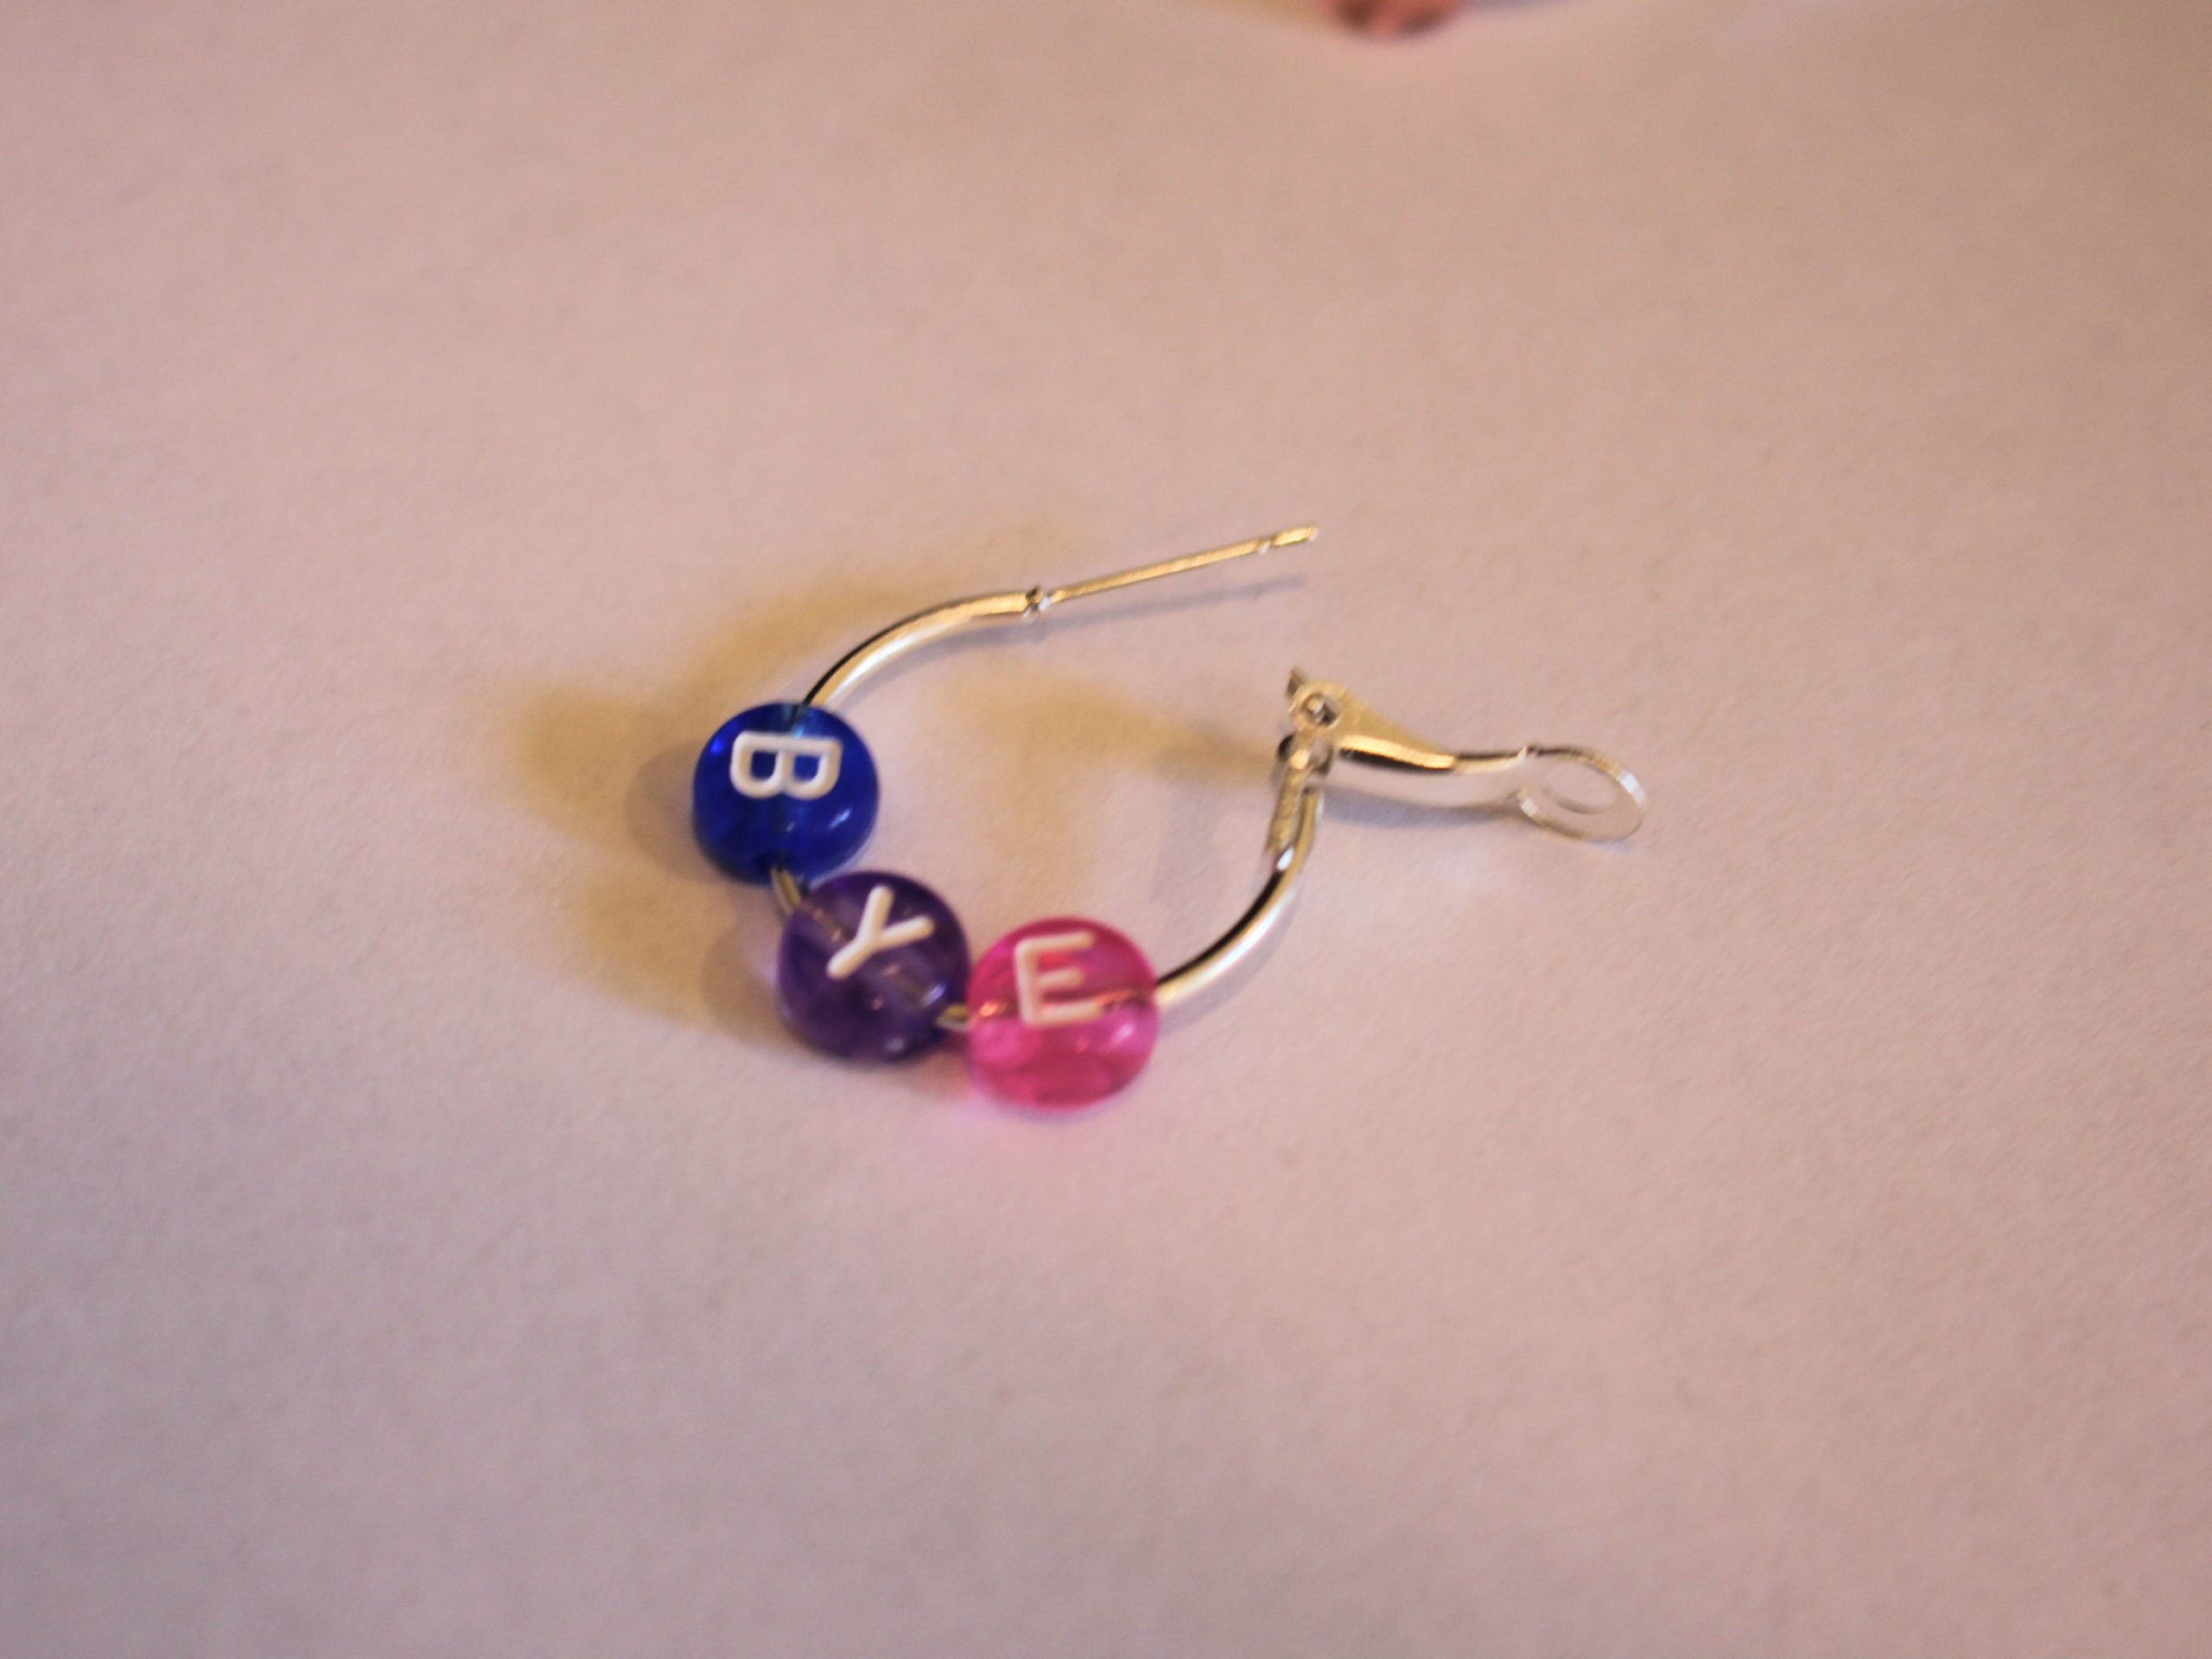
4: Bend the end of the hoop back to its original position to keep from falling off the hoop and to allow the earring to close again.
5: Repeat steps 1-4 for the second earring.


Now your handmade metal hoop earrings are officially beaded!
-
How to add cute square charms to a pair of hoop earrings!
These hoop earrings are really cute! Each hoop has a little dangly beaded square charm which moves prettily as you wear them! This is a really special way to upgrade a basic hoop finding. Please note that this tutorial contains affiliate links.
Grab these tools and materials to make your earrings:
1: A pair of hoop findings.

2: Eight eye pins.

3: Four head pins.

4: Four small jump rings.

5: Four large jump rings.

6: Glass beads. I used yellow glass e-beads.

7: Some accent beads, I used four blue seed beads and four silver-tone beads.


8: Pliers. I used my flat nose and round nose pliers for this pair of earrings.

Follow these steps to make your elevated hoop earrings:
1: Add beads to one of the eye pins.

2: Bend the end of the pin to form an angle.

3: Curl the end of the pin around the round nose pliers to make a loop. This secures the beads in place.


4: Repeat steps 1-3 for the remaining seven eye pins. Now you will have eight beaded pins.

5: Take four of the pins and join them together to form a chain.


6: Do this again for the second set of pins.

7: Attach the ends of each chain together to make a square shape.


8: Set the two squares aside.
9: Add two of the accent beads to the head pins.


10: Wrap the end of the pin around the round nose pliers to create a loop.


11: Repeat steps 9 and 10 for the other three pins, using up the rest of the beads.

12: Attach two of the charms you just made to the bottom corners of each of the squares using the small jump rings.


13: Add the larger jump rings to the top corners of the squares.


14: Using the larger jump rings, slide a charm onto each of the hoops.


Now your elevated hoop earrings are finished and ready to wear! How fun is this design? I love how they move and wiggle as I wear them!

Here are some other ways you can incorporate beaded squares into your jewelry:
-
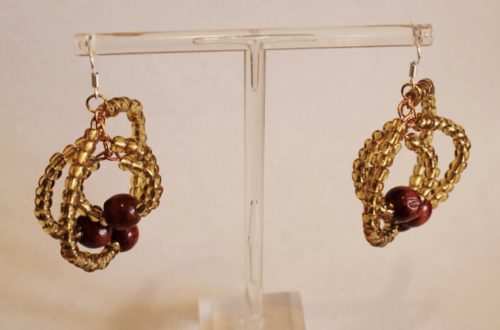
These earrings have not one, not two… but three hoops! Here’s how to make them.
Do you love it when your earrings to do the most? These earrings are a true hoop statement, made with three hoops that nest into each other. I think these are so cute!
Please note that this tutorial contains affiliate links.
You’ll need the following tools and materials to make your triple hoop earrings:
1: Six pieces of wire in three different lengths (two pieces of each length). The longest piece of wire will determine the size of the rest of the hoops. I used copper wire.

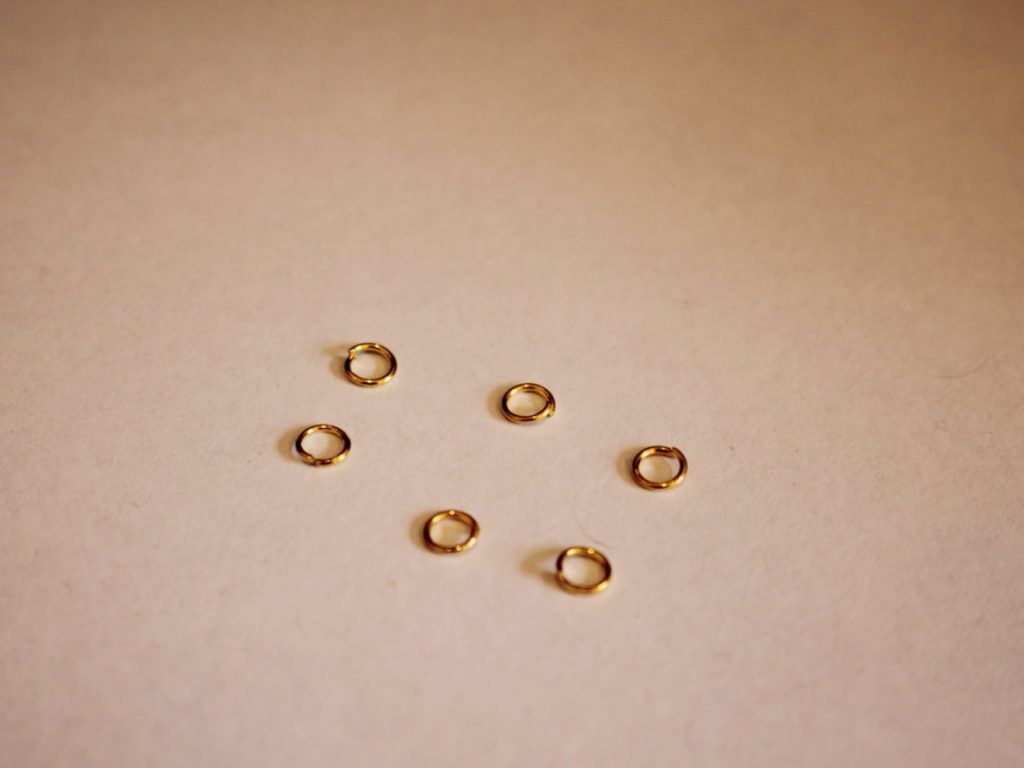
2: Six small jump rings.
3: A pair of earring hooks.

4: Beads of your choice. I used six red timber beads and some yellow glass e-beads.


Follow these steps to make your triple hoop earrings:
1: Create a loop at one of the ends of the long wires using your round nose pliers. Do this by creating a right angle first and then looping that small end of the wire around the barrel of your pliers.


2: Add beads to the wire in your chosen pattern. I beaded mine primarily with the yellow beads, placing a red timber bead in the centre. You can estimate the centre of the wire by forming it into a rough circle shape.

3: Once the wire is beaded, with 1cm left bare, create another loop at the end of the wire. This will secure the beads in place. Open the end loop up a bit and slide it into the loop you made at the start, close it to secure the ends together and form the circle shape.
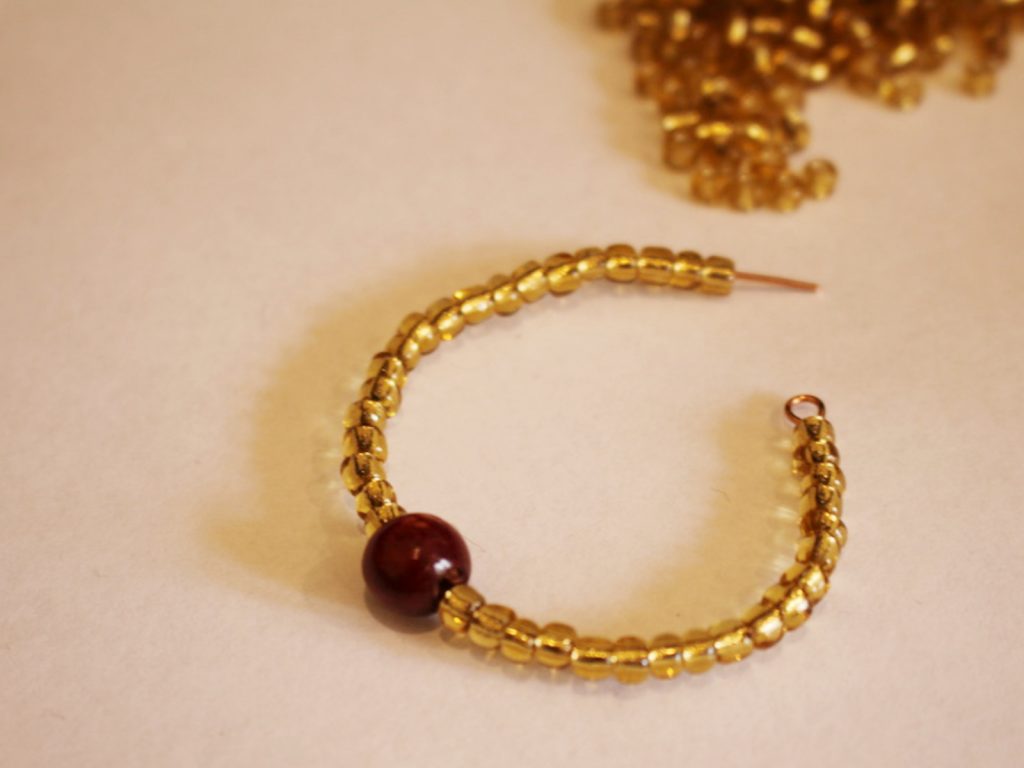


4: Repeat steps 1-3 for the rest of the wires to create six circles.
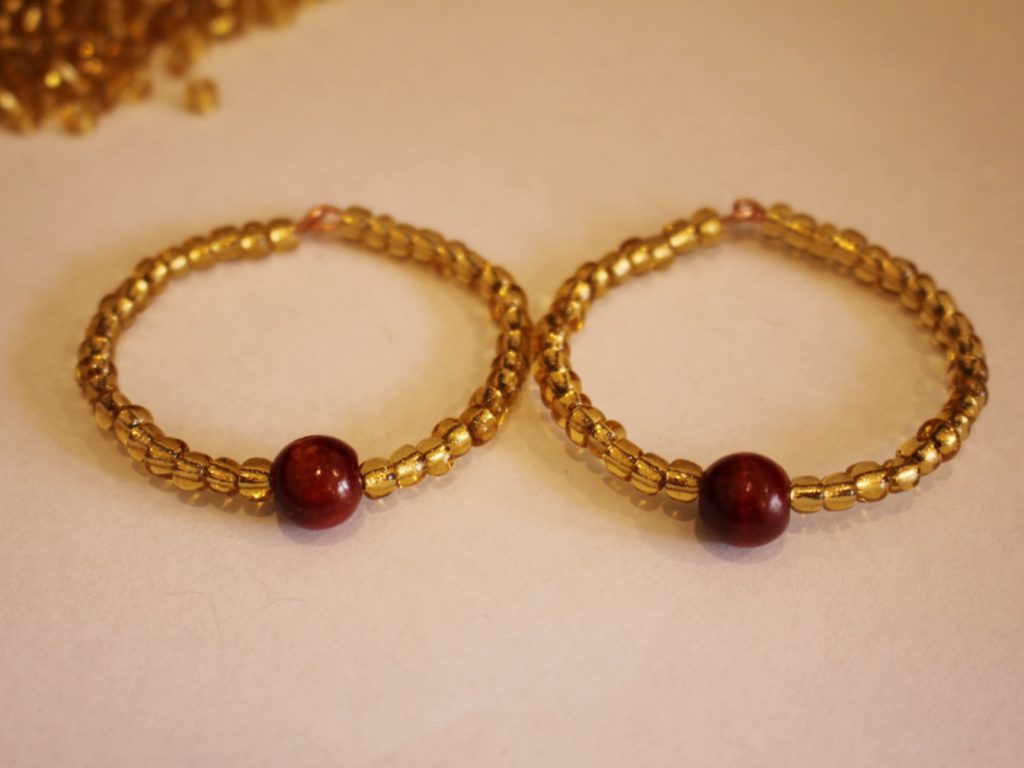


5: Take one of the biggest circles and one of the medium circles. Attach them together using one of the jump rings. Slide the jump ring through the loops at the top of each hoop and close it to secure them together.

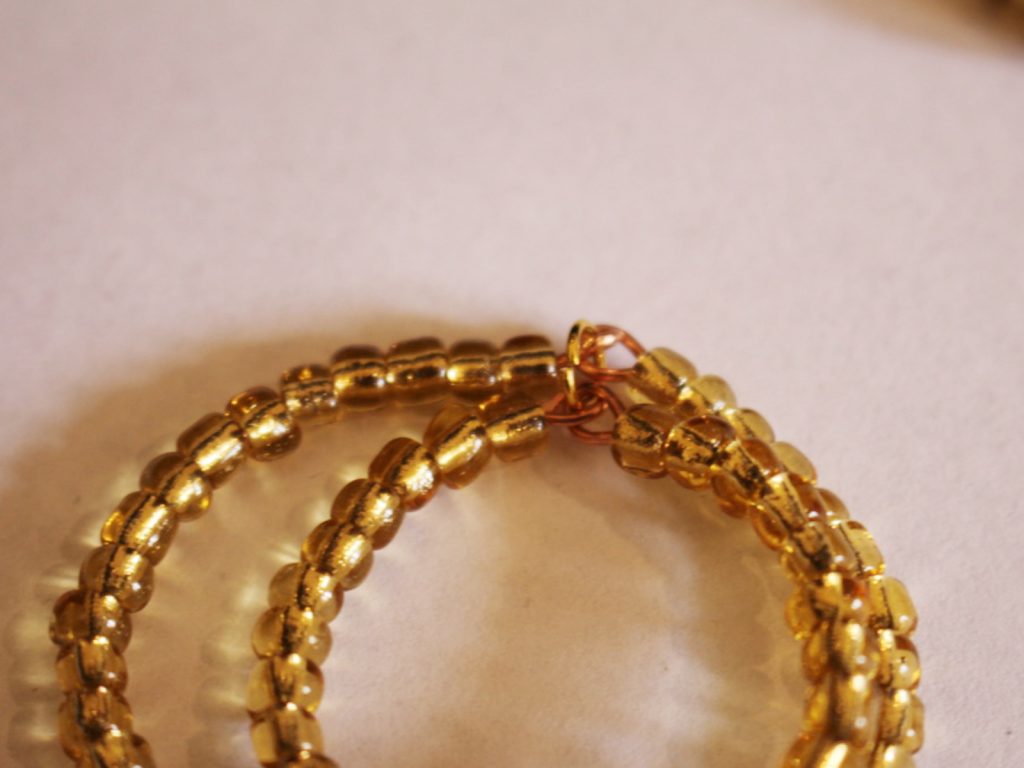
6: Repeat step 5 to attach the smallest hoop to the middle hoop so that you have a stack of three hoops attached together.

7: Repeat steps 5 and 6 for the second set of hoops.

8: Attach an earring hook to both sets of hoops to finish them off.


Now your cute triple hoops are finished and ready to wear!


If you like this design, here are some other multi-hoop earring tutorials: