-
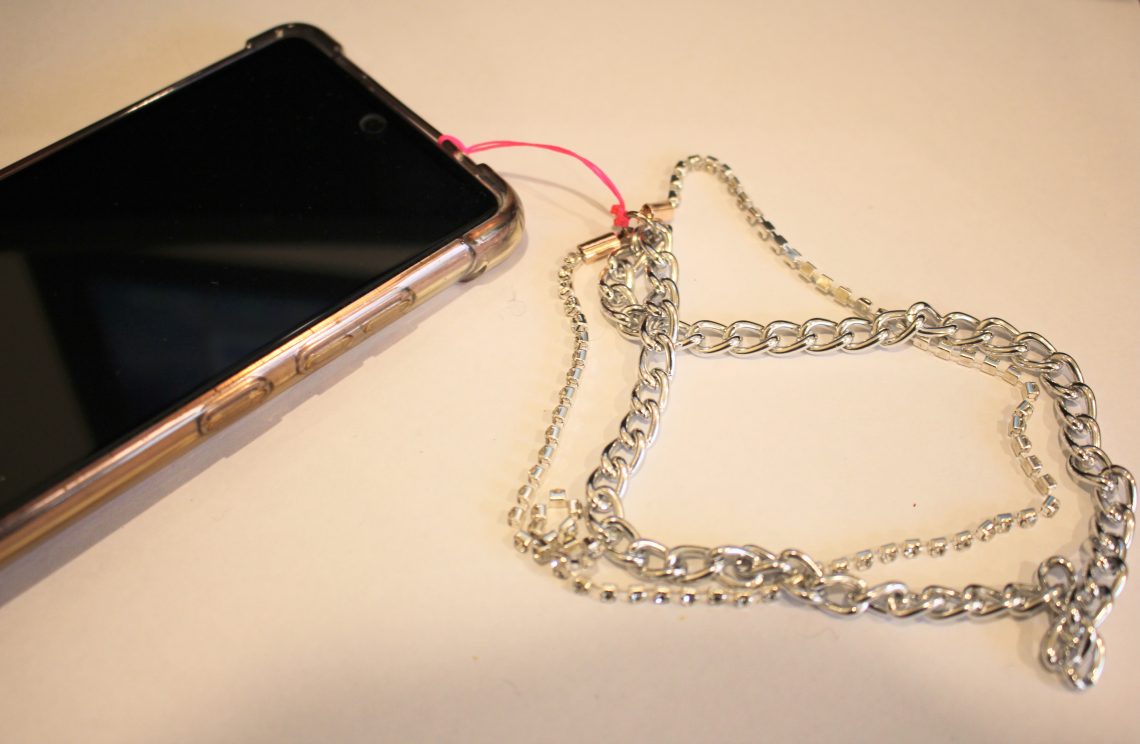
Need help keeping hold of your phone? Here’s how to make a cute chain and rhinestone phone strap so its harder to lose!
I’m loving making phone straps lately! This one combines a chunky chain with some rhinestone trim to create this double stranded phone strap. I decided to add the extra chain for more strength! Please note that this tutorial contains affiliate links.
You will need the following tools and materials to make this phone strap:
1: Pliers. I used my flat nose pliers, round nose pliers and cutting pliers. I also used scissors to trim my string.


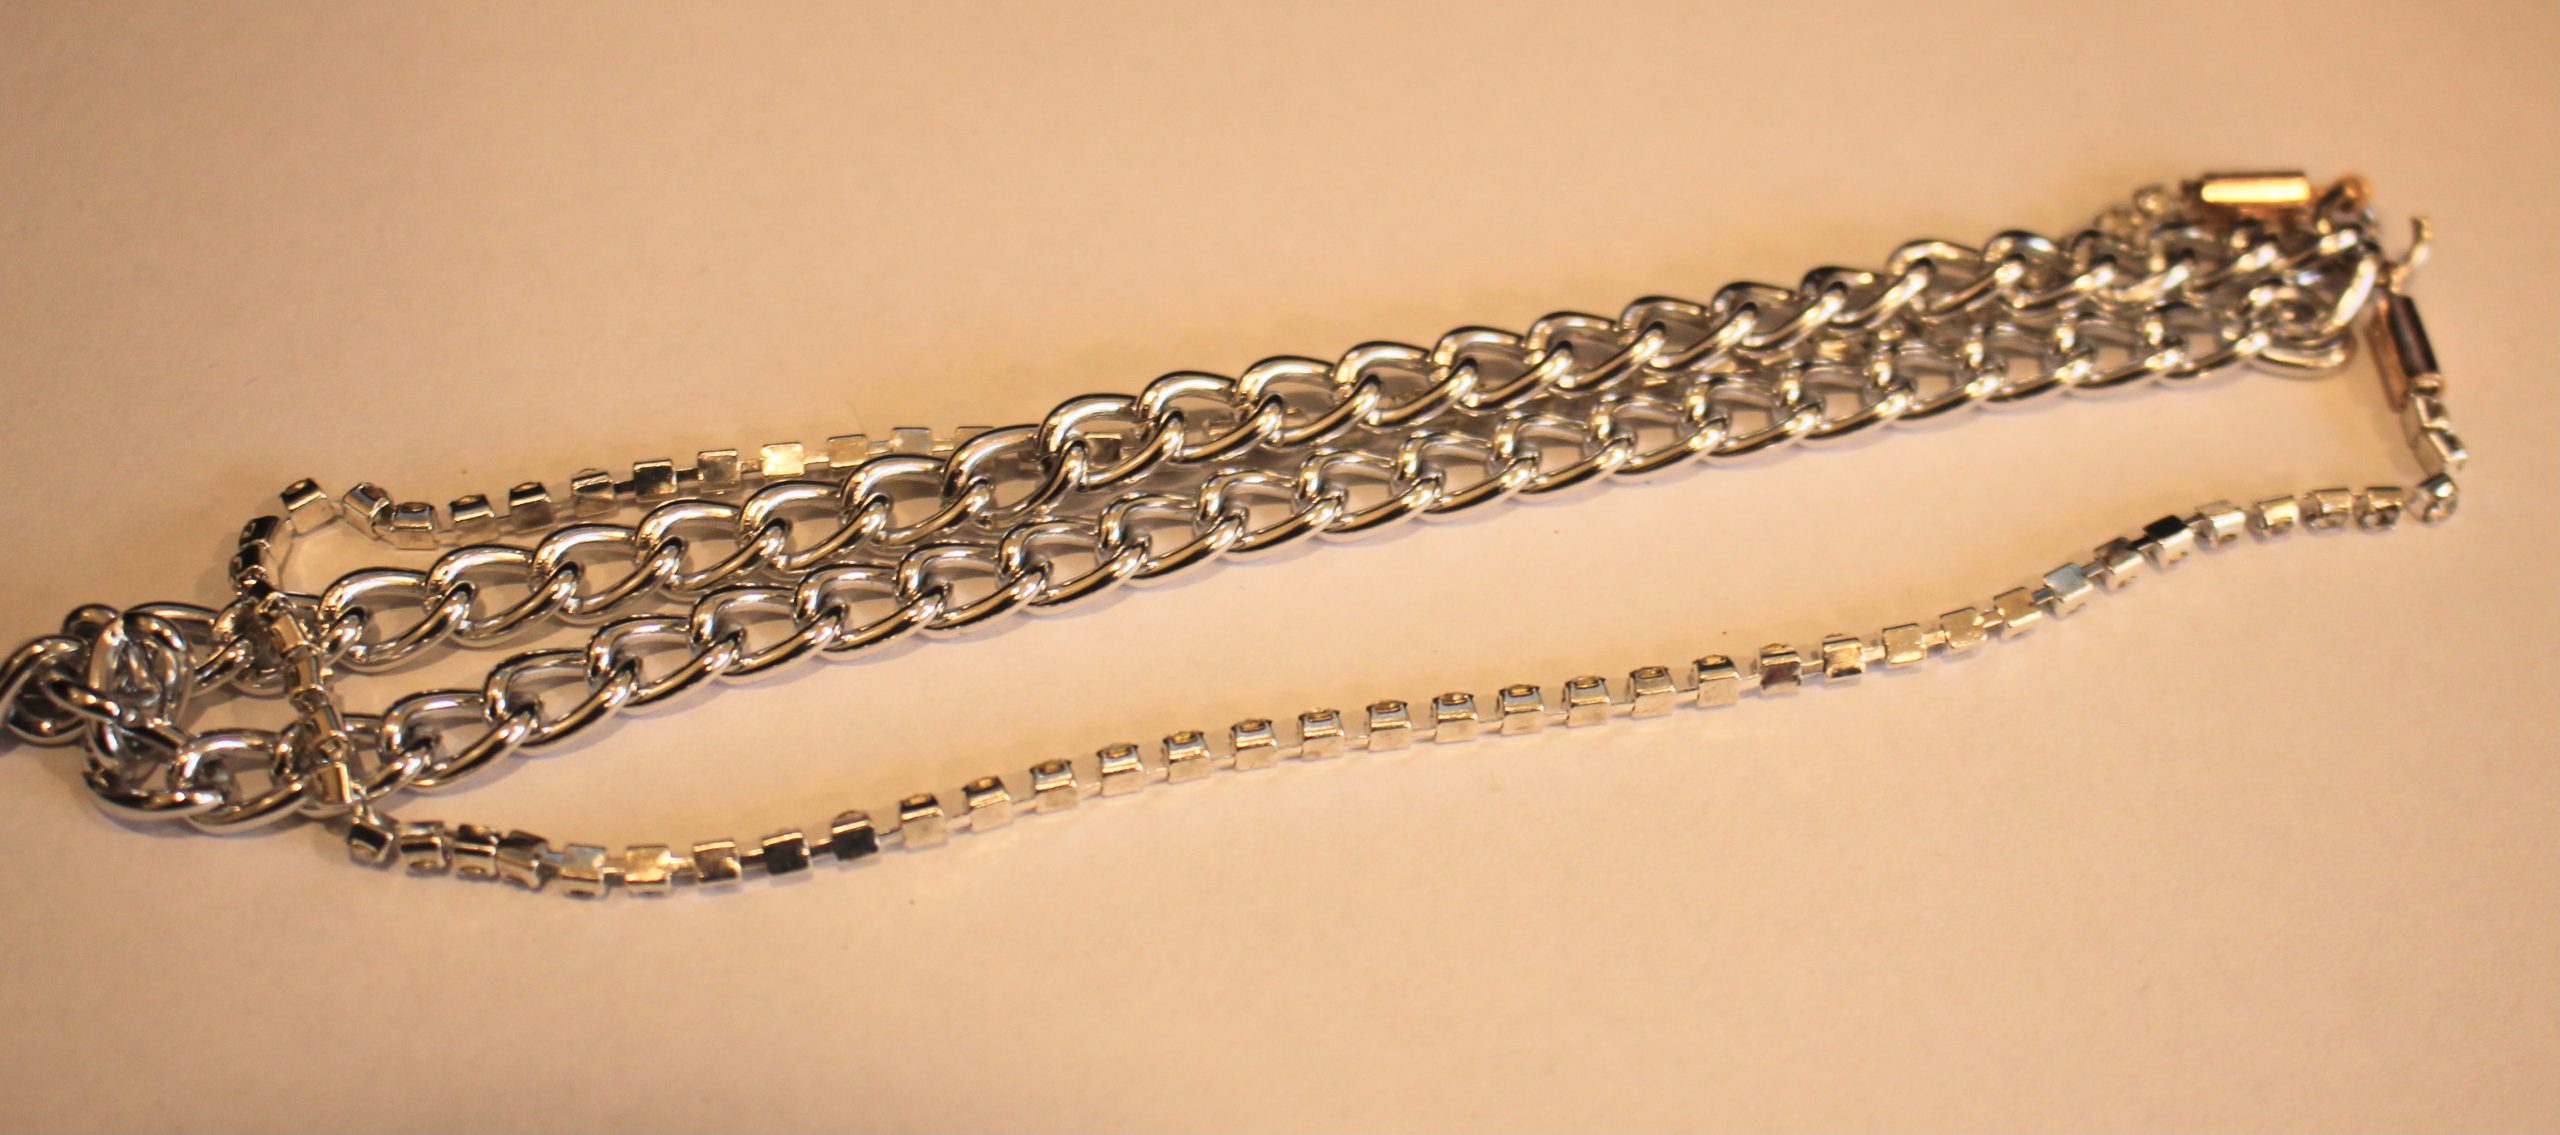
2: A piece of chain about 30cm long. I used this silver tone chunky curb chain.

3: A piece of rhinestone trim about the same length as the chain.

4: Two crimp ends.

5: A large jump ring.

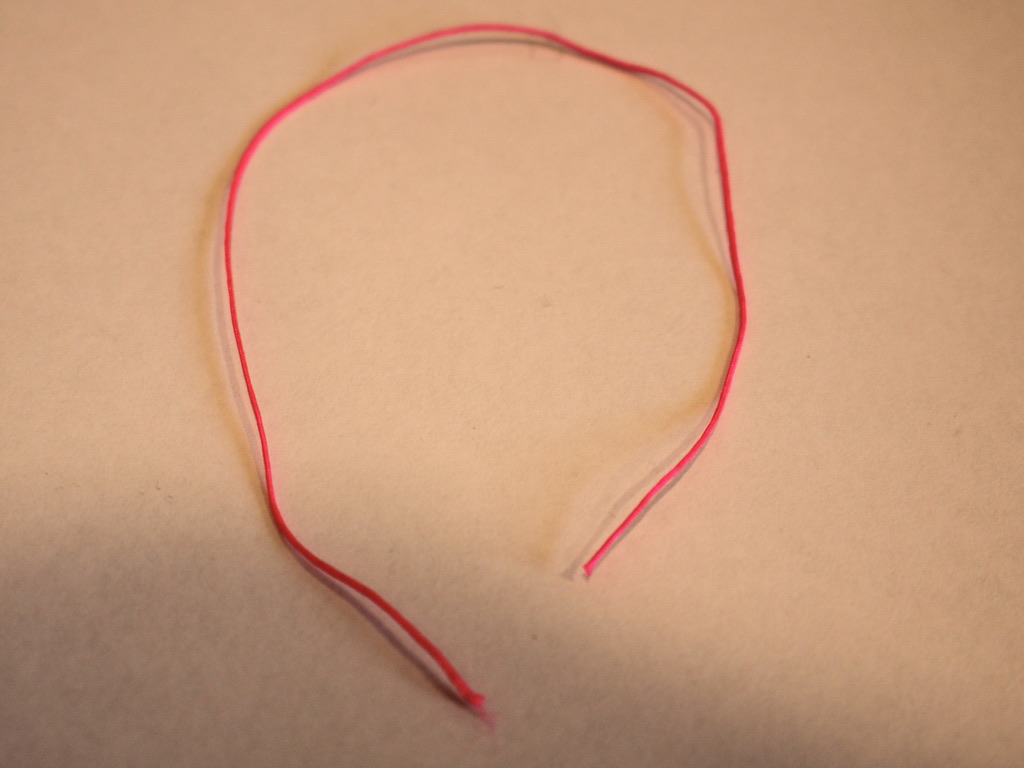
6: A piece of string. I used this hot pink nylon string that I cut to be about 15cm long.
7: Super glue.

Follow these steps to make your rhinestone phone strap:
1: Take one end of the rhinestone strand and place it in one of the crimp ends.

2: Squash one side of the crimp around the end of the rhinestones using the flat nose pliers.

3: Repeat the squeezing of the crimp for the other side, folding it around the end of the rhinestones. Squeeze until the crimp feels securely attached to the rhinestone strand.


4: Repeat steps 2 and 3 for the other end of the rhinestone chain.

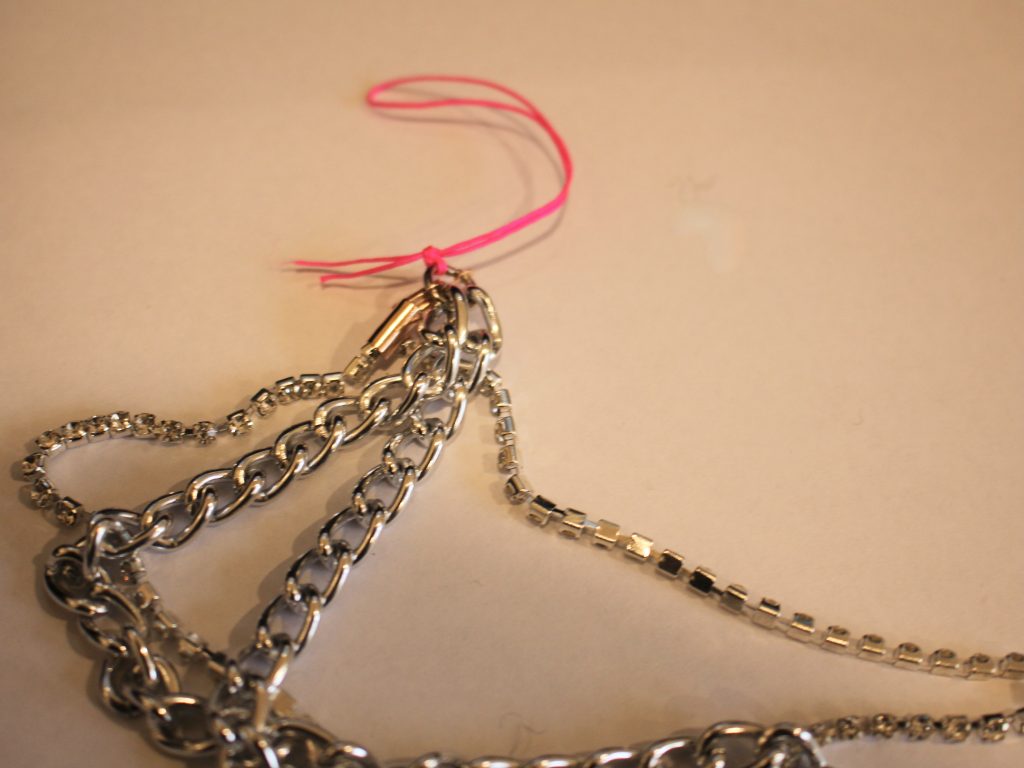
5: Add one end of the chain and rhinestone strand to the jump ring.

6: Add the other end of the chain and rhinestone strand to the jump ring in the same order.

7: Close the jump ring using your pliers.

8: Fold the string in half and tie the open ends around the jump ring, loop and knot it a few times to secure it.


9: Trim the ends of the string.

10: Add a dab of super glue to the ends of the string to secure the knot.

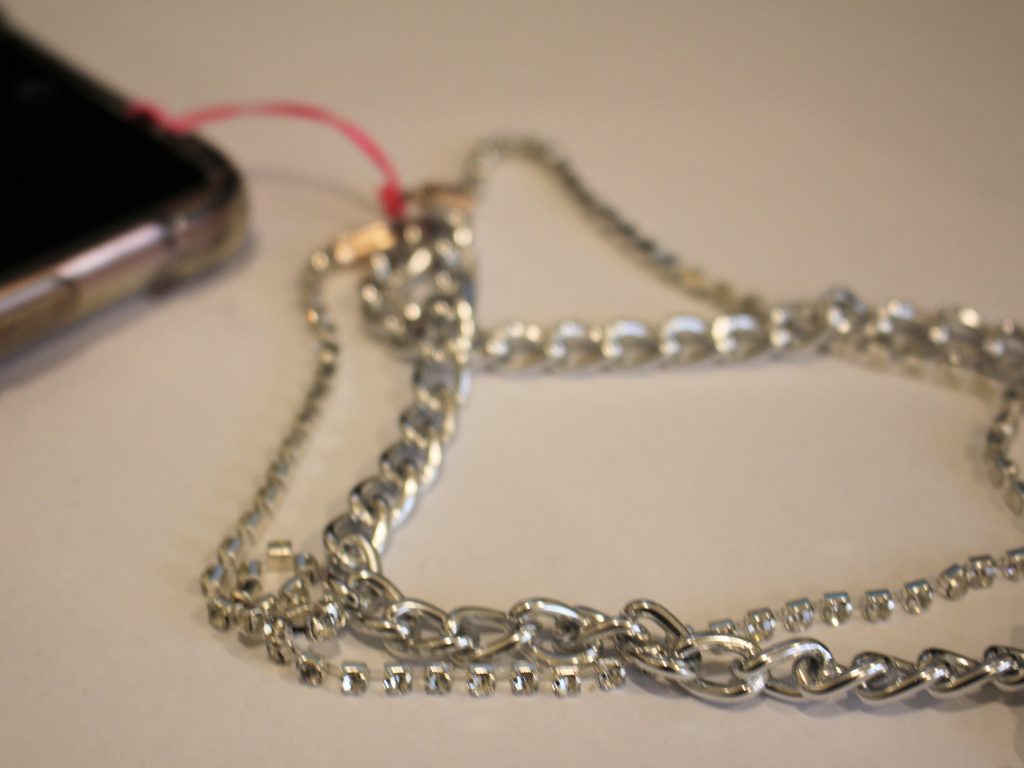
Now your double strand phone strap is finished and ready to pop on your phone. Loop it through on of the holes on your phone case for more phone customisation!


-
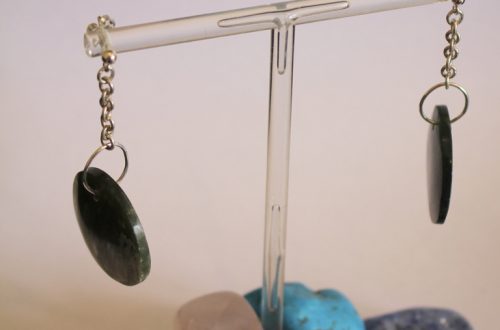
Here’s how to make a stunning crystal choker necklace!
This choker length necklace is really special! It’s simple look is a really powerful way to show off your special crystal beads. I used a small green crystal bead for my design. Please note that this tutorial contains affiliate links.
Grab these tools and materials to make your special crystal choker:
1: A pretty crystal bead. I used this green bead.

2: A short eye pin.

3: Four small jump rings.

4: Two pieces of chain that are long enough in total to fit closely around your neck.

5: A lobster clasp.

6: Some pliers. I used my round nose and flat nose pliers to make this necklace.

Follow these steps to make your pretty crystal choker necklace:
1: Add the crystal bead to the eye pin.

2: Bend the pin to form an angle.

3: Secure the bead onto the pin using the round nose pliers to make a loop.

4: Attach one side of the chain to one side of the charm using one of the small jump rings.


5: Repeat step 4 for the other side of the necklace attaching the other side of the chain to the other side of the crystal charm.

6: Attach the lobster clasp to the end of one of the chains using another of the small jump rings.

7: Attach the remaining jump ring to the other side of the necklace to finish it off.

Now your lovely crystal chain choker is finished and ready to wear! Let it stand out on its own or layer with some longer pieces. Perfect for hot girl summer!


Here are some other crystal designs you can make at home:
You May Also Like

How to make a super cute letter bead necklace! Add your word to a chain for a cute twist on the y2k jewelry trend!

Here’s how you can transform some rhinestone trim into a necklace chain!

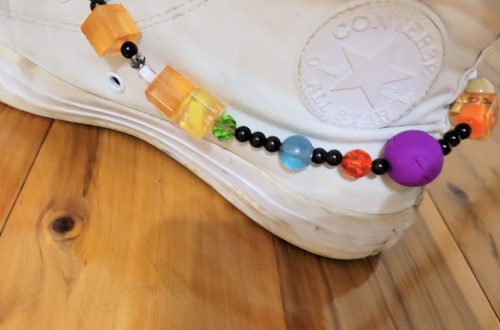
Do you need more colorful jewelry in your life? Why not make this rainbow beaded choker with a feature pendant?
-
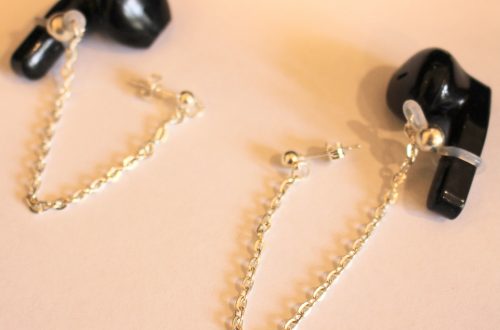
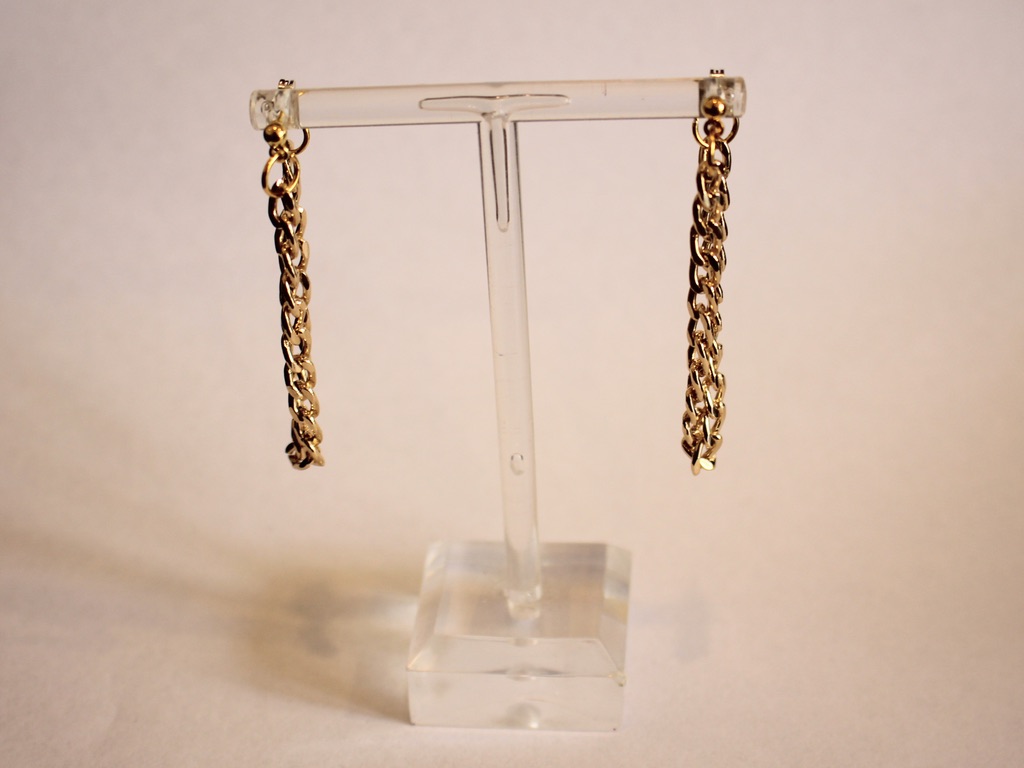
How to make some chunky chain loop earrings!
I think chain loop earrings are really cool! This DIY uses lightweight chunky curb chain to loop from the front to back of your ears. Please note that this tutorial contains affiliate links.
You’ll need the following tools and materials to make this pair of earrings:
1: Pliers. I used my flat nose pliers and round nose pliers.
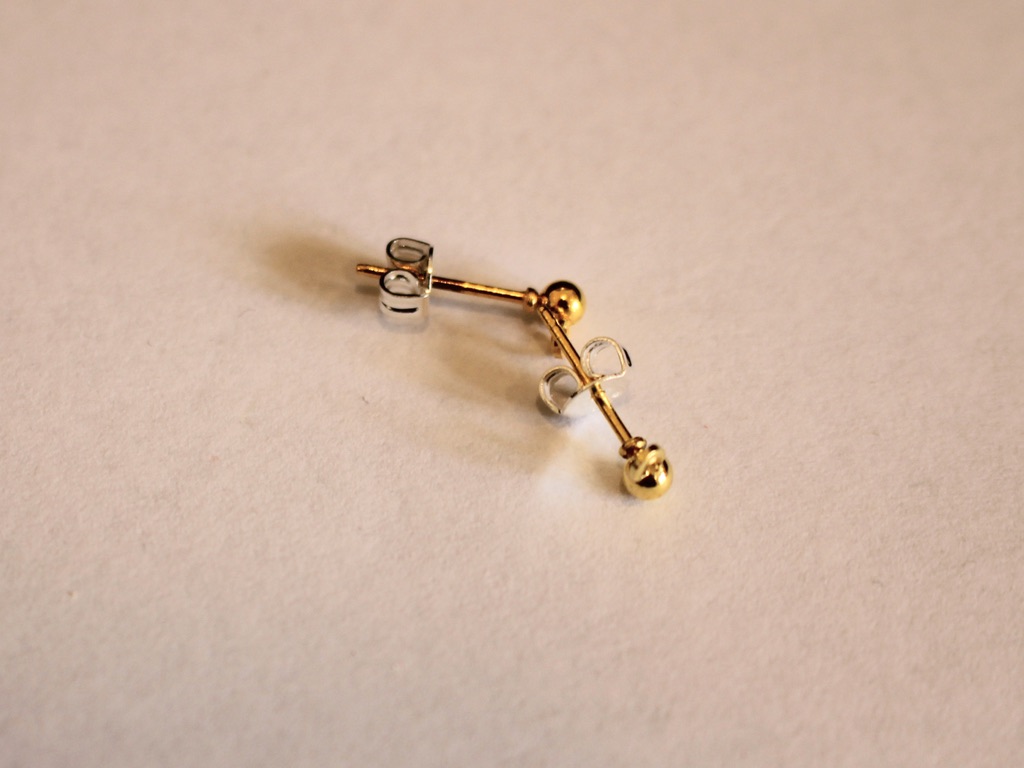
2: Two charm post earrings with butterfly backs.
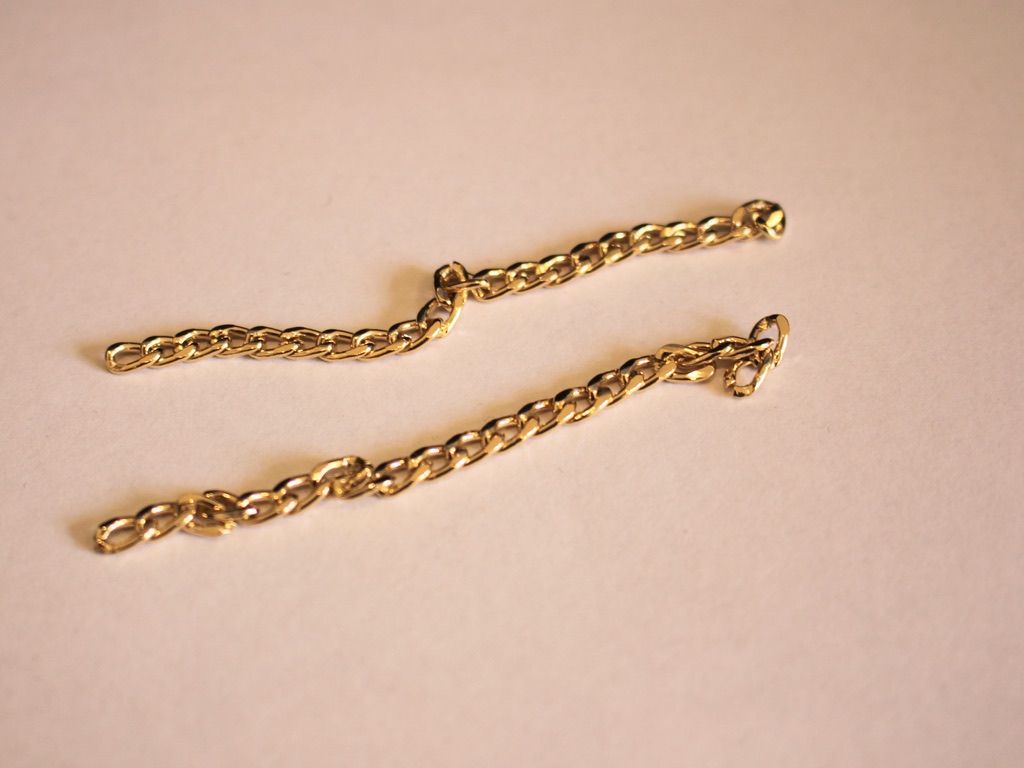
3: Two short pieces of chain, approximately 8cm long.
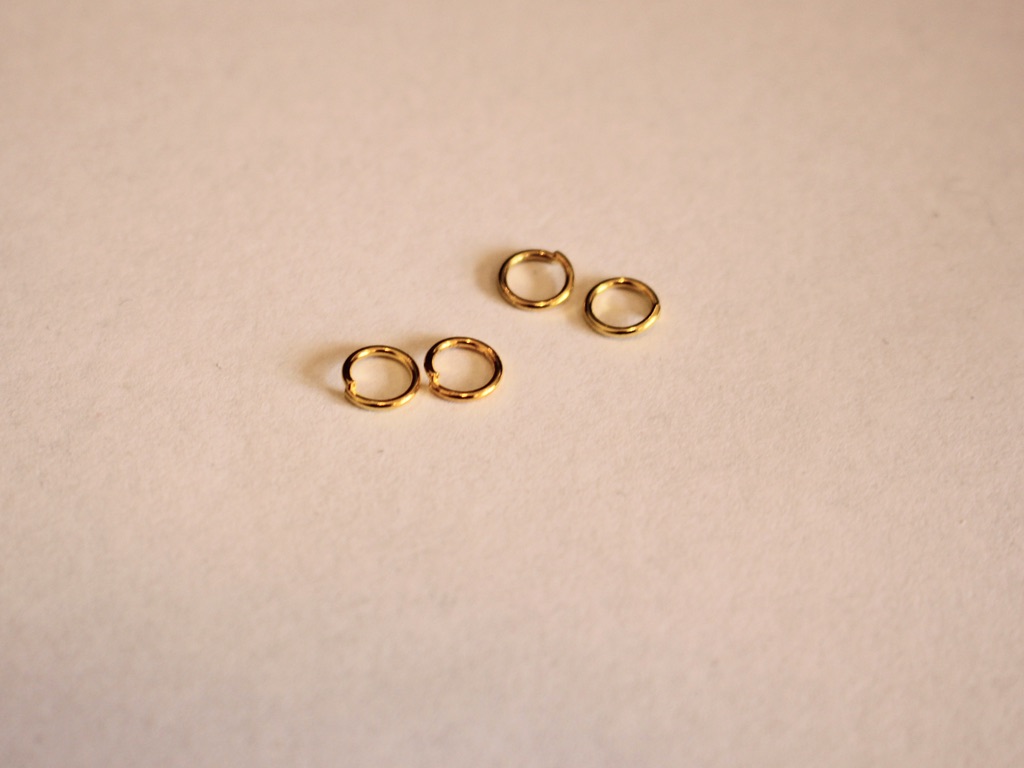
4: Four jump rings.
Follow these steps to make your chain loop earrings
1: Open one of the jump rings and slide it through the charm loop on one of the earrings.

2: Attach one end of a chain to the open jump ring.

3: Close the jump ring to secure the chain onto the earring.

4: Add another jump ring to the other end of the chain.
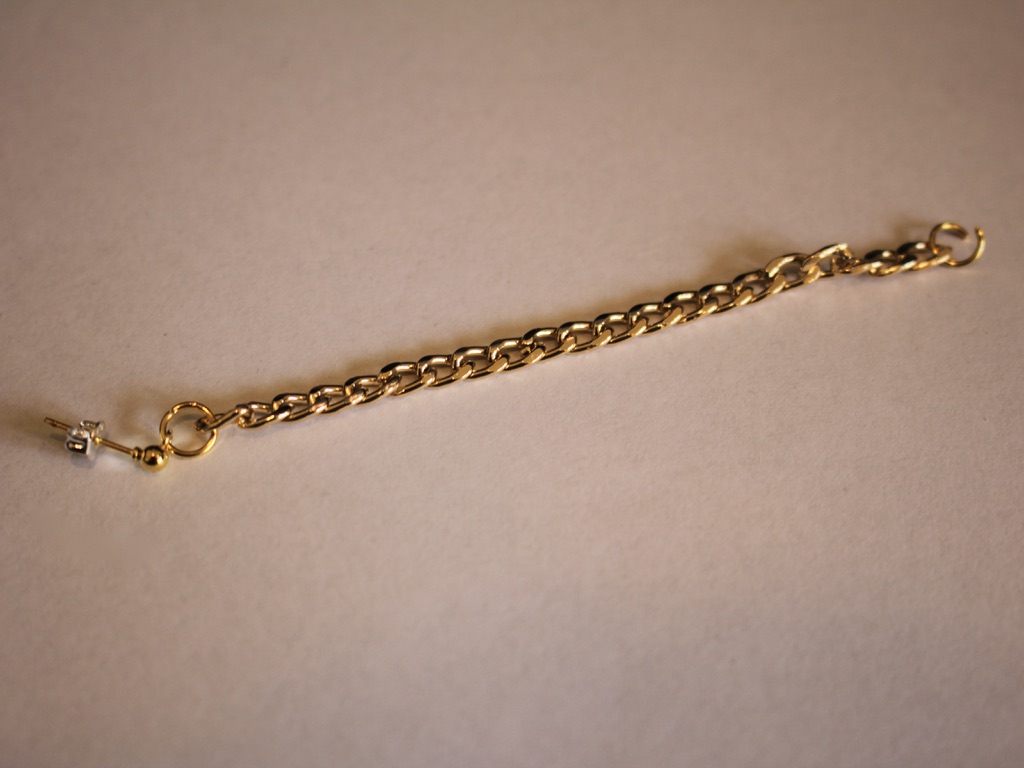
5: Secure the other end of the chain to the butterfly clasp by sliding the jump ring through and closing it using your pliers.

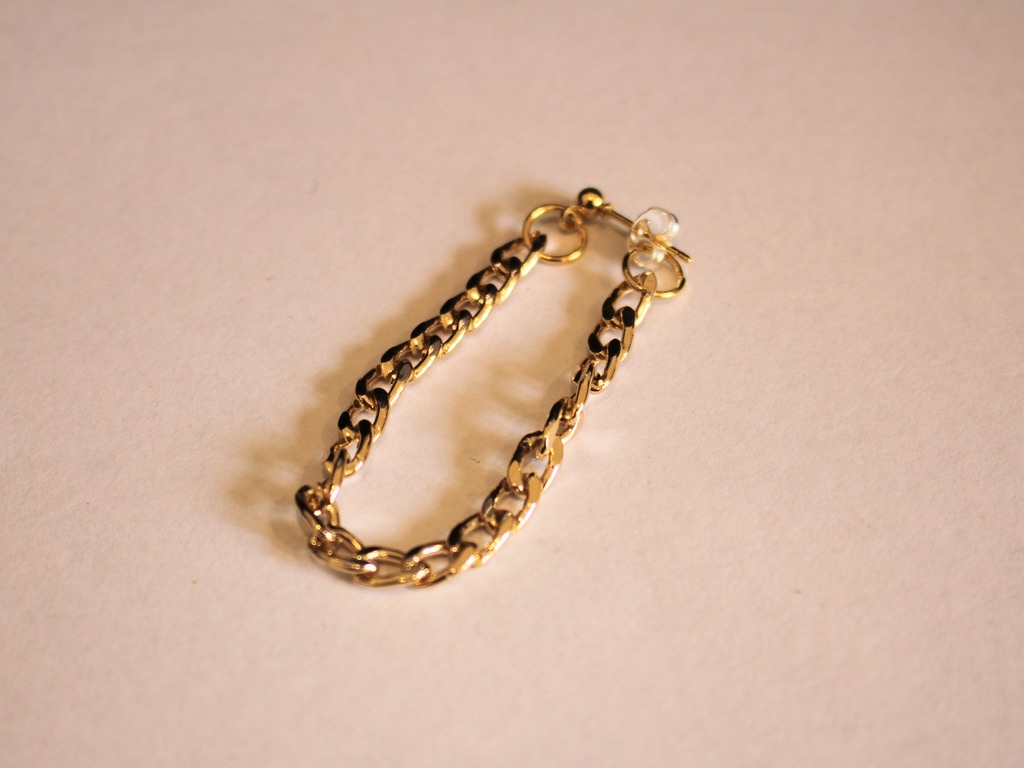
6: Repeat steps 1-5 for the second earring.


Now you can wear them (or give them to someone special)! 😉

Here are some other chain loop earring tutorials:
-
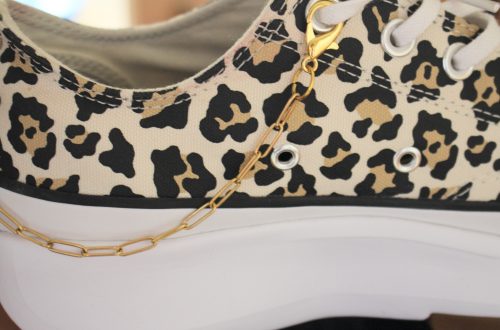
How to make a three strand chain anklet. Super cute and simple!
This cute anklet is made from three different kinds of chain for a textured look. Combine your fave types of chain to create your own custom look. This tutorial contains affiliate links.
You’ll need the following materials to make your three chain anklet:
1: Pliers. I used my flat nose pliers and round nose pliers.
2: Three lengths of chain that are long enough to fit comfortably around your ankle. I used chunky gold tone curb chain, copper tone rolo chain and antique gold tone curb chain.


3: Two large jump rings.

4: A lobster clasp.

Follow these steps to make your three chain anklet:
1: Open one of the jump rings.
2: Add each of the chains to the open jump ring.
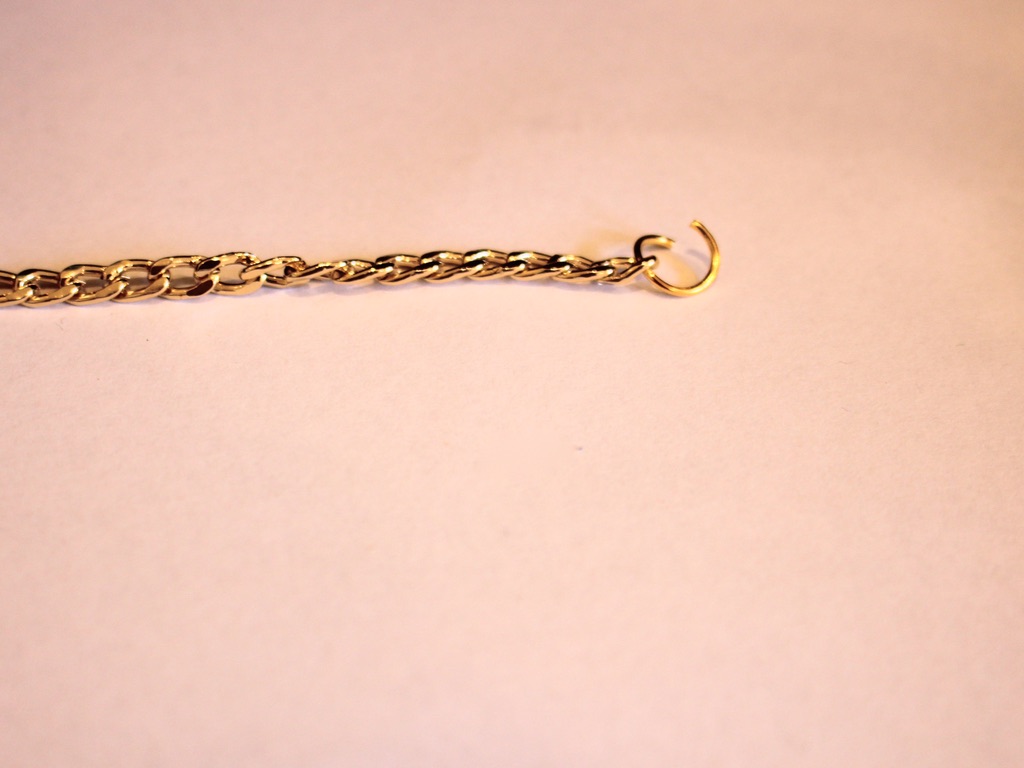

3: Close the jump rings to secure the chains together.


4: Open the other jump ring and put the other end of each chain onto the jump ring in the same order as the other end.
5: add the lobster clasp to the second jump ring before closing it.
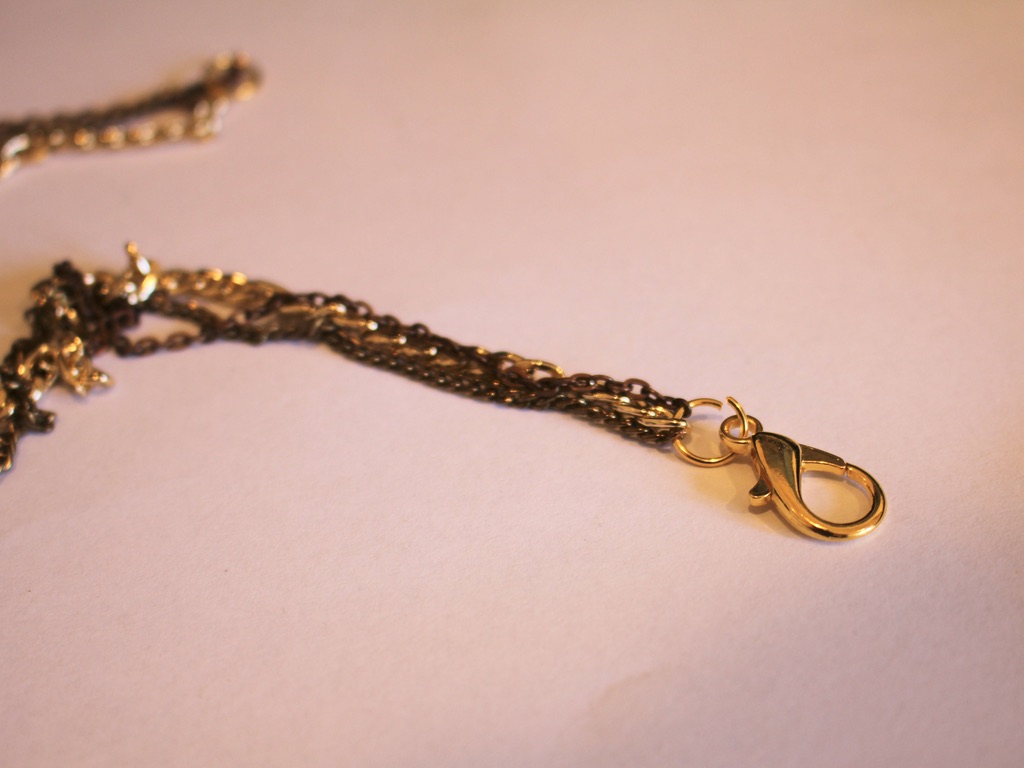
Now your anklet is finished and ready to put on! Throw one together before your next social distanced hang.