-
Flowers are so pretty! Here’s how to make a beaded flower choker…
I’ve already shown you how to make a cute daisy chain necklace, but here’s a way to add a bit of edge to your floral bead designs… a daisy chain choker necklace! This tutorial gives you all the steps to follow to make a beaded choker necklace using glass seed beads and tiger tail wire. Please note that this tutorial contains affiliate links.
You’ll need these tools and materials to make your beaded flower choker:
1: Pliers. I used my cutting, round nose and flat nose pliers.

2: Tiger tail wire, because of the looping to create the flowers, you need a bit extra than the intended length. I cut about 1.5m of wire and had some leftover that I will use in another design.
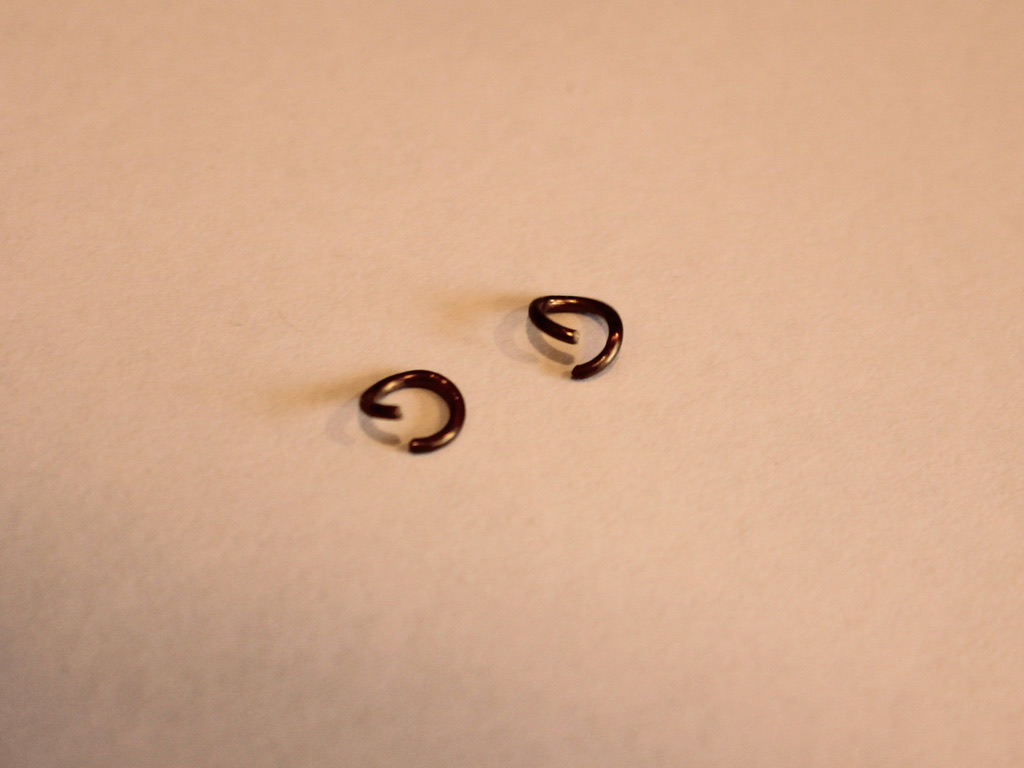
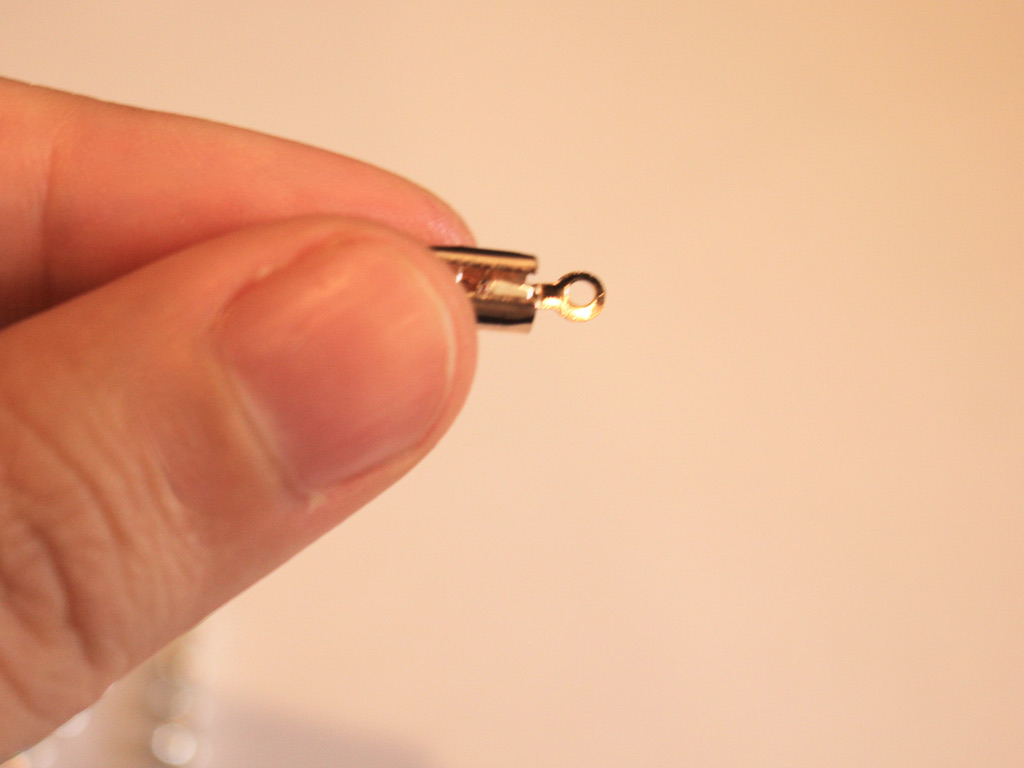
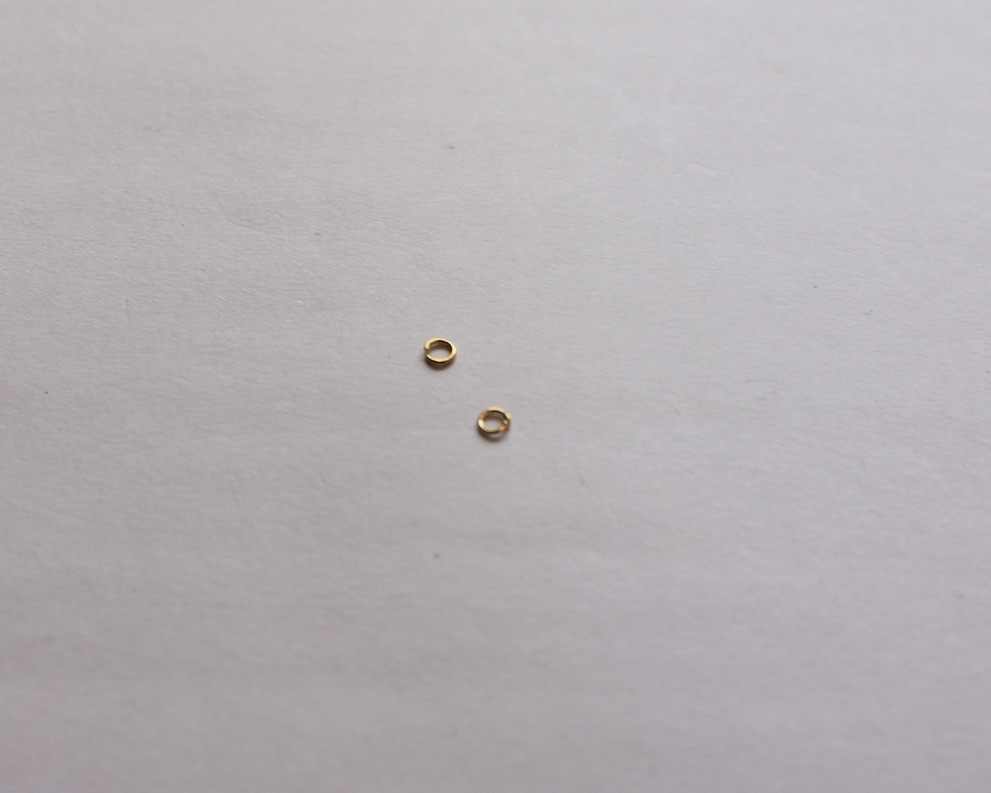
3: A clasp and jump ring.

4: Crimp beads.

5: Beads. I used some recycled red seed beads for the flowers and some green and purple seed beads for the rest of the choker.


Green seed beads:
Purple seed beads:
Follow these steps to make your cute flower choker necklace:
1: Add two crimps to the end of the wire.

2: Add the clasp to the wire and fold it around and back through the crimps.

3: Squash the crimp beads using the flat nose pliers.


4: Add the green beads to the wire. I added 10 beads but you can add more or less depending on the pattern you want to make.

5: Add 6 red beads (or whatever colour you chose for your flowers) to the wire.

6: Take the end of the wire and thread it through the first red bead.

7: Pull the wire tight to create a circle shape with the beads. Make sure you shift the beads down as you tighten the wire so that the circle sits closely to the green beads.

8: Add a single bead to the wire in your third colour, this will be the middle of the bead.
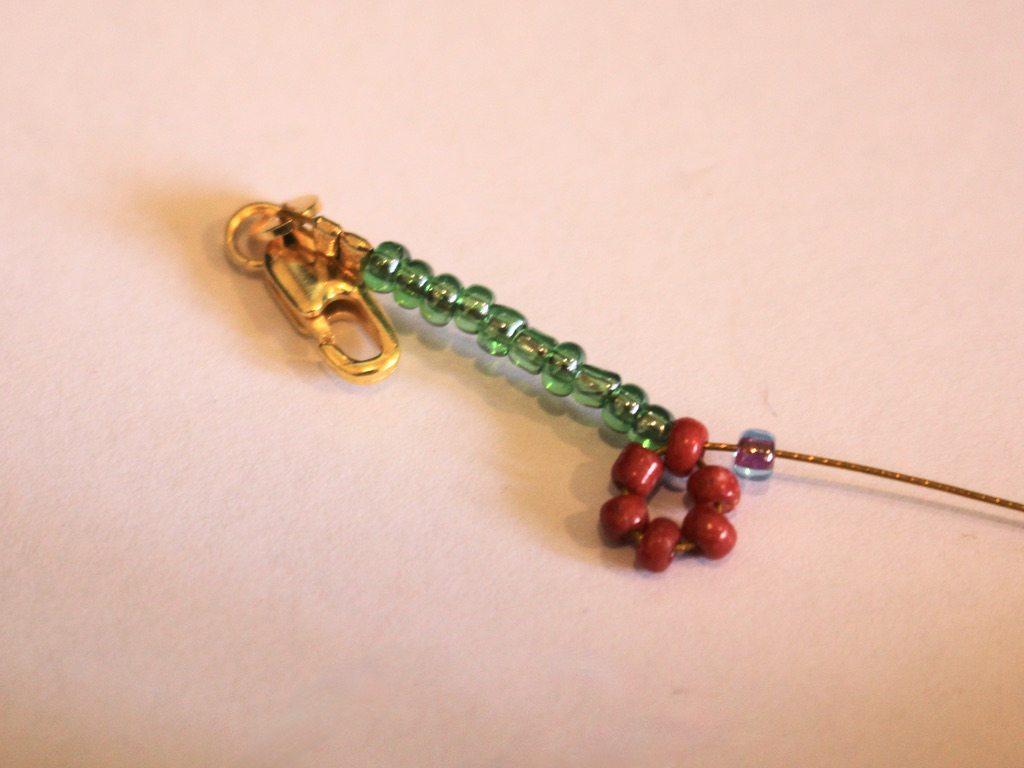
9: Place the bead in the middle of the flower and then thread the end of the wire through one of the flower beads to secure the middle bead in place. Now you have your first flower.

10: Repeat steps 4 to 9 until you have a length that fits closely around your neck to make a choker.


11: Add the second set of crimp beads and a jump ring to the wire.

12: Loop the wire around the jump ring and back through the crimps and the beads at the end of the necklace, pulling the wire tight.

13: Squash the crimps using the flat nose pliers.

14: Trim the excess wire.

Now your floral choker is finished and ready to wear! How cute! What colours will you use in yours?
Here’s what it looks like on!

Here are some other beaded flower tutorials you can try:
-
Here’s how you can transform some rhinestone trim into a necklace chain!
Here’s a fun tutorial, perfect for a fun costume night out! In this tutorial I’ll show you how to transform some rhinestone trim into a unique chain to hang bold pendants on. Please note that this tutorial contains affiliate links.
You’ll need these tools and materials to make your rhinestone necklace chain:
1: A piece of rhinestone trim, cut to your preferred necklace length.

2: Two crimp ends.

3: Two jump rings.
4: One lobster claw clasp.

5: A pendant. I used this weird one that I made from clay, plastic rhinestones, wire, paint and resin (I know… it looks really weird!)

6: Pliers. I used my cutting pliers to cut the rhinestones to length and my flat nose pliers to secure the crimps closed. You can also keep your round nose pliers handy as an extra tool for opening and closing your jump rings.
Follow these steps to make this rhinestone necklace chain:
1: Place one of the crimps over the end of the rhinestone strand.
2: Squash one side of the crimp around the rhinestone strand using your flat nose pliers.

3: Squash the other side of the crimp using the pliers, so it fits closely around the rhinestones and doesn’t move when you pull it.


4: Repeat steps 1-3 for the other end of the necklace.

5: If your pendant has a small bail (the loop at the top of the pendant), you can add it to the chain now.
6: Take one of the jump rings and add it to one side of the necklace, looping it through the end of the crimp.

7: Add the clasp to the open jump ring and close it to secure the clasp to the necklace.


8: Add the remaining jump ring to the other end of the necklace and close it.


Now your sparkly costume necklace is ready to wear! What funky pendant will you put on yours?


If you like this tutorial, here are some more sparkly rhinestone tutorials for you to try…
-
Here’s a cool way to use glass charms in your jewelry, a simple pendant necklace!
This pendant necklace features a cute glass bell pepper charm! This might be a perfect DIY gift for a vege lover or a way to tell people about your fave food! I really like this piece because it is simple but also really pretty and great for layering with other necklaces. Please note that this tutorial contains affiliate links.
You’ll need these tools and materials to make your pendant necklace:
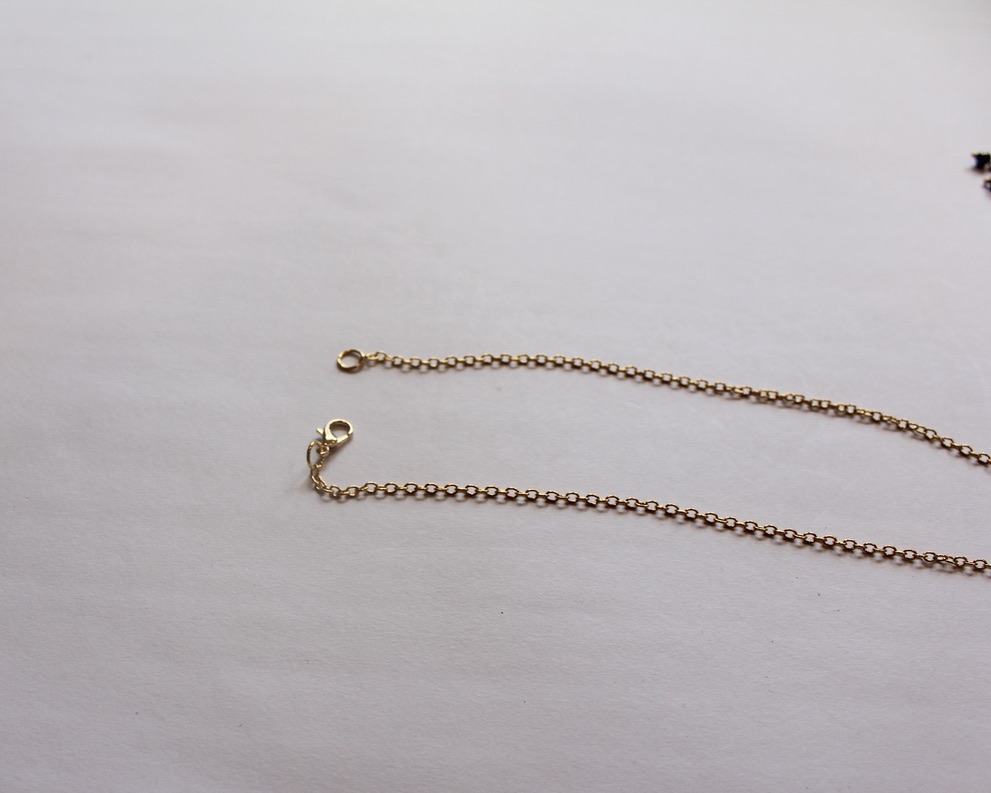
1: A chain long enough to fit your neck. You can make yours longer or shorter depending on your preference.
2: A couple of small jump rings.

3: A lobster clasp.

4: A glass fruit or vegetable charm, I used this red bell pepper charm.

5: Your pliers. You’ll need your round nose and flat nose pliers.


Follow these steps to make your own cute glass charm pendant necklace:
1: Add the charm to the chain.

2: Add a jump ring to one end of the chain. Add a lobster clasp to the open jump ring. Close the jump ring with the pliers to secure the clasp in place.


3: Add the other jump ring to the other side of the necklace, close it using the pliers.


Now your super cute glass bell pepper pendant necklace is finished and ready to wear!


Here are some other ways to use glass charms in your jewelry creations:
-
Here’s how to make an adorable lariat with mini heart beads.
This necklace is so so cute! It features a lariat design with three cute yellow glass hearts that dangle at the end. This lariat is so fun and great to layer with other delicate pieces. Please note that this tutorial contains affiliate links.
You’ll need the following tools and materials to make this triple heart lariat:
1: Pliers. I used my flat nose pliers and round nose pliers for this design.
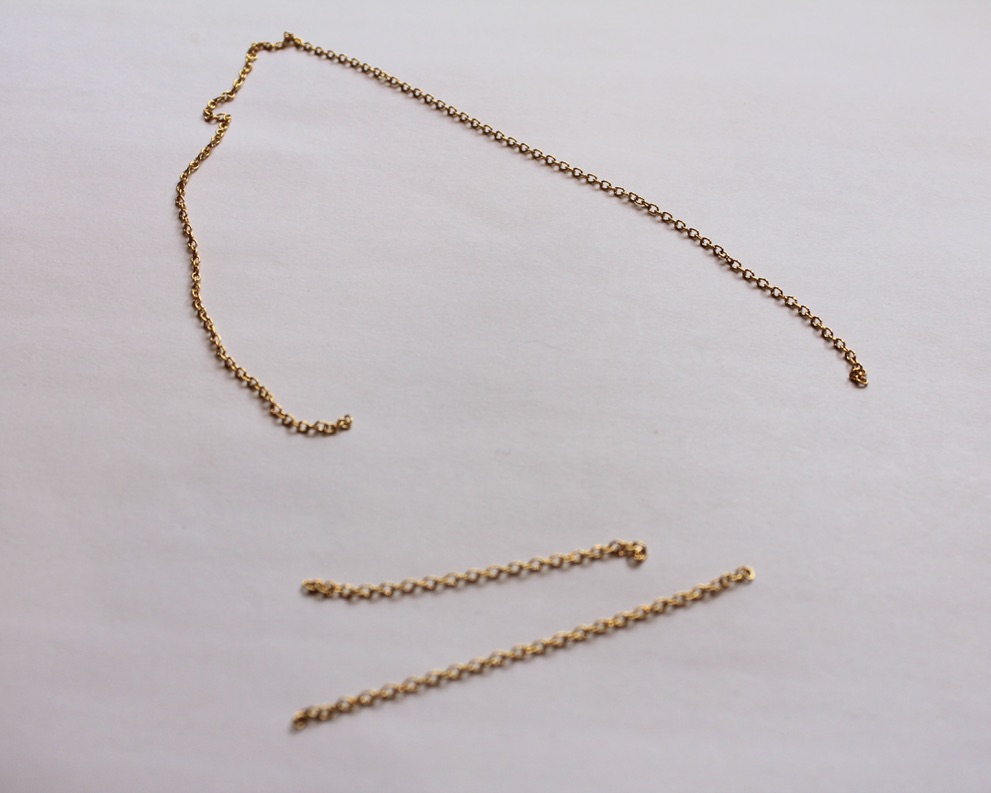
2: Three pieces of chain, two that add up to be long enough to fit around your neck and one small piece around 6cm long. I used this silver rolo chain.


3: Three small jump rings.

4: A lobster clasp.

5: Three small glass heart beads. I used these yellow floral glass beads.

6: Two eye pins.

7: One head pin.

Follow these steps to make your love heart lariat:
1: Add one of the jump rings to one side of one of the long pieces of chain.

2: Add the lobster clasp to this jump ring.

3: Close the jump ring to secure the clasp in place.

4: Add another jump ring to the second long piece of chain. Close it to secure it onto the chain.

5: Clip the two pieces of chain together.

6: Join the other ends of the necklace using the last jump ring and slide on the smaller chain before closing the jump rings.


7: Set the lariat aside.
8: Add a bead to each of the eye pins and the head pin.

9: Bend each pin to form a right angle and then curl the top into a loop using the round nose pliers.


10: Attach the three charms together to form a chain.


11: Attach the three hearts to the bottom of the lariat chain, close the top loop to secure the beads in place.

Now your triple love heart lariat is finished and ready to wear! So cute and fun!


Here are some other lariat necklace tutorials you can follow, we’ve got a few designs you can make:
- A bead chain lariat.
- A chain lariat that uses a double hole bead as a feature.
- A bead strand necklace with a chain lariat feature.
- A chunky curb chain lariat.
- A lariat with a beaded circle detail.
- A beaded triangle detail lariat.
- A clip on charm that turns any necklace into a lariat.
- A cute pearl lariat.
- A leather wrap lariat.
- A chunky chain belt that can also double as a lariat necklace.
-
Need a new necklace? Look no further than this tutorial!
Here’s a new necklace you can make and customise to your liking. It uses memory wire and chain to make a layered effect for extra visual interest.
Here’s what you need to make this necklace:
1: Pliers. I used my cutting pliers, round nose pliers and flat nose pliers.
2: Two half circle pieces of necklace length memory wire.

3: Two pieces of chain that, when measured together, are long enough to fit around your neck.

4: Six jump rings.

5: A lobster clasp.

6: Beads. I used yellow glass beads.

Follow these steps to make your necklace:
1: Curl one end of one of the pieces of memory wire using the round nose pliers to form a loop.


2: Add beads to the wire until there is approximately 1cm left unbeaded.


3: Curl the other end of the wire using the round nose pliers again to secure the beads in place.

4: Repeat steps 1 to 3 for the second piece of memory wire.

5: Attach the two pieces of memory wire together using two of the jump rings.


6: Attach one of the pieces of chain to one side of the memory wire arches using another of the jump rings.

7: Repeat step six for the other side of the necklace attaching the second piece of chain.

8: Attach the lobster clasp to one side of the necklace using one of the remaining two jump rings.

9: Attach the last jump ring to the other side of the necklace to finish it off.

Now your new necklace is ready to wear!


-
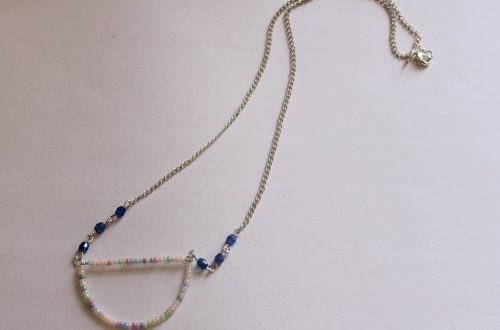
Half and Half for the best of both worlds? Here’s how to make a half bead half chain necklace!
This necklace is really cool! It is made using different materials for a half-half look. One side of the necklace is made with delicate chain while the other half features a rainbow of glass seed beads.
The Materials
You’ll need the following tools and materials to make your half and half necklace:
1: Pliers. I used my cutting pliers, round nose pliers and flat nose pliers.
2: A piece of tiger-tail wire.

3: Four crimp beads.

4: Three jump rings.

5: A lobster clasp.

6: Some chain. I used gold-tone rolo chain.

7: Beads. I used some mixed glass seed beads in different colors.

The steps
Follow these steps to make your half and half necklace:
1: Add two of the crimp beads and a jump ring to one end of the wire.

2: Fold the short end of the wire around it and back through the crimp beads.

3: Squash the crimp beads using the flat nose pliers.

4: Add beads and continue beading until you have a beaded section that is around half the length you want your necklace. I checked my length by measuring it against my neck, holding the secured end at the back of my neck and wrapping it loosely around the font of my neck.


5: Add two more crimp beads to the wire and a second jump ring.

6: Bend the wire around the jump ring and pull it tightly back through the crimps and a few of the beads.

7: Squash the crimp beads using the flat nose pliers again.

8: Trim the excess tiger tail wire using the cutting pliers.

9: Open a jump ring on one side of the beaded strand and attach one end of the chain.

10: Measure the chain so that it is the same length as the beaded strand and trim it.

11. Add the remaining jump ring to the other end of the chain, using it to secure the lobster clasp in place.

Now your half and half necklace is finished!


You can even add a charm to the middle to add some extra interest. I added this yellow clay and resin charm to mine.


This tutorial contains affiliate links.
-
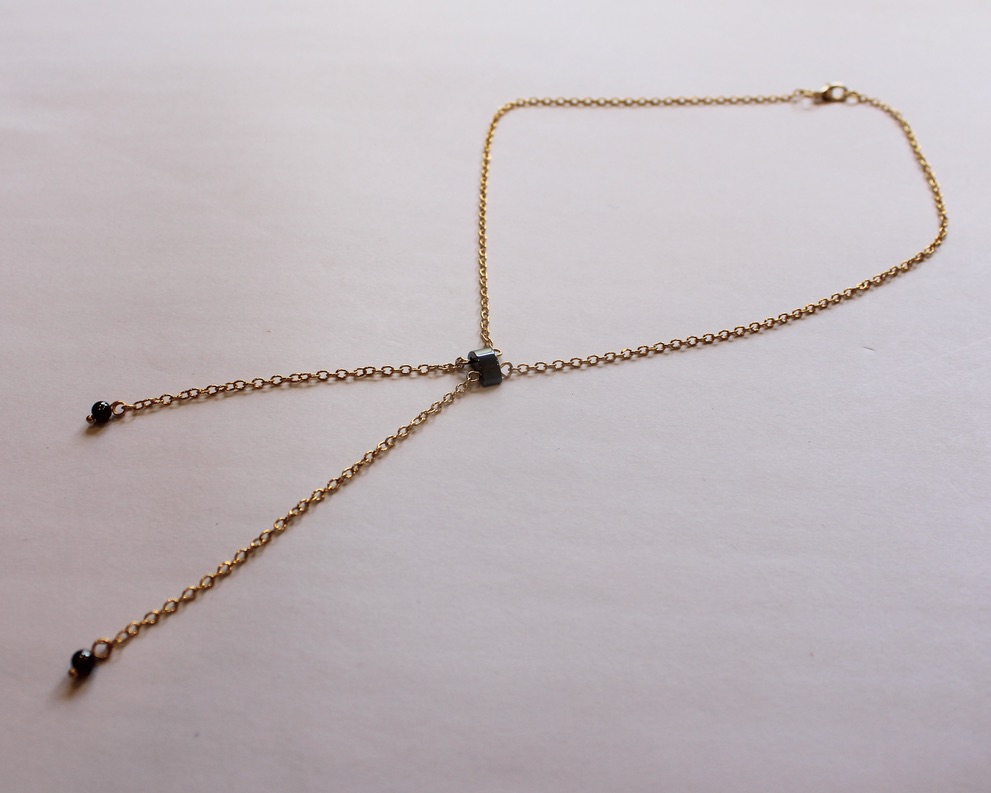
I am super into lariat necklaces right now, here’s another way to make one with a double-hole bead.
Lariat necklaces are so elegant and cool. I really like how they look with a low cut top that hints at cleavage! We already have a few lariat tutorials on the site, but this is one that has a bit of a twist. All the materials and steps are listed below! This tutorial contains affiliate links.
You’ll need these materials and tools to make your lariat:
1: A bead with two holes. I used this hematite bead recycled from a bracelet I had as a kid.

2: Two accent beads. I used these round hematite beads.

3: Chain. I used some gold-tone rolo chain.

4: Two head pins.

5: Two short eye pins.

6: Two large jump rings.

7: Two small jump rings.
8: A lobster clasp.

9: Pliers. I used my flat nose and round nose pliers to make this lariat necklace.
Now here are all the steps you can follow to make your new lariat necklace:
1: Add one of the eye pins to one of the holes in the two-hole bead.

2: Bend the bead to form an angle.

3: Create a loop on the pin using the round nose pliers to secure the bead on the pin.

4: Repeat steps 1-3 for the second eye pin in the second bead hole.


5: Add each of the accent beads to the head pins.

6: Use the round nose pliers to loop the tops of the head pins.


7: Section out three pieces of chain, one long enough to fit around your neck and two shorter pieces, the shorter pieces will form the centre part of the lariat. I made one longer than the other.
8: Attach one of the short chains to one side of the two hole bead charm.

9: Attach the other chain to the other side of the charm.

10: Attach the long chain to the top of the two hole bead charm.


11: Split the necklace chain in half.

12: Attach the larger jump rings and the lobster clasp to the middle of the split necklace chain.


13: Add the accent bead charms to the end of each short chain using the small jump rings to finish the lariat off.


Now your cool new lariat is ready to wear!
I suggest trying to make this necklace using materials you already have. If you don’t have the right pieces lying around this tutorial contains affiliate links so that you can buy them.
If you love a lariat too, here are some other ways you can make them:
- A bead and chain lariat
- This lariat is made with chunky gold-tone chain
- A lariat with two beaded circle charms
- Triangle charm lariat
- This chain charm that lets you transform any necklace into a lariat
- Make this chain belt that can also be worn as a lariat necklace
- How cool, this long leather strand can be worn as a lariat
- Our original lariat tutorial, a cute pearl lariat
-
How to make a double-strand knot necklace.
This one didn’t really turn out how I had anticipated, but I thought I would share it with you anyway. I had more success making two beaded strands to knot together compared to this design that knots together a beaded strand with a chunky chain. If you don’t want the chain just make one bead strand and knot it loosely in the middle for a cool knot necklace look! This tutorial contains affiliate links.
You’ll need the following tools and materials to make your double-strand knot necklace:
1: Tiger tail wire. Make it a little longer than the chain you are using.

2: Four crimp beads.

3: Pliers. I used cutting, flat-nose and round-nose pliers.
4: A length of chunky chain.

5: Two jump rings.
6: A lobster clasp.
7: Beads. I used some blue plastic beads and some green glass beads.


Follow these steps to make your two-strand knot necklace.
1: Add the crimps to one end of the tiger tail wire.

2: Add the jump ring and loop the end of the wire around it and back through the crimp beads.

3: Squash the crimp beads using the flat nose pliers.

4: Begin adding the beads in your chosen pattern.


5: Bead until it is at your desired length.

6: Add the second pair of crimp beads to the wire and repeat steps 2 and 3 to secure the beads onto the strand.


7: Trim the excess wire using the cutting pliers.


8: Add the chain to the bead strand by opening the jump rings at either end of the necklace and adding the ends of the chain.


9: Add a lobster clasp to the necklace.


10: Tie the strands into a loose knot that sits at the centre of the necklace opposite the lobster clasp closure.

Now your necklace is finished and ready to wear! Like I said, the chain looks a bit weird on this one, so you can leave it out if you like. You could also make the double strand necklace and skip the knot!

You can make this necklace with materials you already have, but if you need some new supplies this tutorial contains affiliate links.