-
How to make a sweet fruity necklace with beads and some chain!
This necklace is super duper cute! Add some fruity polymer clay beads to eye pins and chain to create a fun beaded chain necklace perfect for adding some color and summer vibes to your wardrobe. Please note that this tutorial contains affiliate links.
You’ll need these tools and materials to make your fruity necklace:
1: A selection of polymer clay fruit beads.

2: The same number of eye pins.

3: Two pieces of chain slightly shorter than the necklace you want to make (The bead elements will make the necklace longer).

4: Two jump rings.

5: A lobster clasp.

6: Some pliers. I used my round nose and flat nose pliers for this piece.


Follow these steps to make your fruit necklace:
1: Add one of the beads to one of the eye pins.

2: Bend the pin to form an angle with the bead.
3: Loop the end of the pin using the round nose pliers. This will secure the bead onto the pin.


4: Repeat steps 1-3 for the rest of the fruit beads.

5: Attach all the fruit beads on their pins together to form a chain. Do this by slightly opening the loops with your pliers and then closing them again after sliding a charm onto the open loop.

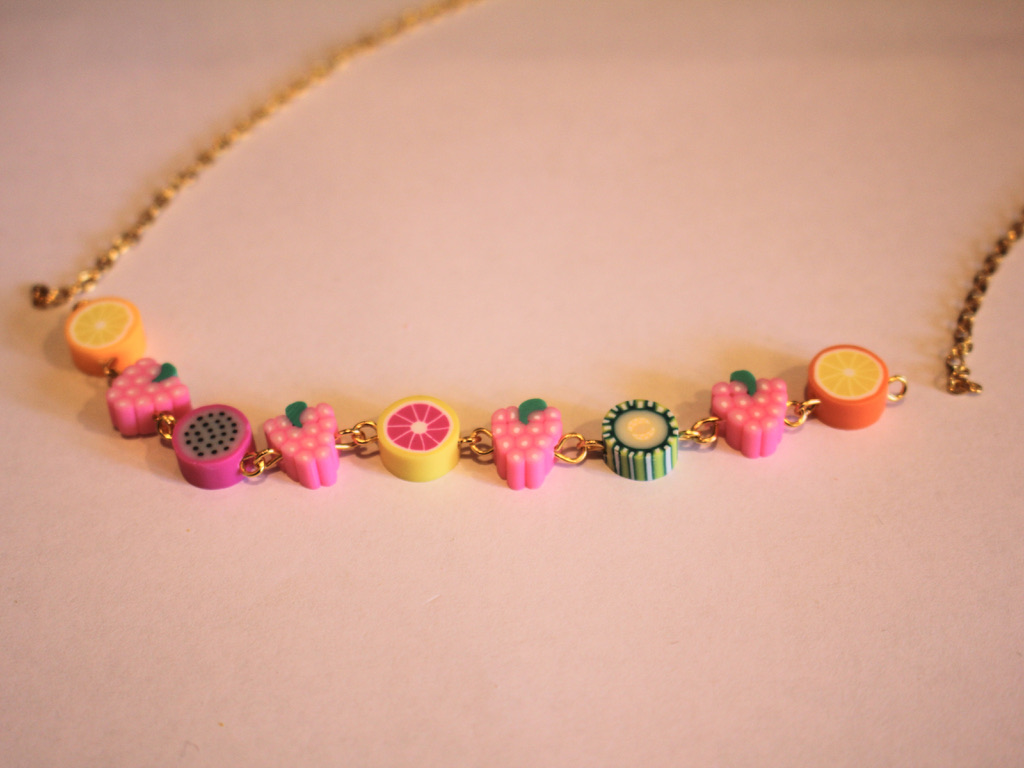
6: Add one side of the chain to one end of the fruit chain you have just made attaching it as you did the fruit links in step 5.


7: Add the other side of the chain to the other side of the fruit section as you did in step 6.

8: Add a jump ring to one end of the chain and add the lobster clasp before closing it.

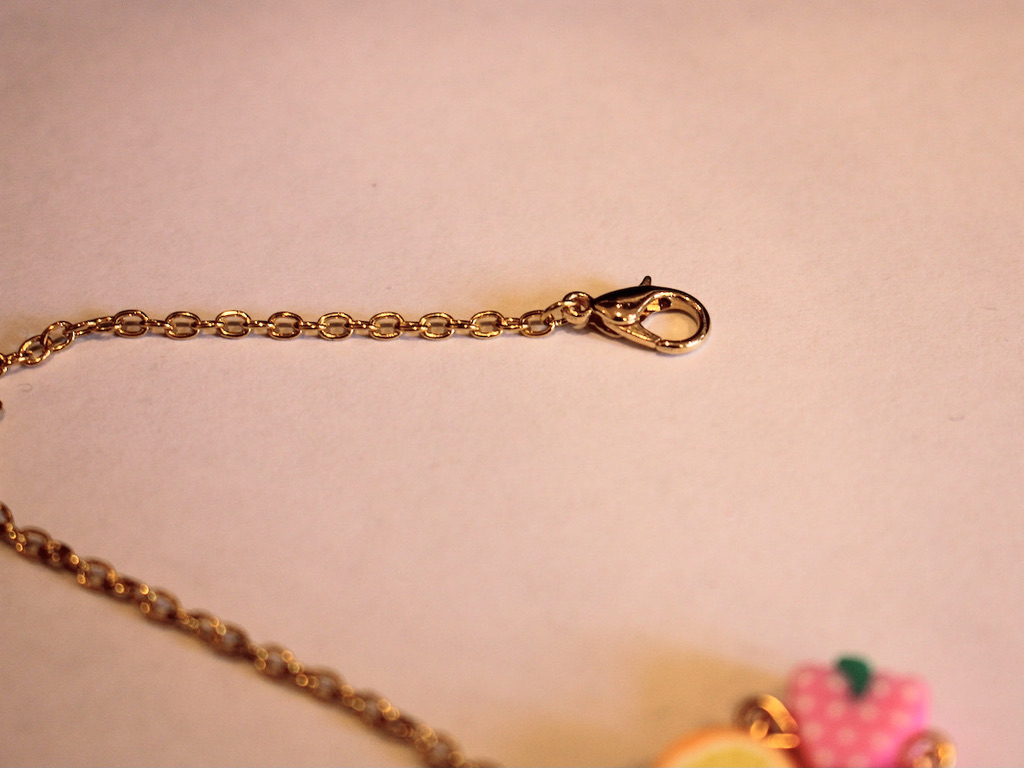
9: Add the other jump ring to the other side of the jump ring to finish it off.

Now your necklace is finished! How perfect and cheerful is this fruity design?!


Here are some other fruity jewelry tutorials you can make if you loved this one:
- A fruit themed waist chain
- Beaded hoops with glass fruit charms
- This perfectly simple apple bracelet
- This cute peachy anklet
- Strawberry dangle charm earrings
- Hot hot hot, a single chilli and pearl earring
- Orange threader earrings
- This yummy bell pepper necklace
- Fruit also features on this mixed bead necklace
- And on this simple strawberry necklace
- This letter bead bracelet has a happy banana on it
-
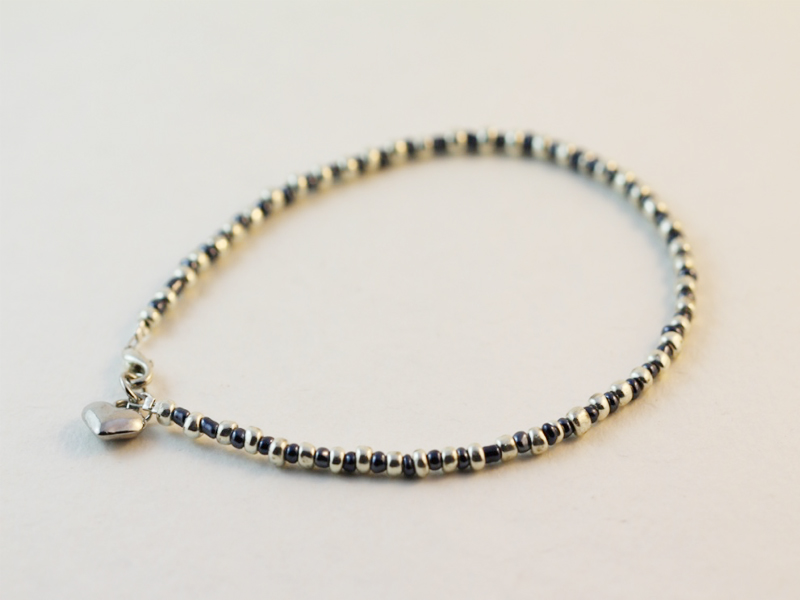
Here’s how to make a super cute bracelet with a little fruit bead on it!
This bracelet is simple but so so cute! It is made from fine chain with an adorable polymer clay apple bead on it. I love this piece because it is delicate but still adorable and quirky. Please note that this tutorial contains affiliate links.
You’ll need the following tools and materials to make your own delicate fruit bead bracelet:
1: Some thin chain. I used this silver-tone thin curb chain cut to the right length to fit my wrist. (I cut it using my cutting pliers).

2: Seven small jump rings.

3: A lobster clasp.

4: A polymer clay apple bead.

5: Pliers. I used my cutting pliers, round nose pliers and flat nose pliers to make my bracelet.

Follow these steps to make your own cute little fruit bead bracelet:
1: Add the bead to the chain.

2: Slide one of the small jump rings through the end of the chain and add the lobster clasp to the end. Close the jump ring using your pliers to secure the lobster clasp in place.


3: Add another small jump ring to the other end of the bracelet.
4: Add another small jump ring to the one you just attached to the chain, you are now forming another chain that makes your bracelet slightly adjustable in size and easier to put on.

5: Continue adding the rest of the jump rings as you did in step 4 until they are all in place.

Now your fruit bead bracelet is finished and ready to wear! So so cute! What fruit will feature on yours?


Here are some other fruity pieces of jewelry you can make:
-
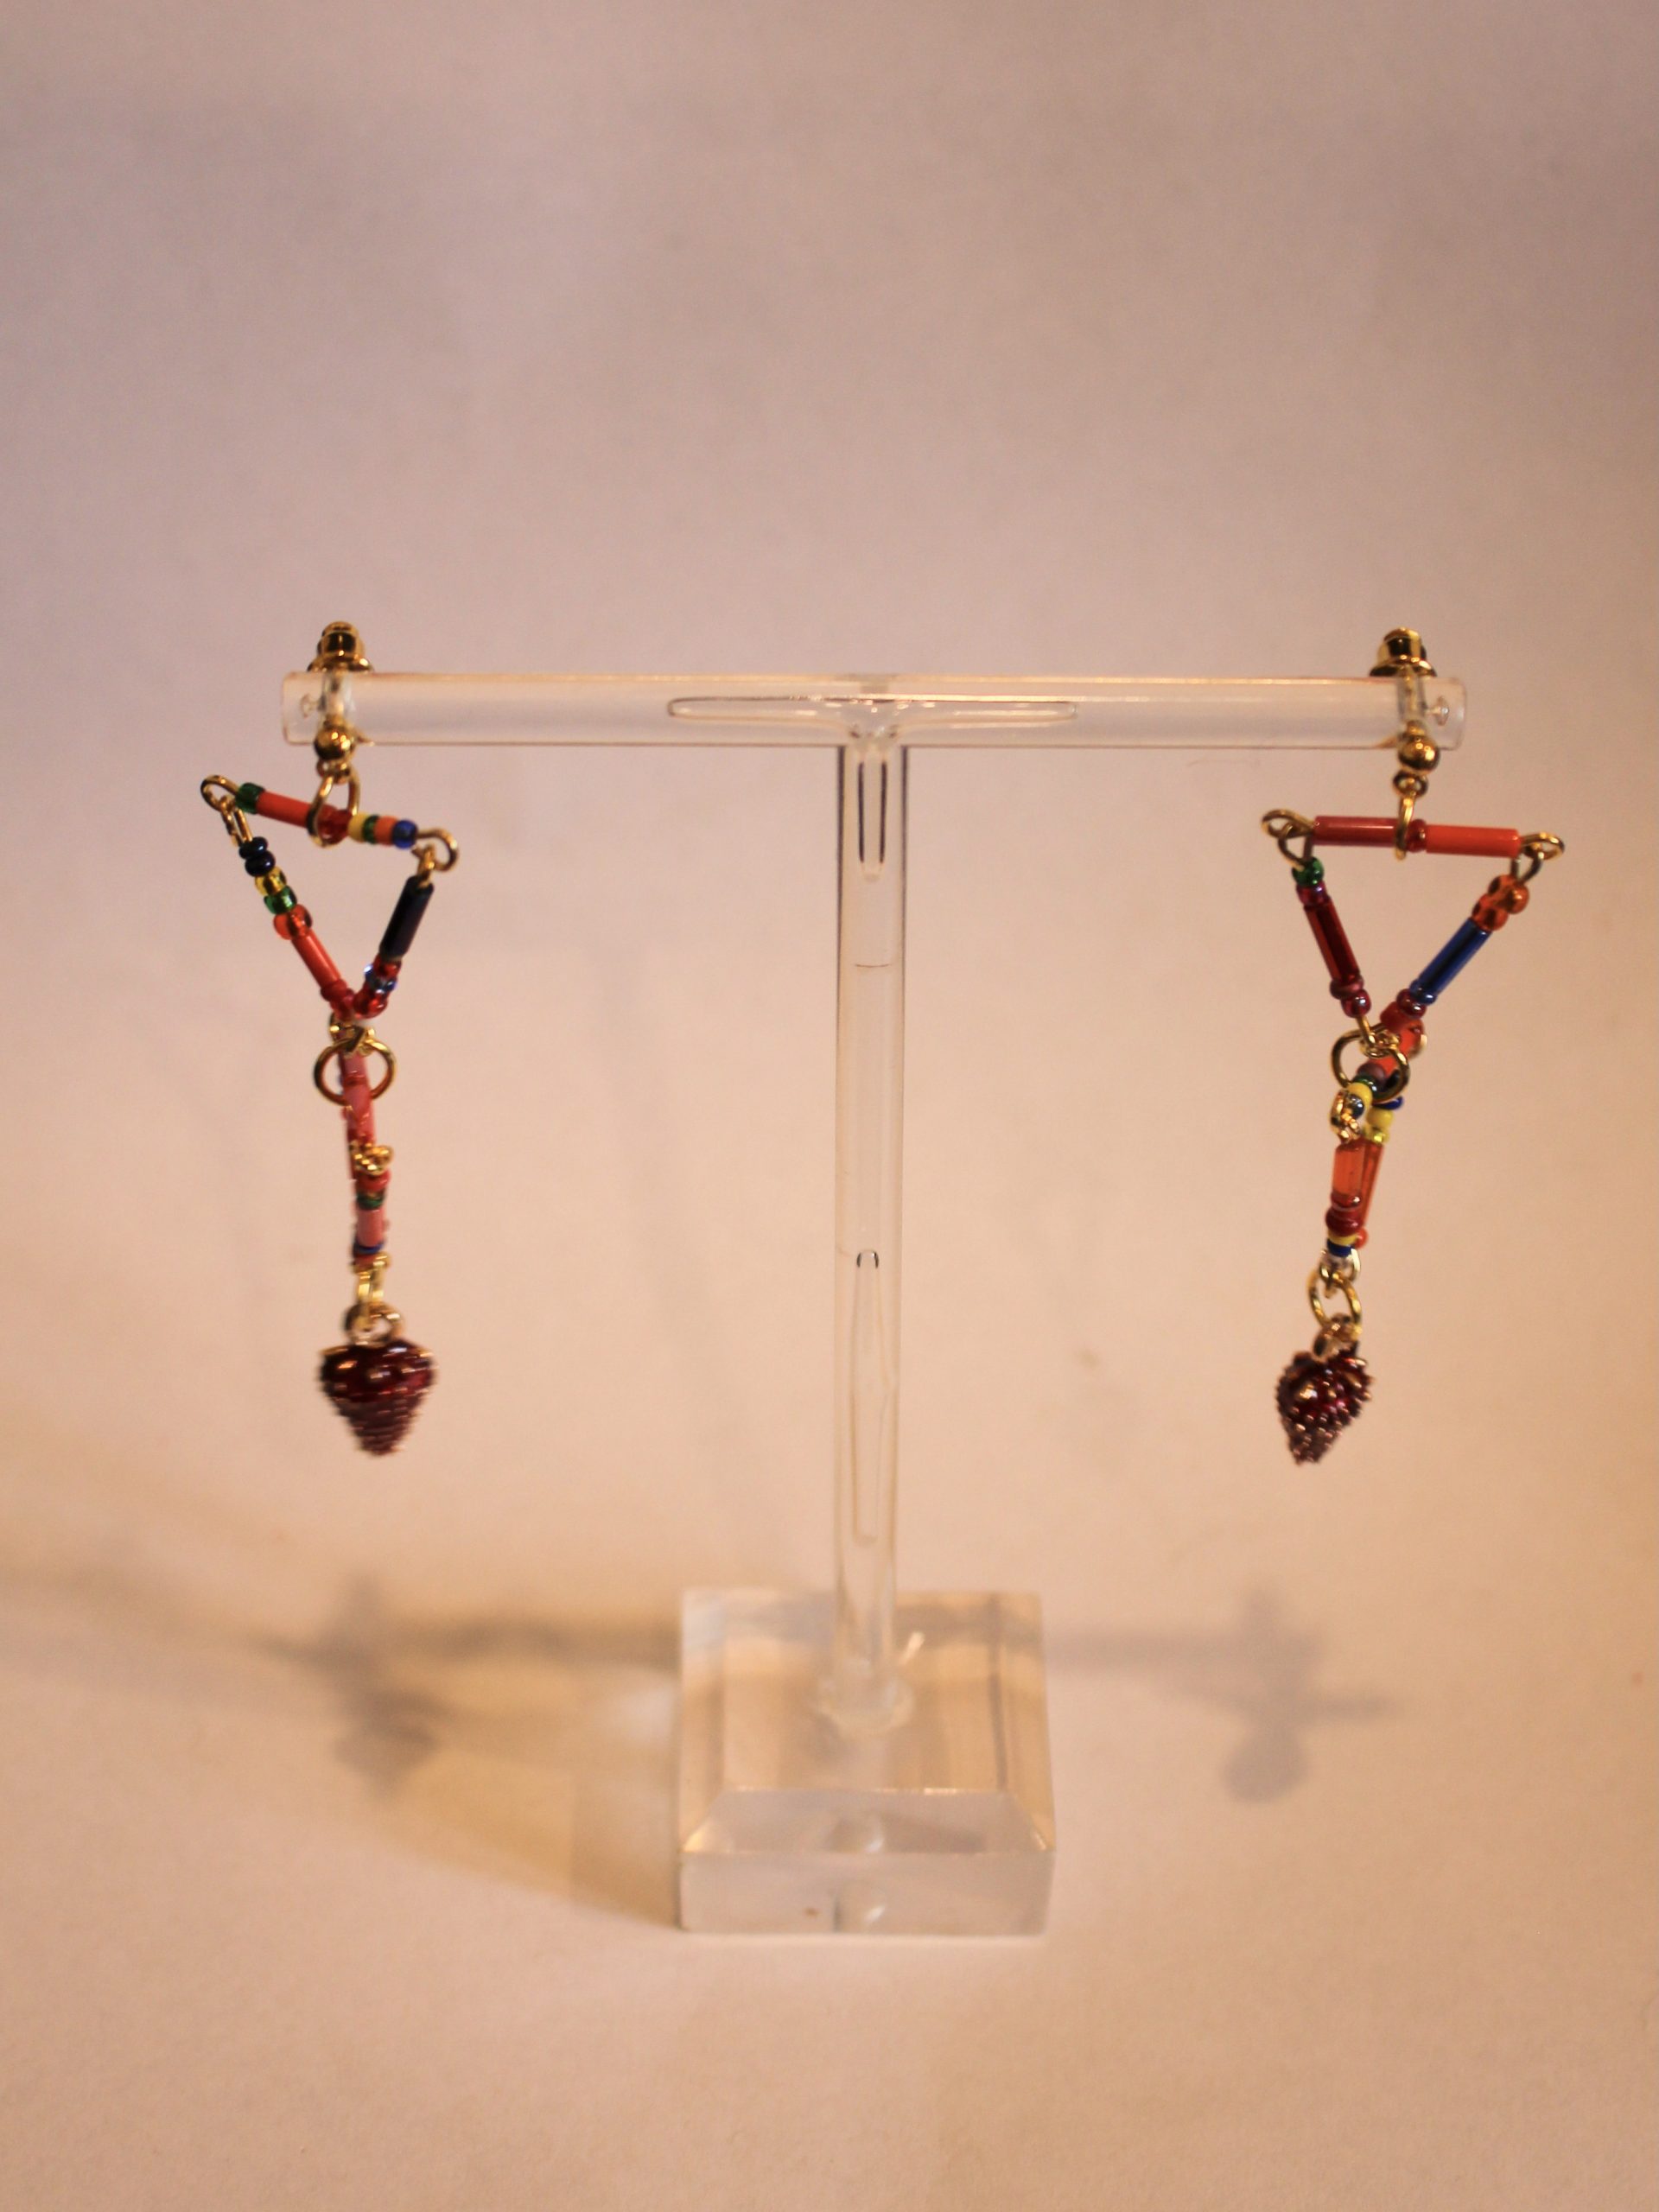
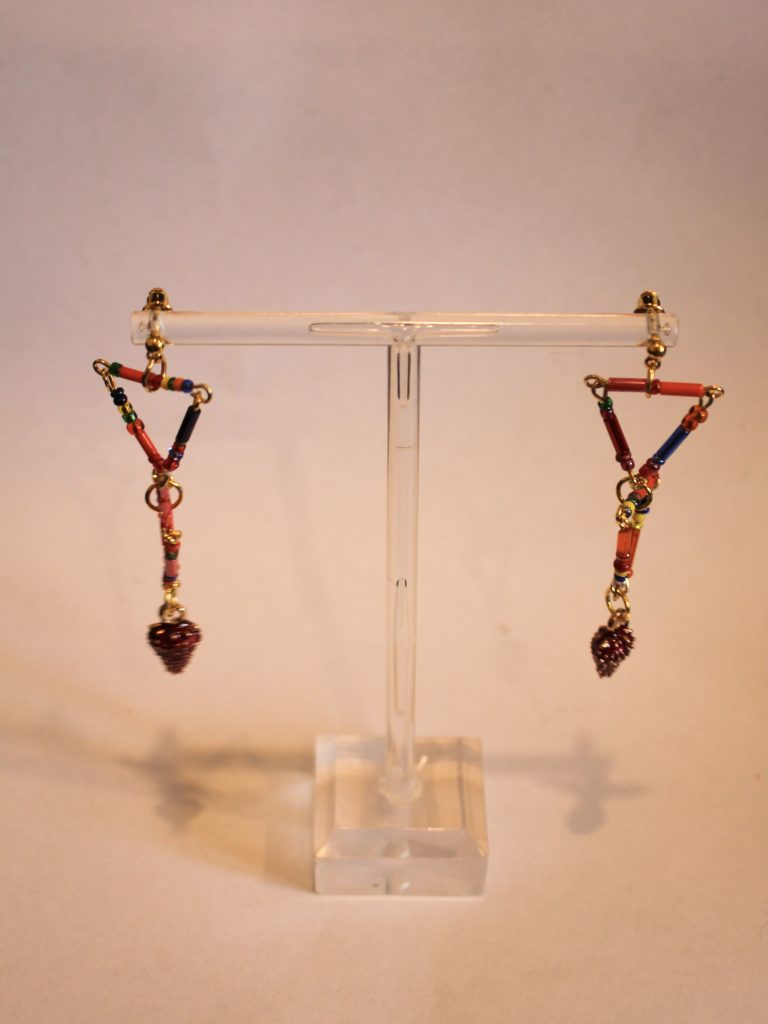
How to make some dangly triangle earrings with cute strawberry charms!
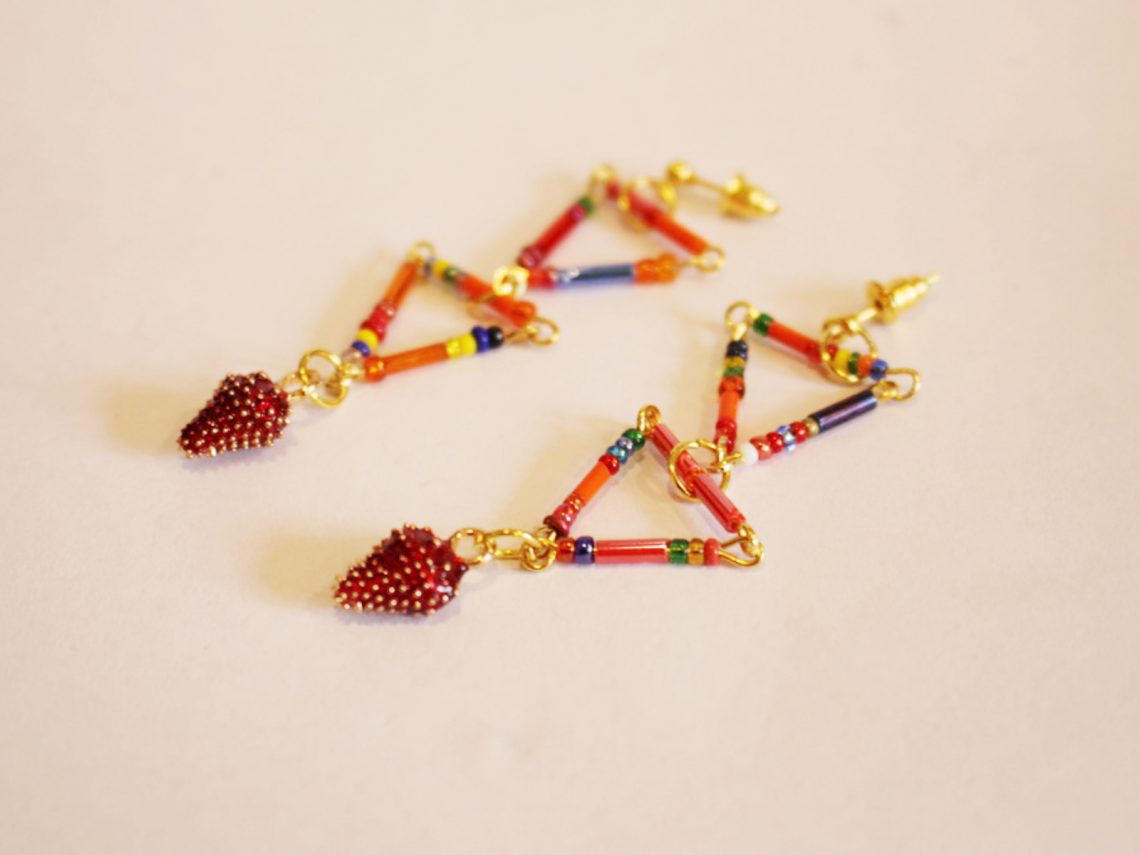
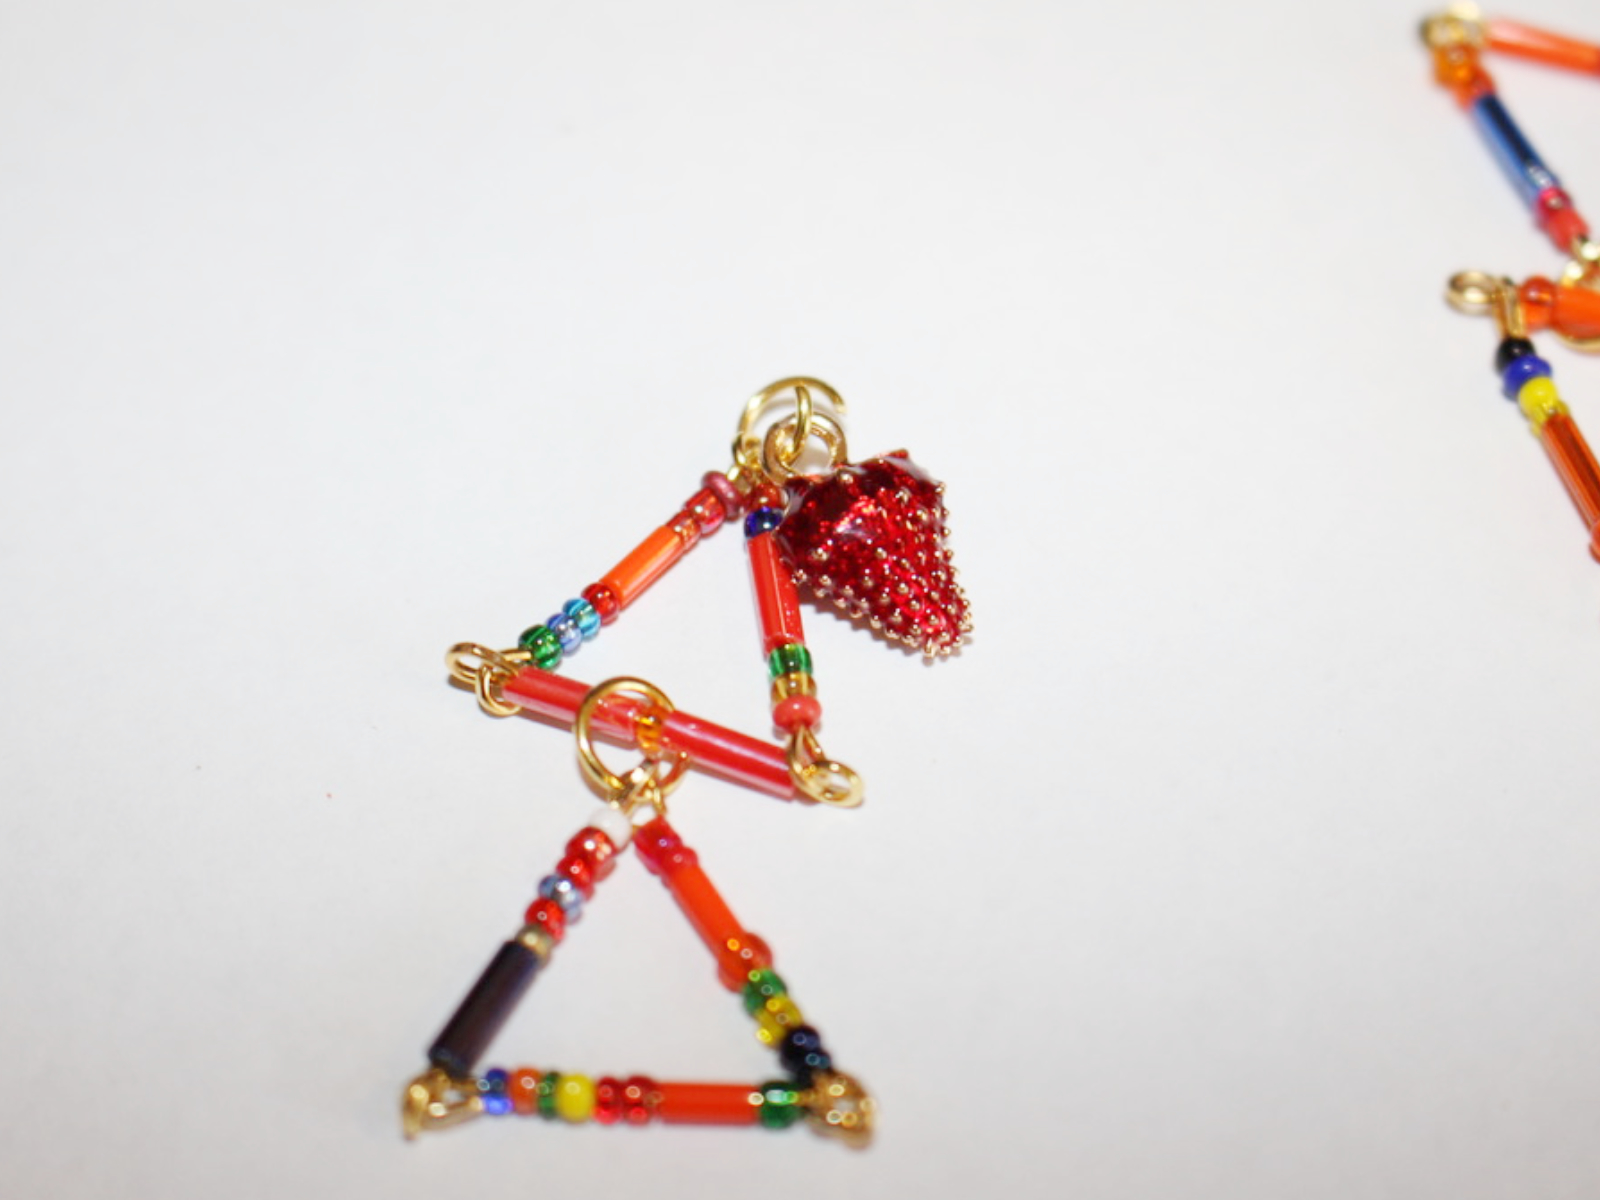
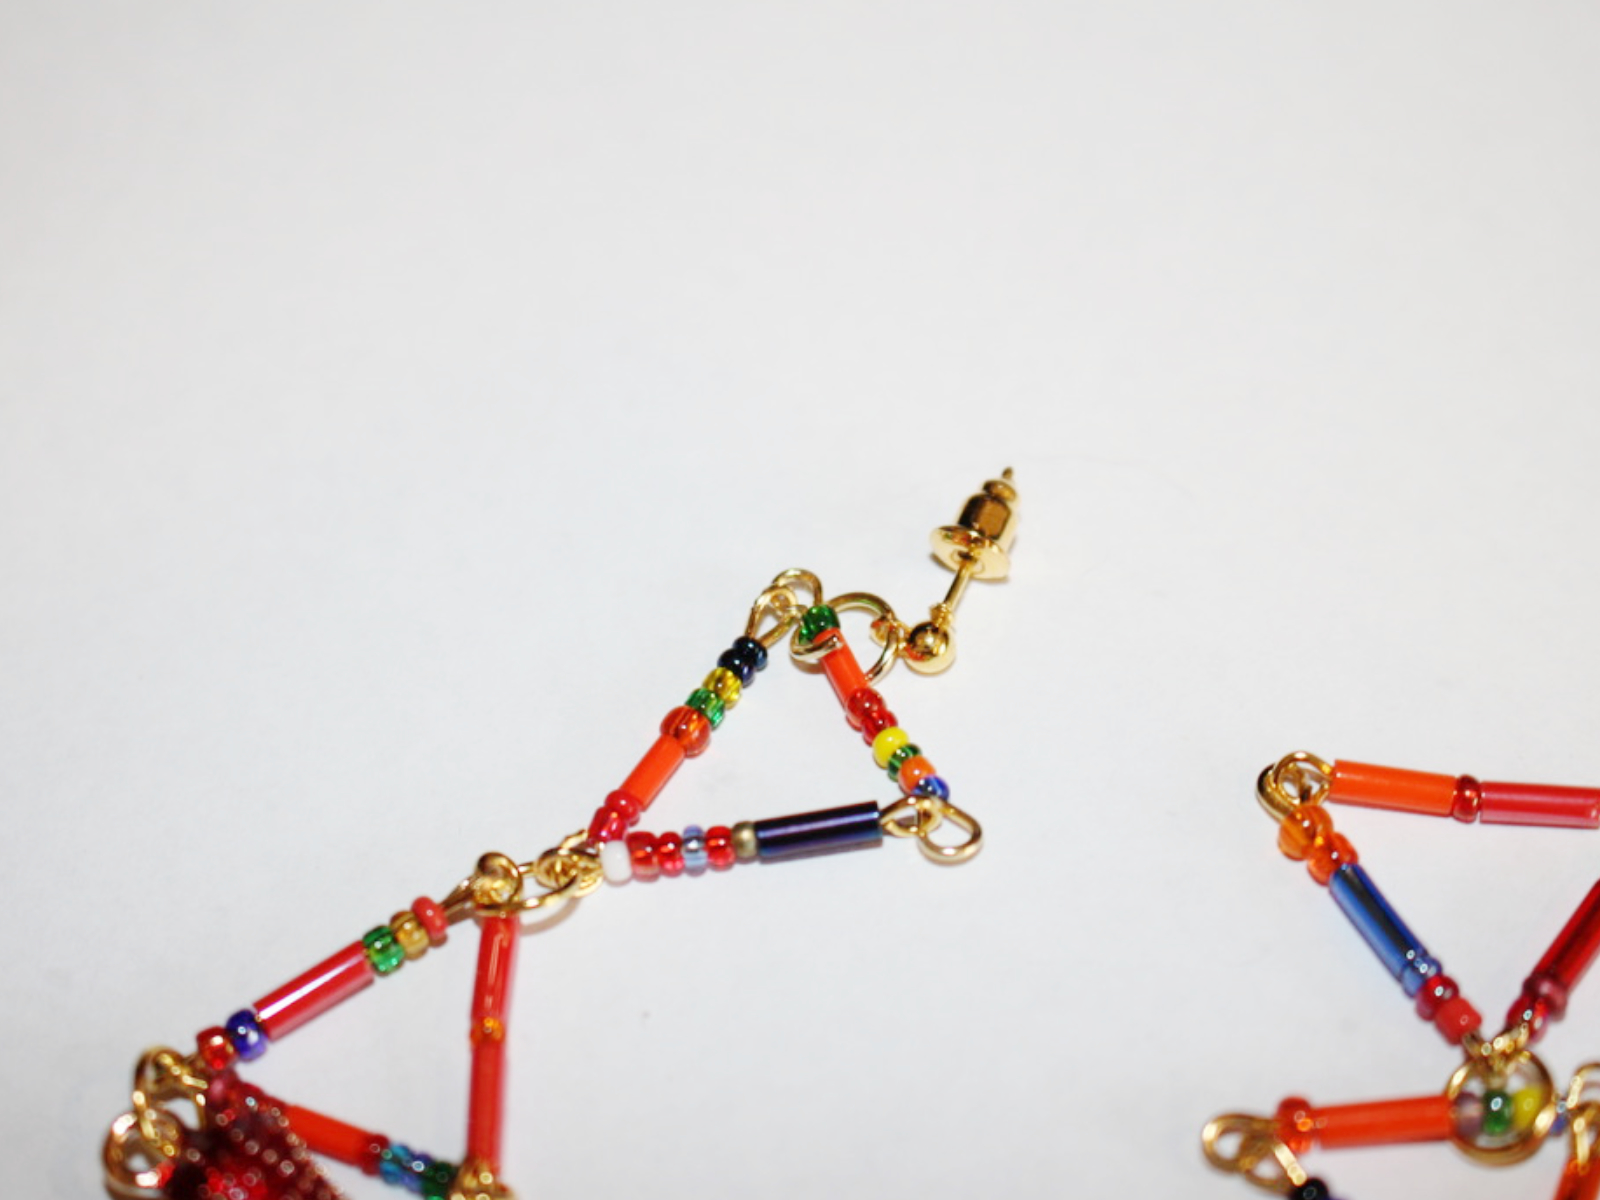
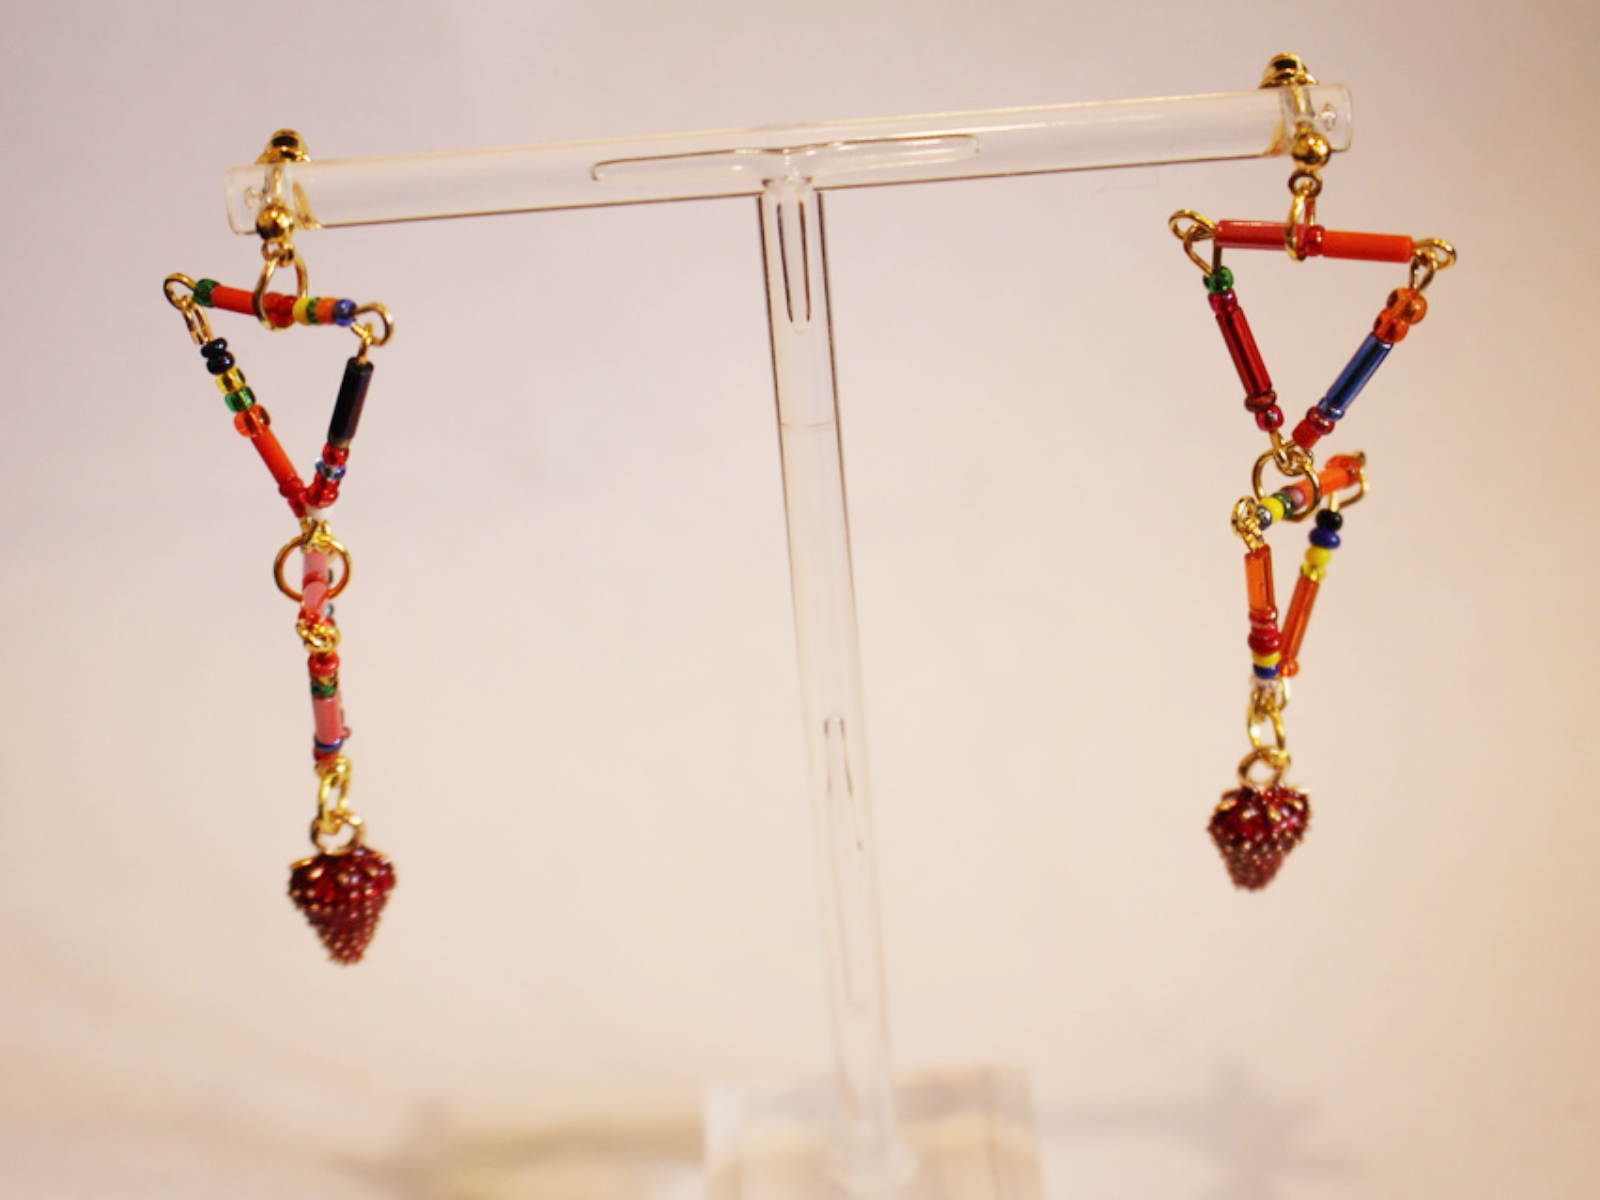
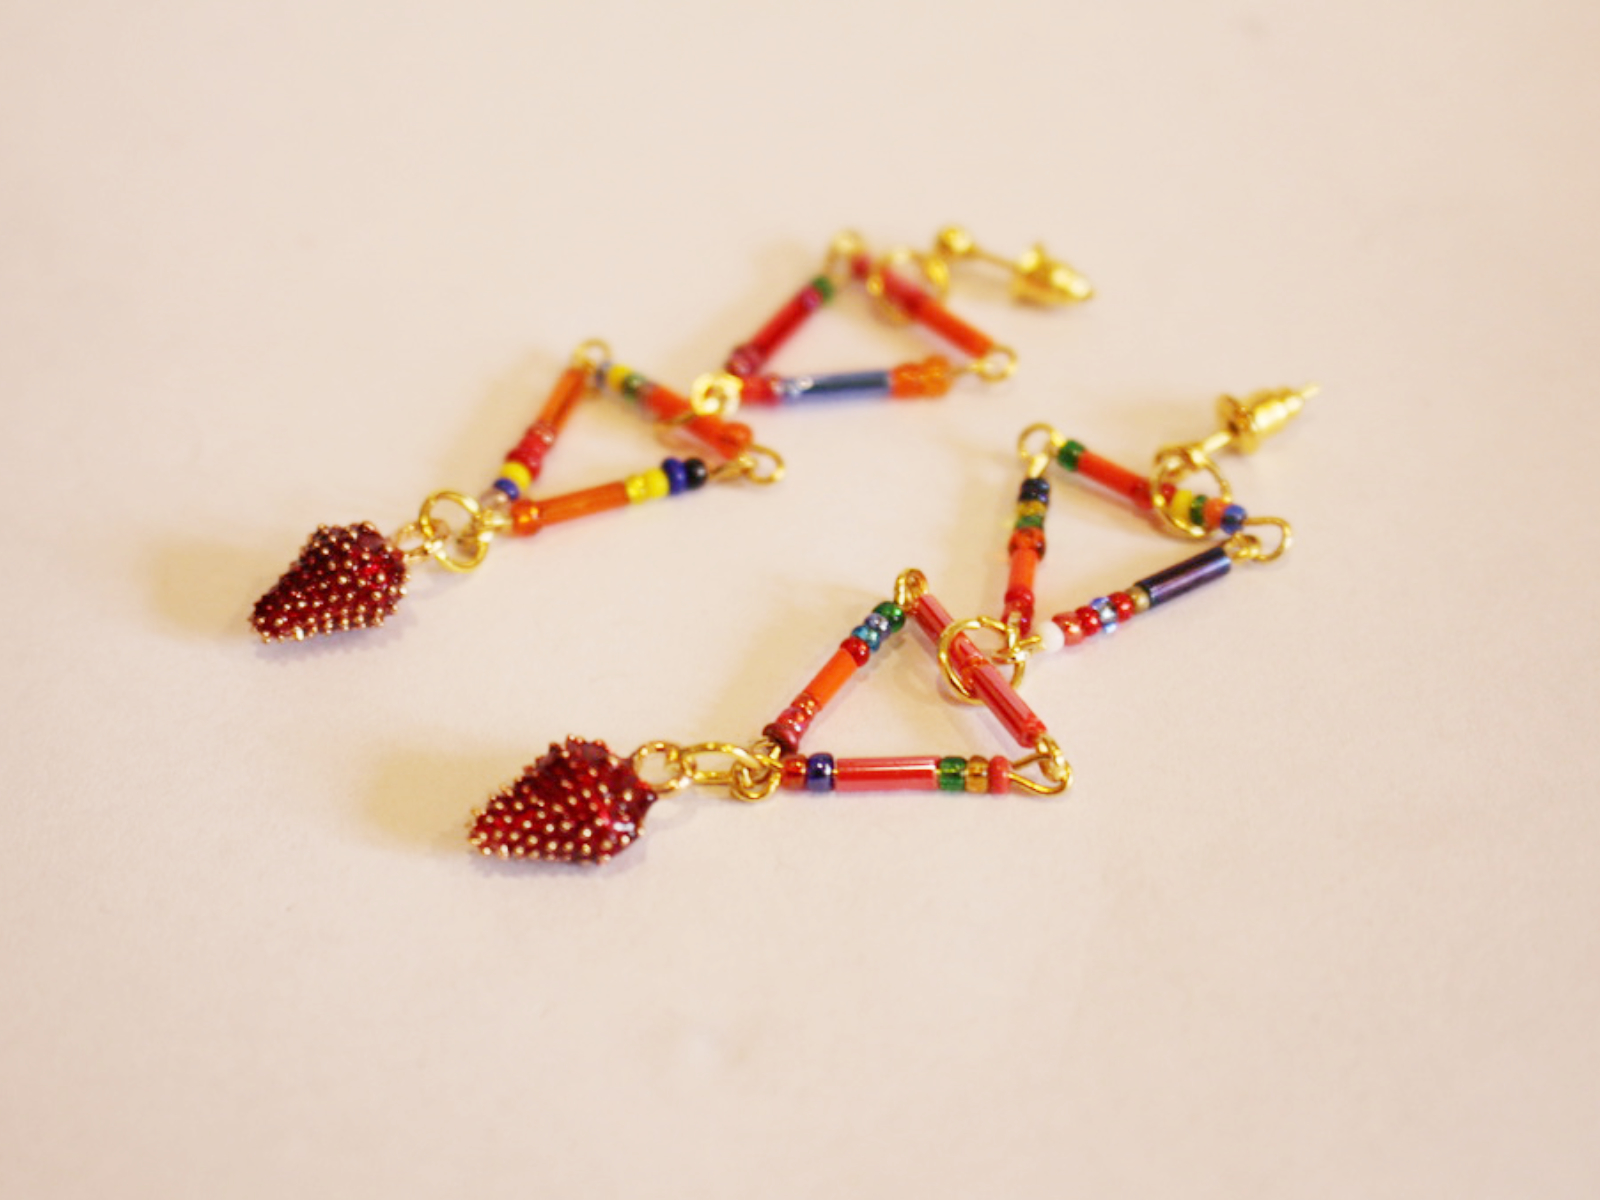
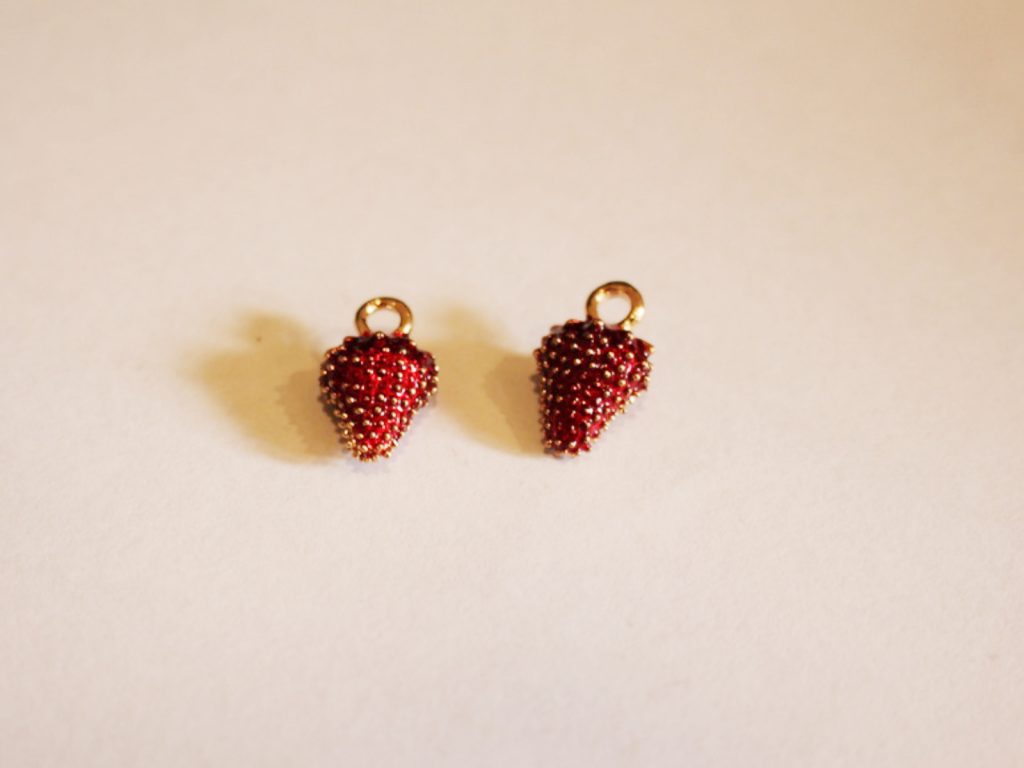
These earrings are pretty fun! They are constructed from eye pins to form some dynamic triangle charms, and as an added bonus, there’s a cute gold-tone and enamel strawberry charm dangling from the bottom of each earring. This pair of triangle strawberry earrings is perfect for framing your face with some fun colour and they’re pretty simple to make.
Please note that this tutorial contains affiliate links.
Here are the tools and materials you’ll need to make your earrings:
1: Pliers. I used my round nose and flat nose pliers for this design. Keep your cutting pliers on hand just in case!
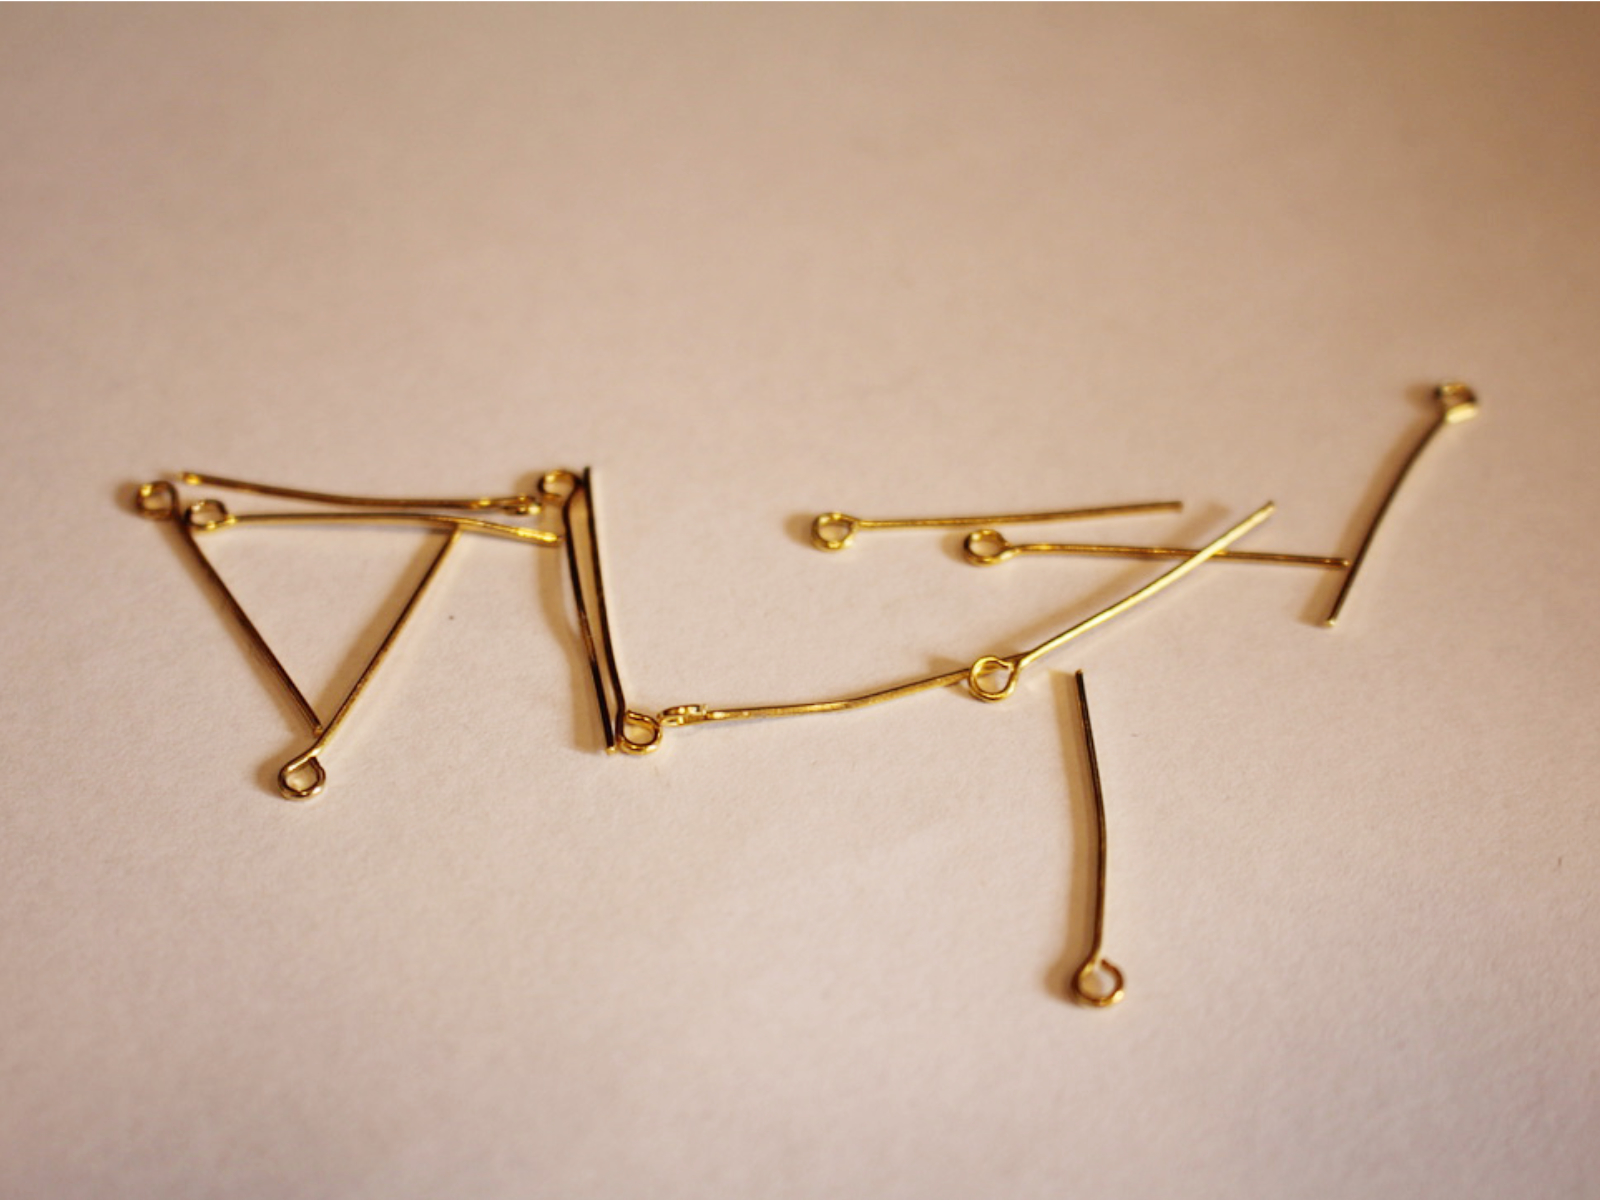
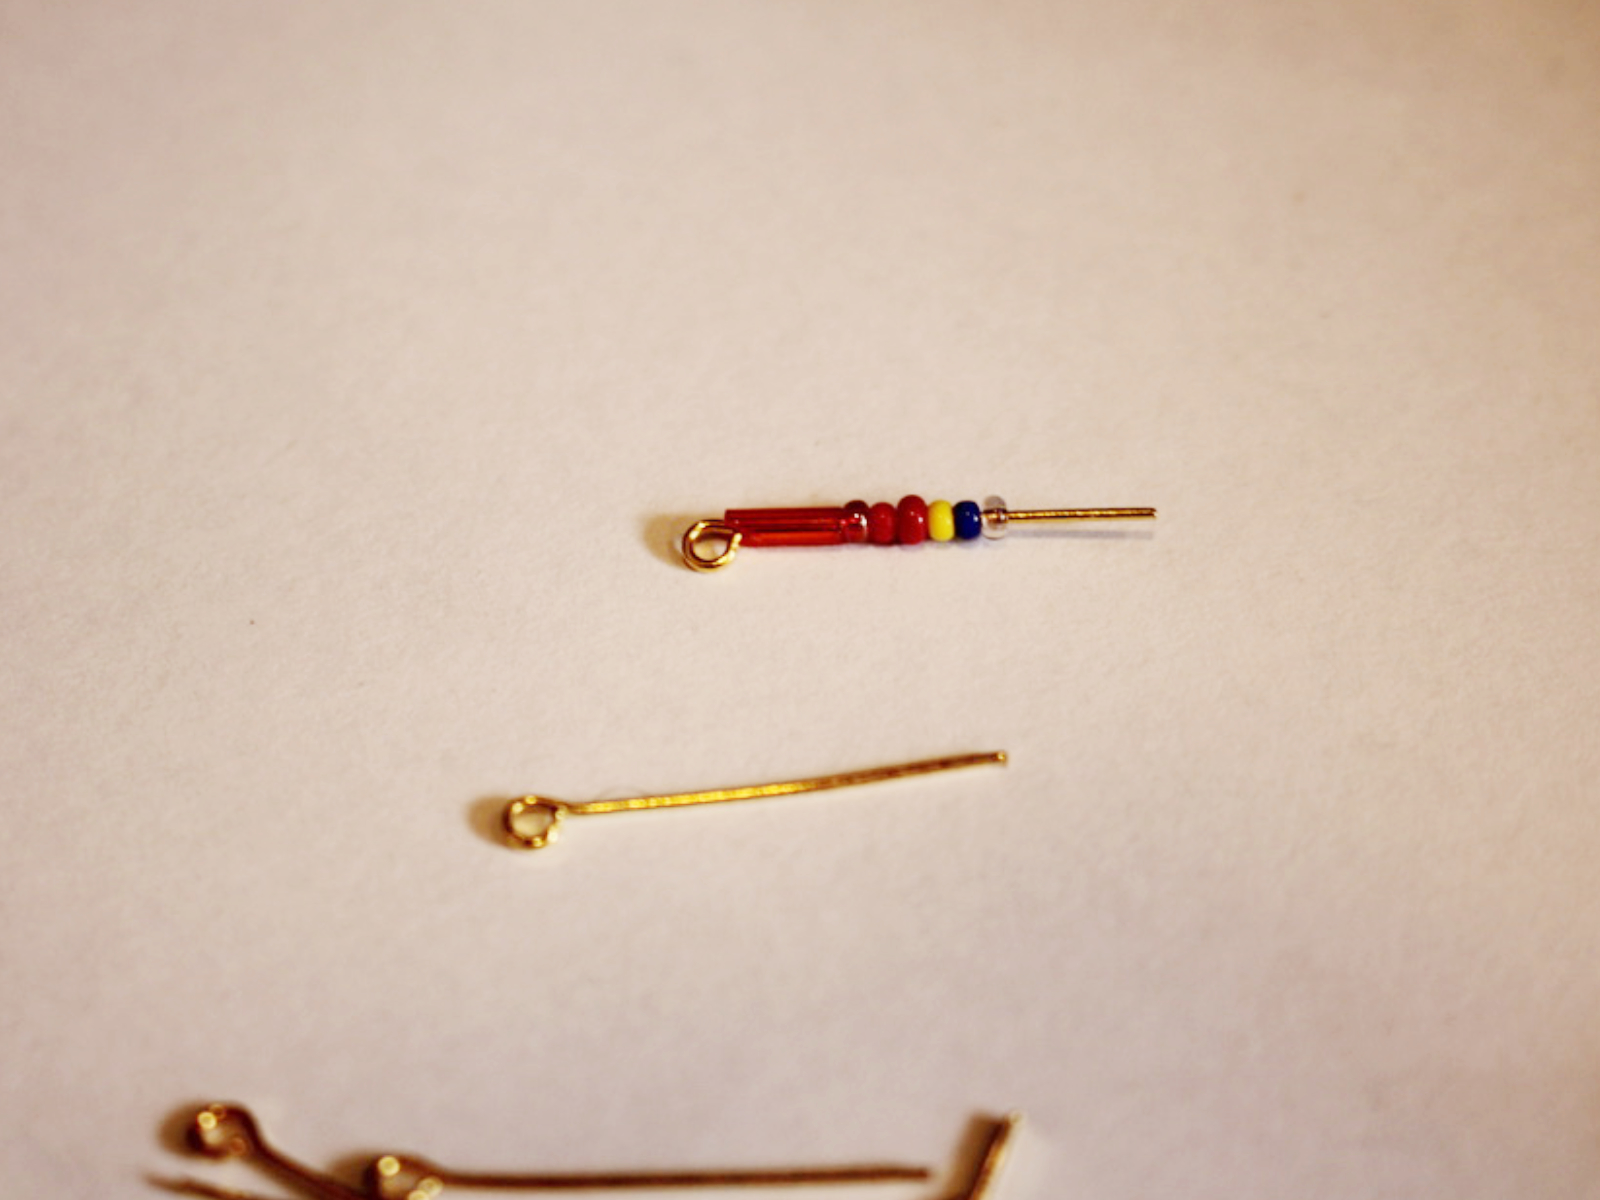
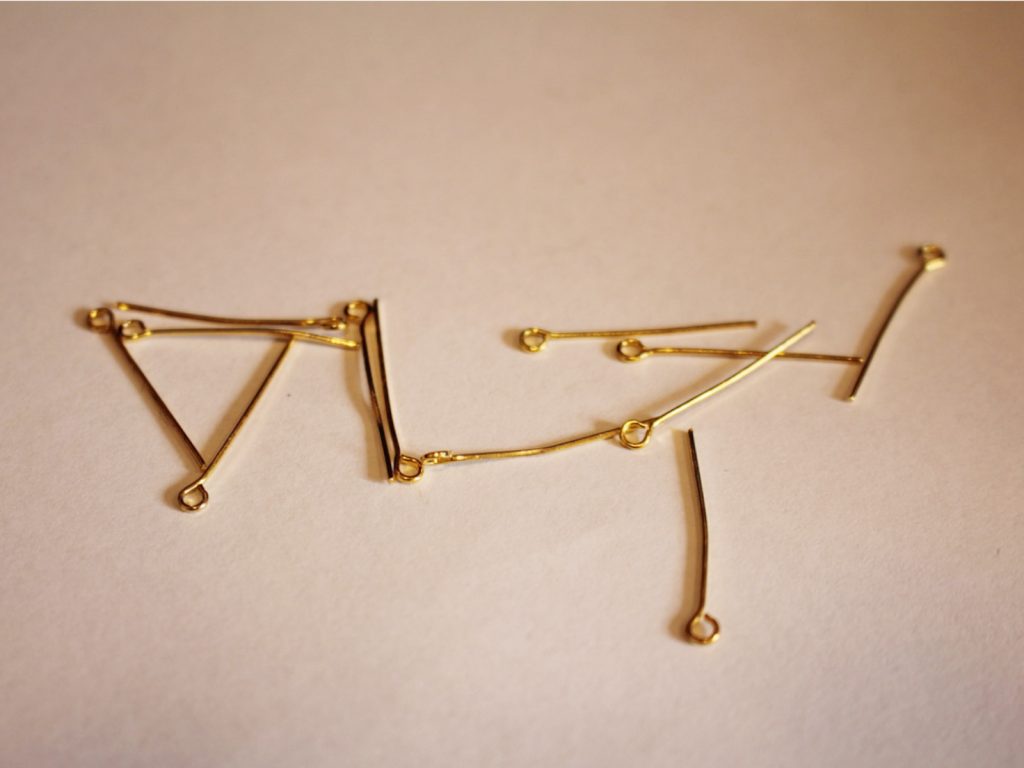
2: Twelve (12) eye pins. I used gold-tone ones.
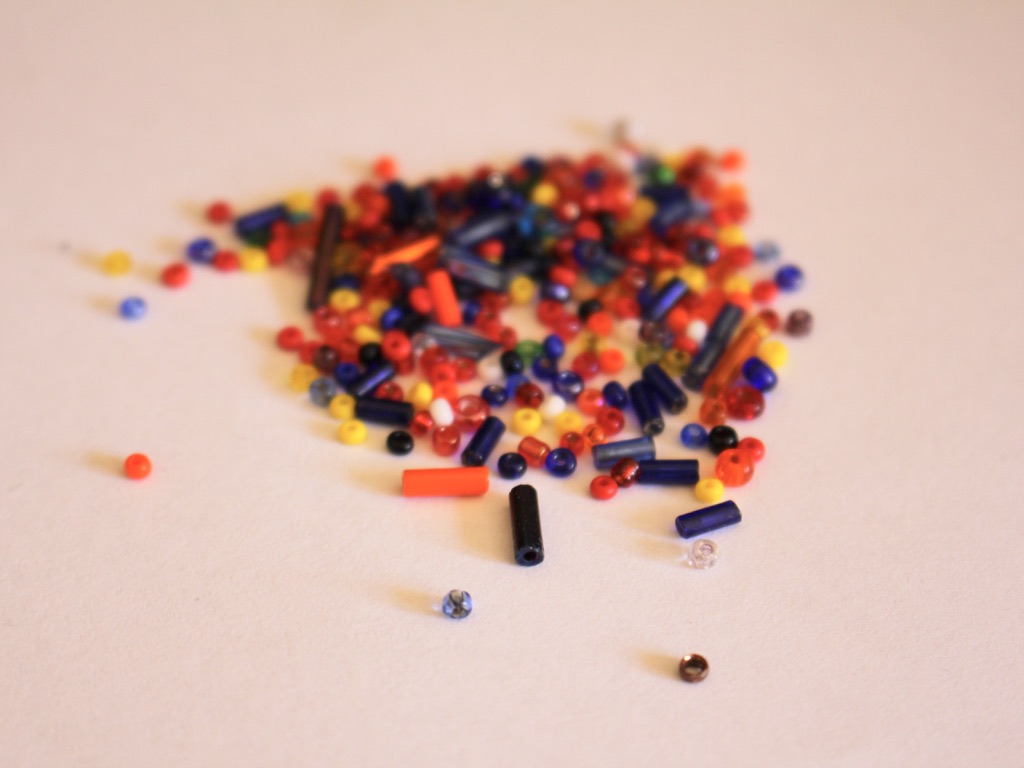
3: Beads. I used mixed seed and bugle beads made from glass.
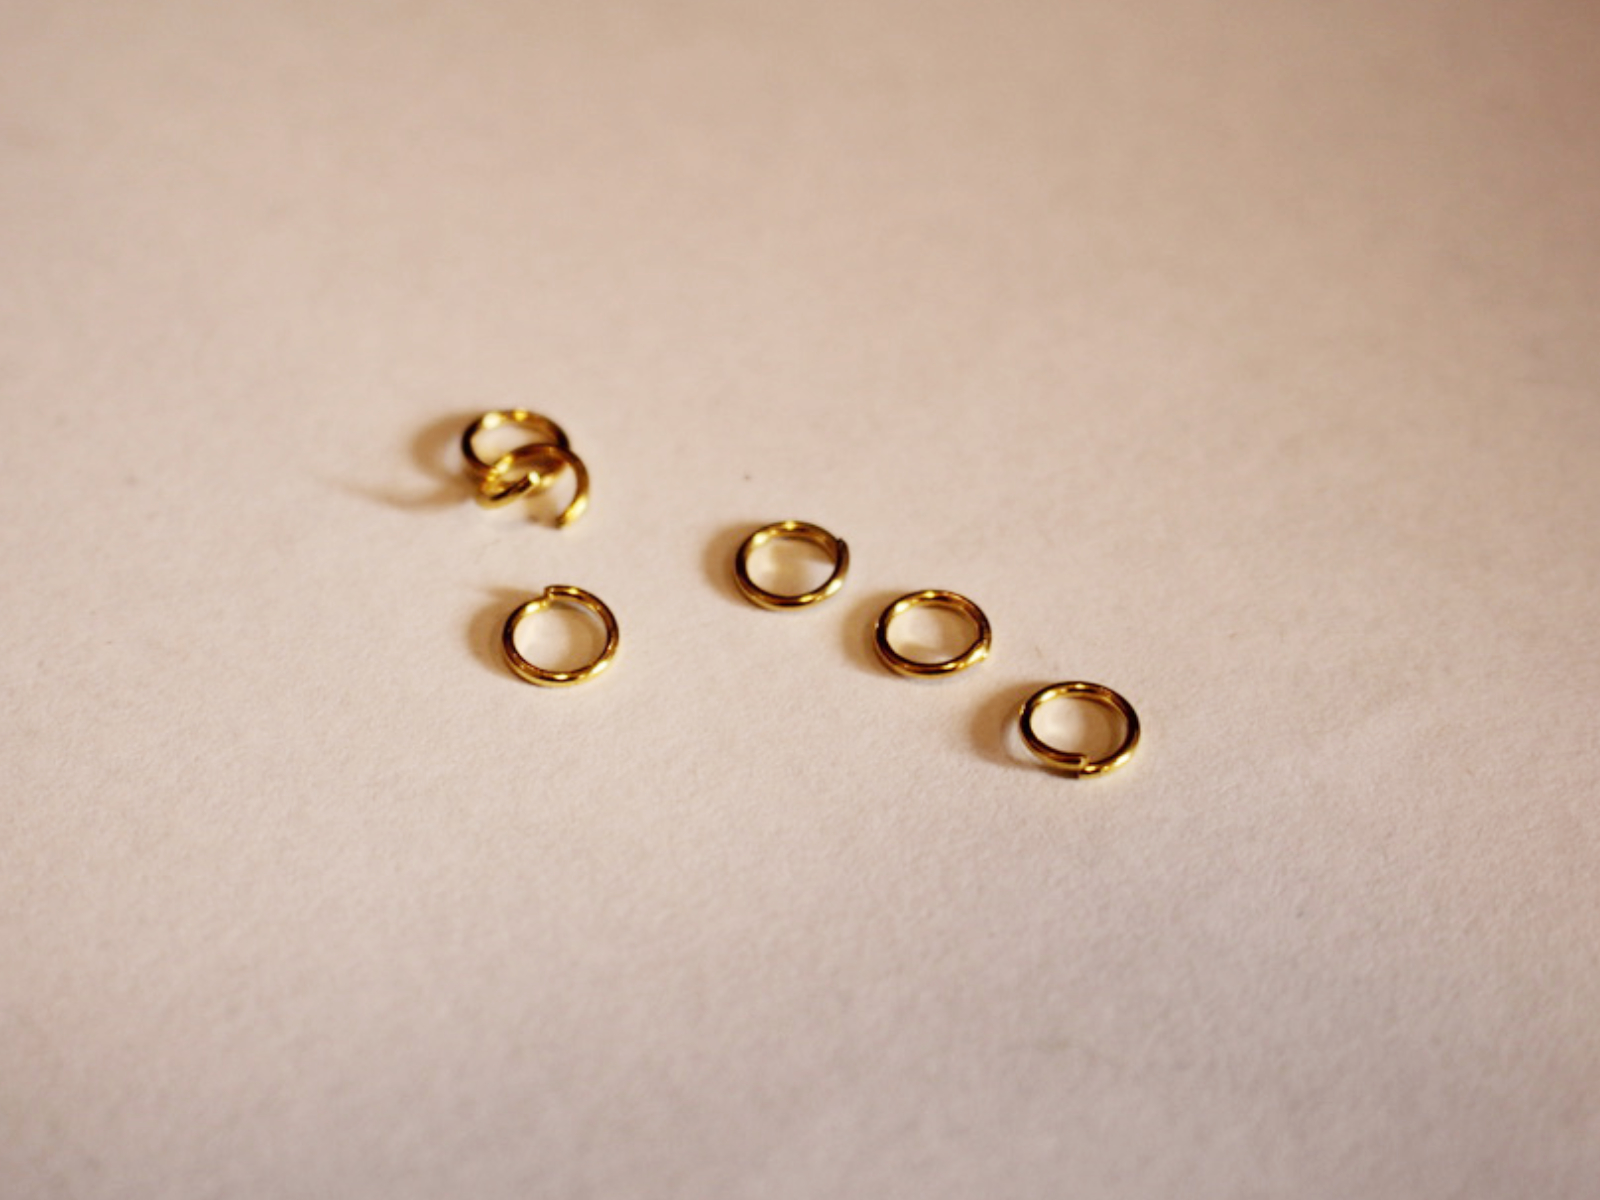
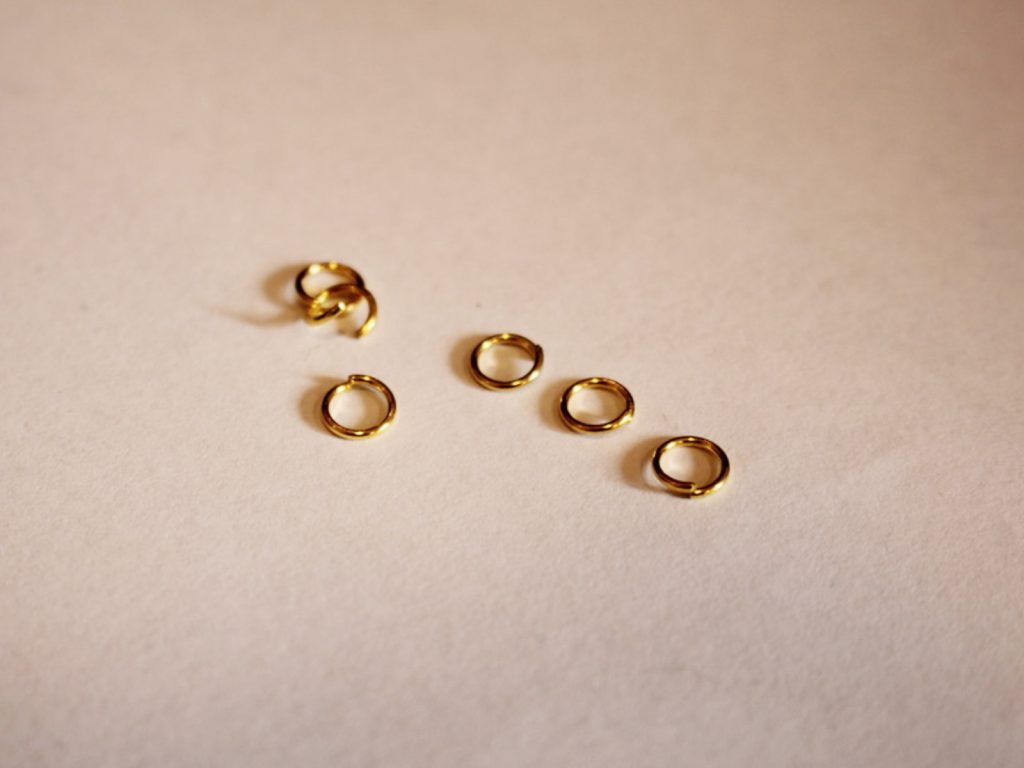
4: Six (6) jump rings. I used gold-tone to match my eye pins and other findings.
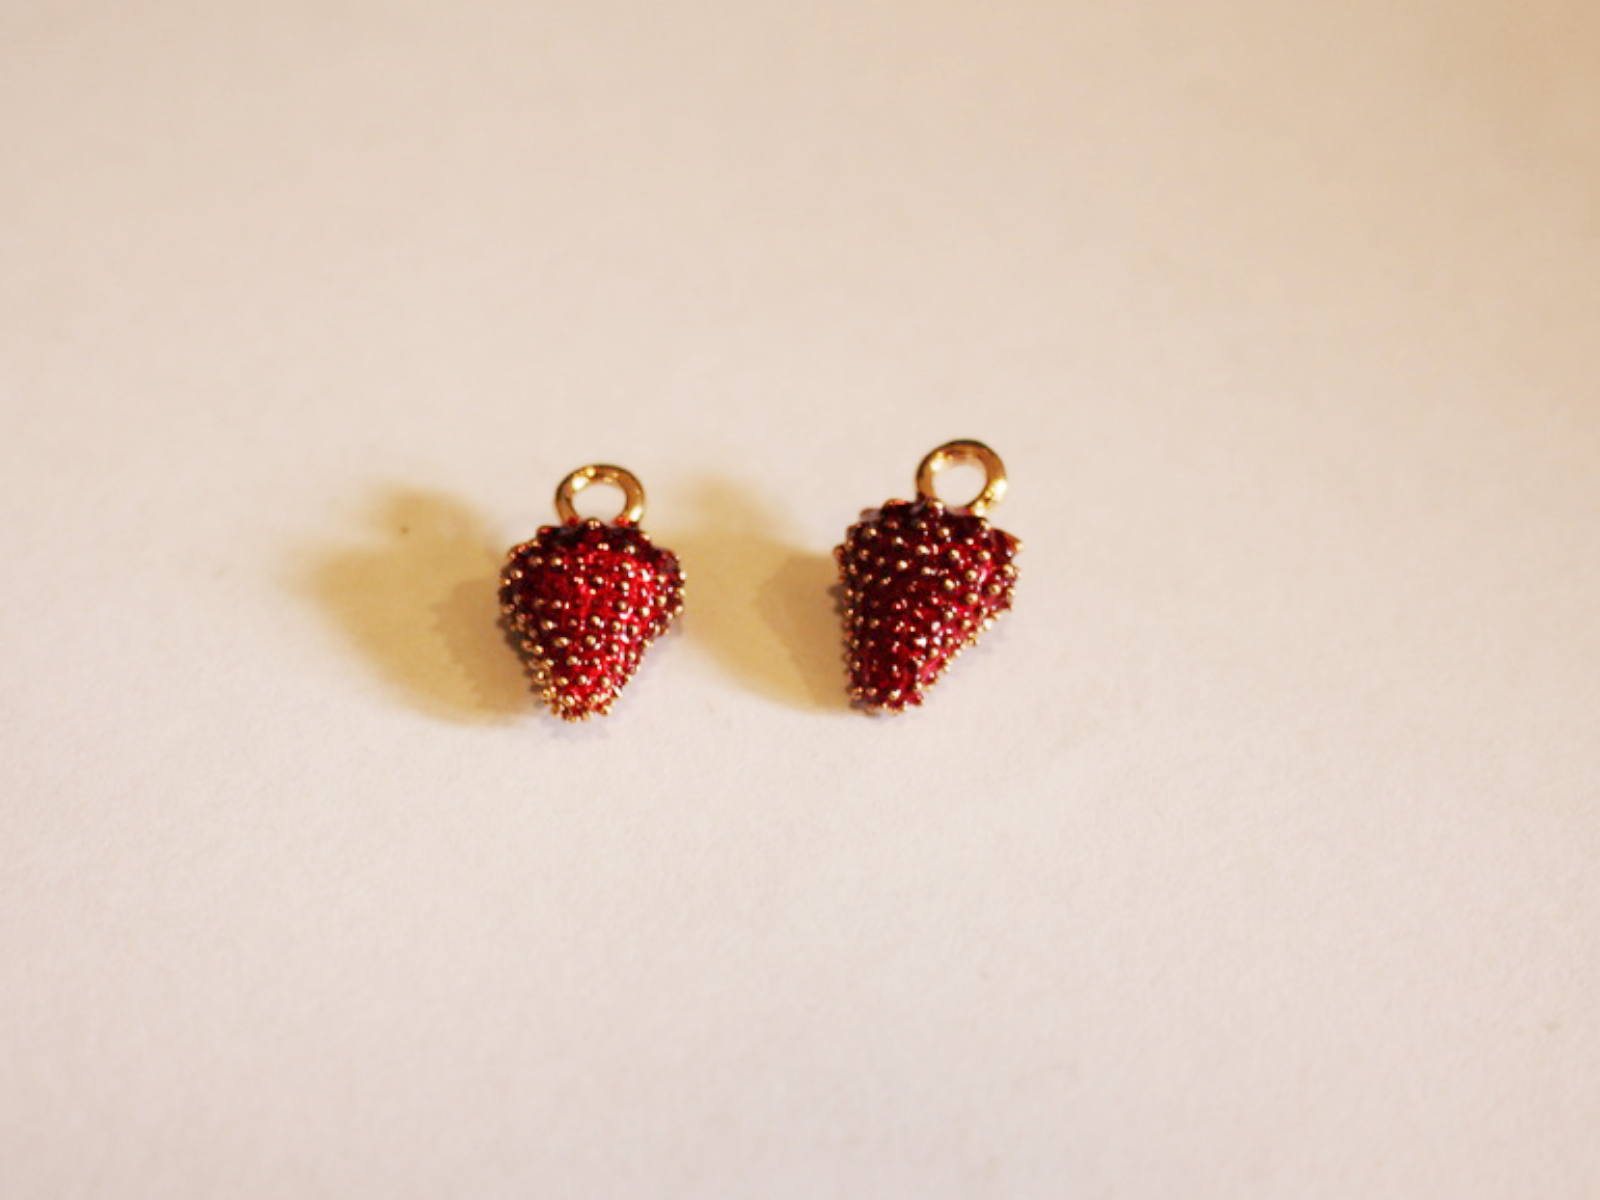
5: Two (2) strawberry charms.
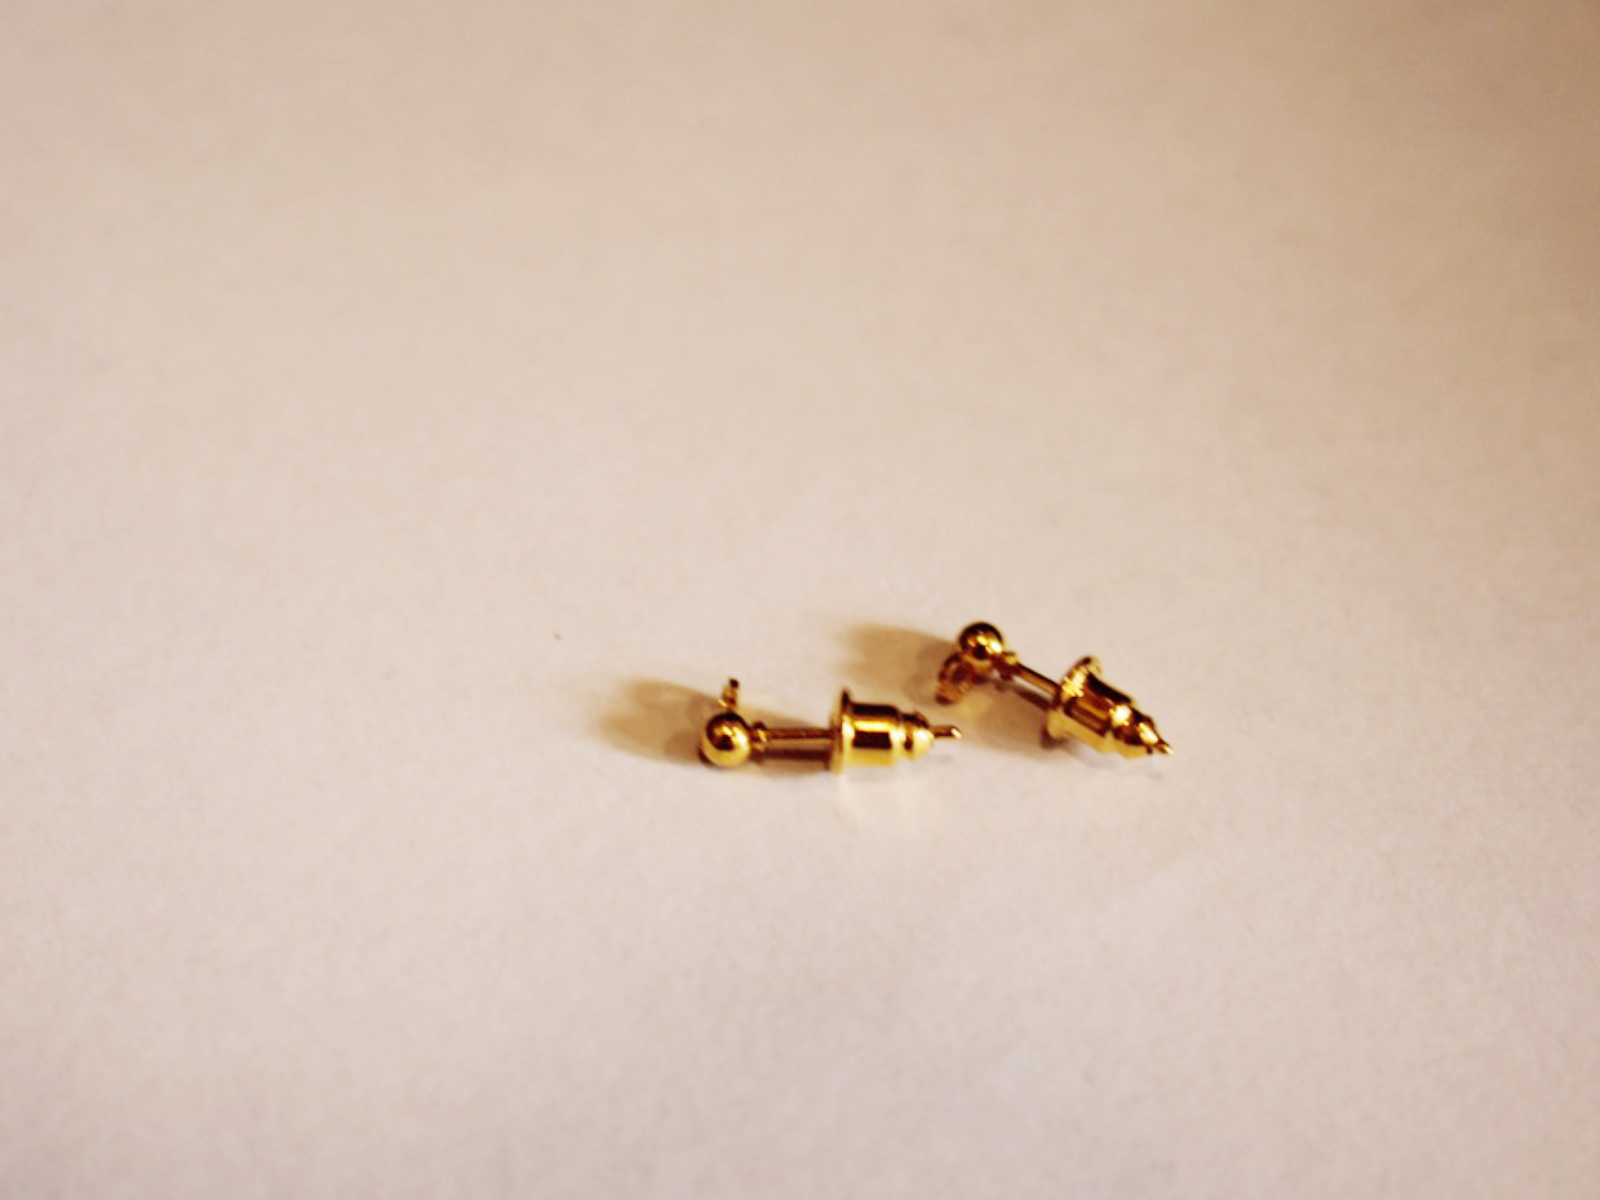
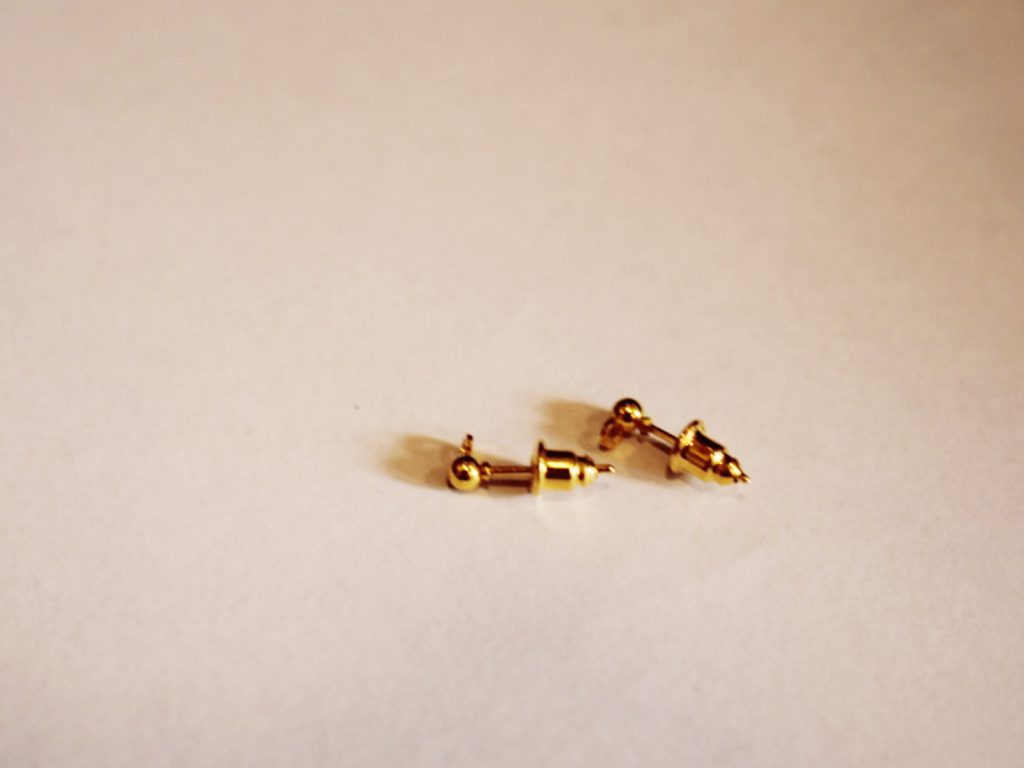
6: Two (2) post earring findings.
Now here are all the steps to follow to make your triangle and strawberry dangle earrings:
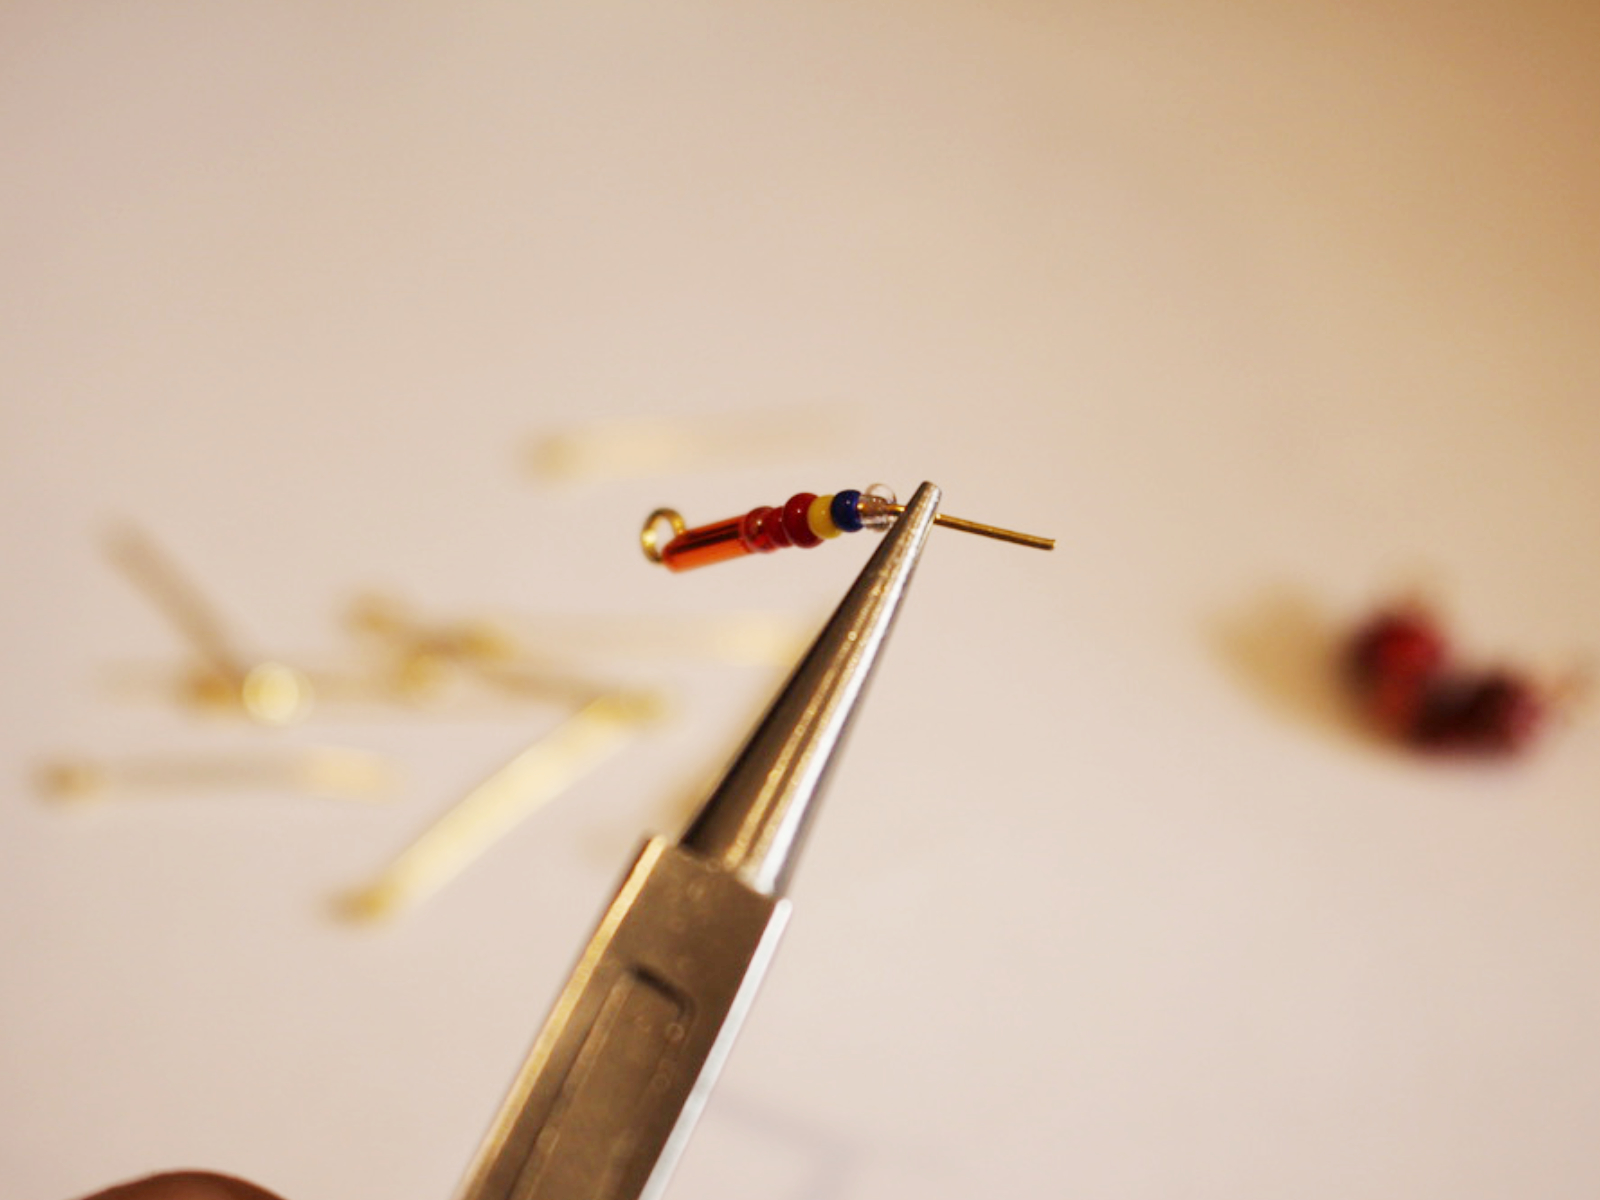
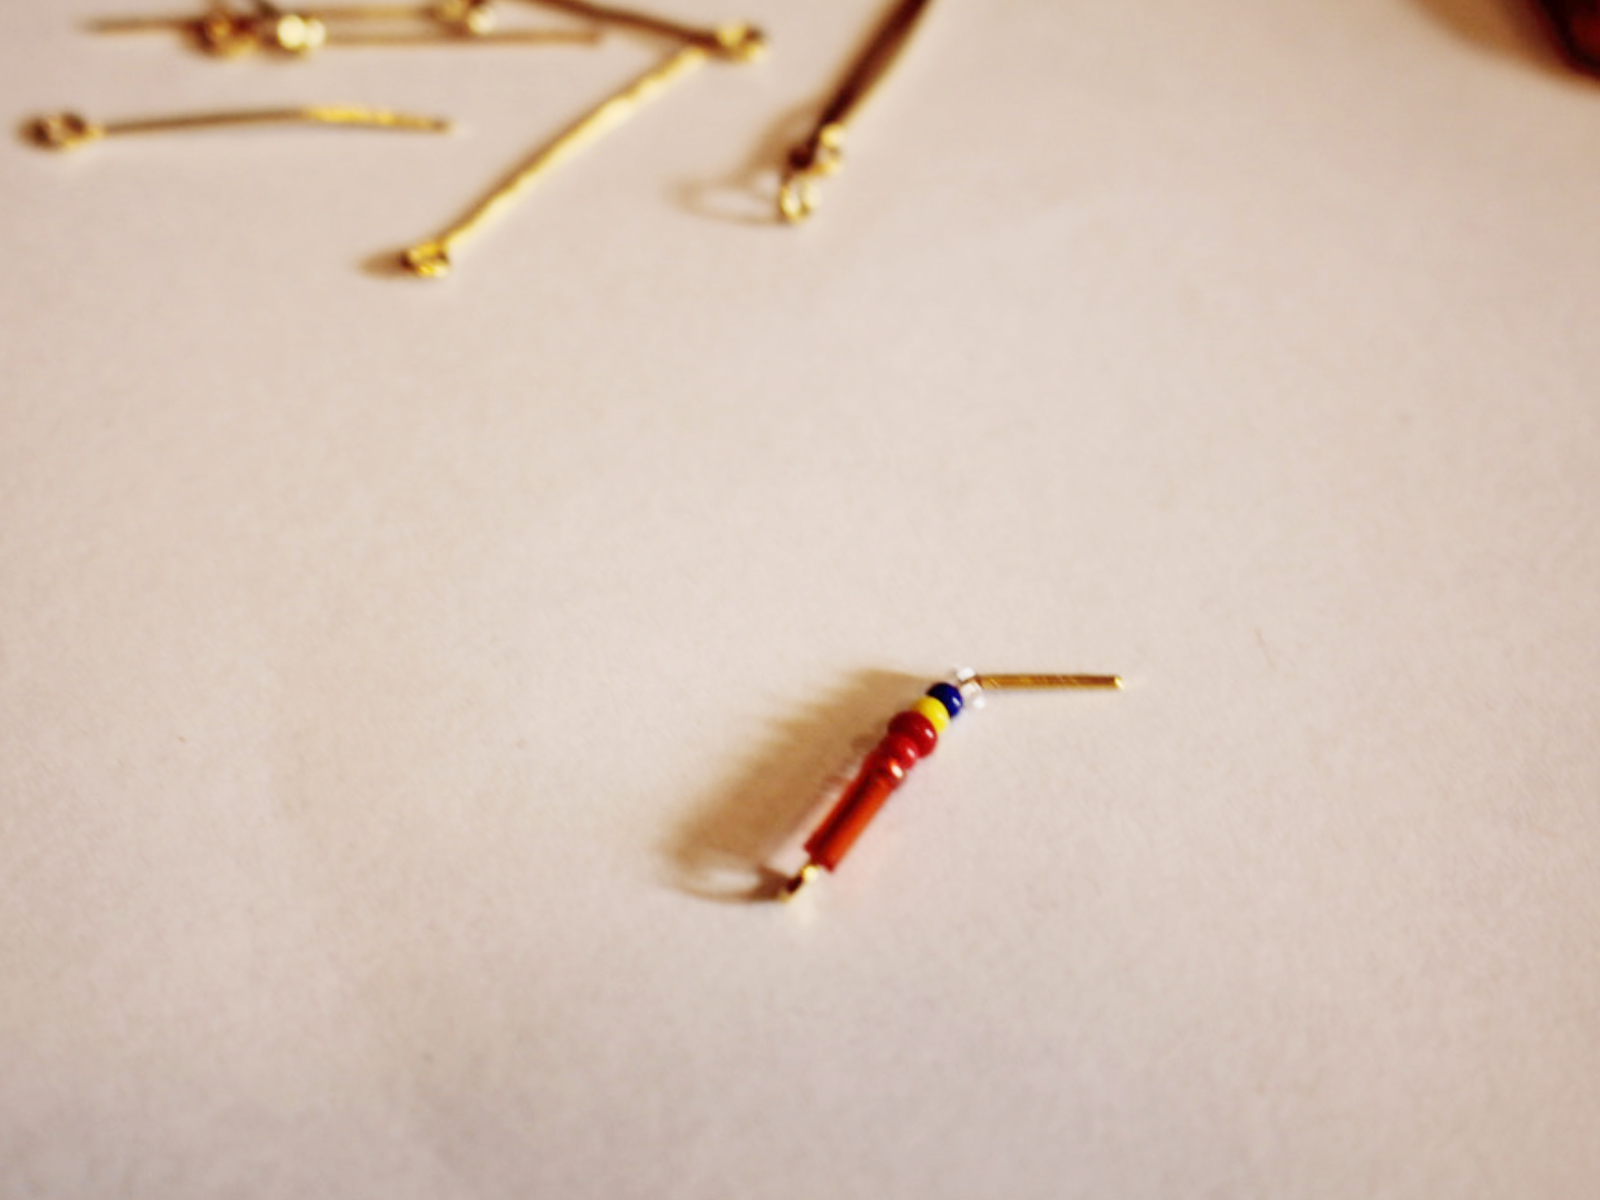
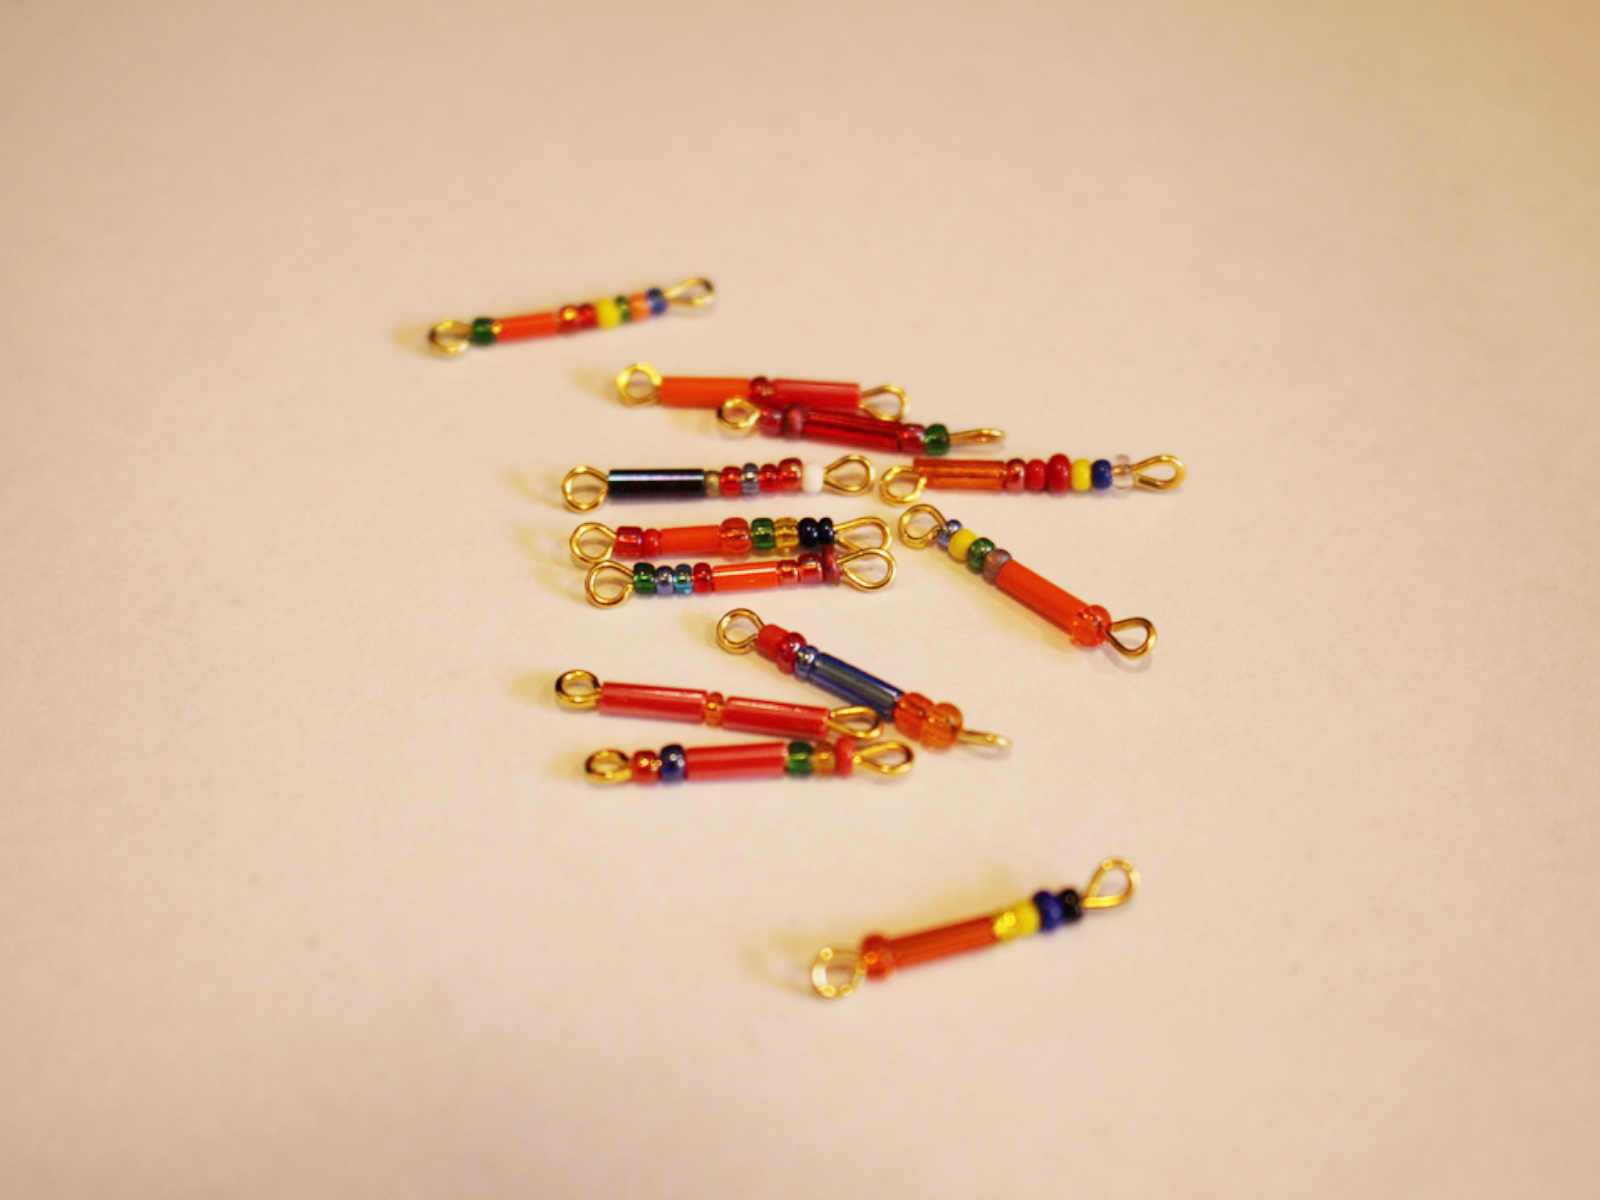
1: Add beads to one of the eye pins. Leave approximately 0.8-1cm without beads, this is the section that you will bend into a loop.
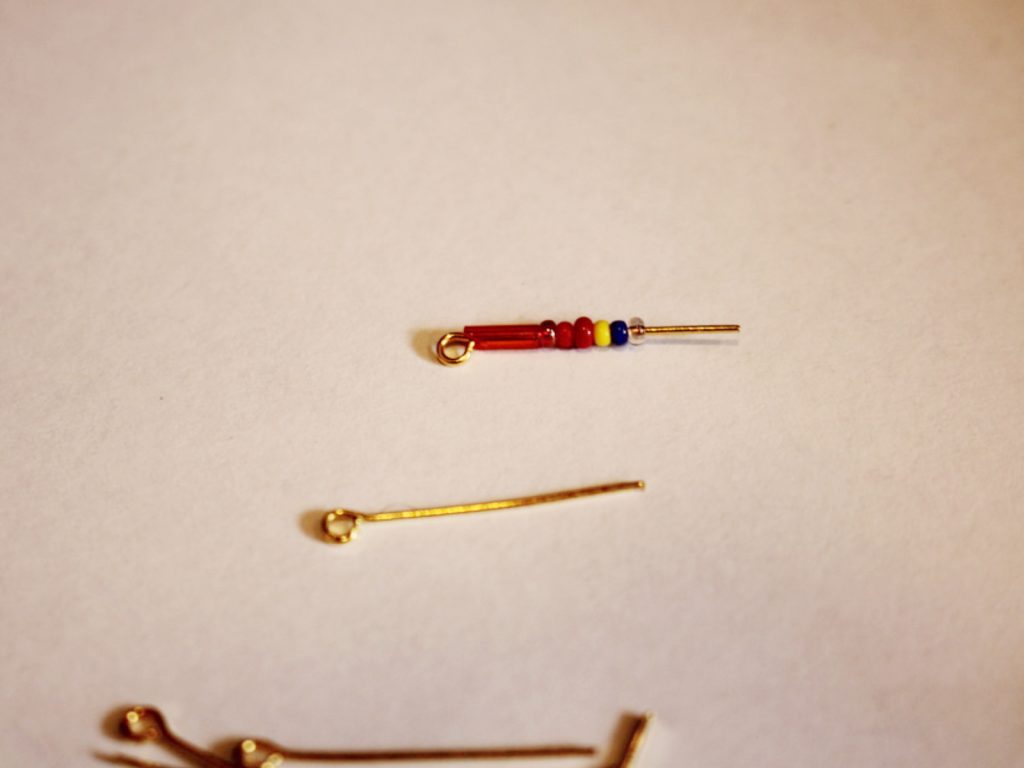
2: Using round nose pliers, bend the pin to form an angle.
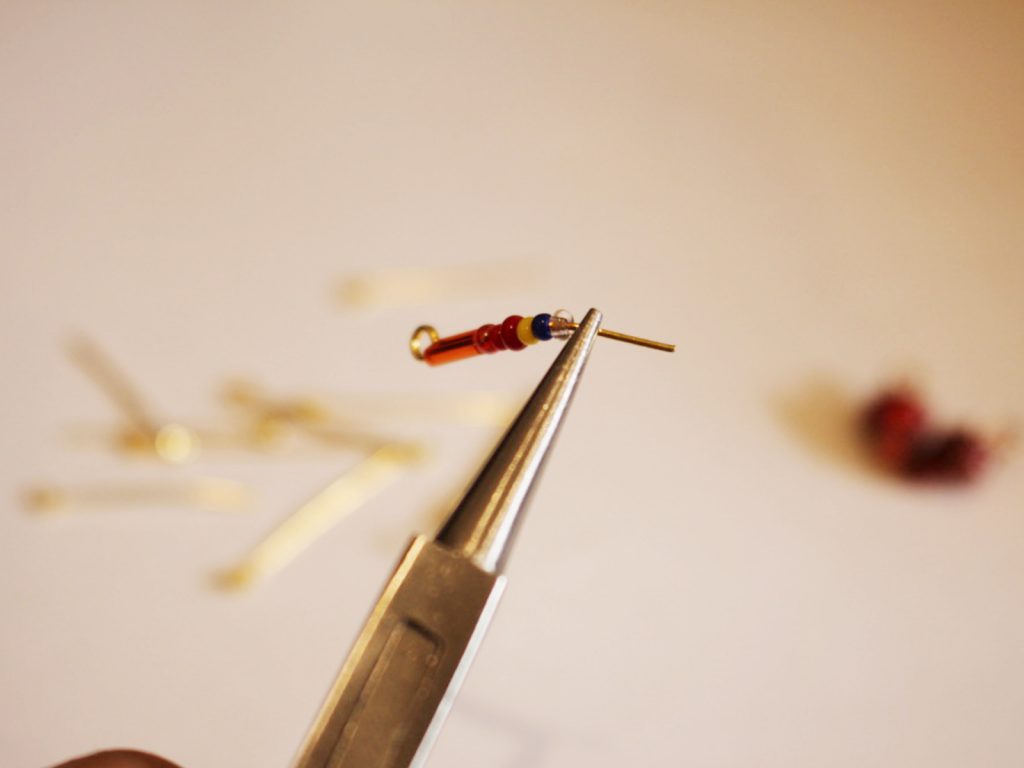
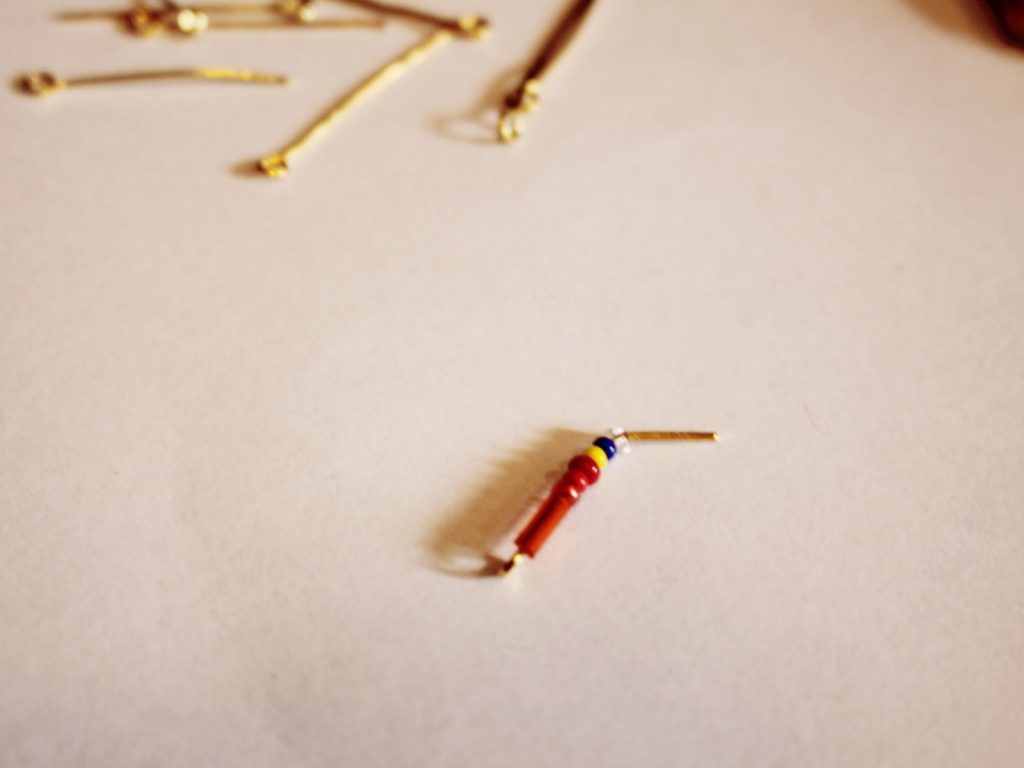
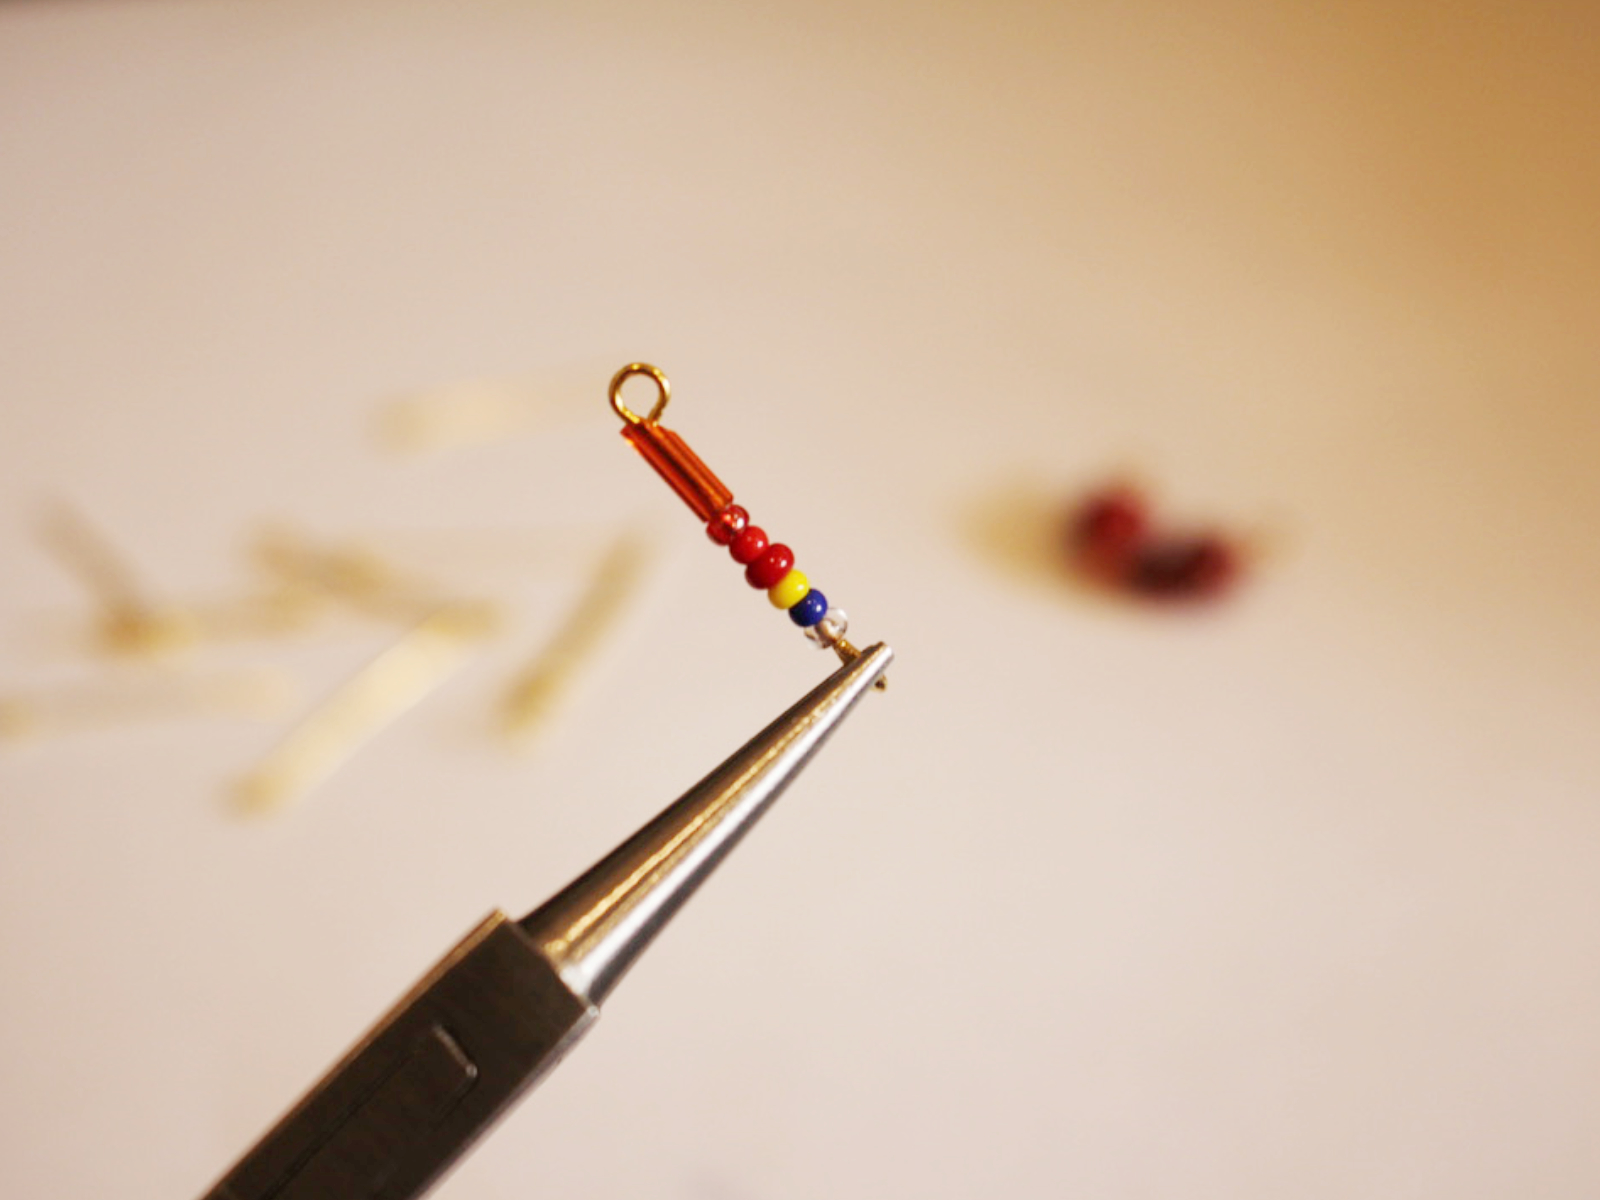
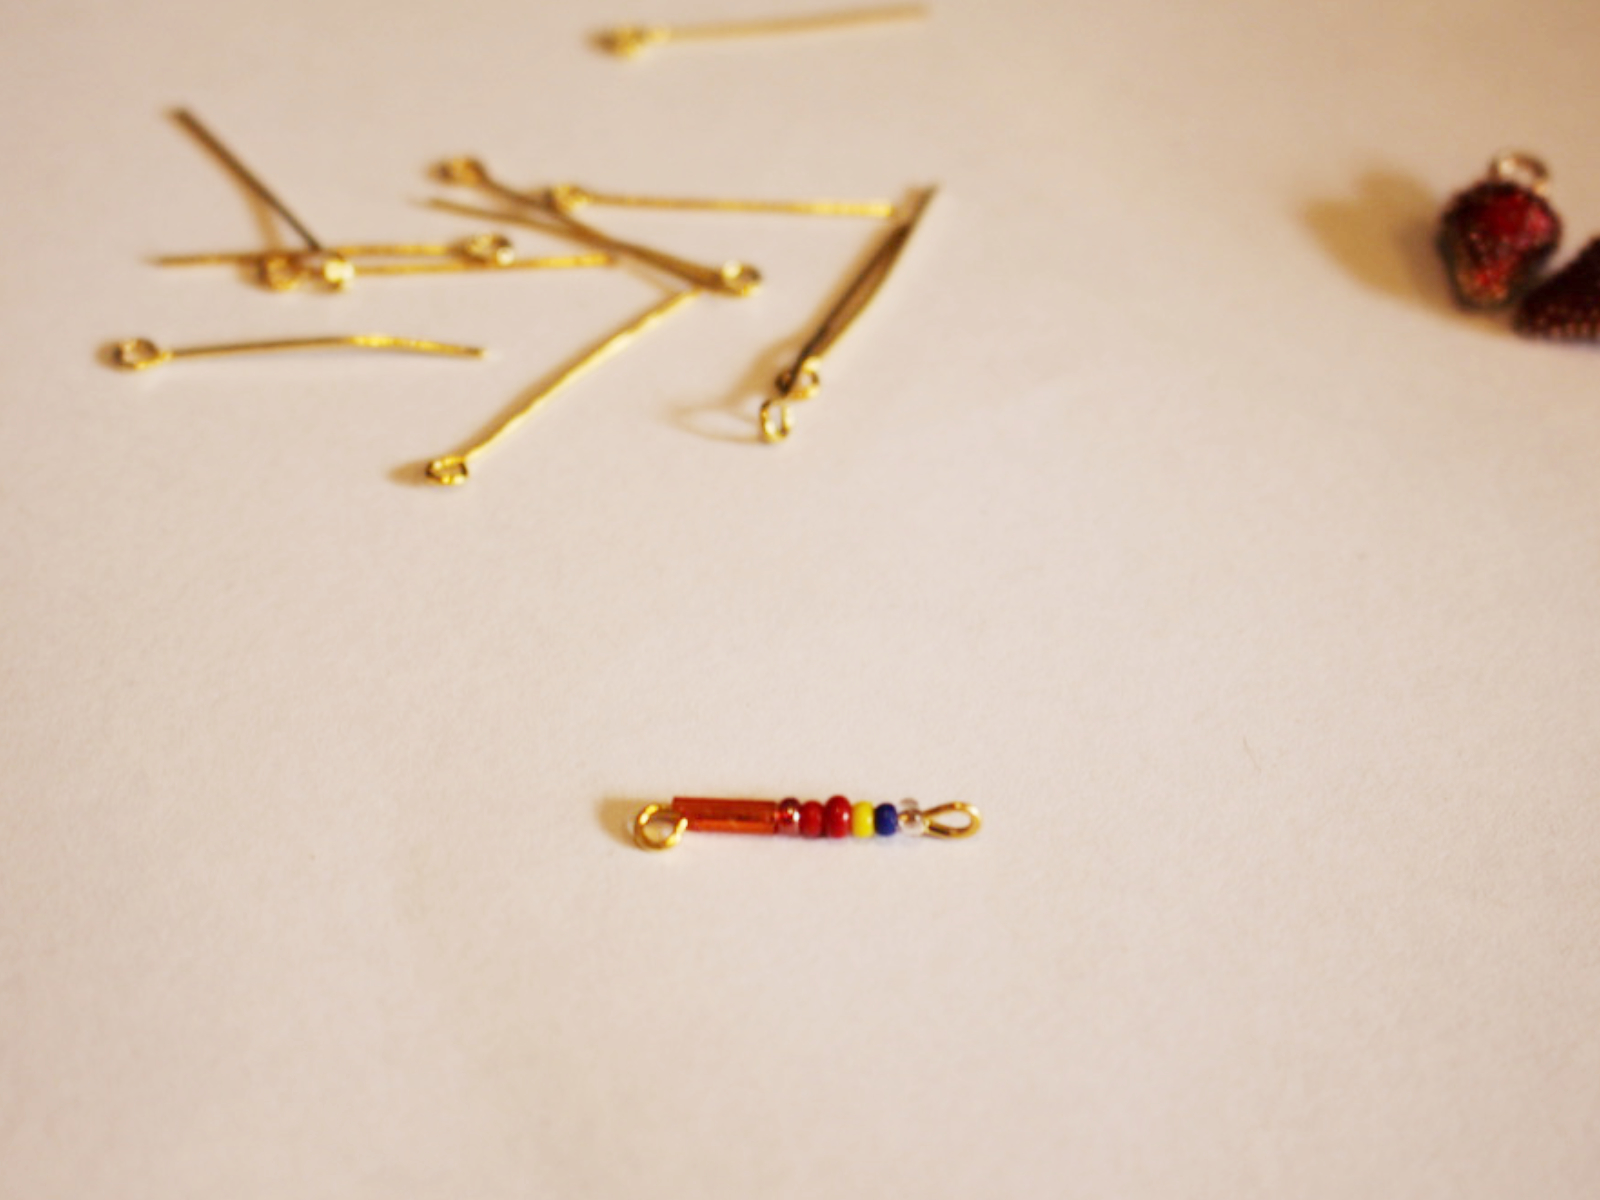
3: Bend the top of the wire around the barrel of the round nose pliers to create a loop. Now the beads are secured onto the pin.
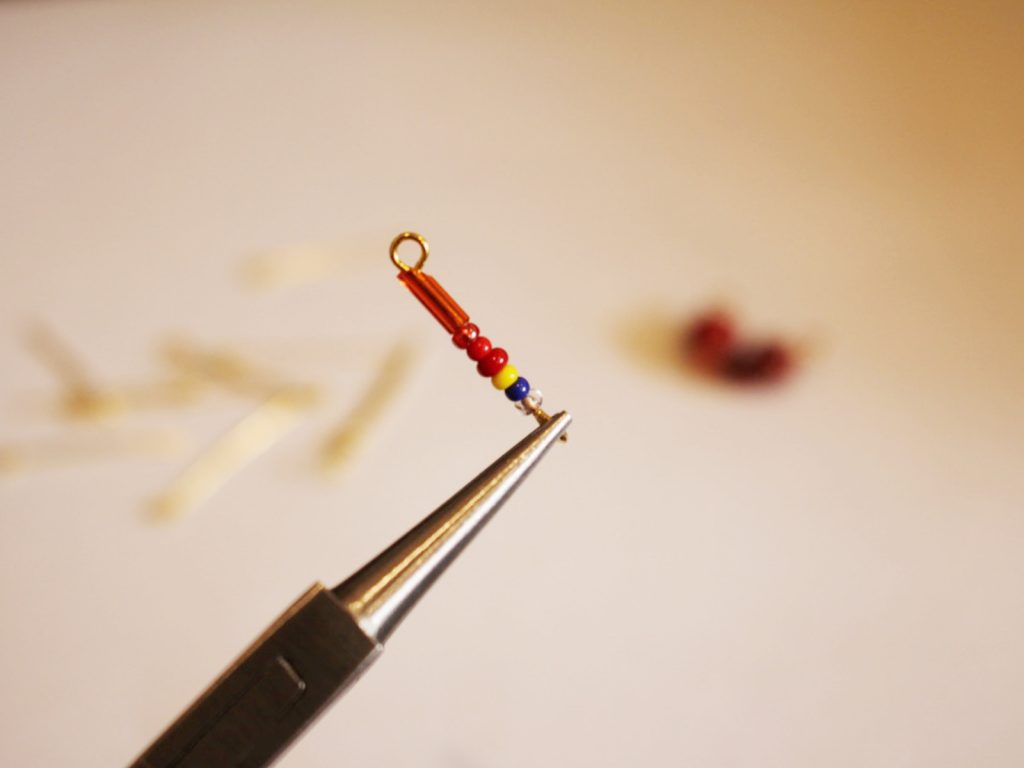
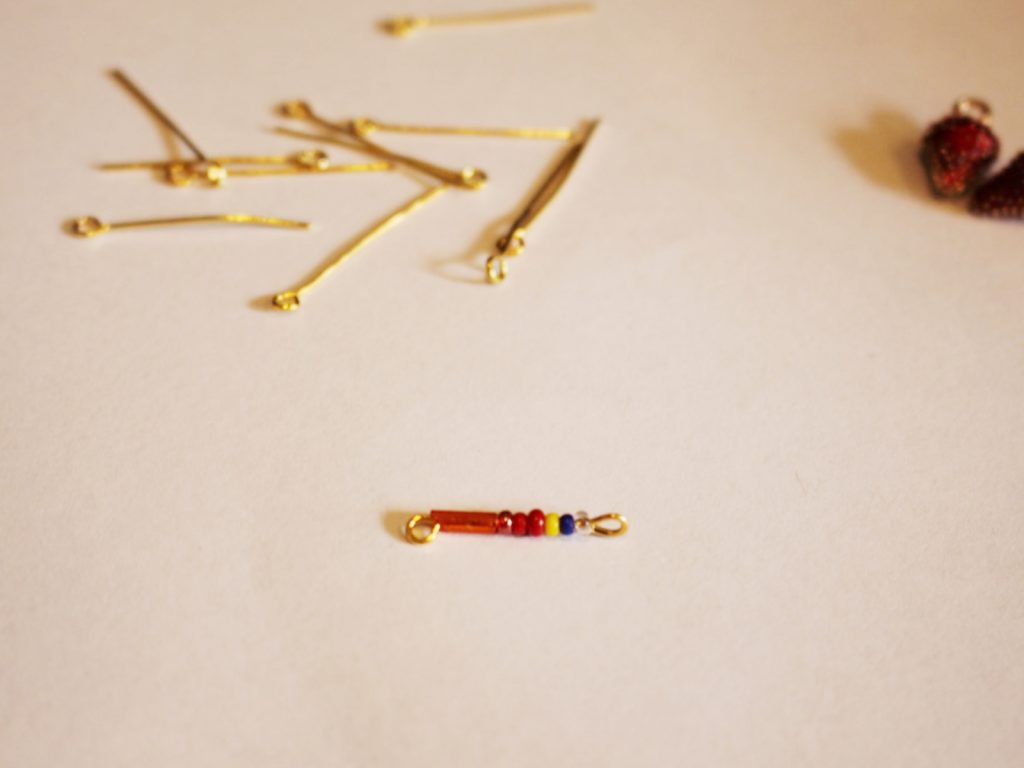
4: Repeat steps 1-3 for the remaining eye pins.
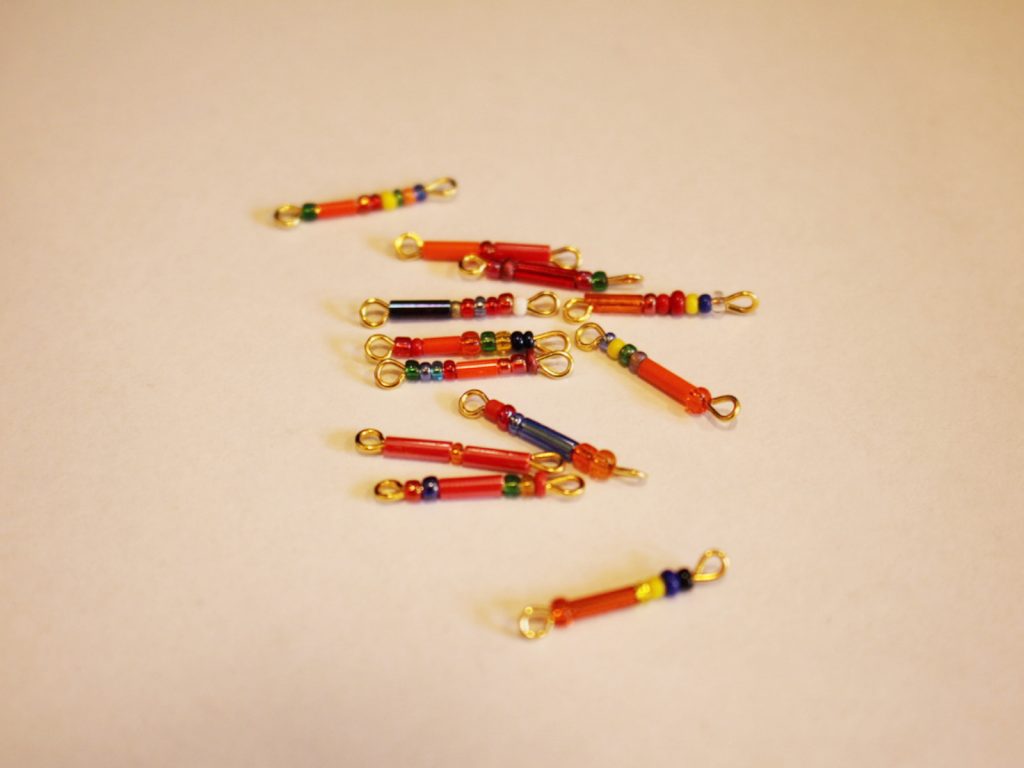
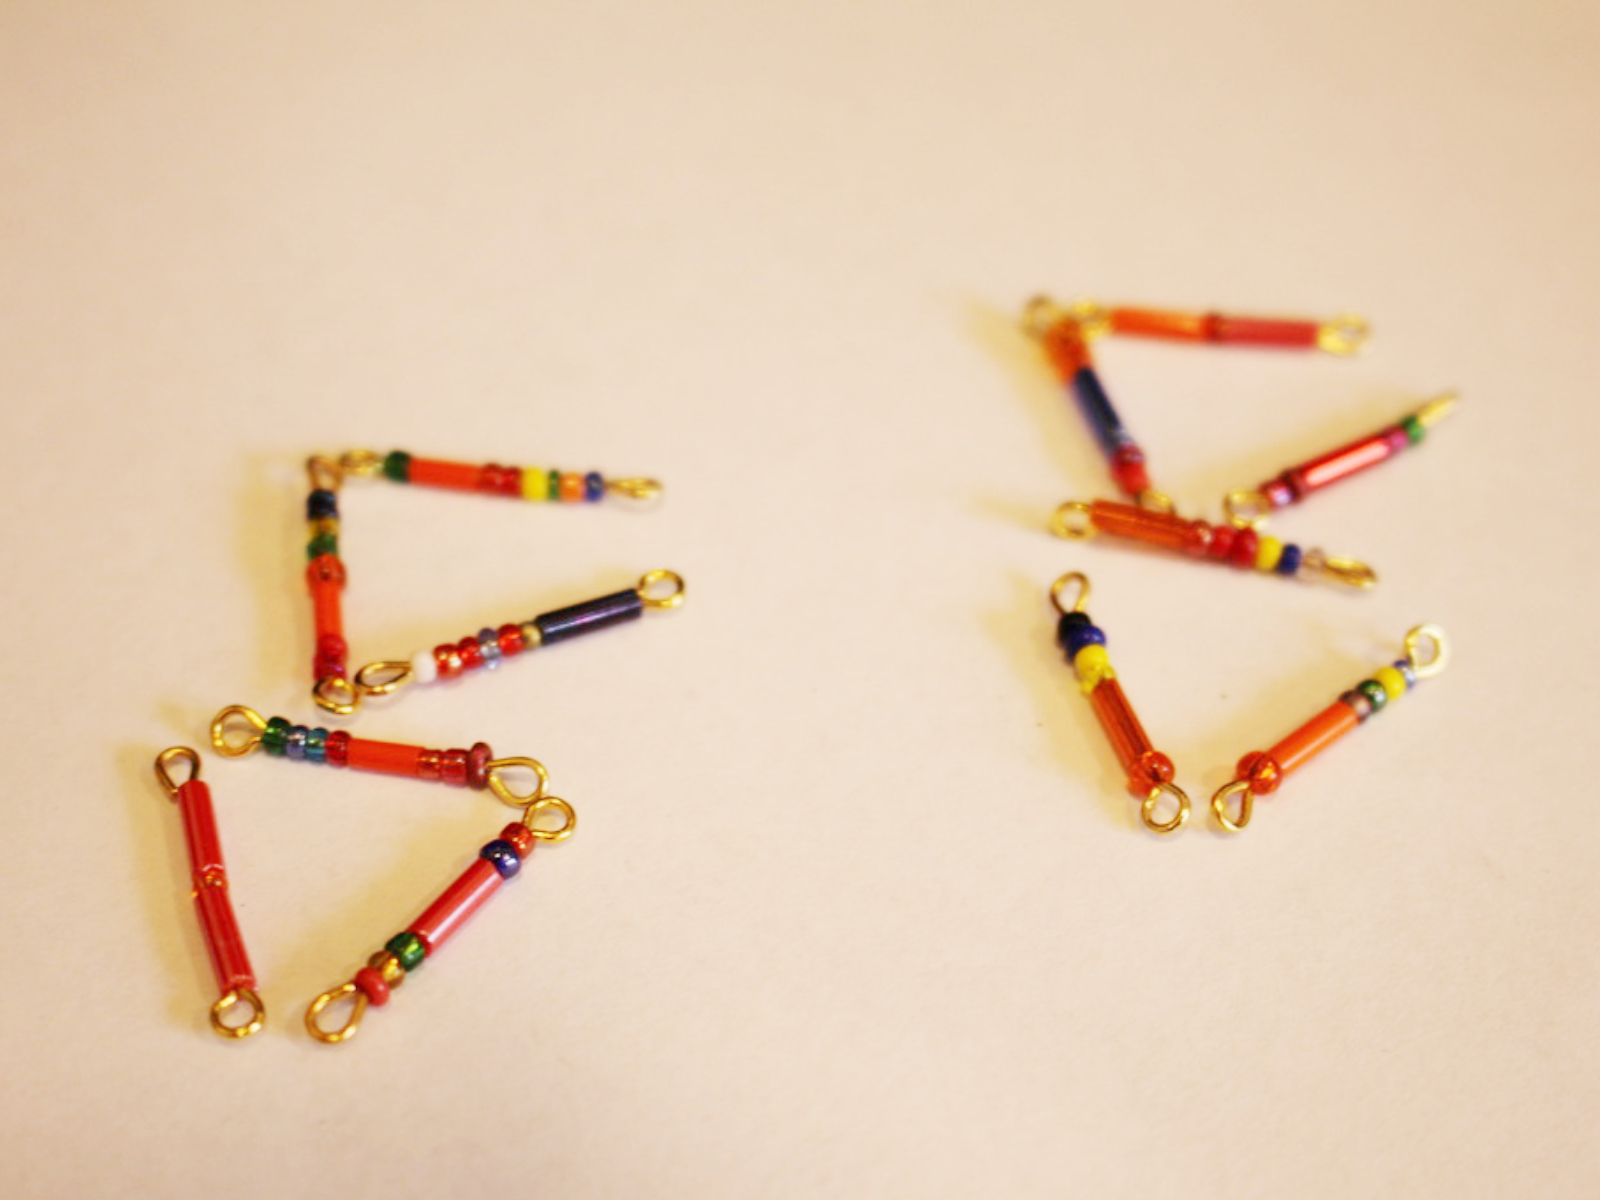
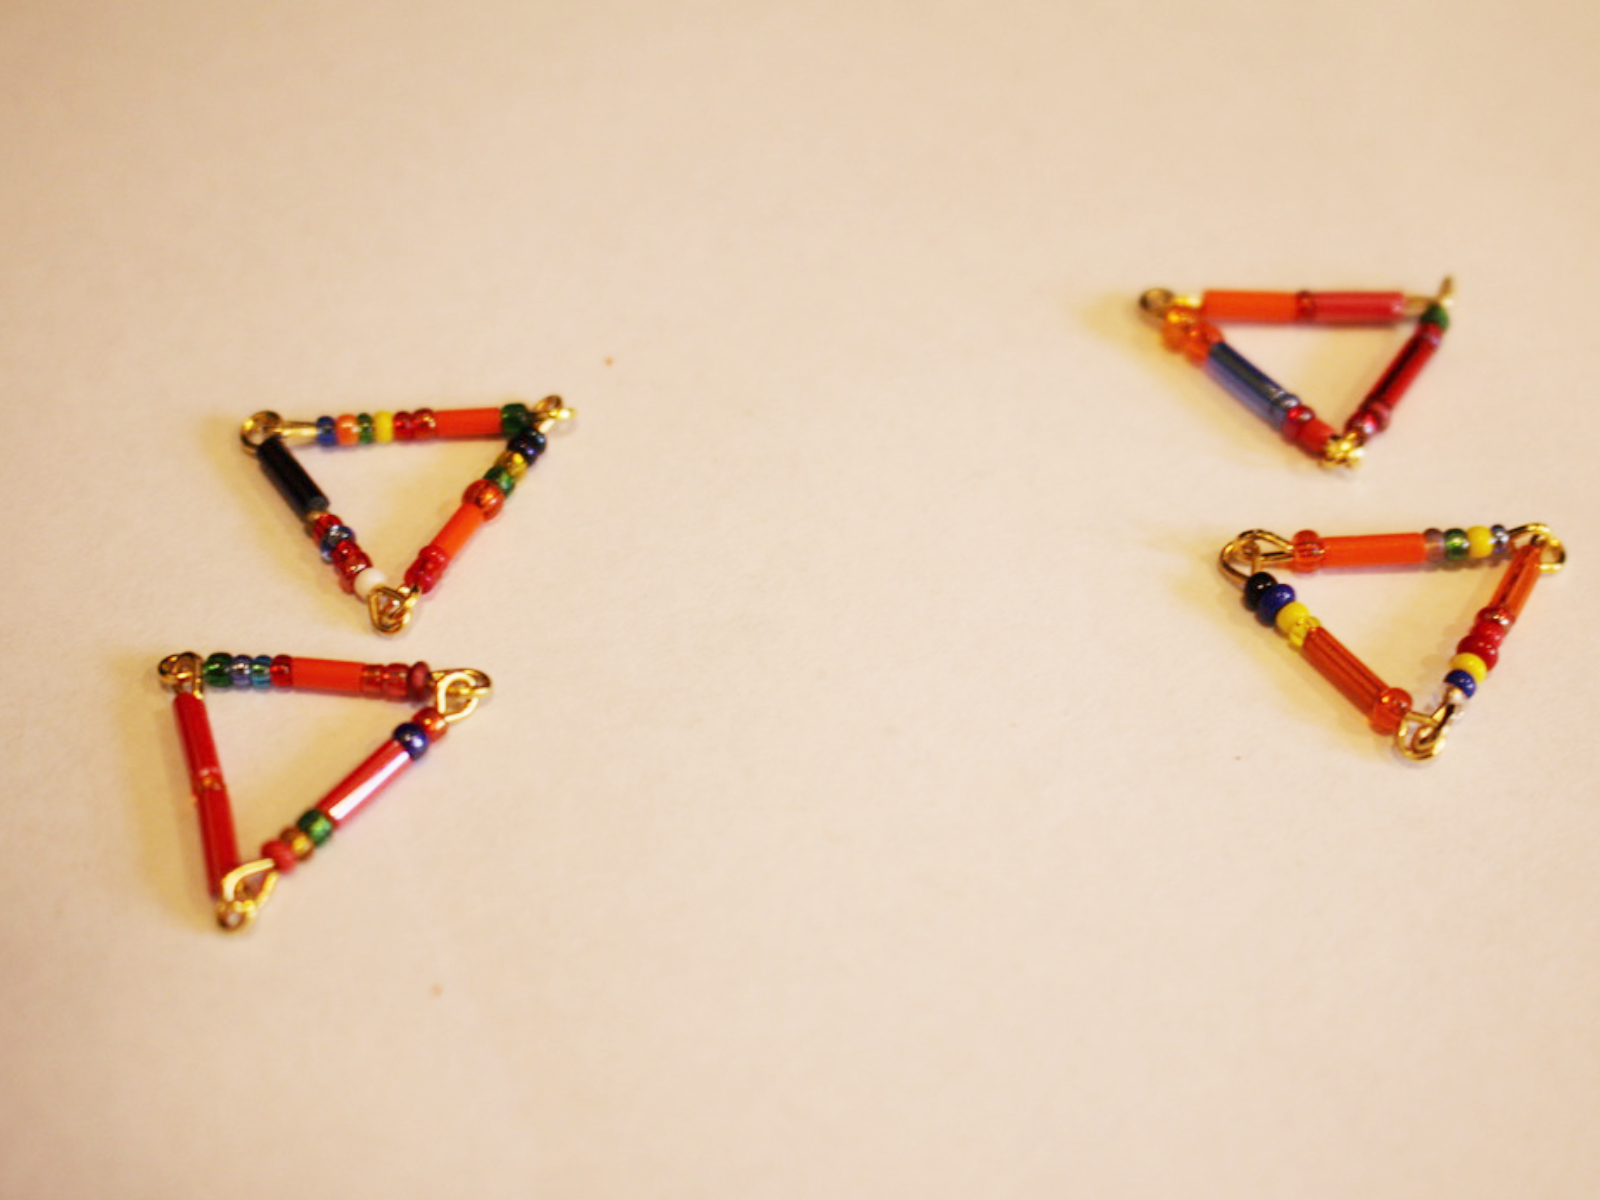
5: Now you have all your eye pins beaded you can begin attaching them together to form your triangles.
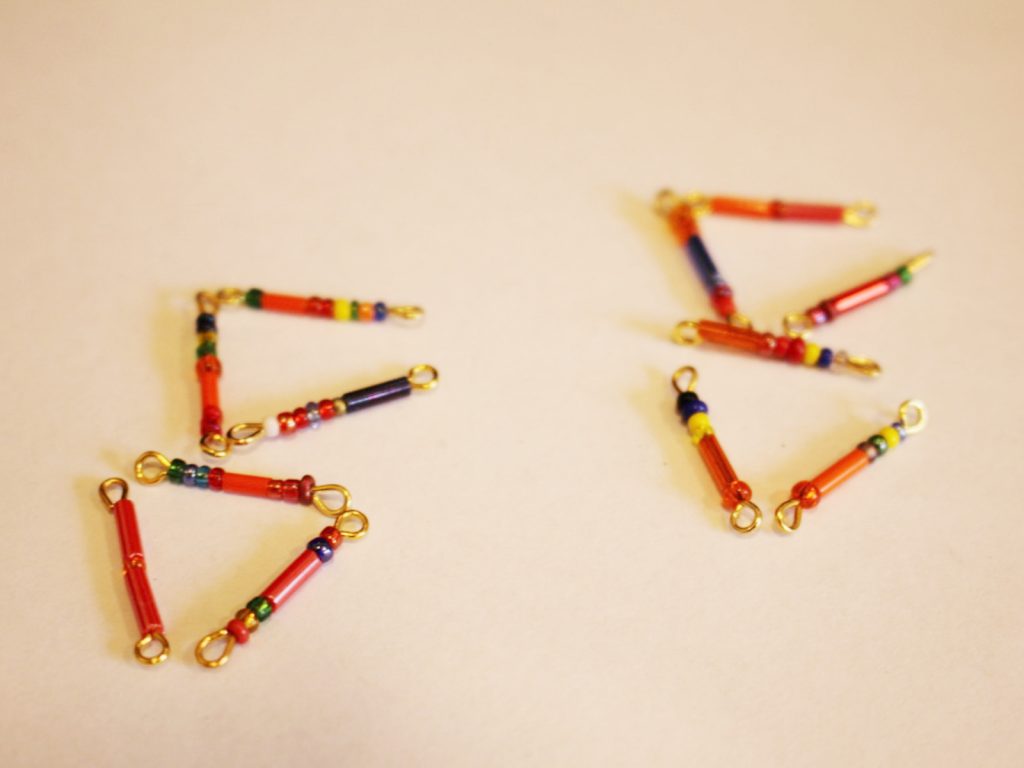
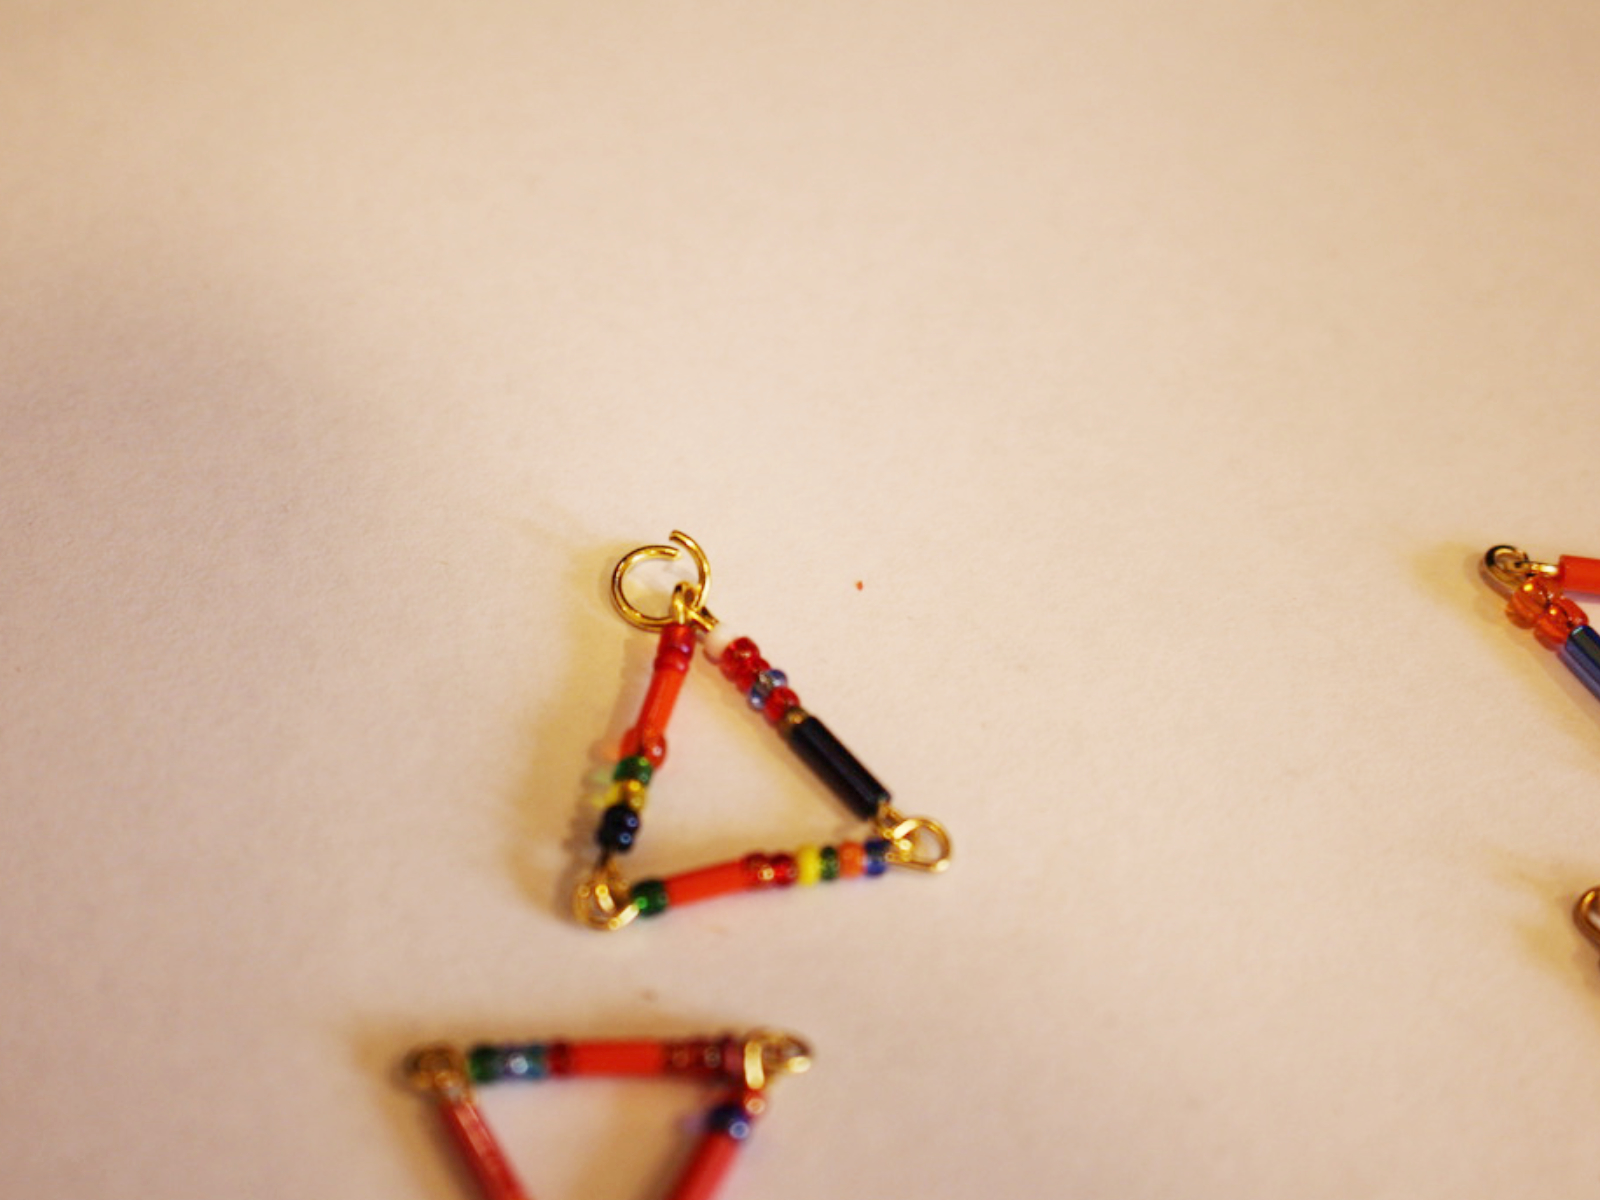
6: Attach one eye pin to another to form a mini-chain.
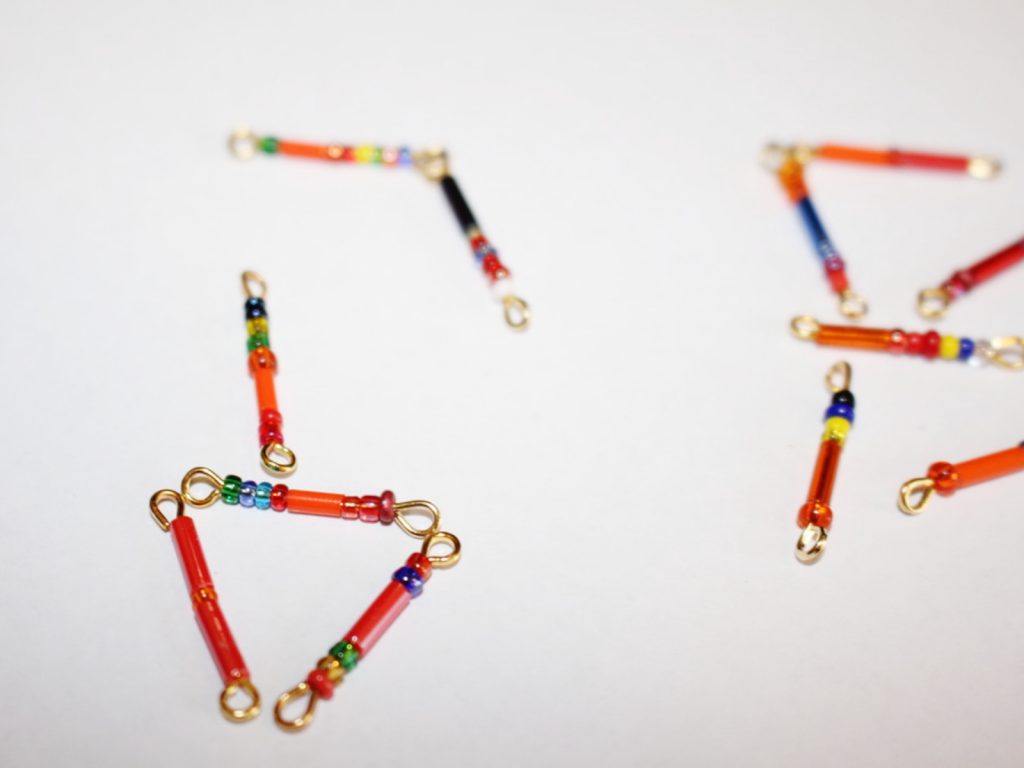
7: Attach another eye pin to the first two.
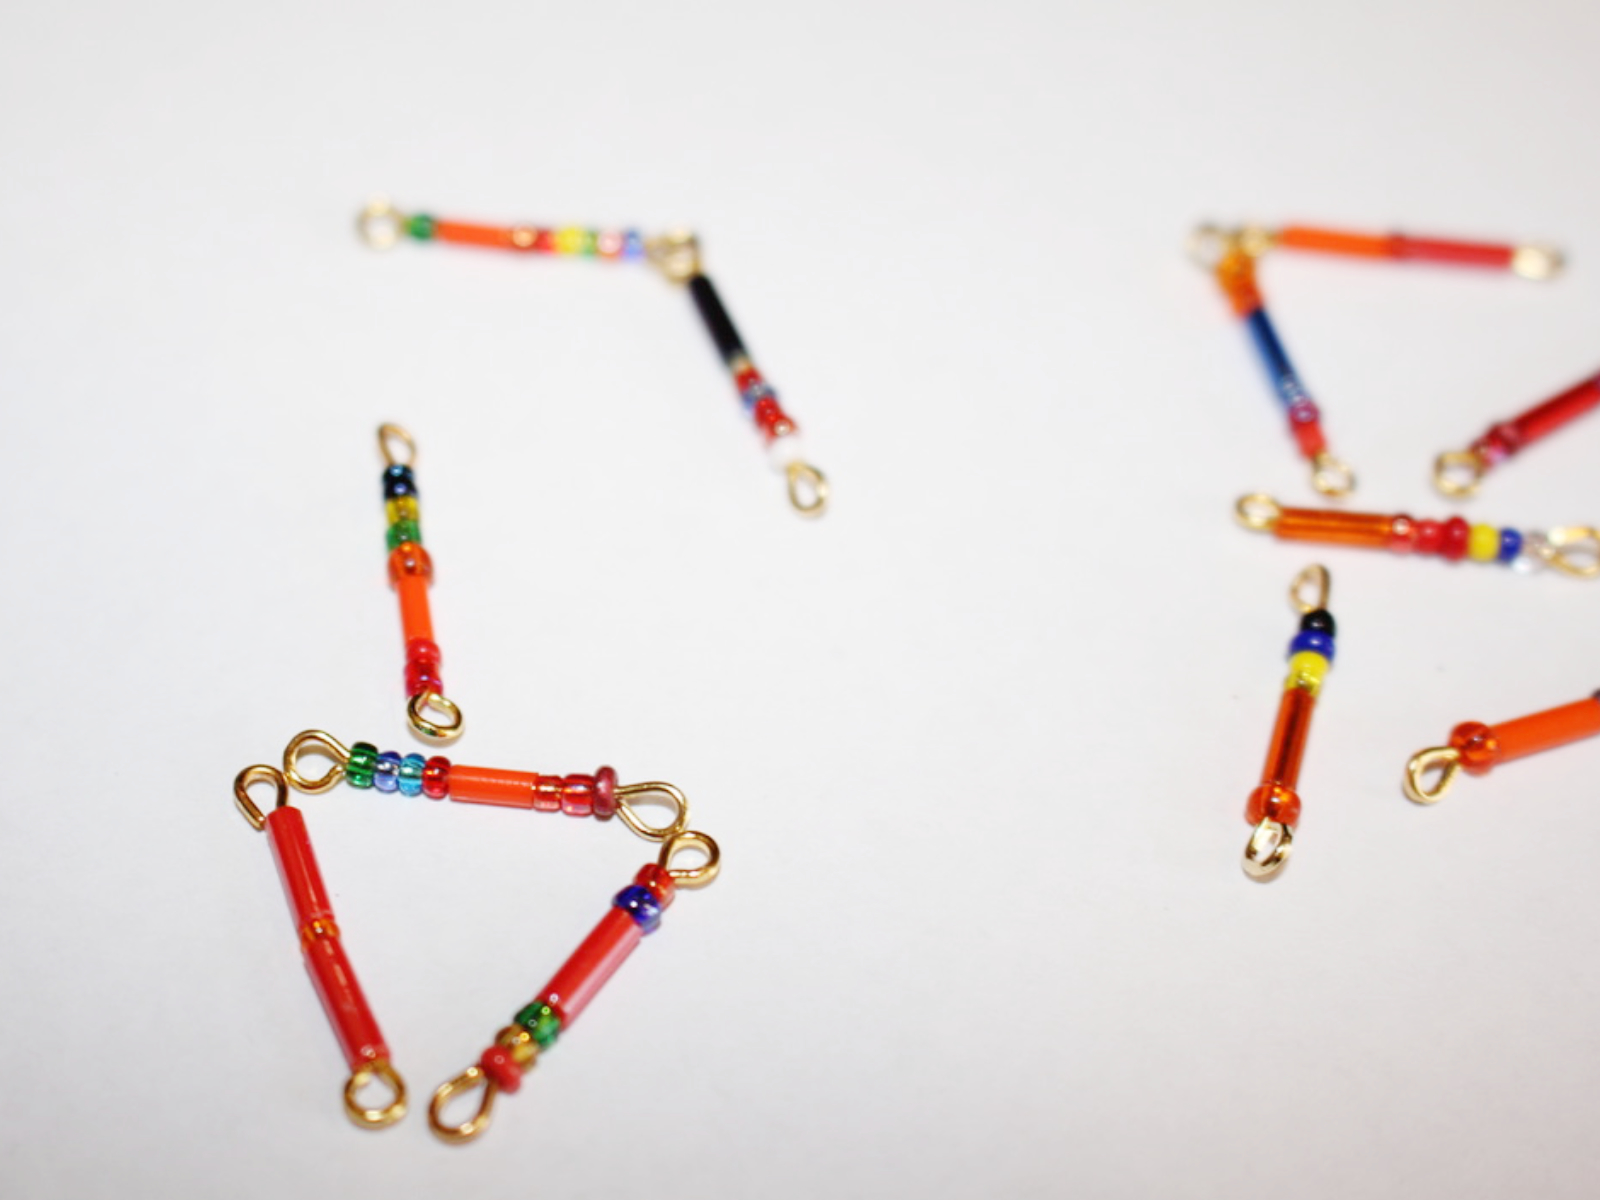
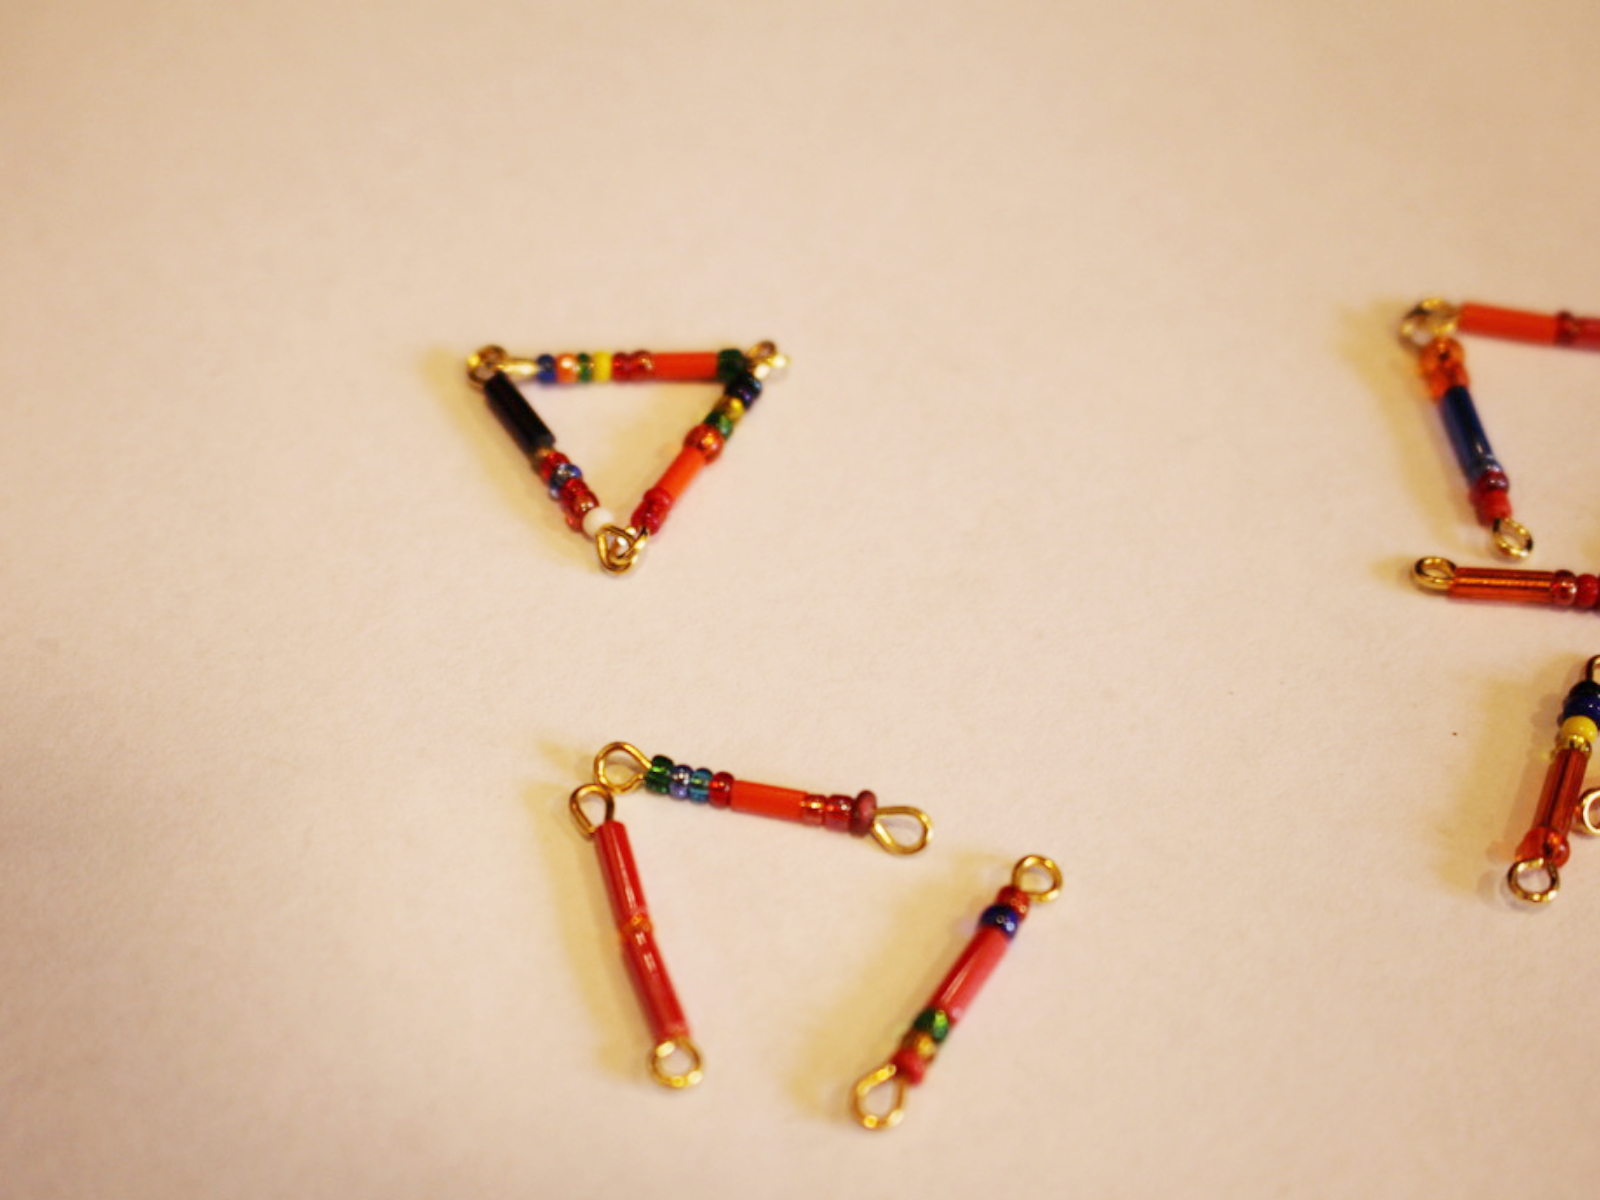
8: Now attach the loose end of the first eye pin to the end of the last eye pin to form a triangle shape. Close the loops to secure the eye pins together.
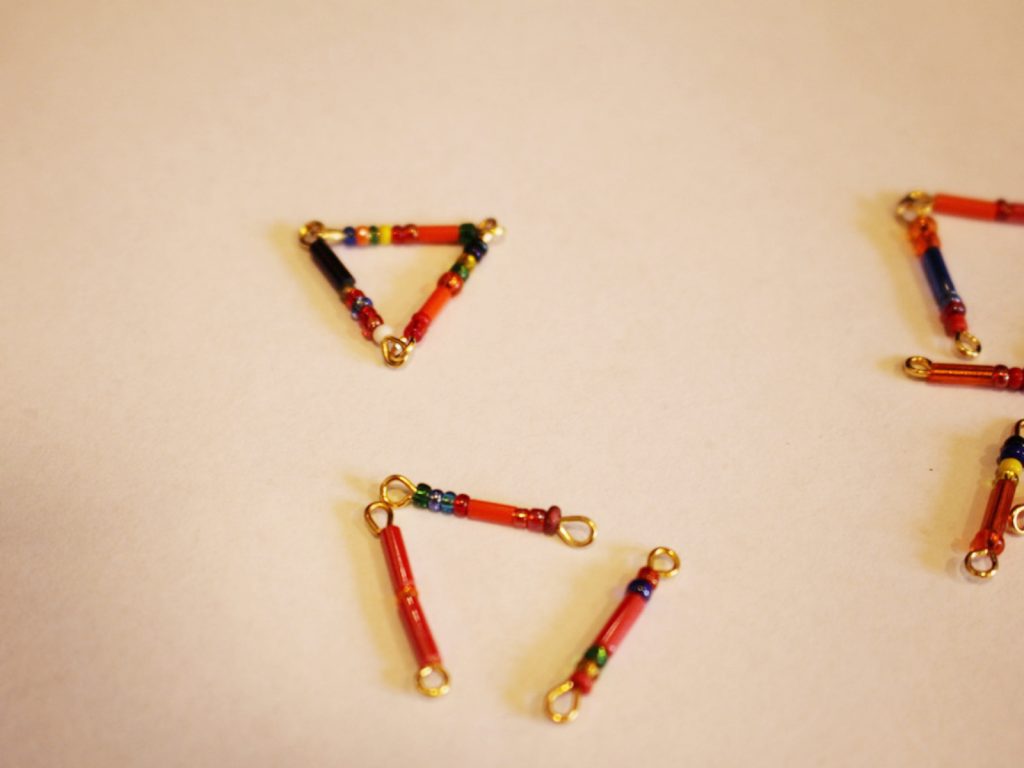
9: Repeat steps 6 to 8 for the other eye pins so that you have four triangles.
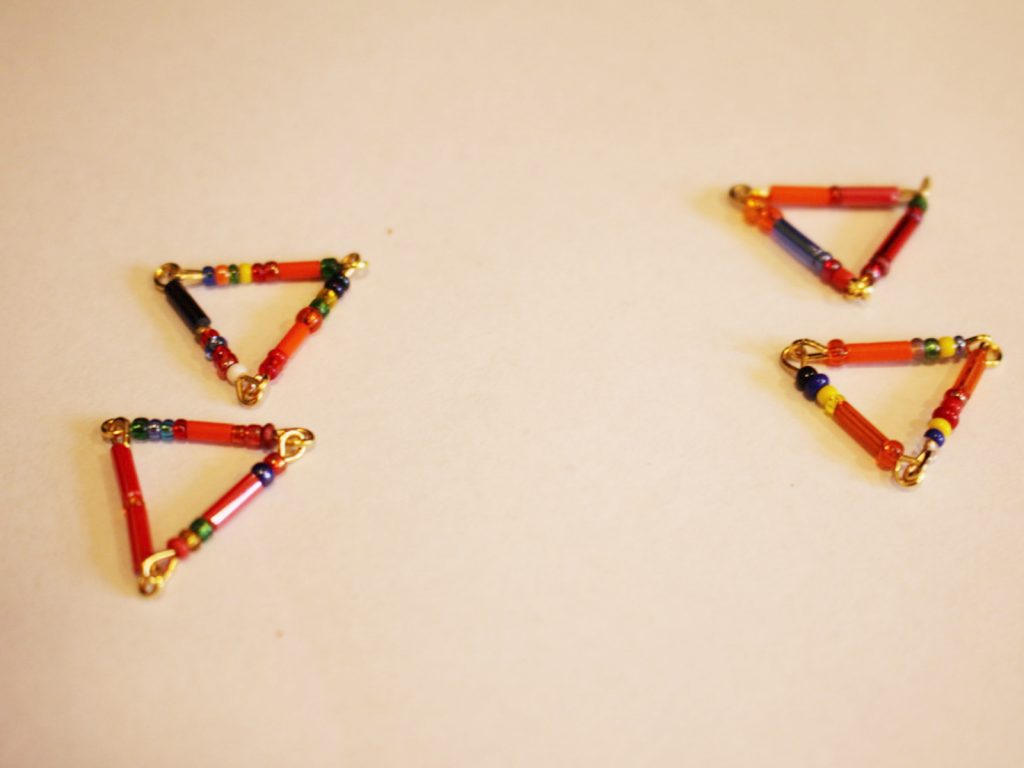
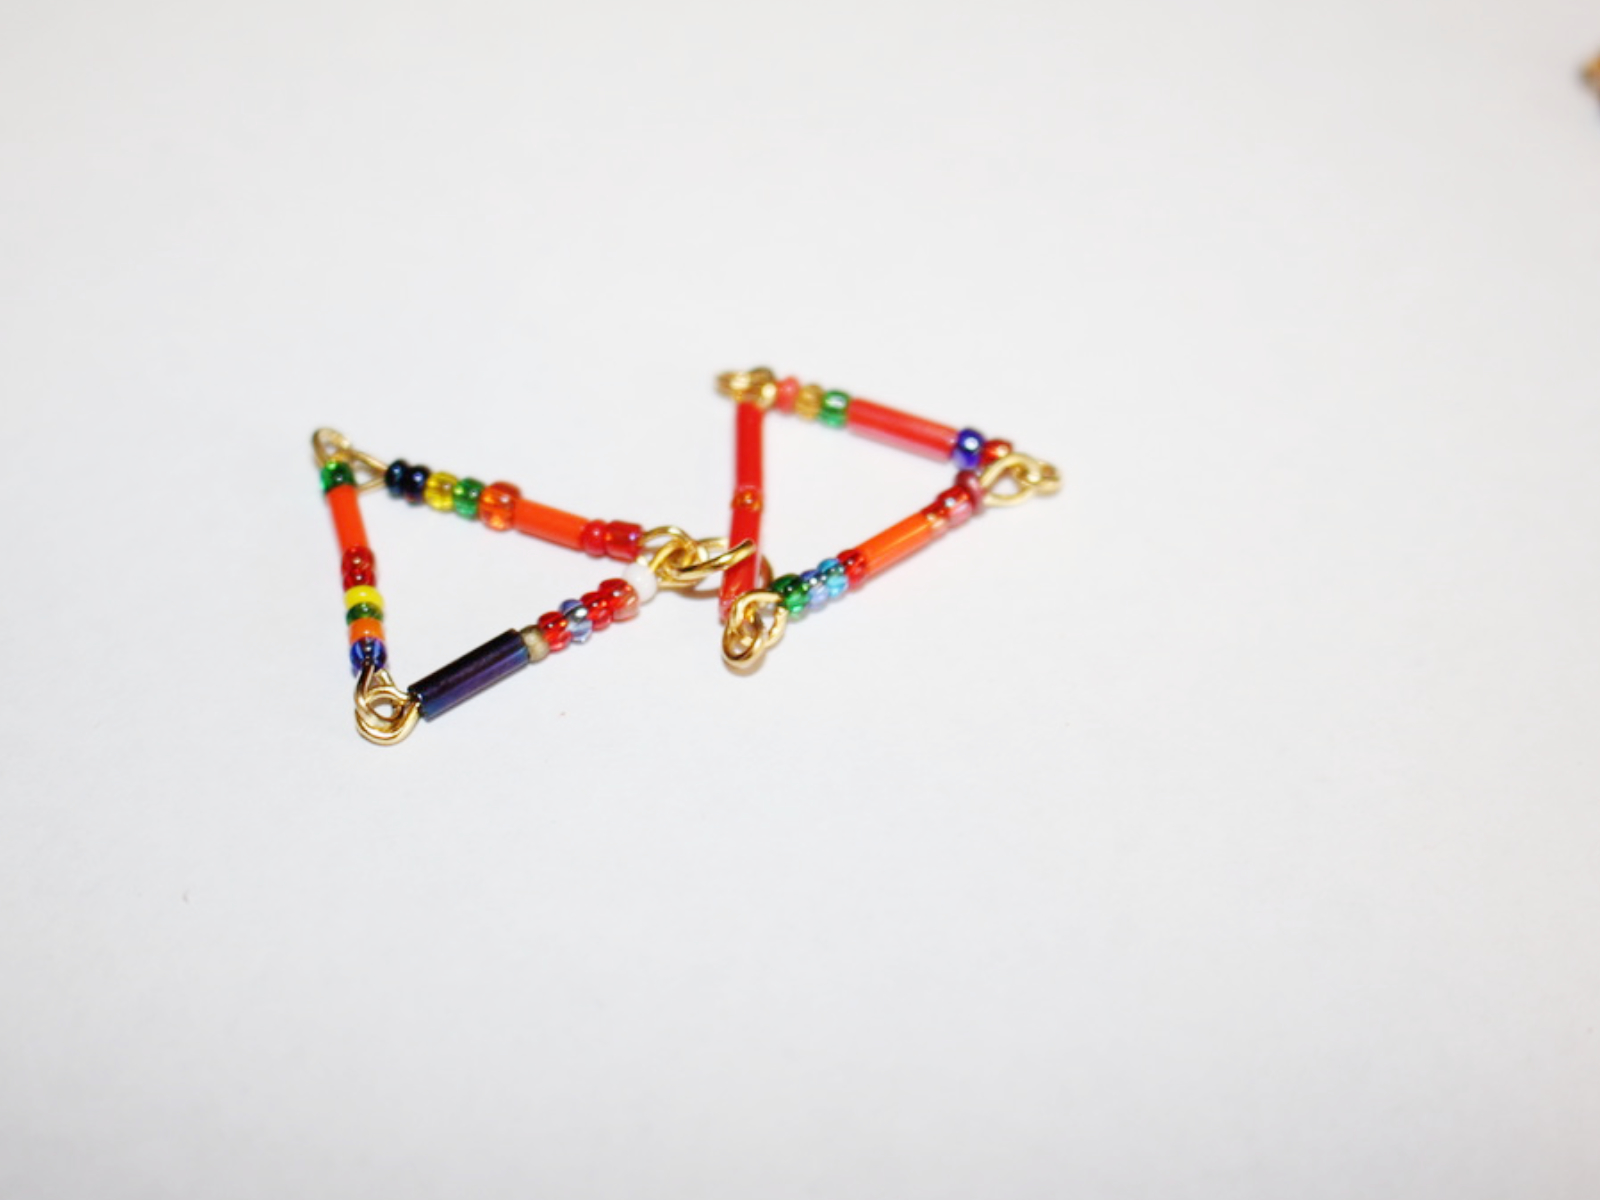
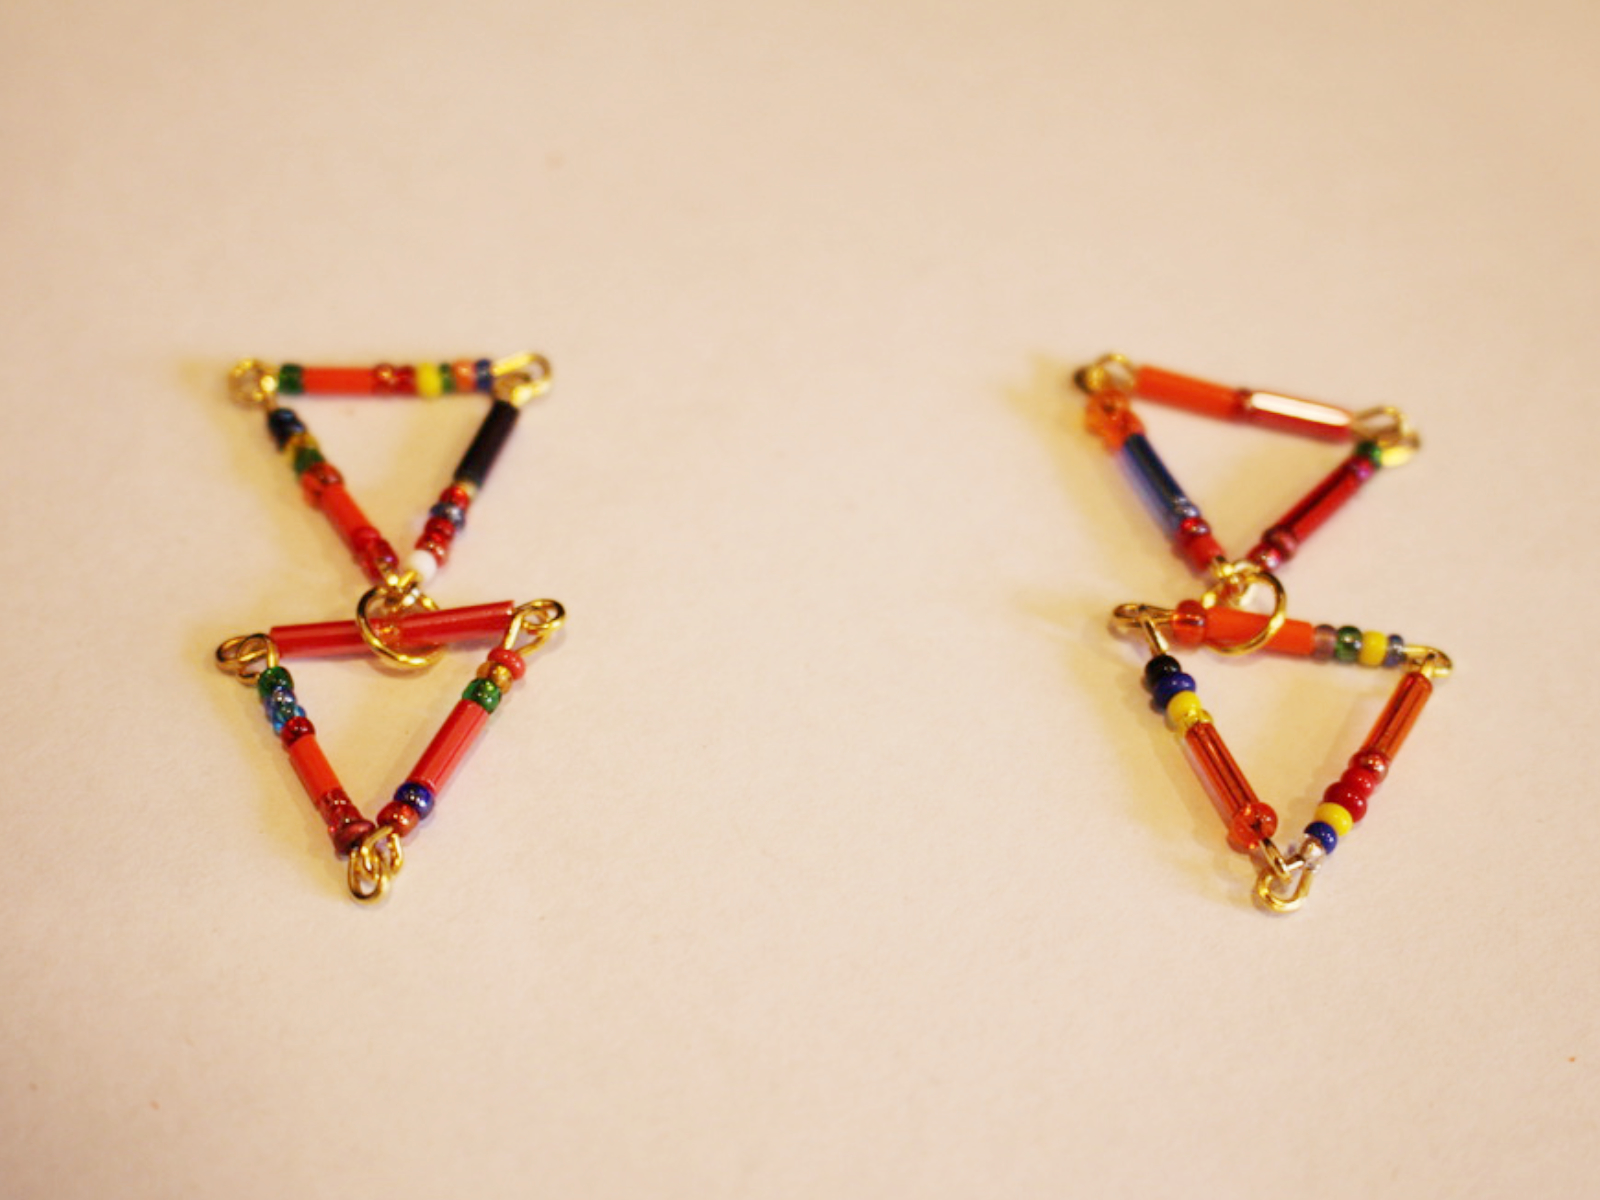
10: Use one of the jump rings to attach two of the triangles together.

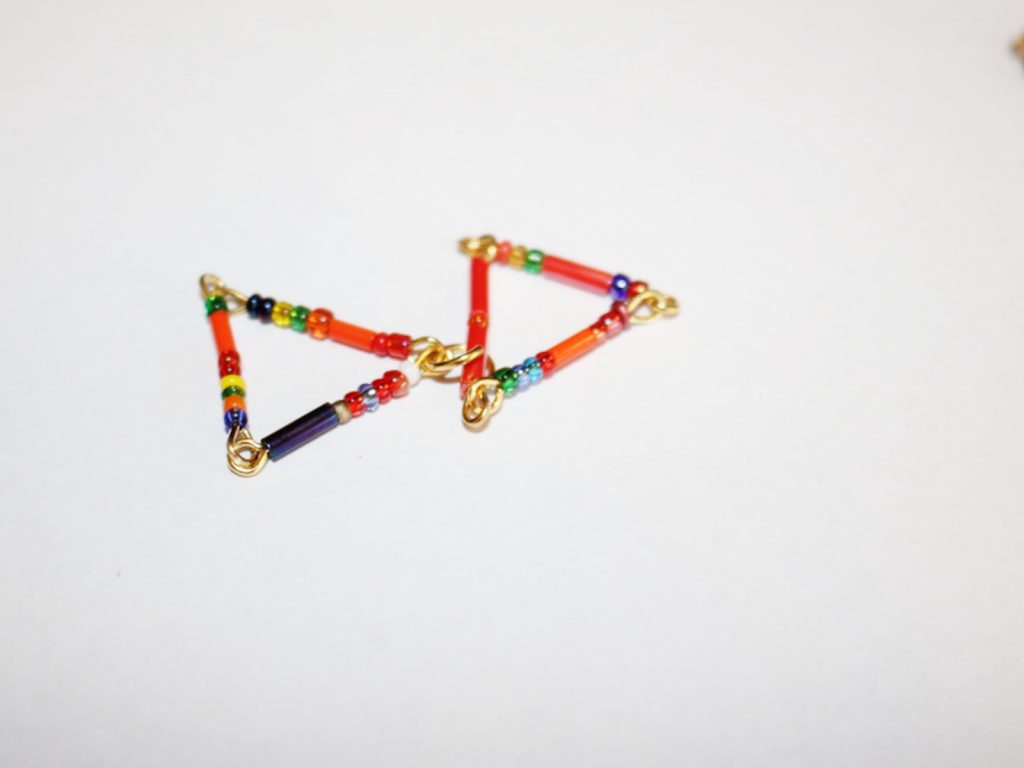

11: Attach a strawberry charm to the bottom of the pair of triangles using another jump ring.
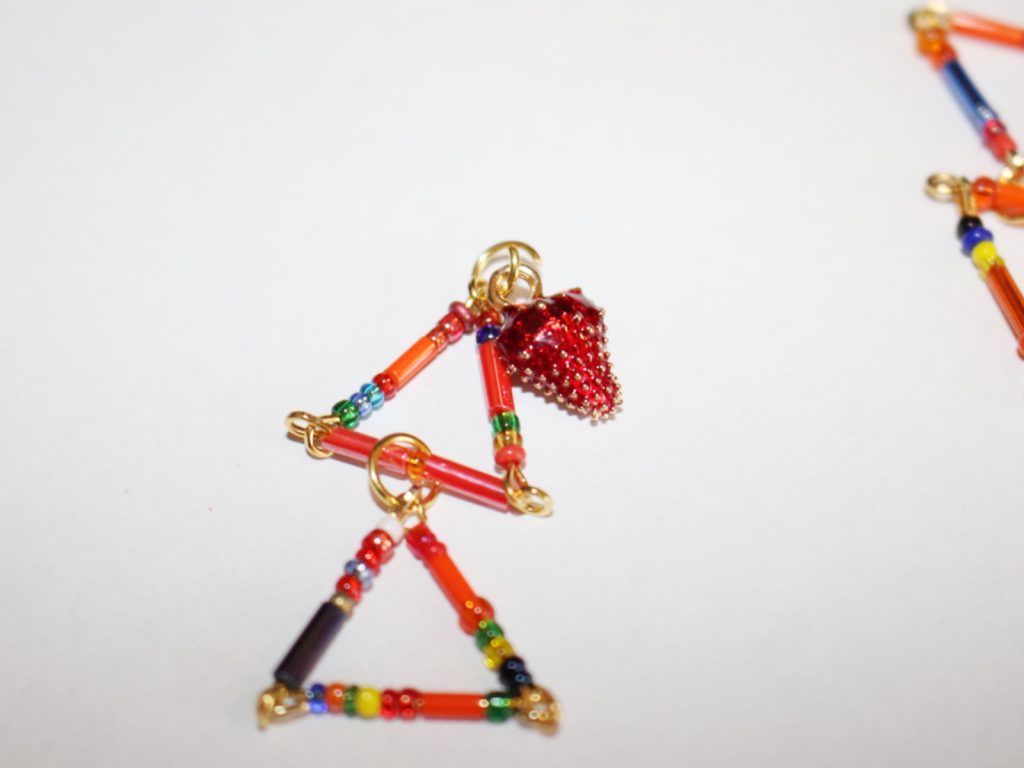
12: Repeat steps 10 and 11 for the other earring.
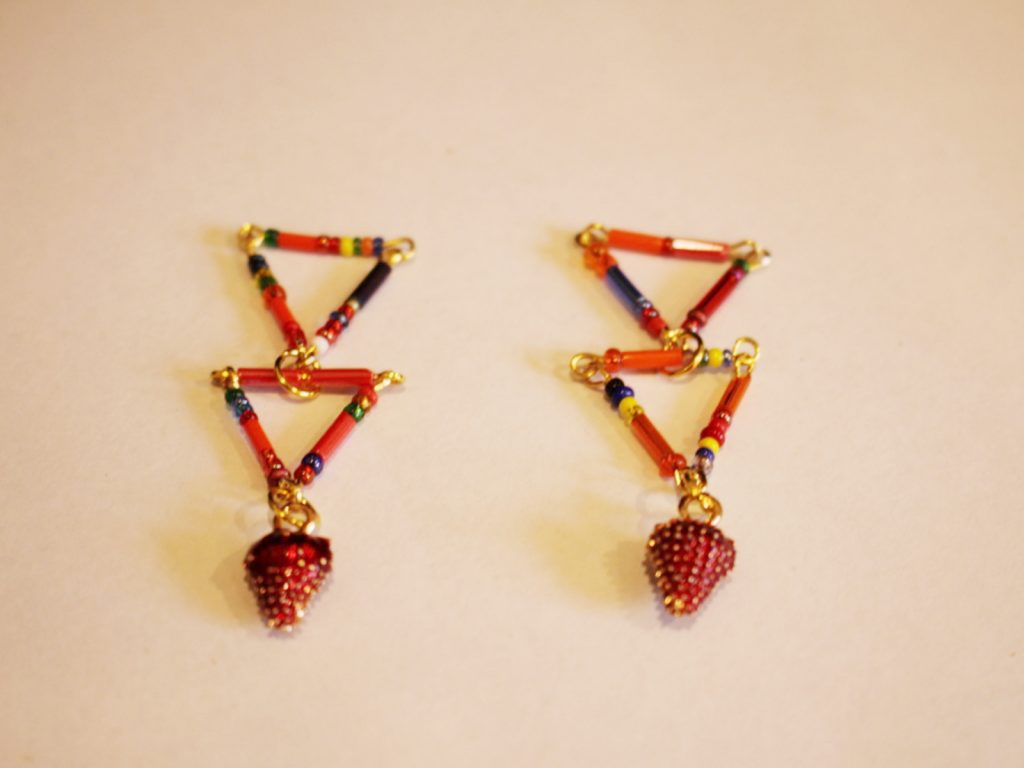
13: Attach the earring posts to each of the triangle charms using the remaining two jump rings to finish them off.

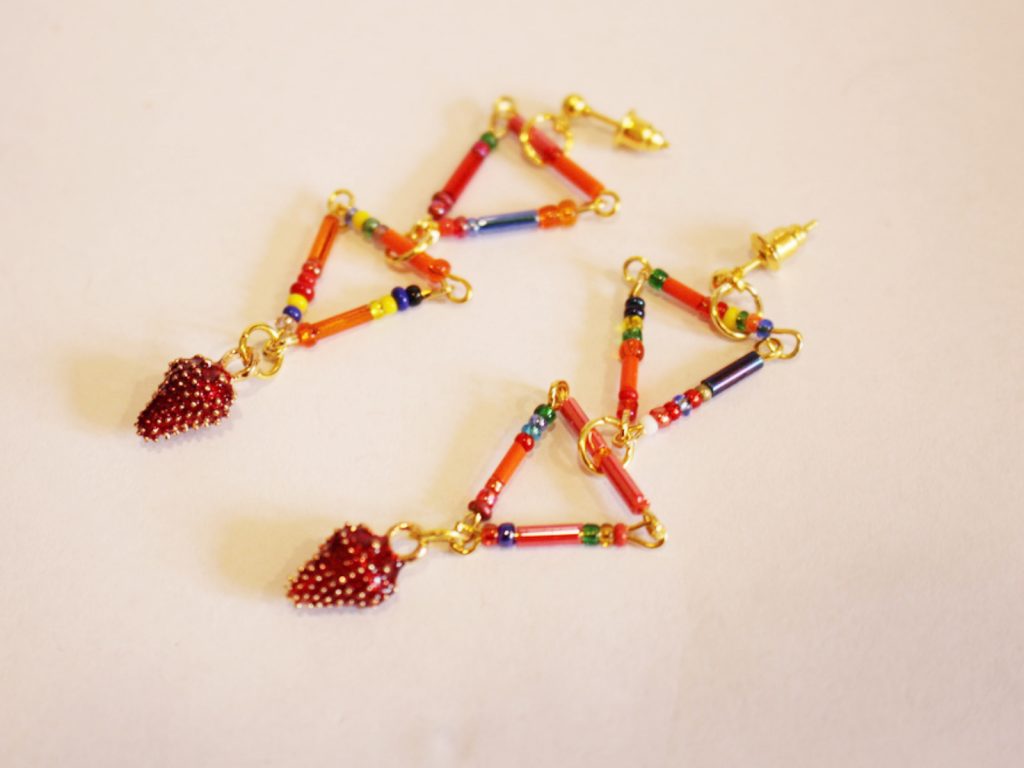
Now your super cute triangle and strawberry earrings are finished and ready to wear! Pop them on at home to add some glamour and fun to your WFH outfit, or throw them on to head out to work, the shops… anywhere really! I really hope you have fun not just wearing these babies, but also making them too!
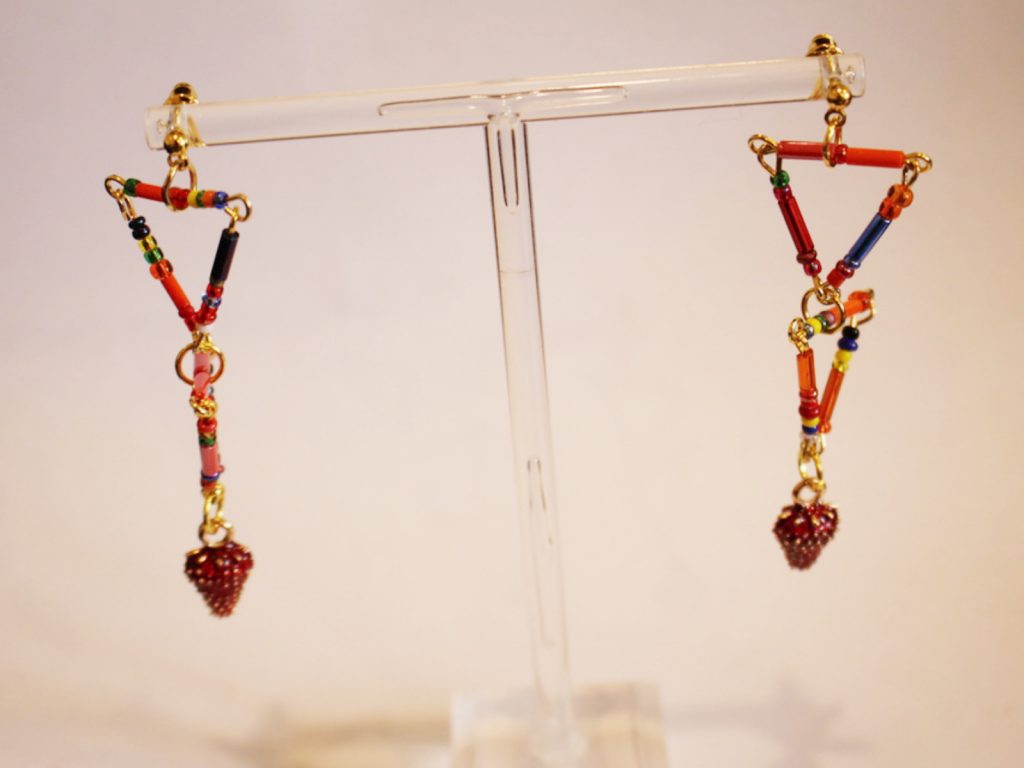
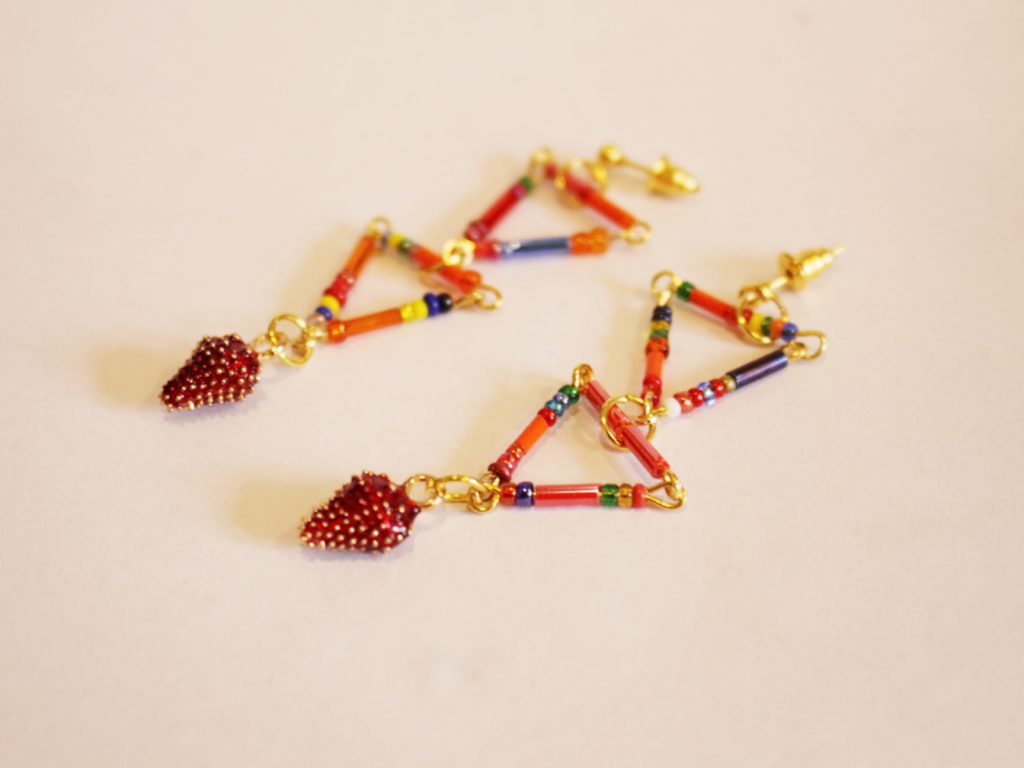
Here are some other triangle designs to try if these cuties tickled your fancy!
- Some long triangle ladder earrings.
- Some cute tiny triangle dangles.
- A triangle pendant necklace made with long tube beads.
- Or a fun triangle pendant that uses chain and gravity to its advantage.
- Simple upside-down triangle earrings.
- A pretty lariat with a triangle detail.
- A video tutorial that shows you how to make triangle tassel earrings.
- Beaded chain triangle earrings.
- A bunting inspired triangle bracelet.
- Another video tutorial that shows you how to make a triangle statement pendant.
- Some simple bead and chain gravity triangle earrings.
Or maybe it’s fruit jewelry that has caught your eye… here are some other fruity pieces you can make:
-
Here’s how to make a fruity waist chain!
This waist chain can be adjustable and is embellished with fun polymer clay fruit beads to make you feel like a tropical human fruit salad! This tutorial shows you a way to put beads on a chain for a fun effect! Please note that this tutorial contains affiliate links.
You’ll need the following tools and materials to make your fruit salad waist chain:
1: Pliers. I used my round nose and flat nose pliers.
2: Chunky chain long enough to fit your waist. Make it a little longer to make your belt adjustable.

3: Two large lobster clasps.

4: Two large jump rings.

5: Some head pins.

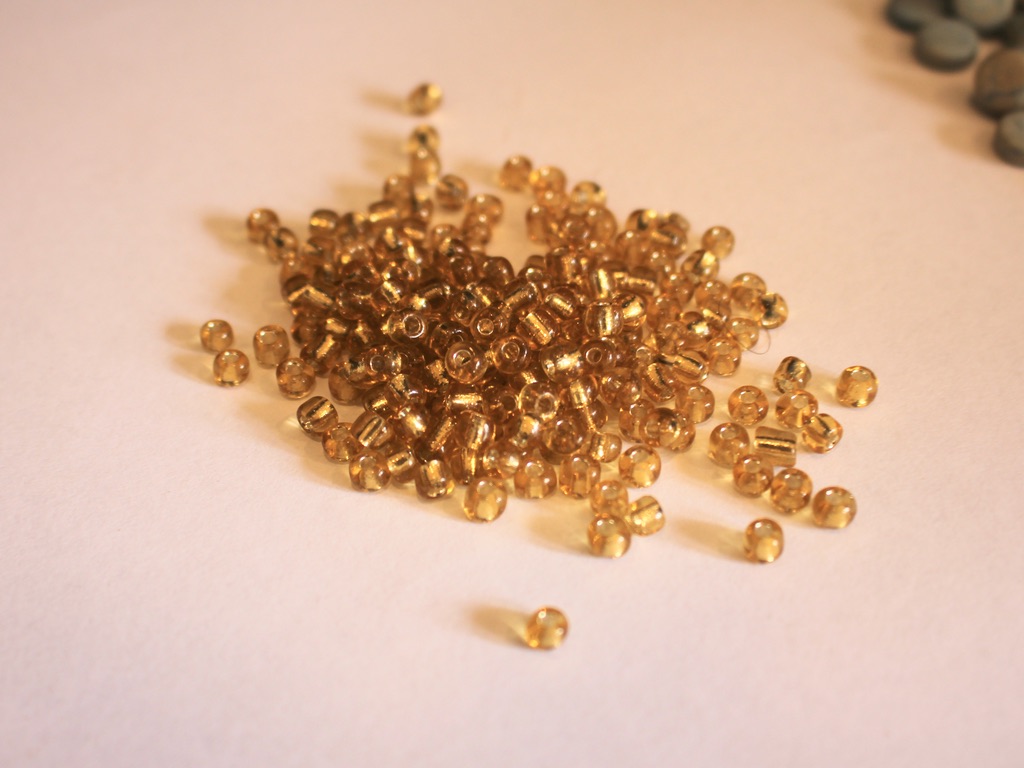
6: Beads. I used polymer clay beads in the shape of different fruits and some yellow glass beads.

Follow these steps to make your fruity waist chain:
1: Attach a clasp to either end of your chain using each of the jump rings. Open the jump ring and slide it through the end of the chain and the clasp. Close the ring to secure the clasp to the chain.


2: Set the chain aside.
3: Add beads to a head pin. I used a few glass beads and a fruit bead on mine.

4: Bend the top of the pin to form a right angle.

5: Create a loop at the top of the pin using the round nose pliers. This will secure the beads on the pin.


6: Open the loop slightly and attach it to one of the chain loops. Close the loop to secure the charm to the chain.


7: Make another charm that features only glass beads and place it on the chain next to the first charm.


8: Continue making fruit and bead charms and attach them to the chain in your chosen pattern until you have a fully beaded chain.

Now your waist chain is finished and ready to wear! You can also wear this design as a necklace.


Here are some other waist chain designs you can make:
-
Anklets are the coolest!!!!! Here’s how to make a simple chain charm anklet.
This anklet is super simple in design, add a cute charm to a plain chain and you’re ready to go! What kind of charms will you put on your DIY anklet? This tutorial contains affiliate links.
You’ll need the following tools and materials to make your simple chain charm anklet:
1: Some pliers. Use your flat nose and round nose pliers.
2: A piece of chain long enough to fit your ankle.

3: Two jump rings.

4: A lobster clasp.

5: Another jump ring.

6: A charm of your choice. I used an enamel peach charm.

Follow these steps to make your simple charm anklet:
1: Add a jump ring to one end of the chain.
2: Add the lobster clasp to the open jump ring. Close the jump ring to keep the clasp in place.


3: Add another jump ring to the other side of the anklet.


4: Add the remaining jump ring to the top of the charm.
5: Attach the charm to the jump ring that attaches the clasp to the chain.

6: Close the charm jump ring to secure the charm in place and finish off your anklet.

Now it is ready to wear! How cute is this little peach charm anklet? I am really into food and fruit themed jewelry at the moment 🙂

This tutorial contains affiliate links.
-
I am obsessed with fruit charms right now, here’s another way to use them!

These fruit threader earrings are amazing and super easy to make! Tutorial contains affiliate links.
You will need the following tools and materials to make your fruit threader earrings:
1: Pliers. You’ll need your round nose and flat nose pliers.
2: Two threader earring findings.

3: Two jump rings.

4: Two fruit charms. I used these glass orange charms.

Follow these steps to make your fruit threader earrings:
1: Add a charm to the bottom of the threader using one of the jump rings.

2: Close the jump ring to secure the charm in place.

3: Repeat steps 1 and 2 for the second earring.

That’s all! An amazing pair of earrings in three steps!