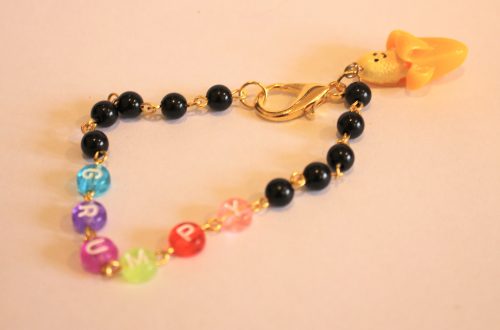
Make this cutie-pie bracelet using a charm connector today!
Have you ever seen a charm that has two loops rather than one? That’s a charm connector! These charms let you join two different strands to create unique pieces of jewelry. I have already shown you how to make a braided friendship bracelet using a charm connector, in this tutorial I will give you all the knowledge you need to make a beaded bracelet that features a pretty silver charm connector.
You will need the following tools and materials to make this charm connector bracelet:
1: Pliers. You will need your cutting pliers and your flat nose pliers to make this bracelet.


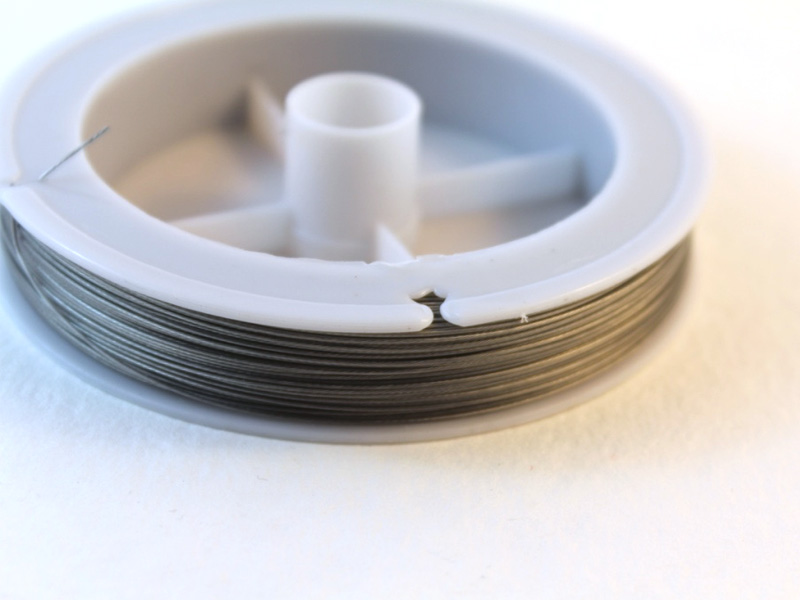
2: Tiger tail wire.
3: Eight crimp beads.

4: A toggle clasp.


6: Beads of your choice. I used some pink glass bugle beads and some blue glass seed beads.


The Steps:
1: Use your cutting pliers to cut two lengths of tiger tail wire long enough to fit halfway around your wrist. I cut mine with a little extra length to ensure that my bracelet would fit.


2: Take one piece of tiger tail wire and add two crimp beads to the end, then fold the end of the wire around one loop on the charm connector.


3: Squash the crimp beads to secure the wire and charm together using the flat nose pliers.
4: Repeat steps 2 and 3 for the second tiger tail strand attaching it to the other side of the charm connector.

5: Begin adding beads to one side of the bracelet. I started with the pink bugle beads.

6: Continue adding beads until the beaded section reaches approximately half way around your wrist.

7: Add two crimp beads to the strand.

8: Add one side of the toggle clasp to the strand as well, fold the wire around the clasp and back through the crimp beads.

9: Squash the crimp beads using the flat nose pliers to secure the strand.

10: Trim the excess wire using the cutting pliers.

11. Repeat steps 5 and 6 for the second strand. Continue beading until the second strand is approximately the same length as the first.


12: Add two more crimp beads and the other end of the toggle clasp to the end of the second strand.

13: Bend the wire around the clasp and back through the crimps as you did the first strand.

14: Secure the strand by squashing the crimp beads using the flat nose pliers.

15: Trim the excess wire close to the crimp beads using the cutting pliers.
16: Once all the extra wire has been trimmed your bracelet is finished and ready to wear! This is such a cute way to make a stunning bracelet. Charm connector bracelets look great stacked with other beaded bracelet designs! Style yours up any way you like.


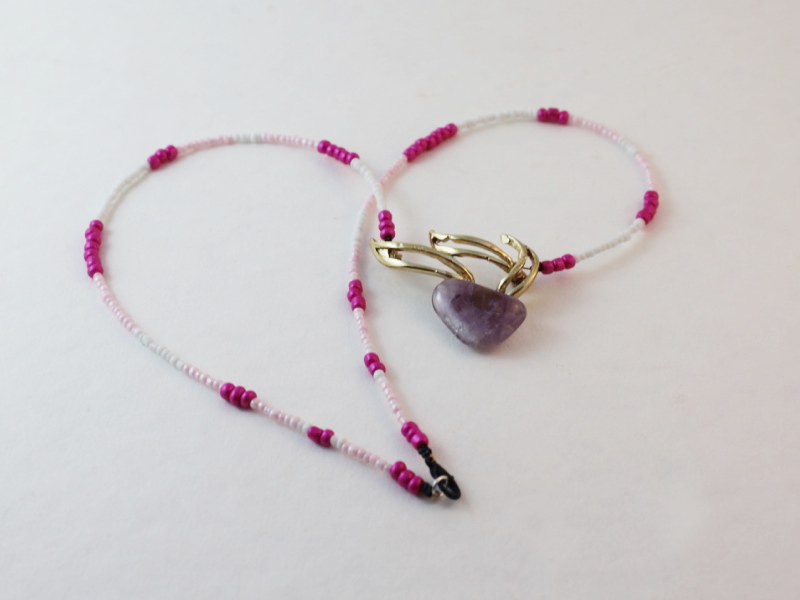
Here are some other beaded charm connector bracelet designs. You can get really experimental and creative with charm connectors. Happy making!


Here are some other charm connector tutorials on DIY Jewelry Hub
- A delicate charm connector anklet
- A charm connector bangle
- Charm connector statement earrings
- Braided charm connector bracelets
Please note that this tutorial contains affiliate links.
DIY Jewelry Hub
Welcome to DIY Jewelry Hub. If you’ve ever wanted to learn how to make your own jewelry this is the place to start! Jewelry is a great way to show off your individuality and style. You’ll be surprised at how easy it is to create your own unique pieces! DIY Jewelry Hub will equip you with all the knowledge and inspiration you need to make your own jewelry.

You May Also Like

This Cluster Bracelet Design is so Fun and Pretty to Boot!
How to make a letter bead chain bracelet!