-
Like chains and beads? Why not mash them together to make this bead chain bracelet?
This bracelet uses wire and beads to make big loops that you then turn into a bracelet! This cute design is perfect for wearing with summer outfits.
You’ll need these tools and materials to make your bracelet:
1: Pliers. I used cutting pliers, flat nose pliers and round nose pliers.

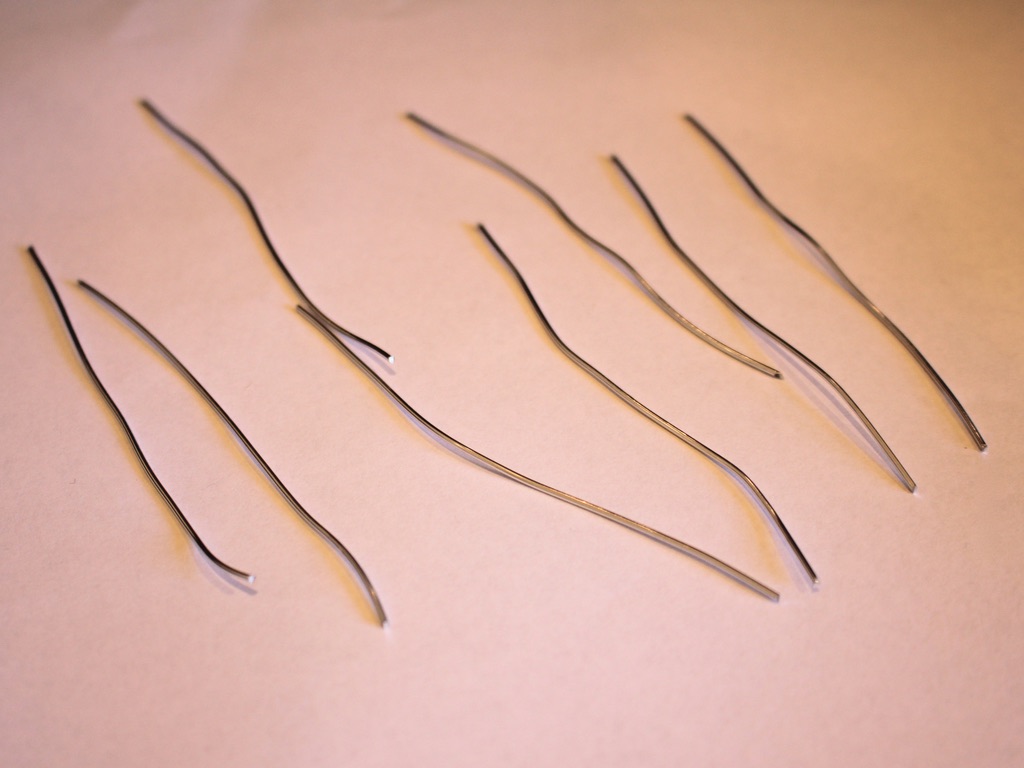
2: Some pieces of soft wire. I used eight pieces approximately 9cm long, but you may want to use more or less depending on the size of your wrist. My final bracelet was a little on the small size.
3: Two jump rings.

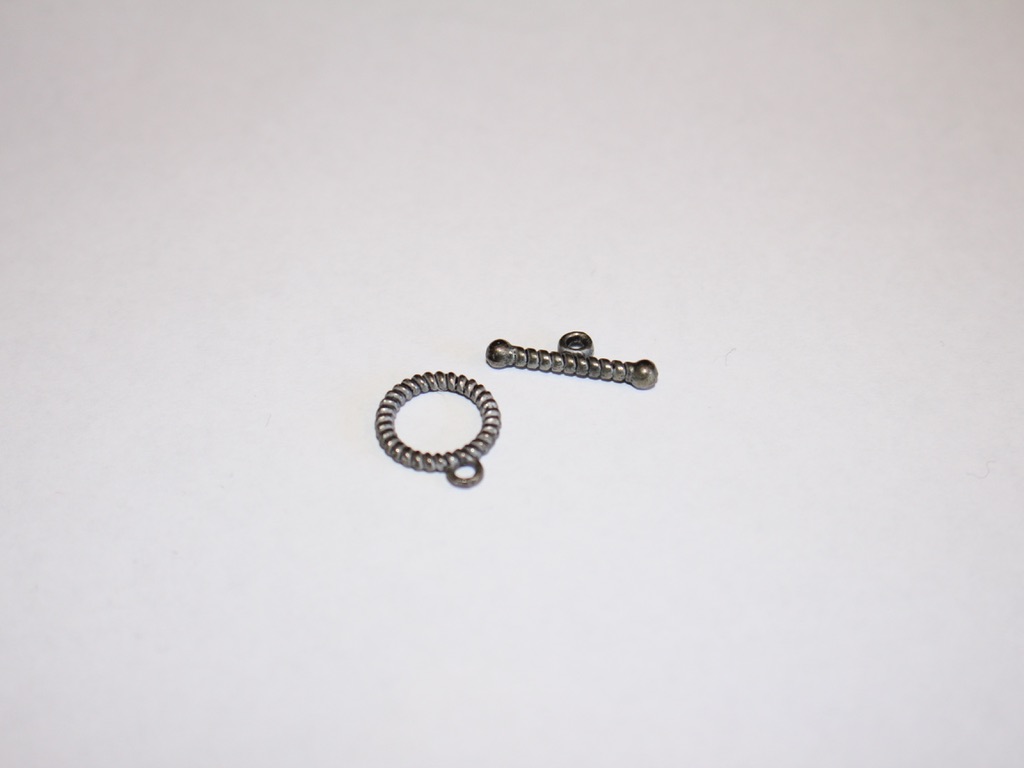
4: A toggle clasp.
5: Beads. I used yellow glass e-beads.

Follow these steps to make your chain bracelet:
1: Take one of the pieces of wire and create a loop at one end using the round nose pliers. Do this by bending approx. 1cm of wire to form a right angle and then loop it around the round nose pliers.

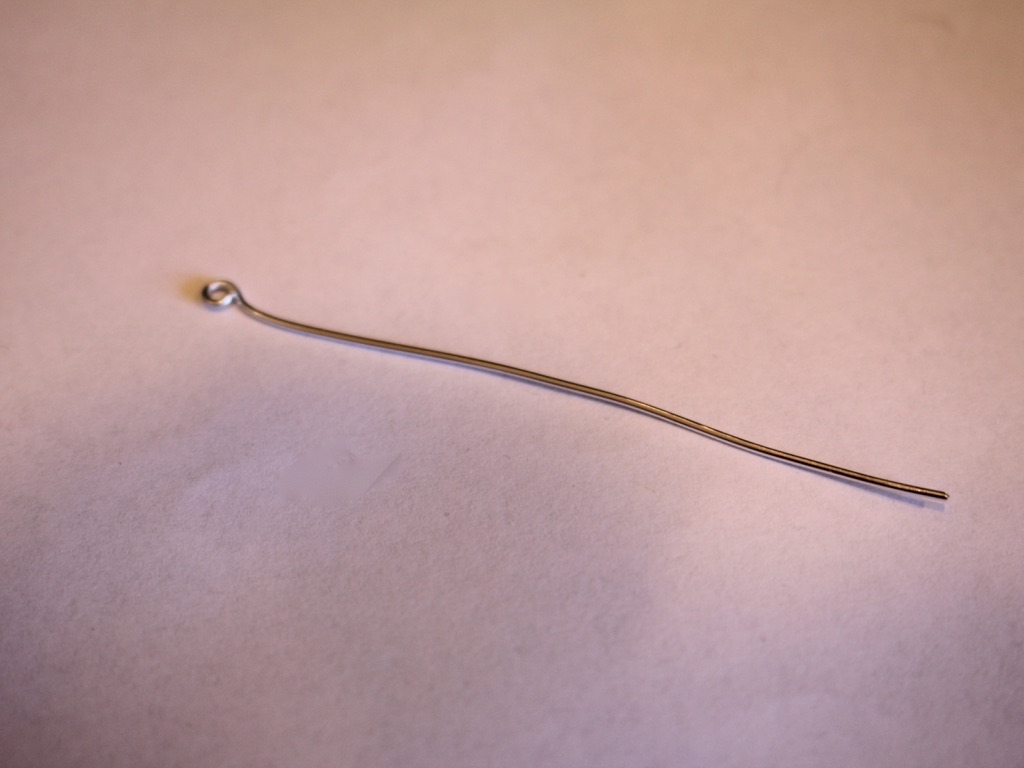
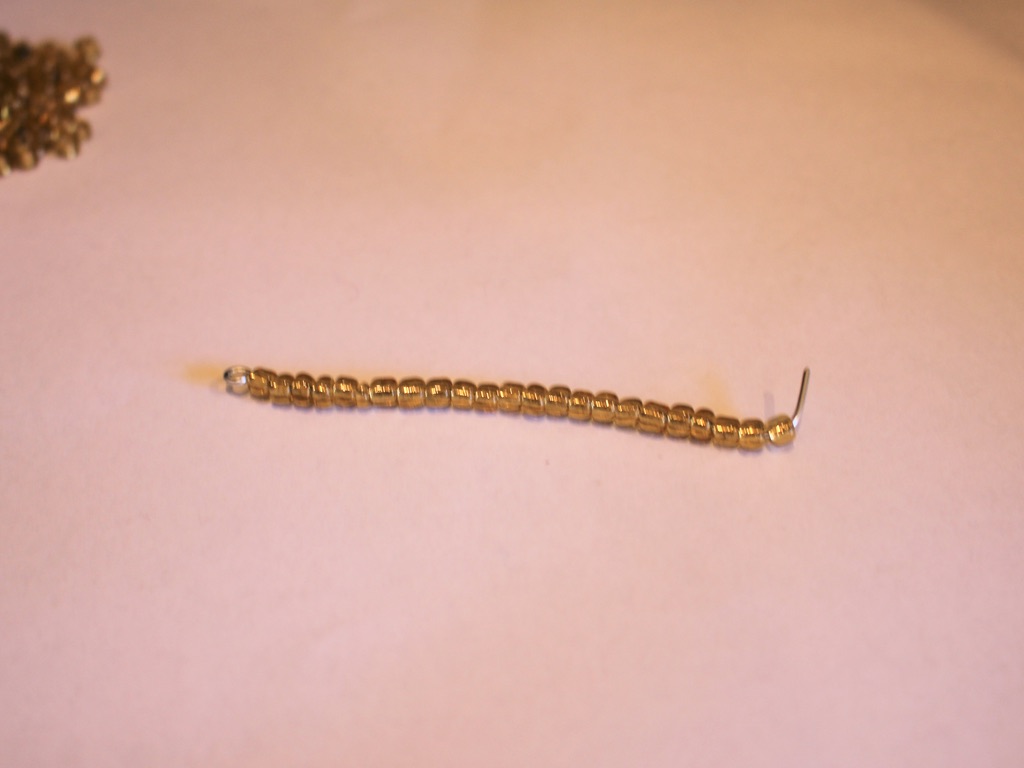
2: Add beads to the wire leaving 1cm unbeaded.


3: Create another loop at the other end of the wire.
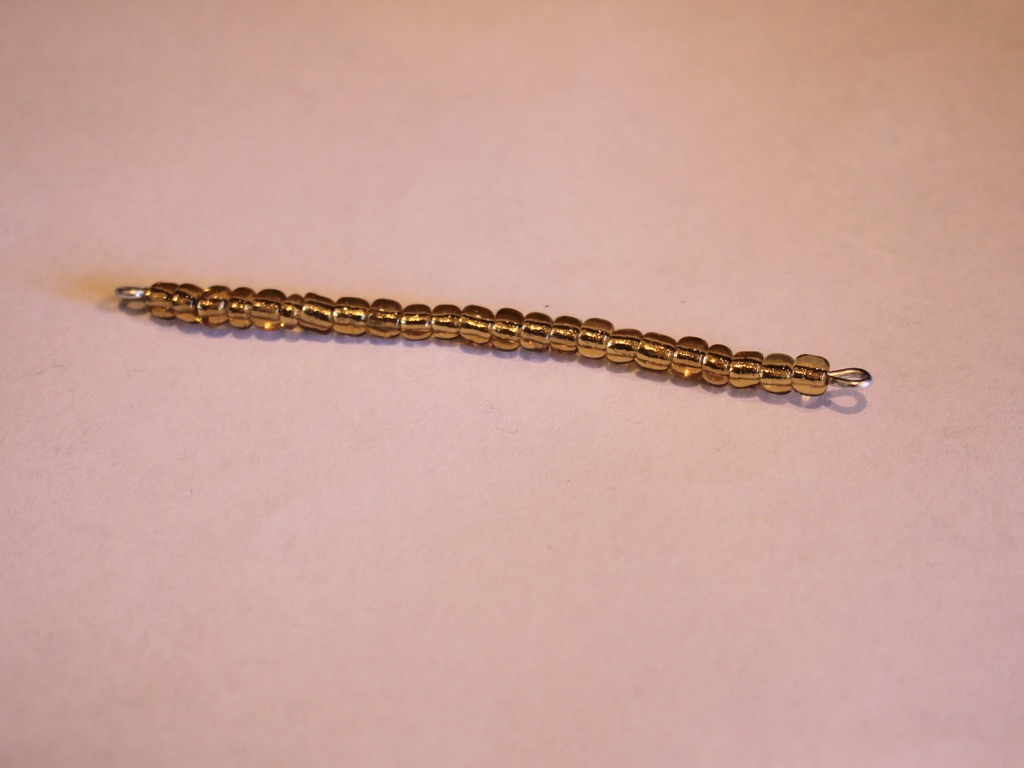
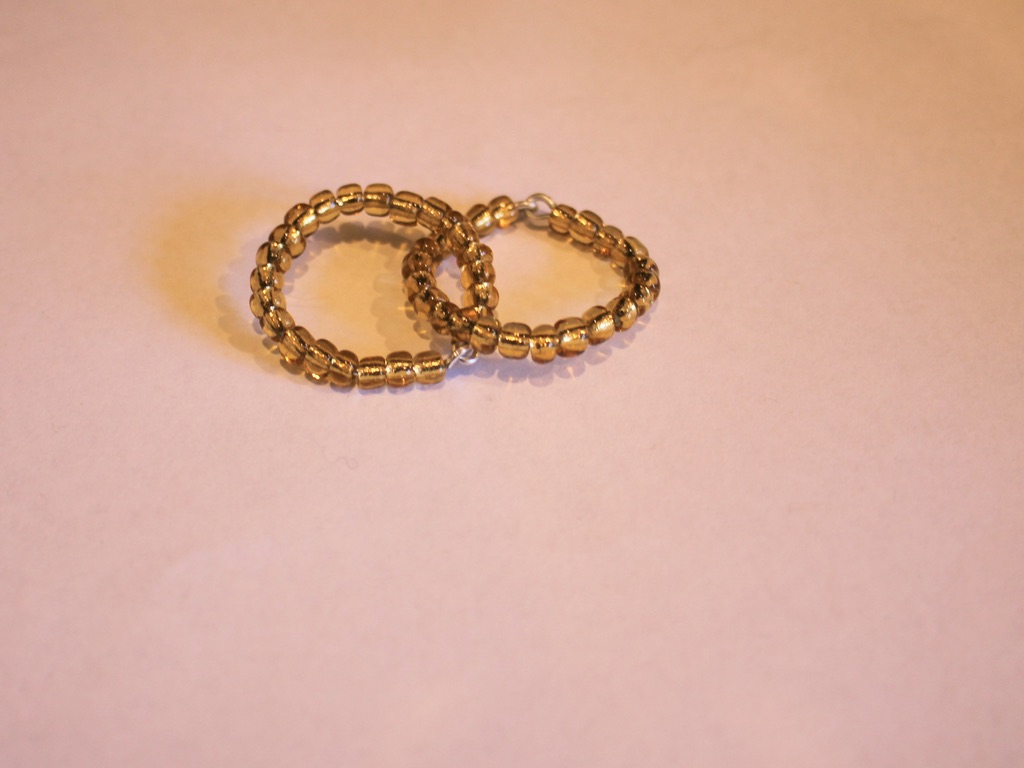
4: Bend the beaded wire into a circle shape.
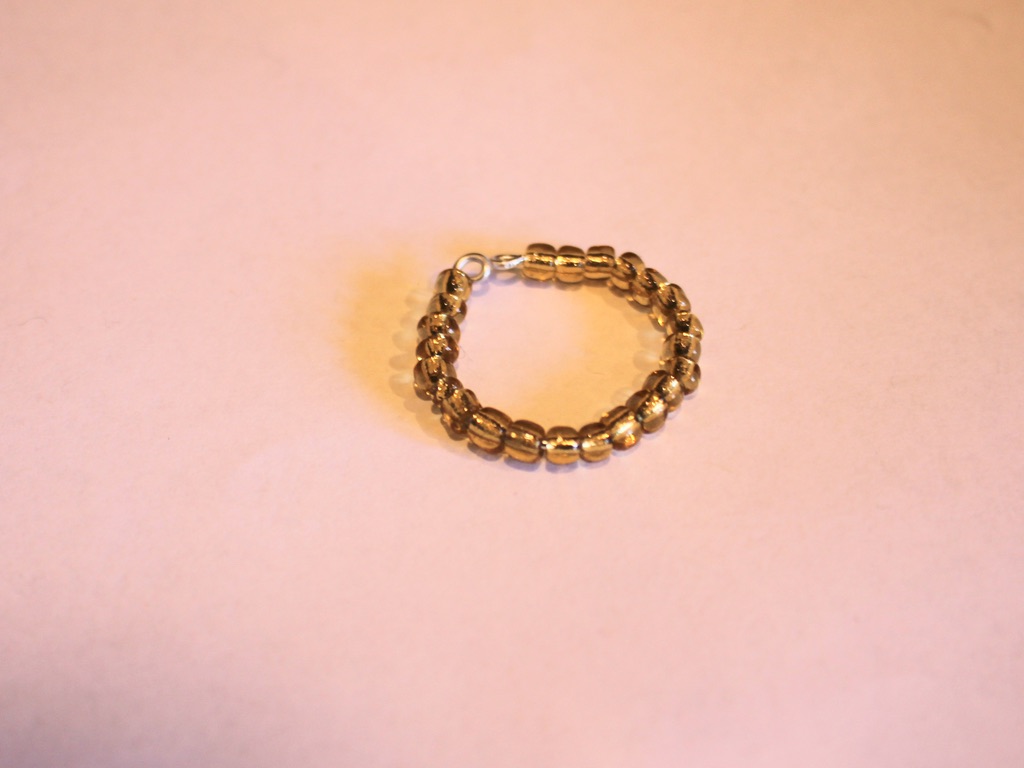
5: Open one of the end loops and thread it through the other end loop. Close it to create a closed circle.

6: Make another loop, but before closing it as you did in step 5, thread it through the first loop you made. Once it is threaded through you can close it.

7: Continue steps 1-6 until you have created all your links.
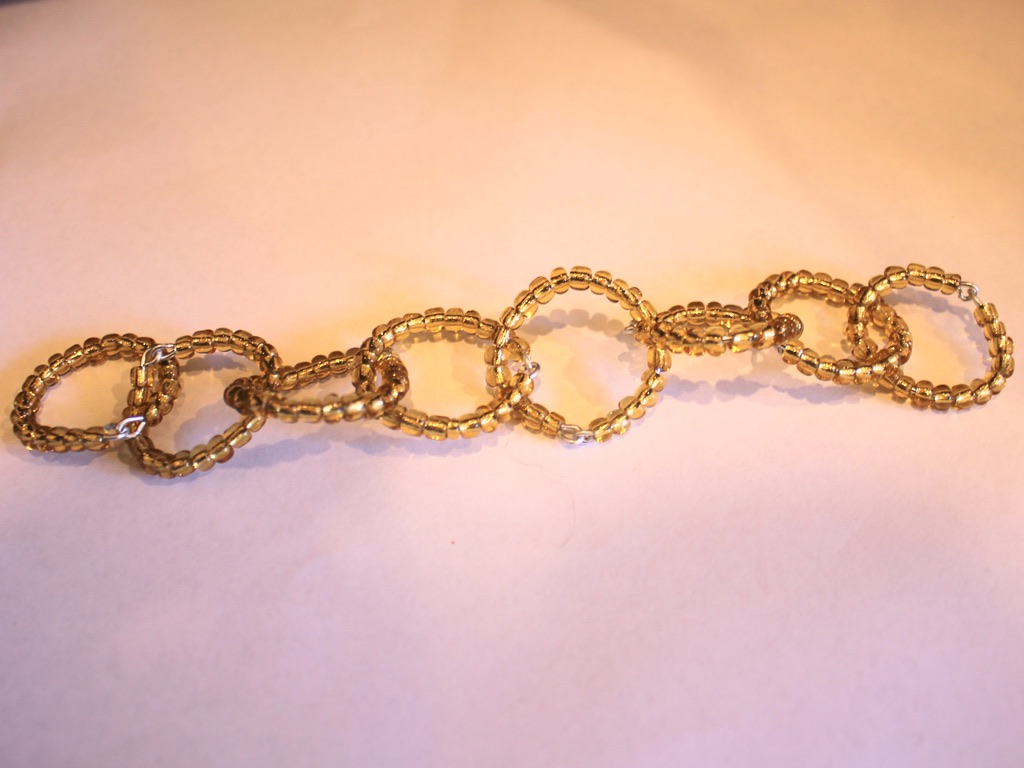
8: Take one of the end loops and rotate it so that the end loops face outward. Attach one of the jump rings and one side of the toggle clasp.
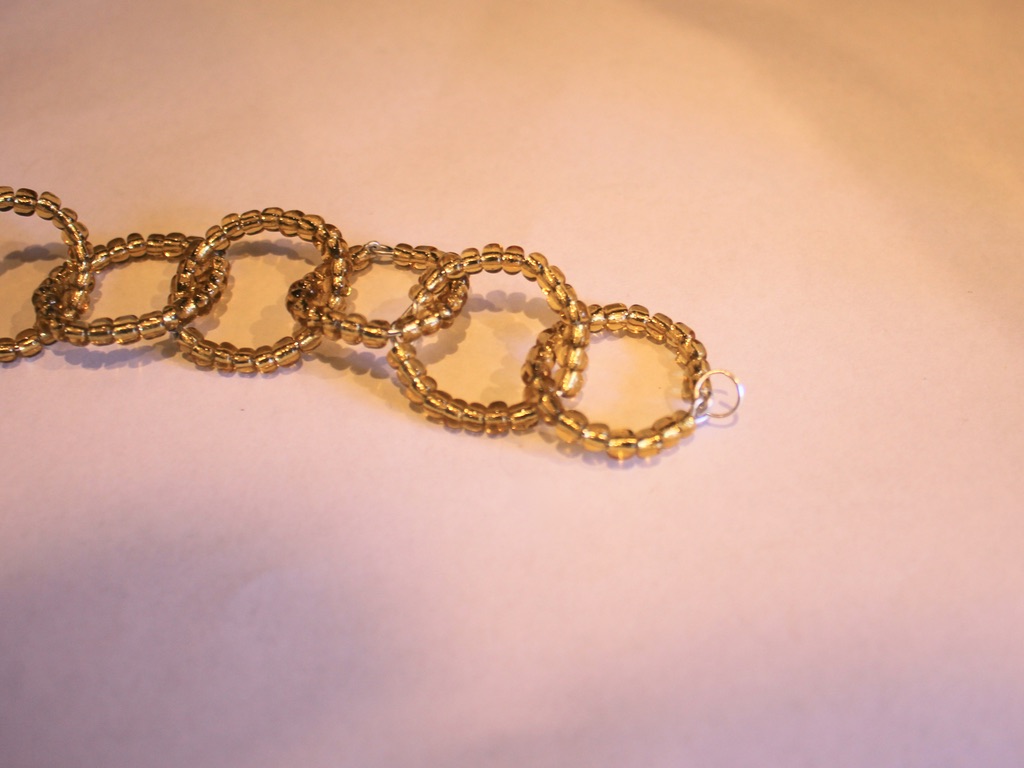
9: Attach the other side of the toggle clasp to the other end of the bracelet chain using the remaining jump ring.

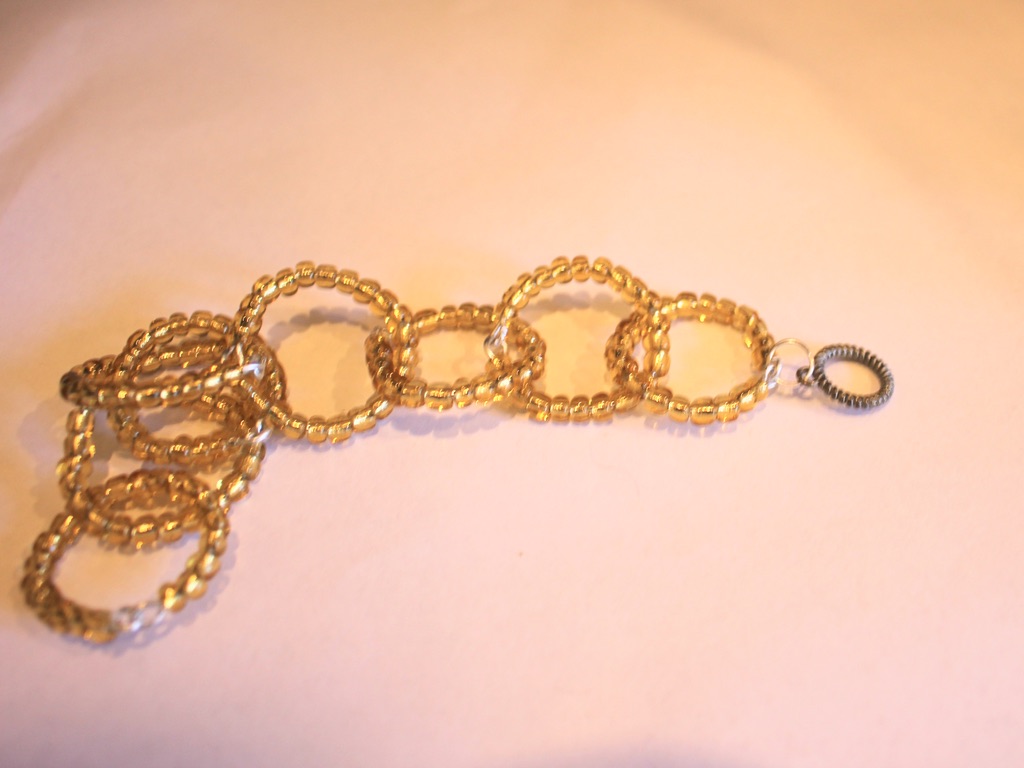
Now your bracelet is finished!


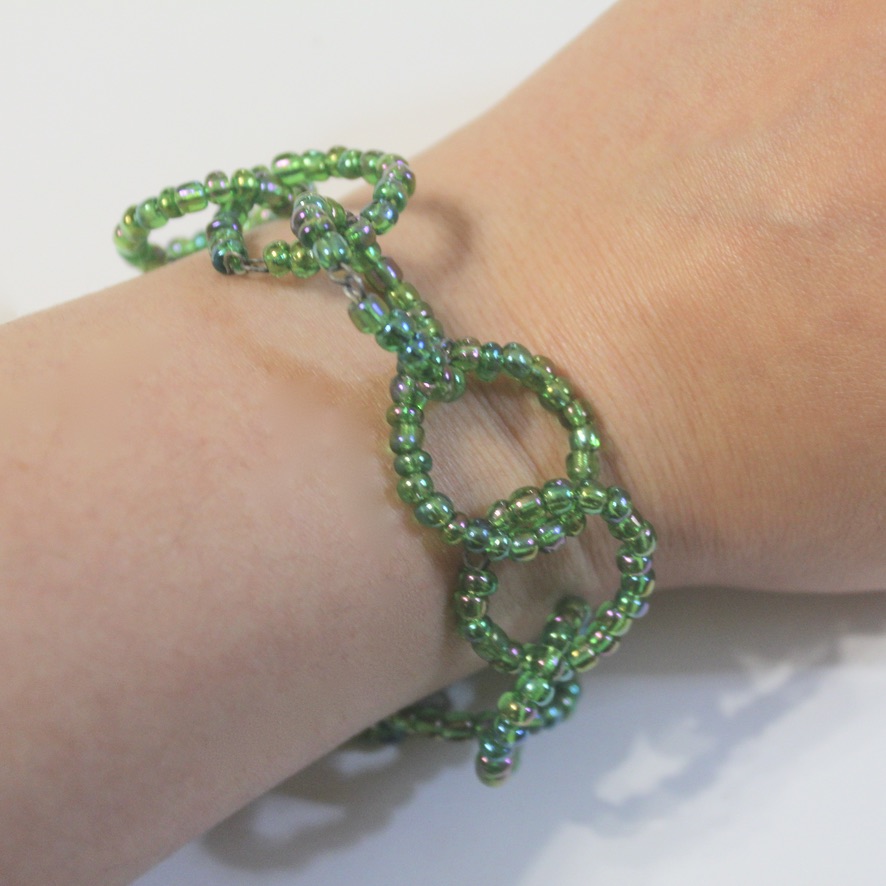
Here’s another one I made using green glass beads and soft thin wire.

This tutorial contains affiliate links.
-
Crystals are Classic… here’s how to make a crystal necklace.
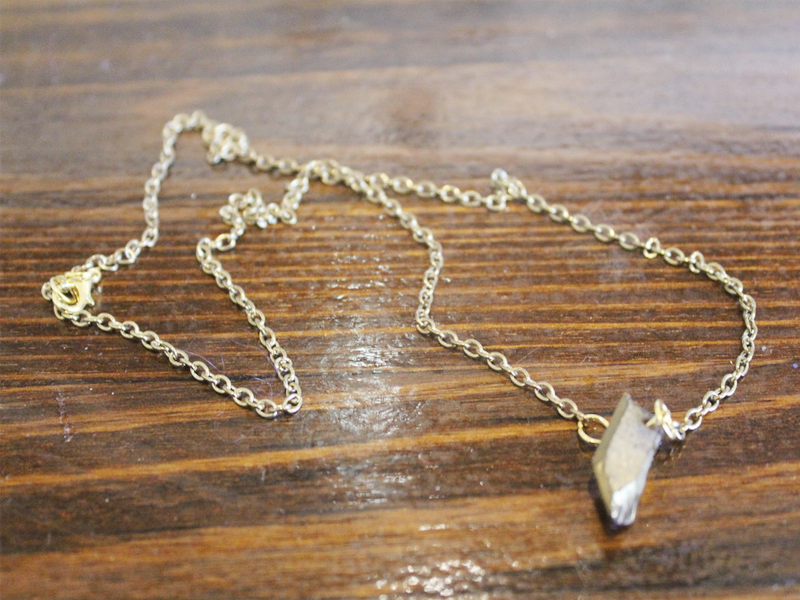
This crystal necklace is a classic piece that you can wear alone or layer with other pieces.
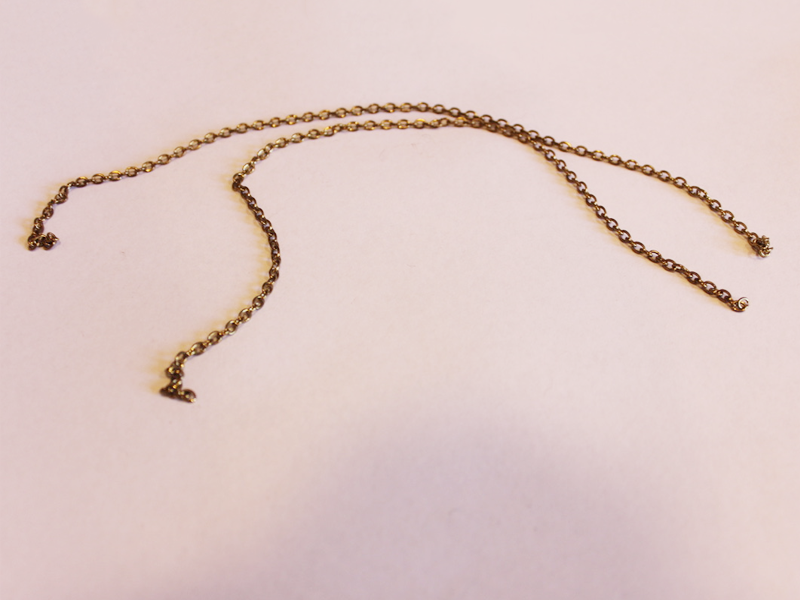
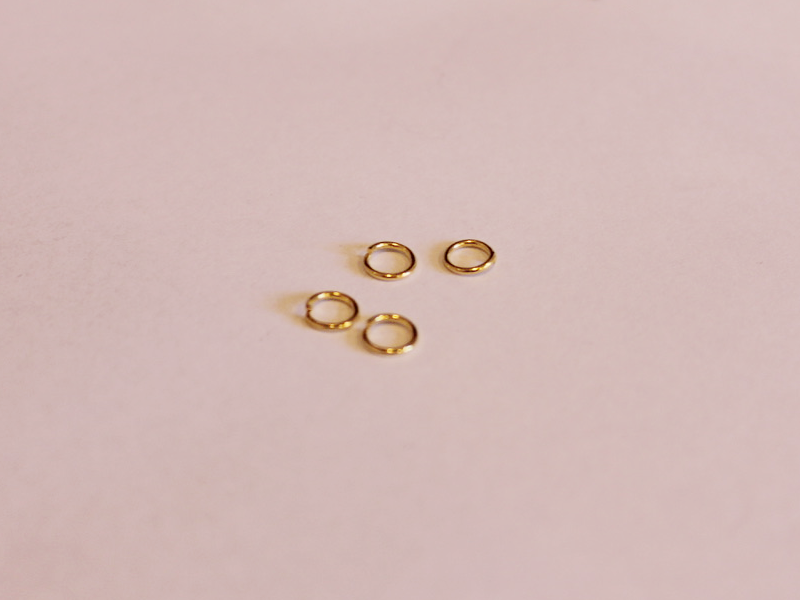
You will need the following tools and materials to make your crystal necklace:
1: Pliers. You will need your round nose pliers, flat nose pliers and cutting pliers.
2: Two pieces of chain long enough to form a necklace.
3: Four jump rings.
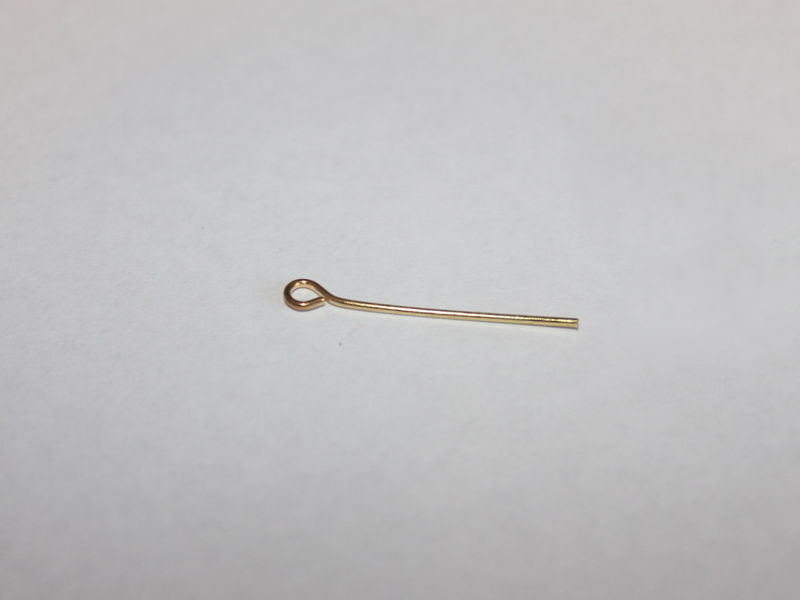
4: One eye pin.
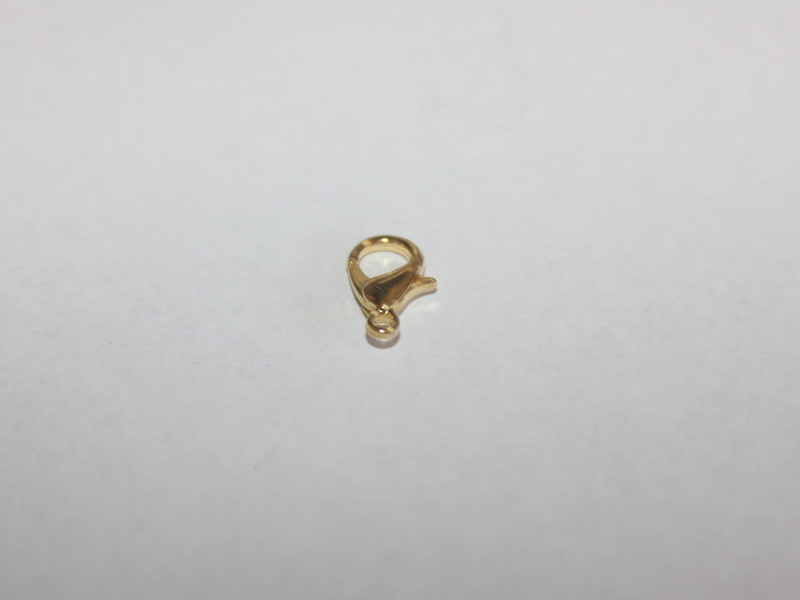
5: A lobster clasp.
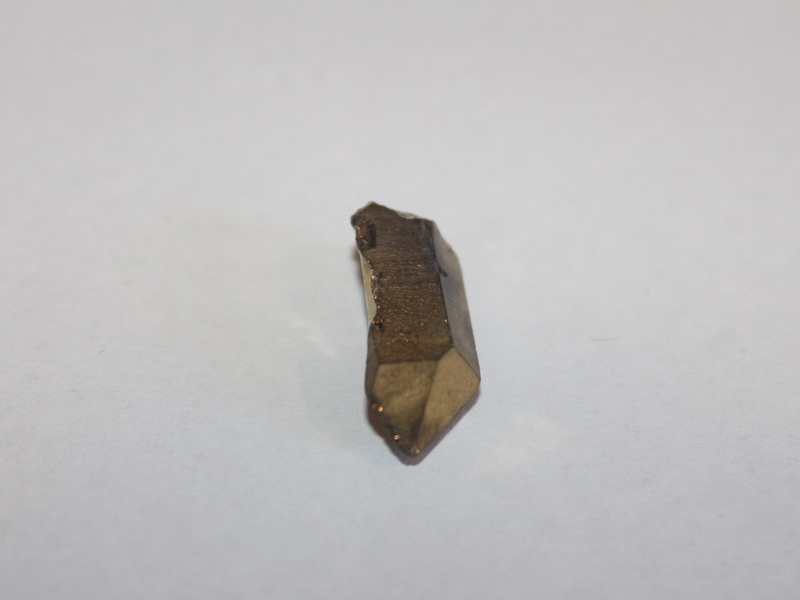
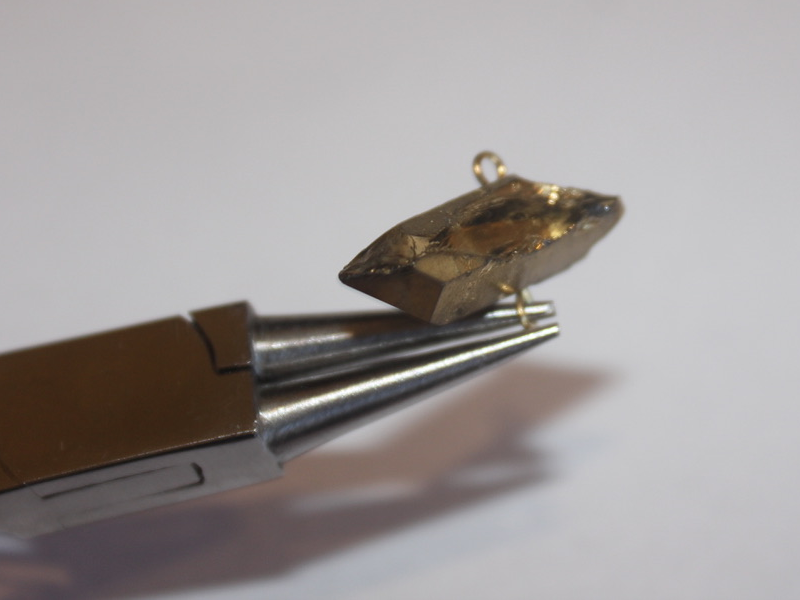
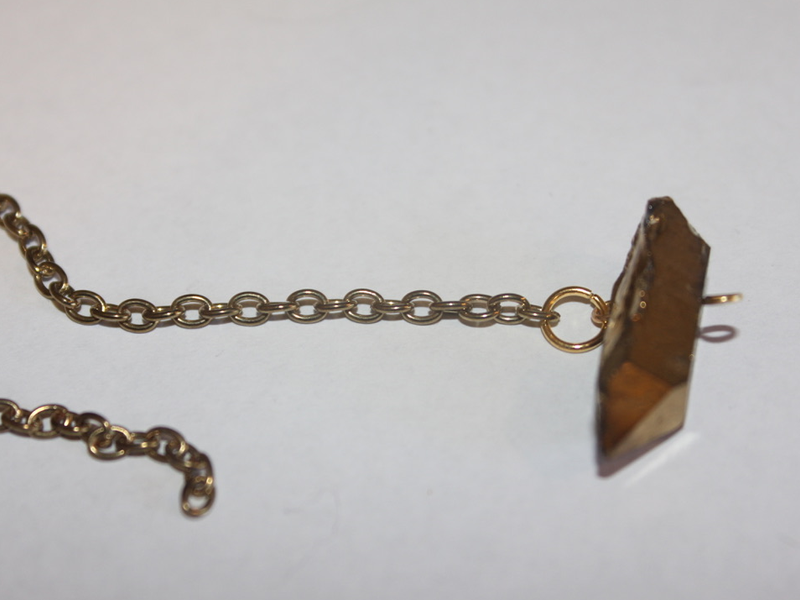
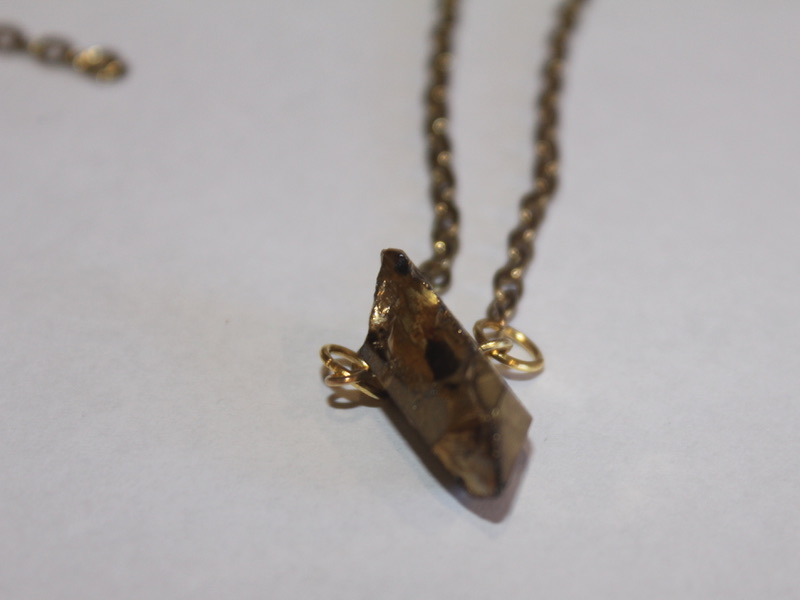
6: A crystal bead. I used this crystal bead with a metallic coating on it.
Follow these steps to make your crystal necklace:
1: Add the bead to the eye pin.
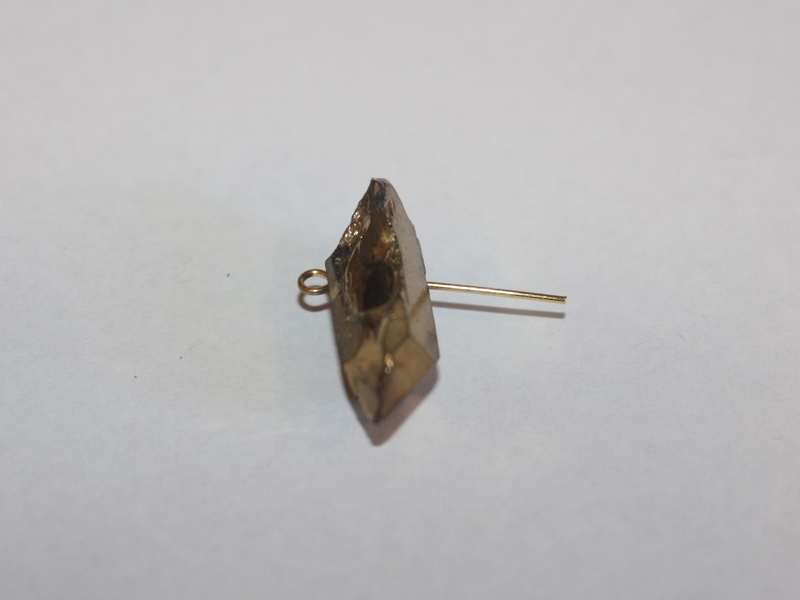
2: Trim the eye pin using the cutting pliers.
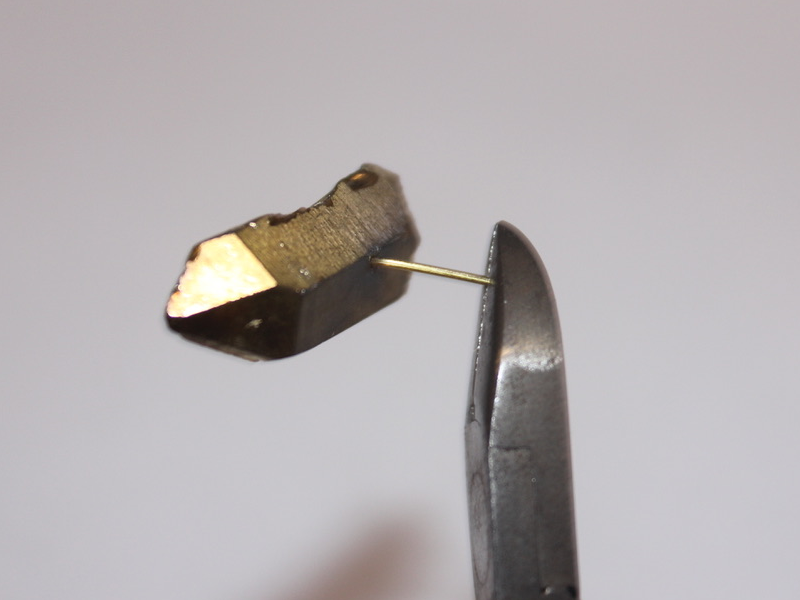
3: Create a loop at the end of the wire using the round nose pliers to secure the crystal bead on to the pin.
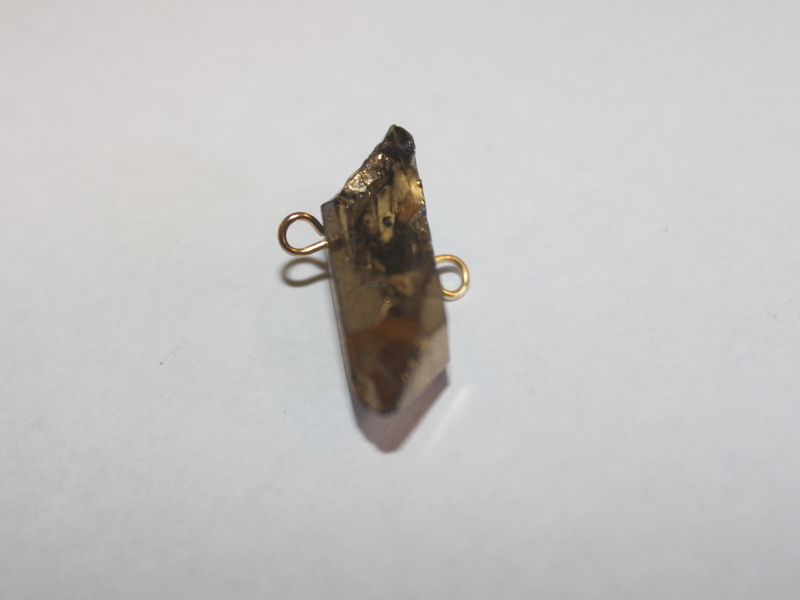
4: Attach one of the chains to one side of the crystal using one of the jump rings.
5: Attach the other chain to the other side of the crystal with another jump ring.
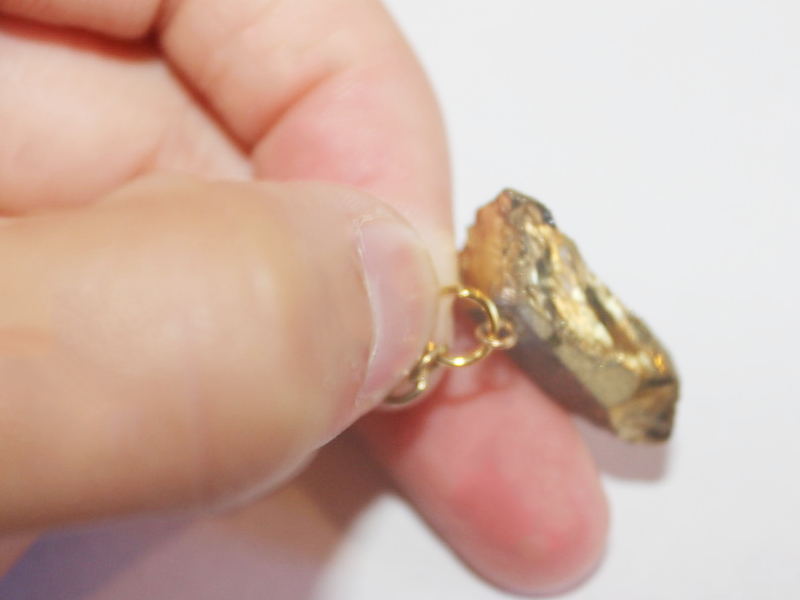
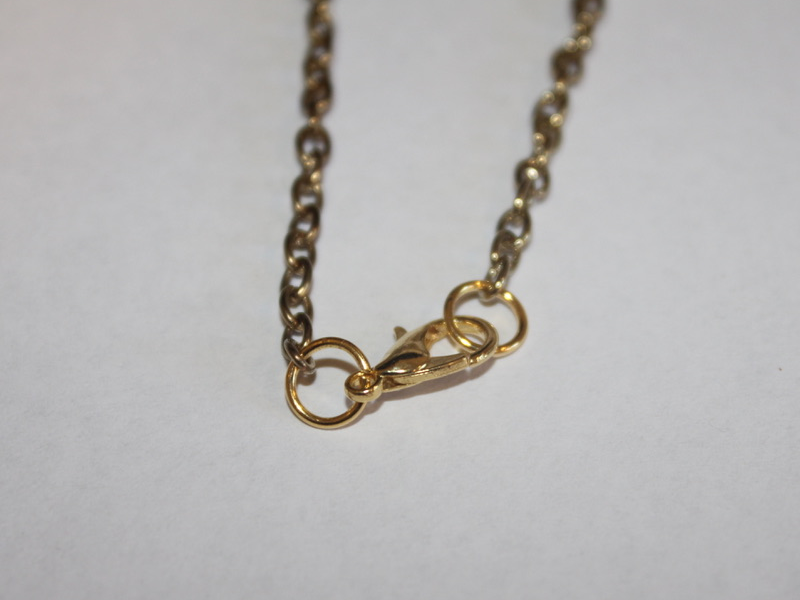
6: Add a jump ring to one of the ends of the chains and attach the lobster clasp.
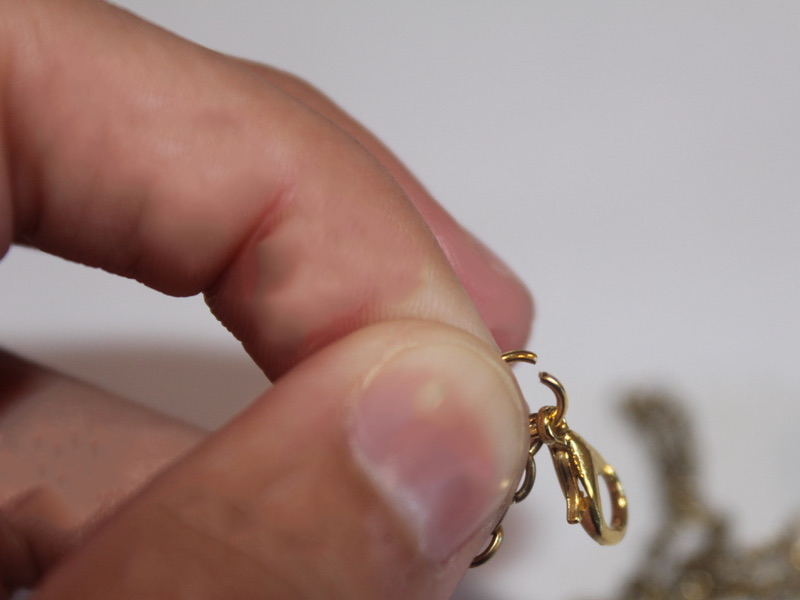
7: Add the other jump ring to the other side of the necklace to finish it off.
Now your crystal necklace is finished! How will you style yours?

-
Here’s another way to upcycle broken headphones… into a necklace!

Remember the upcycled bracelet tutorial? Here’s another idea for how you can recycle broken headphones… turn them into a stylish necklace!
You will need the following tools and materials to make your headphone necklace:
1: Pliers. You’ll need cutting, flat nose and round nose pliers.
2: A charm. I used this old vintage earring charm.

3: Two crimp ends.

4: Two jump rings.

5: A lobster clasp.

6: A pair of broken headphones. I used these Sony headphones that don’t work any more.

Follow these steps to make your headphones into a necklace:
1: Clip the headphones so that you have a length that fits around your neck. I used the part between the ear bud and the split.


2: Add the charm to the cord.

3: Add a crimp end to either side of the cord, folding it in place using the flat nose pliers.


4: Add the lobster clasp to one side of the necklace using one of the jump rings.

5: Add the remaining jump ring to the other side of the necklace to finish it.
Now your upcycled headphone necklace is finished and ready to wear!