

Rock Those Curves with a Curved Bar Charm Necklace
I’ve already shown you how to make a simple bar charm necklace, so here are the instructions for a curved bar charm necklace. Using memory wire allows you to create a charm that holds a curve. You can experiment with the shape by using different lengths, creating a charm that has a subtle curve or one that is almost a complete circle.
To make this necklace you will need the following tools and materials:
1: Pliers. You will need to use round nose pliers, flat nose pliers and cutting pliers.

2: Memory wire.

3: Two pieces of chain.

4: One lobster clasp.

5: One jump ring.
6: Beads of your choice. I used three enameled beads and some multi-colored seed beads.


The Steps:
1: Cut a piece of memory wire. I cut my piece so that it formed a complete half circle from end to end.


2: Using the round nose pliers, create a loop at one end of the memory wire.

3: Once the loop has been formed you can begin adding your beads.


4: Once the beading is complete, use the round nose pliers again to create a loop at the other end of the wire, securing the beads in place.


5: Open a chain link on the end of one of your pieces of chain using your pliers. Repeat this for the other piece of chain.
6: Slide one end of the charm onto the chain link and close it again using your pliers. Repeat this for the other side of the charm so that both pieces of chain are attached to the charm.


7: Open a chain link at the other end 0f the chain and slide on the lobster clasp. Close the link again using pliers.

8: Add a jump ring to the other end of the chain.

9: Once your clasp has been attached your necklace is complete! Now all you have left to do is wear it and enjoy!

Here is an example of a similar design made using a longer piece of memory wire to form a more circular charm.


DIY Jewelry Hub
Welcome to DIY Jewelry Hub. If you’ve ever wanted to learn how to make your own jewelry this is the place to start! Jewelry is a great way to show off your individuality and style. You’ll be surprised at how easy it is to create your own unique pieces! DIY Jewelry Hub will equip you with all the knowledge and inspiration you need to make your own jewelry.


You May Also Like

Do you want to keep the ocean close? Here’s how to make a bottle charm filled with shells and sea glass
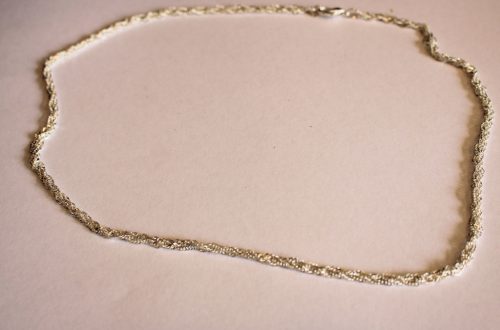
Here’s how to braid three of the same type of chain together to make a cool necklace for layering!