-
Here’s how to make a cool adjustable leather bracelet with gemstone beads on it.
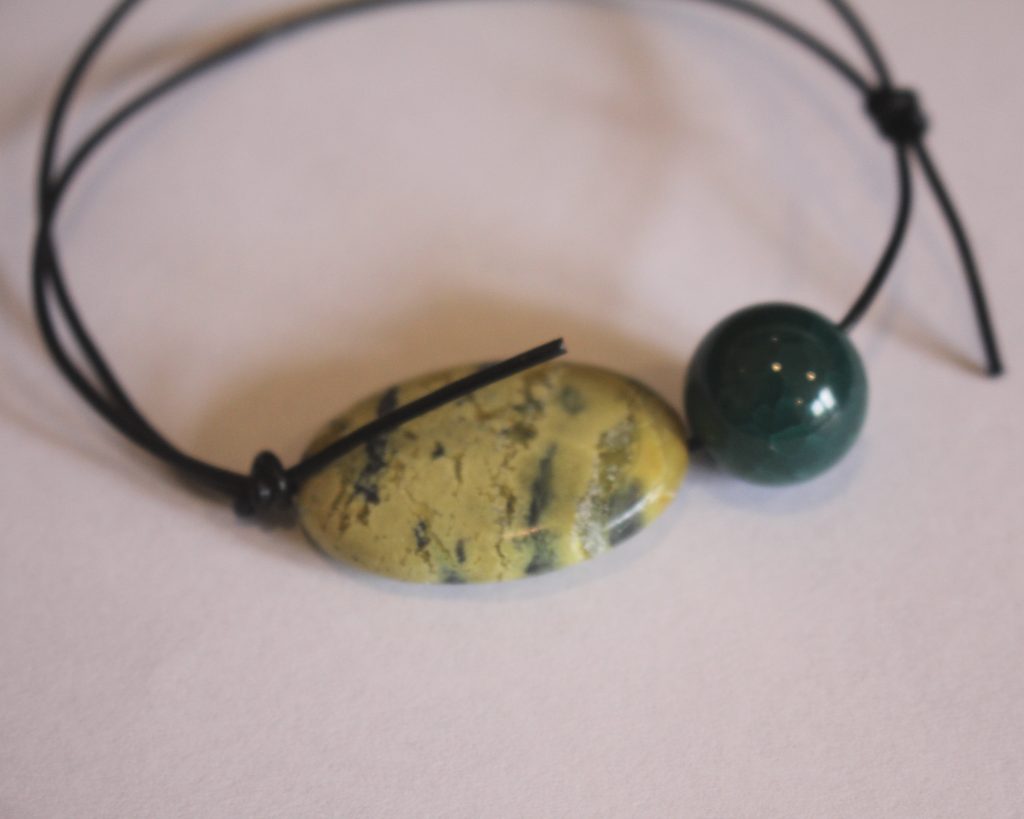
This is so cool! No metal fixings required. All you need are some great gemstone beads and some leather cord. I love this because it is adjustable so it can fit different sized wrists. It could even double as an anklet!
Please note that this tutorial contains affiliate links for which we may receive a commission.
You’ll need the following tools and materials to make your bracelet:
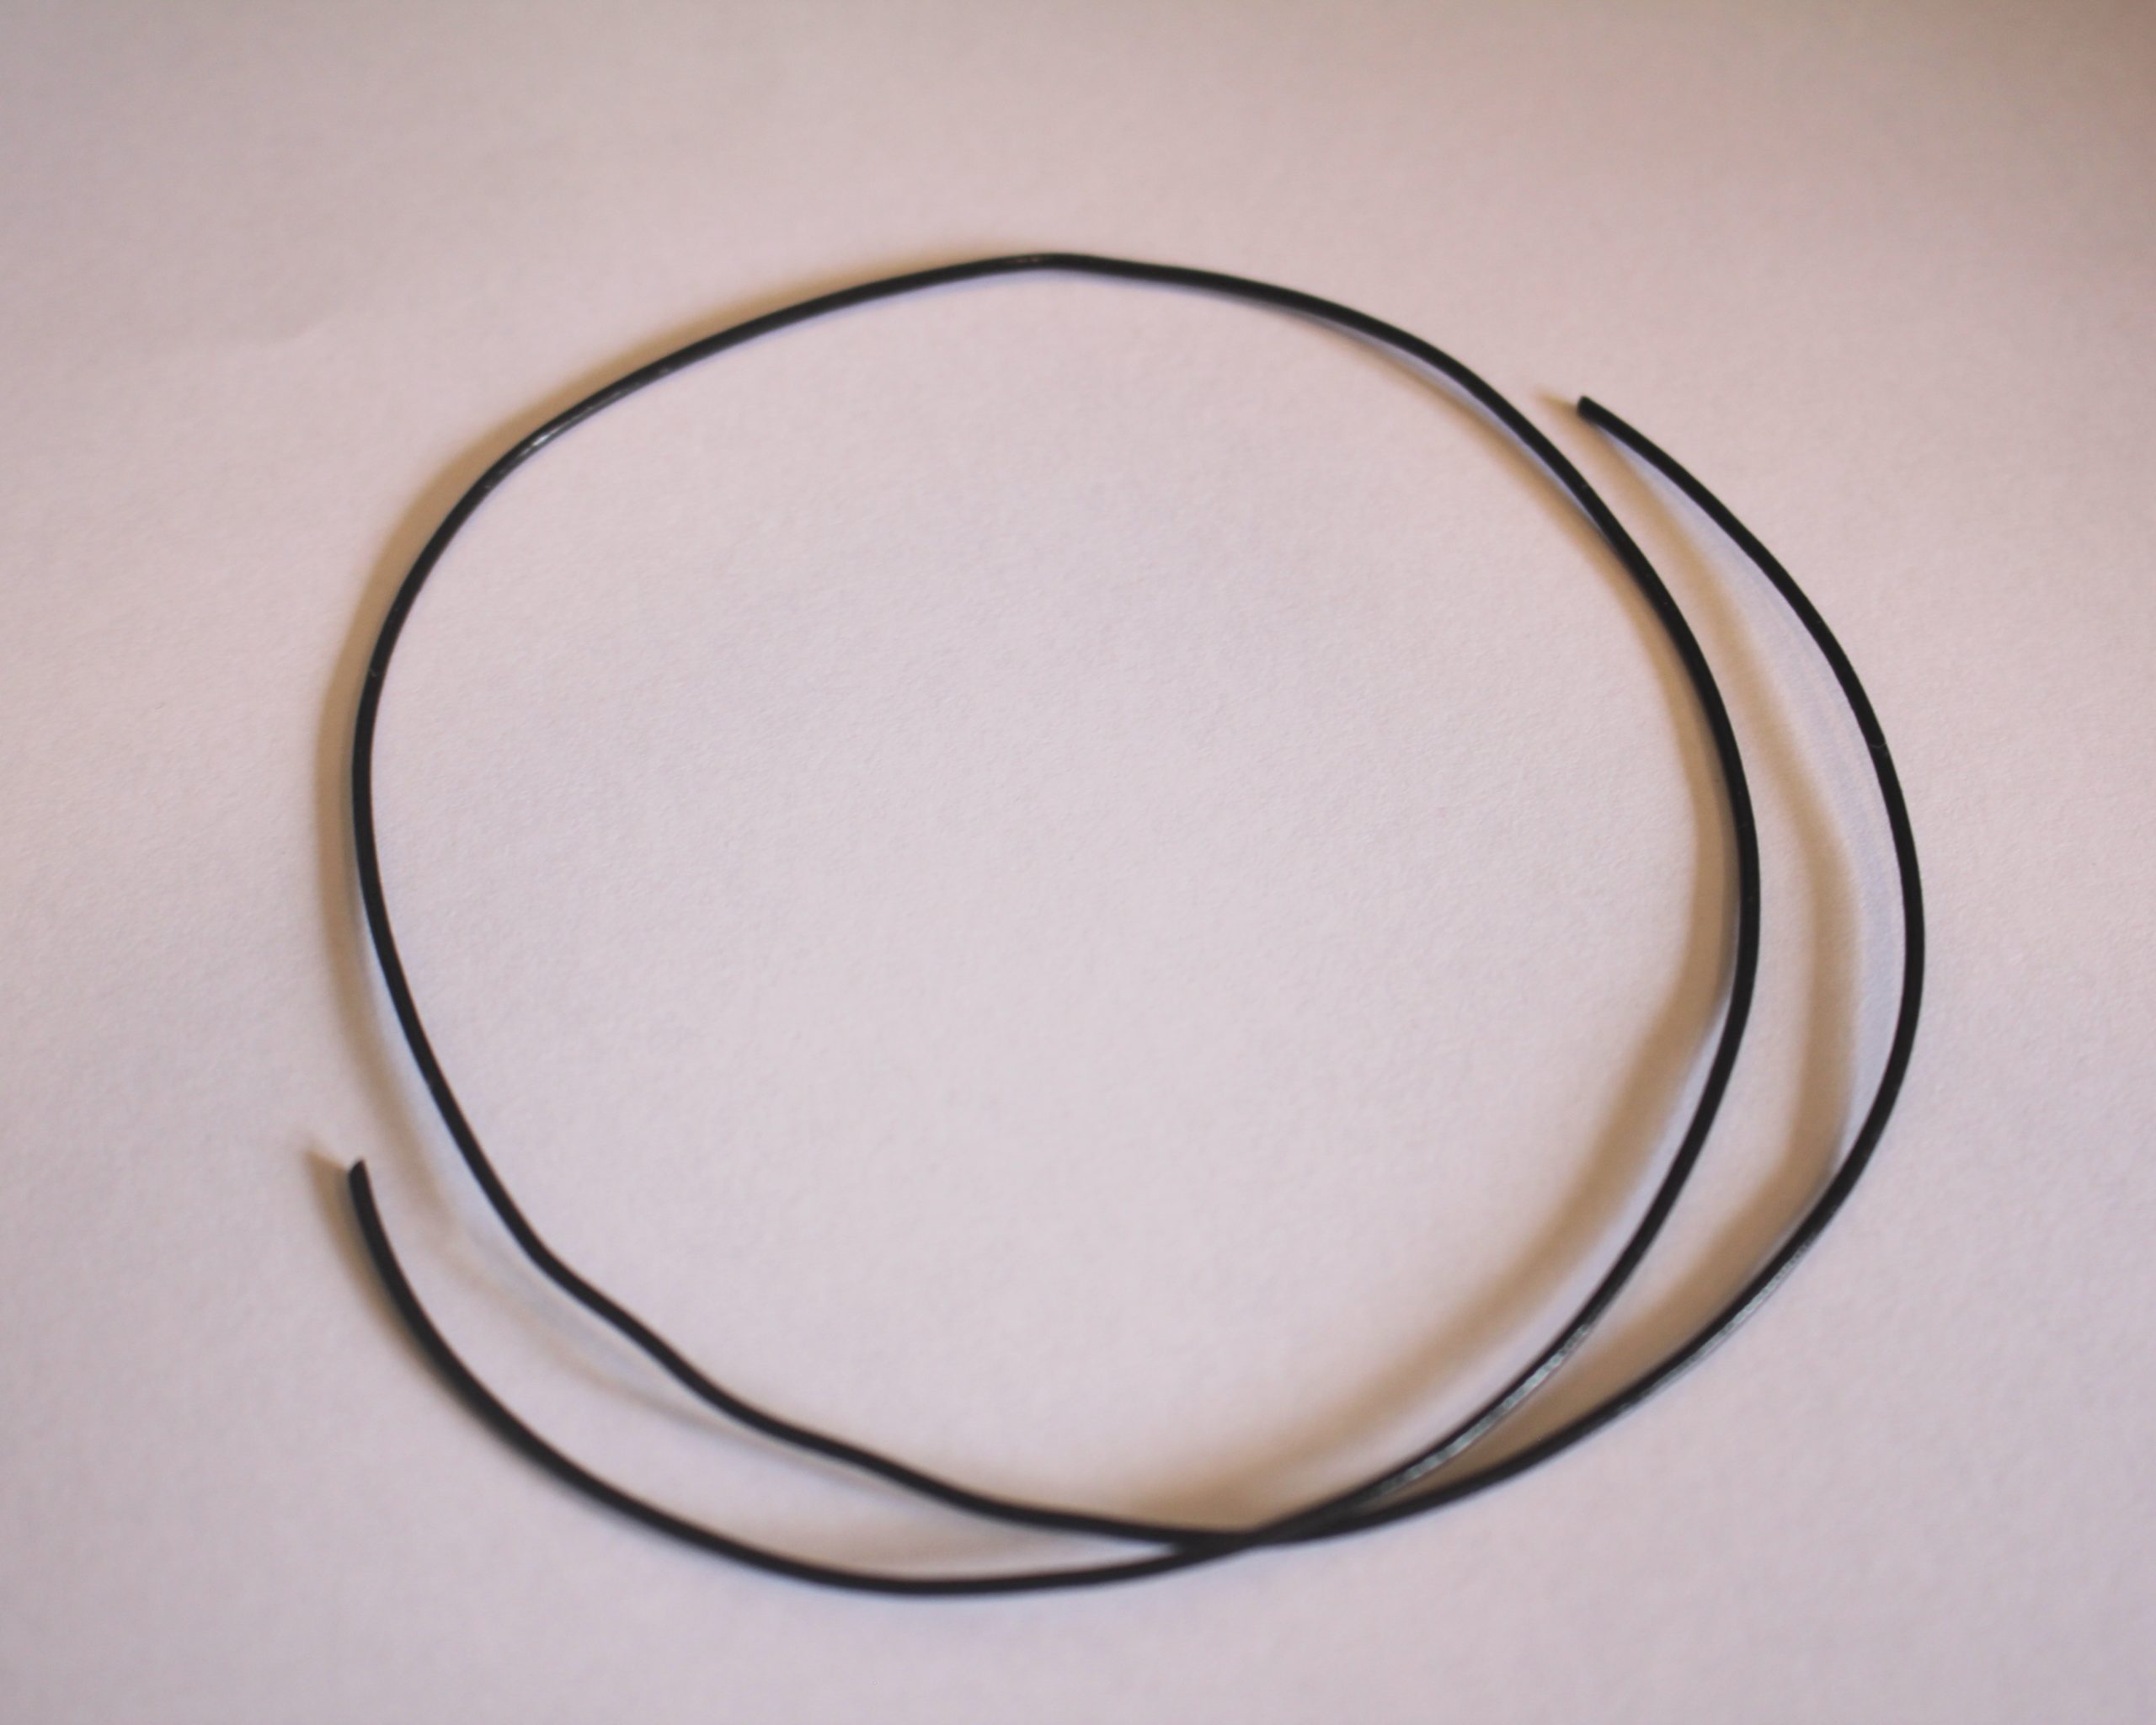
1: A length of 1.2mm thick leather cord. Approx 2.5x the length required to fit around your wrist.
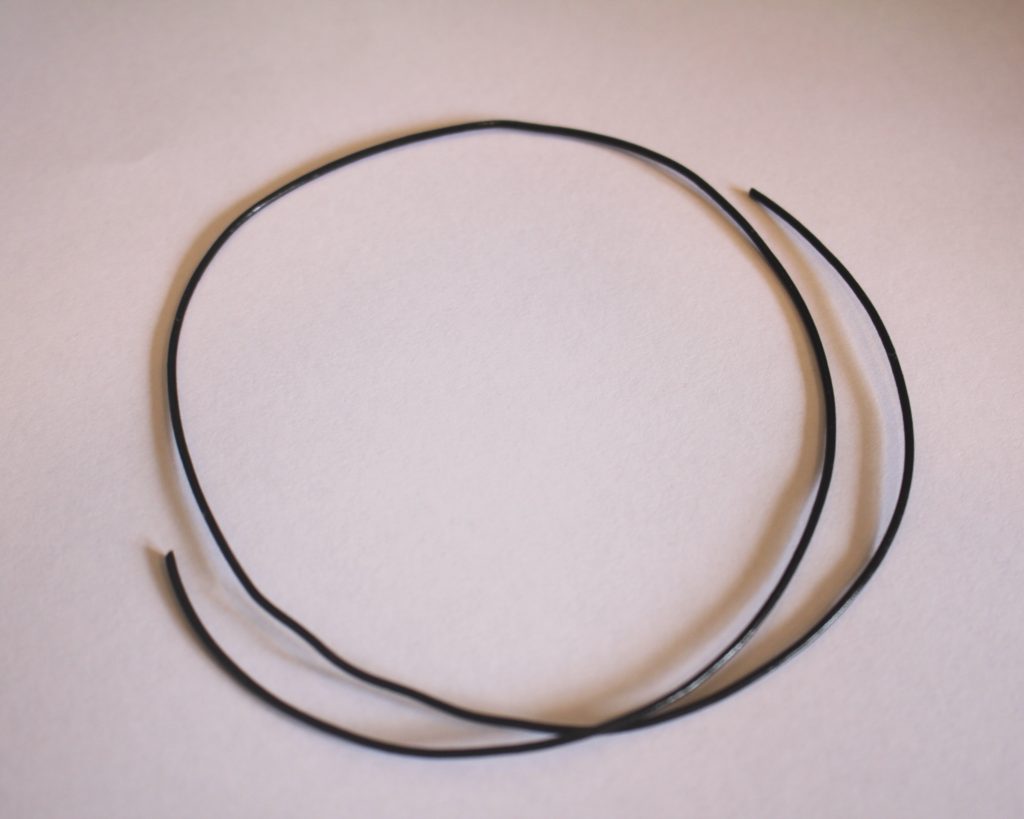
You can get some here:
2: Some cutting pliers or scissors for cutting the cord.

You can get a pair here:
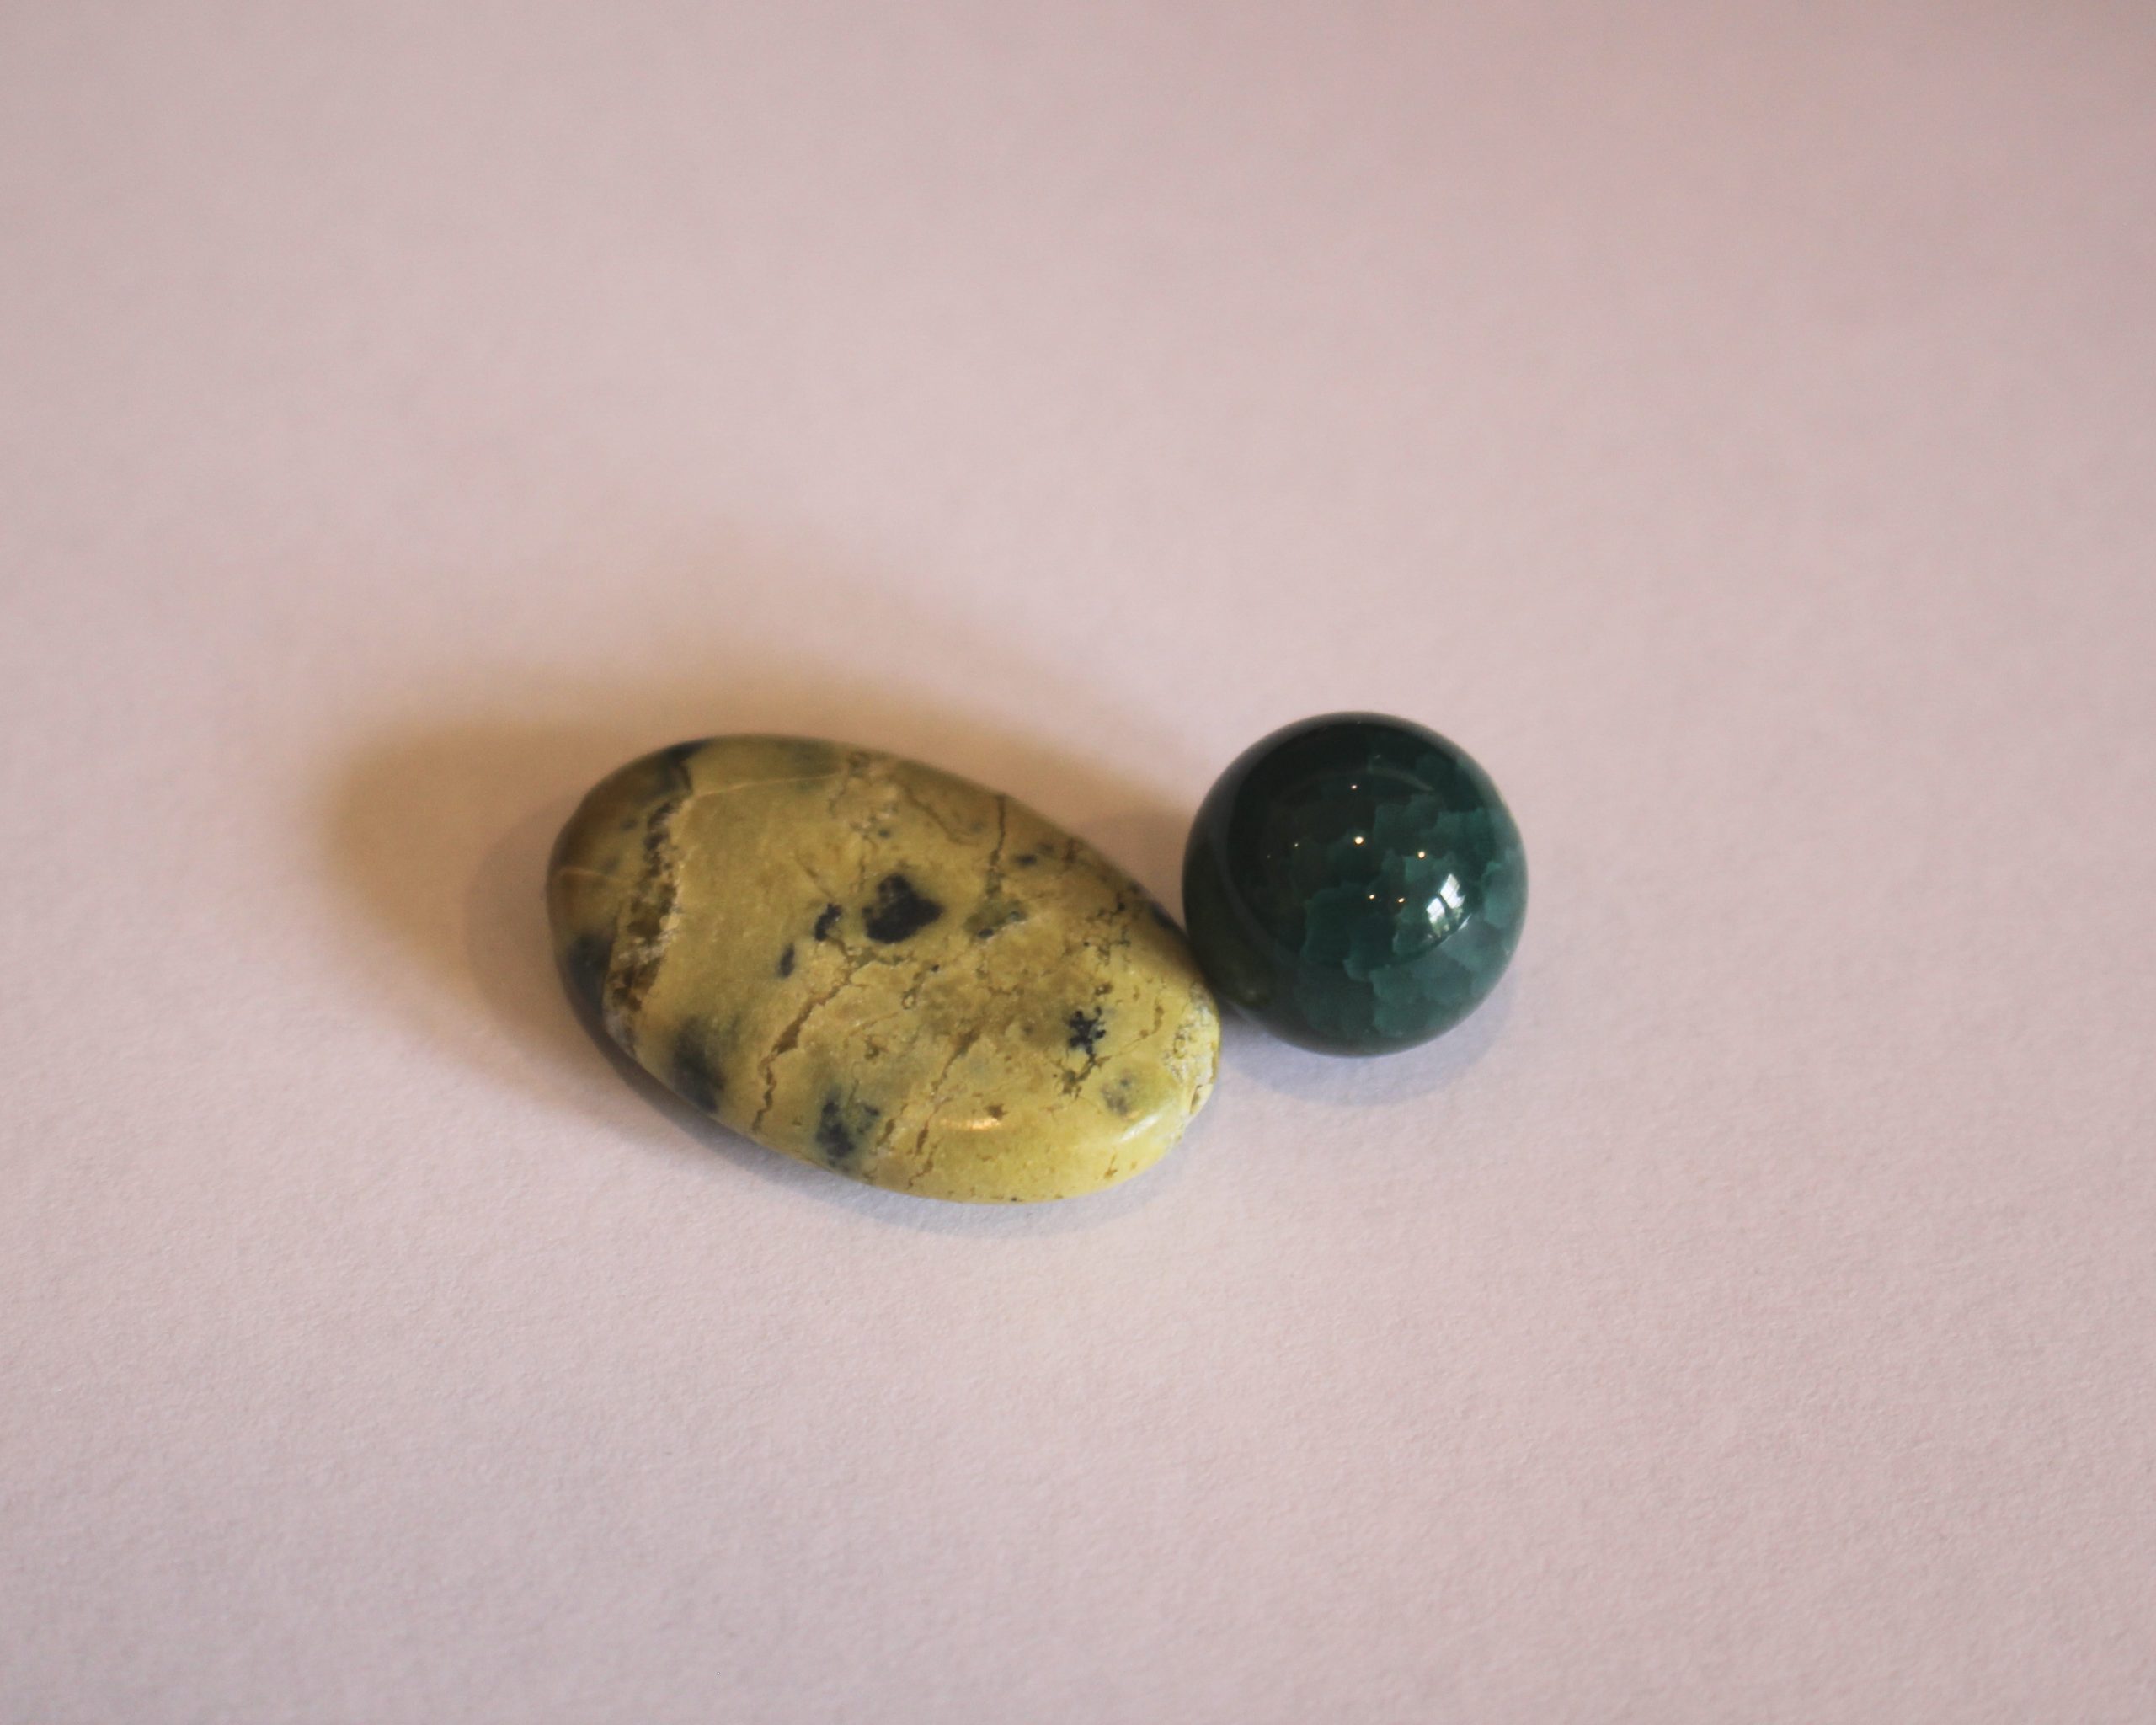
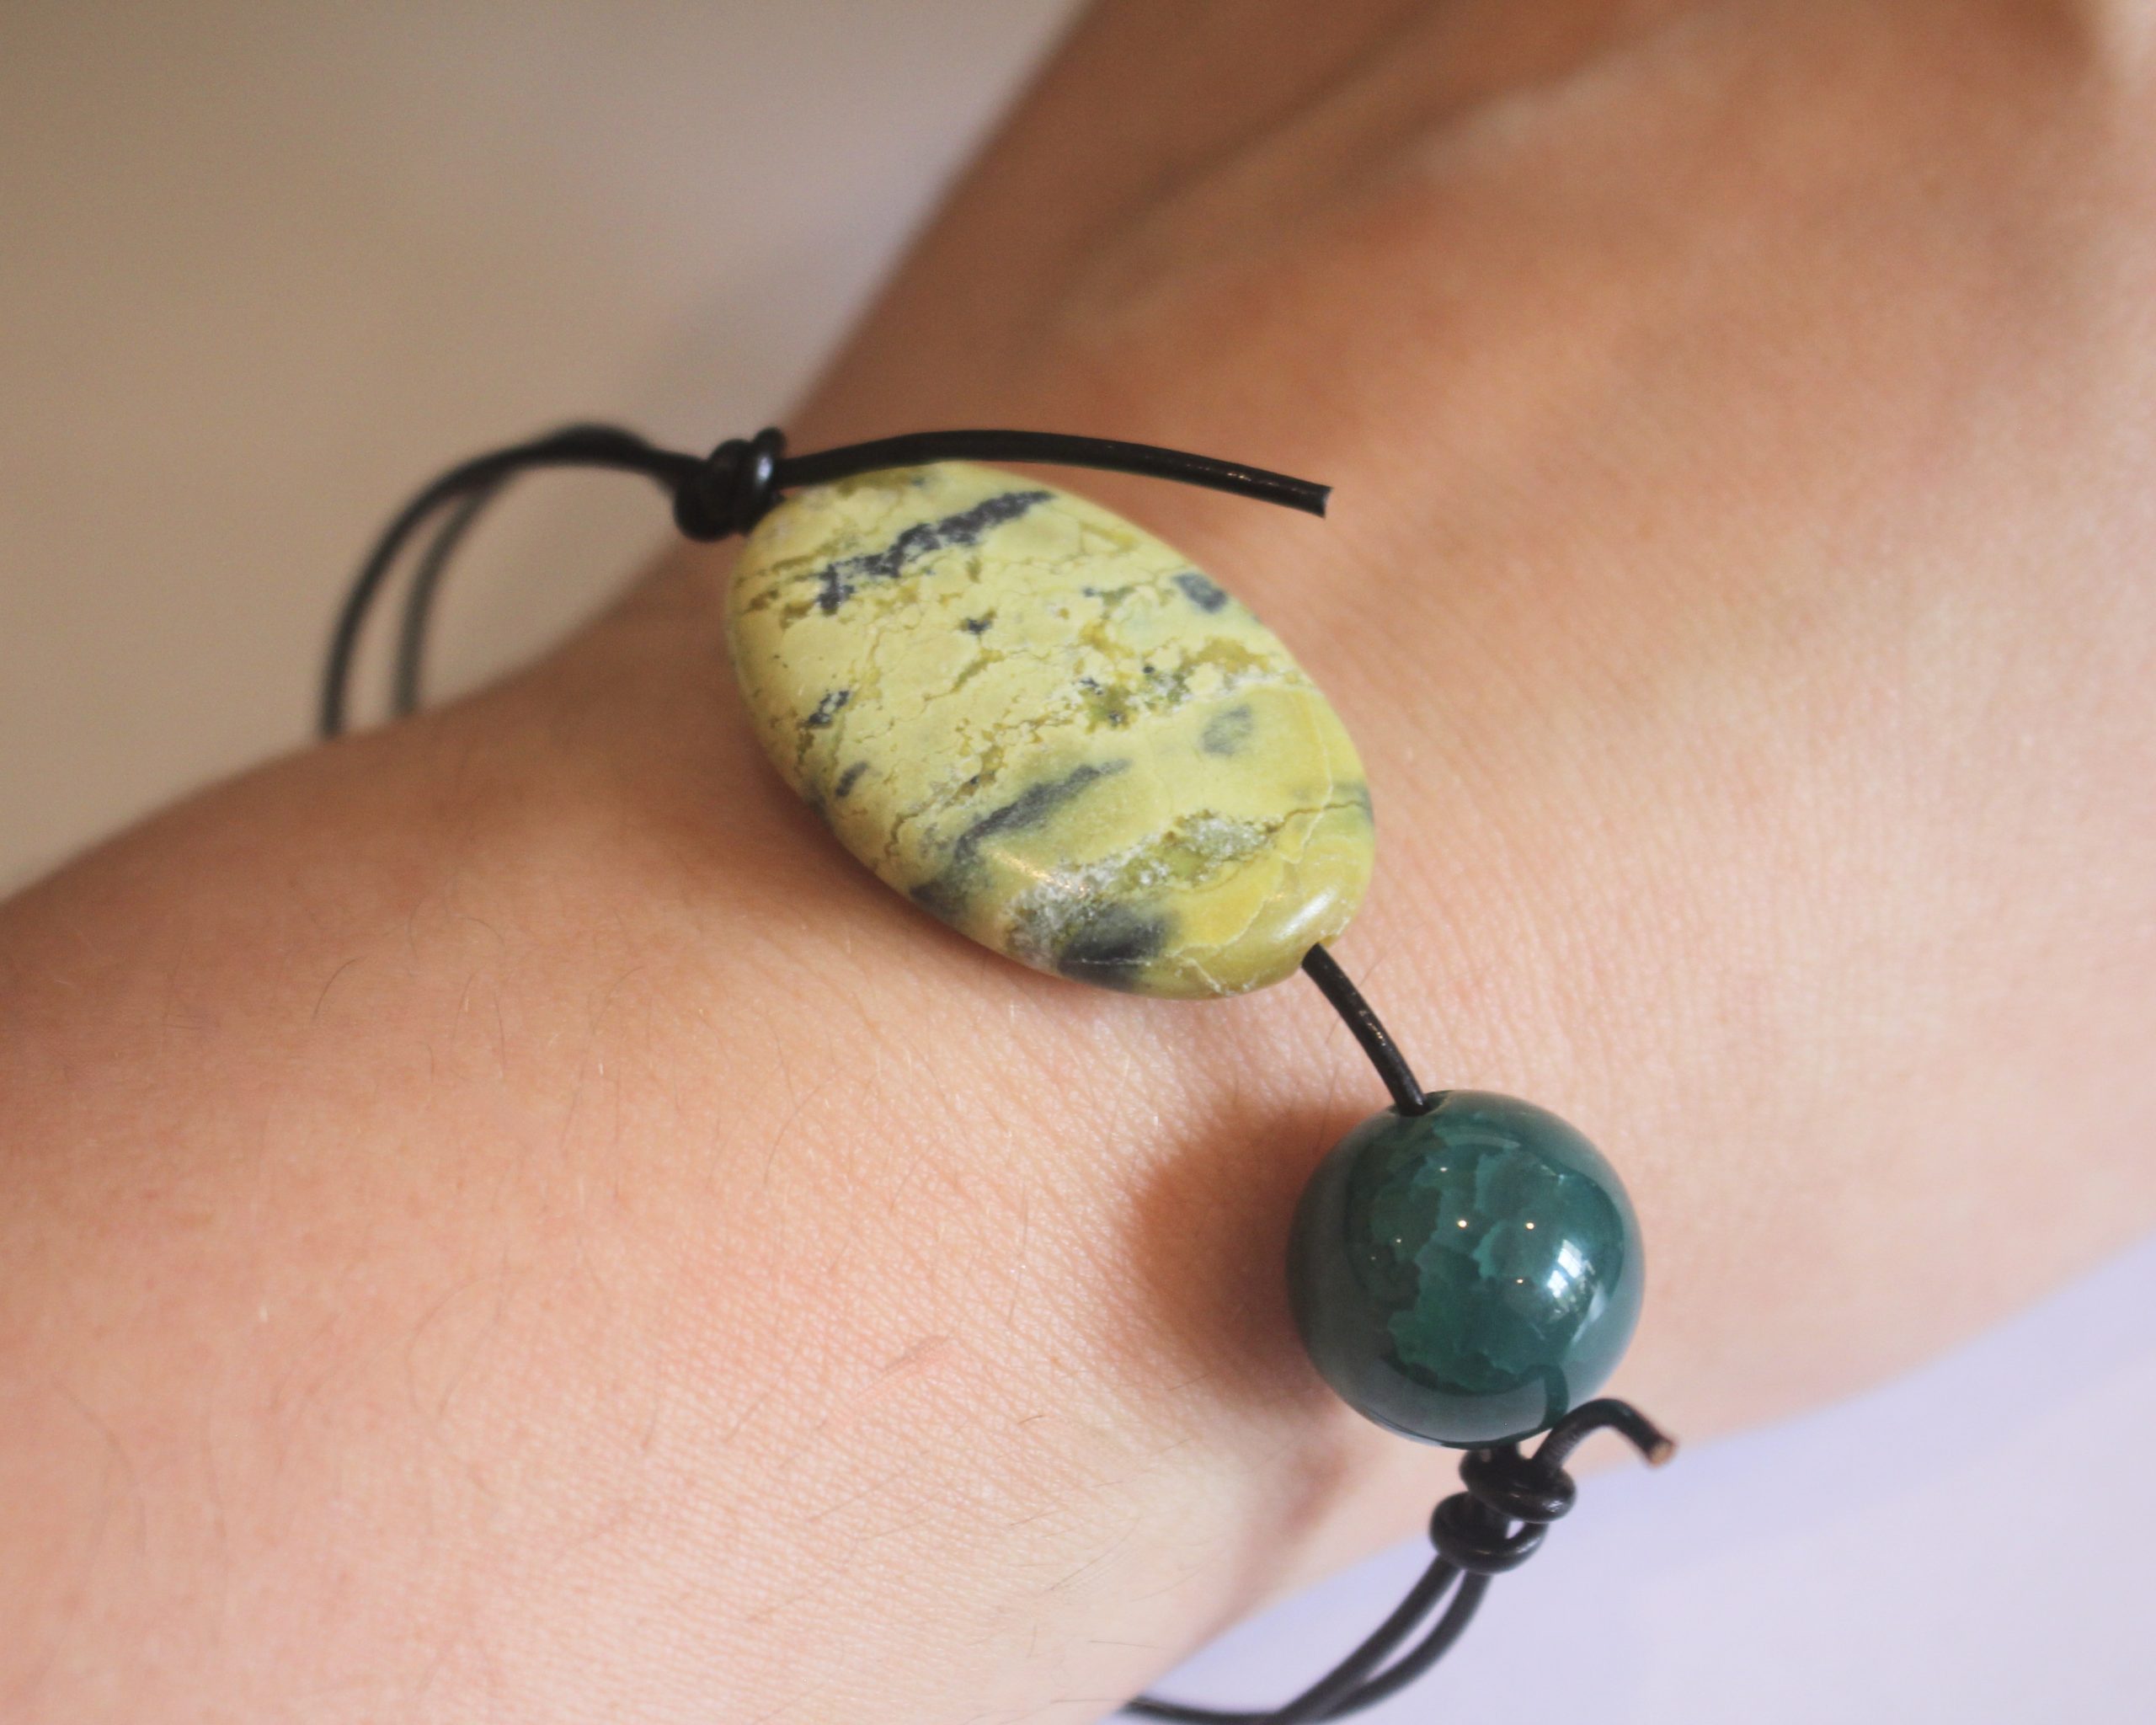
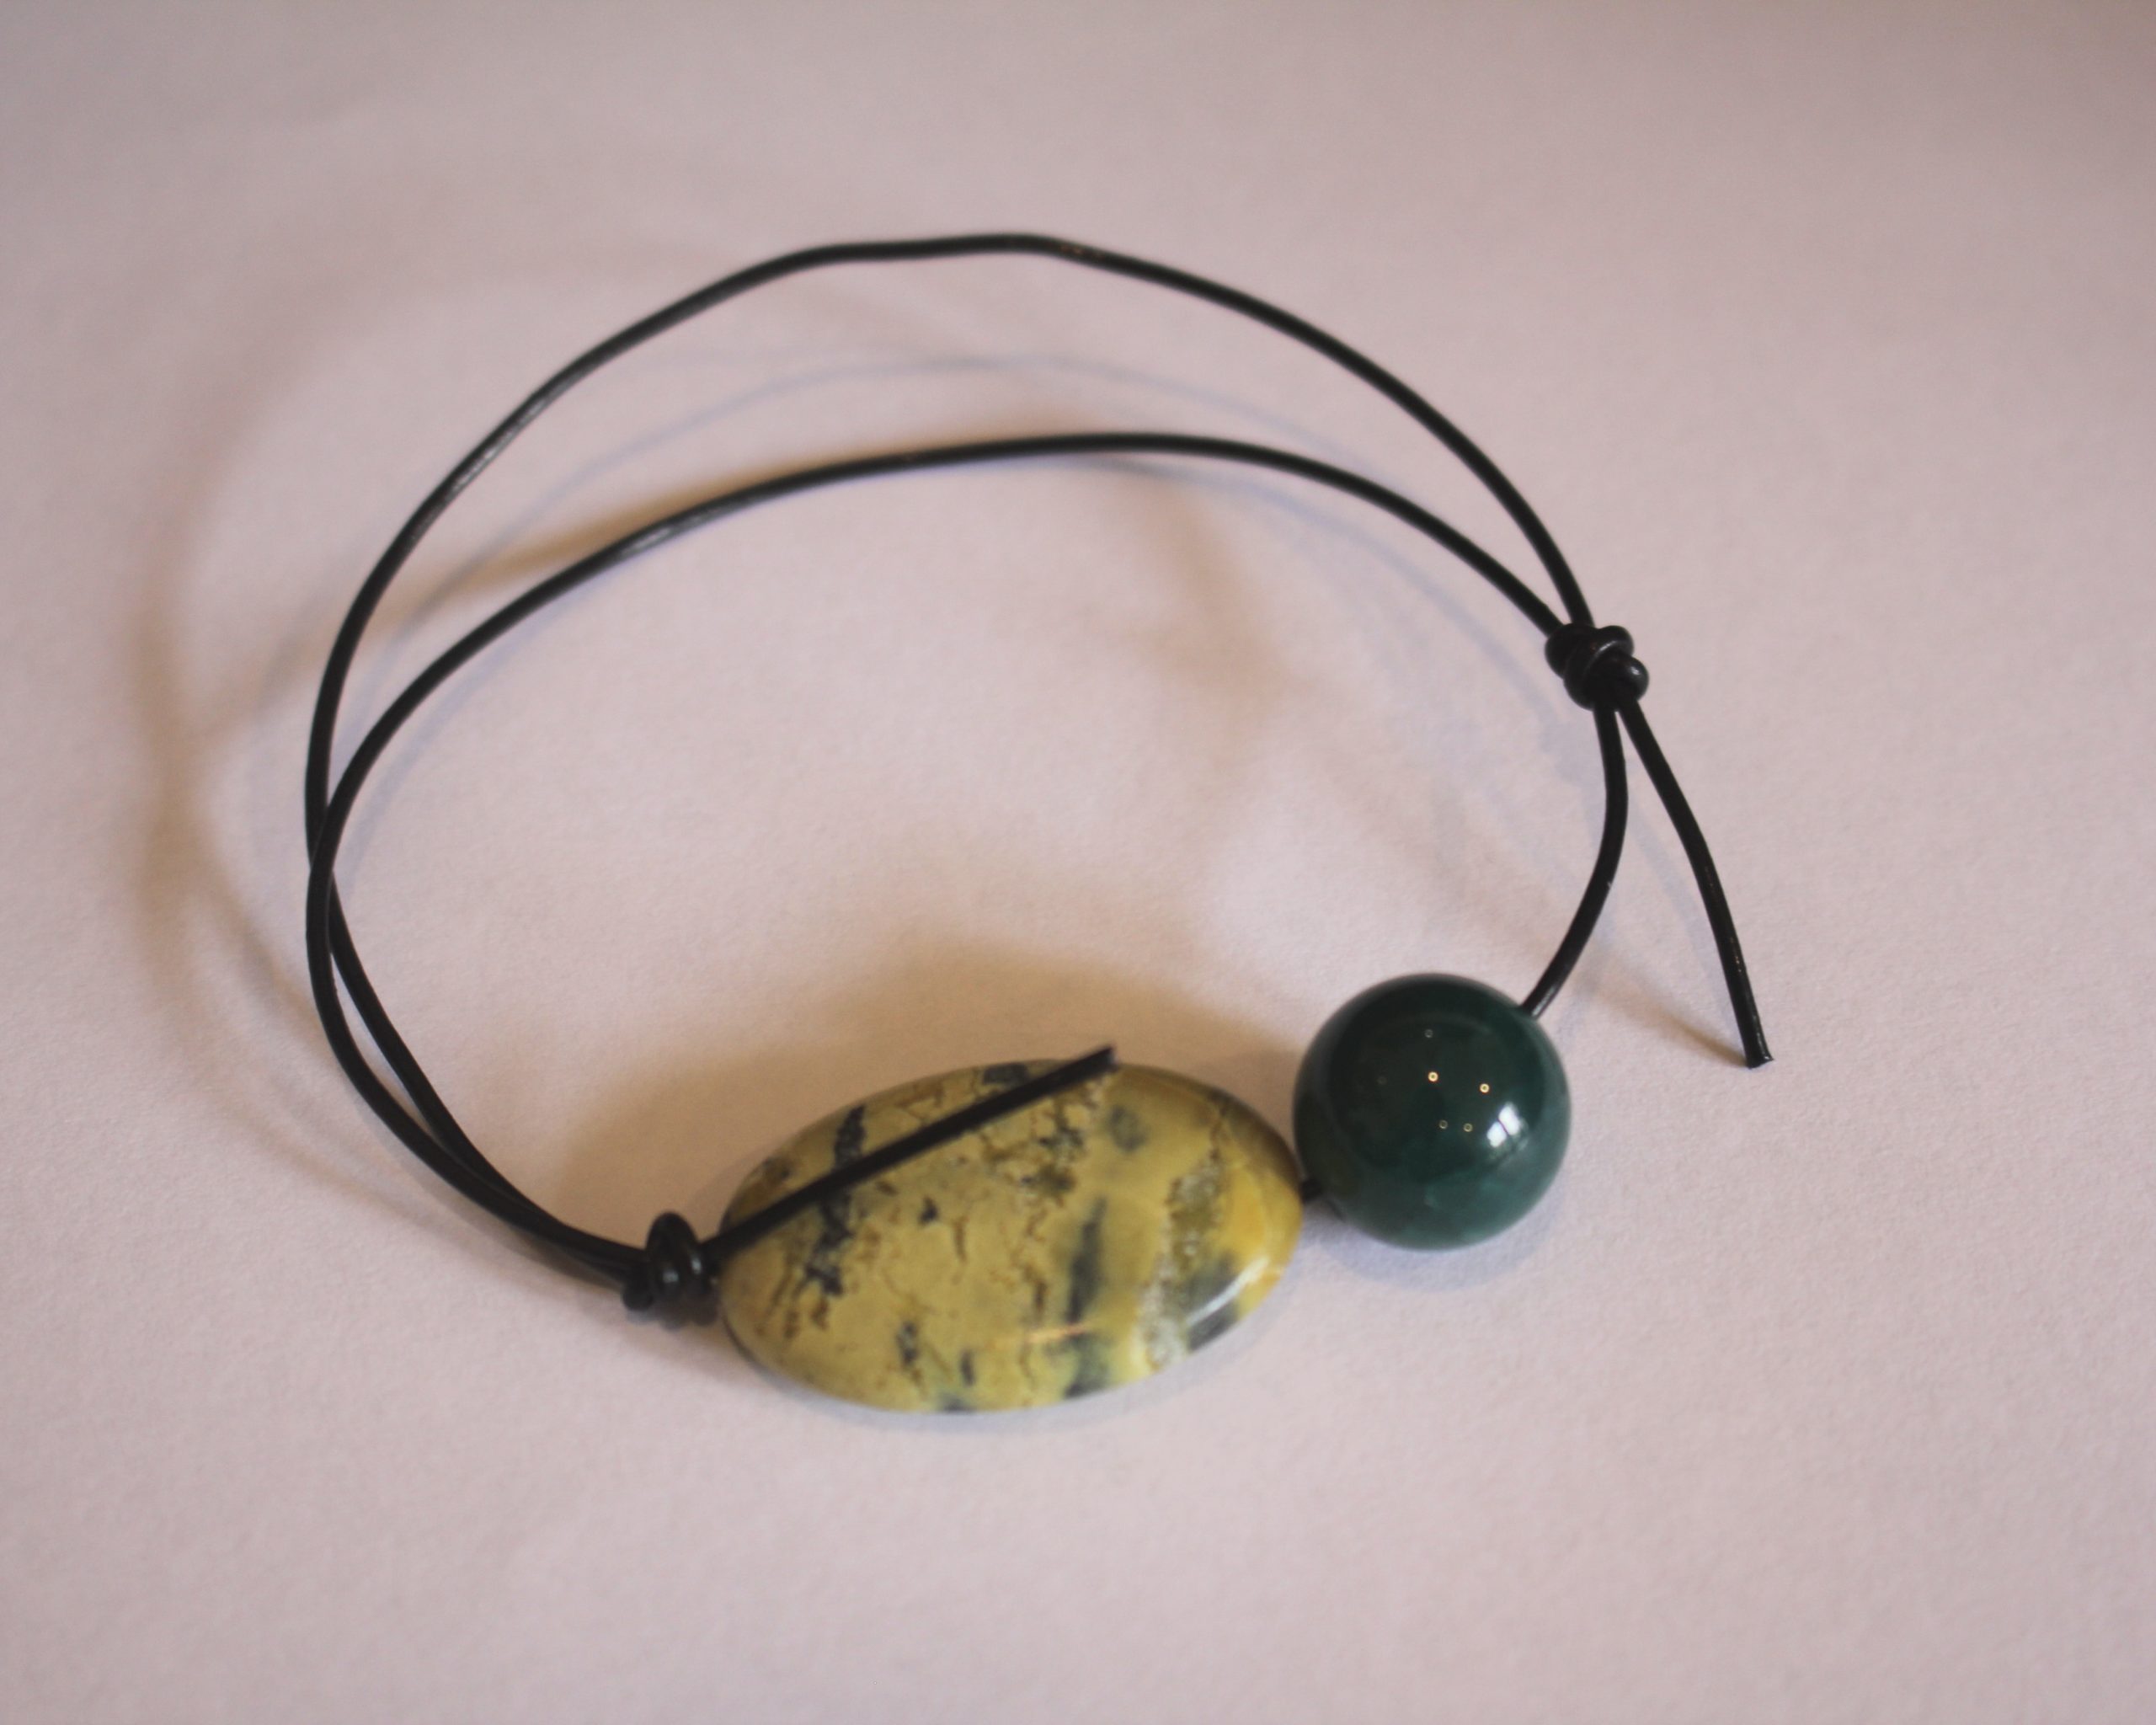
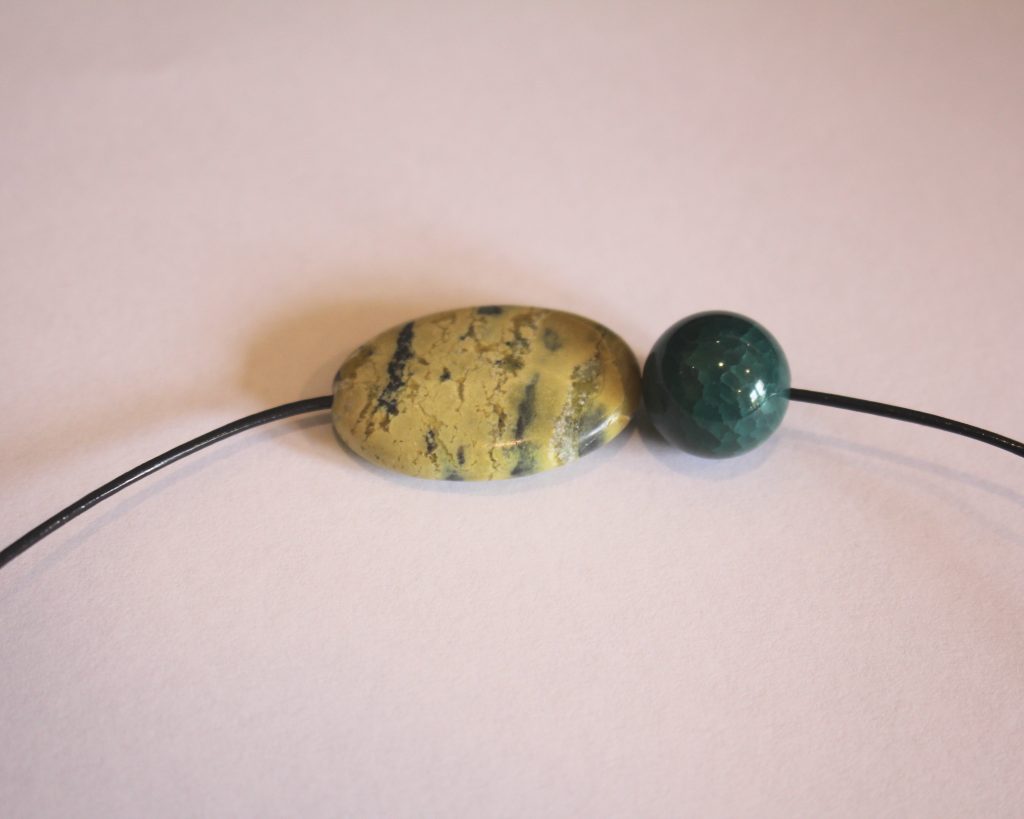
3: Beads with holes big enough to fit on your cord. I used a flat oval jasper bead and a round green agate bead.
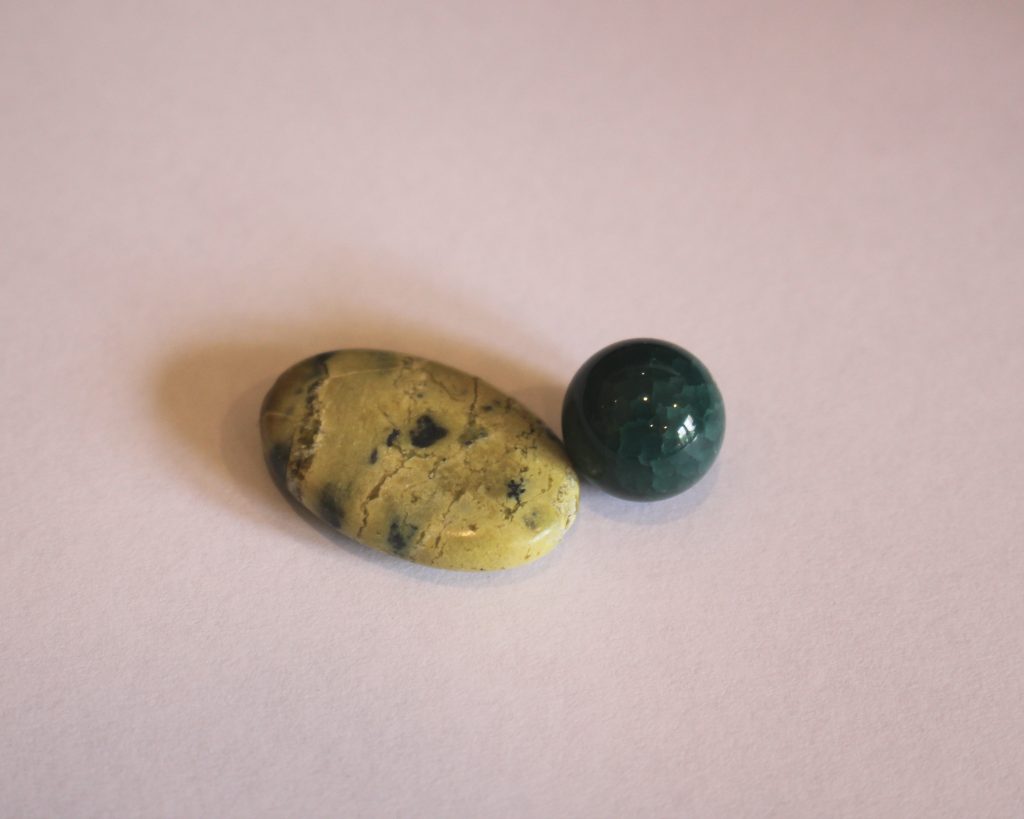
You can get some similar beads here:
Green agate beads:
Green jasper beads:
Follow these steps to make your bracelet:
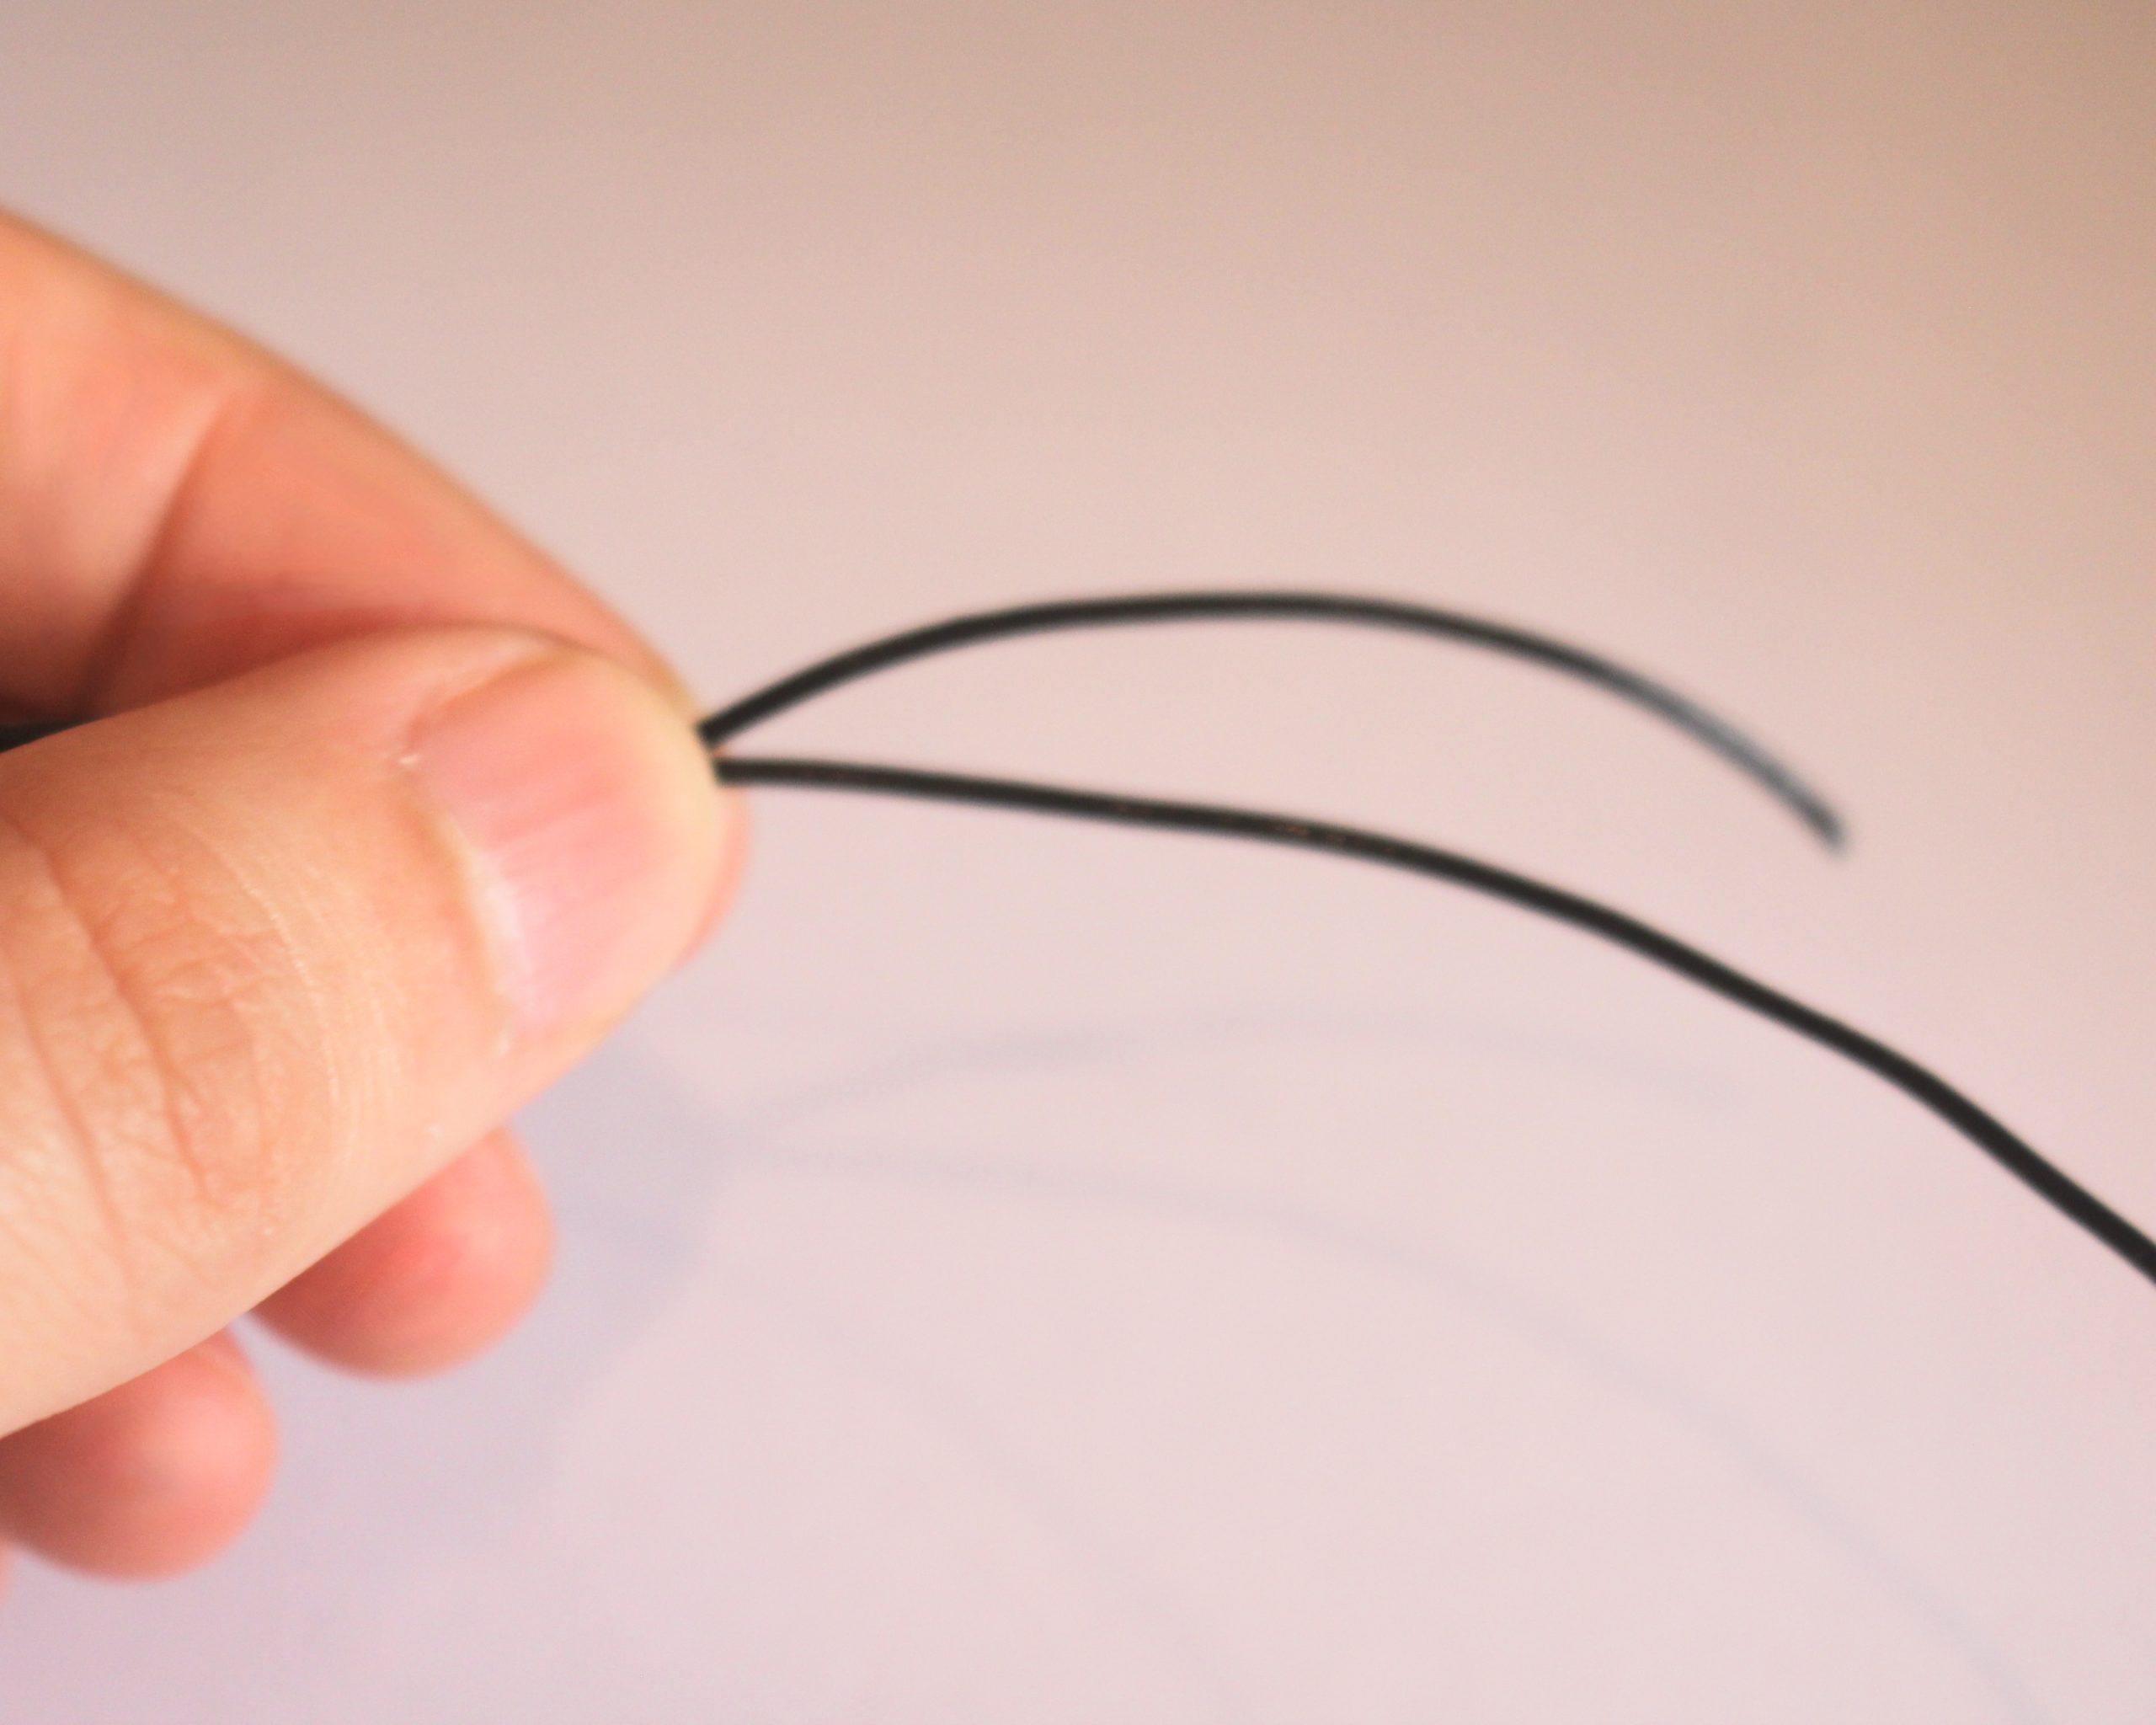
1: Add the beads to the cord.
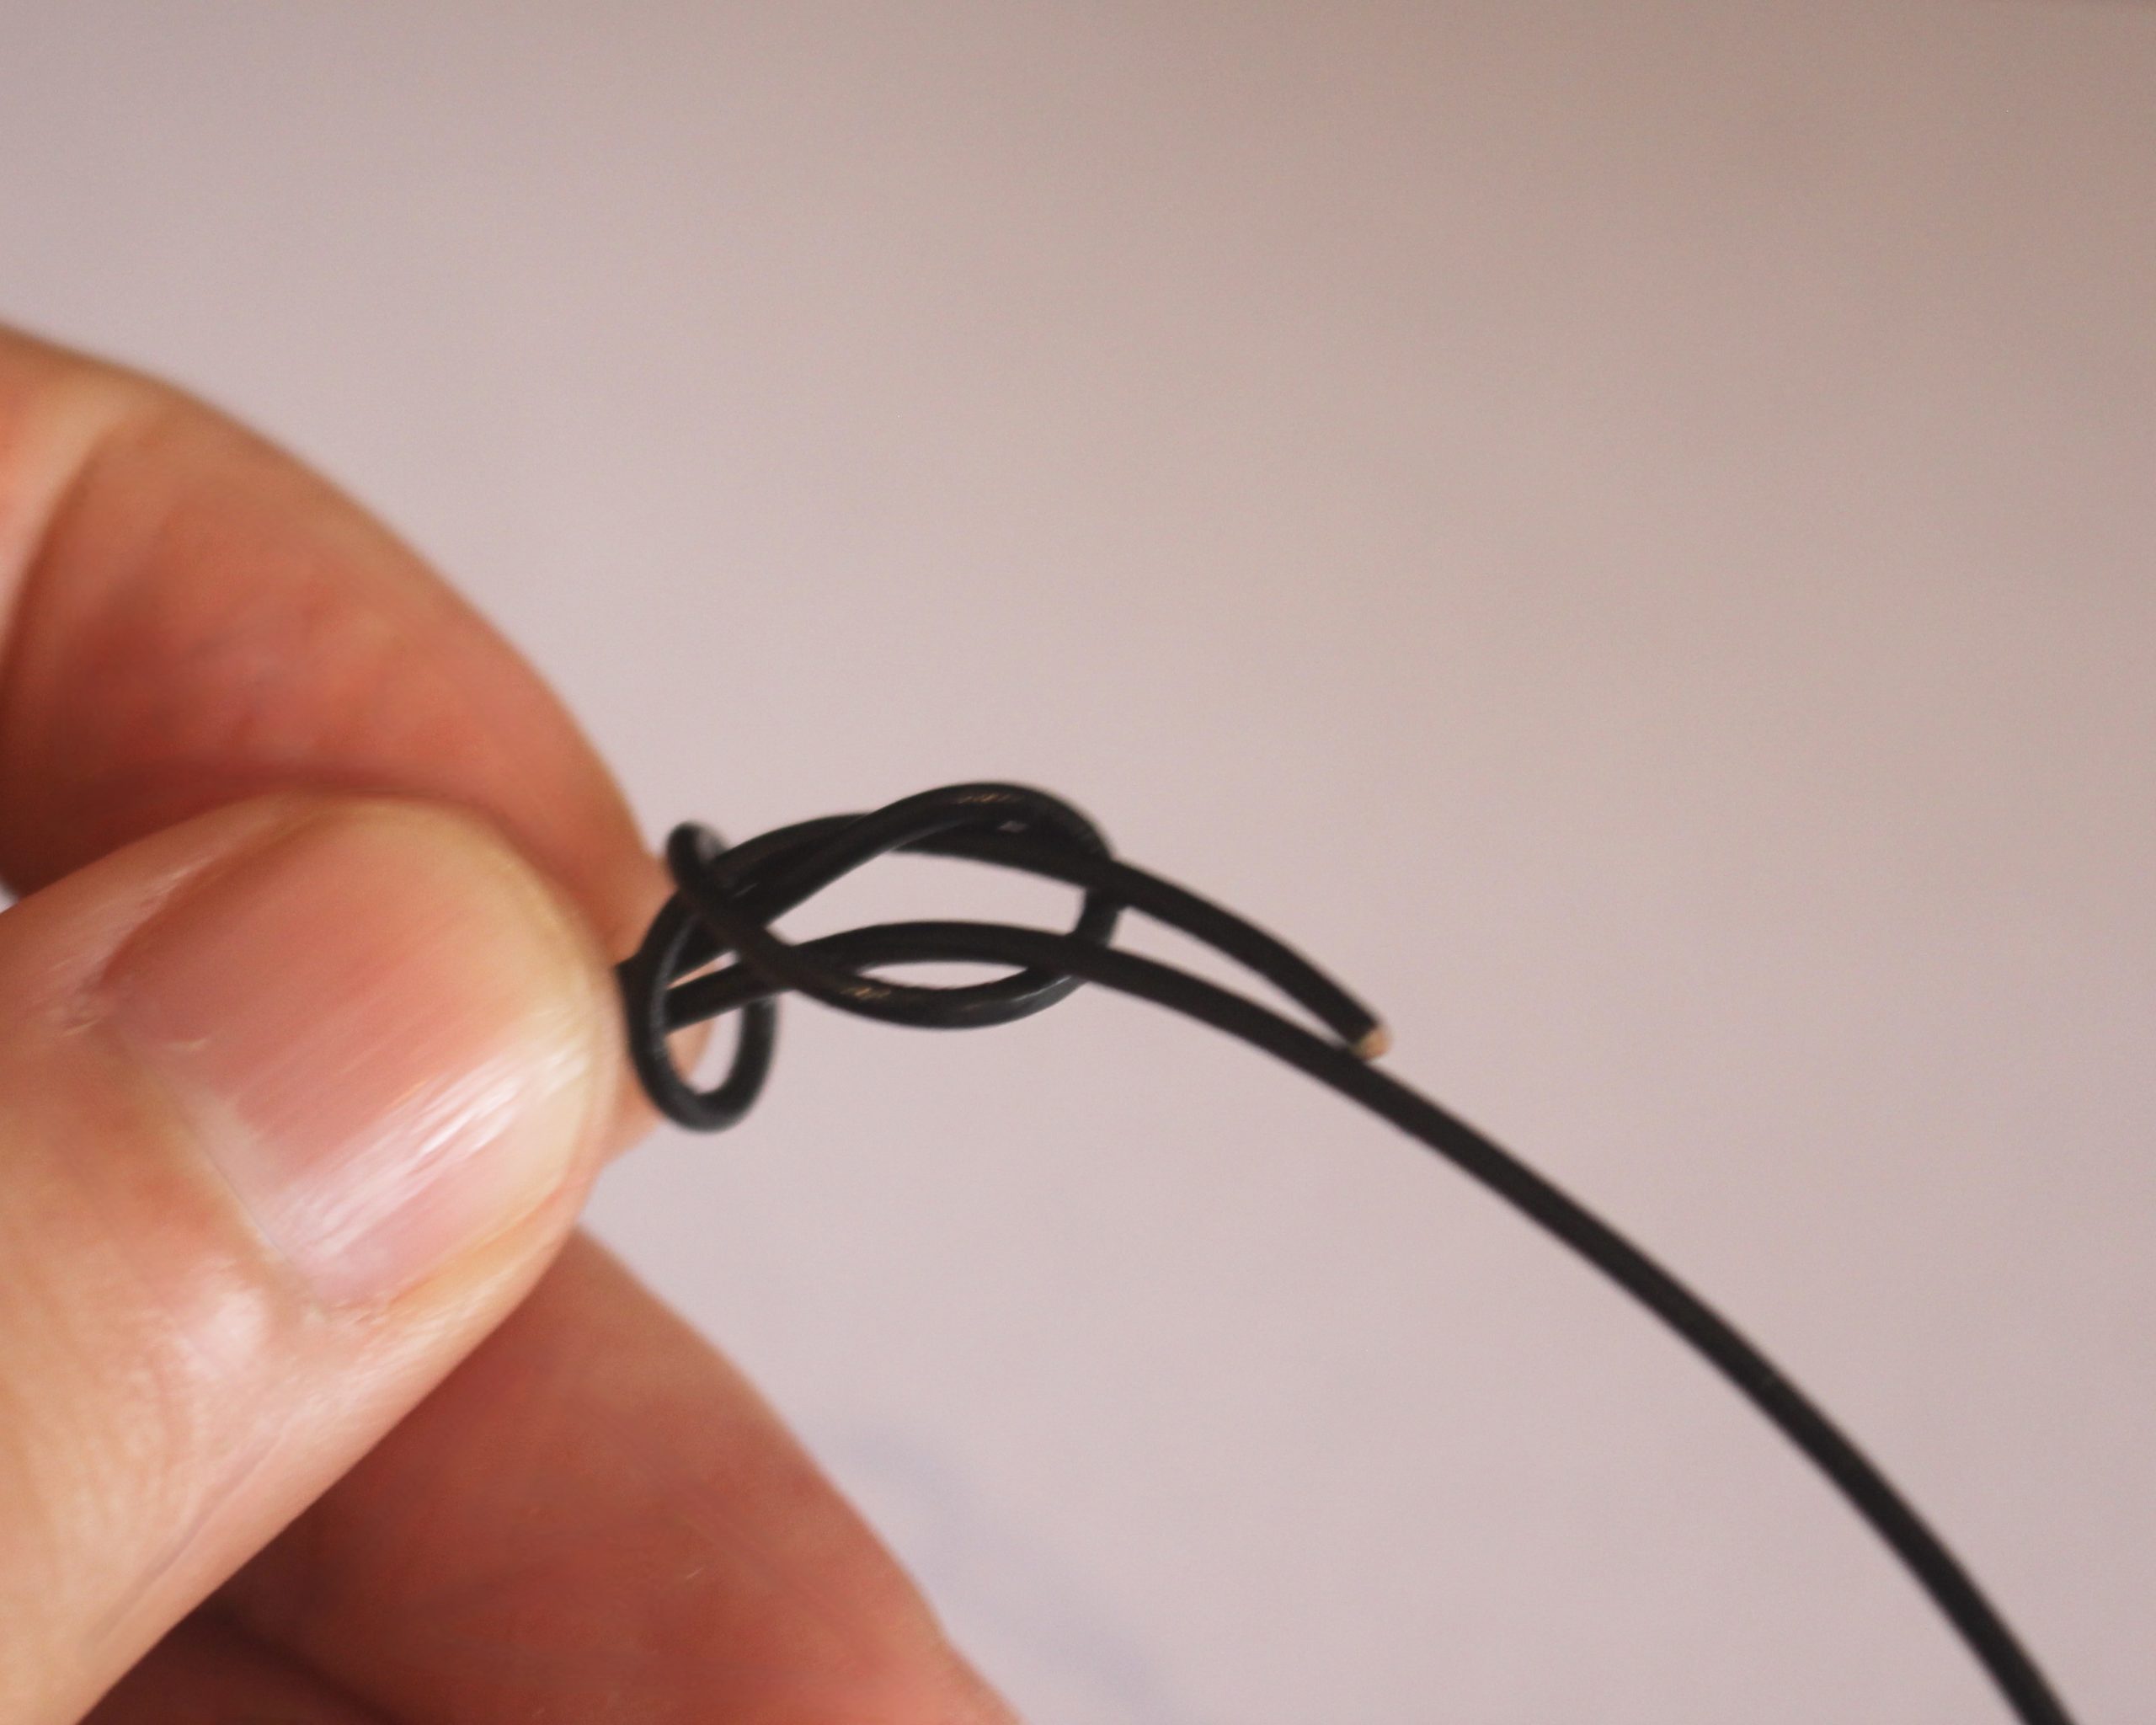
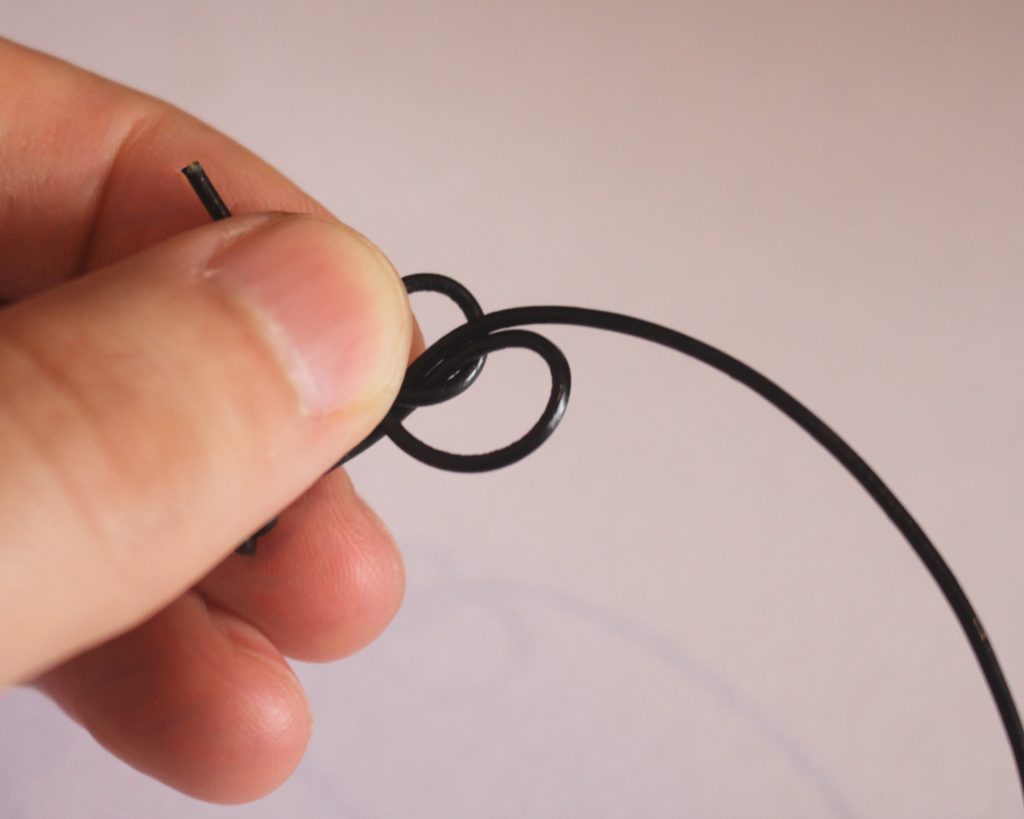
2: Now it is time to create the first sliding knot.
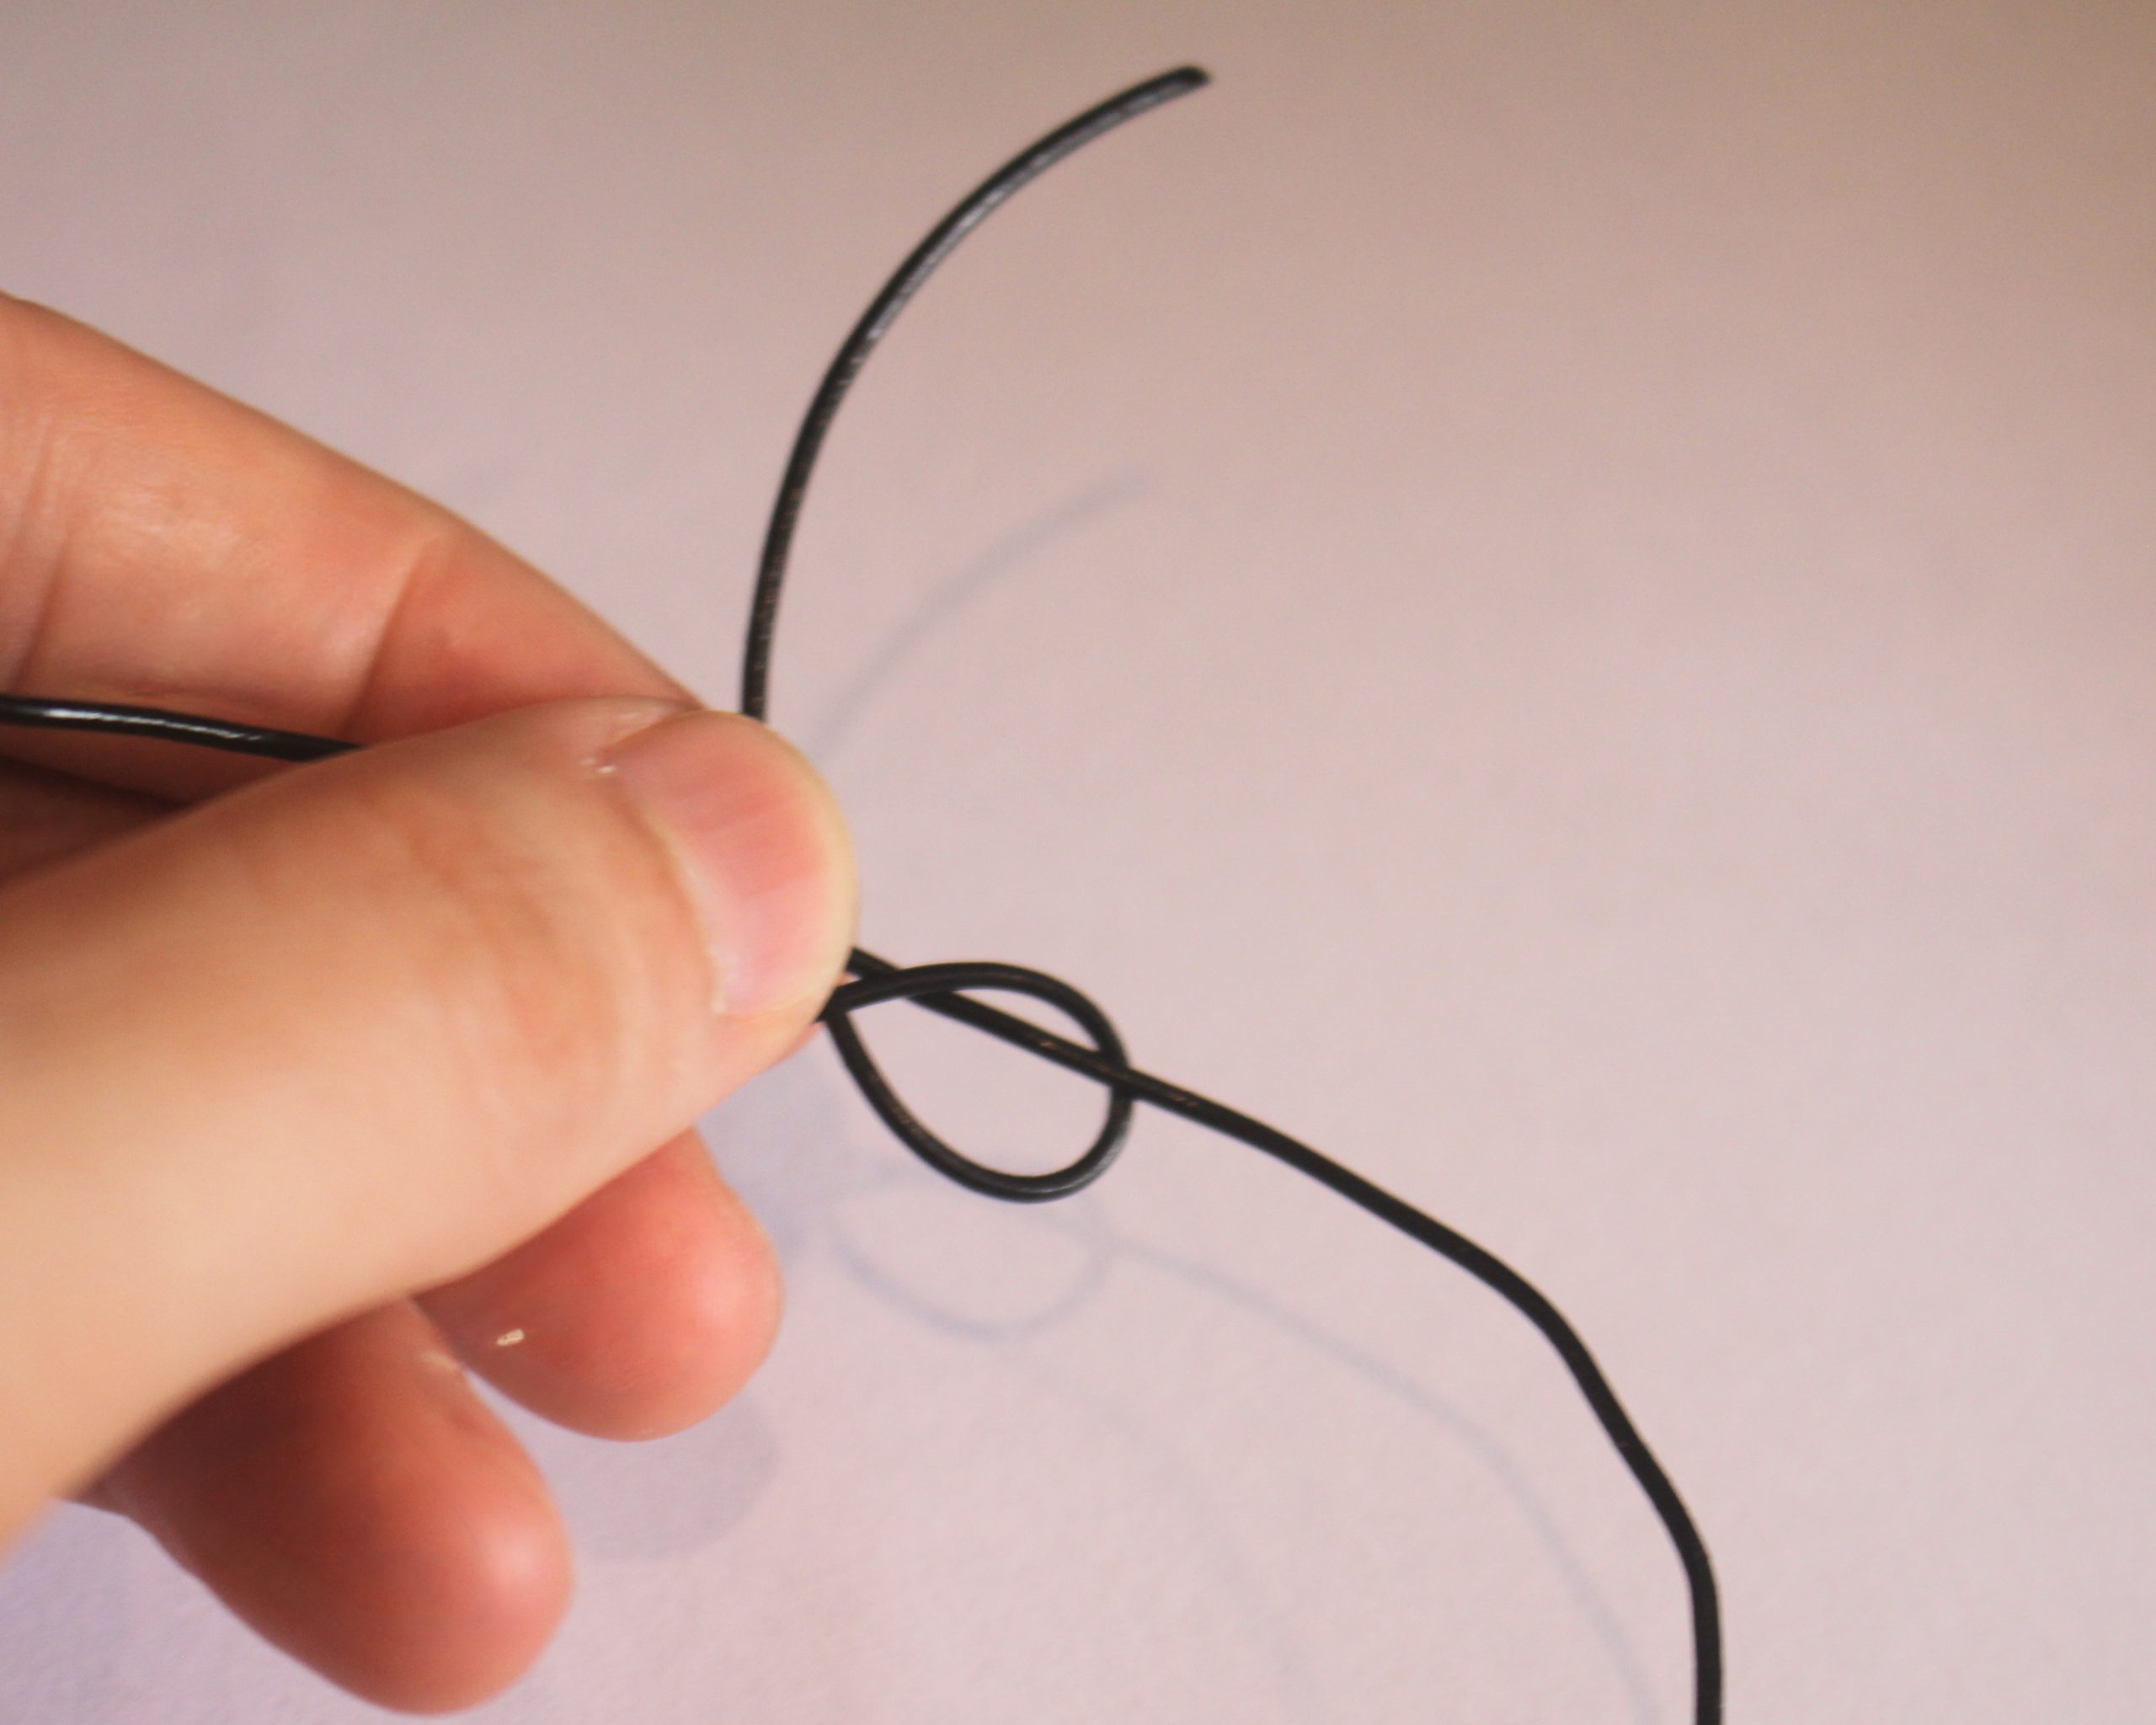
3: Take the left side of the cord and cross it over the right side.

4: Loop the end over the cord and around it.

5: Create another loop to the left of the first one.
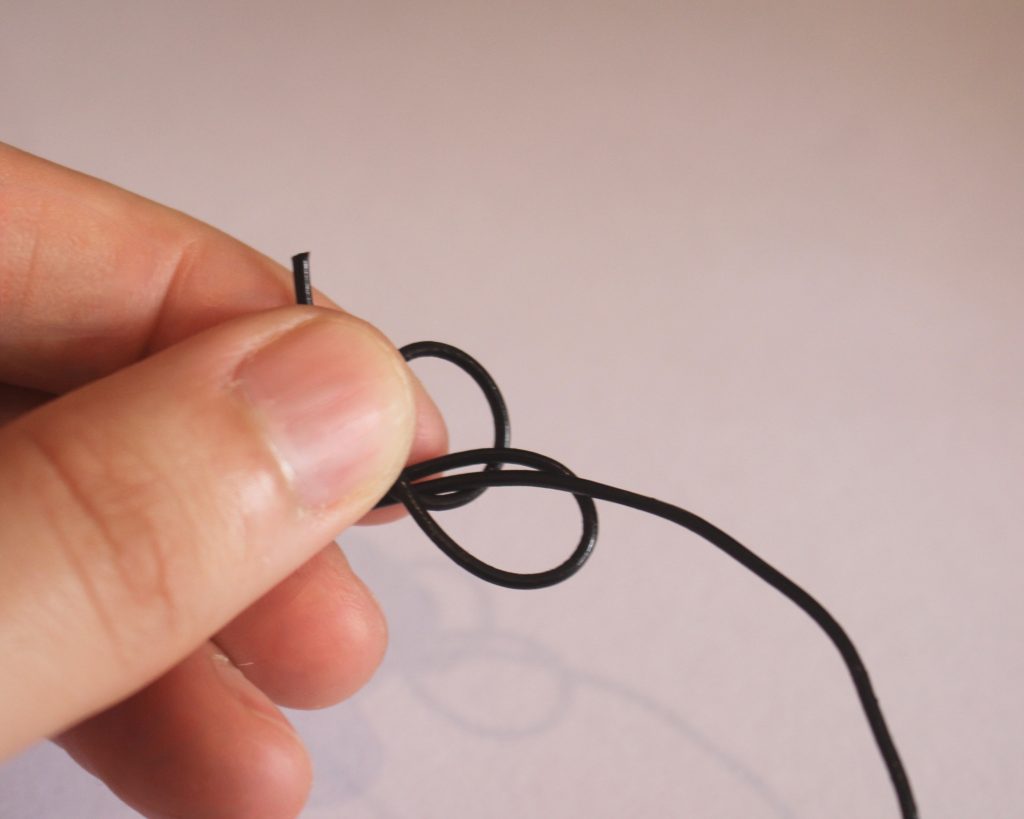
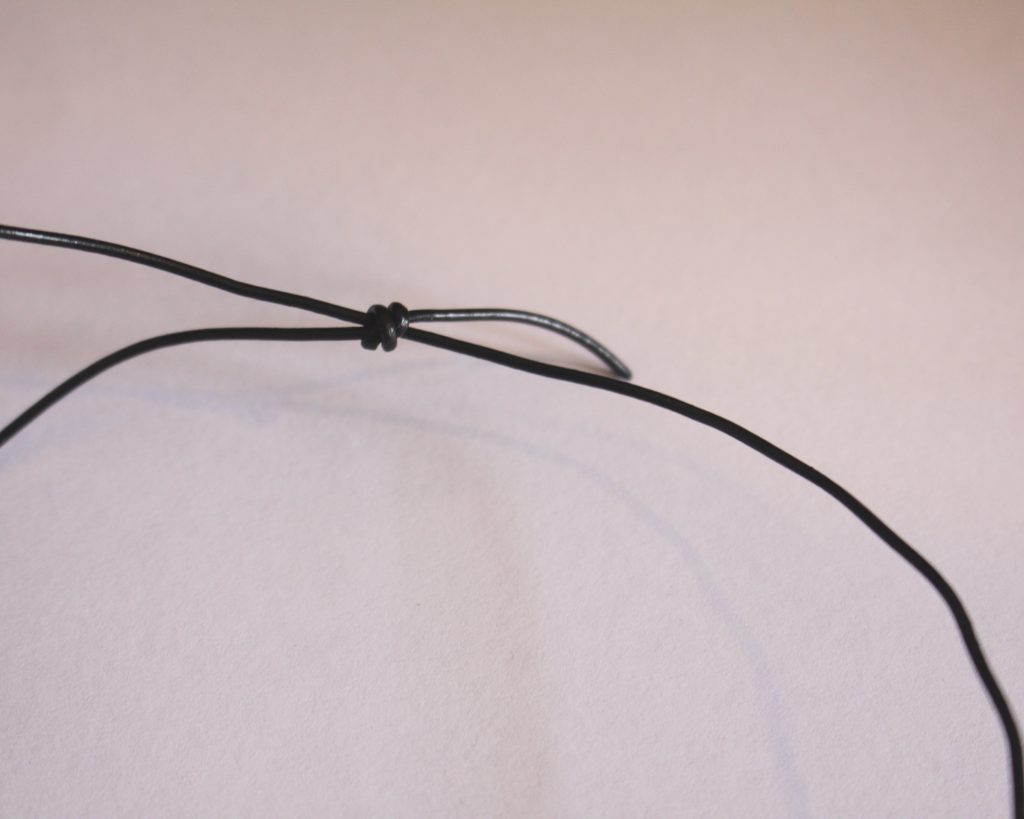
6: Poke the end of the cord through the loops and pull them tight.

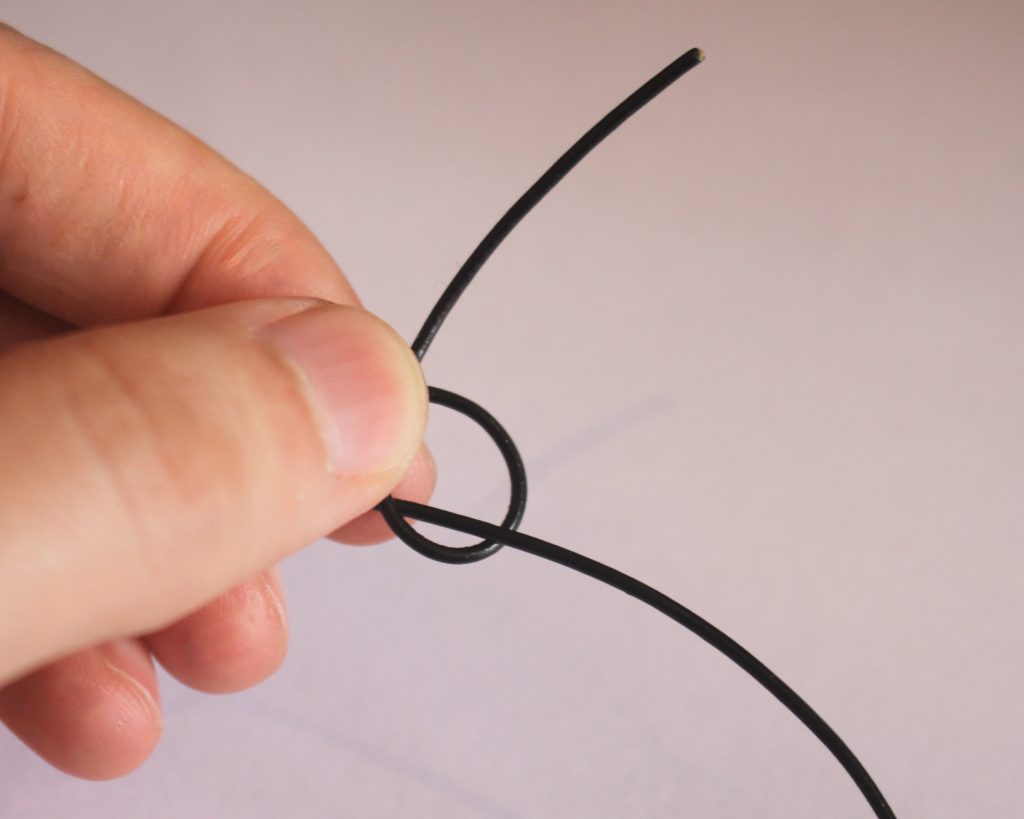
7: Repeat steps 3-6 for the other side. If you’re finding it tricky, it can help to flip your work so that you are working on the same side as the first knot… that’s what I did 😉

8: Once you have both knots in place, you can now adjust your bracelet to the desired size. I left the ends of my cord poking out, but you can trim them if you like.
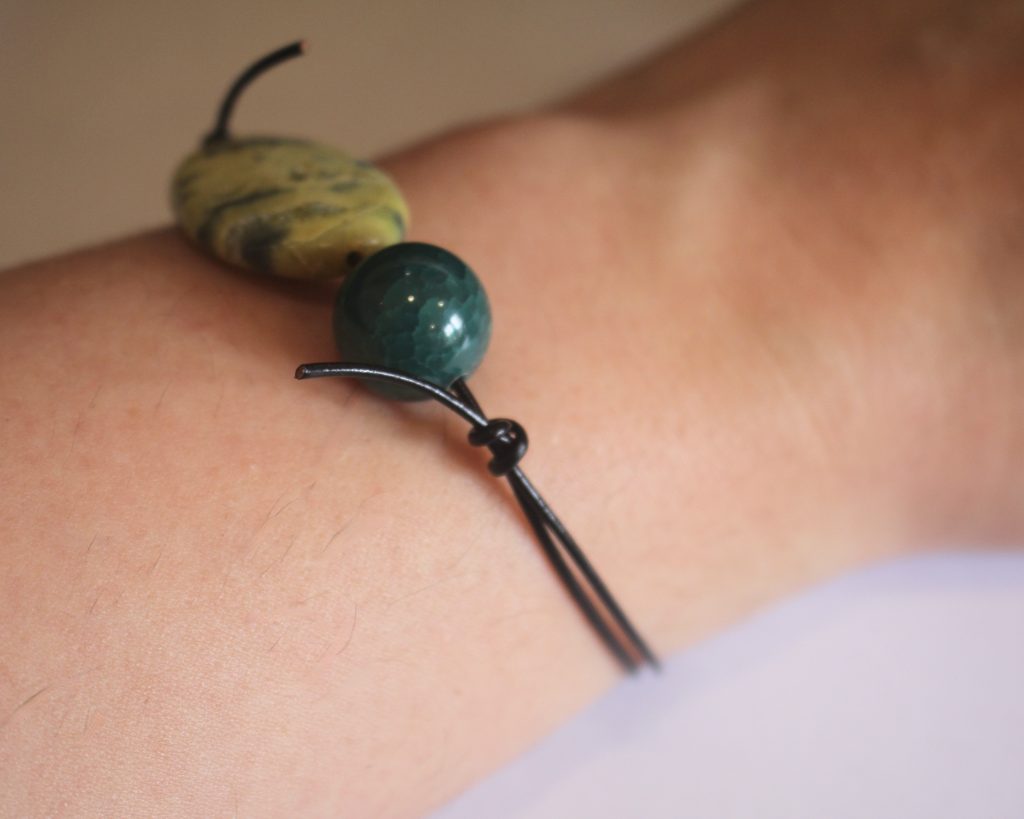

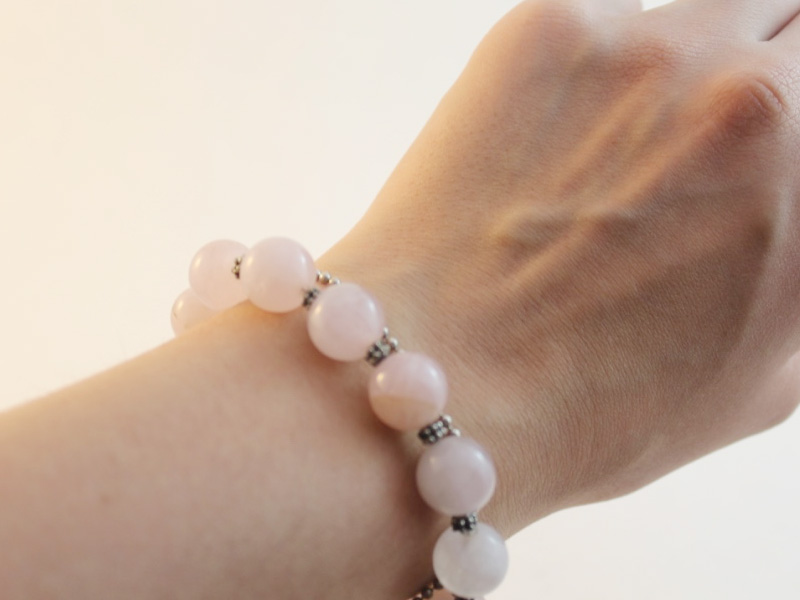
Now your bracelet is ready to wear! How simple but effective? I love it.


-
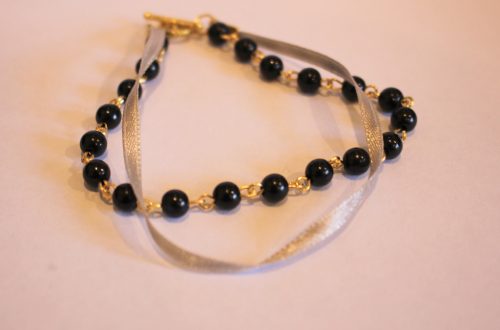
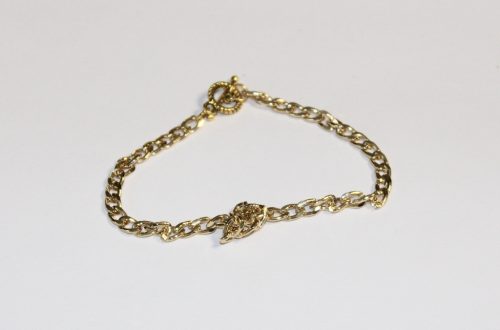
How to make a bracelet that combines leather and beads into one piece!
This tutorial is a bit of a recycling piece. I used some scrap leather combined with some beads I recycled from an old necklace to construct something new. I think this bracelet is a cute statement piece, but it can also be layered with other bracelets to make a cool stack. Please note that this tutorial contains affiliate links.
You’ll need these tools and materials to make your leather and bead bracelet:
1: A piece of leather, I used this scrap piece of leather that was about 1cm wide and 9cm long. If you don’t have any scrap leather you could also use some leftover ribbon or cord.

2: Some pliers. I used my flat nose pliers and round nose pliers for this piece.


3: A bunch of eye pins. The number you will need will vary depending on the length of your bracelet and your piece of leather.

4: Two flat crimp ends.

5: Some beads. I used these timber beads I recycled from an old necklace.

6: Two jump rings.

7: A lobster clasp. I used this large one.

Follow these steps to make your own leather and bead bracelet:
1: Take your piece of leather and place one of the crimp ends on one end. Be careful to line up the edges.

2: Squash the crimp using the flat nose pliers.


3: Repeat steps 1 and 2 for the other end of the leather, attaching the other crimp.

4: Set the piece of leather aside.
5: Take one of the eye pins and add a bead.

6: Bend the pin to form an angle.
7: Use the round nose pliers to create a loop at the top of the pin, securing the beads in place.


8: Repeat steps 1-7 for another bead, before closing the loop, slide it onto the first charm you made. Close it to secure the charms together.

9: Repeat steps 1-8 for another bead.

10: Attach the small chain you made to one end of the piece of leather, this will help you keep track of the overall bracelet length.

11: Keep adding beads to the chain until your bracelet is long enough to fit around your wrist.

12: Attach the lobster clasp to the beaded end of the bracelet using one of the jump rings.

13: Attach the other jump ring to the other side of the bracelet to finish it off.

Now your bracelet is finished! How will you wear yours?