

How to make a double strand bracelet with ribbon and beads!
This bracelet is another way that you can make a multi-strand bracelet. This bracelet makes use of ribbons and a beaded chain for an alternative look. I used some recycled materials in this design, it is a great way to reuse ribbons and cords from old packaging or gifts. Please note that this tutorial contains affiliate links.
You’ll need these tools and materials to make this double strand bracelet:
1: A piece of ribbon. I used this thin ribbon that I had recycled from a piece of clothing.
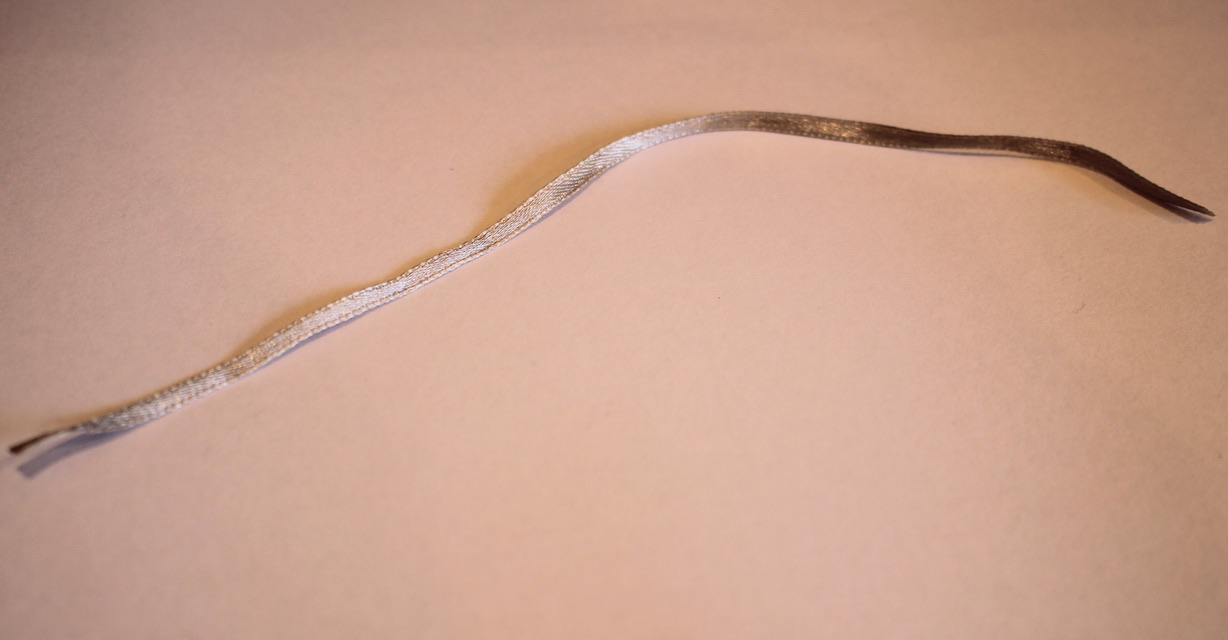
2: Scissors. I used my scissors to cut the ribbon to length.

3: Pliers. I used my flat nose and round nose pliers for this design.


4: Some sticky tape.
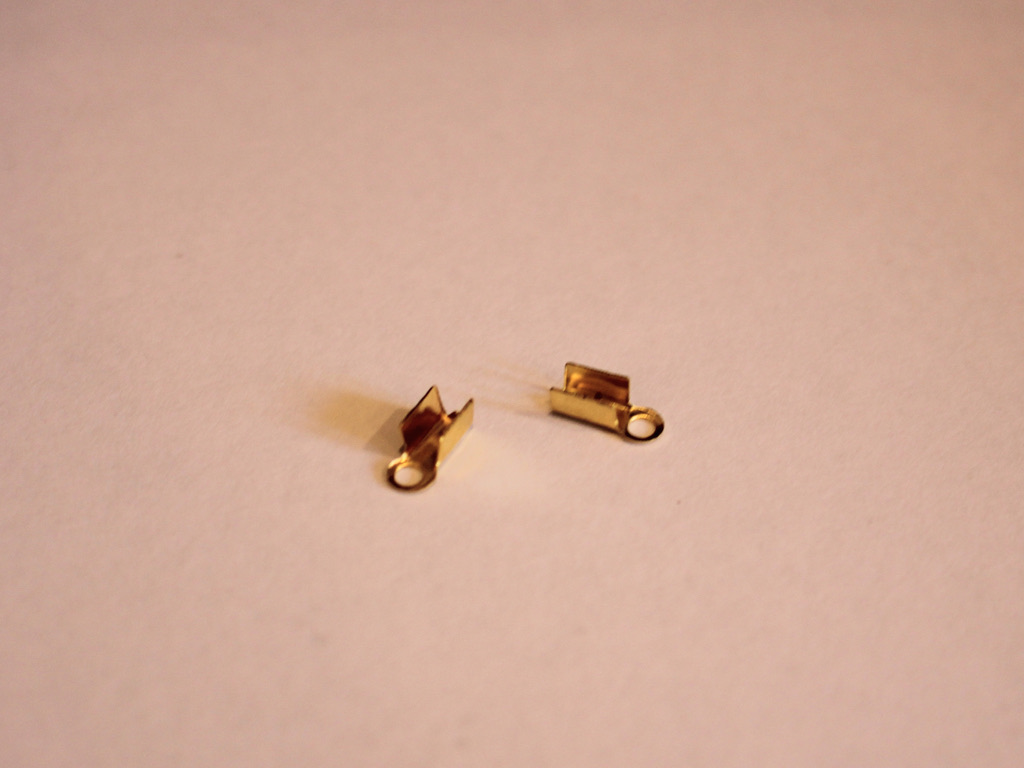
5: Two crimp ends.
6: A bunch of eye pins. The number you will need depends on the length of your bracelet so it’s good to have a few extra on hand.

7: Beads. I used these black plastic beads that I recycled from an old piece of jewelry.

8: Two jump rings.

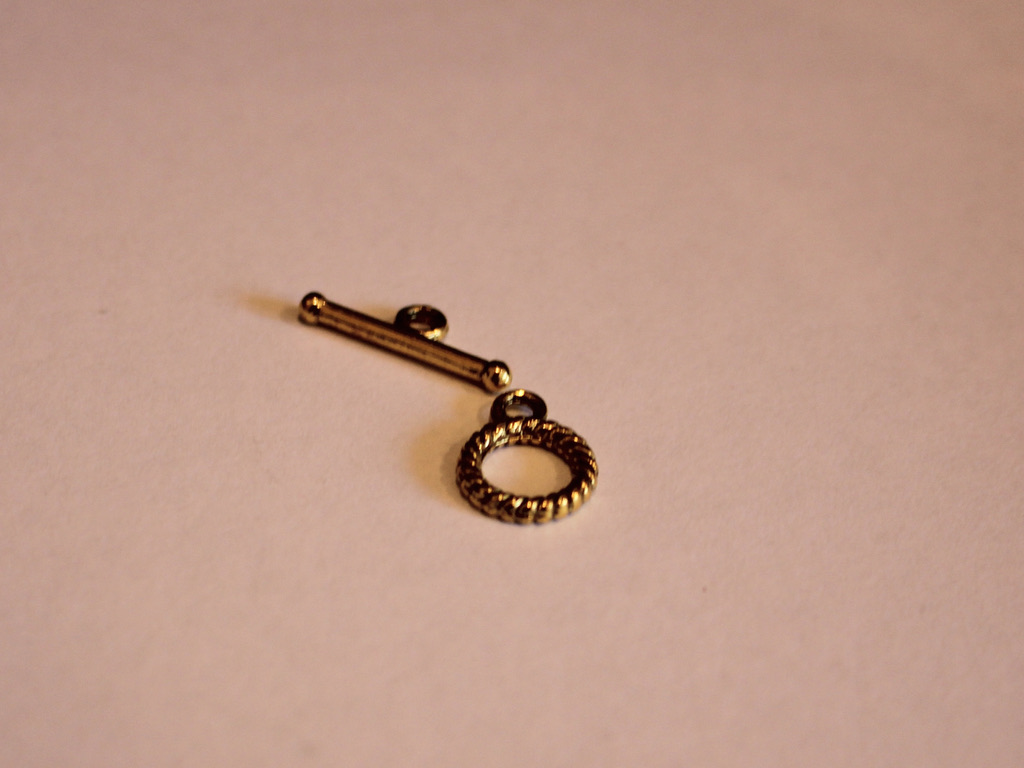
9: A toggle clasp.
Follow these steps to make your own double strand bracelet made with mixed materials:
1: Take the ribbon, cut it to a length that fits around your wrist.
2: Add some sticky tape to either end of the ribbon. This will give the crimps a bit more material to grip on to. You can skip this step if you have a thicker piece of ribbon.
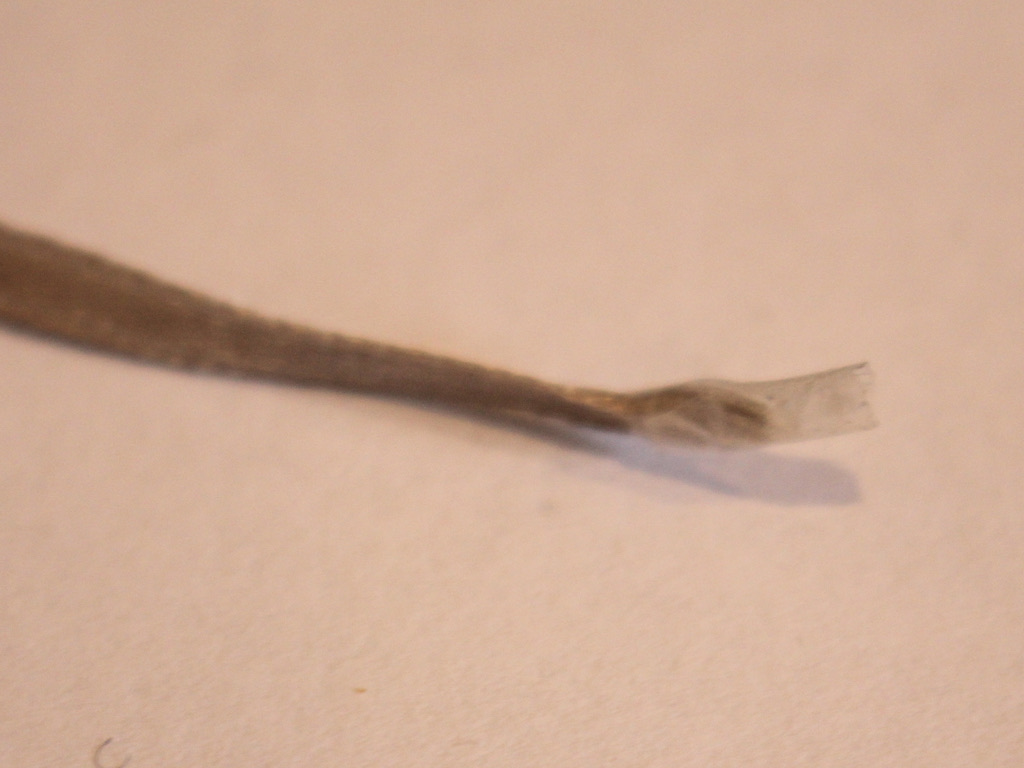
3: Place the crimp around the end of the ribbon.

4: Squash one side of the crimp around the ribbon using the flat nose pliers.

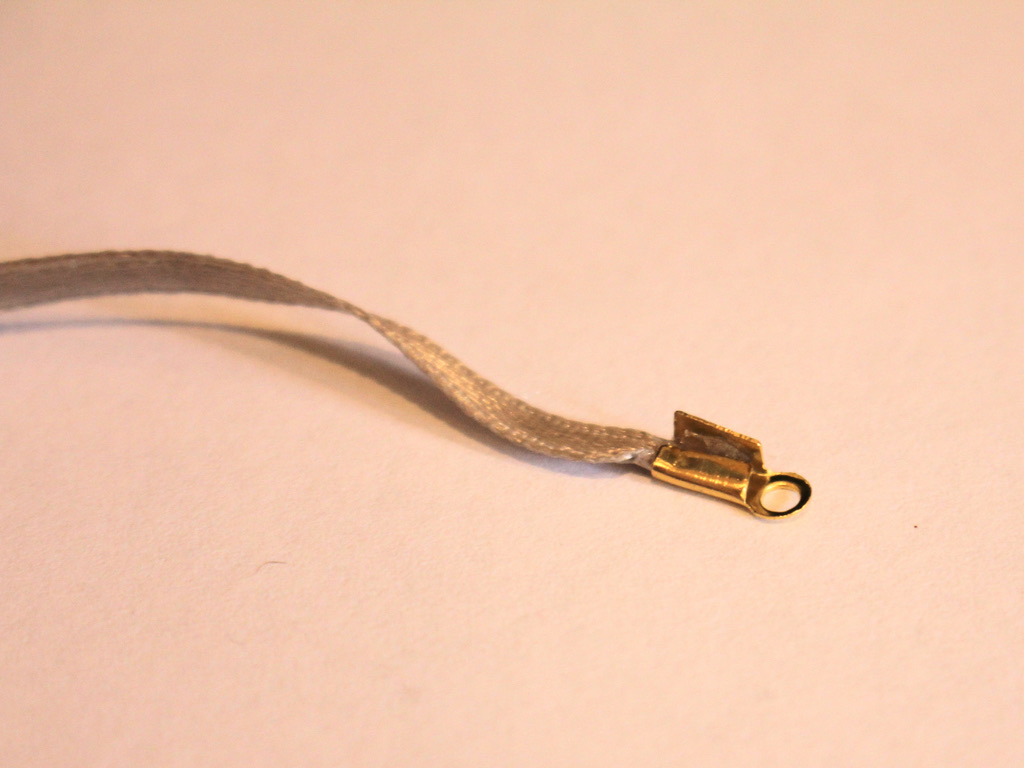
5: Squash the other side of the crimp around the ribbon using the flat nose pliers.

6: Repeat steps 3 to 5 for the other end of the ribbon, squashing the other crimp in place.

7: Set the ribbon aside.
8: Take one of the eye pins and place a bead on it.

9: Bend the pin to form an angle with the bead.
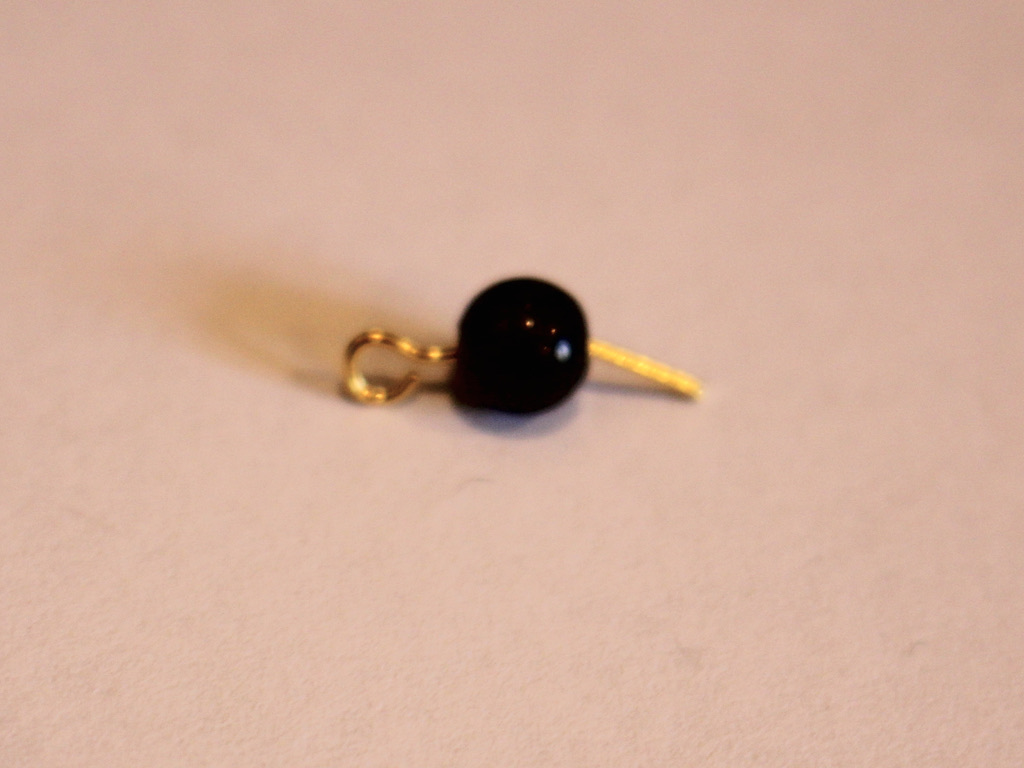
10: Loop the end of the pin around the round nose pliers to form a loop.


11: Repeat steps 8-10 for another pin and bead, now you will have two beaded pins that you can now attach together. Do this by slightly opening one of the loops and sliding the other charm on. Close the loop to secure the pieces together.

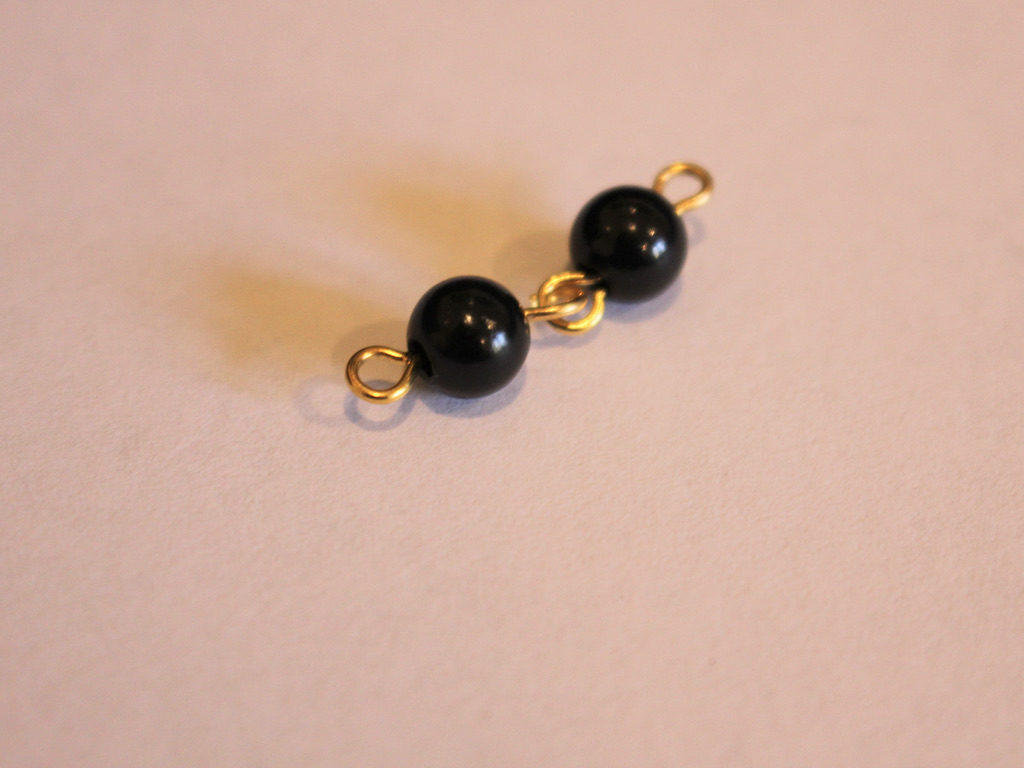
12: Repeat steps 1-11 until you have a chain that is the same length as the ribbon. It doesn’t matter if it is a tiny bit longer or shorter.


13: Take a jump ring and slide it through one end of each strand. Close the jump ring to secure the strands together.
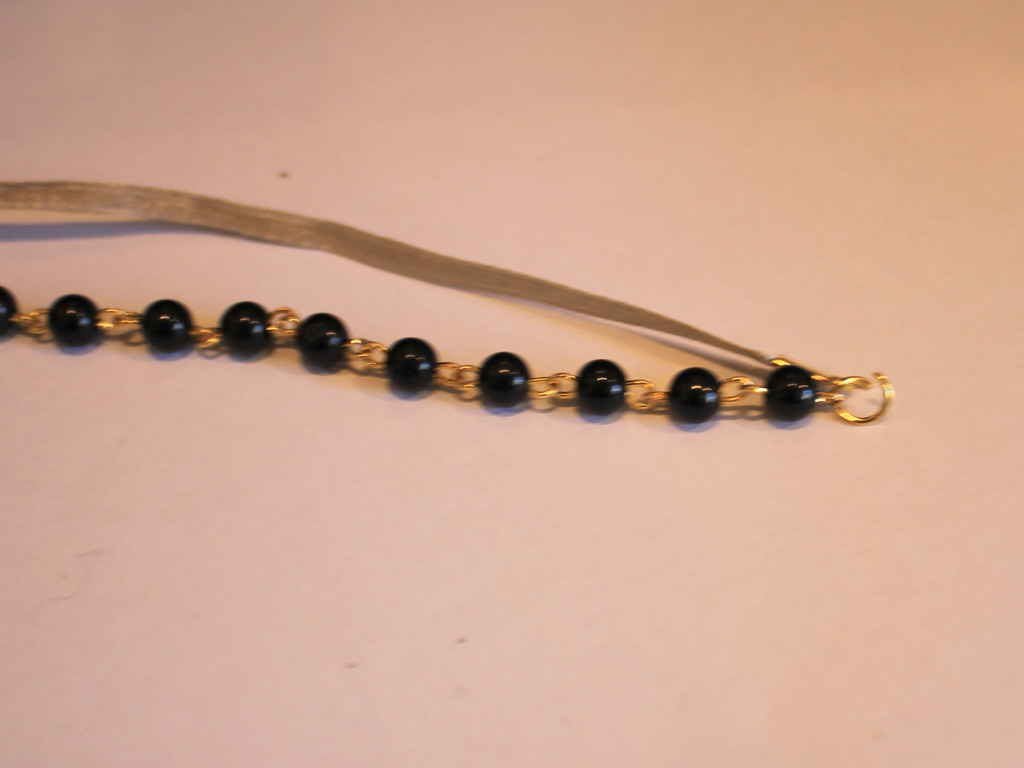

14: Repeat step 13 for the other end of the bracelet.
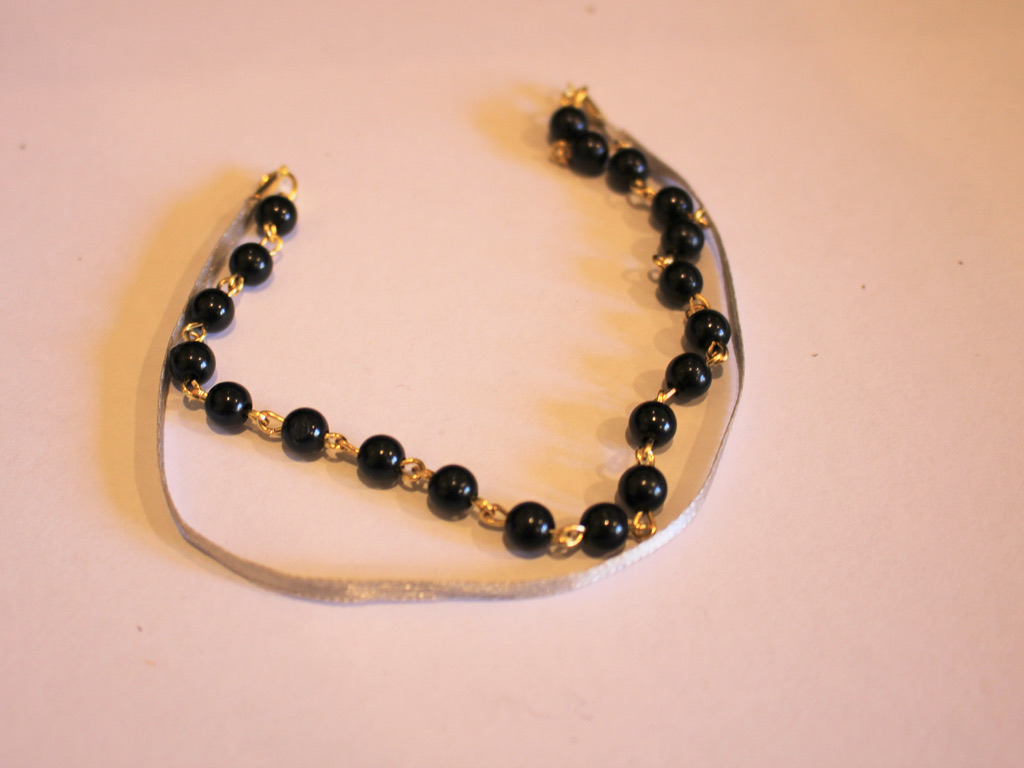
15: Attach one side of the toggle clasp to one side of the bracelet by slightly opening the jump ring, sliding the clasp on, then closing the jump ring again.

16: Repeat step 15 for the second part of the clasp.

Now your bracelet is finished and ready to wear! So cute.

DIY Jewelry Hub
Welcome to DIY Jewelry Hub. If you’ve ever wanted to learn how to make your own jewelry this is the place to start! Jewelry is a great way to show off your individuality and style. You’ll be surprised at how easy it is to create your own unique pieces! DIY Jewelry Hub will equip you with all the knowledge and inspiration you need to make your own jewelry.


You May Also Like

Make Your Garbage Glam With This Cute Ribbon Bangle
How to make a super cute bracelet with beaded diamond shapes!
