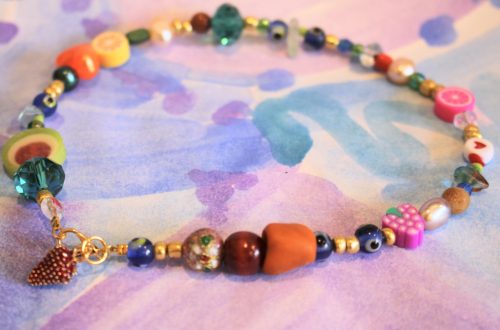
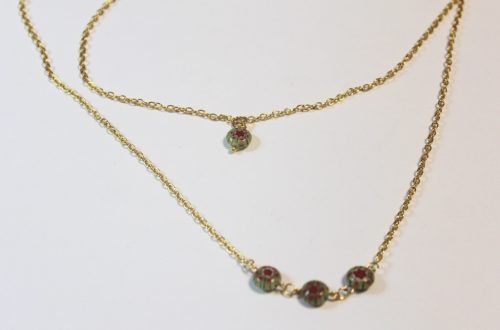
-
Love layering your necklaces but hate when they tangle? Here’s a trick to fix that!
I love layering my necklaces, but I can’t stand it when they tangle and twist together, so here’s how to use two clasps and a couple of jump rings to make a handy necklace stacker clasp that allows you to layer your necklaces with ease. This is a super simple tutorial that will transform your jewelry styling!
Please note that this tutorial contains affiliate links for which we may receive a commission.
You’ll need the following tools and materials to make your necklace stacker clasp:
1: Two sterling silver lobster clasps with jump rings attached.

You can get some here:
2: Two large jump rings.

You can get some here:
3: A pair of flat nose pliers for opening and closing the jump rings.

You can get a pair here:
4: Any necklaces you want to wear stacked. I used this selection of beaded and chain necklaces of different lengths.

Follow these steps to make your game-changing necklace stacker clasp:
1: Take one of the jump rings and attach it to one of the clasp ends. Close it carefully using the flat nose pliers, making sure to get the ends close together.


2: Add the second large jump ring to the end of the second clasp and close it with the pliers.

3: Clip the second clasp to the large jump ring that you attached to the first clasp.

4: Now the clasp is complete and you are ready to start stacking necklaces. The clasp of each necklace is attached to the jump ring end of the clasp, while the other end is attached to the lobster clasp end.
5: Add the first necklace by clipping it onto the jump ring.

6: Then add the other end to the clasp end by opening the clasp and sliding the ring onto it before closing it again.

7: Repeat steps 6 and 7 for the other necklaces, being careful to attach them in the same order on either side.


Once you’ve attached all your necklaces, your new stacked piece is ready to wear. You can use bigger or smaller jump rings depending on how many necklaces you wish to stack. How handy?!
Here’s the finished clasp again.

And here it is with all the necklaces attached.


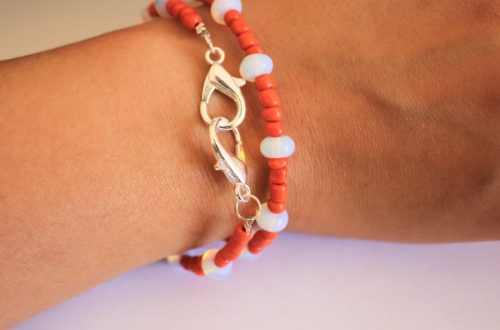
Here’s how it looks when it is being used.

-
Here’s another sparkly shoe chain tutorial for you…
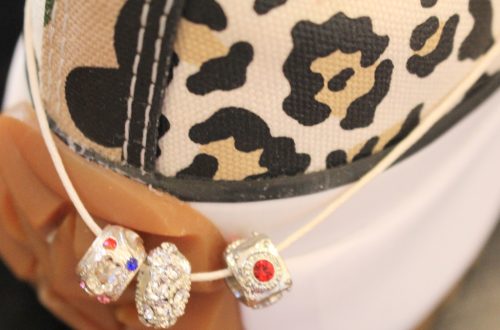
Shoe jewellery is pretty fun! Here’s how to make a sparkly decoration for your fave shoes using some string and some rhinestone embellished beads. I made this one long enough that you could also clip the ends together so you can wear it around boots. Please note that this tutorial contains affiliate links.
You’ll need these tools and materials to make this shoe chain:
1: A piece of string about 35-40cm long.

2: Two large lobster clasps.

3: Some beads. I used these second-hand rhinestone embellished metal beads.

4: Scissors for trimming the string.

5: Some superglue.
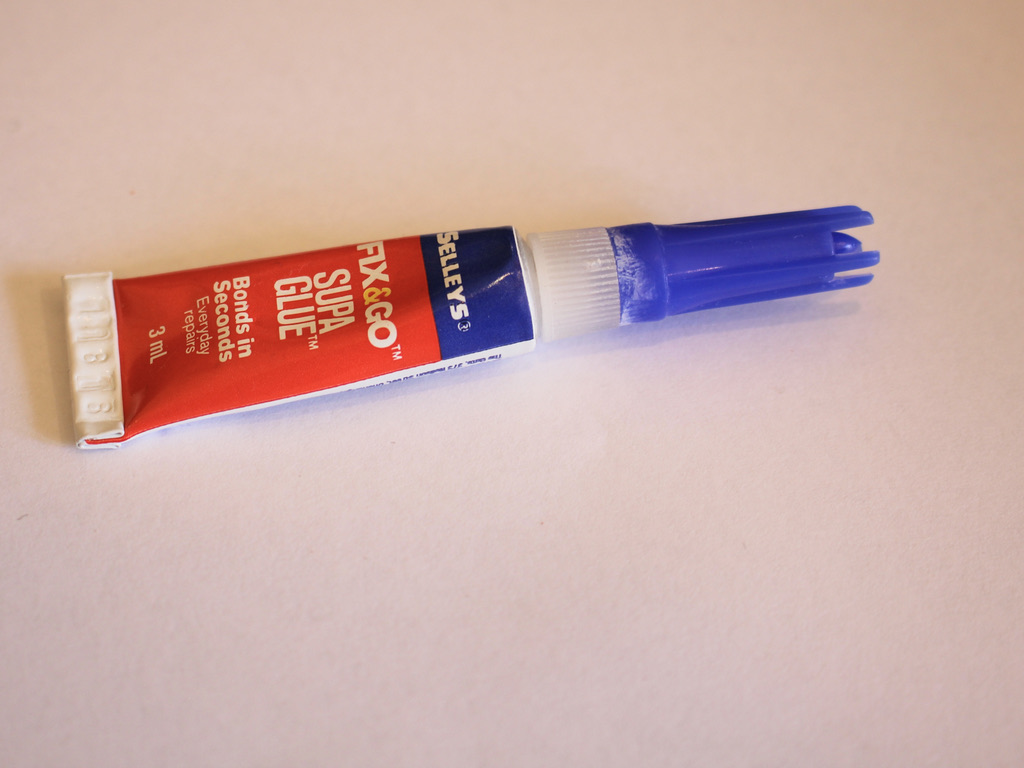
Follow these steps to make your shoe chain using string and beads:
1: Add one of the lobster clasps to one end of the string and tie a knot.


2: Tie two more knots, leaving the end for now.

3: Add the beads to the string.
4: Add the second lobster clasp to the other end of the string and tie three knots as you did in steps 1 and 2.

5: Trim the ends of the string using your scissors.

6: Add a dab of superglue to the knots to secure them then set it aside to dry.
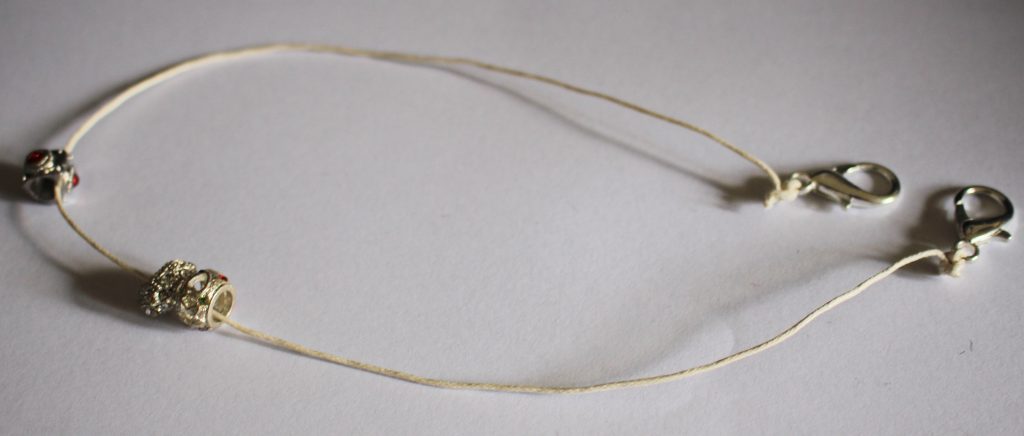
Now your shoe chain is finished. Here it is clipped to some low top sneakers, but you could experiment and add them to high-tops or boots!


-
How to make a beaded lanyard using string and funky beads!
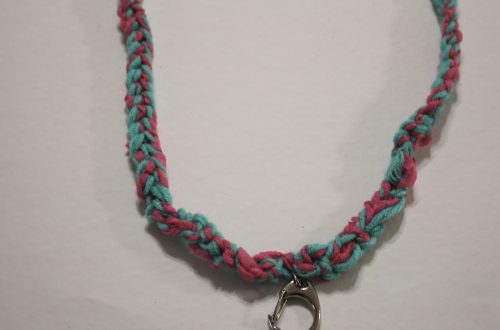
I recently caught up with a friend, she’s a teacher and she was really excited that she found some funky beaded lanyards, and it made me think… I could probably make one myself! So here’s the tutorial, here’s how to transform some string, clasps and funky beads into a useful lanyard! Please note that this tutorial contains affiliate links.
You’ll need these tools and materials to make your own beaded lanyard:
1: Scissors
2: Cotton twine, cut about 15cm longer than the length you want your lanyard.

3: Three large lobster clasps.

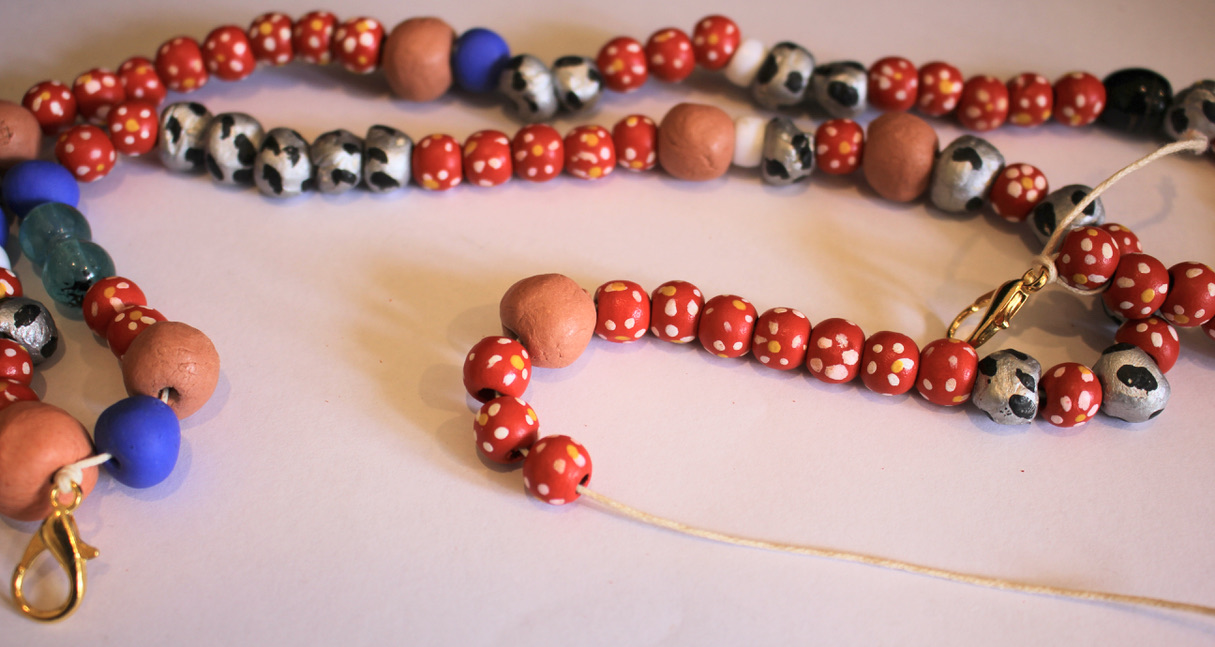
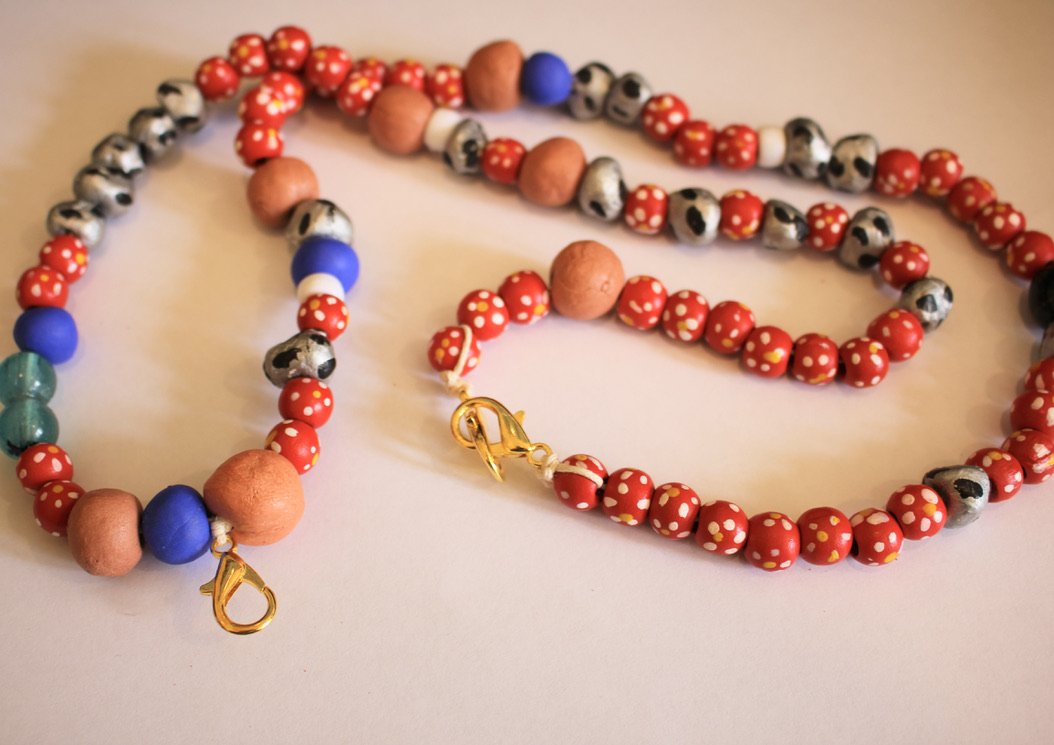
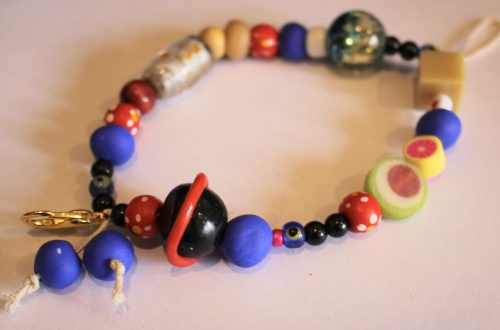
4: A selection of beads with holes large enough to fit on the string. I used some painted timber beads, glass beads, plastic beads, and some beads I made from polymer clay, resin and air dry clay.
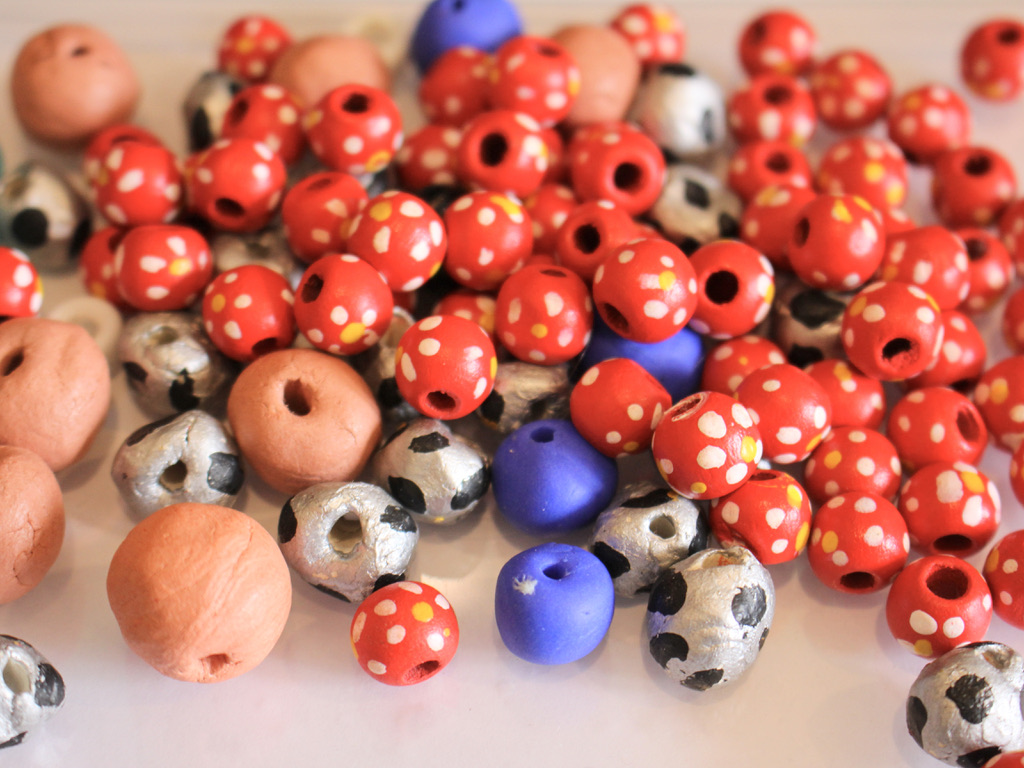
5: Superglue
Follow these steps to make your own beaded lanyard:
1: Take one of the clasps and add it to the middle of the piece of string.

2: Create a knot at the top of the clasp.
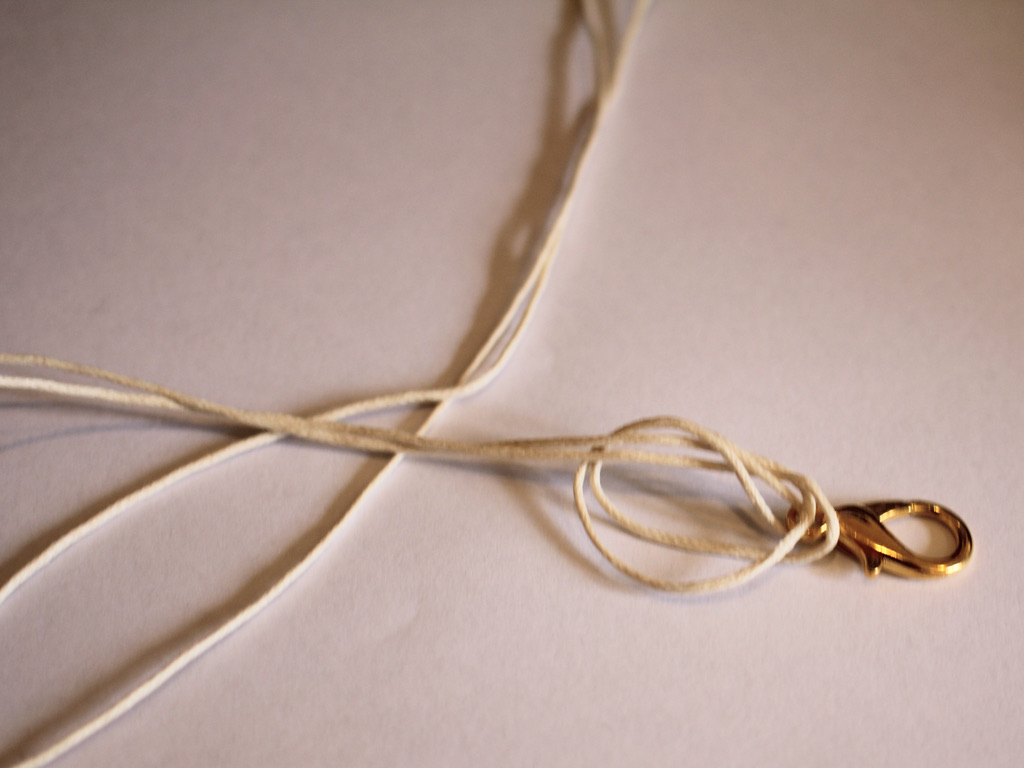

3: Add beads to one side of the lanyard until you get the length you like.


4: Add another clasp to the end of the lanyard and loop the end of the string back through the last bead and pull it tight.
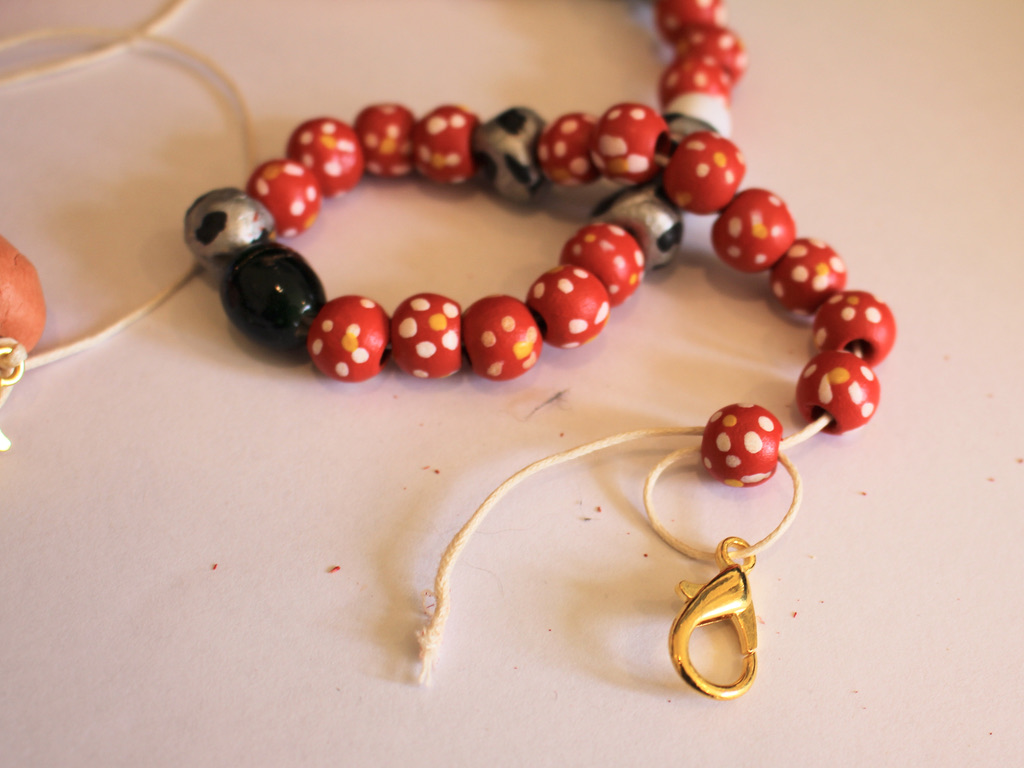

5: Tie a secure knot to the end of the string securing the clasp tightly to the last bead.


6: Repeat steps 3 to 5 for the other side of the lanyard.

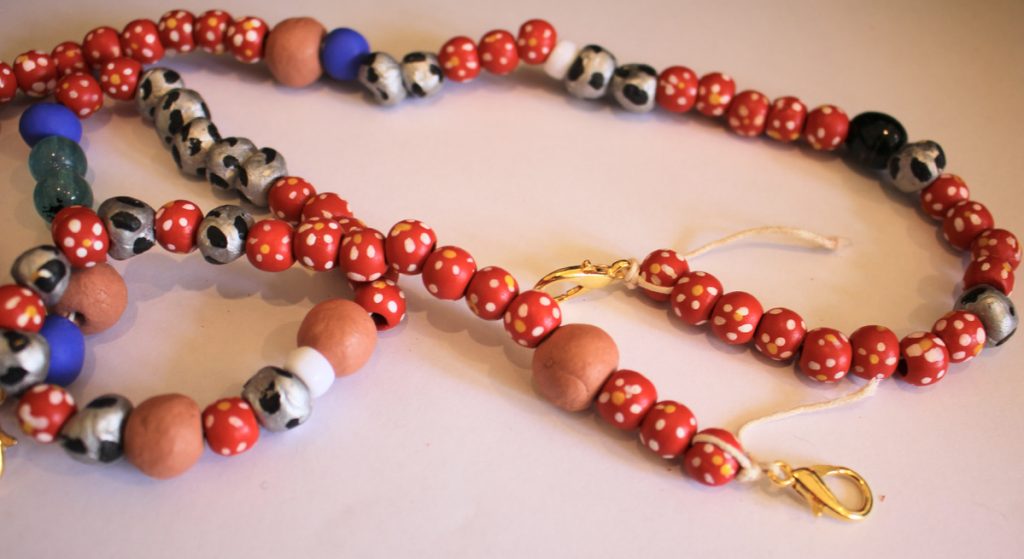
7: Trim the excess string on either end of the lanyard.


8: Add a dab of superglue to each of the knots at the end of the lanyard. Set it aside to dry.

Clip the ends of the lanyard together and now your beaded string lanyard is finished and ready to use!


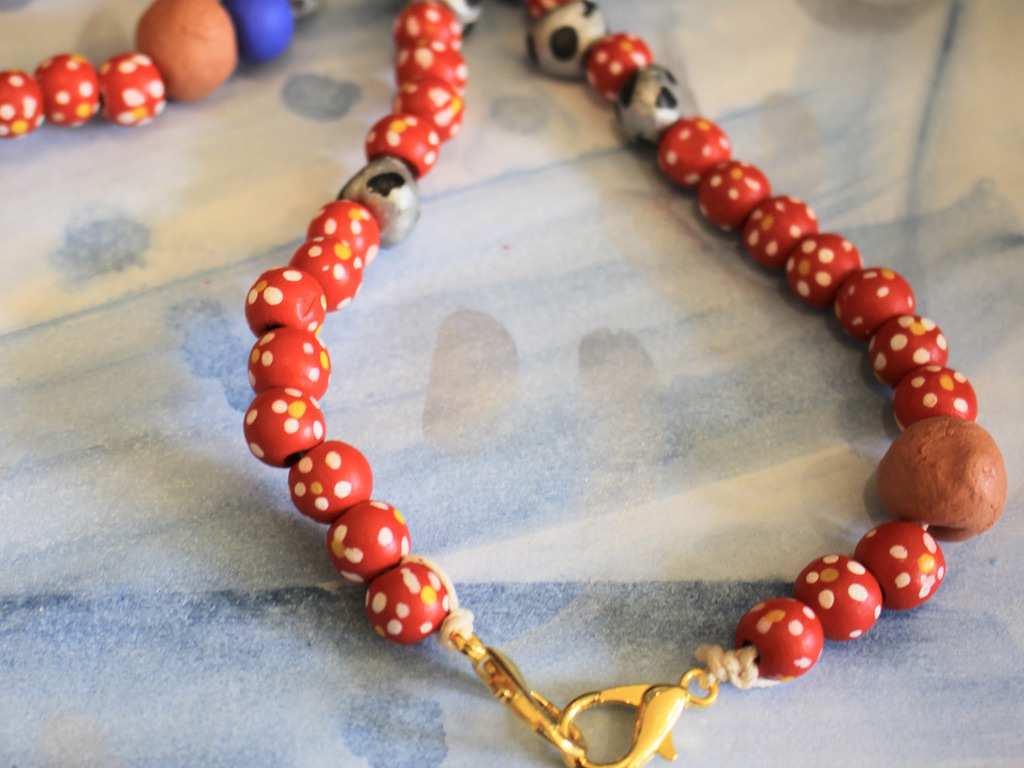
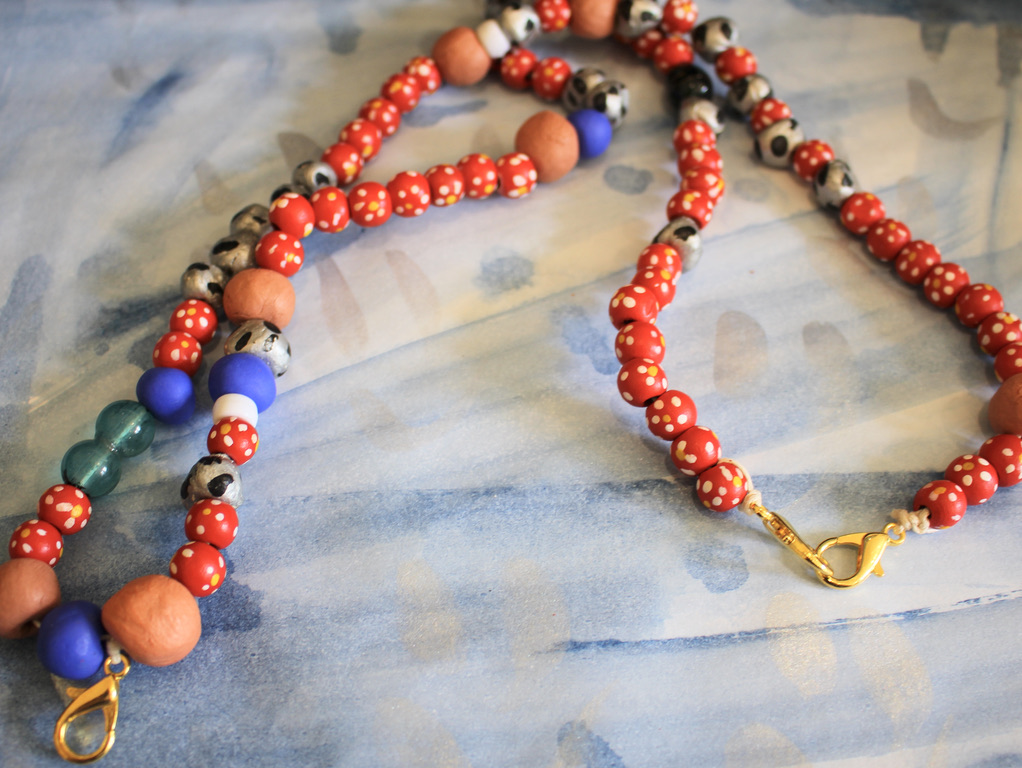
If you want to make your lanyard with handmade beads, here’s a tutorial you can follow to make your own.
-
This adjustable chain belt can also be worn as a necklace.

An adjustable chain belt is a cool way to add some interest to your old outfits. This one is super easy to make and it could double as a lariat if you like!
You will need the following tools and materials to make this adjustable chain belt:
1:Pliers. You’ll need your cutting pliers, flat nose pliers and round nose pliers to make this chain belt.

2: A long piece of chunky chain. Long enough to fit around your waist with a little bit extra.


4: A large jump ring.

5: A head pin.

6: Beads of your choice. I used this metal cylinder bead and a pink glass e-bead.

Follow these steps to make your adjustable chain belt:
1: Add the beads to the head pin.

2: Bend the pin to form a right angle.

3: Trim the head pin so that only 1cm protrudes from the bead.


4: Curl the trimmed pin to form a loop. Once you have done this you can set the charm aside.

5: Add a lobster clasp to one side of the chain.


6: Add the charm to the other end of the chain using the jump ring.


Now your chain belt is done and ready to wear! Or throw it on as a statement necklace instead!

How will you wear your adjustable chain belt? What charm will you attach to yours?
-
Here’s another way to make an awesome shell anklet.

Are you digging the current trend for shell jewelry as much as I am? This current trend is perfect for DIY projects! Here’s all the steps you need to follow to make a rustic finger knit shell anklet. Here’s a little video on how to finger knit… just in case you need a reminder!
You’ll need the following tools and materials to make your anklet:
1: Scissors or cutting pliers to cut the string.

2: Flat nose pliers and round nose pliers.


3: Some cotton string.

4: Shells. I used these shells that I found with natural holes in them.

5: Two leather crimp ends.

6: Two jump rings.
7: A lobster clasp.

Follow these steps to make your amazing finger knit shell anklet:
1: Add the shells to the string.

2: Make a slip knot and tighten it a little bit around your finger.

3: Make another loop around your finger.

4: Pull the first loop over the second one and off your finger.
5: Repeat steps 3 and 4 a few more times.

6: Place the first shell against your finger as you make the next loop. Pull the first loop over the shell to secure it to the knitted strand.

7: Continue this until all the shells are in place and the knitted string is long enough to fit around your ankle.


8: Tie a knot at the other end of the anklet.

9: Trim the ends of the string.

10: Add a crimp end to both ends of the anklet, securing them around each knot.

11: Add a jump ring to one side of the anklet and secure the clasp in place.

12: Add the remaining jump ring to the other side of the anklet to finish it off! So cute!

-
All the steps to make your own triple strand leather necklace

Want to show off what’s under the collar? Why not enhance your decolletage with this amazing triple strand necklace?
You will need the following tools and materials to make your triple strand necklace:
1: Pliers. You’ll need your cutting pliers, flat nose pliers and round nose pliers.
2: Three pieces of leather cord, each one longer than the other. I used this brown leather cord.

3: Two flat crimp ends. I used two gold ones.

4: Two jump rings.

5: A clasp.

6: Beads that will fit on your leather cord. I used six of these gold tube beads.

Follow these steps to make your triple strand necklace:
1: Hold the ends of the cords together.

2: Place one of the crimps around the ends of the leather.

3: Squash the crimp around the leather using the flat nose pliers.


4: Add beads to each of the strands. I added one bead to the shortest strand, two to the middle strand and three to the longest one.

5: Line up the other ends of the strands.

6: Add the crimp to the other side of the necklace to secure the strands together.

7: Add a jump ring to one side of the necklace and attach the clasp.

8: Add the other jump ring to the other side of the necklace to finish the necklace.

Now it’s ready to wear! Gorgeous.
-
Here’s how to make a cute square pendant necklace
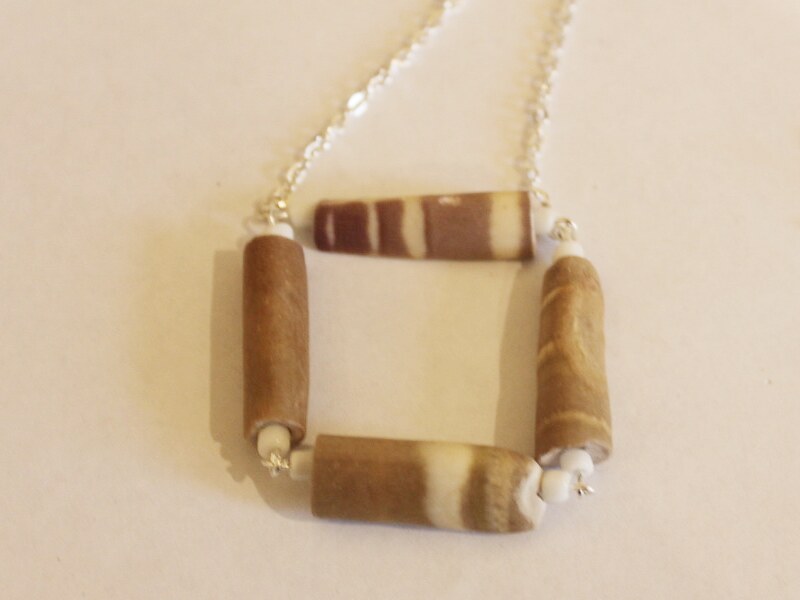
Remember the square earrings? Well here’s how you can make a square beaded pendant! This tutorial contains affiliate links.
You will need the following tools and materials to make your square pendant necklace:
1:Pliers. You will need your round nose pliers, flat nose pliers and cutting pliers.
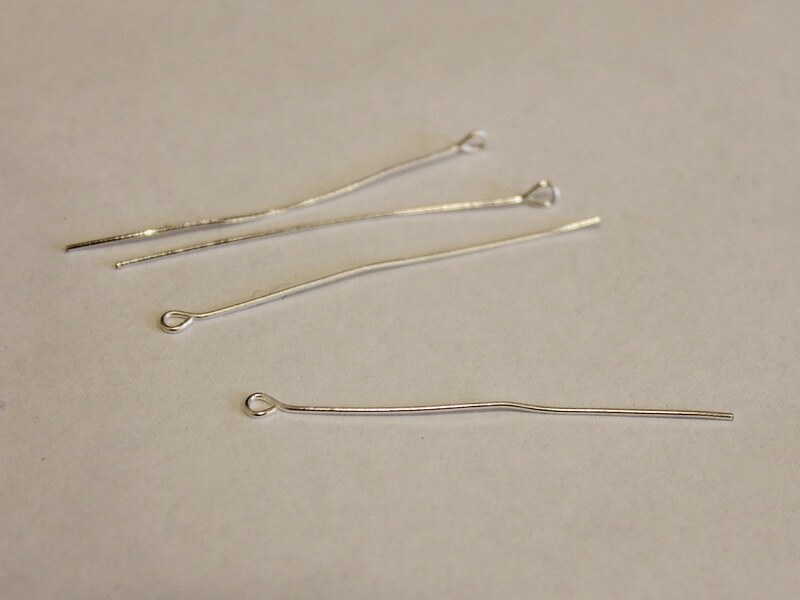
2: Four eye pins.
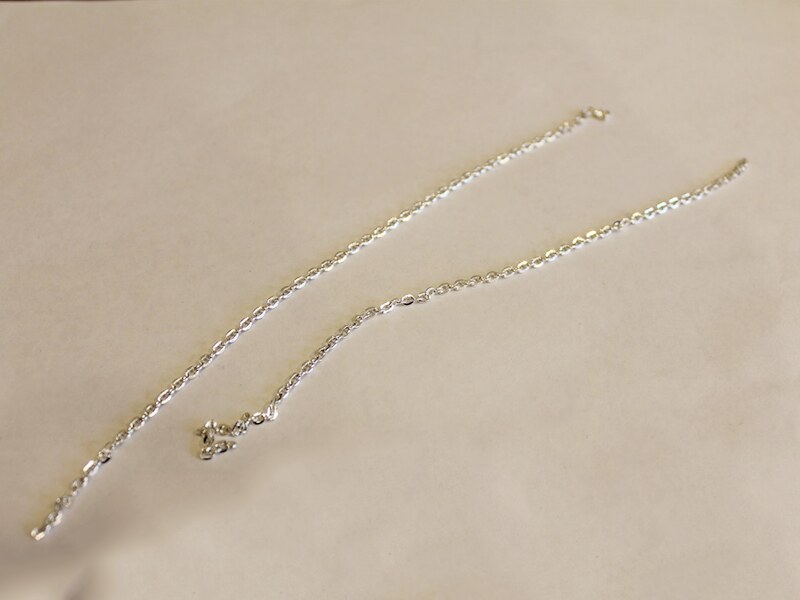
3: Two pieces of chain made to a length of your choice. I made mine approximately 15cm long.
4: A lobster clasp.
5: Two small jump rings.

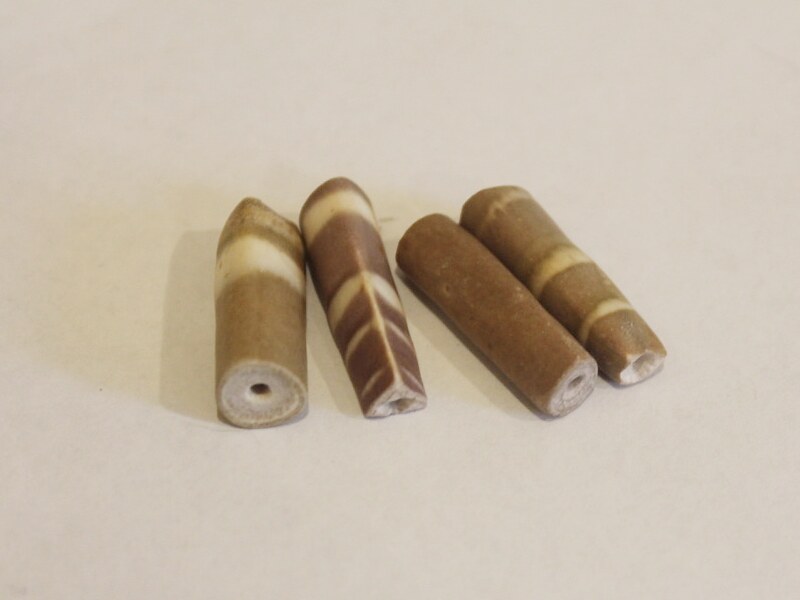
6: Beads of your choice. I used these long vintage beads with some white e-beads.

Follow these steps to make your square pendant necklace:
1: Add the beads to each of the pins.
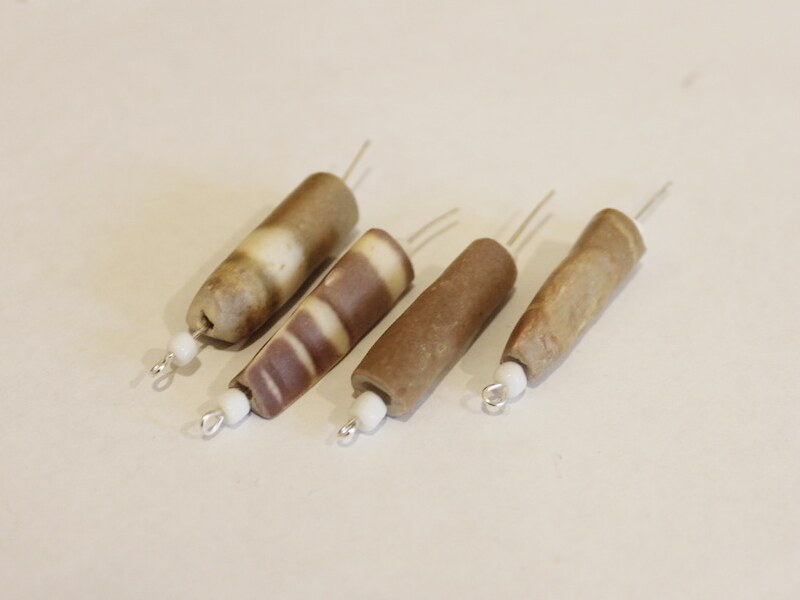
2: Bend the ends of each pin to form a right angle.
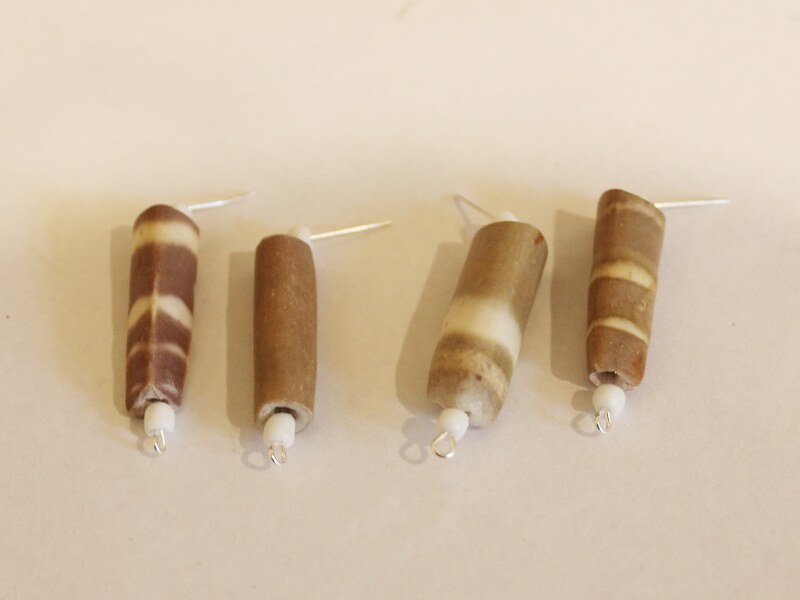
3: Trim each of the bent ends so that they are approximately 1cm long.

4: Create a loop at the top of each pin using the round nose pliers. This will secure the beads in place.
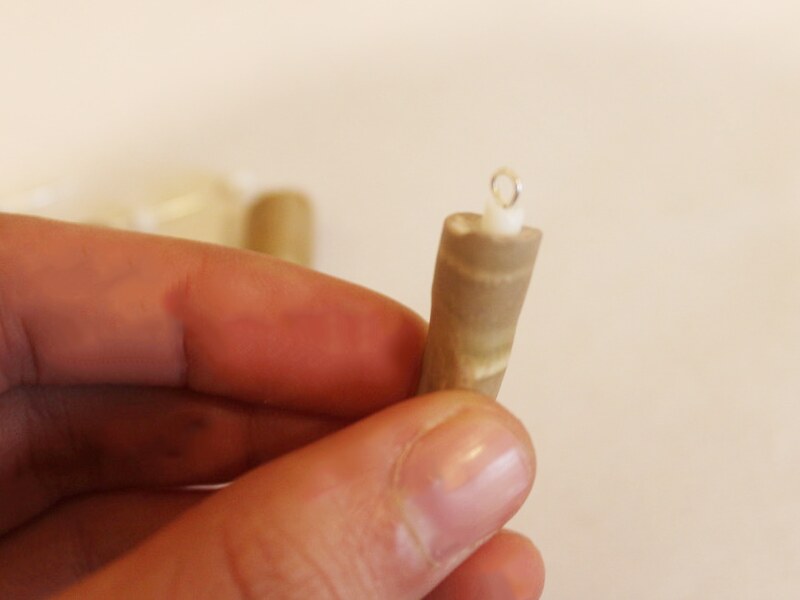
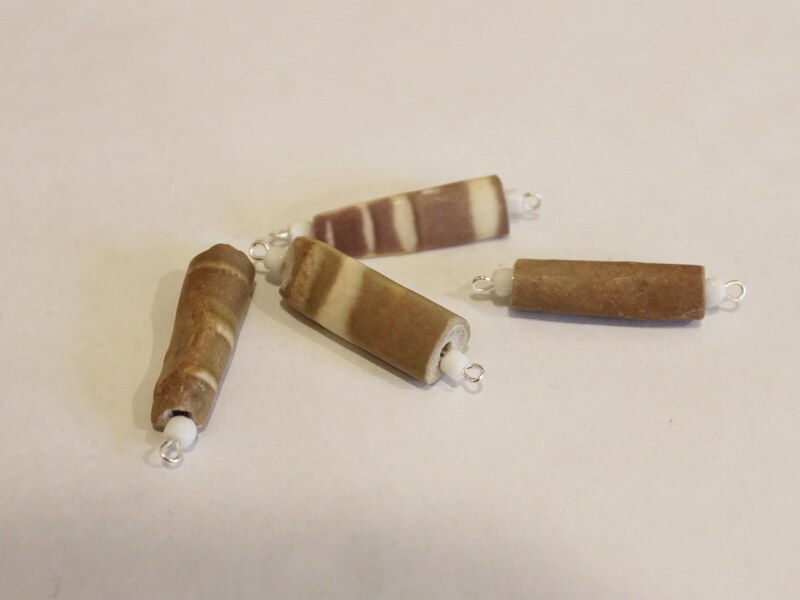
5: Link each of the beaded pins together.

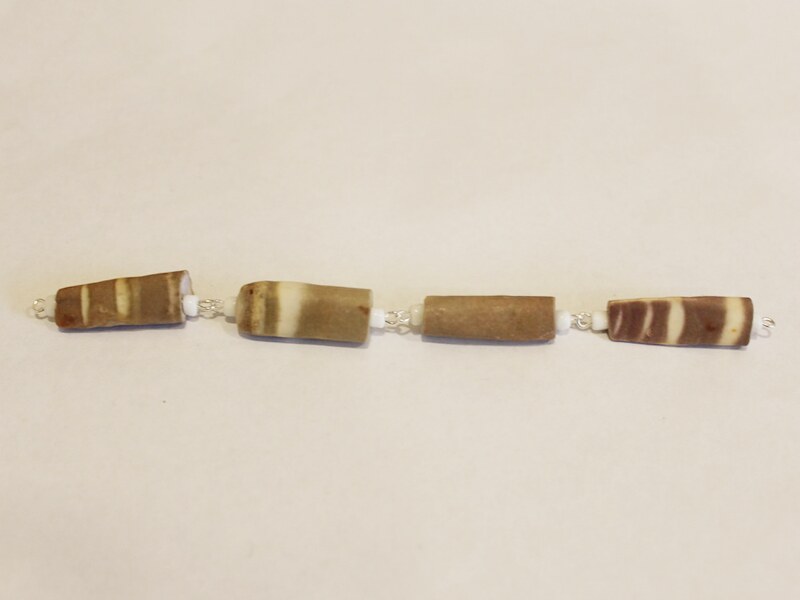
6: Link the two end pins together to form a square.
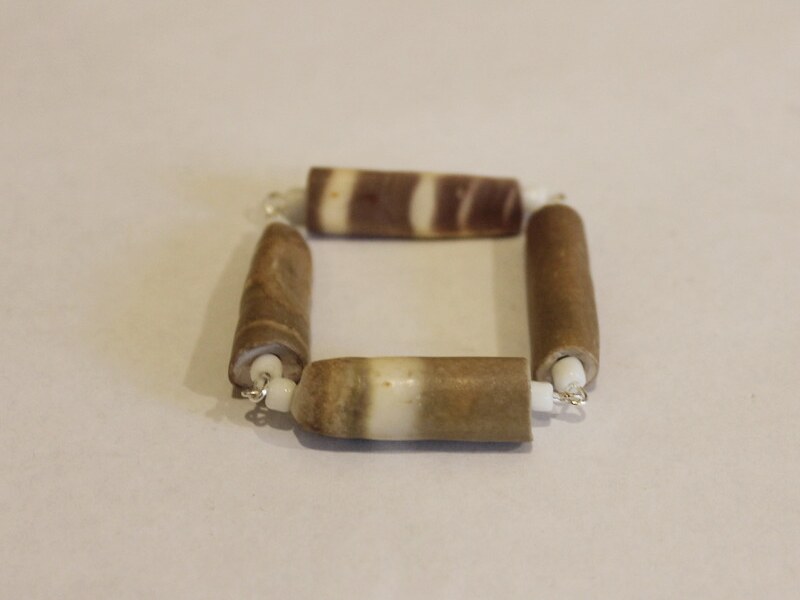
7: Add a piece of chain to either side of one of the eye pins.


8: Add a lobster clasp to one side of the chain using one of the small jump rings.

9: Add the remaining jump ring to the other side of the chain to finish the necklace.
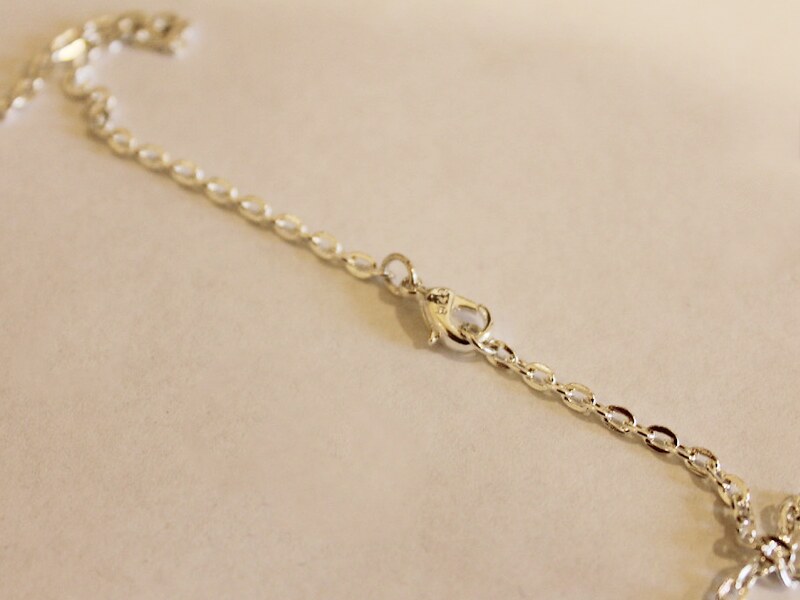
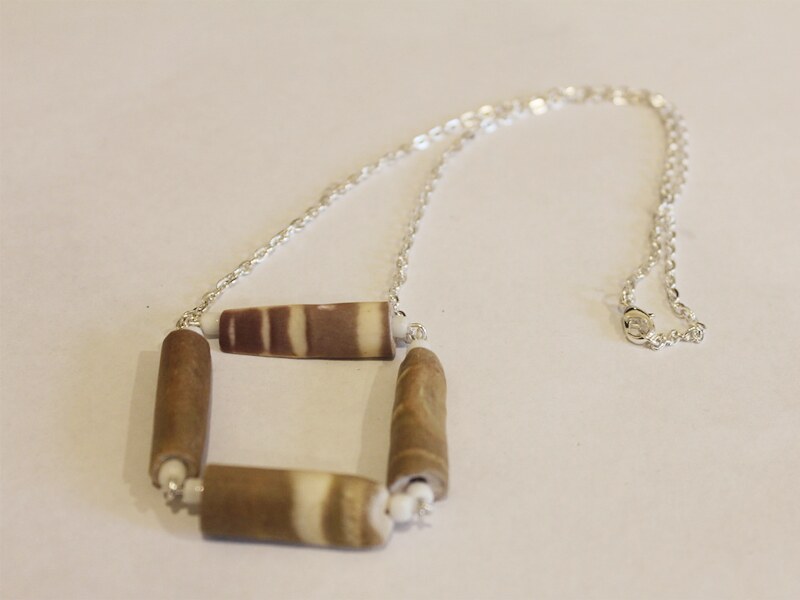
Now your square pendant necklace is finished and ready to wear!
-
Love shell jewelry? I do! Why not make this shell charm anklet?!
Note, this tutorial contains affiliate links.
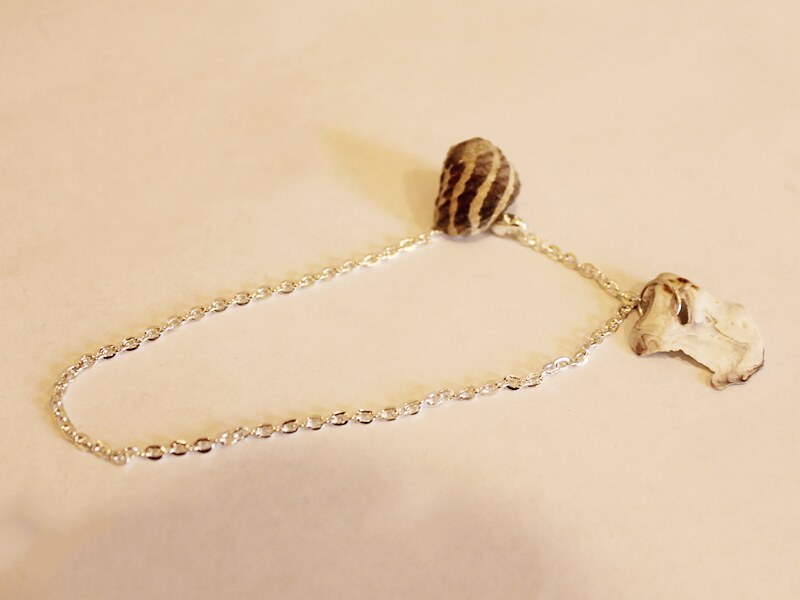
If you love shell jewelry as much as I do you’ll need to make this shell charm anklet!
You’ll need the following tools and materials to make your shell charm anklet:
1: Pliers. You’ll need your flat nose pliers and round nose pliers.
2: One medium jump ring.

3: One large jump ring.
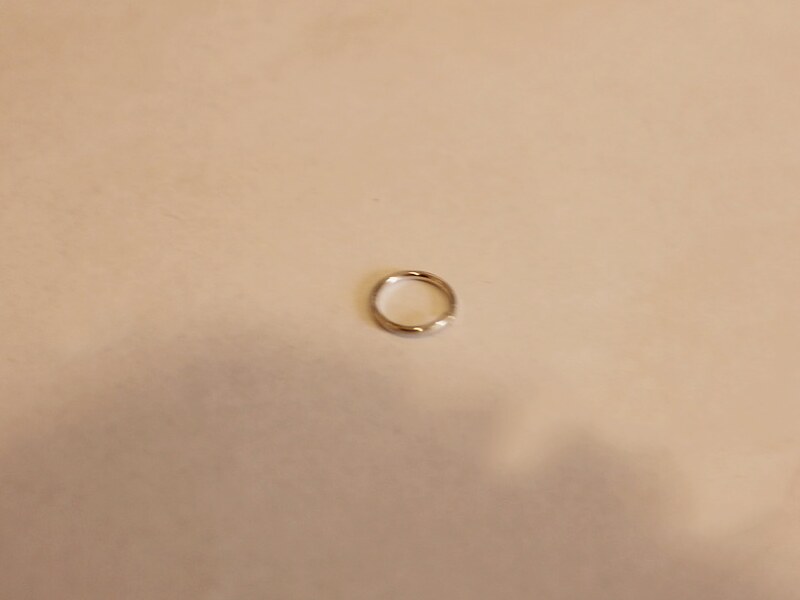
4: Two small jump rings.
5: A lobster clasp.
6: A piece of chain long enough to fit around your ankle.

7: Two shells. I used these shells that had natural holes in them.

Follow these steps to make your shell charm anklet:
1: Add the small jump rings and lobster clasp to the ends of the chain to form the anklet.

2: Add the medium jump ring to the first shell and attach it to a chain link.
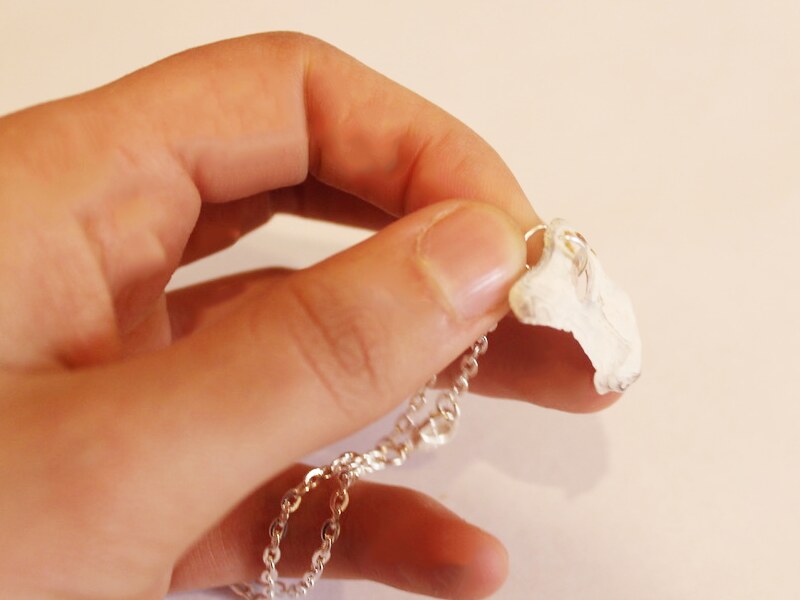
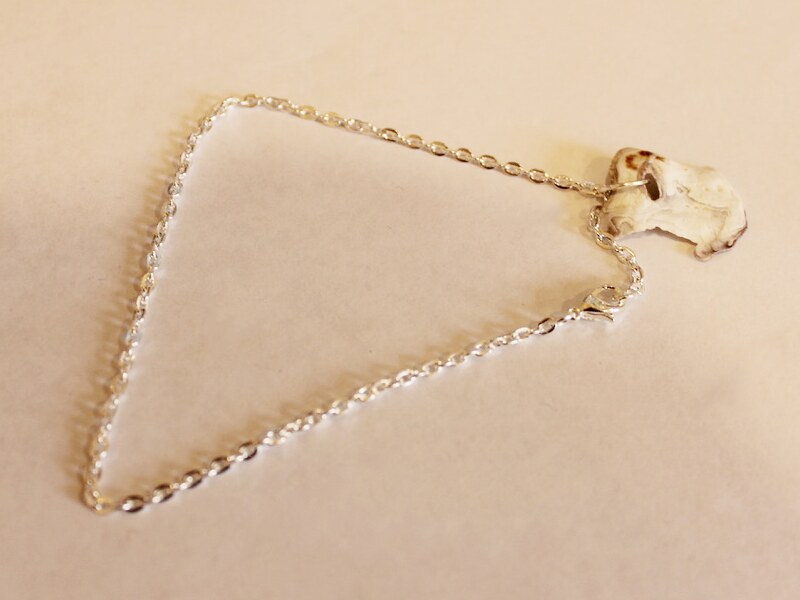
3: Add the larger jump ring to the other shell and attach it to the jump ring that is being used to secure the clasp to the chain.
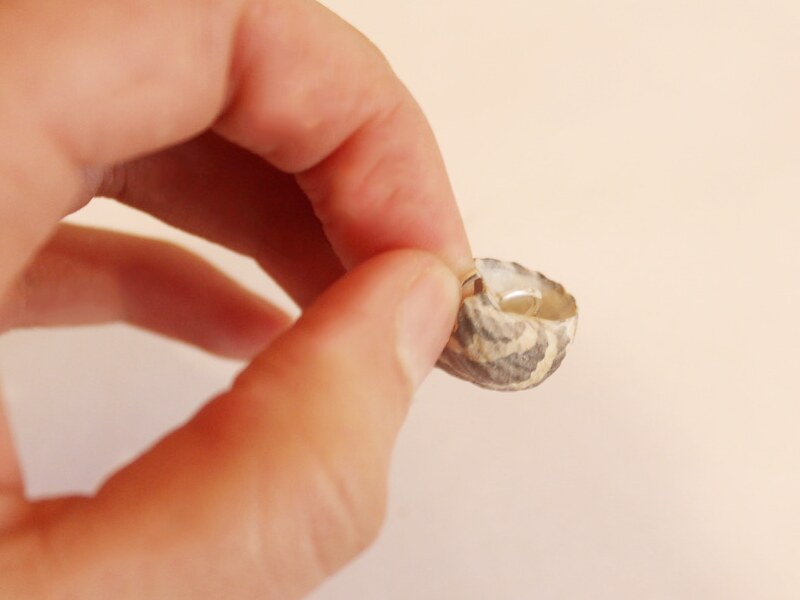

Now your anklet is finished! How many shells will you add to yours?
-
Here’s how to make a braided bead choker, perfect for the beach!
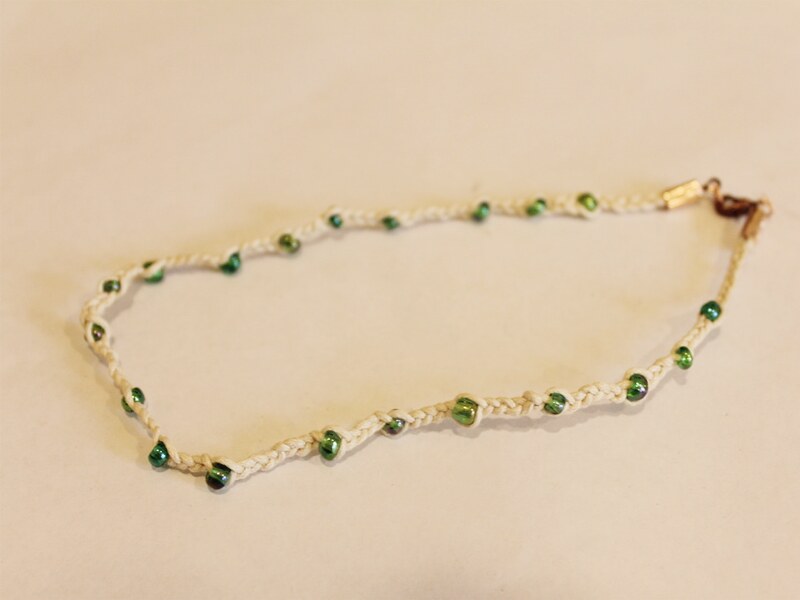
Do you love the look of boho braids? Why not make this super cute braided bead necklace?
You’ll need the following tools and materials to make your braided necklace:
1: Scissors or cutting pliers to cut the string.
2: Pliers. You’ll also need your flat nose pliers and round nose pliers.
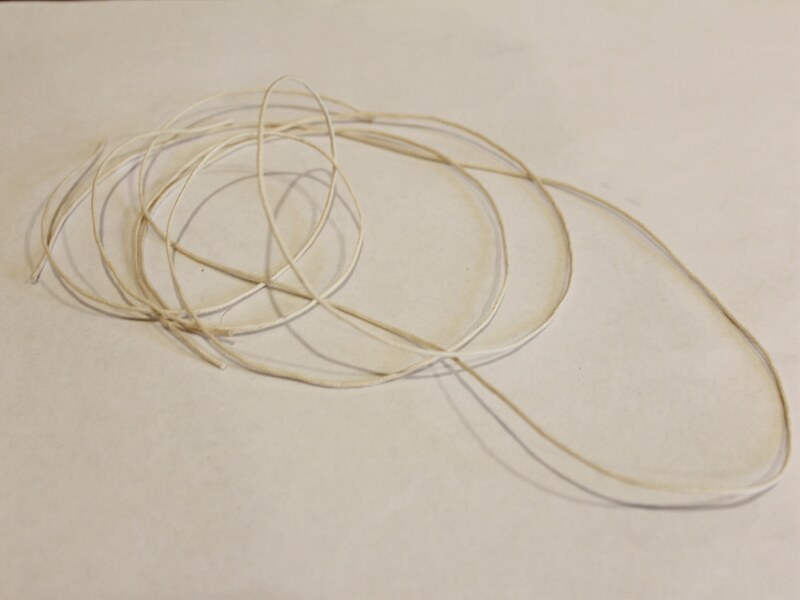
3: Three pieces of string the same length. I made mine approximately 60cm long.
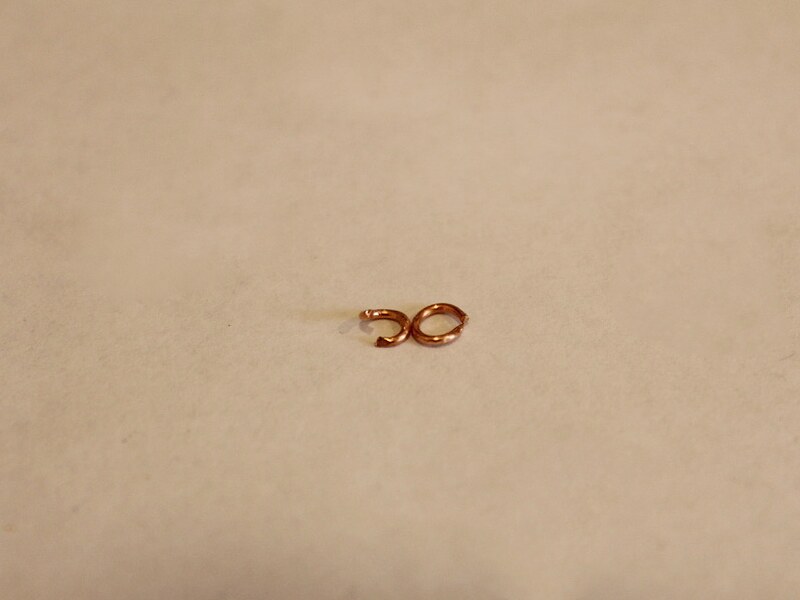
4: Crimp ends. I used these rose gold colored ones.

6: A lobster clasp.

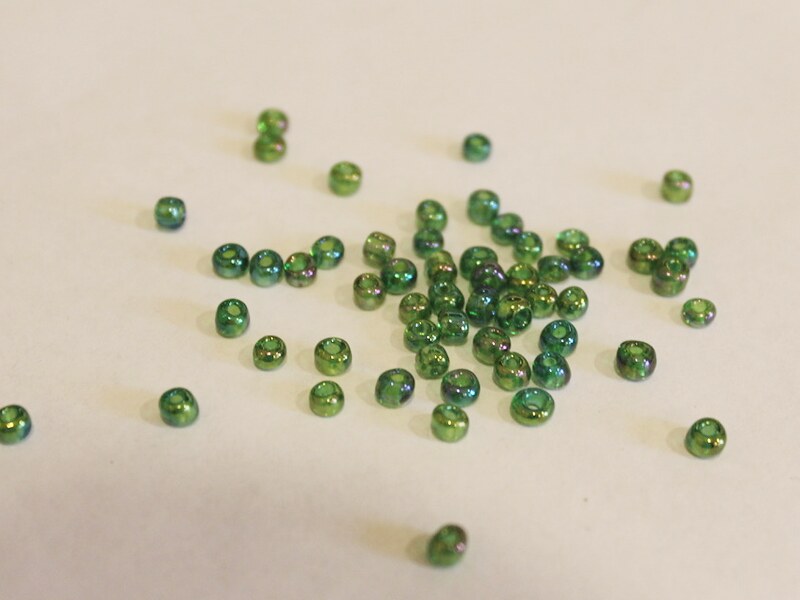
7: Beads of your choice. I used these green glass e-beads.
Follow these steps to make your braided bead necklace:
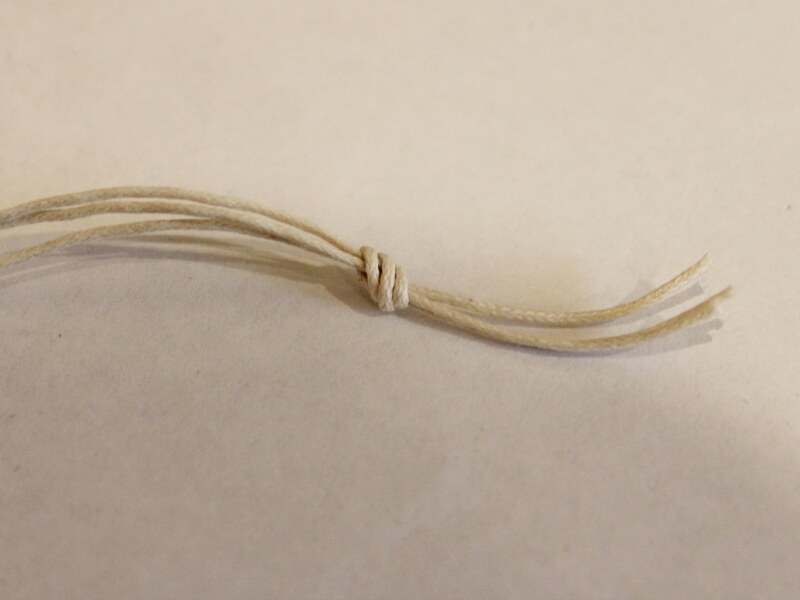
1: Gather the three strings together and create a knot at one end.

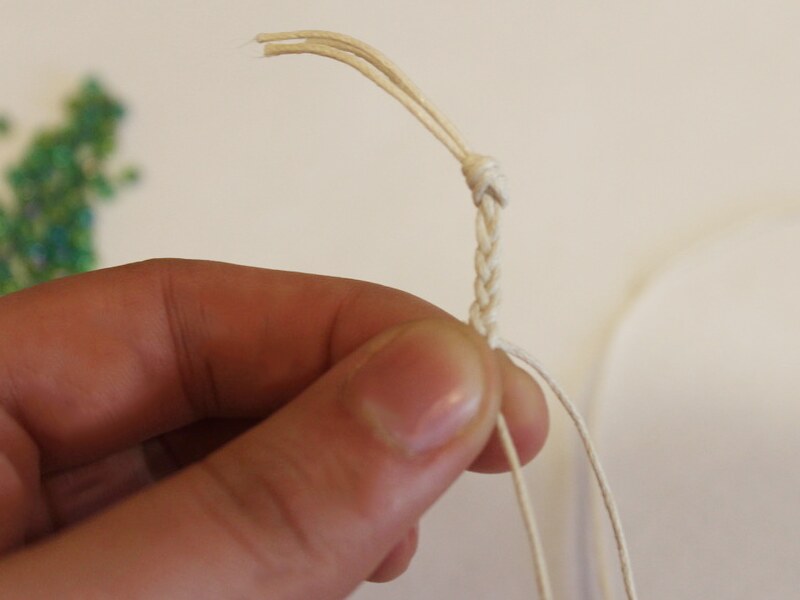
2: Begin braiding the strings.
3: Add a bead to the string currently at the center of the braid.
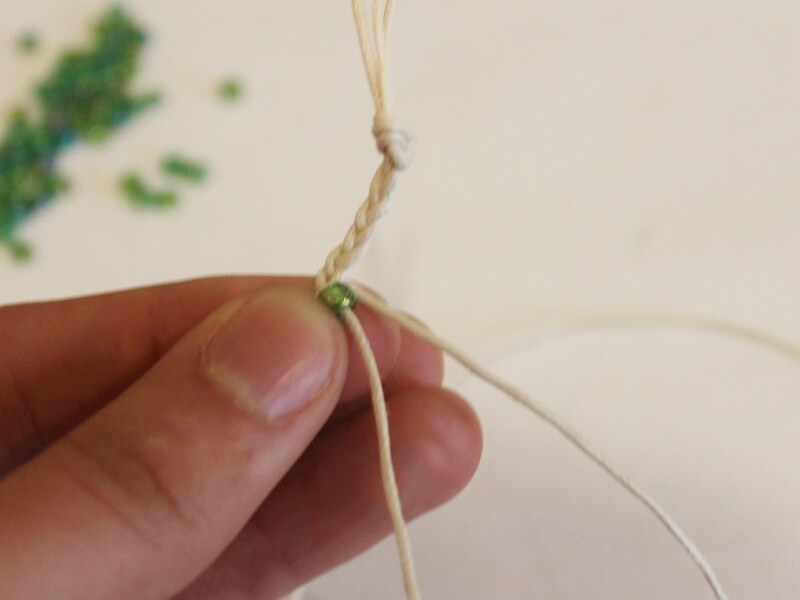
4: Braid around the bead to secure it in place.
5: Continue steps 3 and 4, adding beads in whatever pattern you like. I added mine fairly randomly.
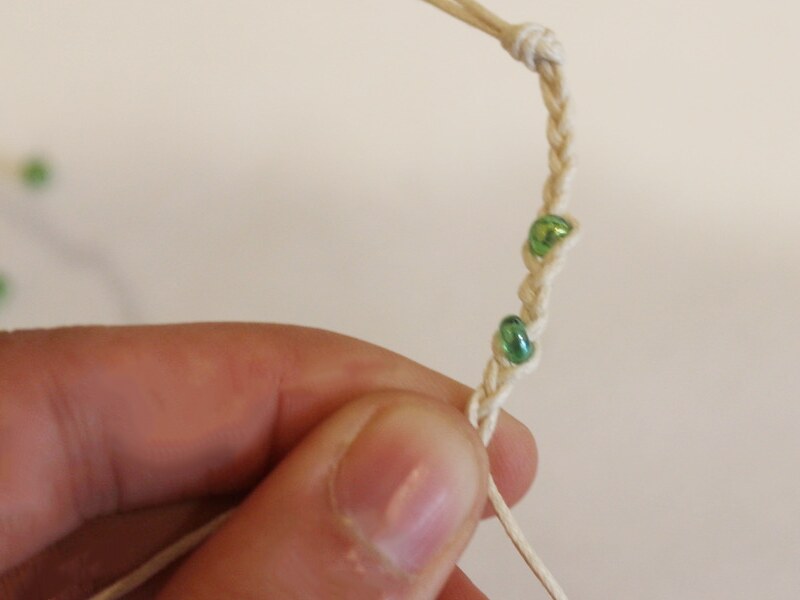
6: Once you’ve made your braid long enough create a knot to the other end of the braid.


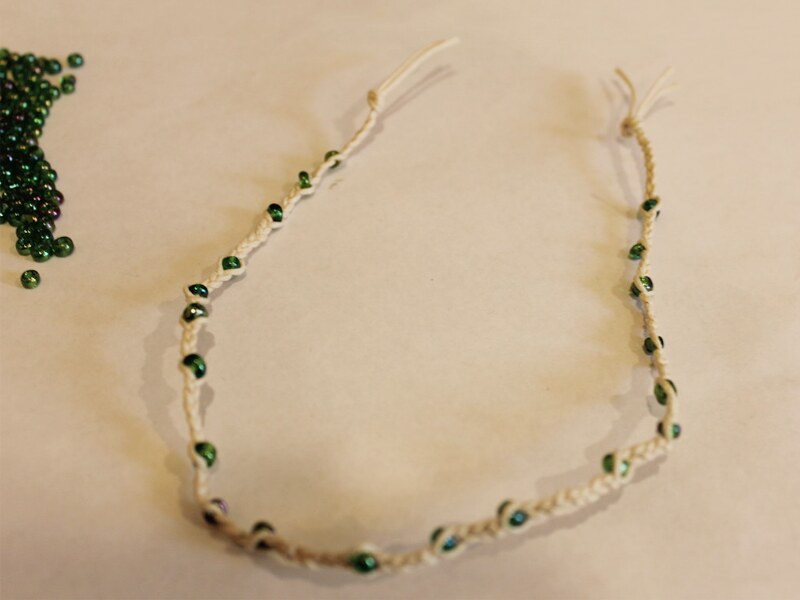
7: Trim the ends of the strings off.
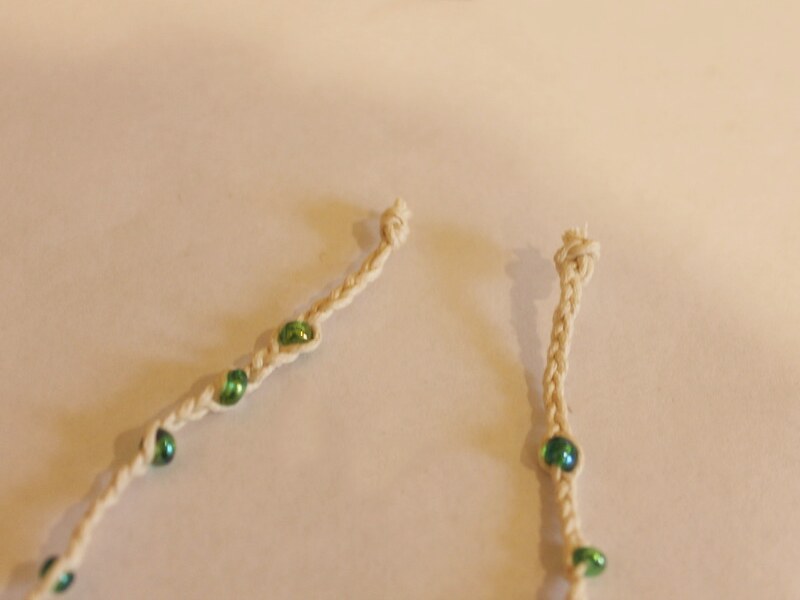
8: Add the crimps around each of the knots at each end of the braid. Use flat nose pliers to squash the crimps around the string.
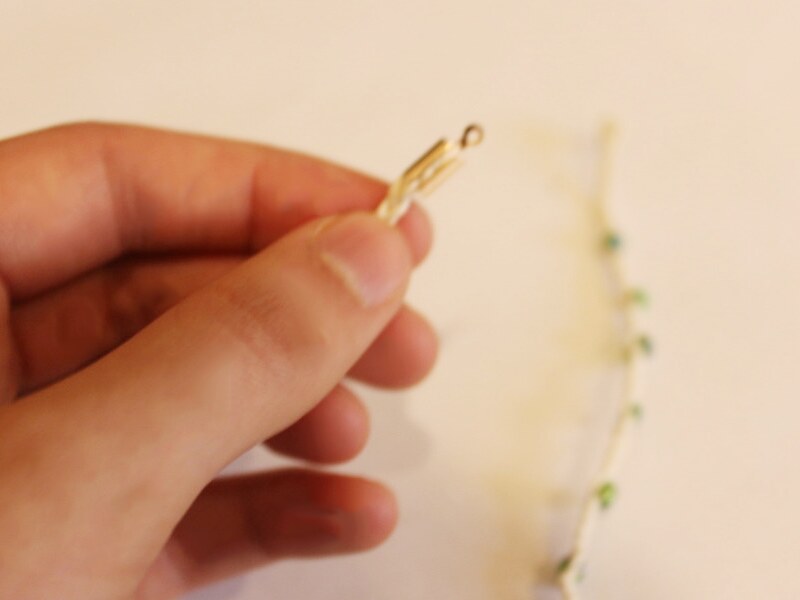
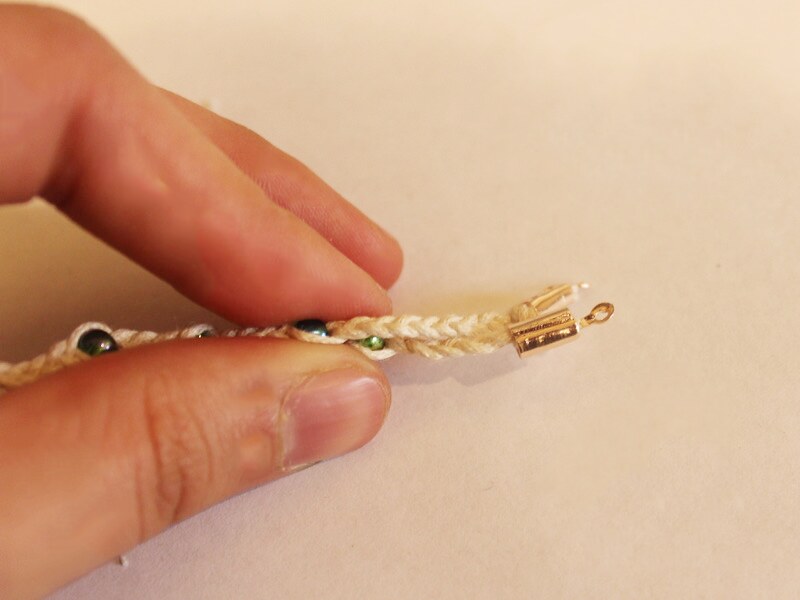
9: Add a jump ring to the loop at the top of one of the crimps and slide on the lobster clasp. Close the jump ring to secure the clasp in place.

10: Add the last jump ring to the other side of the necklace to finish it off.
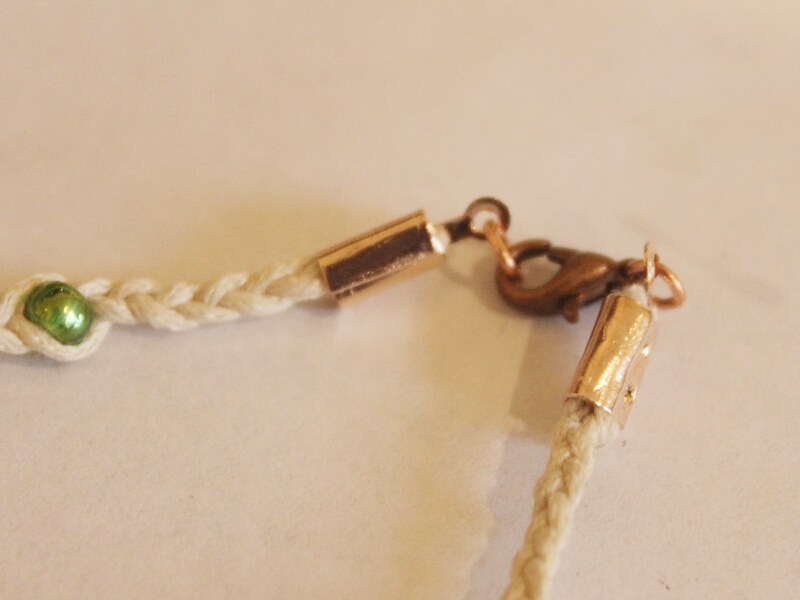
Now your boho braided bead necklace is ready to wear! Perfect for summer beach days!
-
Here’s how to make a beaded circle lariat necklace. So cool!
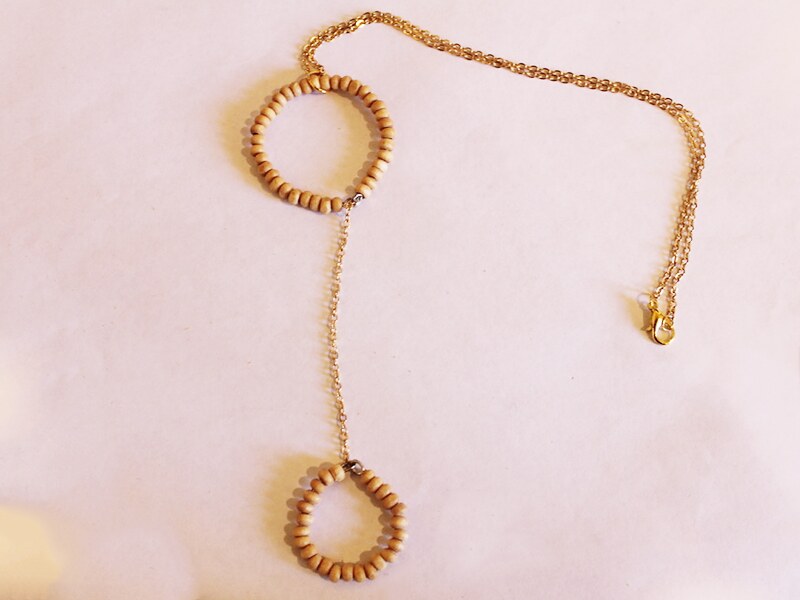
Do you remember the triangle lariat tutorial? Here’s how to make a beaded circle lariat to add to your collection!
You will need the following tools and materials to make this lariat necklace:
1: Pliers. You will need your cutting pliers to cut your wire, flat nose pliers and round nose pliers.
2: Two pieces of wire, one longer than the other.

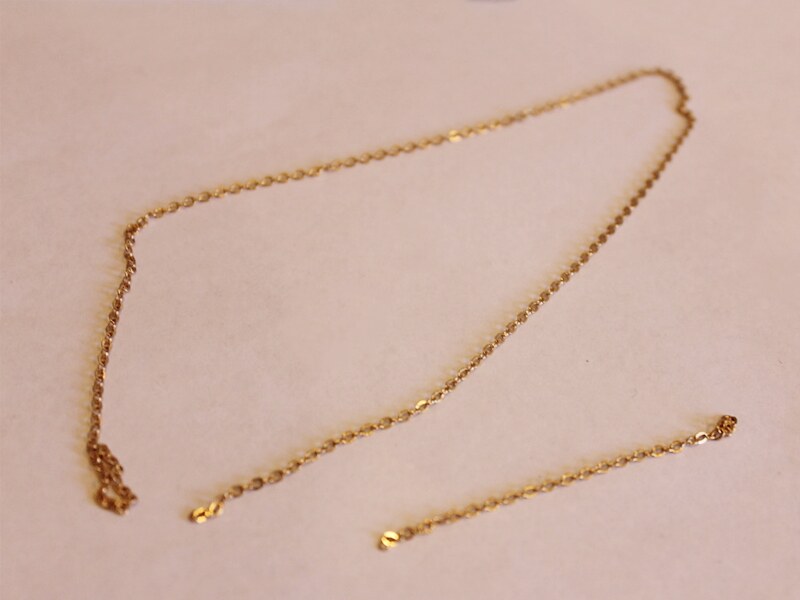
3: Two pieces of chain, a necklace length piece and another that is approximately 10cm long.
4: A lobster clasp.
5: Two small jump rings.
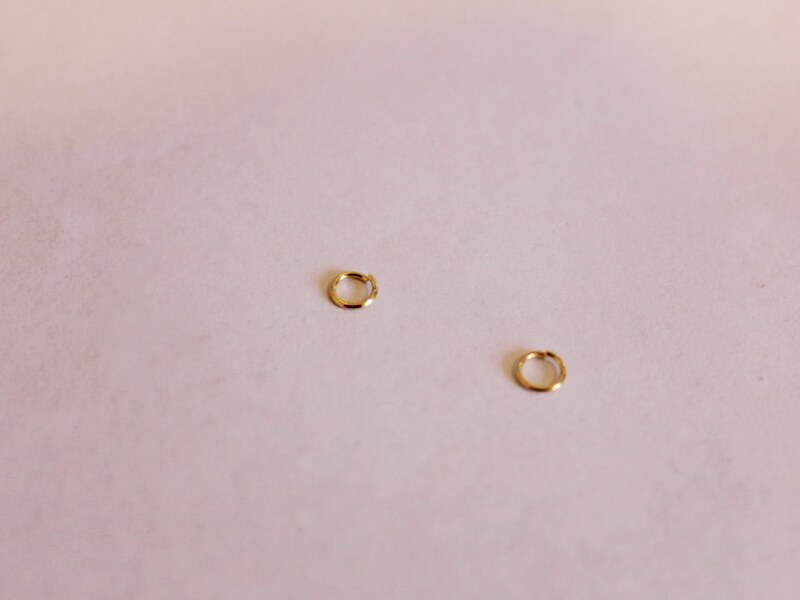
6: One large jump ring.

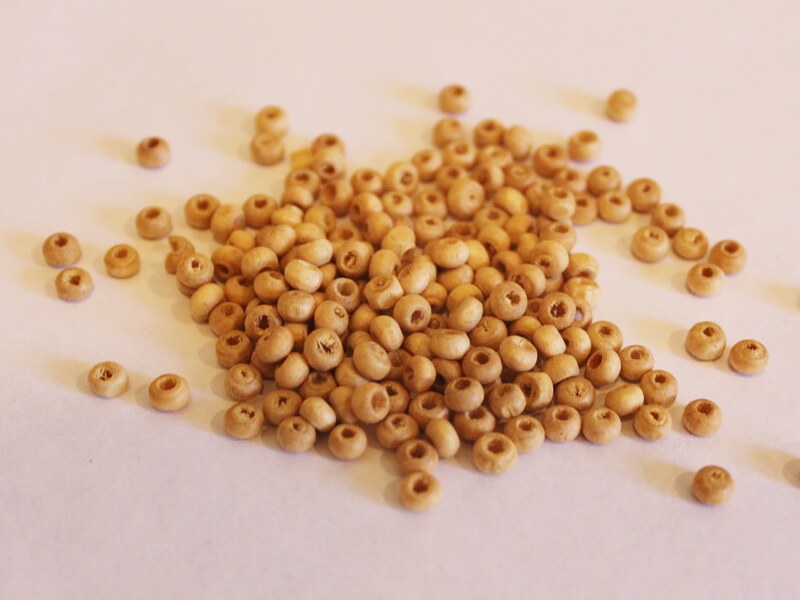
7: Beads of your choice. I used some natural colored wooden beads.
Follow these steps to make your circle lariat necklace:
1: Create a loop at one end of the longer piece of wire using your round nose pliers.
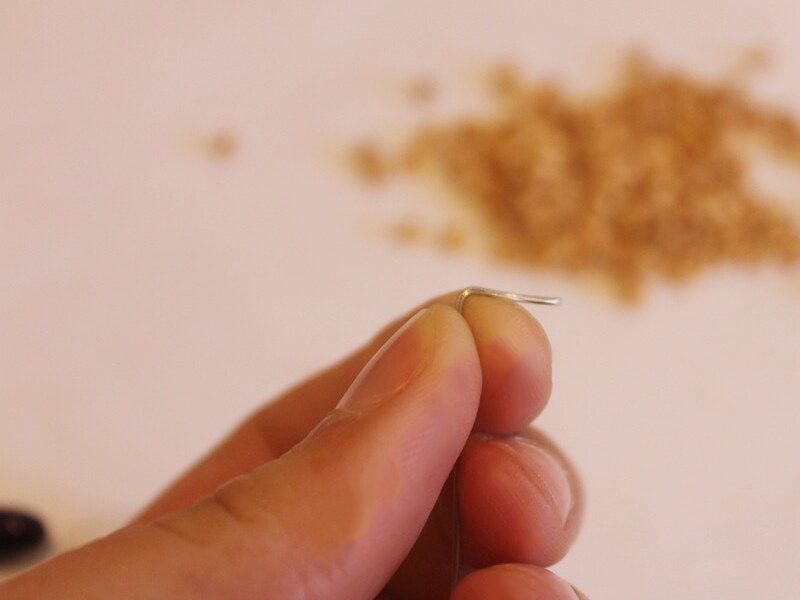
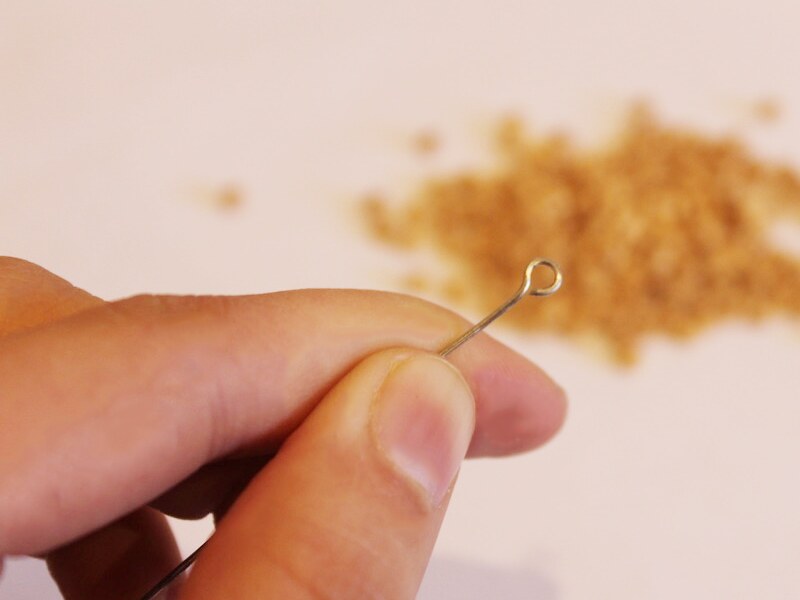
2: Add beads to the wire until there is only 1cm left unbeaded.
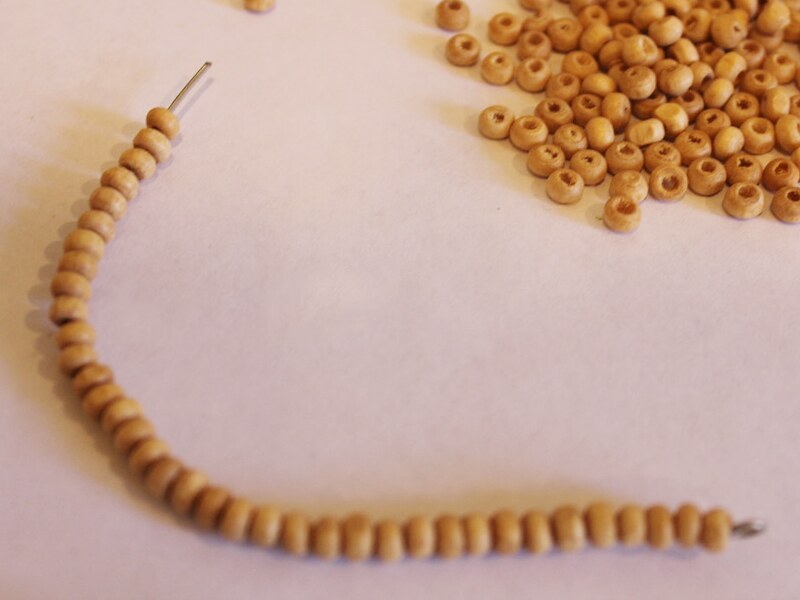
3: Create another loop at the end of the wire to secure the beads in place.
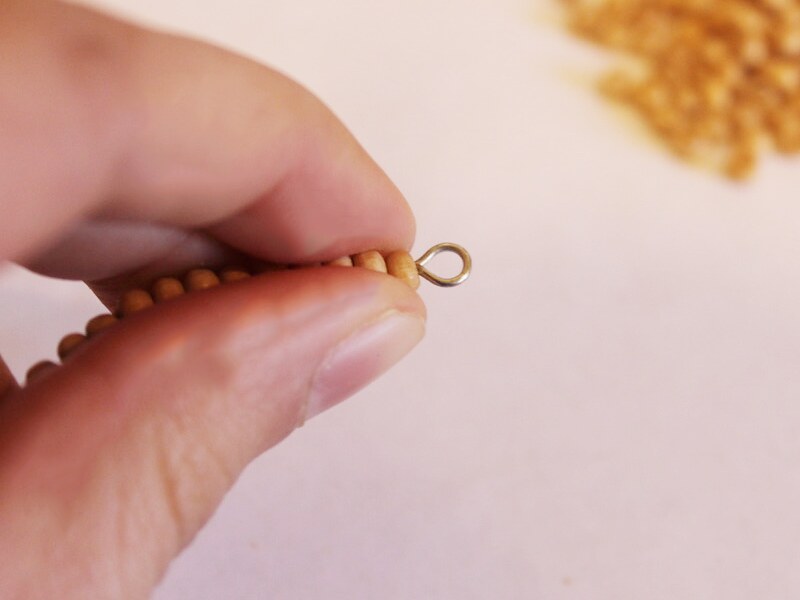
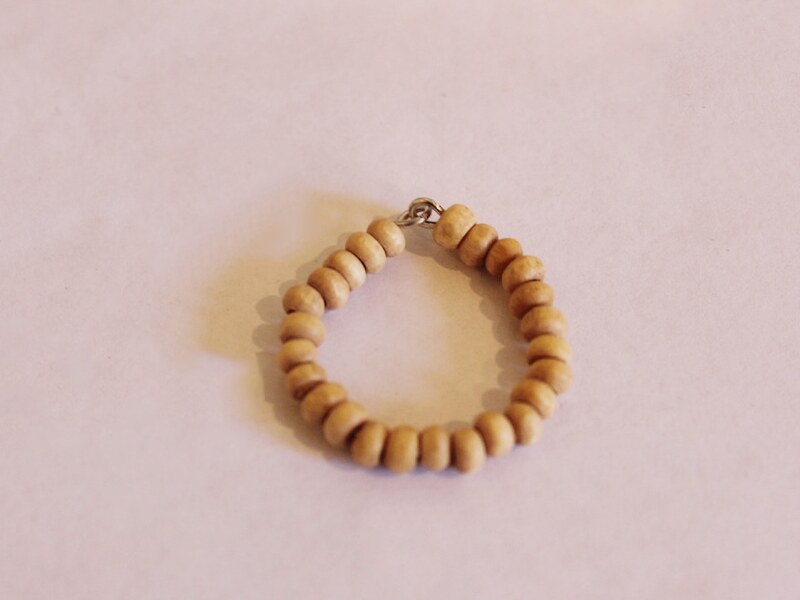
4: Gently bend the wire into a circle shape, carefully open one of the loops and link the two ends together to secure the circle shape in place.

5: Repeat steps 1-4 for the second piece of wire, making a smaller circle.
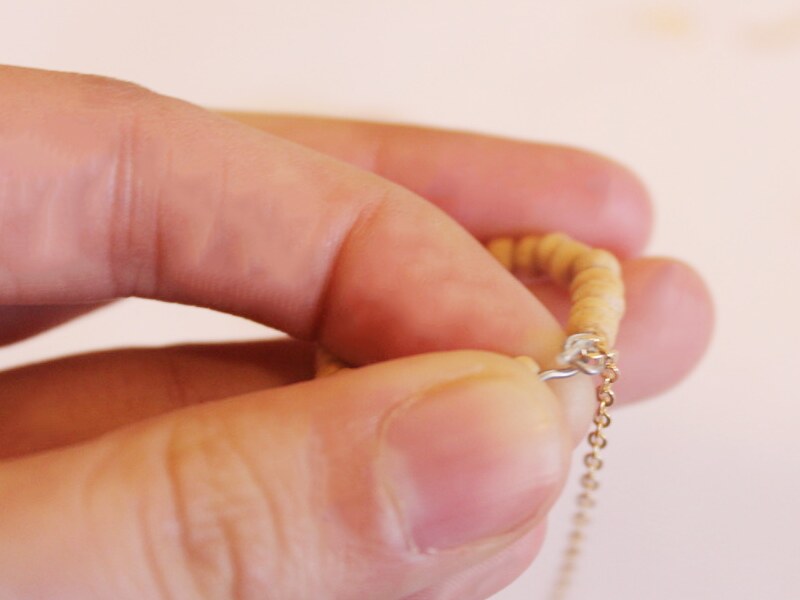
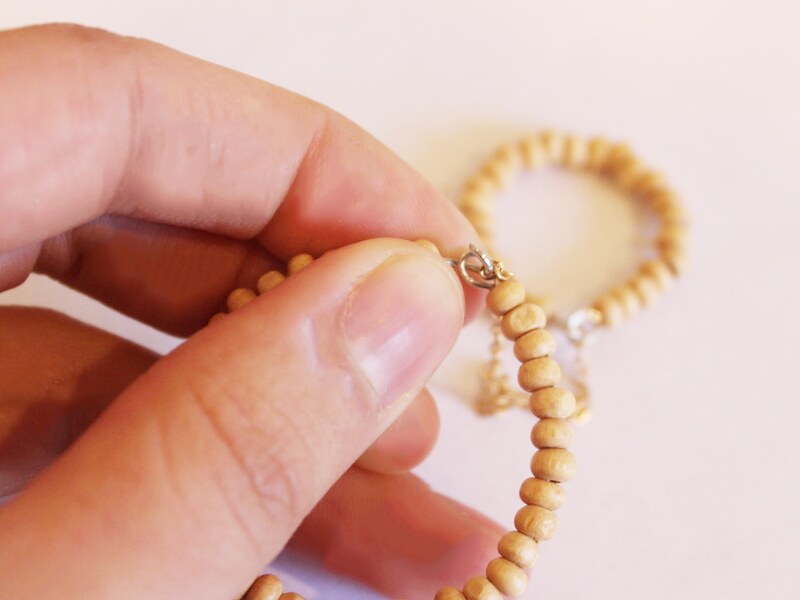
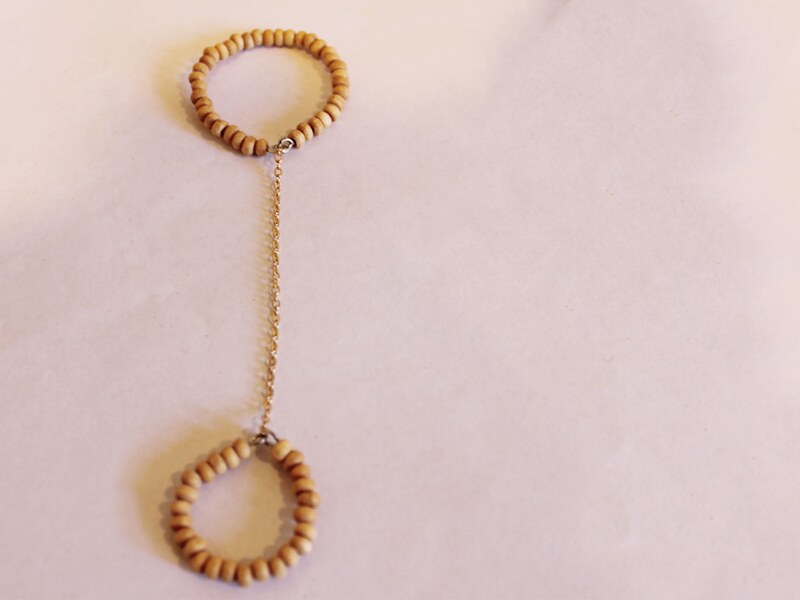
6: Open one of the loops on the smaller circle and attach one end of the short chain.

7: Attach the other end of the short chain the same way to the larger circle.
8: Add a small jump ring to one end of the long piece of chain and use it to secure the lobster clasp in place.
9: Add the other small jump ring to the other end of the long chain.
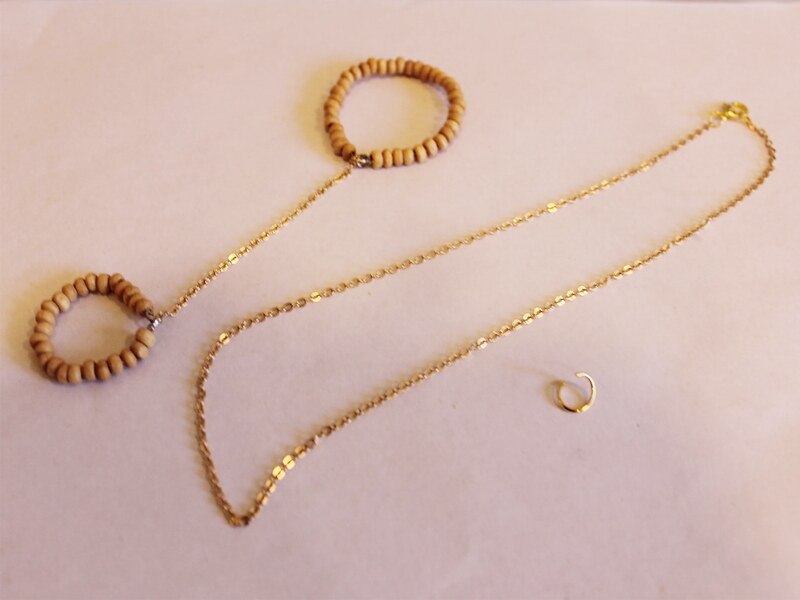
10: Use the large jump ring to attach the circle charms to the chain like you would a pendant.
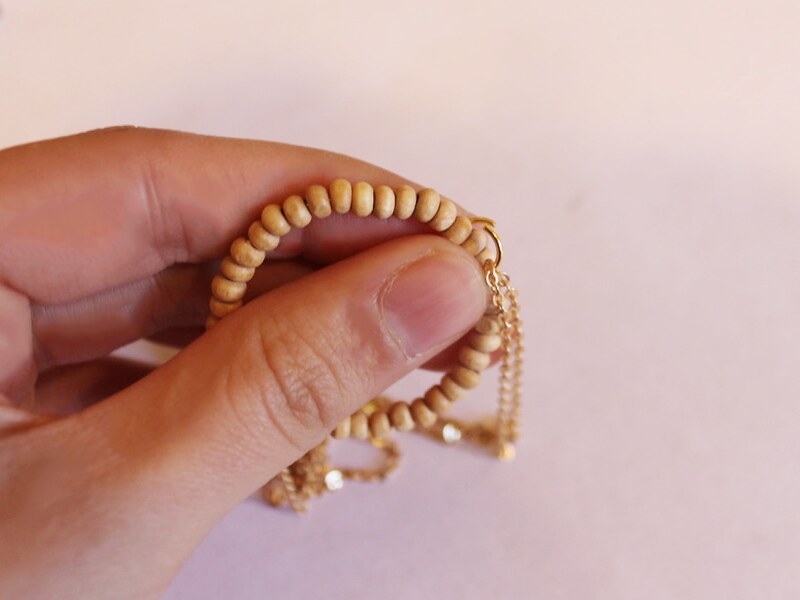
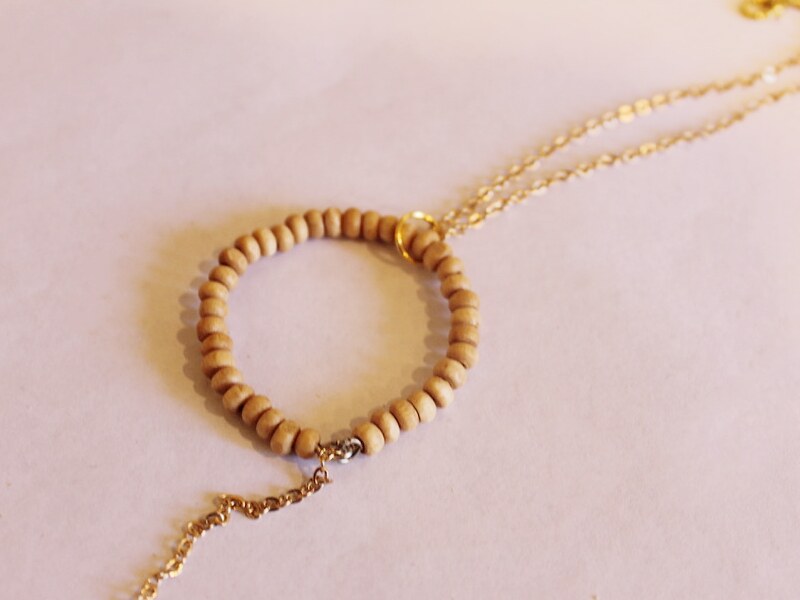
Now your necklace is finished!
Here’s another circle lariat I made using copper chain and yellow and purple glass beads.