

Can’t Get Enough of the Choker Trend? Here’s Another Cool Choker Design to Add to Your Collection!

Everyone knows that chokers are the IT accessory right now. If you can’t get enough of the choker trend and want to make sure that you stand out from the crowd this chain and suede choker design is for you. This choker might be simple to make but it sure does have a big impact!
You will need the following tools and materials to make this suede and chain choker:
1: Pliers. You will need your cutting pliers (or scissors), flat nose pliers and round nose pliers to make this choker.



2: Suede cord. I already cut mine to length. Make each piece a tiny bit shorter than you think you need so that the choker will fit snugly on your neck once the charm connector and clasp have been added.

3: Two pieces of chain trimmed to the same length as the suede.

4: Four leather crimp ends.

5: Eight small jump rings.

6: Two charm connectors.

7: Two large jump rings.

8: One Lobster Clasp.

Follow these steps to make your own stunning suede and chain choker necklace:
1: Attach a crimp end to either end of both pieces of suede cord. Do this by using the flat nose pliers to fold both sides of the crimp end in place around the end of the suede cord.


2: Open a jump ring and attach one end of a suede cord to one of the loops of the charm connectors.

3: Close the jump ring to secure the strand in place.

4: Add a piece of chain using another jump ring. This will be the second strand.
5: Repeat steps 2 and 3, adding the second suede strand.
6: Repeat step 4, adding the last piece of chain to the first charm connector. Now all four strands will be secured together at one end.

7: Repeat steps 2 to 6 for the other side of the necklace, attaching all strands to the second charm connector.

8: Add one of the large jump rings to one end of the choker and attach the lobster clasp. Secure the clasp in place by closing the jump ring.

9: Add another jump ring to the other side of the choker to finish it off.

Once the last jump ring is secured in place your multi-strand suede and chain choker is complete!

Here’s another multi-strand choker made using beaded strands.


DIY Jewelry Hub
Welcome to DIY Jewelry Hub. If you’ve ever wanted to learn how to make your own jewelry this is the place to start! Jewelry is a great way to show off your individuality and style. You’ll be surprised at how easy it is to create your own unique pieces! DIY Jewelry Hub will equip you with all the knowledge and inspiration you need to make your own jewelry.
You May Also Like
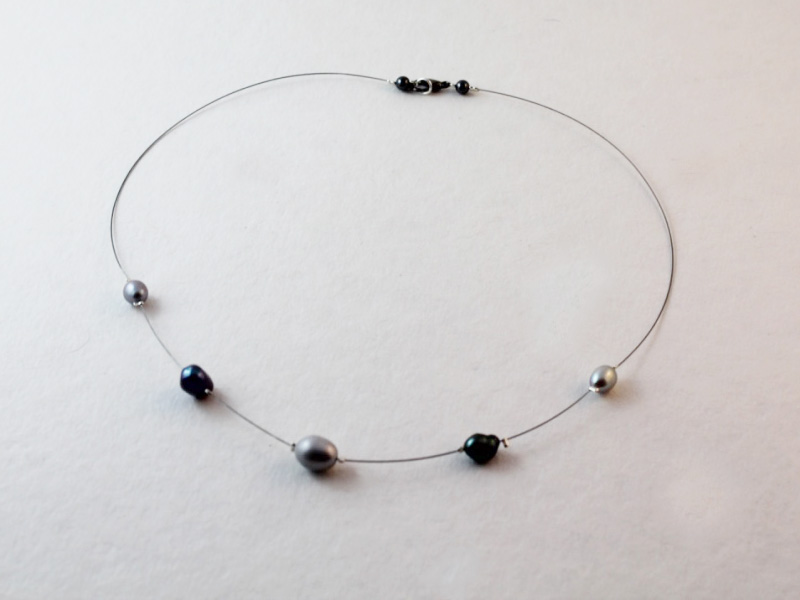
Defy gravity with this floating bead necklace

DIY Beaded Necklace Tutorial: Creating a Stunning Strand for Silver Pendants
