-
Here’s how to add eclectic charms to a chain to make a unique necklace.
I love the look of eclectic charms on a necklace, so I decided to make a tutorial to show you how easy it is to make your own custom charm necklace design. Gather up some gorgeous vintage and new charms and pop them onto a lovely chunky chain.
Please note that this tutorial contains affiliate links for which we may receive a commission.
You’ll need these tools and materials to make your charm necklace:
1: A sterling silver chain with large links for you to attach your charms to.

You can get something similar here:
2: A selection of charms. I used some vintage charms in different materials that I have collected over the years. I also made sure I had matching jump rings made from sterling silver. I used 5 charms but you can add as many as you like.

Here’s something similar to the bird charm:
Shell charm:
Here’s an option, or…
Dolphin Charm:
Here’s a sterling silver version
Bead charm:
Quartz charm:
3: Flat nose and parallel pliers to open and close the jump rings.

You can get a pair here:

Get some parallel pliers here:
Now here are all the steps you need to follow to make your charm necklace:
1: Find the centre of the necklace and place your first charm in the middle. Attach it using your pliers to open the jump ring and then close it around the chain link.


2: Place the second charm a few centimetres (or around an inch) away from the first charm and attach it the same way you did the first charm.

3: Repeat step 2, adding the next charm to the other side of the first charm.

4: Do this again until all your charms have been added in the order you like.


Now your necklace is finished and ready to wear! So cute! I love this design so much.


Here’s what it looks like on!

If you love this, here’s a charm bracelet tutorial you can follow to make something that matches!
-
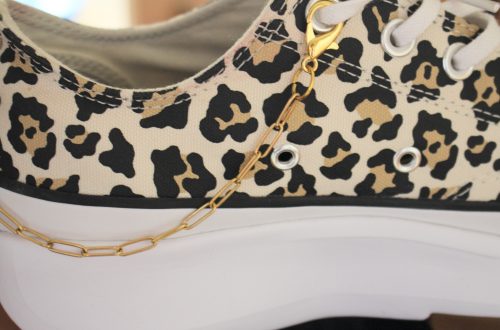
Here’s how to make some clip-on shoe charms.
I was browsing the internet the other day and saw the cutest shoe charms, so I knew I had to make a quick tutorial so you can make your own as well! These charms use lobster clasps and pre-made charms for a fun way to personalise your sneakers. Please note that this tutorial contains affiliate links for which we may receive a commission.
You’ll need the following tools and materials to make your shoe charms:
1: Some lobster clasps. I used some I already had, a black clasp and a gold-tone one.

You can get black clasps here:
And gold ones here:
2: Some charms. I used a glass heart charm and a plastic banana charm.

You can get banana charms here:
And heart charms here:
3: A couple of jump rings in colours that match my clasps.

You can get jump rings here:
4: Pliers. I used my flat nose and parallel pliers to open and close my jump rings. If you don’t have parallel pliers you can also use needle nose pliers, or any two sets of pliers you have on hand to open and close your jump rings (except cutting pliers, don’t want to snip those rings!)
You can get flat nose pliers here:
You can get a pair here:
Here are all the steps to follow to make your own shoe charms:
1: Add the open jump rings to the clasps.

2: Add the charms to the clasps.

3: Close the clasps using your pliers.

Now your shoe charms are ready to use! Clip them onto your laces to add some extra ‘charm’ to your fave sneakers. So cute!


Here are some other shoe decoration tutorials you can follow:
1: A sparkly shoe chain made with string and metal beads.
-
Here’s how to turn some thick wire into a wiggle bangle!
This bangle is so cute! It is a no-heat way to make a unique bangle that you can wear on its own or stacked with other bracelets. Please note that this tutorial contains affiliate links for which we may receive a small commission.
You’ll need the following tools and materials to make your bangle:
1: A piece of thick wire that is about 30-40 cm long (you might need to trim the end or add extra length depending on how large your bracelet needs to be). I used this copper wire that was 1.7mm in diameter.

You can get some copper wire here:
Or if you like, you can make it out of silver wire, which you can get here:
2: A file and emery paper to smooth the ends of the wire.

You can get a file here:

You can get emery paper here:
3: A pair of parallel pliers.
You can get a pair here:
4: A bracelet mandrel.

You can get one here:
5: A nylon or leather hammer. I used this nylon hammer.

You can get a hammer here:
Follow these steps to make your wiggle bracelet:
1: File and emery the ends of your wire using the jewelry file and emery paper, making sure it is smooth and there are no sharp ends.
2: Use the flat nose pliers to create a triangle shape at one end of the wire.


3: Now grip the wire next to the triangle and push the long end of the wire against the pliers to form an angle.

4: Repeat step 3 again to create a zigzag shape.
5: Repeat steps 3 and 4 for the rest of the wire until you have about 1.5cm left of the wire.

6: Form the shape into a circle and create another triangle at the other end that is slightly open.

7: Slip the open end of the bracelet through the triangle you formed at the start.

8: Using the flat nose pliers again, close the second triangle to close off the bangle.

9: Put the bangle on the mandrel and hammer it into a circular shape, gently adjusting it so that it lies flat.

Once you are happy with the shape, you can take your bracelet off the mandrel and pop it on your wrist! How simple and lovely? I am very fond of this simple bangle design. How will you style yours?

Here’s how the finished bangle looks.


-
Want a new pair of hoops? Here’s how to turn two pieces of wire into a unique pair of wiggle hoop earrings.
Want to work with metal but don’t want to invest in all the equipment? Then this tutorial is for you! Follow along to make a unique pair of wiggle hoop earrings using pliers and some wire. I love how simple but stunning this tutorial is. Please note that this tutorial contains affiliate links from which we may receive a small commission.
You’ll need the following tools and materials to make your wiggle hoop earrings:
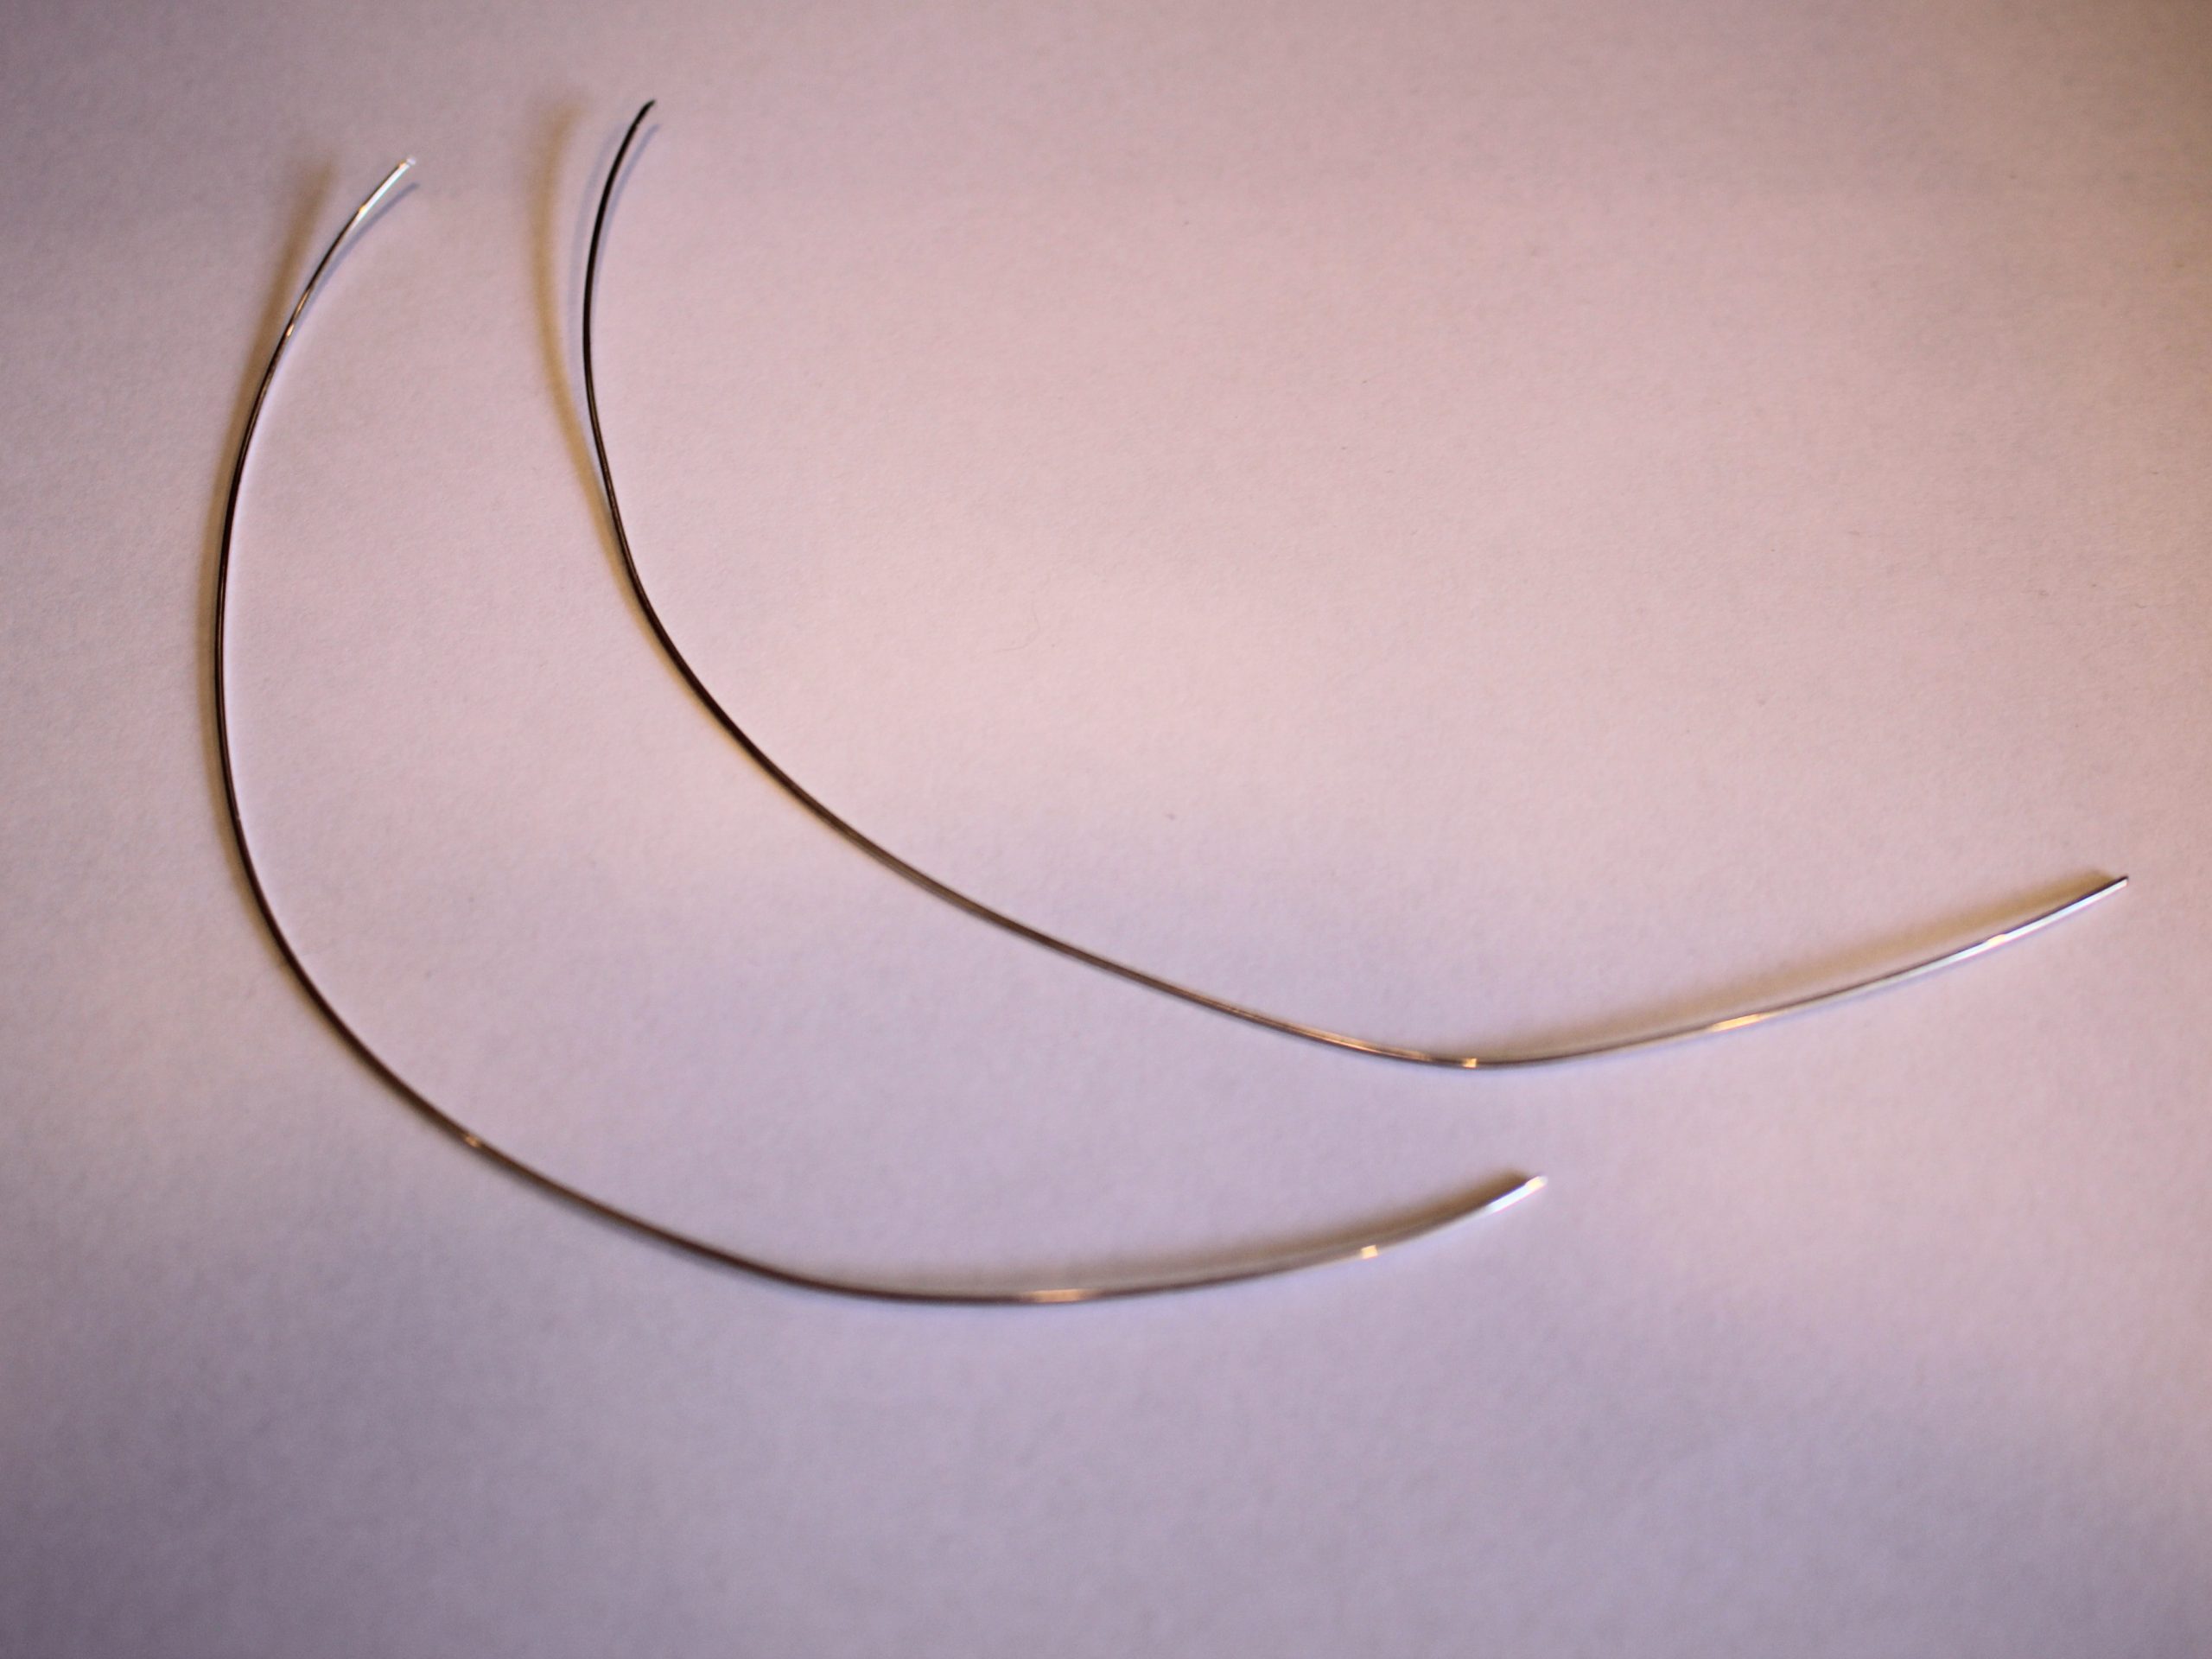
1: Two pieces of wire, I used 0.8mm diameter sterling silver and cut mine to be about 18cm long each.

You can get silver wire here:
If you’re feeling fancy, you can get solid gold wire here:
2: A jewellery file or emery paper to ensure that the ends of the wire aren’t too sharp.
You can get a jewellery file here:
I have my emery paper attached to a stick for more control. You can get some here:
3: Half round-Flat pliers. These pliers have a half-round side and a flat side to make curves.

You can get a pair here:
4: Round-flat pliers.

You can get a pair here:
5: Parallel pliers.
You can get some here:
6: A bangle mandrel or something else that is the right diameter so you can shape your earrings into a circle.
You can get one here:
7: Butterfly backs.

You can get butterfly backs here:
8: A nylon or leather hammer for shaping the earrings against the mandrel (Don’t use this if you are shaping your earrings around something breakable).
You can get a hammer here:
9: Sticky tape. I used plastic tape but masking tape would likely be more suitable.
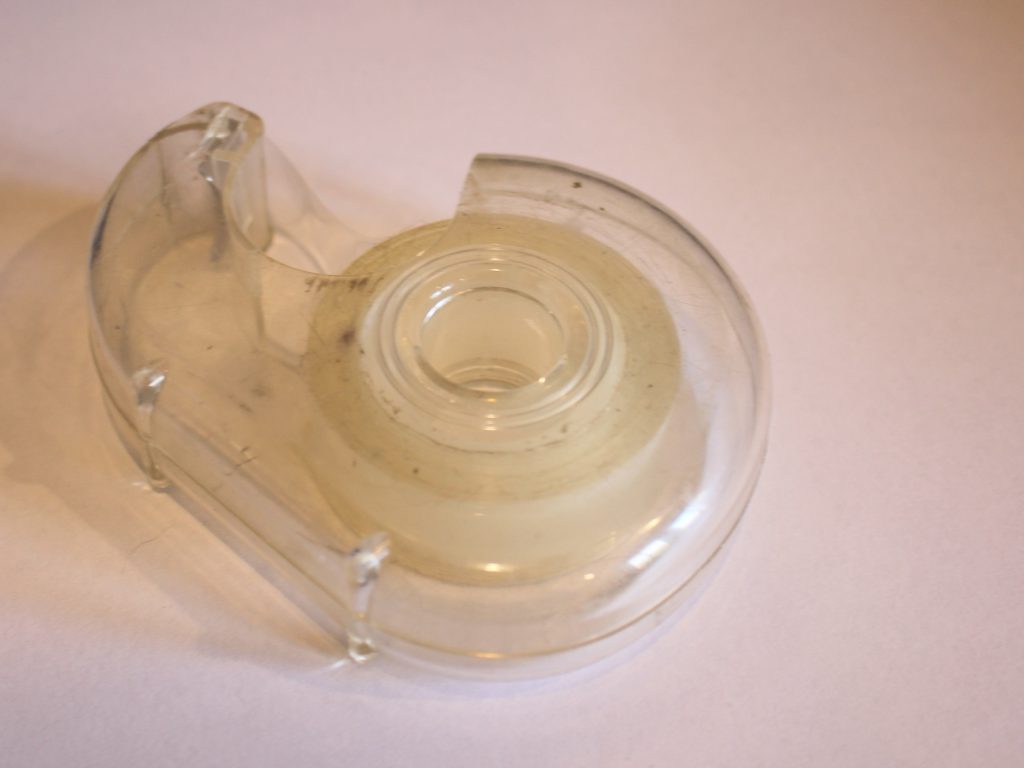
You can get masking tape here:
Follow these steps to make your own pair of hoop earrings:
1: File the ends of the wire so that they are flat and have no sharp edges.

2: If you have emery paper, sand the ends as well to further break down any sharp ends.
3: Tape the two pieces of wire together.

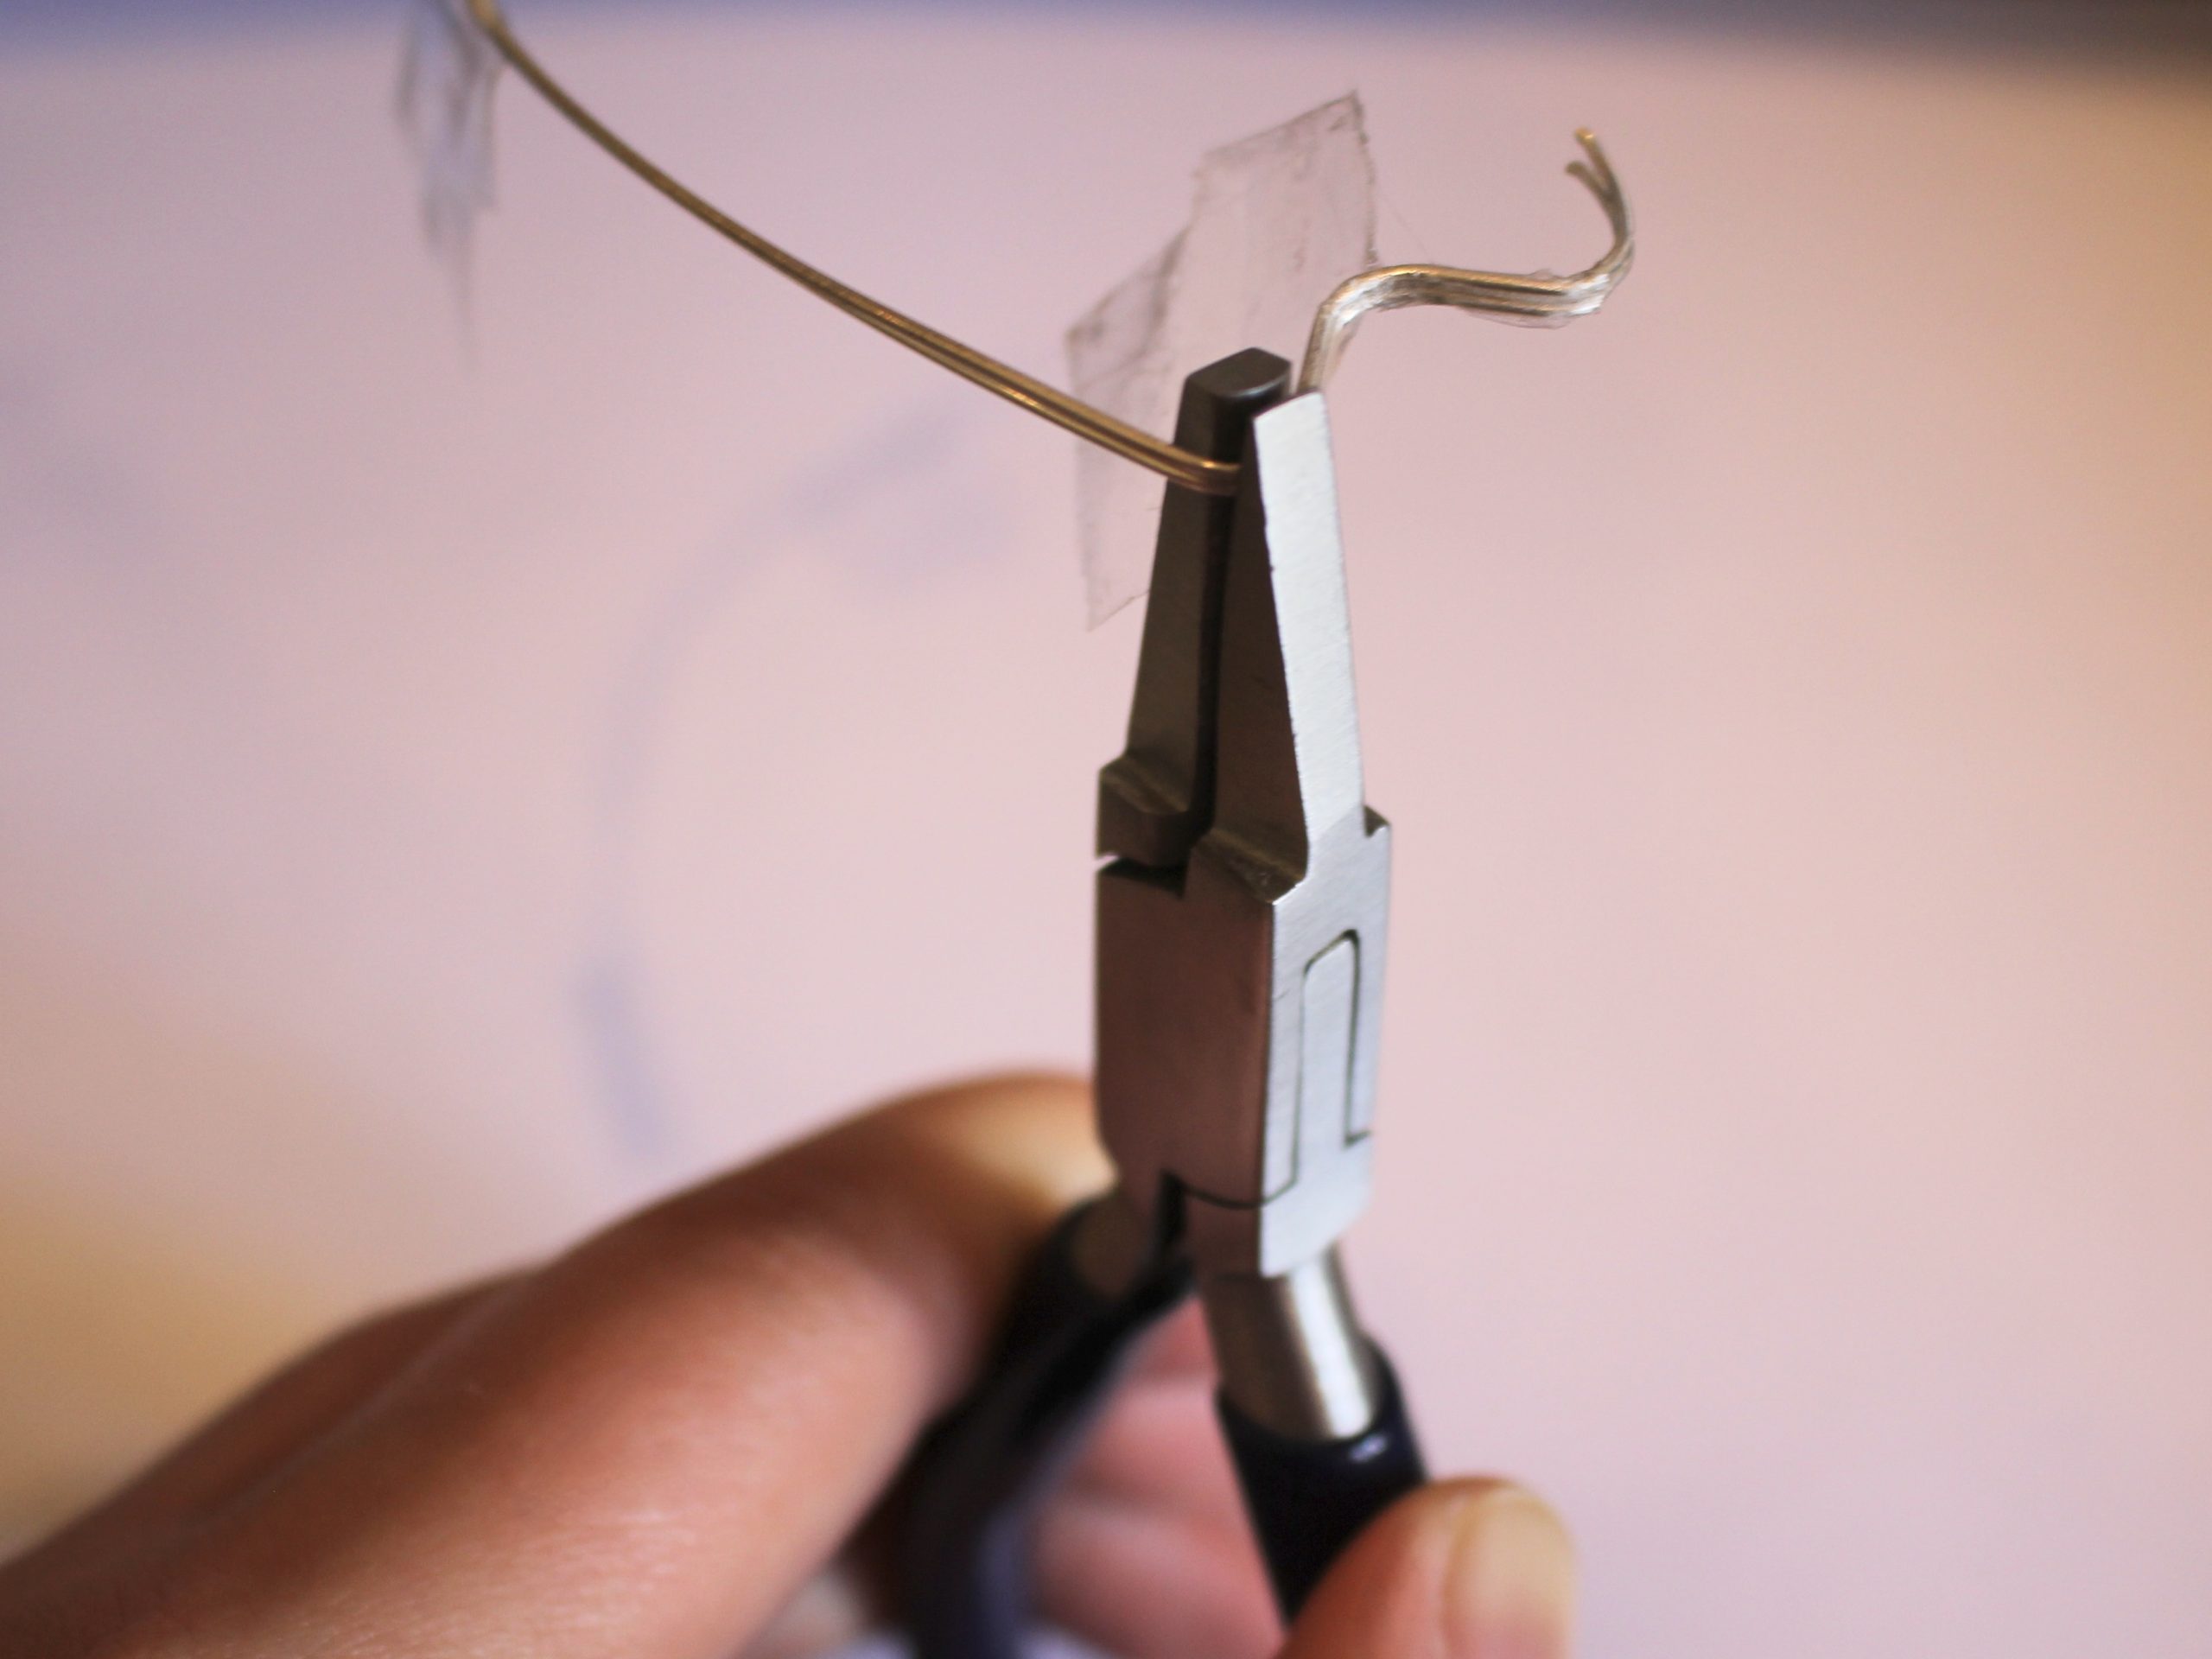
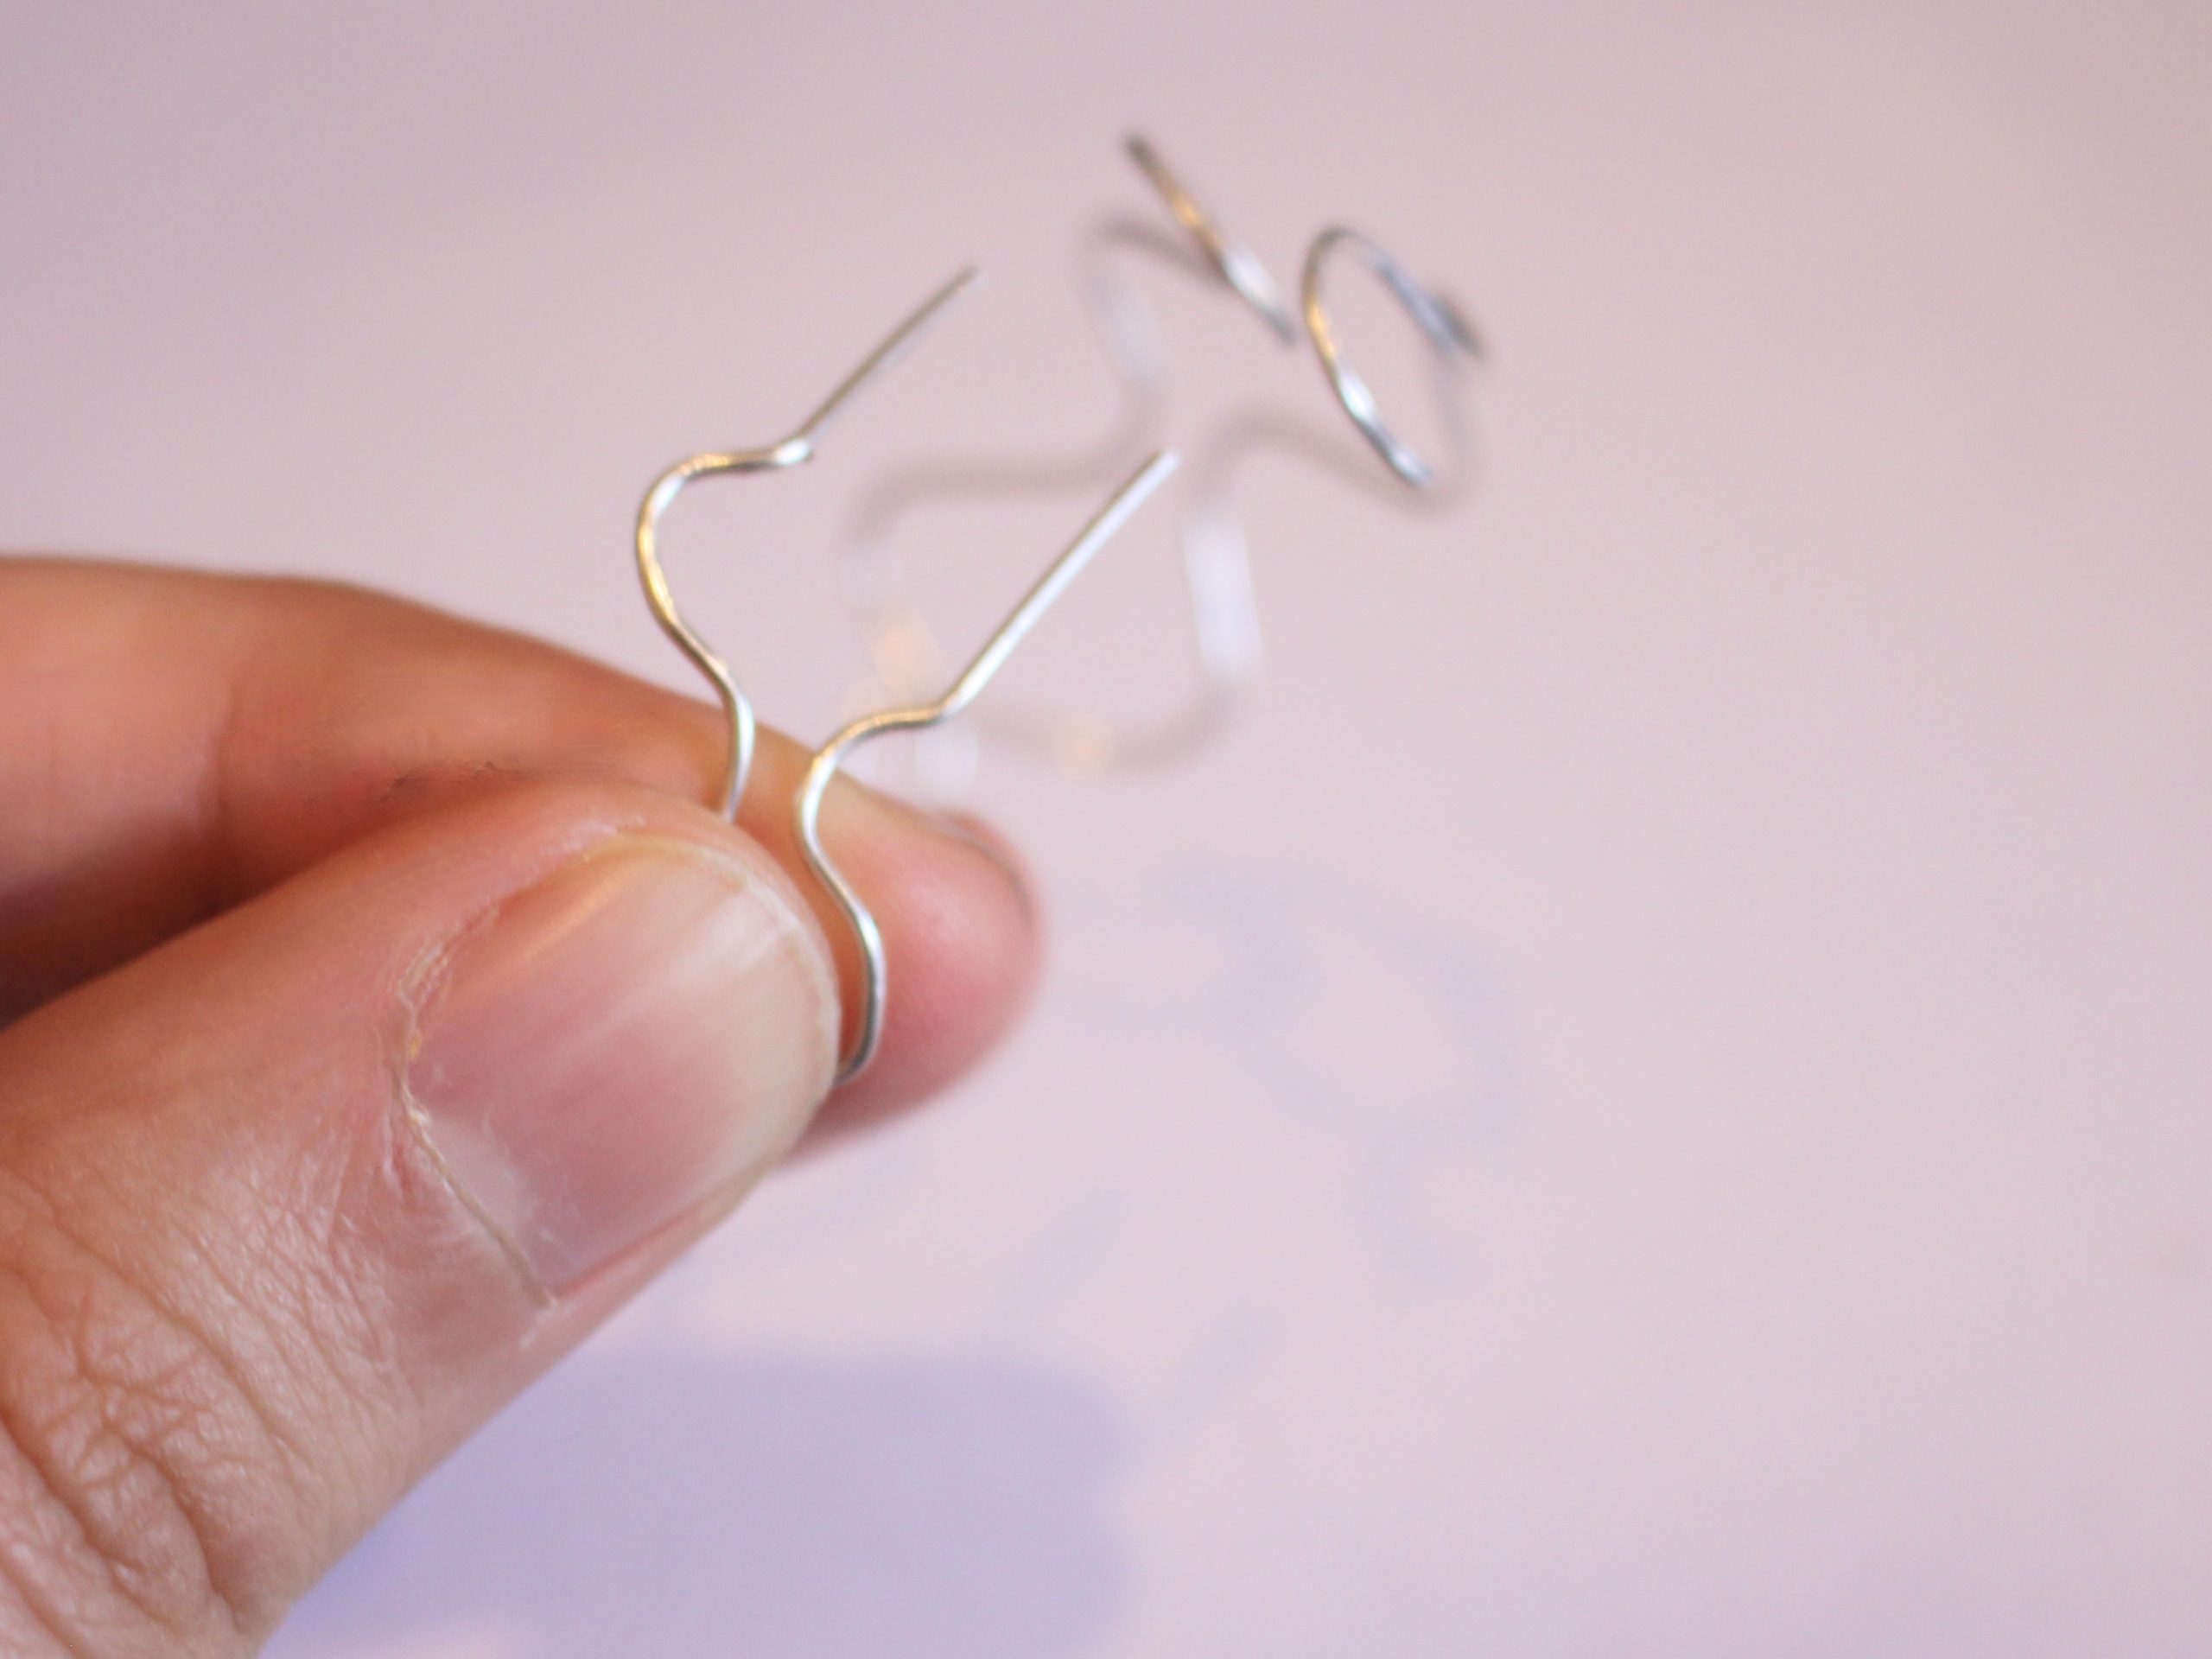
4: Take your half round-flat pliers and create the first bend at the end of the wire by clamping the wire into the jaws of the pliers and pressing them together.

5: Flip the pliers around and place them on the other side of the wire and repeat step 4 to make a curve in the wire in the opposite direction.

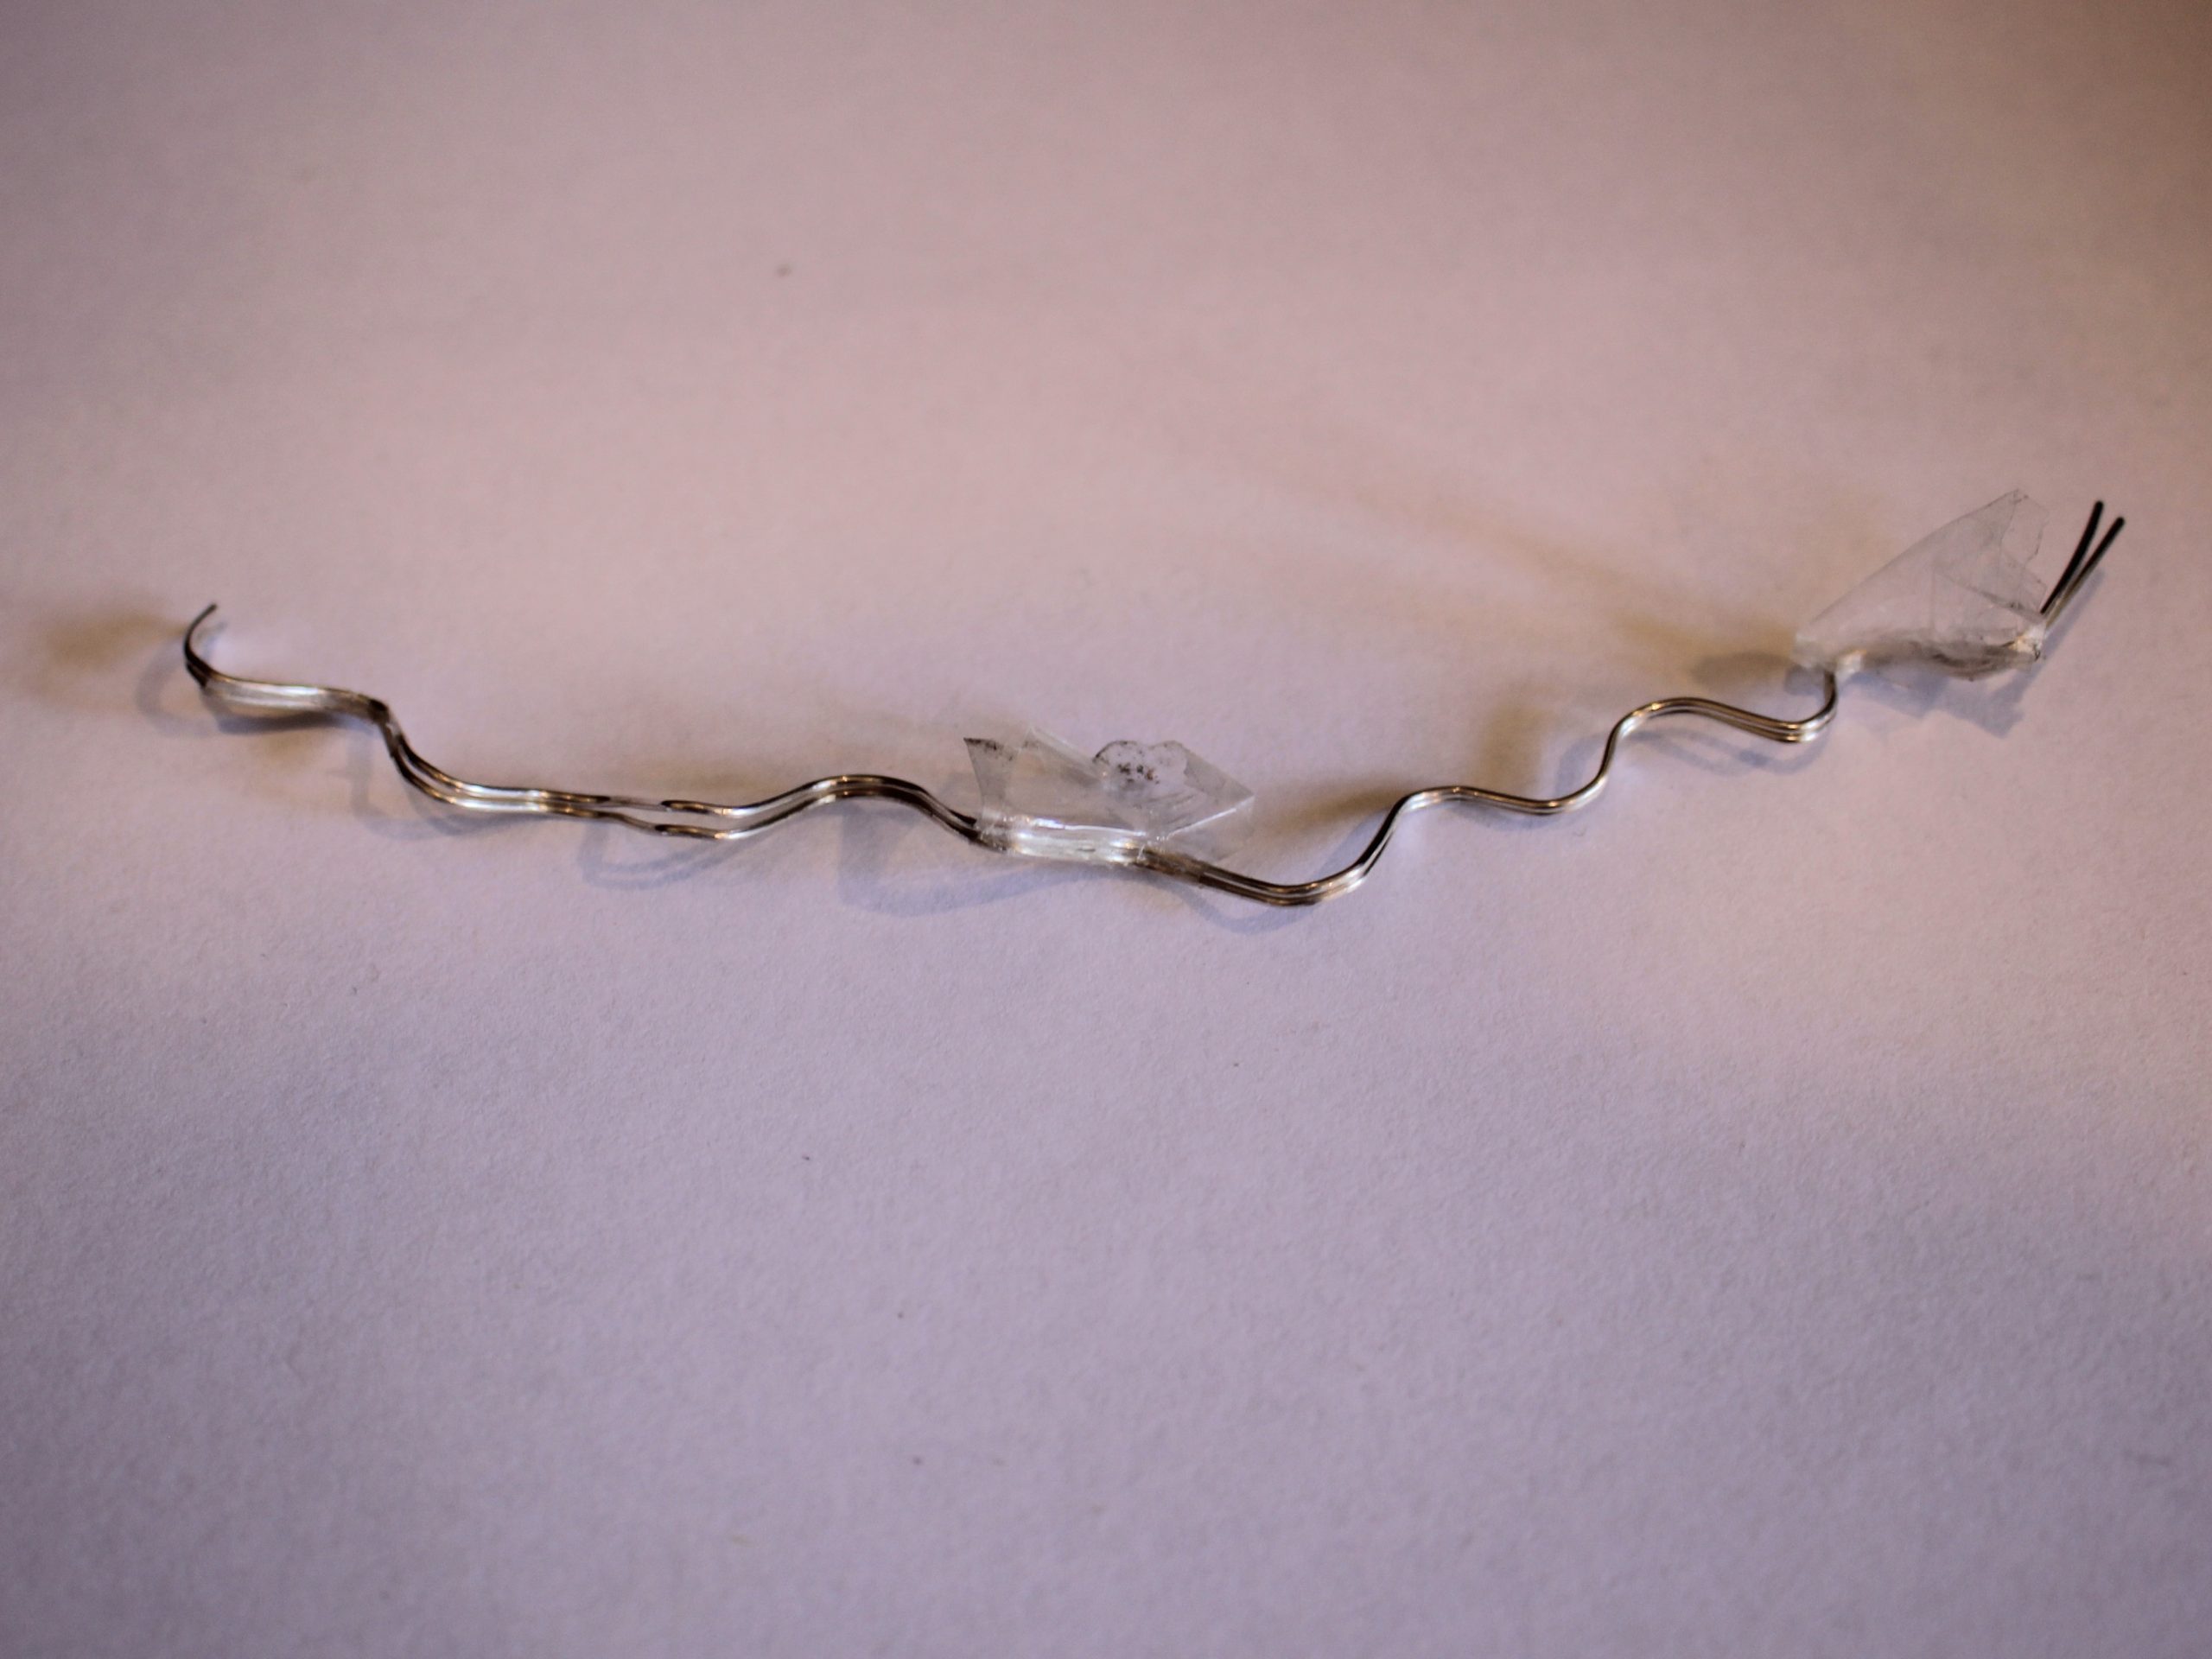
6: Repeat steps 4 and 5 until your pieces of wire are formed into a squiggle shape, but leave about 1cm at the end for the earring post.


7: Remove the tape and separate the wires.
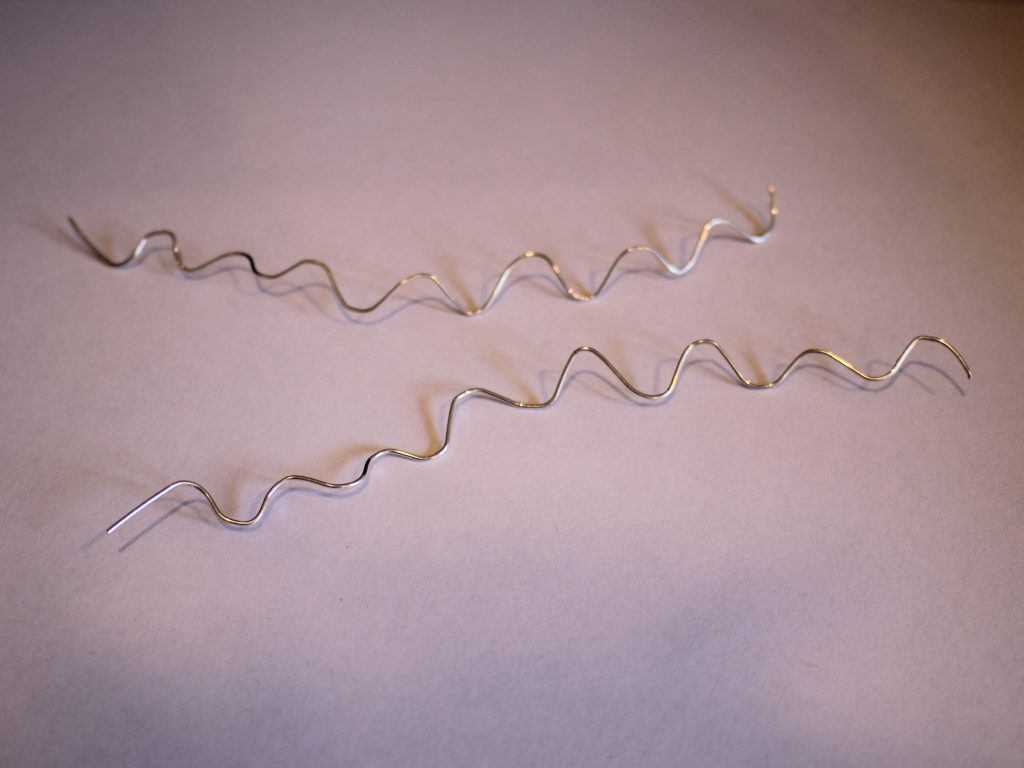
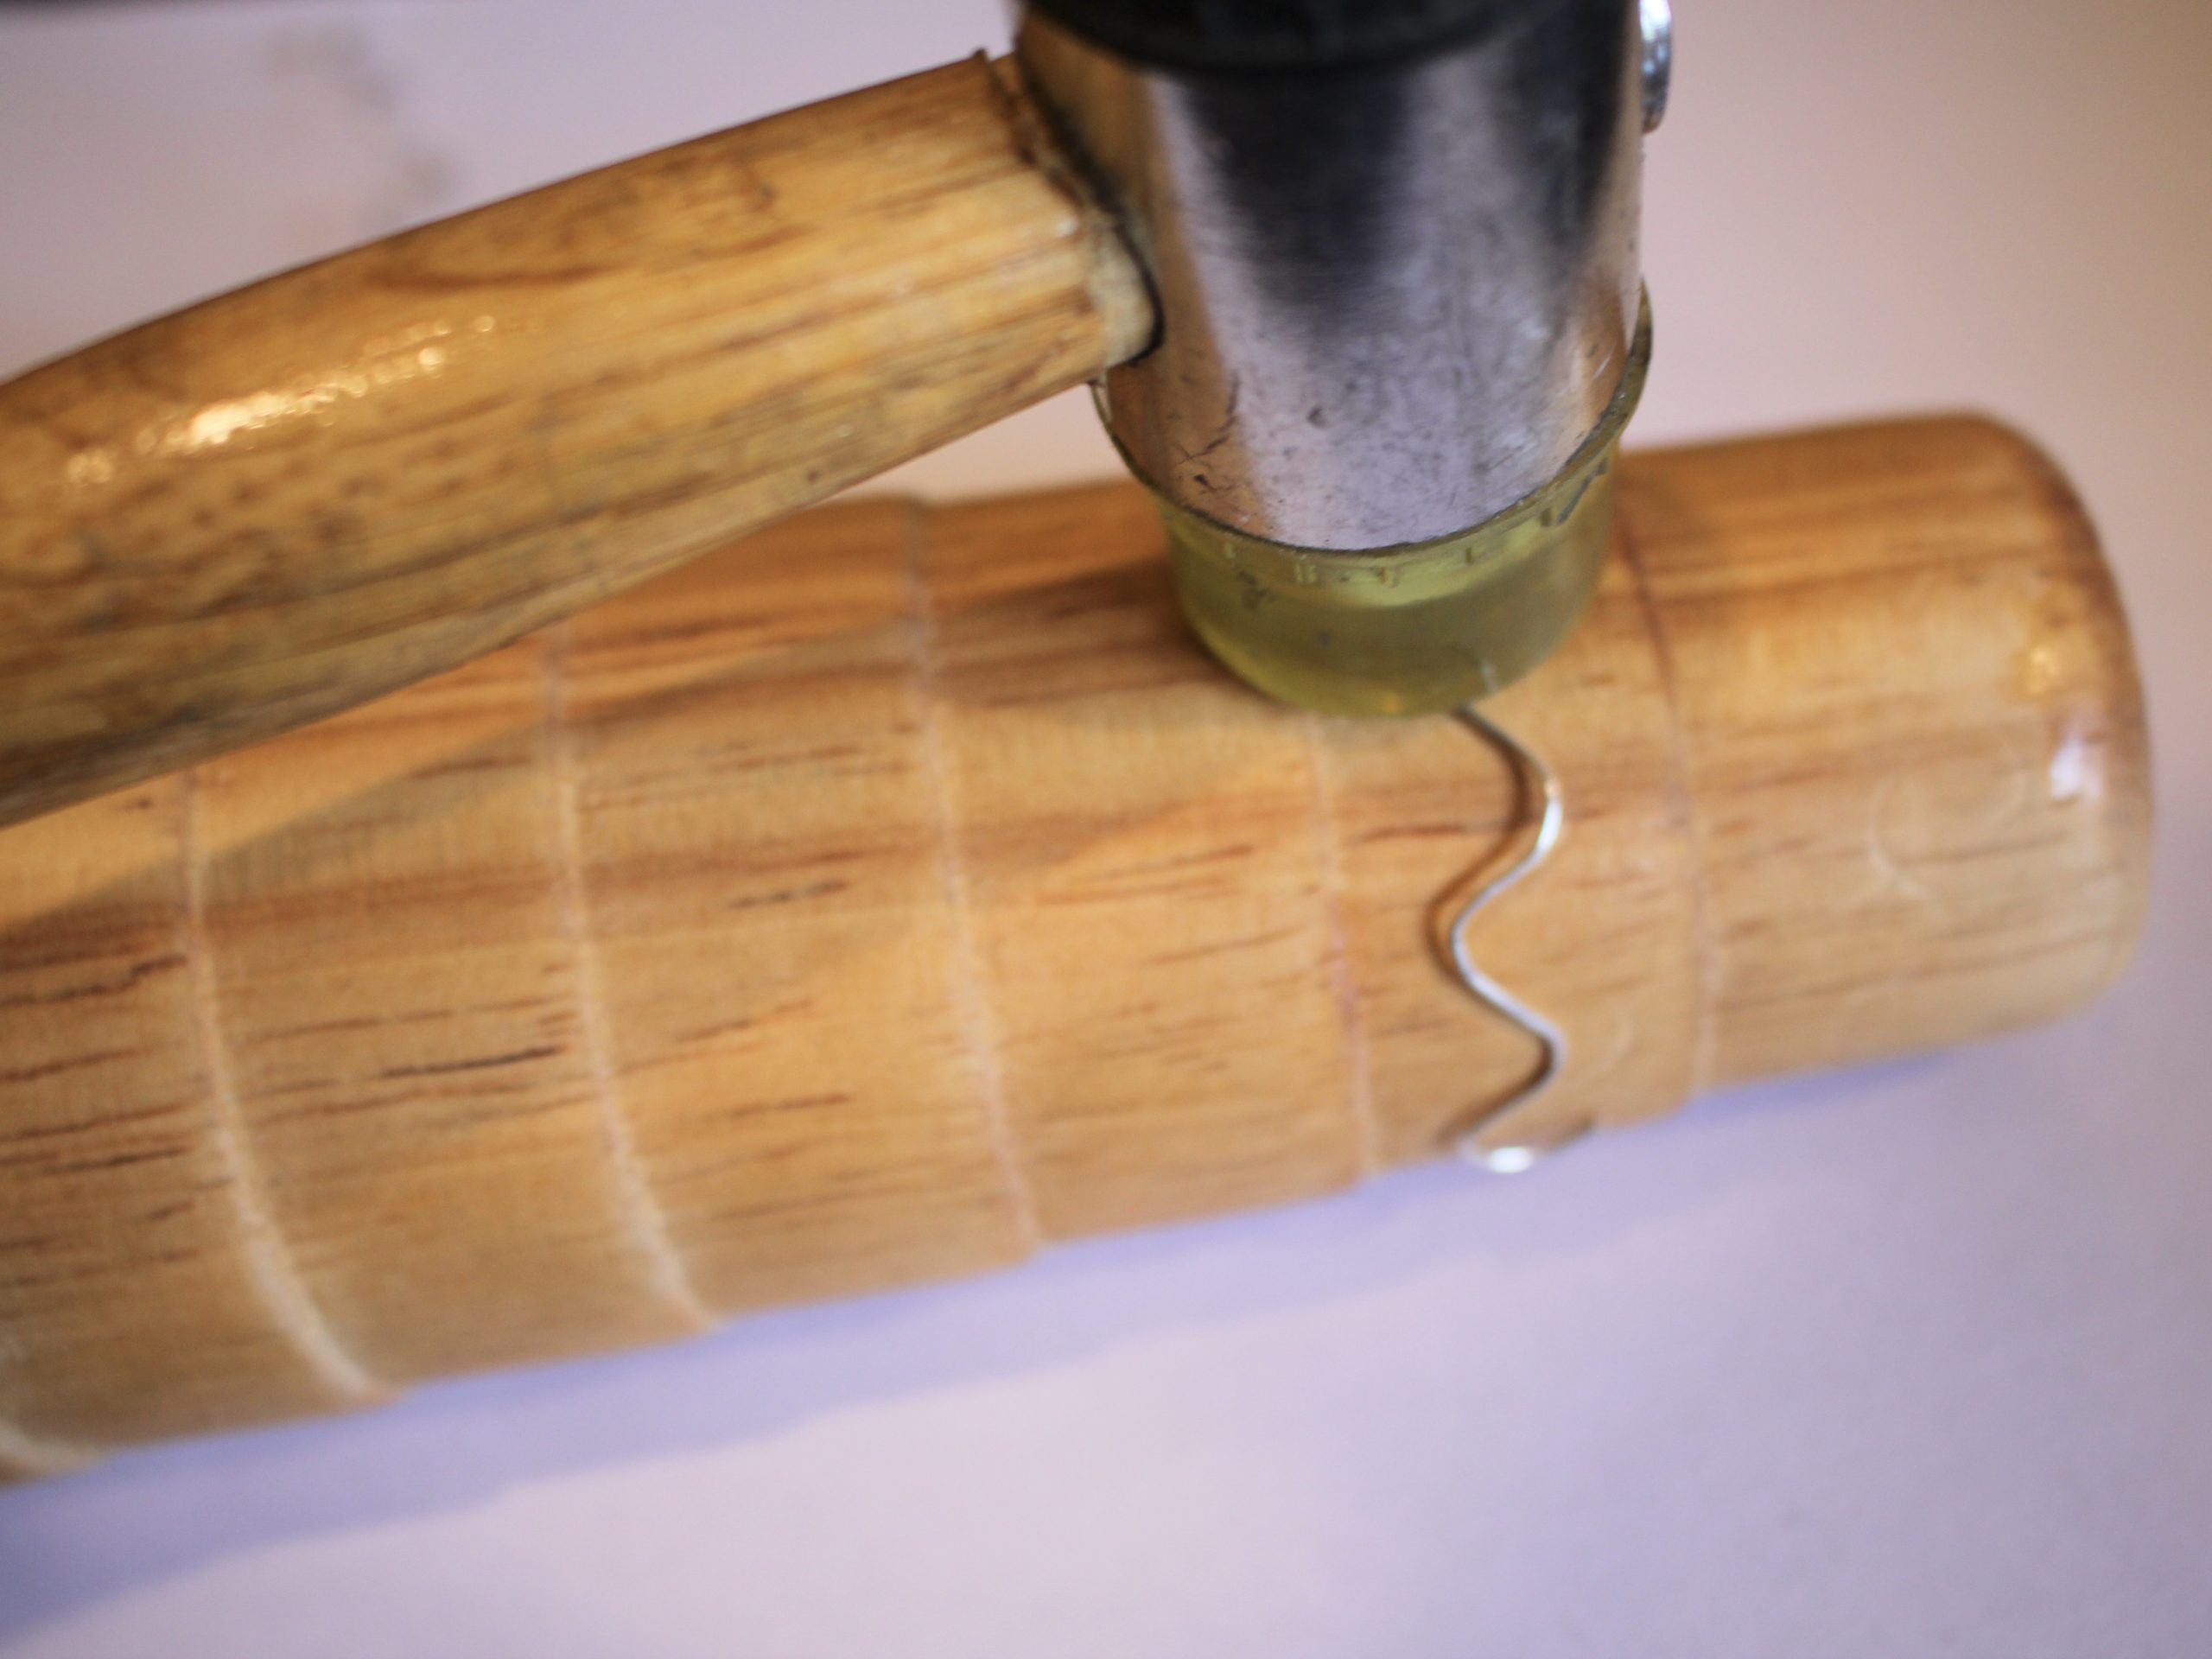
8: Wrap the wire around the bracelet mandrel to form it into the earring shape. Use the nylon hammer to hammer it into shape. Repeat this for both of the earrings.


9: You can further adjust the shape of the earrings by pressing the half round-flat pliers around the earring, making sure to match the curve of the pliers with the inner curve of the earrings. Doing this will add more tension to your earrings to help them hold their shape.
10: When you are happy with the shape of your hoops, Take the round flat pliers and push the straight ends of the wire around so they sit sideways.


11: Then take your parallel pliers and use them to adjust the straight ends of each earring so that they are centered in the middle of the wiggle to sit evenly in your ears.


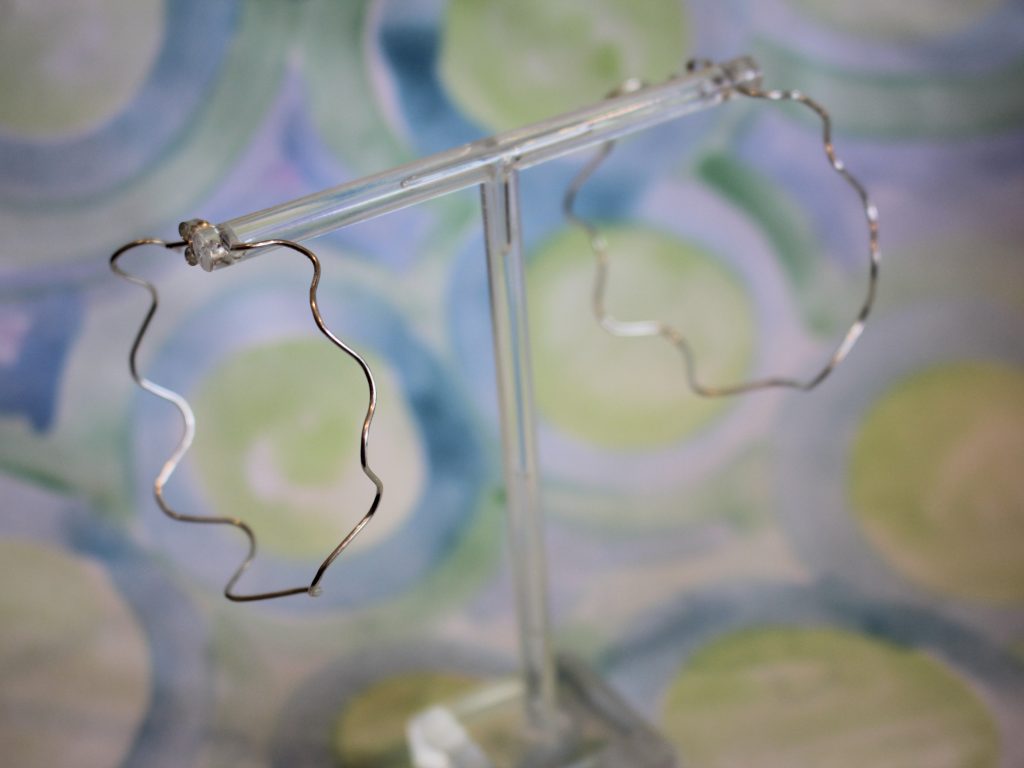
12: Once you have adjusted the ends, your earrings are finished and ready to wear. Pop the butterfly backs on to secure them on your lobes.

Here’s how the finished product looks! How will you style yours?


-
How to make some gorgeous chain earrings from scratch!
Have you ever wanted to make your own chain? This lovely earring tutorial shows you how to make your own simple chains from scratch and turn them into a stunning pair of earrings. Please note that this tutorial contains affiliate links for which the website might receive a commission.
You’ll need the following tools and materials:
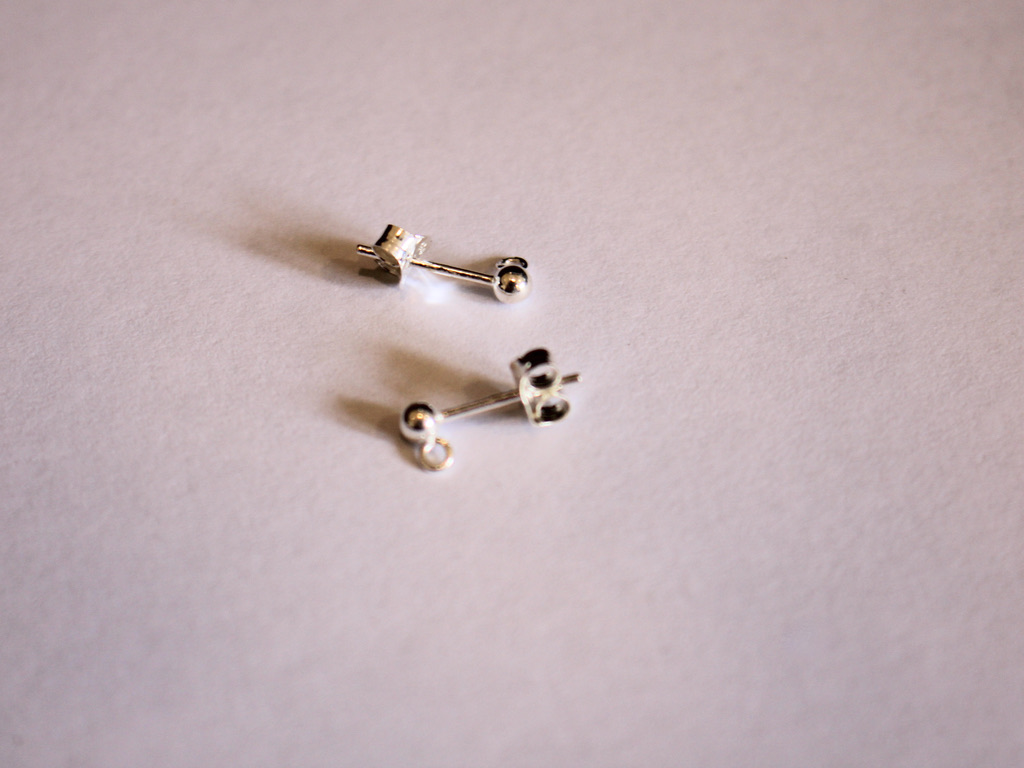
1: Two earring posts with charm connectors on them. I used sterling silver ball post findings.
2: Two large jump rings. I used sterling silver.

3: Sixteen smaller jump rings. Mine were made from sterling silver.

4: A pair of drilled gemstone beads. You want beads that are drilled through the top rather than the middle like a typical bead. I used some greenstone disk beads.

5: Pliers. I used my flat nose and parallel pliers to open and close all the jump rings.
Follow these steps to make your gorgeous chain drop earrings:
1: Add one of the large jump rings to each of the beads, use your pliers to open and close them making sure to get the ends close together so that your bead doesn’t fall off.


This picture shows one jump ring in place and the other attached to the bead but not yet closed. 
Both of the beads with closed jump rings in place 2: Start adding some of the smaller jump rings together to form a chain. Do this by sliding a jump ring though a closed one, then closing the next one using your flat nosed pliers. You can see this in the pictures where I join two jump rings together. Create 2 chains that are 8 jump rings long, one for each earring.


The full chain formed with one jump ring left open at the end ready to attach to the bead. 3: Attach the chain to the jump ring attached to the bead, closing it carefully with pliers.


4: Attach the chain to the earring post by opening one of the jump rings at sliding it onto the charm connector, close the jump ring again to secure it.


5: Repeat steps 3 and 4 for the second earring to finish them off.

Now you have a gorgeous pair of earrings featuring a handmade chain detail. How special is that? Below are some pictures of the finished product!