Add to your wrist stack, construct some charm connector bangles today!
Are your daily bangles feeling boring? Do you need something fresh to add to your accessories collection? Well then have I got the tutorial for you! This bangle featuring a chunky charm connector gives a stunning effect and looks incredible when layered with other different bracelets.
You will need the following tools and materials to make this charm connector bangle:
1: Pliers. You will need your cutting pliers and round nose pliers to make this bangle.


2: Wire. I used some thick malleable wire in a silver color.

3: A charm connector. I used this simple silver colored charm connector.
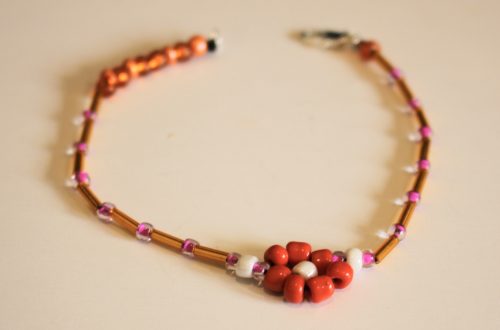
 Style your bangle with these pretty connector charms:
4: Beads of your choice. I used a selection of wooden beads in different shapes and colors.

Follow these steps to make your charm connector bangle:
1: Measure out a length of wire that will fit comfortably around your wrist. Cut it to length using the cutting pliers.


2: Bend a small section of the end of the wire into a loop. This will prevent your beads from falling off the wire.

3: Begin adding beads to the wire in the pattern of your choice.

4: Once your beading has been completed, use the round nose pliers to bend the end of the wire at a right angle to the beaded section.

5: Trim the excess wire using the cutting pliers and then use the round nose pliers to create another loop at the end of the wire to secure the beads in place.


6: Open one loop slightly using the pliers and place the charm connector onto one side of the bangle. Secure the charm connector in place by closing the loop again.


7: Repeat step 6 for the other side of the bangle, securing the charm connector in place.
8: Now your bangle is finished and ready to pop on your wrist. Will you stack your bangles high or let it shine on its own? Style it your way and make this design your own!

DIY Jewelry Hub
Welcome to DIY Jewelry Hub. If you’ve ever wanted to learn how to make your own jewelry this is the place to start! Jewelry is a great way to show off your individuality and style. You’ll be surprised at how easy it is to create your own unique pieces! DIY Jewelry Hub will equip you with all the knowledge and inspiration you need to make your own jewelry.


You May Also Like

Personalised jewelry is so special. Here’s how to make your own with cute colourful letter beads.

Make your jewellery work for you, this necklace is also a bracelet!