

Want a new pair of hoops? Here’s how to turn two pieces of wire into a unique pair of wiggle hoop earrings.
Want to work with metal but don’t want to invest in all the equipment? Then this tutorial is for you! Follow along to make a unique pair of wiggle hoop earrings using pliers and some wire. I love how simple but stunning this tutorial is. Please note that this tutorial contains affiliate links from which we may receive a small commission.
You’ll need the following tools and materials to make your wiggle hoop earrings:
1: Two pieces of wire, I used 0.8mm diameter sterling silver and cut mine to be about 18cm long each.
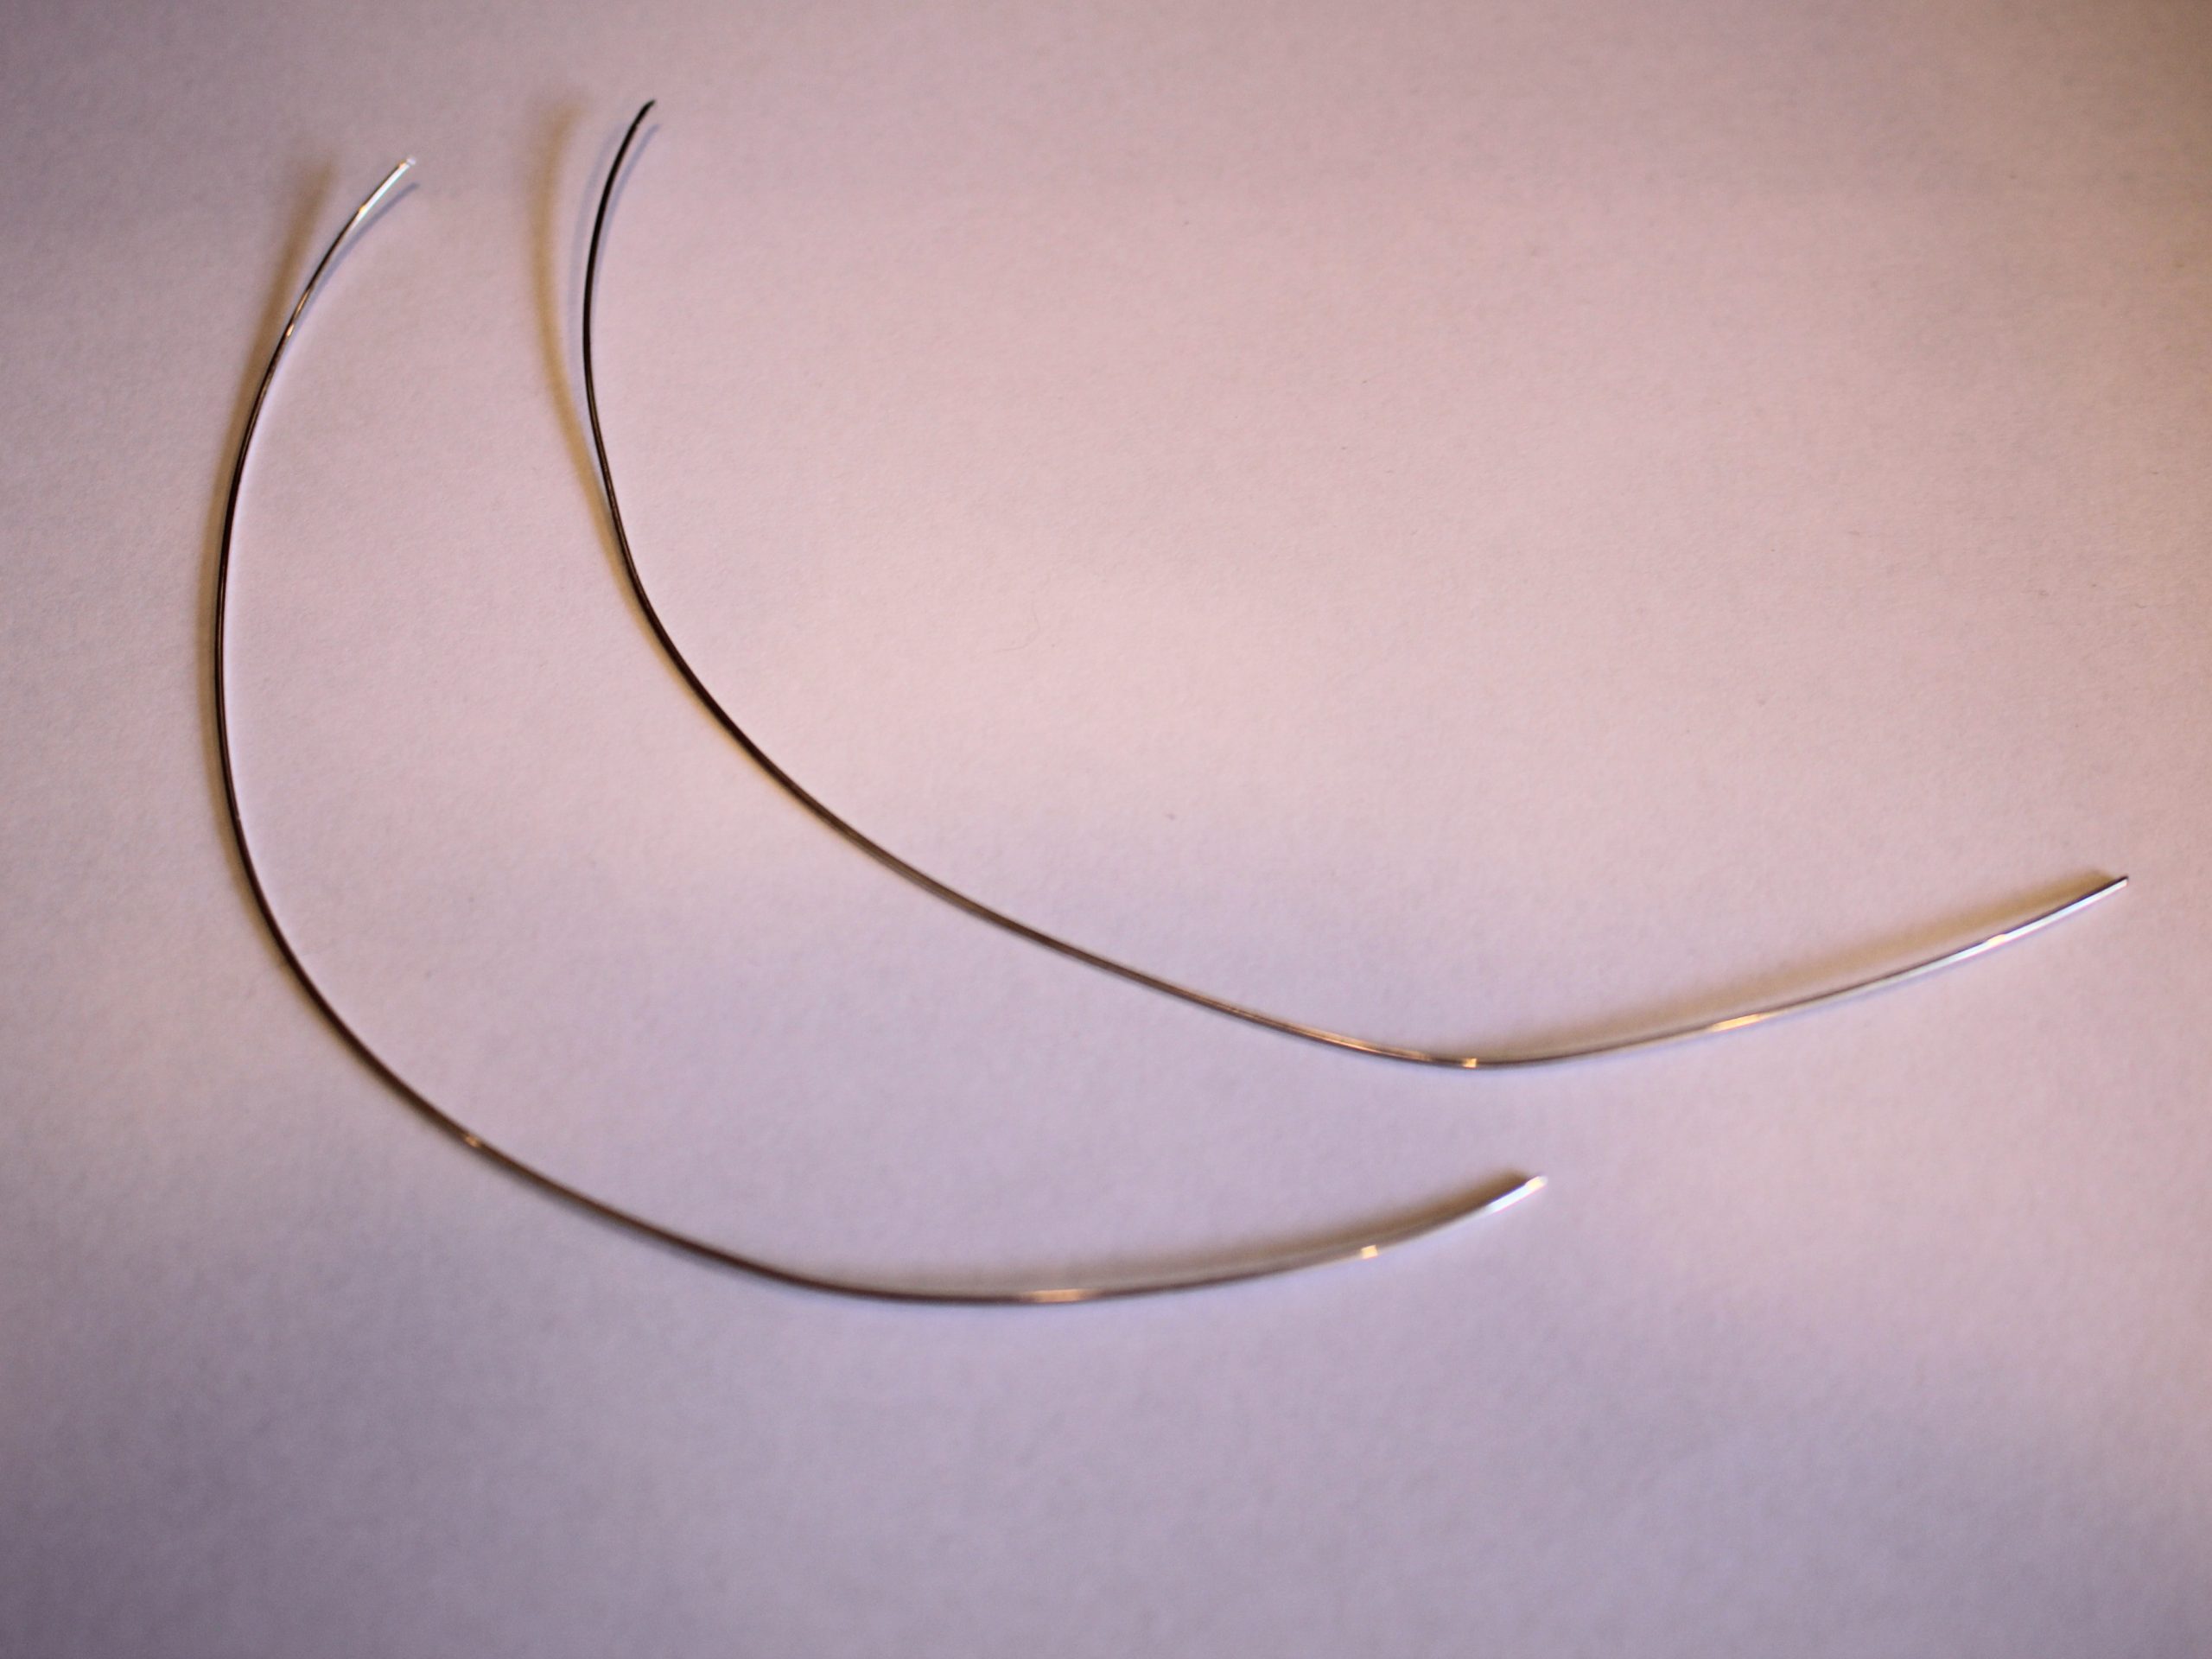
You can get silver wire here:
If you’re feeling fancy, you can get solid gold wire here:
2: A jewellery file or emery paper to ensure that the ends of the wire aren’t too sharp.

You can get a jewellery file here:

I have my emery paper attached to a stick for more control. You can get some here:
3: Half round-Flat pliers. These pliers have a half-round side and a flat side to make curves.

You can get a pair here:
4: Round-flat pliers.

You can get a pair here:
5: Parallel pliers.

You can get some here:
6: A bangle mandrel or something else that is the right diameter so you can shape your earrings into a circle.

You can get one here:
7: Butterfly backs.

You can get butterfly backs here:
8: A nylon or leather hammer for shaping the earrings against the mandrel (Don’t use this if you are shaping your earrings around something breakable).

You can get a hammer here:
9: Sticky tape. I used plastic tape but masking tape would likely be more suitable.

You can get masking tape here:
Follow these steps to make your own pair of hoop earrings:
1: File the ends of the wire so that they are flat and have no sharp edges.

2: If you have emery paper, sand the ends as well to further break down any sharp ends.
3: Tape the two pieces of wire together.

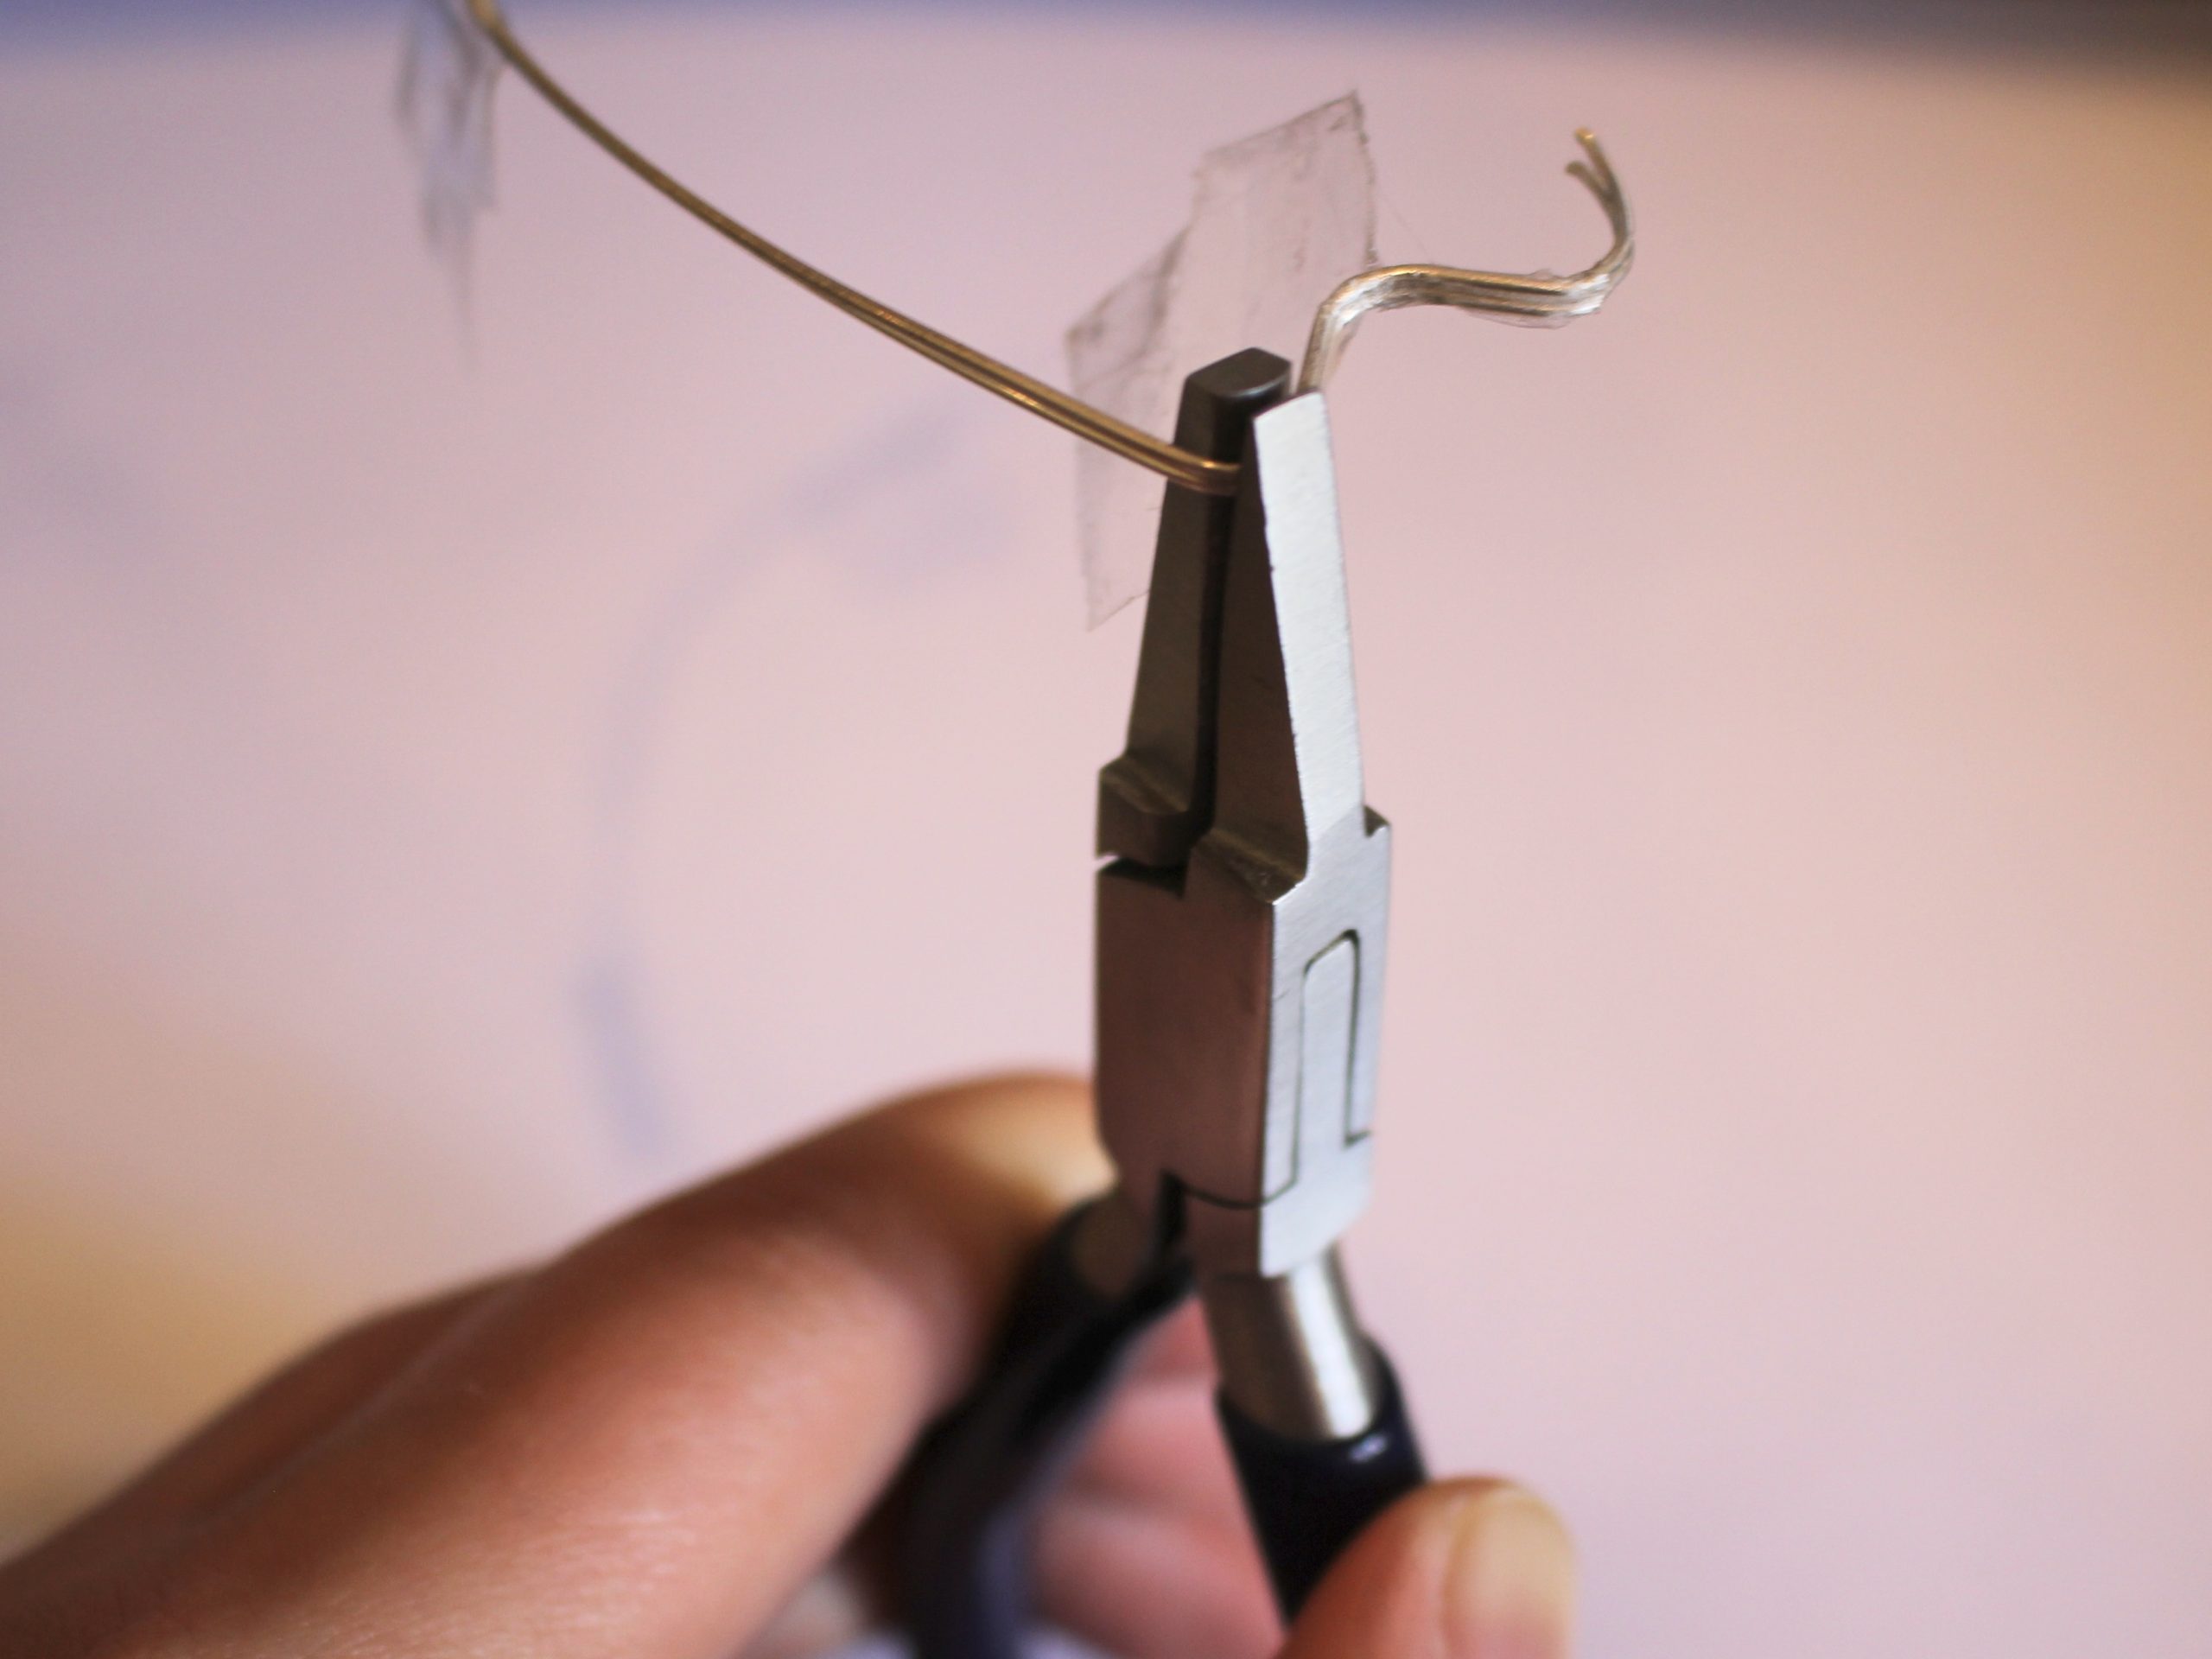
4: Take your half round-flat pliers and create the first bend at the end of the wire by clamping the wire into the jaws of the pliers and pressing them together.

5: Flip the pliers around and place them on the other side of the wire and repeat step 4 to make a curve in the wire in the opposite direction.

6: Repeat steps 4 and 5 until your pieces of wire are formed into a squiggle shape, but leave about 1cm at the end for the earring post.
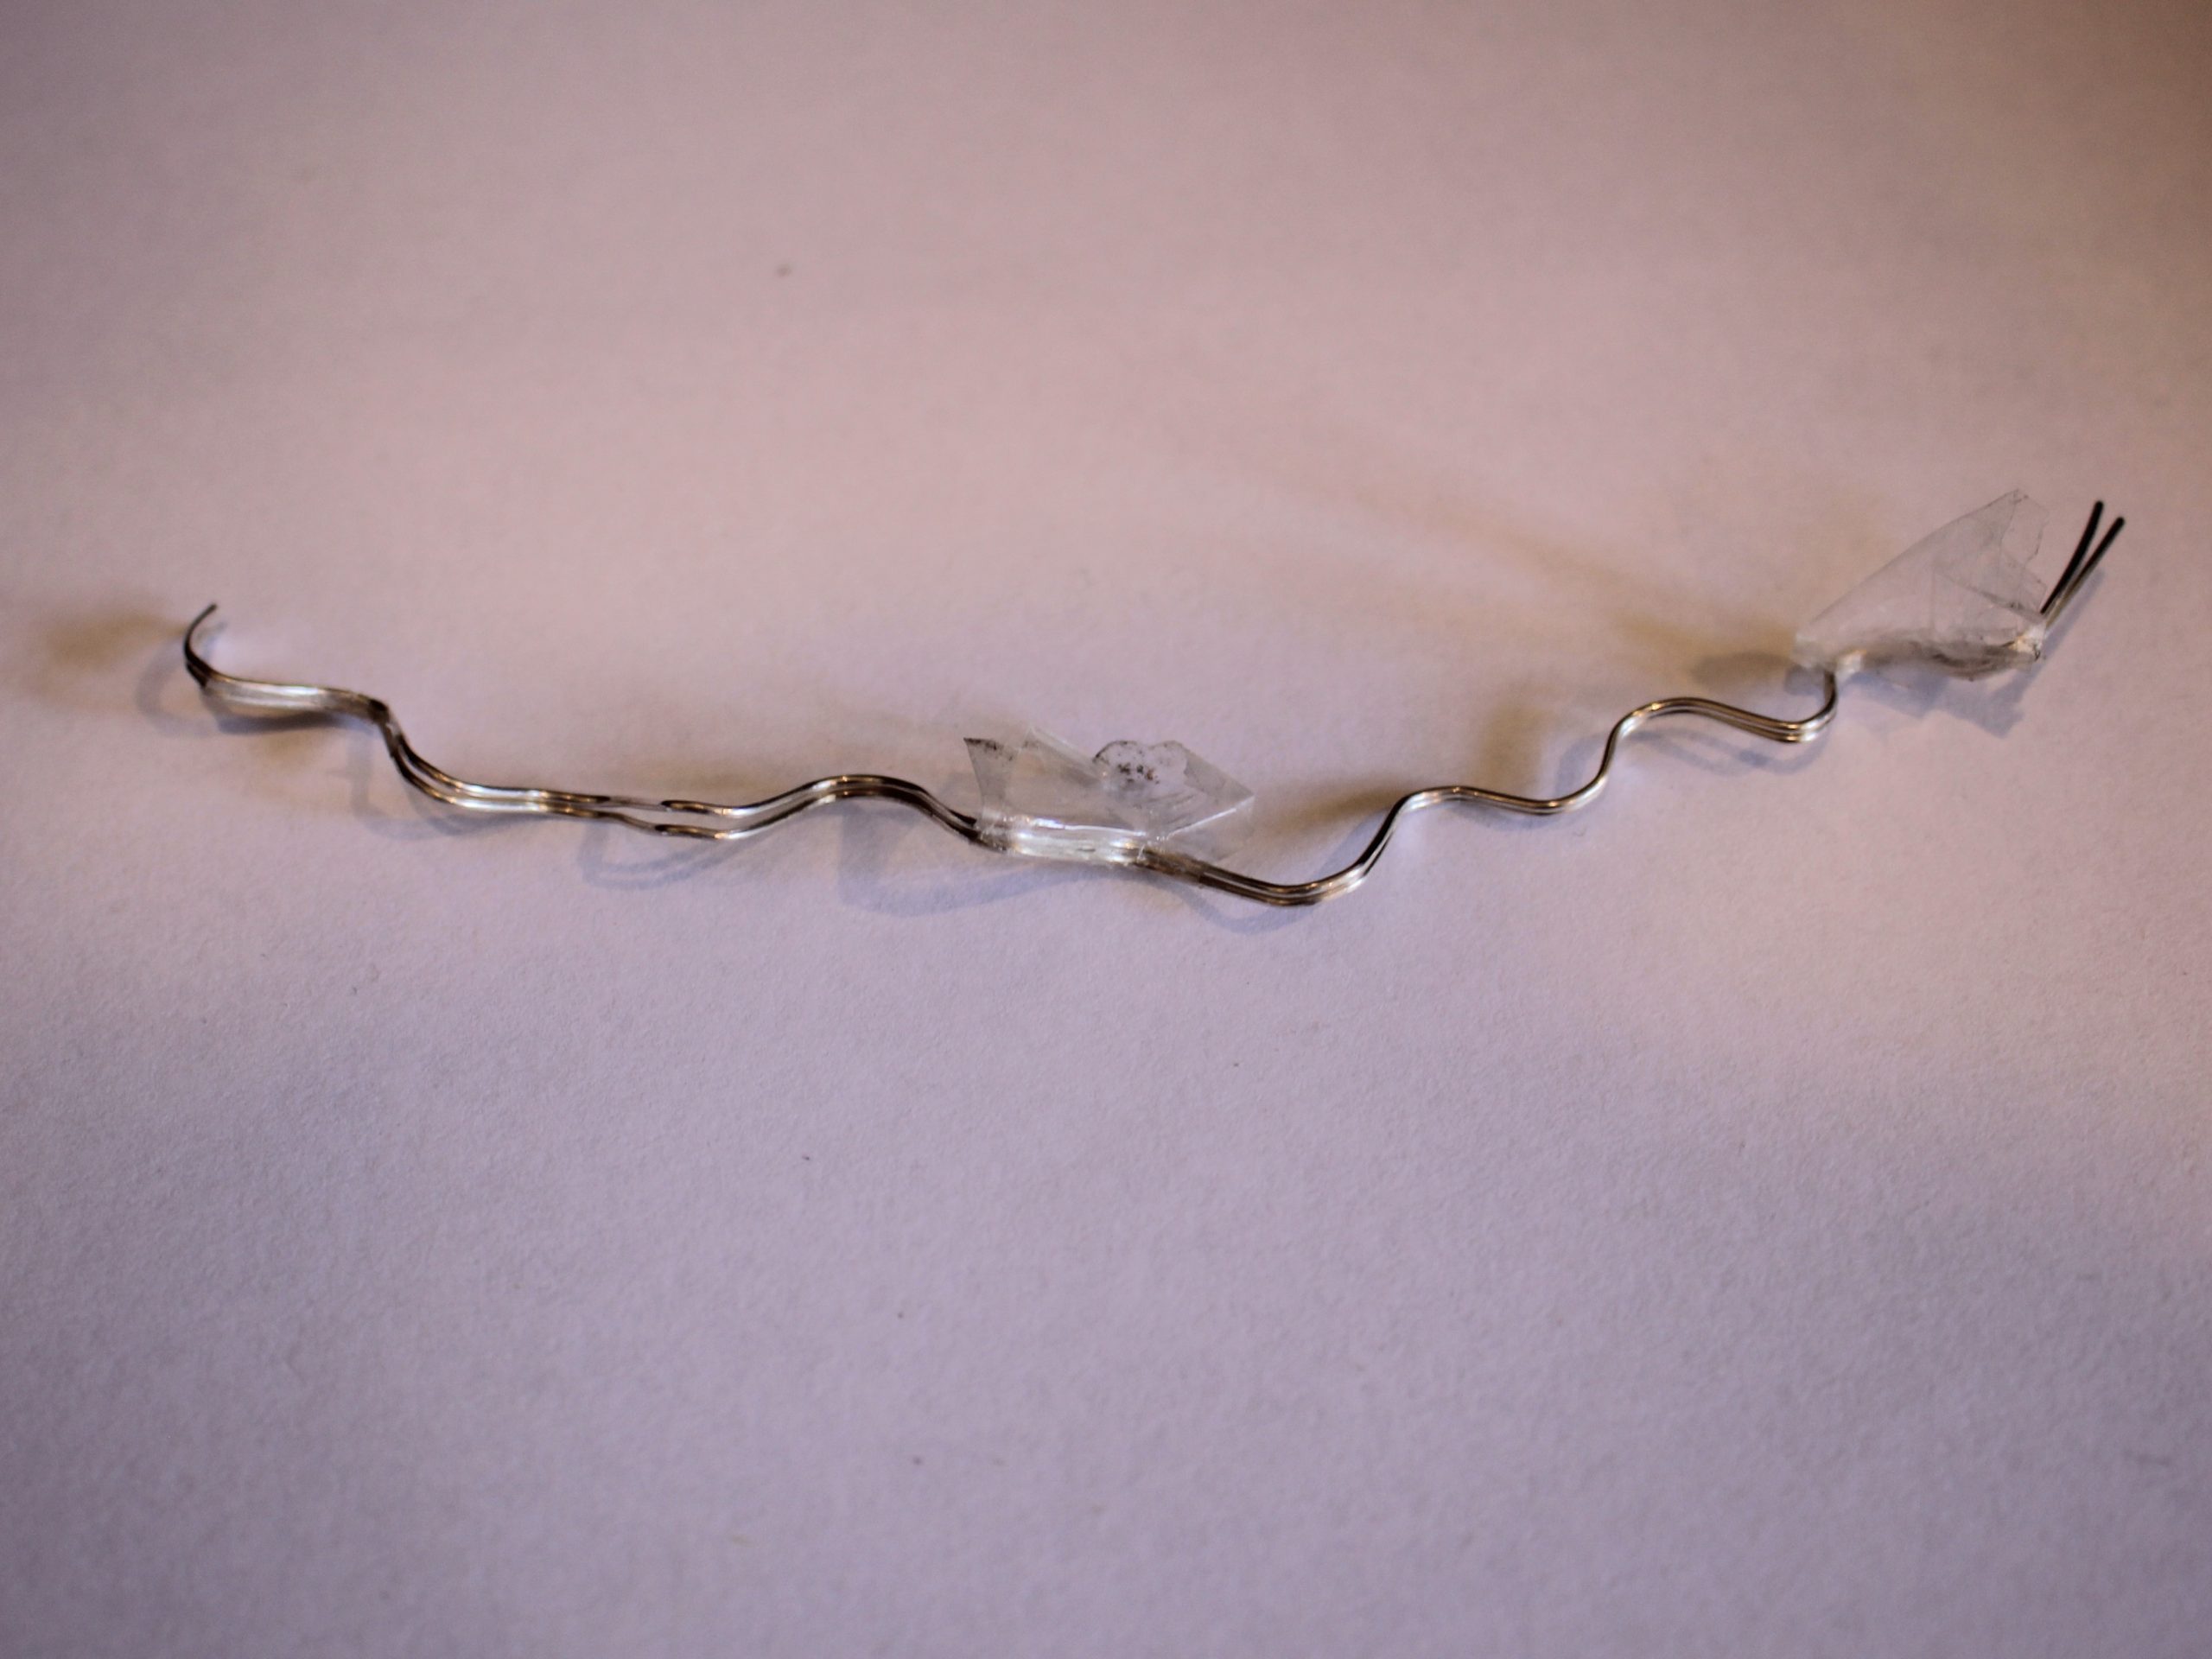
7: Remove the tape and separate the wires.

8: Wrap the wire around the bracelet mandrel to form it into the earring shape. Use the nylon hammer to hammer it into shape. Repeat this for both of the earrings.

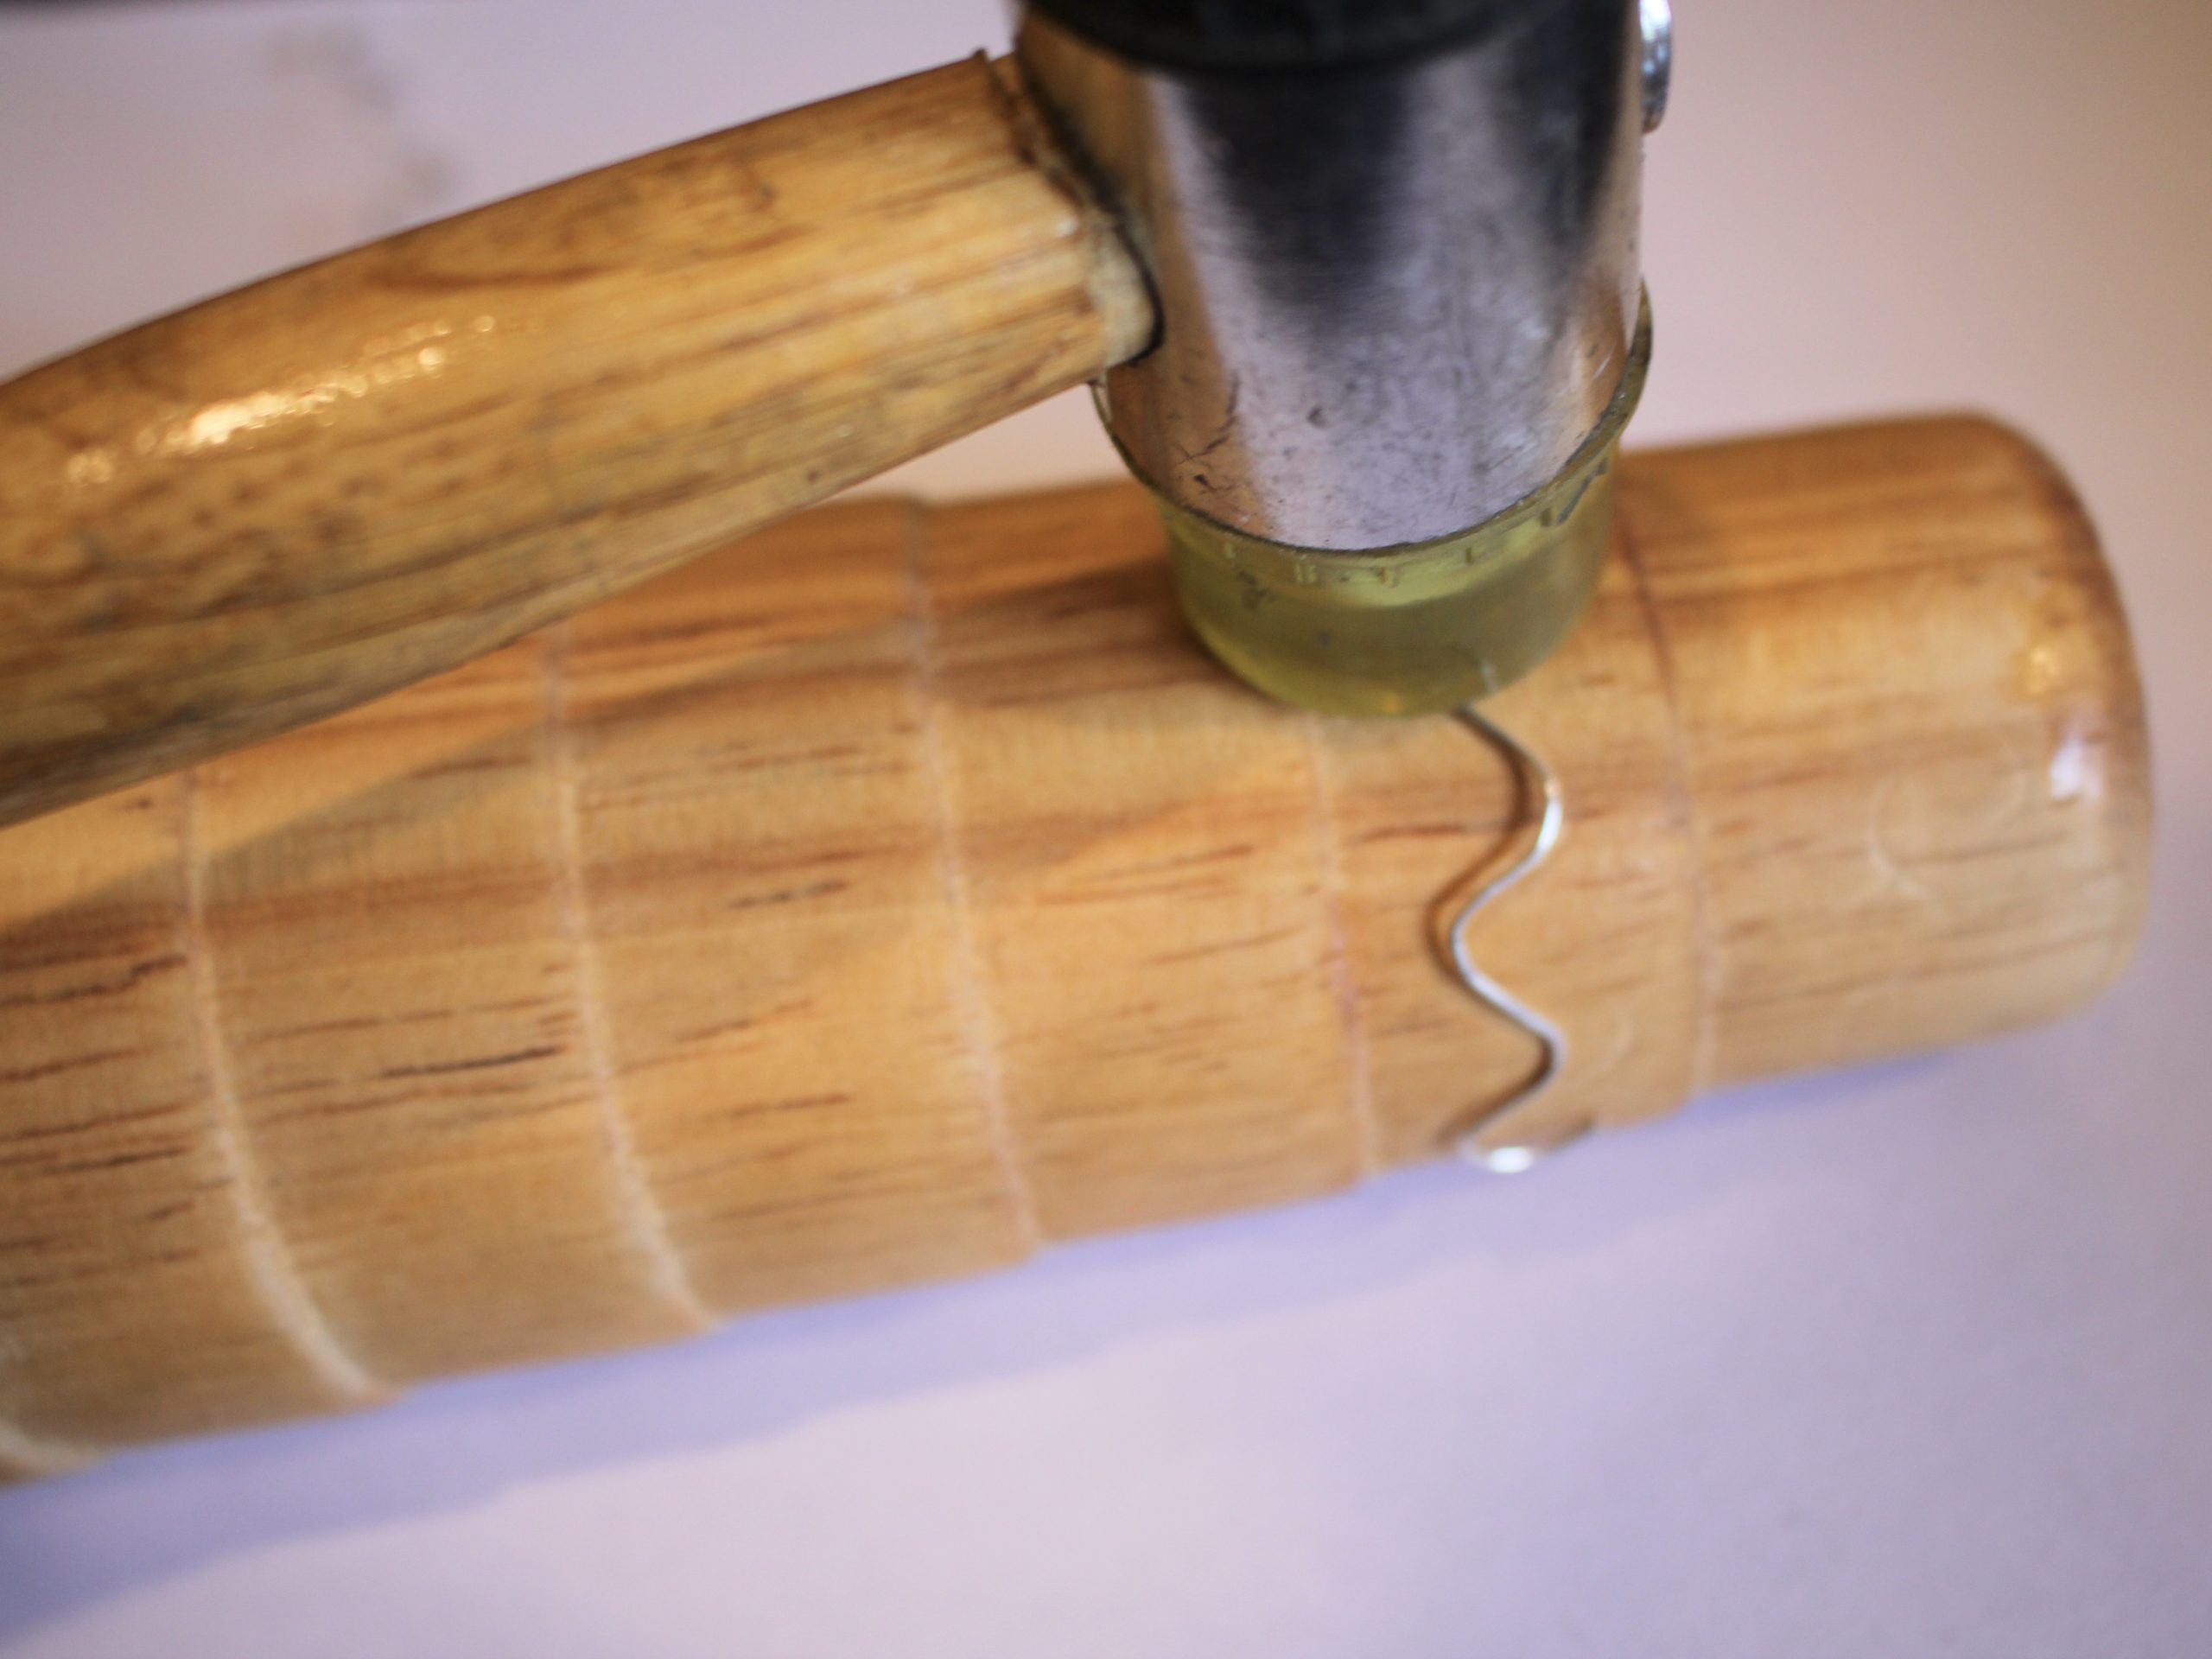
9: You can further adjust the shape of the earrings by pressing the half round-flat pliers around the earring, making sure to match the curve of the pliers with the inner curve of the earrings. Doing this will add more tension to your earrings to help them hold their shape.
10: When you are happy with the shape of your hoops, Take the round flat pliers and push the straight ends of the wire around so they sit sideways.


11: Then take your parallel pliers and use them to adjust the straight ends of each earring so that they are centered in the middle of the wiggle to sit evenly in your ears.

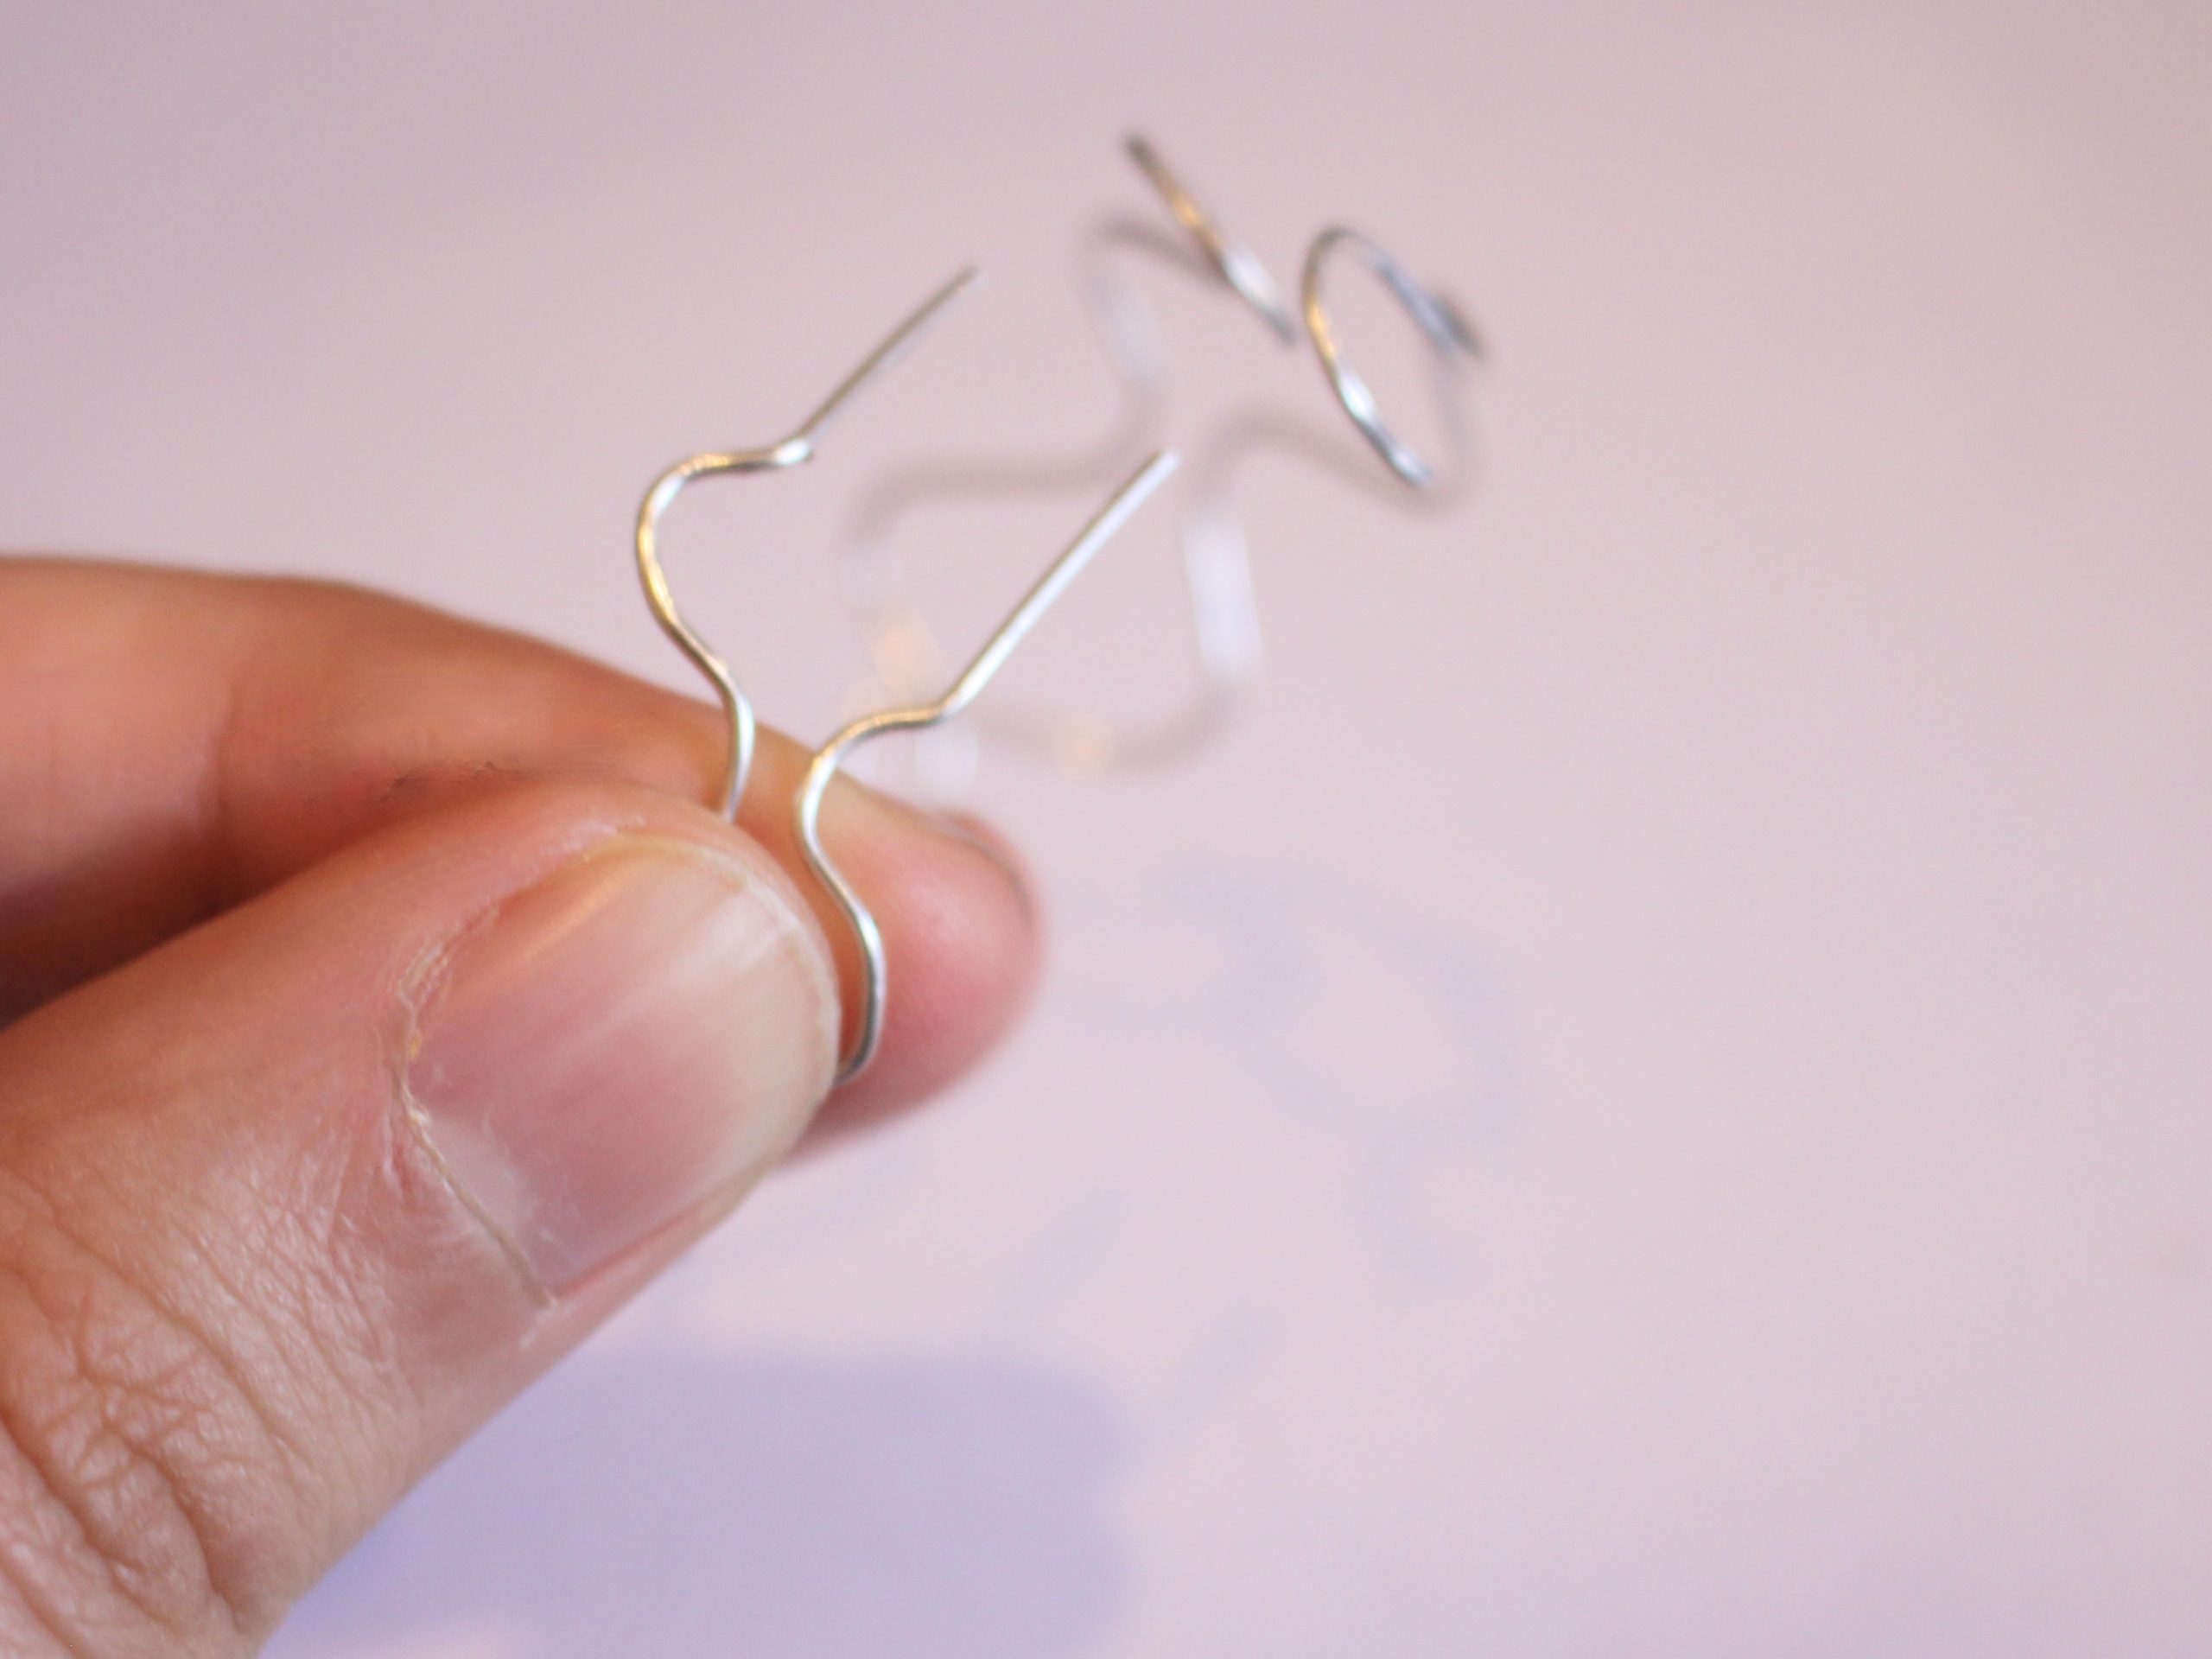
12: Once you have adjusted the ends, your earrings are finished and ready to wear. Pop the butterfly backs on to secure them on your lobes.

Here’s how the finished product looks! How will you style yours?


DIY Jewelry Hub
Welcome to DIY Jewelry Hub. If you’ve ever wanted to learn how to make your own jewelry this is the place to start! Jewelry is a great way to show off your individuality and style. You’ll be surprised at how easy it is to create your own unique pieces! DIY Jewelry Hub will equip you with all the knowledge and inspiration you need to make your own jewelry.


You May Also Like

I am obsessed with fruit charms right now, here’s another way to use them!

This video shows you how to make some fluttering silk earrings!
