-
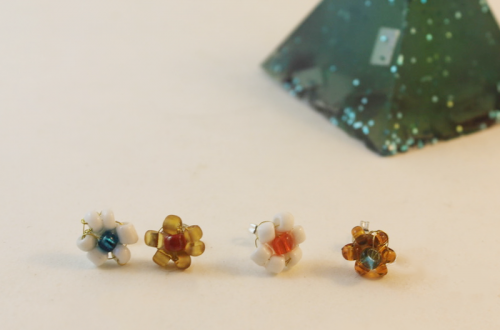
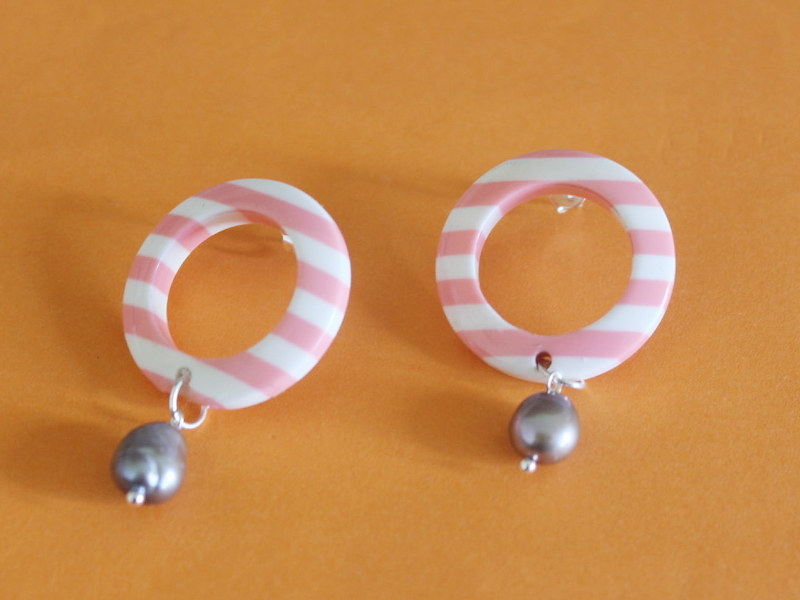
Here’s how to combine pearls and plastic to make some amazing earrings!
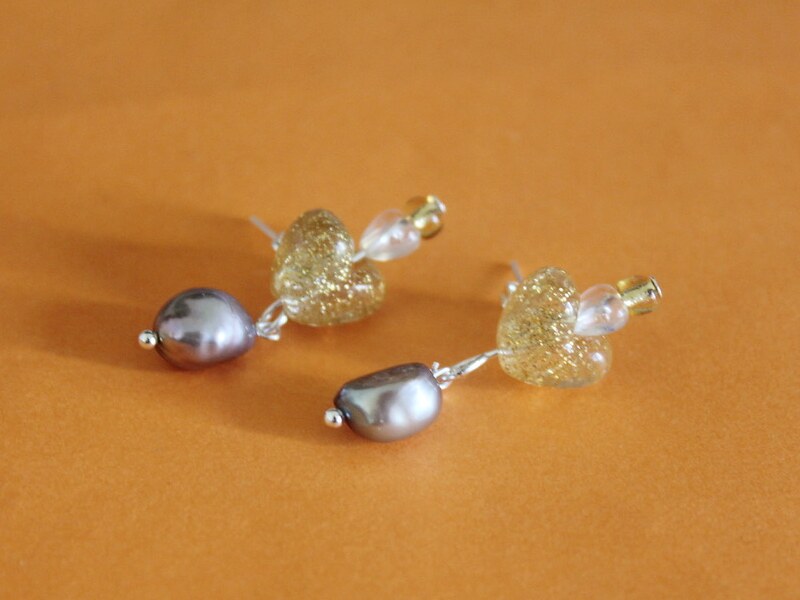
Pearls and plastic are a surprisingly awesome combination. I’ve been making lots of different variations. Here’s one way you can make your own pair of pearl earrings using some kitsch plastic beads. Contains affiliate links.
You will need the following tools and materials to make your pearl earrings:
1: Pliers. You’ll need your round nose pliers and flat nose pliers.


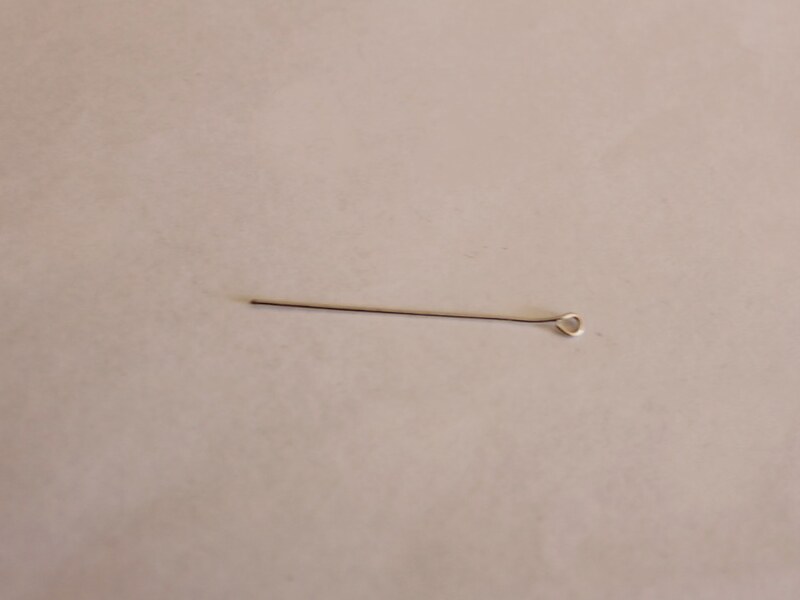
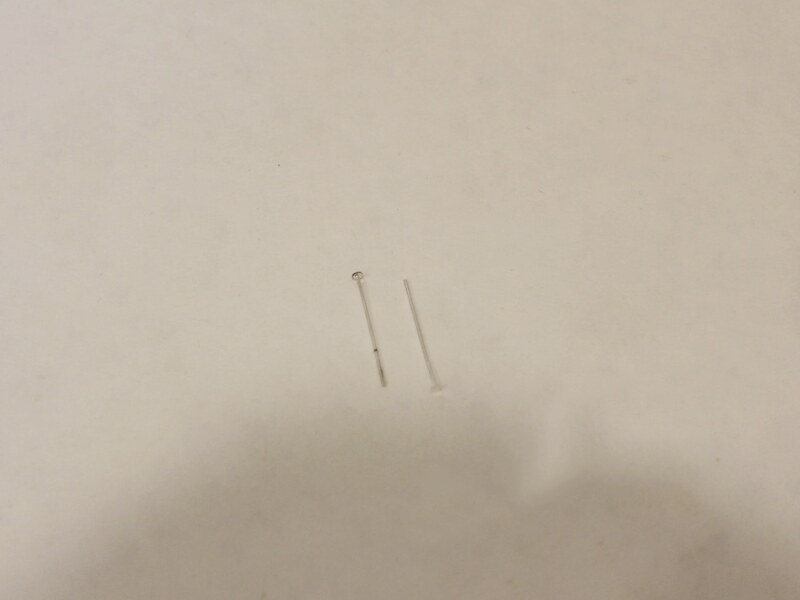
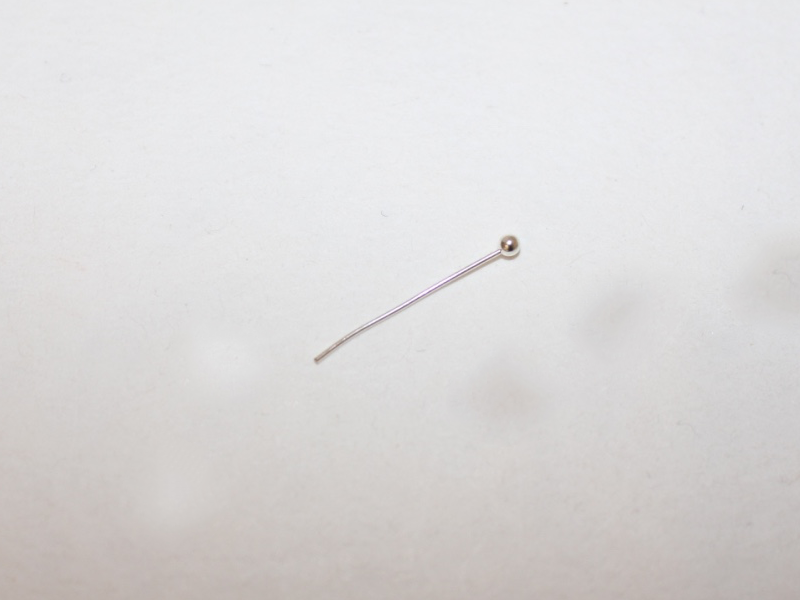
2: Two long head pins.
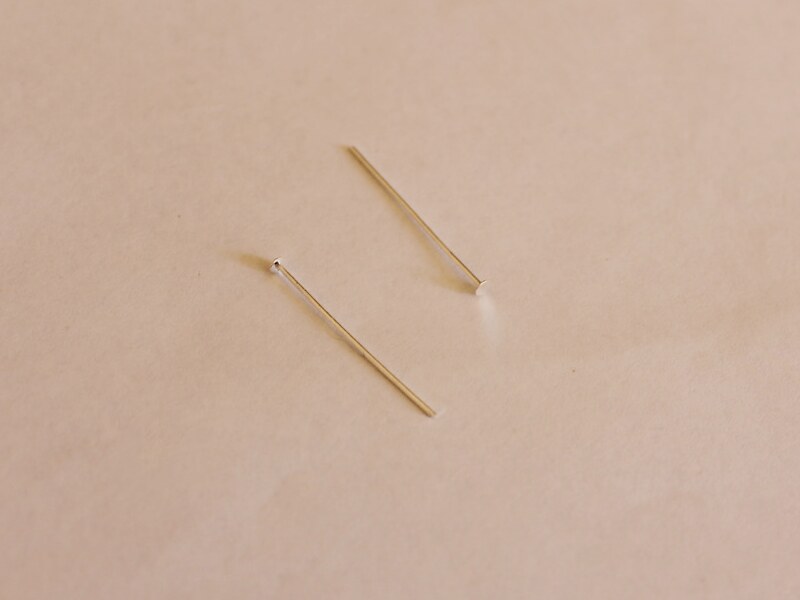
3: Two small head pins.

4: Two flat bed earring posts and earring backs.

5: Araldite glue.

6: A skewer.

7: A scrap piece of paper.

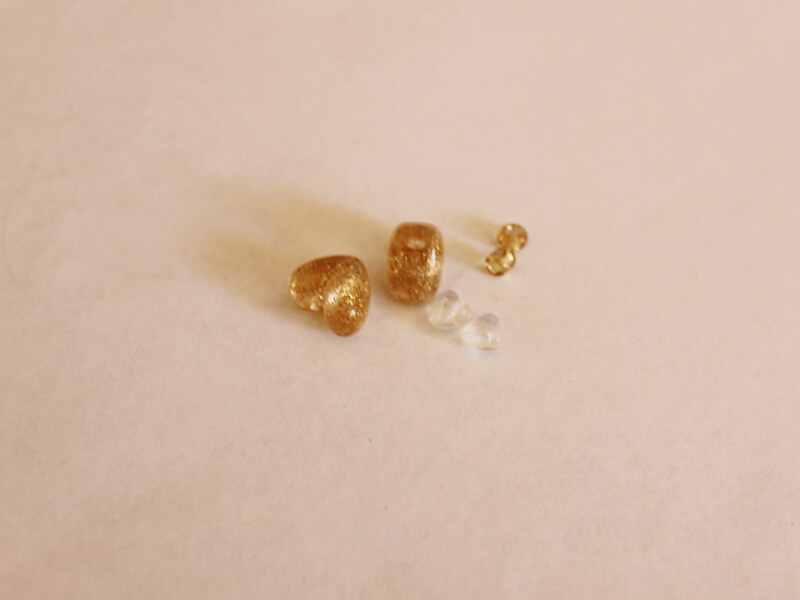
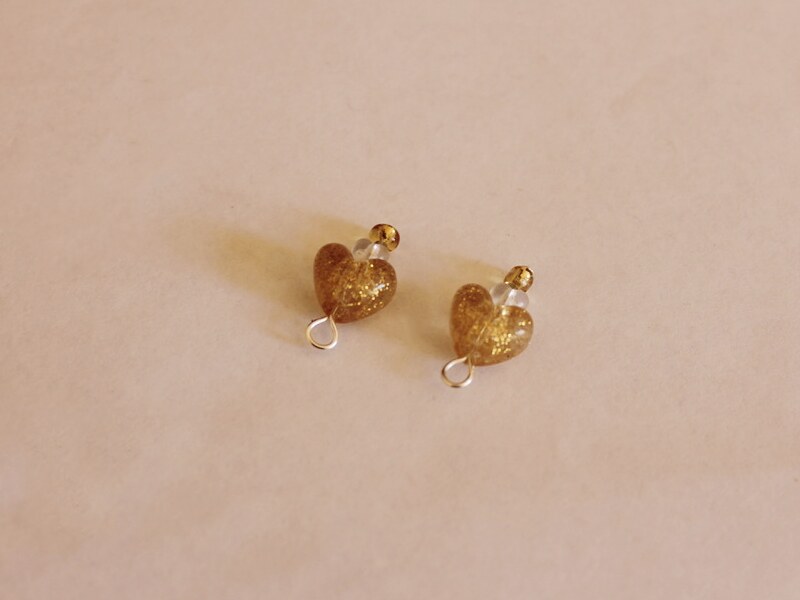
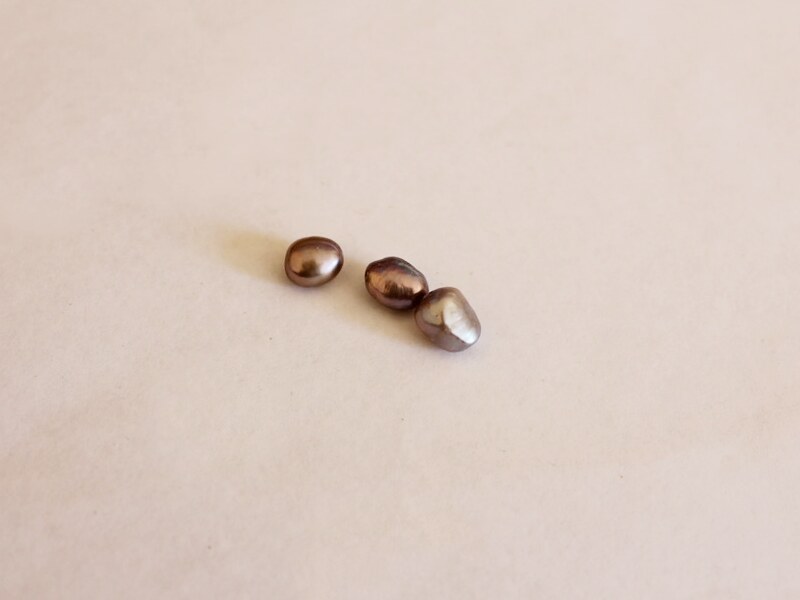
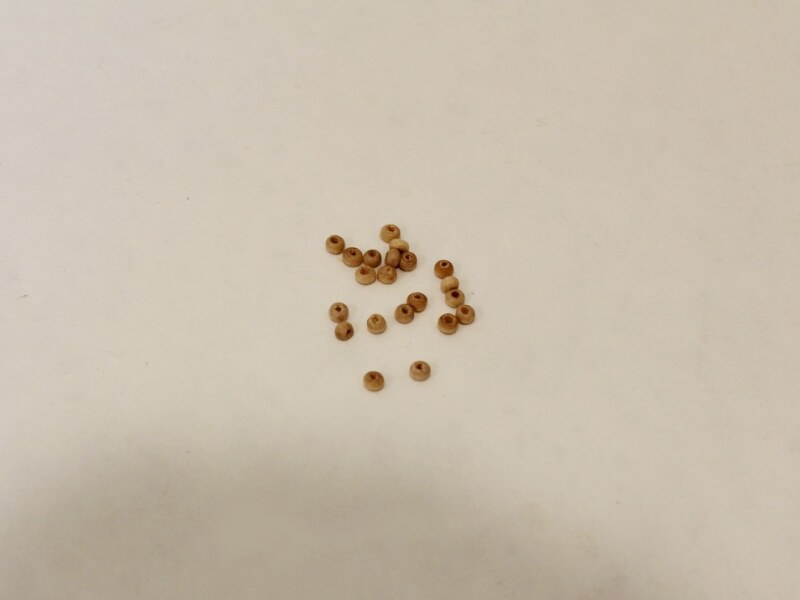
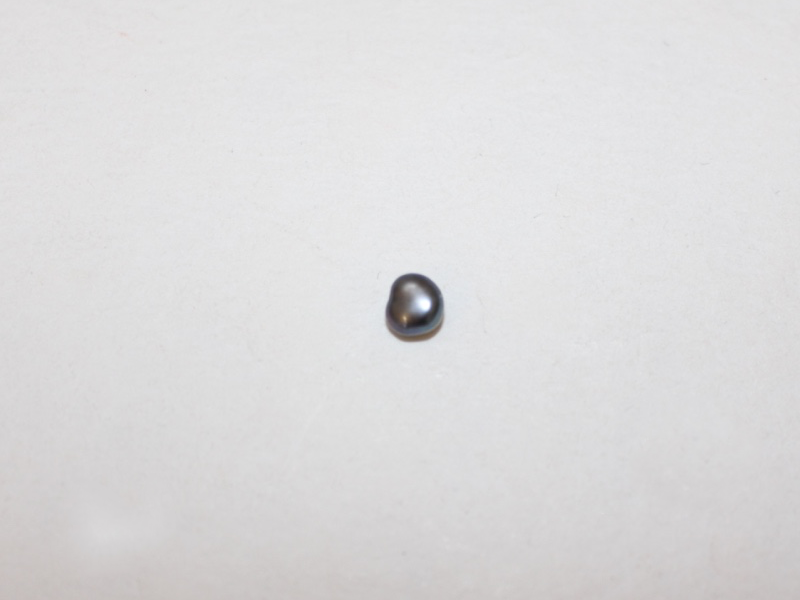
8: Two freshwater pearl beads.

9: An assortment of plastic beads (make sure you have two of each so your earrings match). I used these gold heart beads, small white heart beads and two glass yellow e-beads.
Follow these steps to make your pearl earrings:
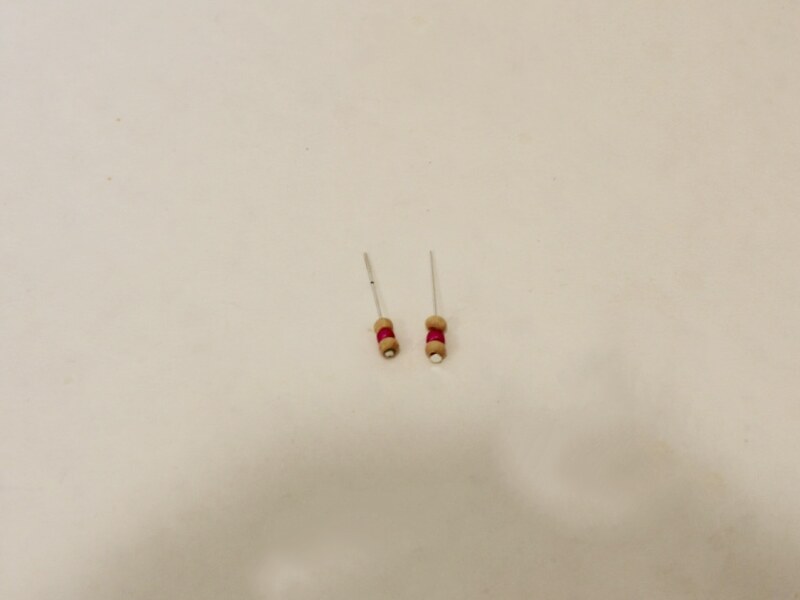
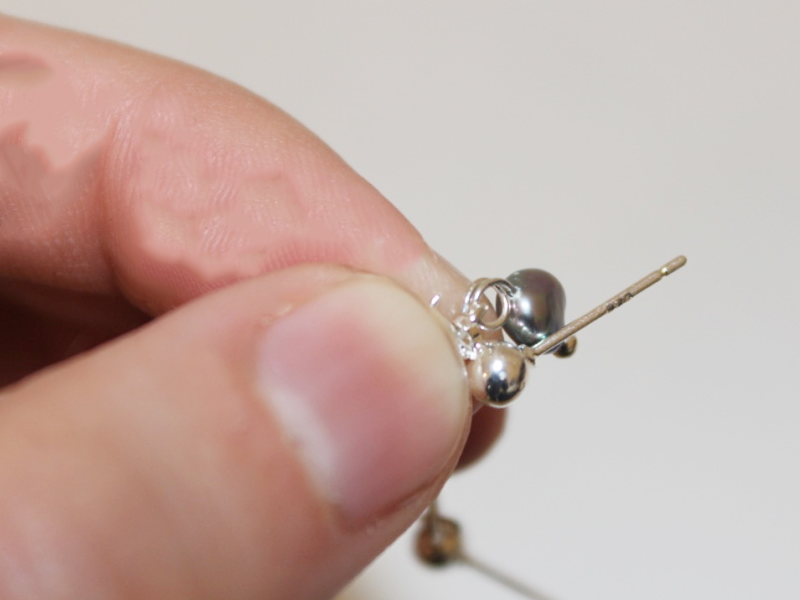
1: Add the beads to each of the head pins.
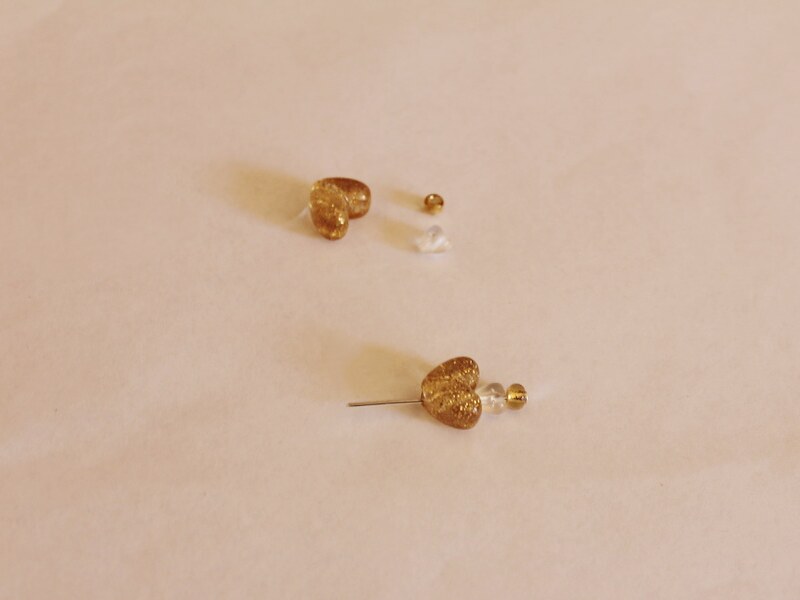
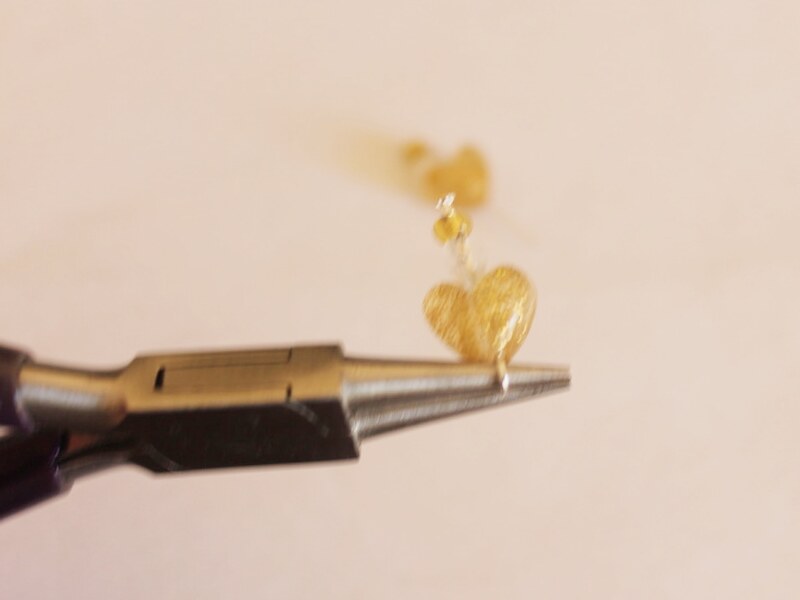
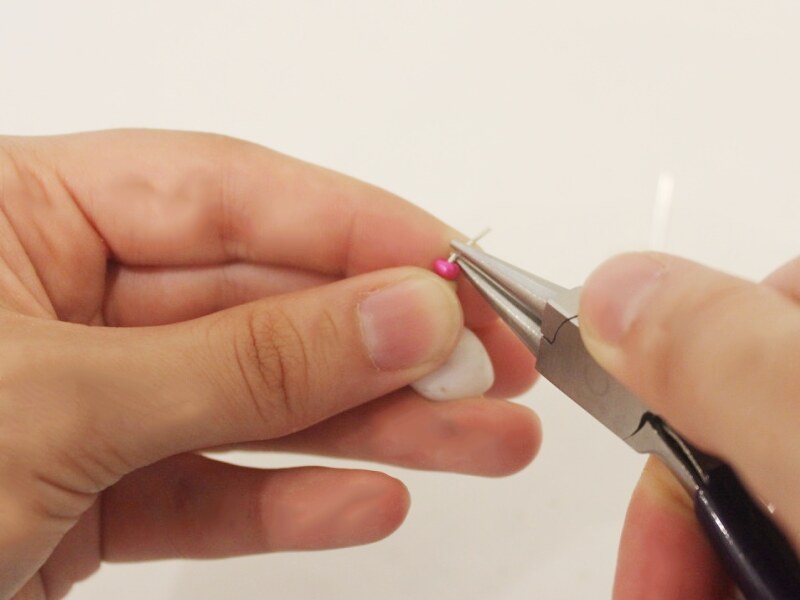
2: Bend each pin to form a right angle and then form a loop to secure the beads in place using the round nose pliers.

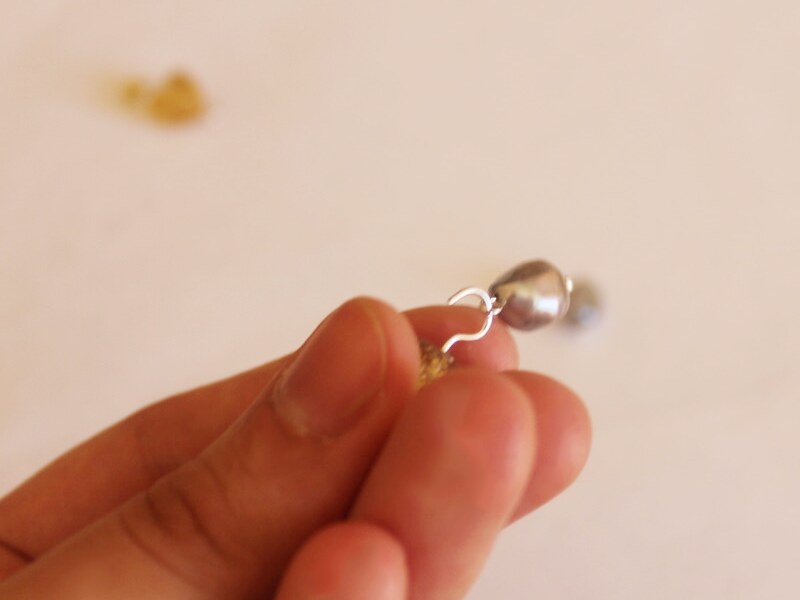
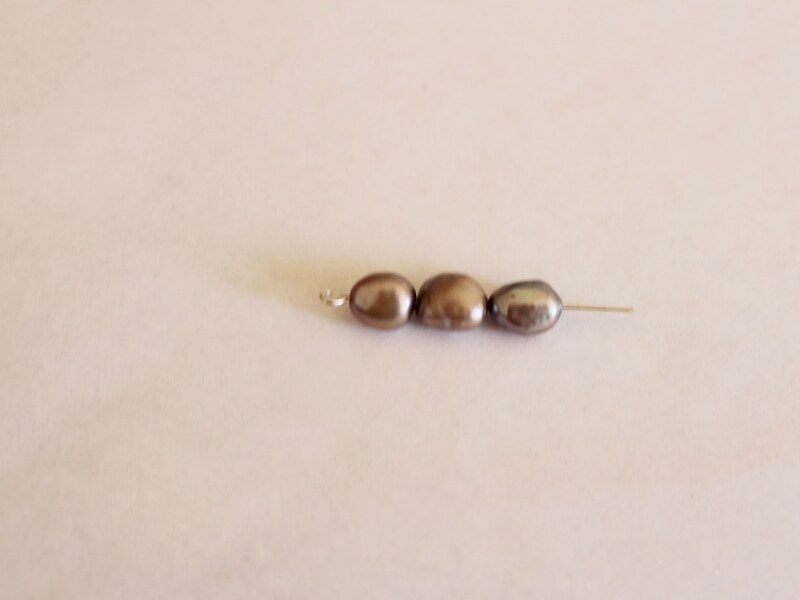
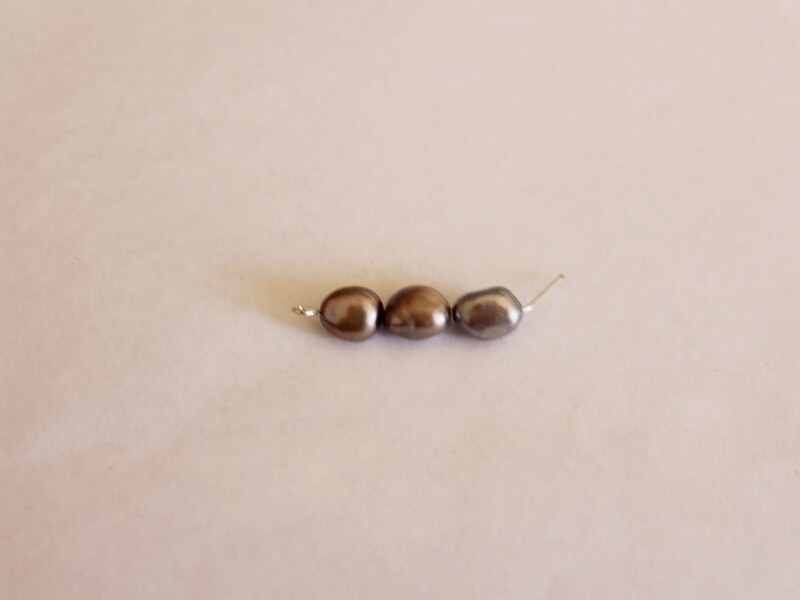
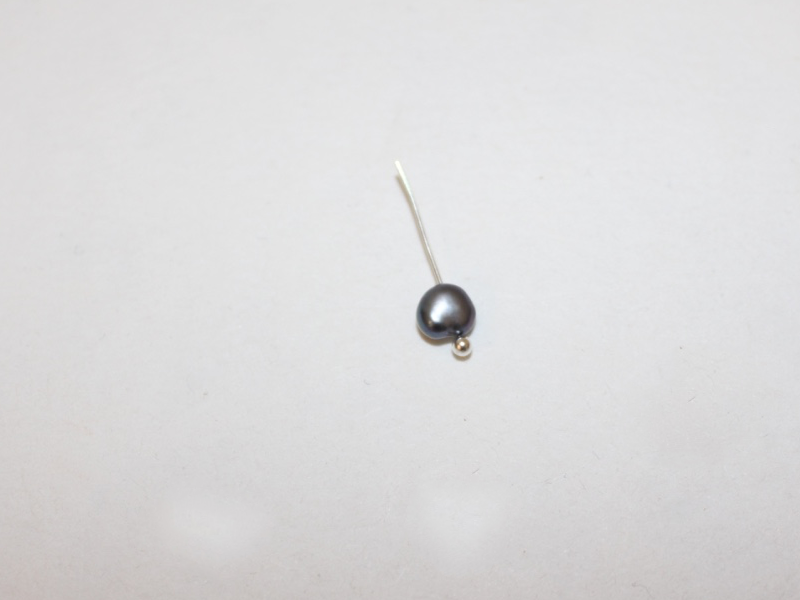
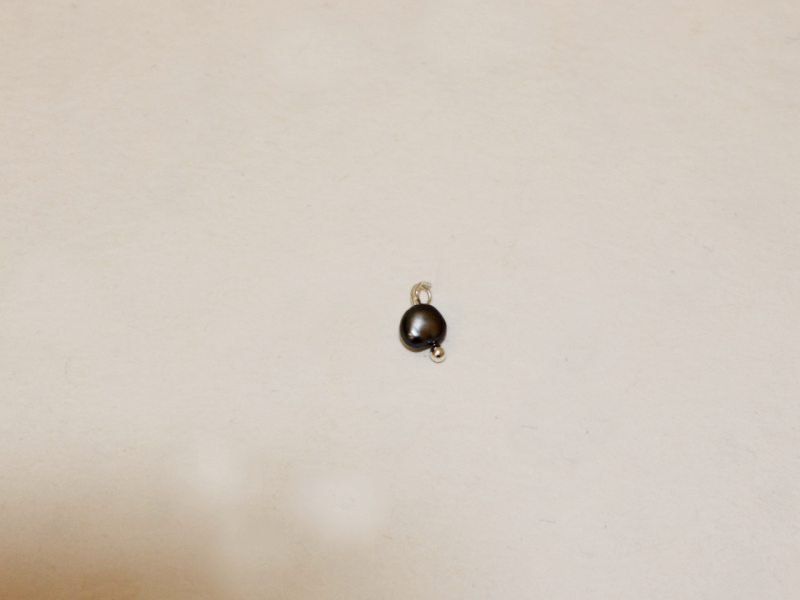
3: Add the pearl beads to the small head pins.

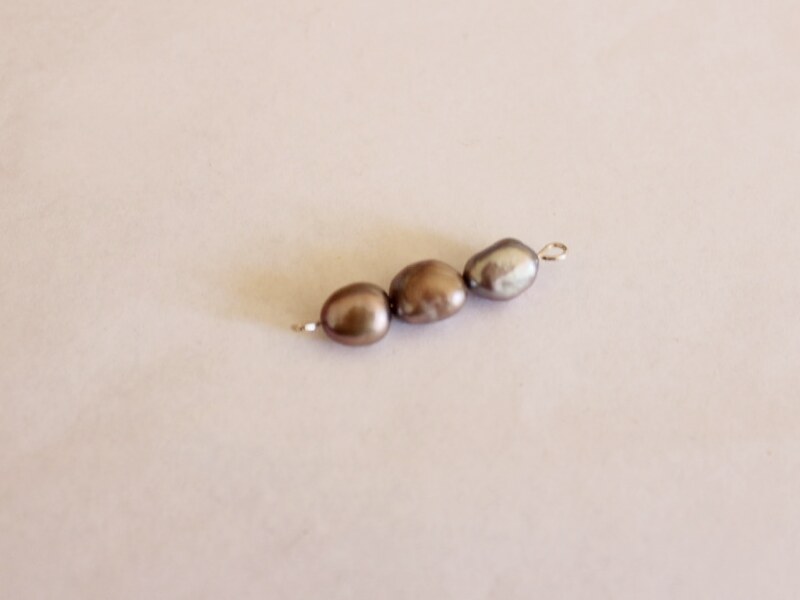
4: Create a loop at the end of each pearl pin using the round nose pliers.

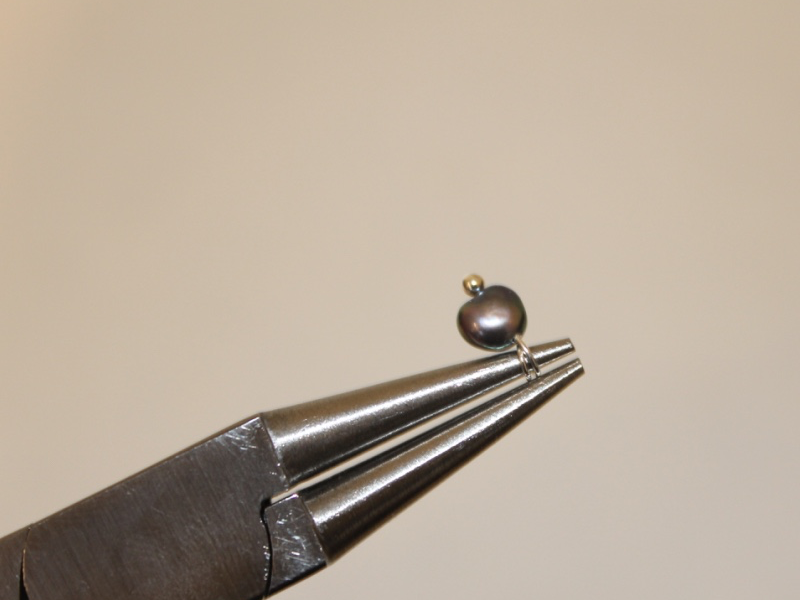
5: Attach the pearl charms to the loops at the bottom of each plastic charm pin.
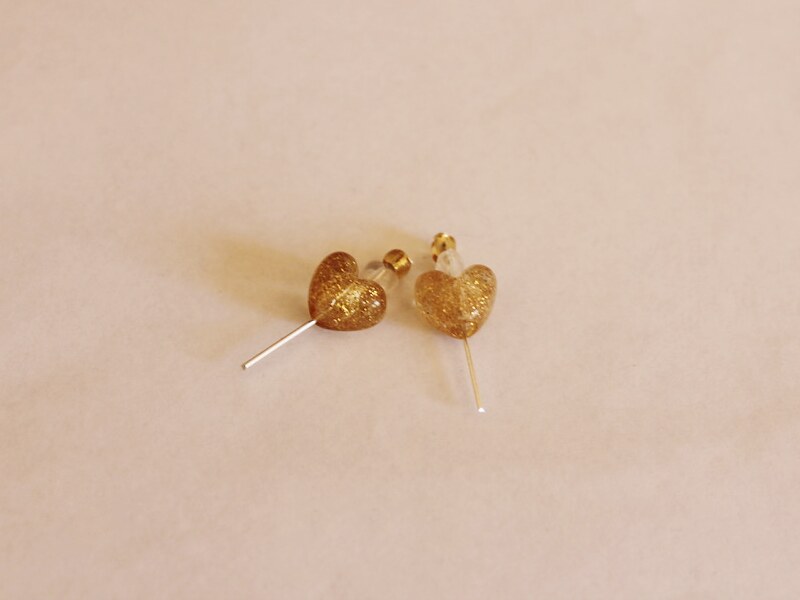
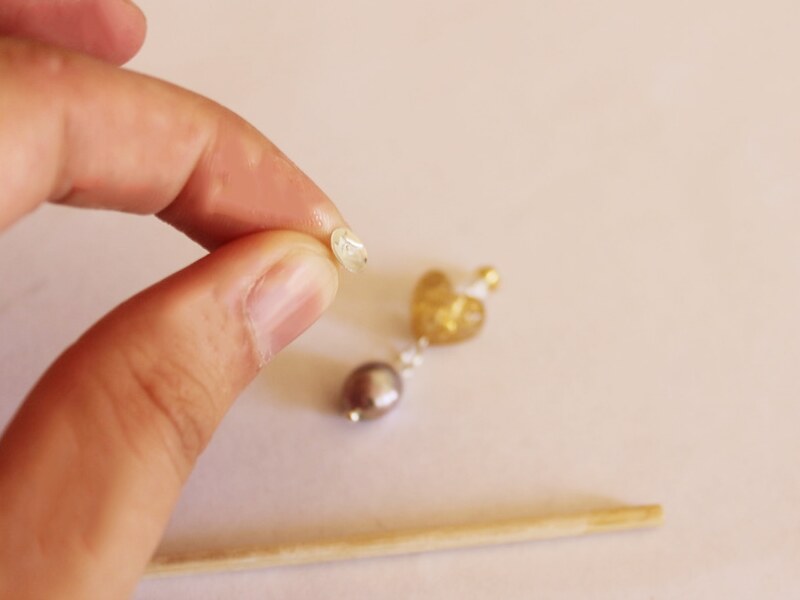
6: Squeeze out the Araldite in equal parts and mix with a skewer.


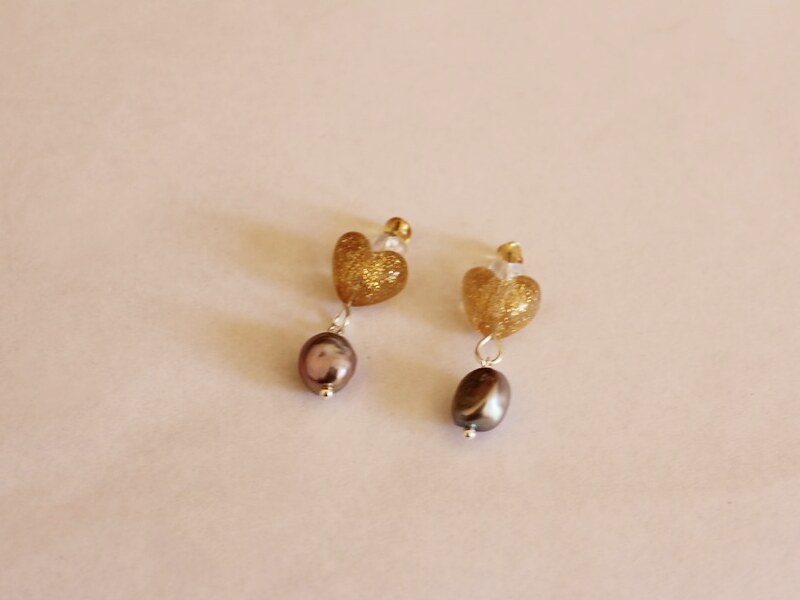
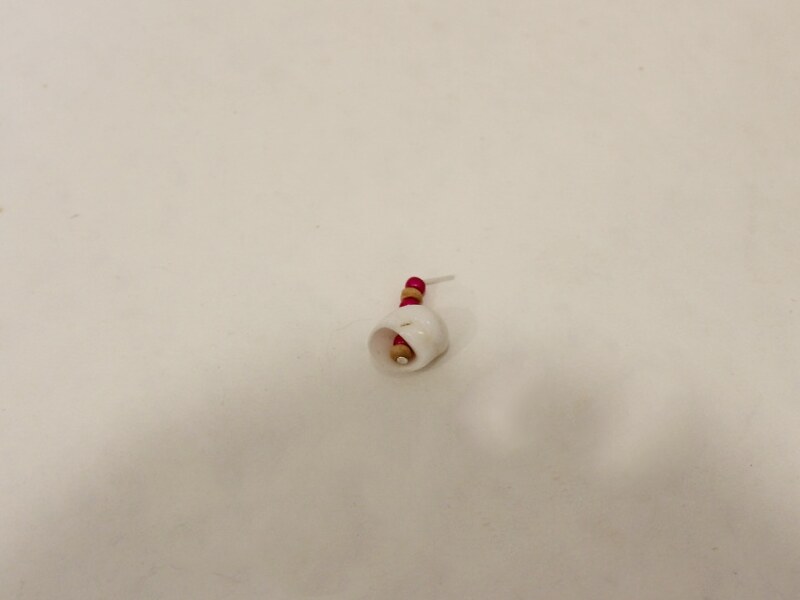
7: Add the glue to the earrings and the backs of the large hearts.
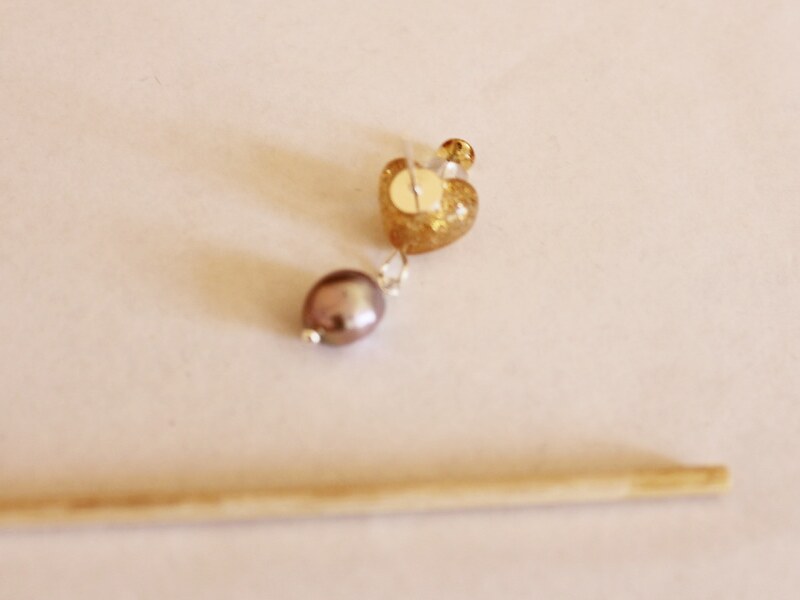
8: Place the earrings onto the heart beads and set aside to dry.
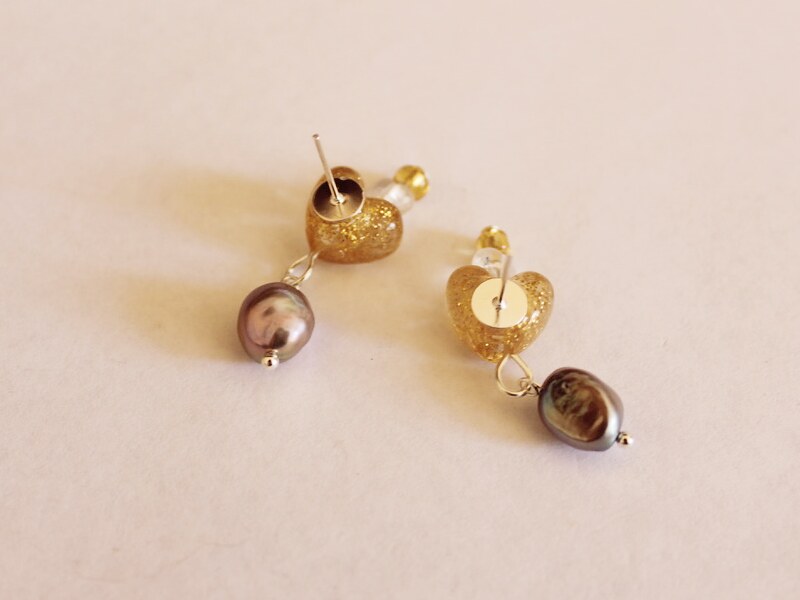
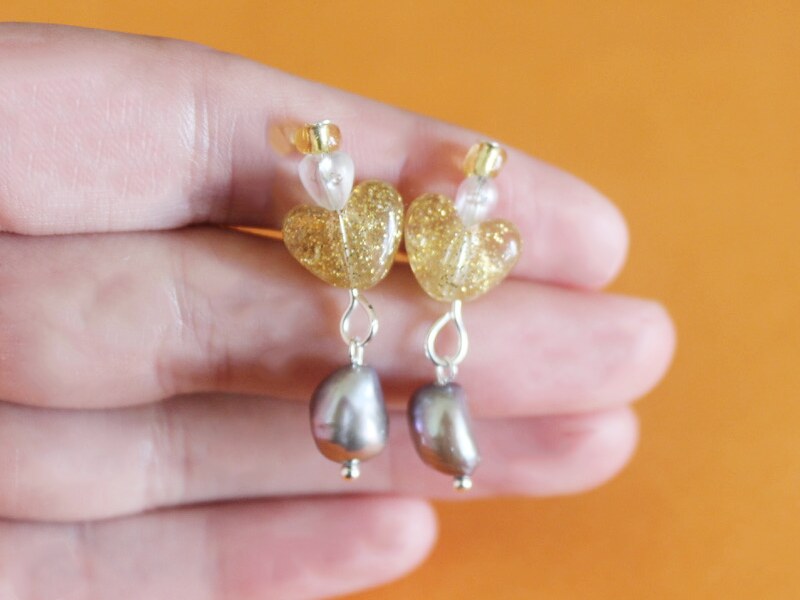
Once your earrings are dry they’re ready to wear!
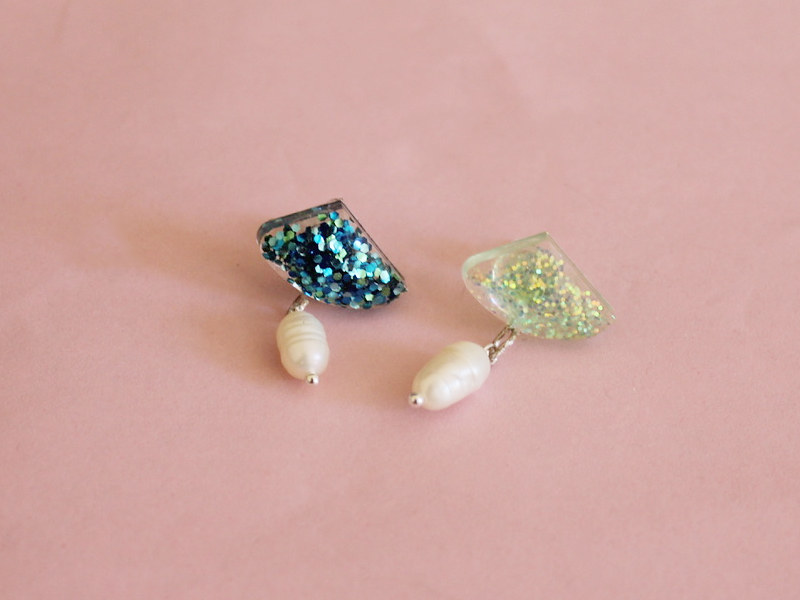
Here are some other pearl and plastic earrings I have made for some extra inspiration.
-
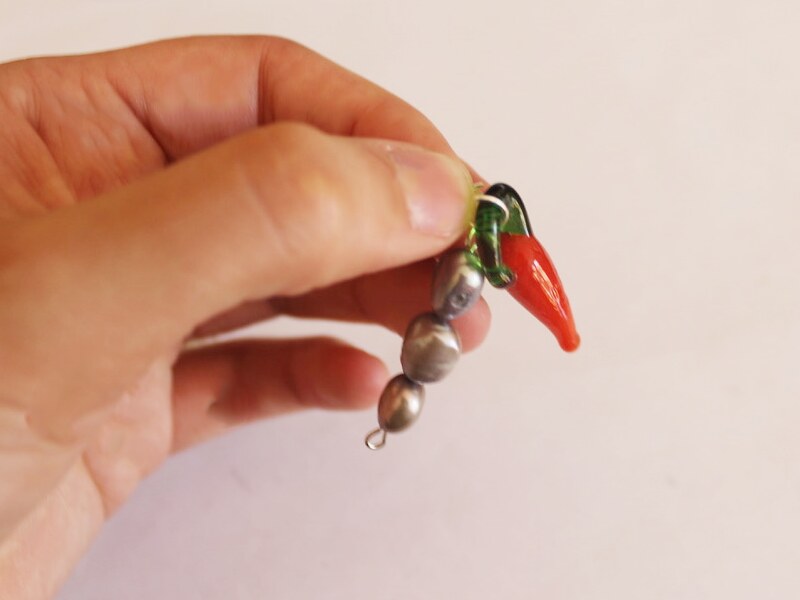
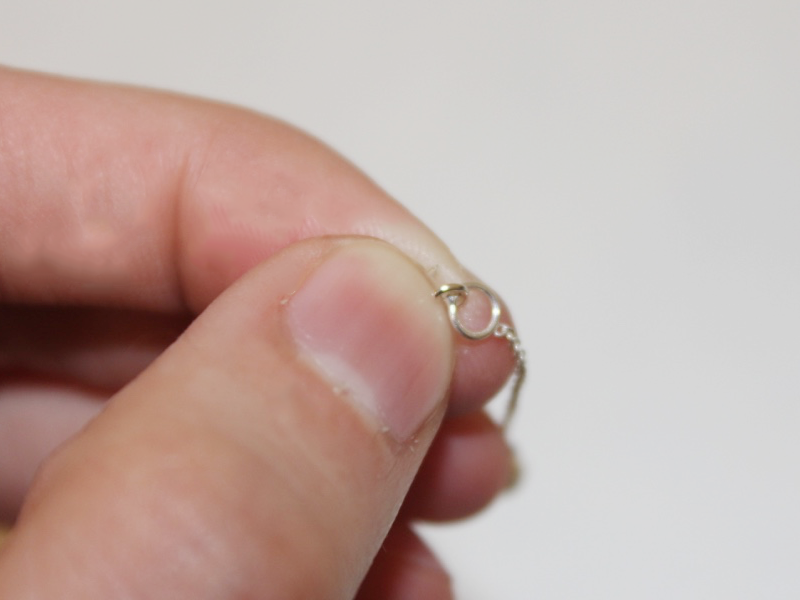
This earring is HOT! Combine pearls and glass charms to make a cool statement earring

I can’t get enough of glass food charms. Here’s another idea for how you can use them in your jewelry designs. This earring uses pearls and a glass chilli charm to make something very sexy!
You will need the following tools and materials to make your pearl chilli earring:
1: Pliers. You’ll need your round nose and flat nose pliers.
2: An eye pin.
3: A charm loop earring finding.

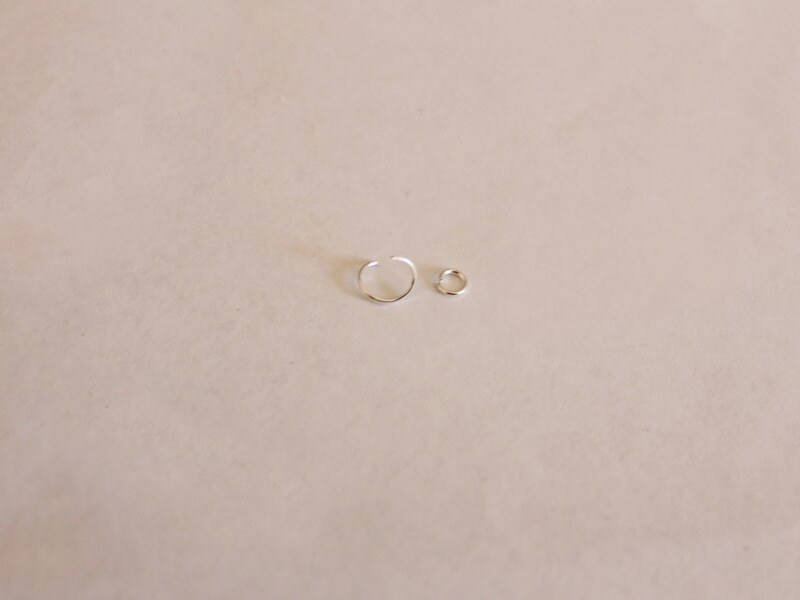
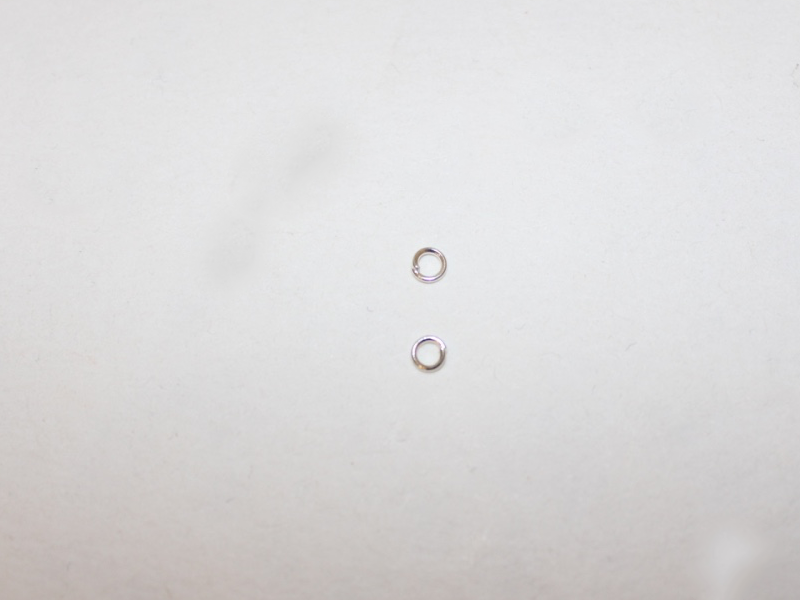
4: Two jump rings. One larger and one small.
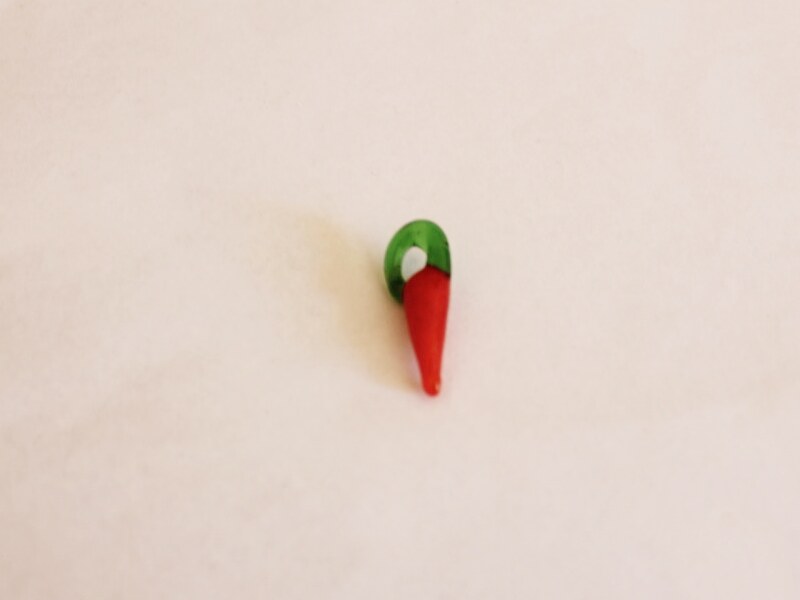
5: A glass chilli charm.
6: Three freshwater pearl beads.
Follow these steps to make your pearl chilli earring:
1: Add the pearls to the eye pin.
2: Create a loop at the end of the pin to secure the pearls in place.
3: Add the chilli charm to one end of the pearl pin using the large jump ring.
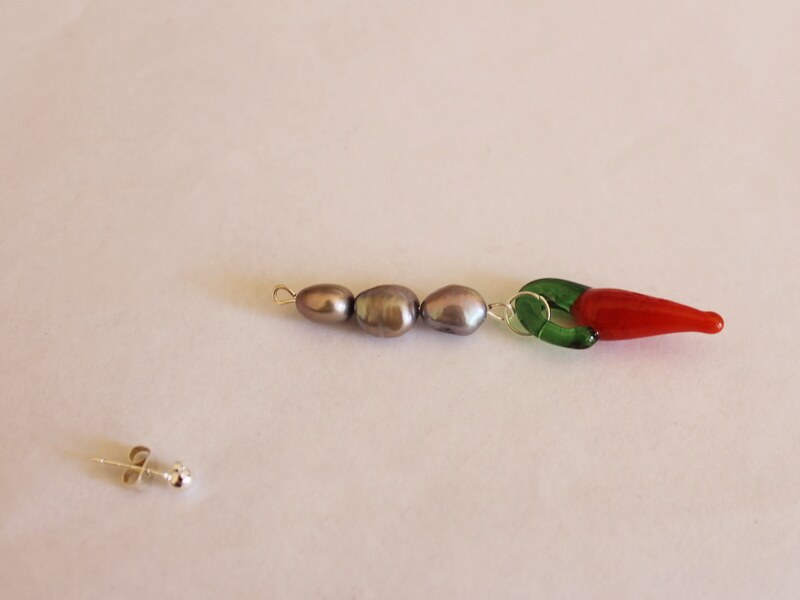
4: Add the earring to the other end of the pearl pin using the smaller jump ring.
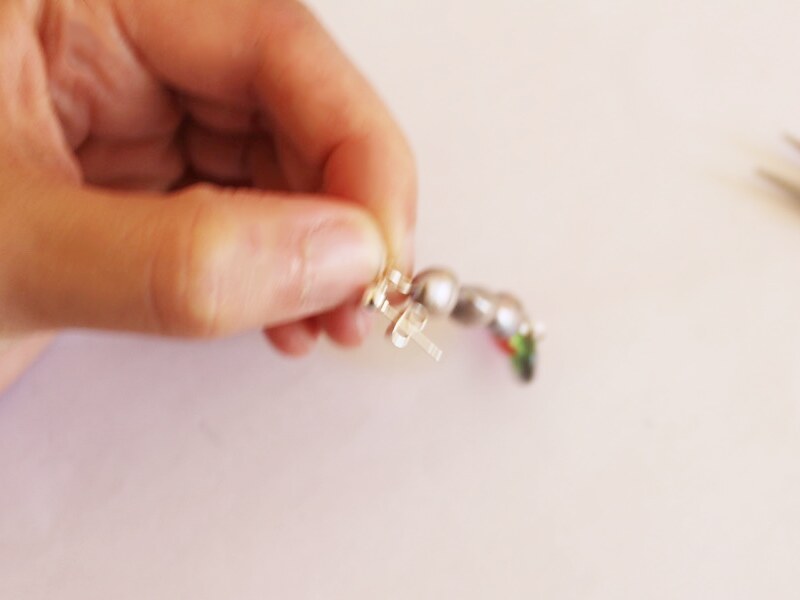
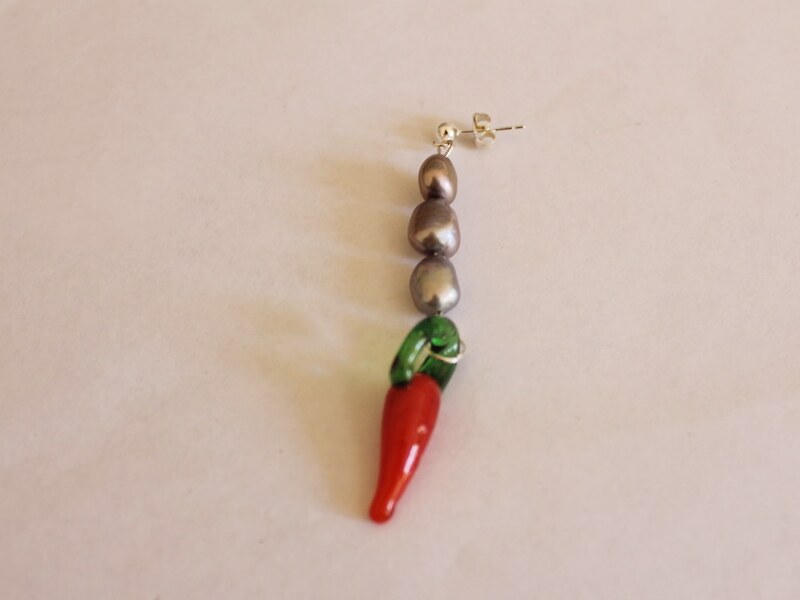
Now your earring is finished and ready to wear! How cool?!
-
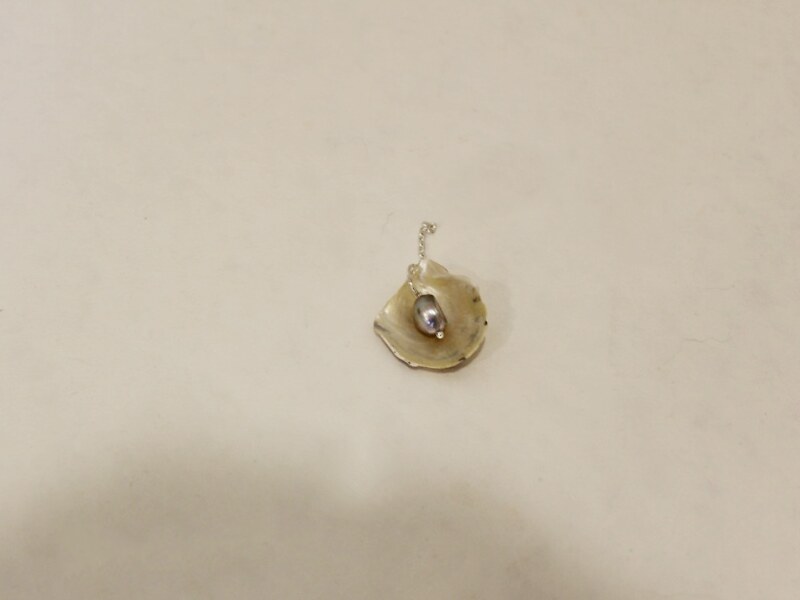
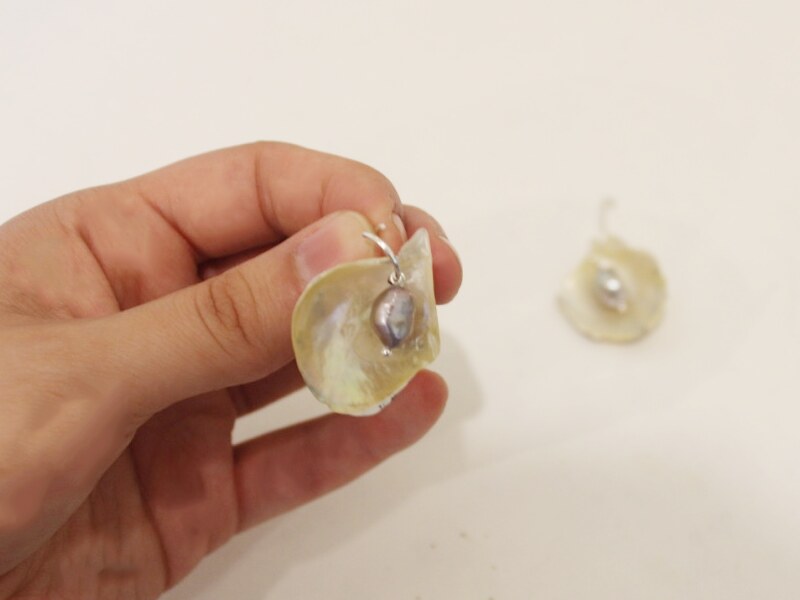
Shell earrings two different ways… perfect for summer!
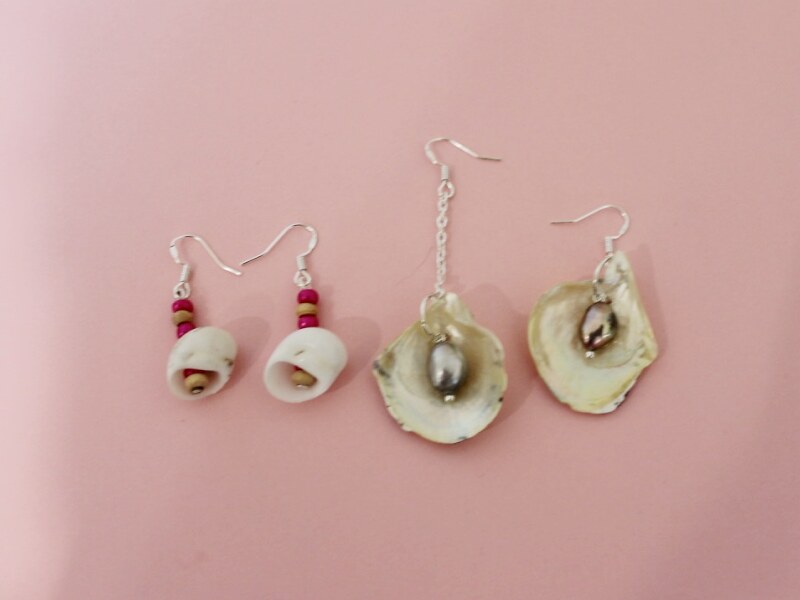
This is two tutorials in one! Here’s two ideas for incorporating shells into your DIY earring designs. These shell earrings look awesome and are easy to make.
To make some mismatched pearl and shell earrings you will need the following materials:
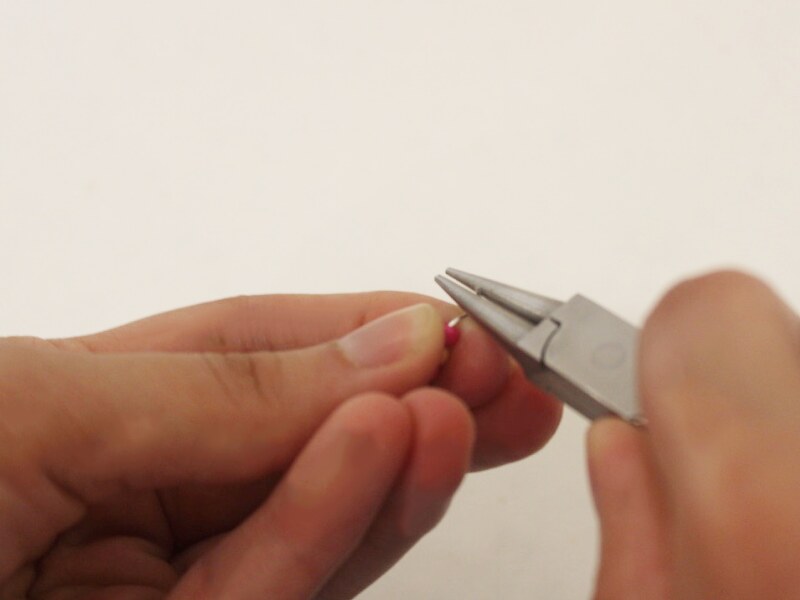
1: Pliers. You will need your round nose pliers and flat nose pliers to make these earrings.
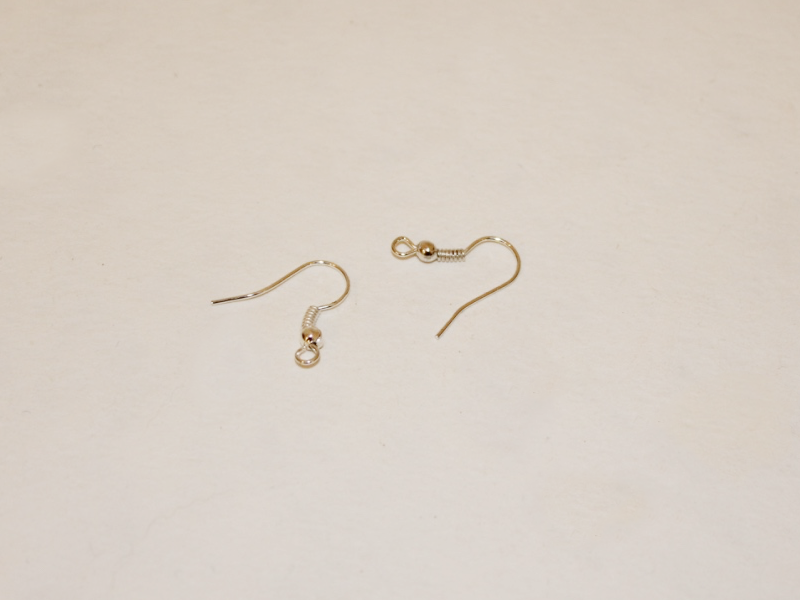
2: Earring hooks.
3: One small piece of chain.

4: Two large jump rings.

5: One small jump ring.

6: Two small head pins.
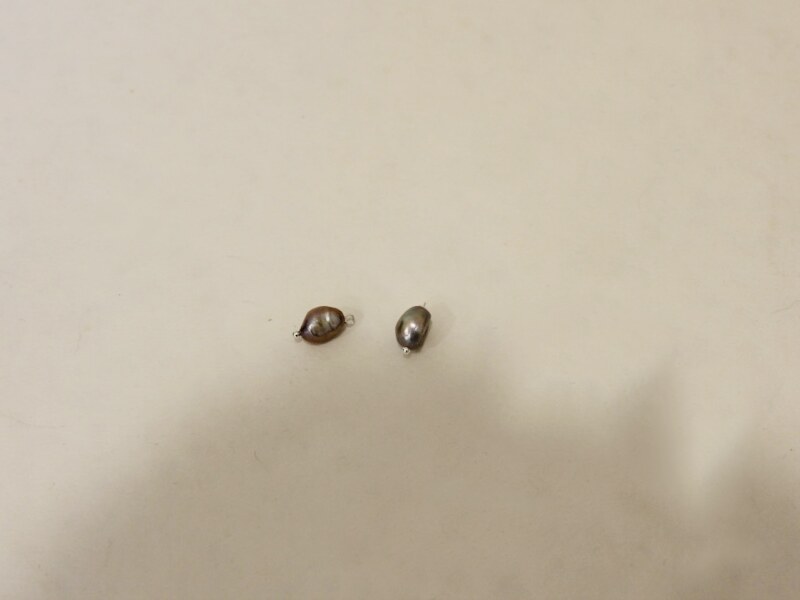
7: Two pearl beads. I used these freshwater pearls.

8: Two open shells with holes drilled in them. I used these shells recycled from some old jewelry.

Follow these steps to make your mismatched shell and pearl earrings:
1: Add each of the pearl beads to the head pins.

2: Use the round nose pliers to create a loop at the top of each pin to secure the beads in place.

3: Attach the pearl to the shell using the large jump rings.

4: On one of the shells, attach the piece of chain to the open jump ring.
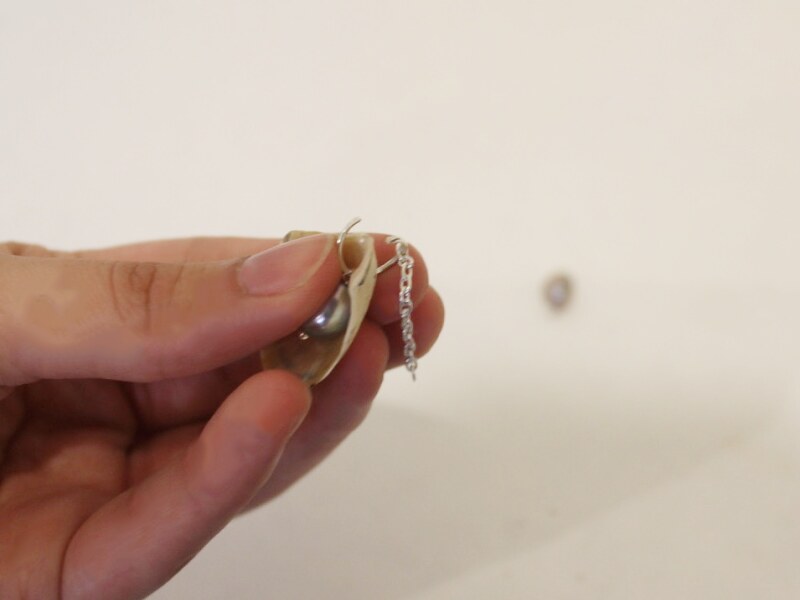
5: close the jump ring to secure the chain to the shell charm.
6: Close the jump ring on the other shell charm.

7: Attach an earring hook to the end of the chain.

8: Add the other other hook to to the second shell charm using the remaining small jump ring.


Once your earring hooks are attached your earrings are finished! If you’ve got double piercings in one ear you can wear these together for a fun layered look.

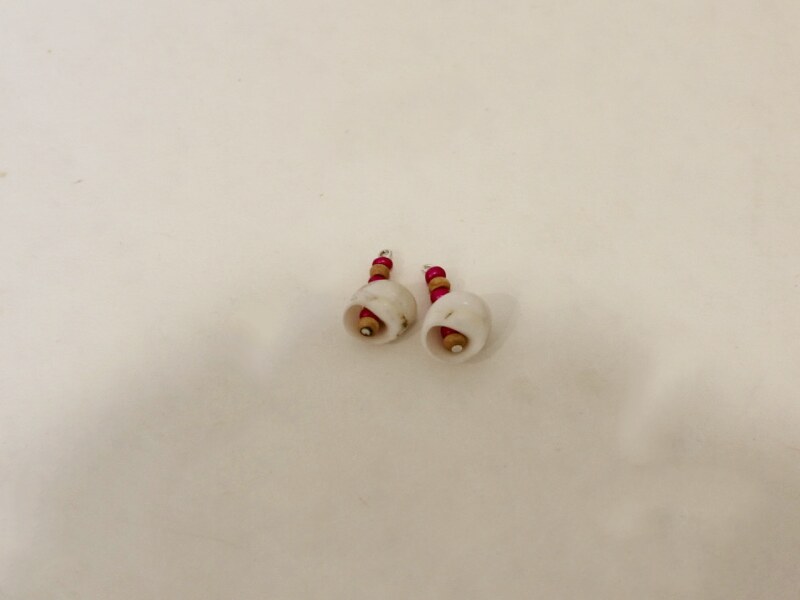
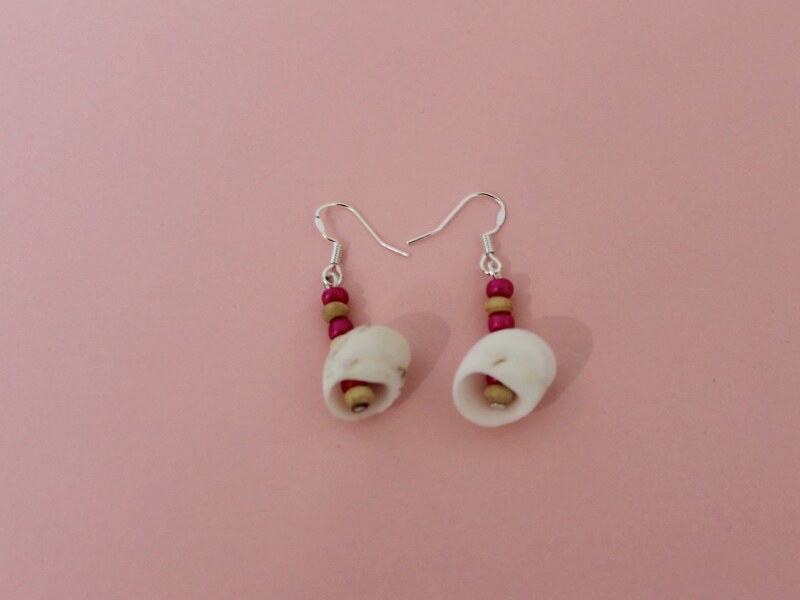
This next set of earrings uses drilled shells to add some summer flair to simple drop earrings. note: contains affiliate links
You will need the following tools and materials to make your shell drop earrings:
1: Pliers. You will need your round nose pliers and flat nose pliers to make these earrings.
2: Two head pins.
3: Two earring hooks.
4: Two drilled shells. I used these shells that came in a mixed bag of beads.

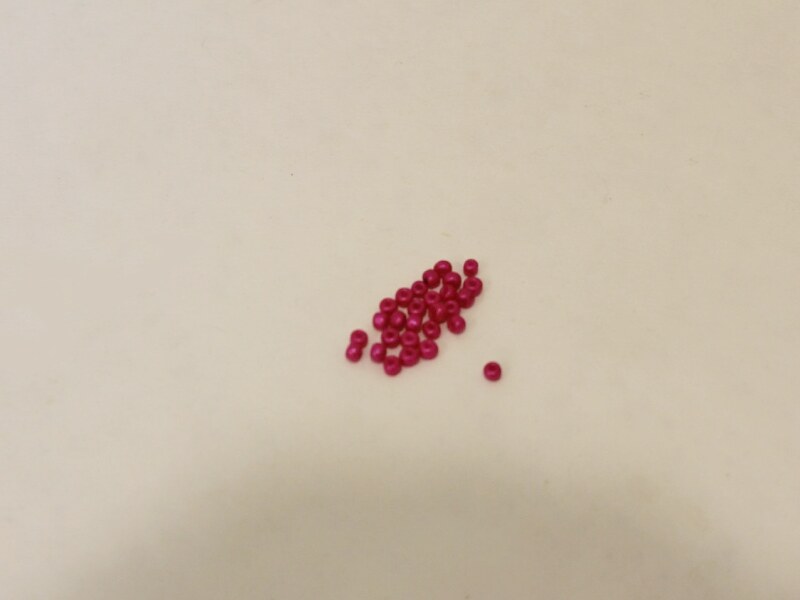
5: Beads of your choice. I used these pink e-beads and natural colored wooden beads.
Follow these steps to make your shell drop earrings:
1: Add three beads to each of the pins in your chosen pattern.
2: Add a shell to each pin.

3: Add another four beads in your chosen pattern to the pins on top of the beads.

4: Bend each pin at a right angle to the beaded section using the round nose pliers.
5: Create a loop at the top of each pin using the round nose pliers to secure the beads in place.
6: Add an earring hook to the top loop of each head pin. Once your earring hooks are secured in place your earrings are finished and ready to wear!


-
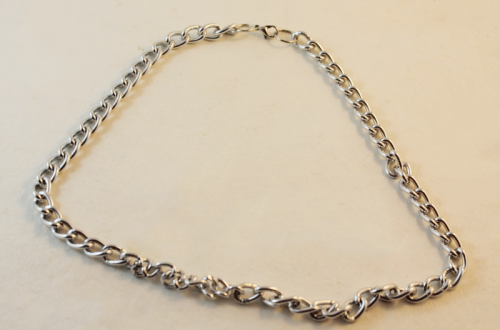
Got multiple piercings? This Chain Linked Double Piercing earring is for you…

Multiple piercings are it right now! Do something cool with your double piercings, pretty them up with an earring made especially for them. This double piercing earring is made using some delicate chain and some charm connector stud earrings. You can even adapt this design for even more piercings and run that chain all the way up your ears!
You will need the following tools and materials to make these chain linked double pierced earrings:
1: Pliers. You will need your flat nose pliers and round nose pliers.
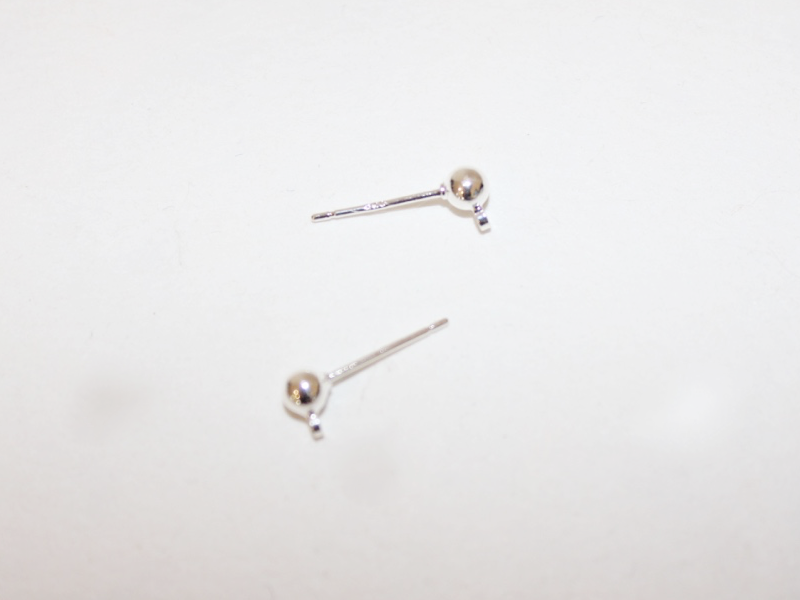
2: Two charm connector stud earrings.
3: A piece of chain. The length depends on how far apart your piercings are and how long you want it to hang from your ear lobes.
4: One small head pin.
5: Two small jump rings.
6: A bead or beads of your choice. I used this small grey freshwater pearl bead.
Follow these steps to make yourself this cool double piercing earring:
1: Add the pearl bead to the small head pin.
2: Use the round nose pliers to curl the end of the head pin around the round nose pliers to form a loop. Keep curling the pin around the barrel of the pliers until the loop sits closely to the bead, securing it in place.

3: Set the bead charm aside and open one of the jump rings. Slide one of the earrings and one end of the chain onto the ring and then close it again using your pliers.

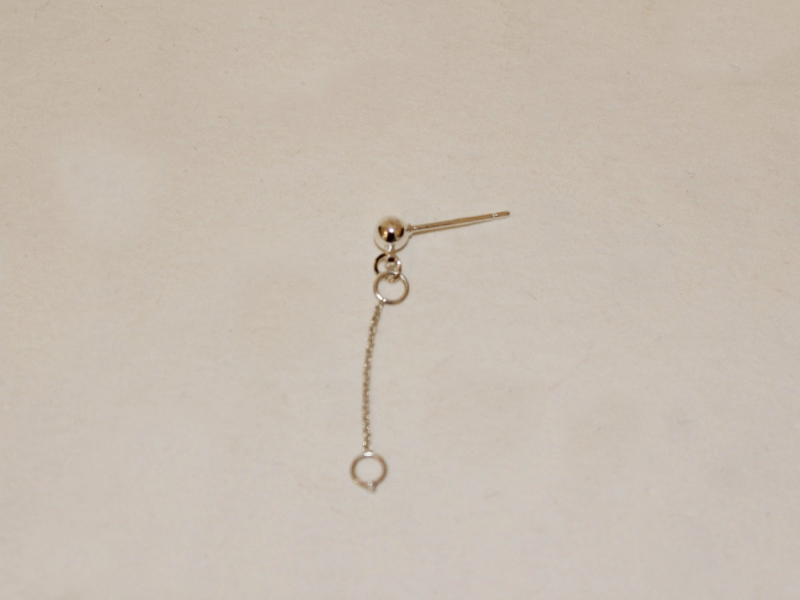
4: Repeat step 3 for the other earring, attaching the earring to the other end of the chain using the remaining jump ring. This time make sure you add your bead charm before closing the jump ring.
5: Once you have completed step 4 your double piercing earring is complete. Wear and enjoy!

-
Defy gravity with this floating bead necklace
Do you have a craving for light and delicate jewelry? Do you wish you could be wearing jewelry that feels dainty and special? Well have I got the DIY solution for you! This necklace is as delicate and dainty as it comes, but don’t worry, it’s not going to break on you either. Using some tiger tail wire and some crimp beads, this exquisite necklace comes together in no time. Go ahead, make yourself this lovely necklace today.
You will need the following tools and materials to make this floating bead necklace:
1: Pliers. To make this necklace you will need your cutting pliers and your flat nose pliers.

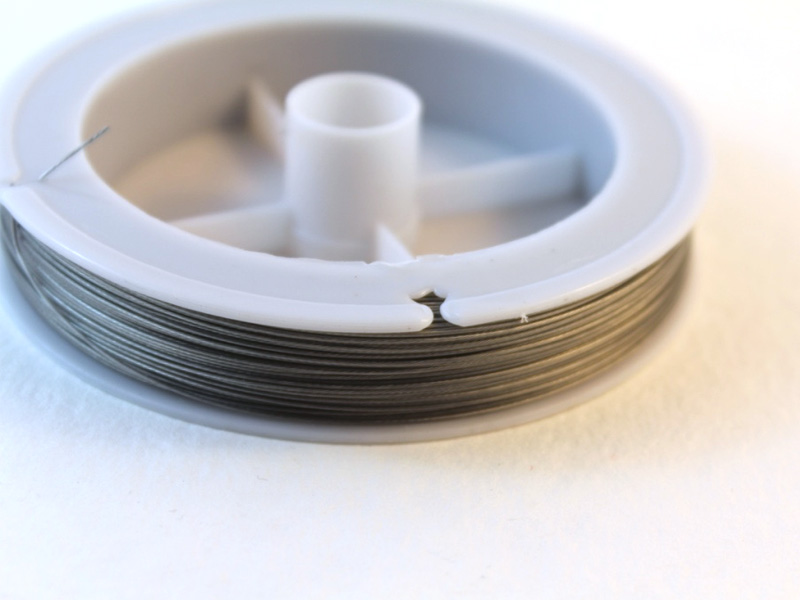
2: Tiger tail wire.
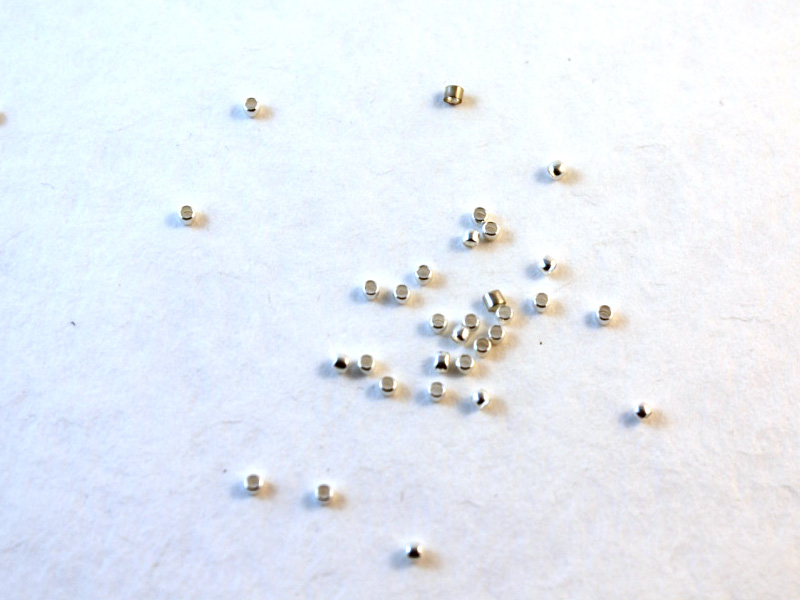
3: Crimp beads.
4: One lobster clasp.

5: One jump ring.
7: A ruler. You will need this to measure the distance between your beads.

8: Beads of your choice. I used some pearls as the centerpiece of this floating bead necklace and two hematite beads to finish off the ends of the necklace.


Pearls are the epitome of elegance, grab some pearls of your own right here:
The Steps:
1: Measure out a length of tiger tail wire to your desired necklace length. The effect of the floating beads will have a greater impact if you keep your necklace to a collar length.
2: Cut the length of tiger tail wire using the cutting pliers.

3: Take one bead and thread it onto the tiger tail strand. Pull it through until it is at the center of the piece of tiger tail wire.

4: Add a crimp bead to either side of the center bead.

5: Use the flat nose pliers to carefully squash the crimp beads either side of the center bead to secure it in place in the middle of the tiger tail wire.


6: Add another crimp bead and use the ruler to work out where to place your next bead. I placed my beads roughly 3cm (approx 1.4 inches) apart.

7: Carefully squash the next crimp place before adding the second bead and crimp bead.

8: Squash the crimp on the other side of the second bead to secure it in place. If you are using pearls like I did be careful not to damage the surface with the pliers.

9: Repeat steps 6 to 8 for the remaining beads, placing them either side of the first center bead that you added to the strand.


10: Once all your beads have been secured in place, add two crimp beads followed by a hematite bead and a final crimp as well as the lobster clasp to the end of the wire. Fold the end of the wire around the lobster clasp and through the crimps and bead.

11: Carefully squash the crimps on either side of the hematite bead to secure the clasp in place.


12: Once the crimps have been secured, use the cutting pliers to trim the excess tiger tail wire.

13: Repeat steps 10 to 12 to secure the jump ring to the other side of the necklace.

14: Once the clasp and jump ring has been secured in place your delicate floating bead necklace is complete. Pop it on for an elegant addition to your daily style.

How will you style this sweet and dainty necklace? Get creative with your style and have fun making!


If you are a lover of modern pearl jewelry, we have a load of amazing tutorials for you:
- Dangly pearl and shell earrings
- Pink pearl and rainbow bead anklet
- Rainbow pearl beaded necklace
- Multi-color beaded pearl hoops
- Pearl tassel hoop earrings
- Plastic and pearl stud earrings
- Chilli and pearl single statement earring
- Brightly colored pearl drop earrings
- Faux pearl bobby pin
- Simple silver pearl threader earrings
- A delicate pearl earring for double pierced earrings
- Faux pearl charm necklace
- Pearl lariat necklace
- Faux pearl and rhinestone statement ring