-
Tips to elevate your handmade pieces!
I love jewelry, I love looking at it, I love making it, and I love wearing it. But there are some parts of jewelry that I don’t love. I can’t stand it when a piece is uncomfortable and scratchy to wear, and I also can’t stand poorly constructed jewelry that looks like it will fall apart after two wears, so I thought it would be fun to share with you some things to look out for so that you always make strong, comfortable jewels that you will enjoy for years to come.
Here are my tips for making long-lasting, professional looking and comfortable jewelry:
1: Make sure you tuck away the ends of the tiger-tail wire. I usually achieve this by running the wire through a few of the beads at each end of my beaded designs so that it doesn’t poke out. You can also use a crimp cover which covers any sharp ends of the wire. You can see some examples below.

Look at the ends of this beaded strand, the ends of the wire are hidden under the beads. Follow the tutorial for this necklace here. 
The crimp cover on this earring charm protects you from being scratched by the wire. Tutorial for these earrings here. 2: Avoid using elastic in your designs. Elastic might be easy to put on and take off (and in some cases, is the only appropriate option in terms of accessibility). Unfortunately, this accessibility comes with a trade off, elastic tends to wear out quickly, and you can find your beautiful bracelet scattered all over the floor at the most inopportune moment. I suggest making your beaded jewels with nylon beading thread or tiger-tail wire for a longer life span. I’ve got a post about the pros and cons of different beading materials here.

Here’s a bracelet I found a while ago that was made from elastic. Unfortunately it had broken and been lost to its original owner! 
I’m yet to experience any of my tiger-tail beaded pieces breaking on me, I suggest choosing it if you are looking for durability in your designs. Full tutorial here. 3: Pull your wire tight at each end of your beaded pieces. I’ve noticed with the trend towards beaded jewelry in recent years, beaded tiger-tail necklaces are being sold with large loops at each end. This loose loop can catch on things and lead to breakages. I also personally think it looks sloppy and makes your work seem less polished.

I think this anklet with tightly finished ends looks a lot neater than a loosely looped wire. You can follow the steps to make your own anklet here. 
Don’t leave big loops like this on your jewelry pieces, they can catch on things and don’t look as polished. 4: Try to use precious metals! I spent a long time making jewelry using findings made from base metals. While these materials are cheaper and great for when you’re starting out, I think investing in fine metals such as sterling silver, is a great way to elevate your designs and make them seem more polished and professional.

A sterling silver clasp elevates this beaded bracelet. You can see the tutorial for this bracelet here. 
Sterling silver wire goes a long way! Some silver wire can be transformed into many sleek, minimalist jewellery designs with minimal effort. Tutorial to make these here. Here are some sterling silver materials you can buy and use in your designs:
5: I don’t always follow my own advice, but when you are making beaded pieces with pearls, it can pay to spend some extra time knotting your beading thread between each pearl. This technique not only protects the pearls, it also stops you from losing them all in the case of a breakage! I have’t made a pearl knotting tutorial yet, but I think there will be one on the way soon so keep an eye out.

This pearl bracelet features individually knotted pearls. So there you have it, a few tips and tricks to elevate your jewelry making to that next level! Please note that this post contains affiliate links.
-
Here’s how to make round polymer clay beads using a bead maker!
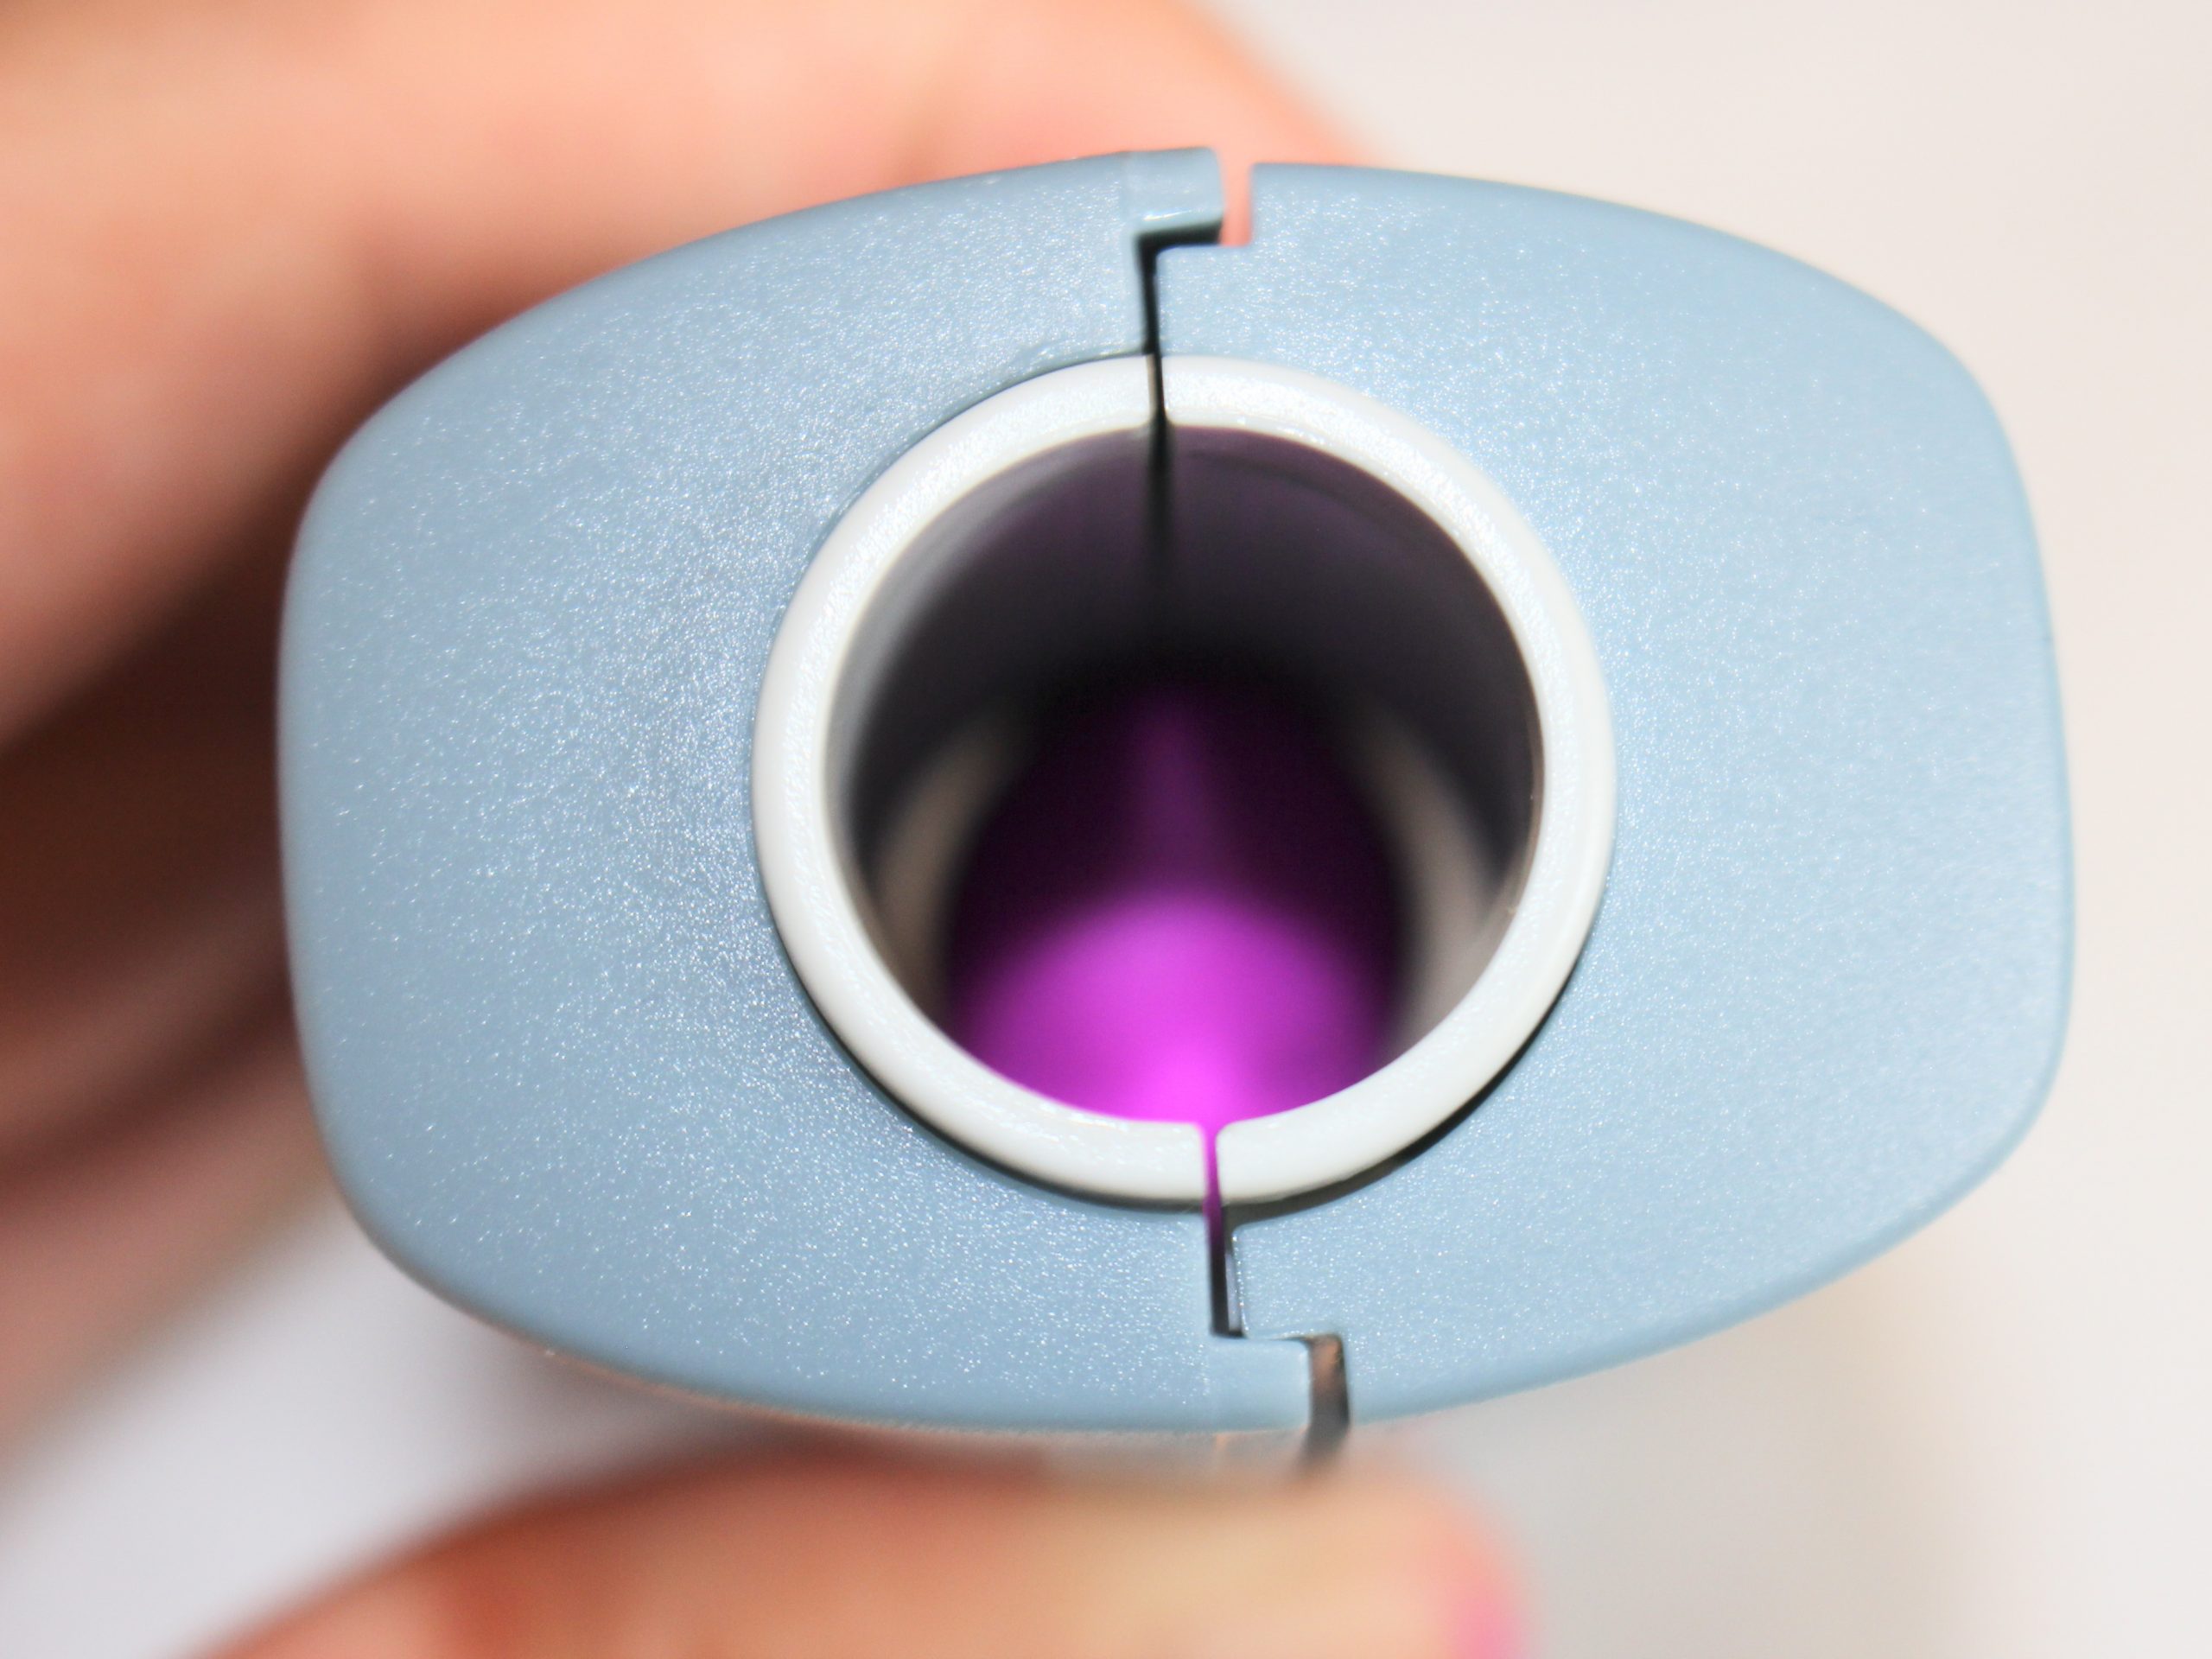
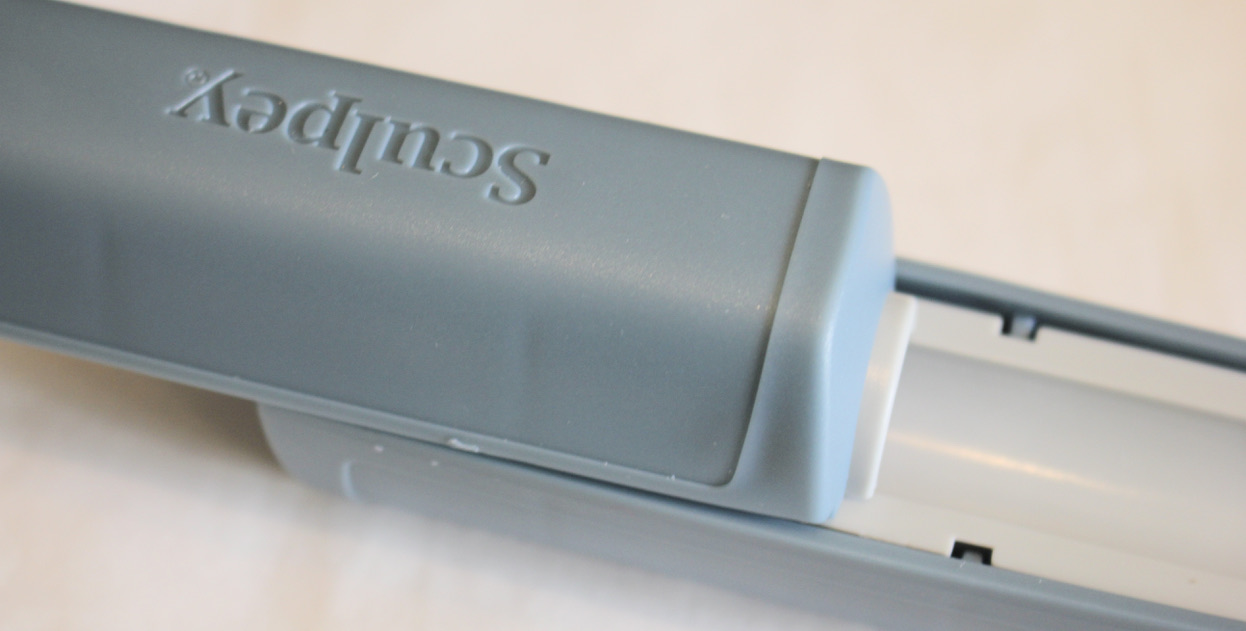
I’m no expert on polymer clay, but I do like using it from time to time. I recently received this polymer clay bead maker as a gift and I thought it would be fun to try it out and take you along for the ride! So here’s how to make some cute round polymer clay beads using a special bead maker! Please note that this tutorial contains affiliate links.
You’ll need these tools and materials to make some polymer clay beads with me:
1: Some polymer clay.

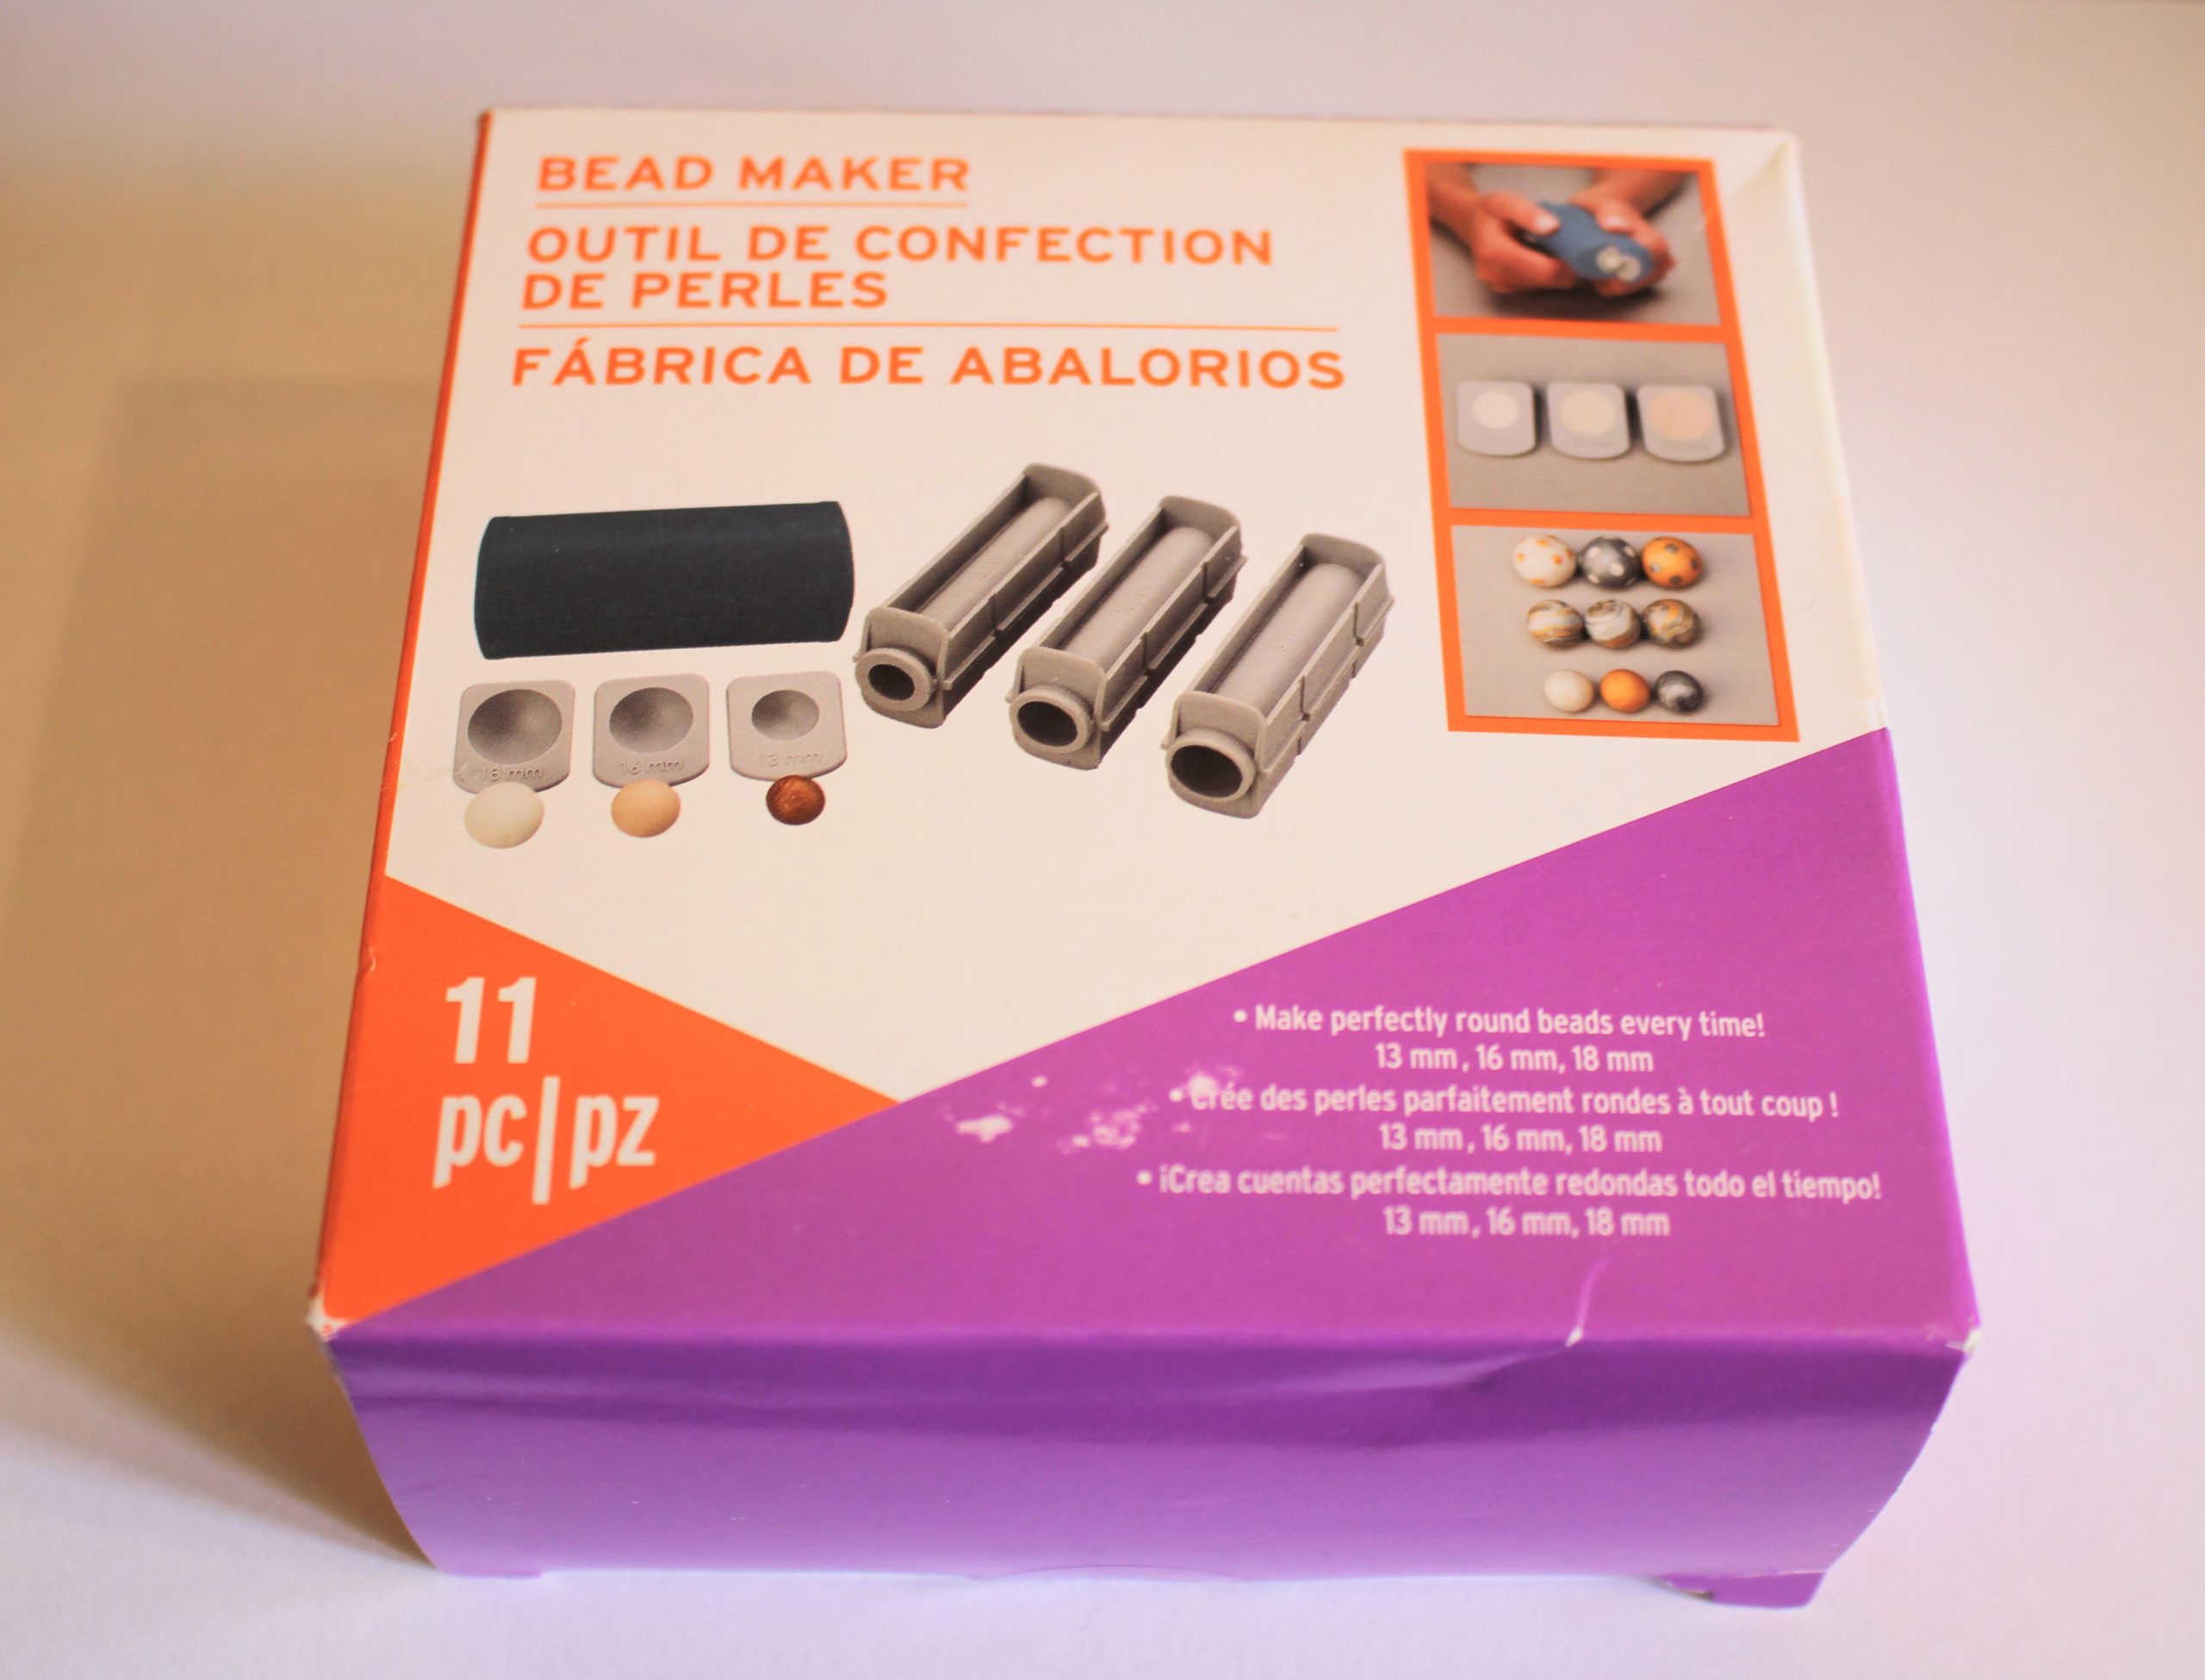
2: A polymer clay bead maker. I used this Sculpey Tools branded one.

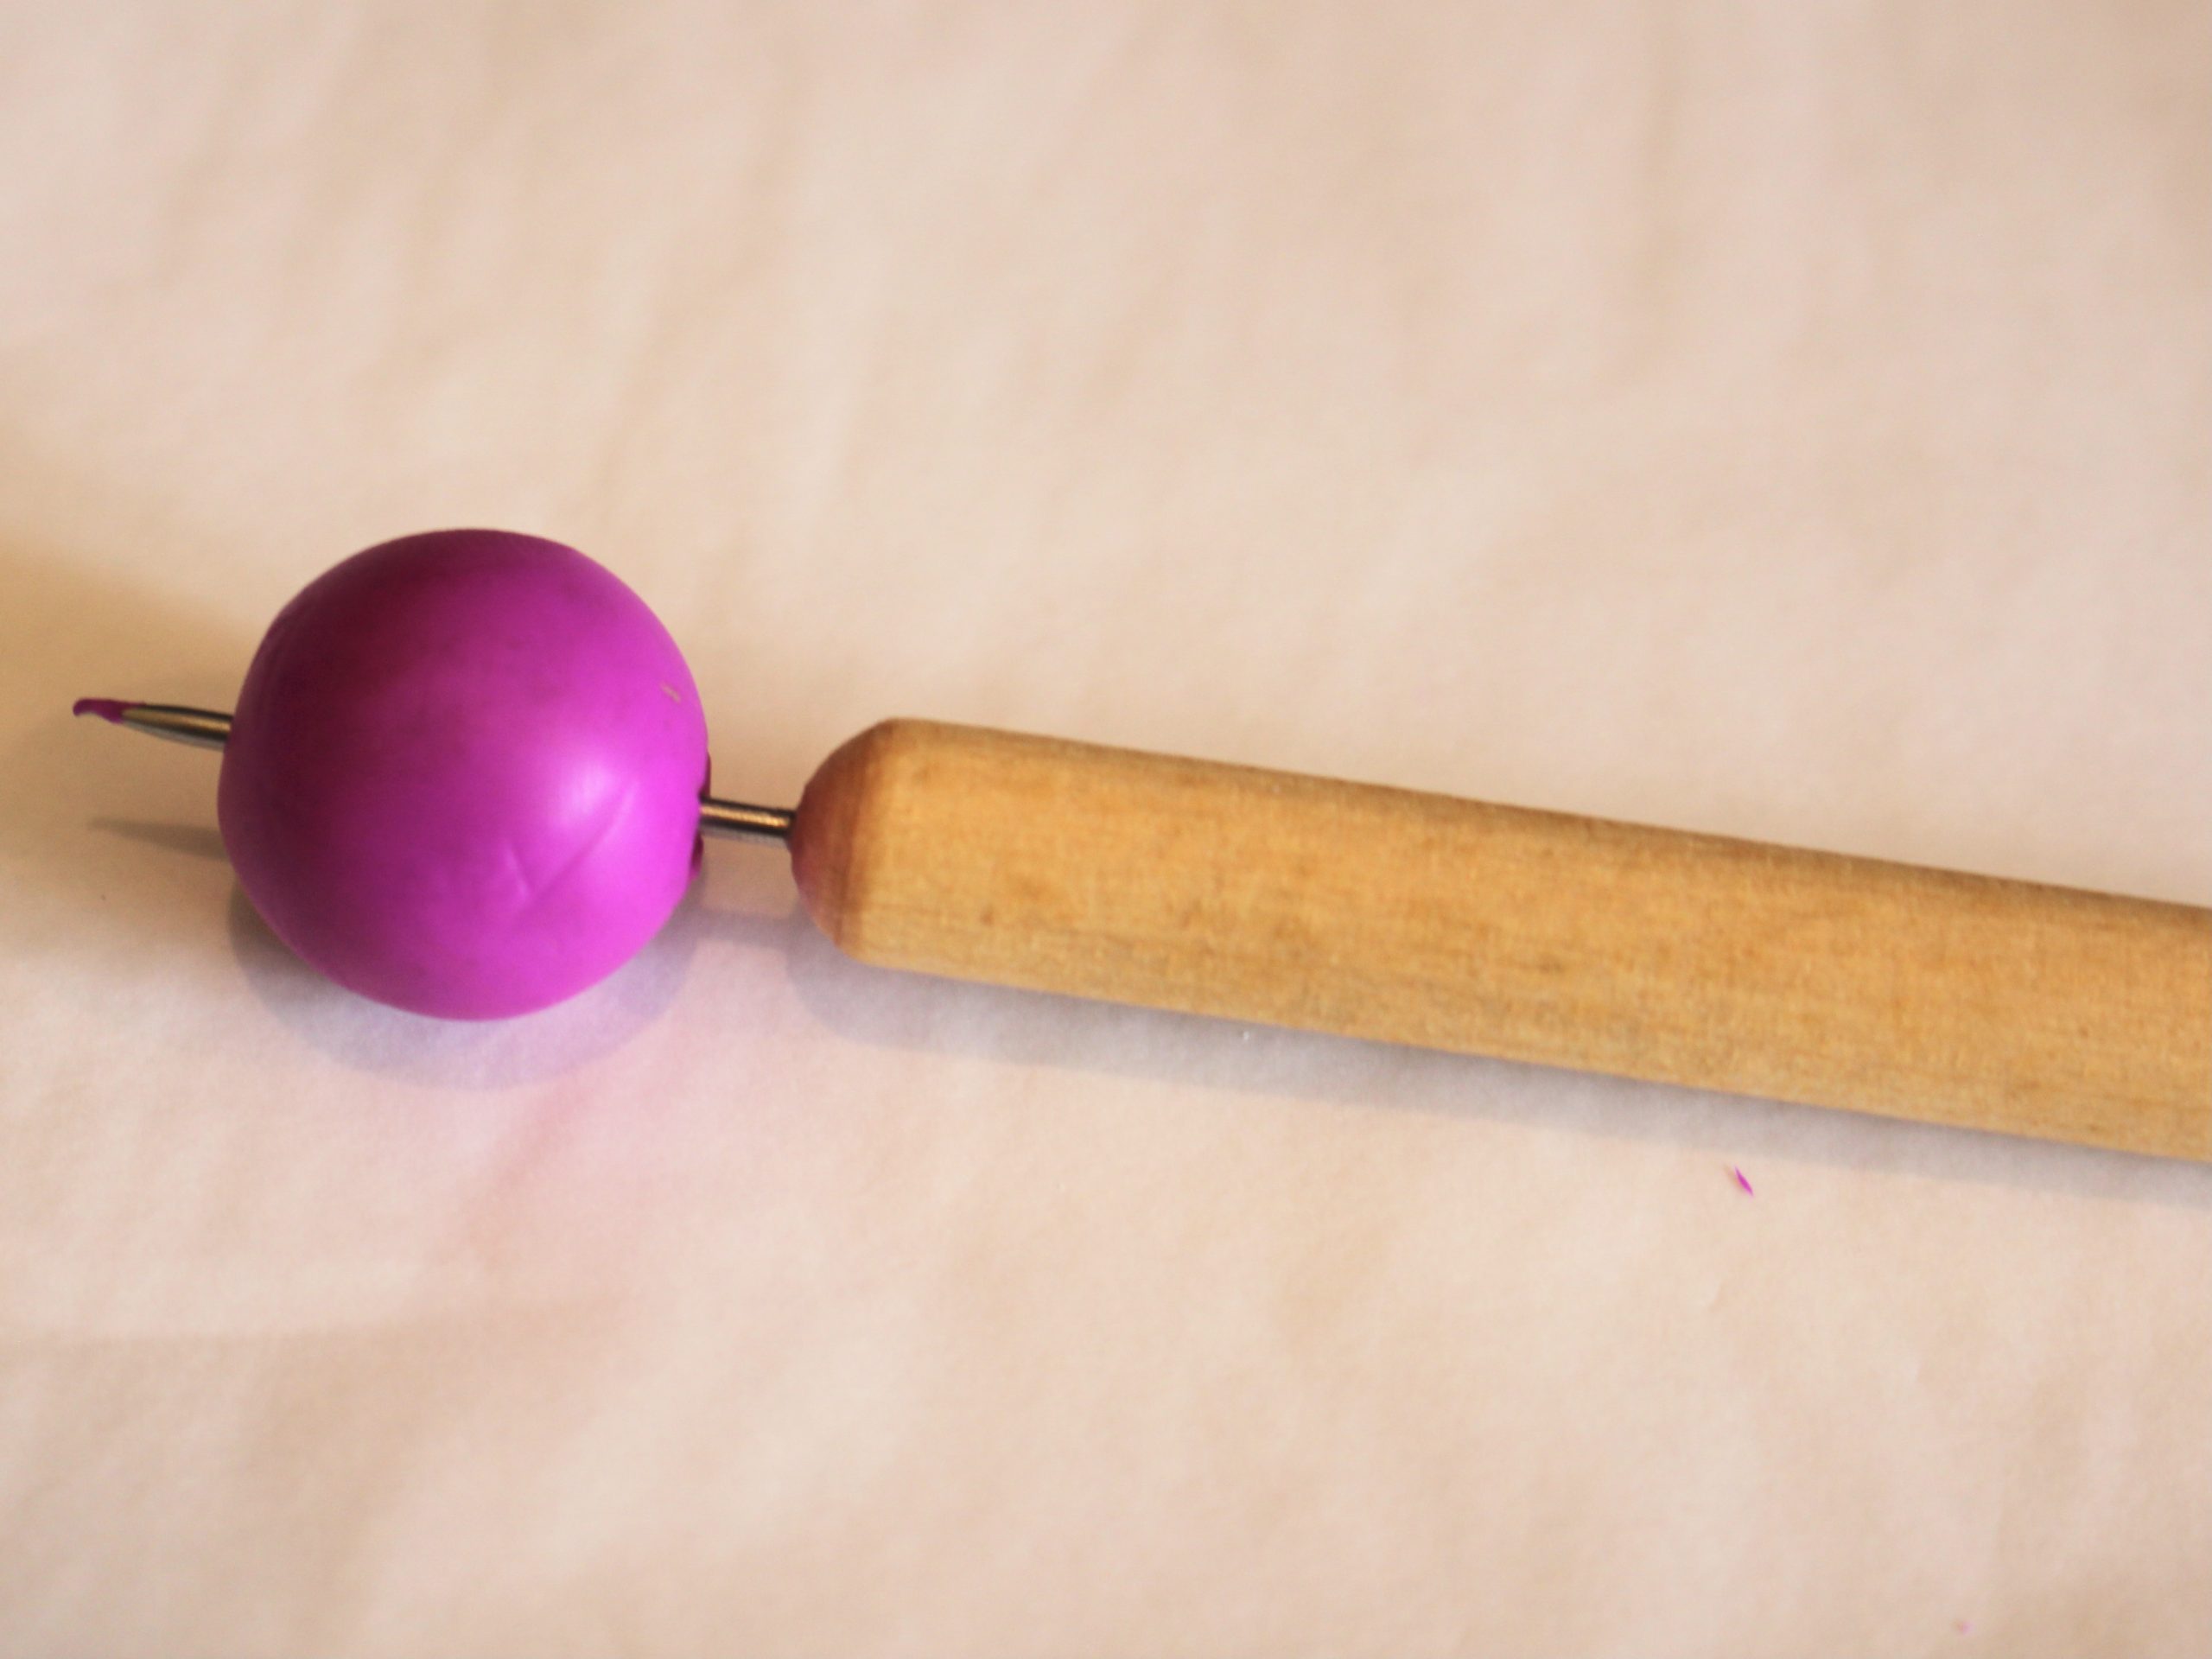
3: A carving tool or something similar that has a long pin on it for making the bead hole.
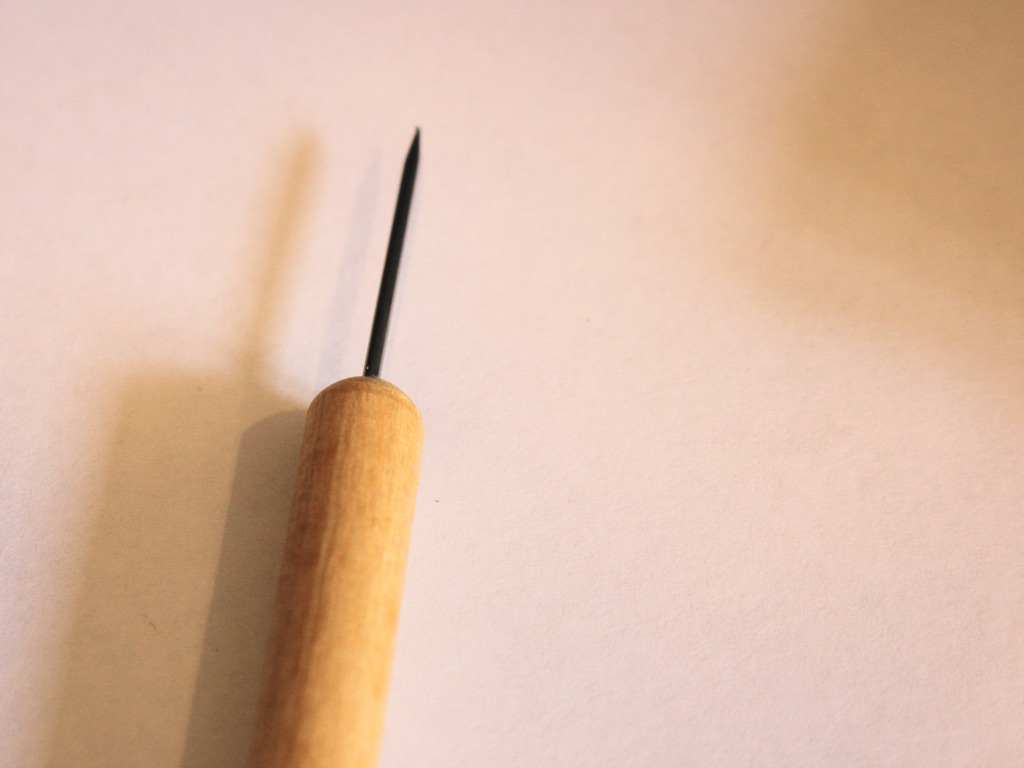
4: Some baking paper and foil for working on and baking. It is best to use a baking surface just for polymer clay and not trays you prepare food in. I like to fashion a little tray out of foil and then recycle it when I’m done.


5: An oven.
Follow these steps to make your polymer clay beads:
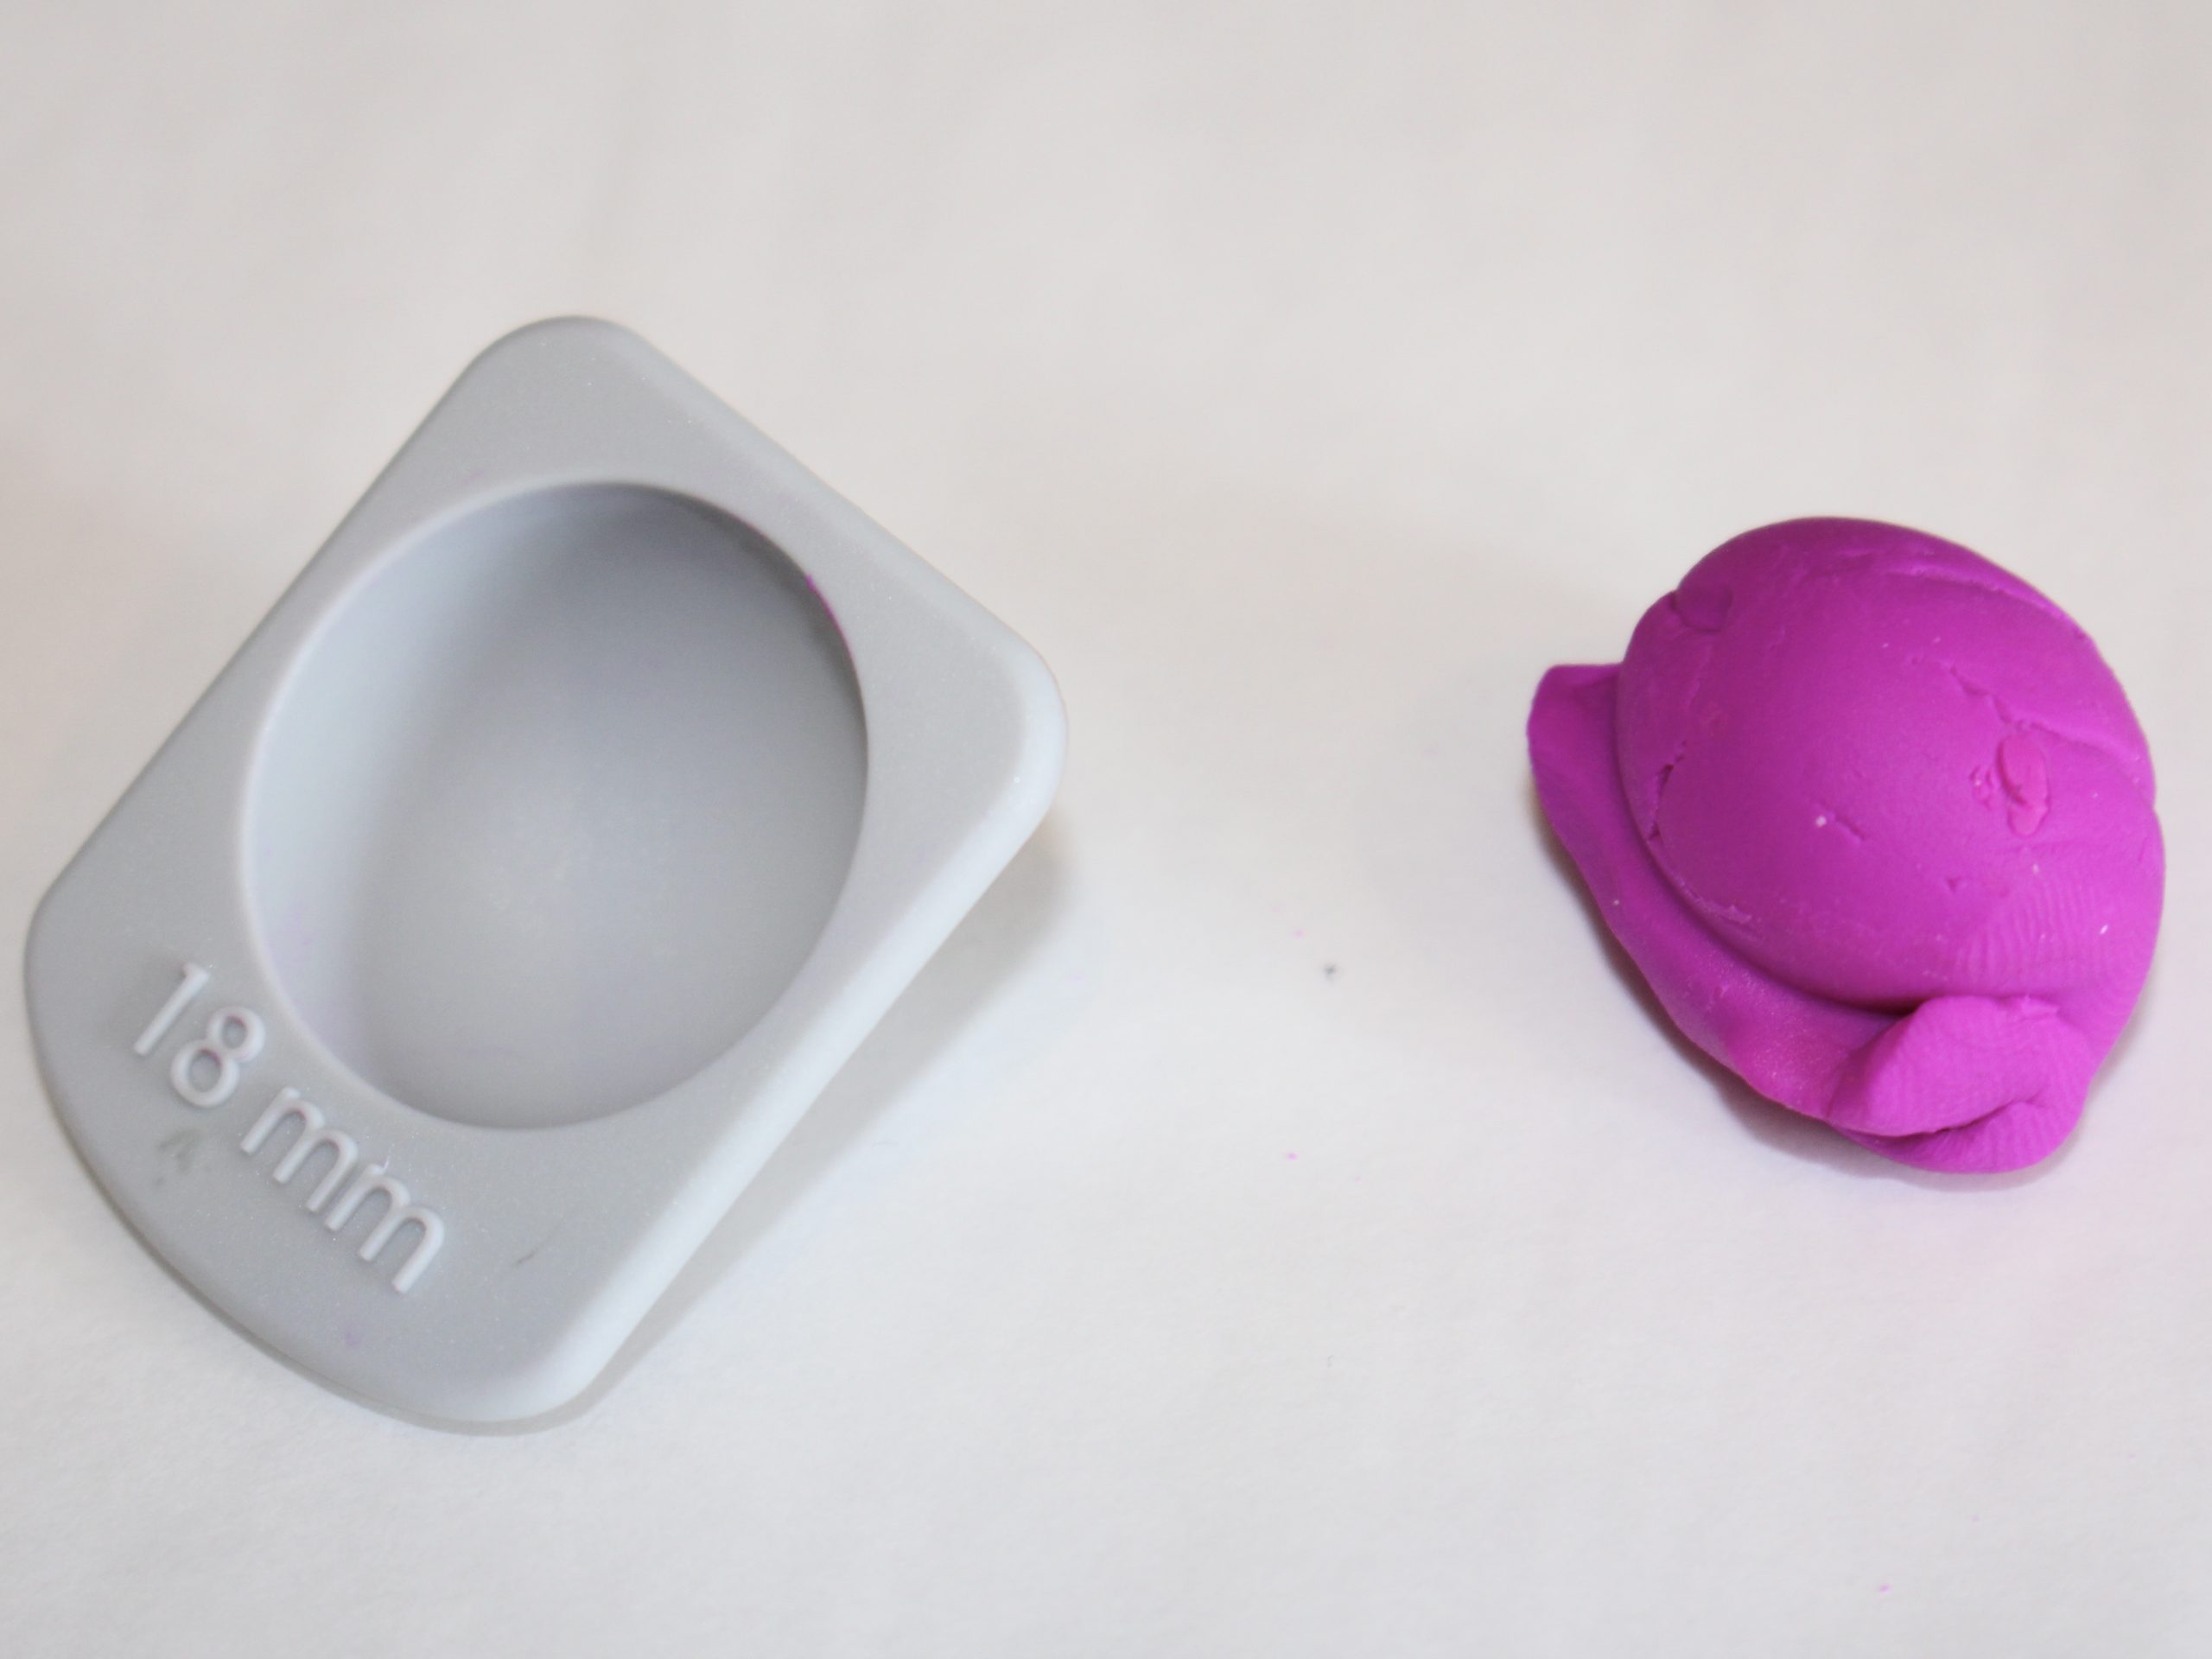
1: Choose the size of bead you want to make and fill the corresponding measuring cup with polymer clay. I chose 18mm.
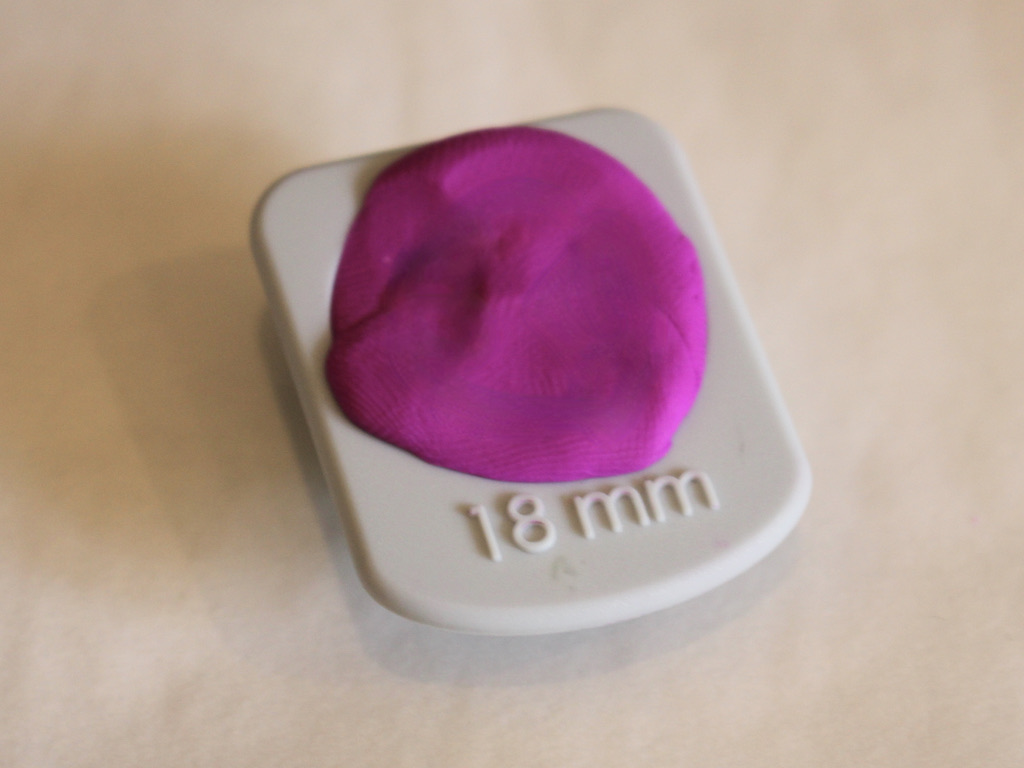
2: Scrape off excess clay so that the clay sits flush in the cup.
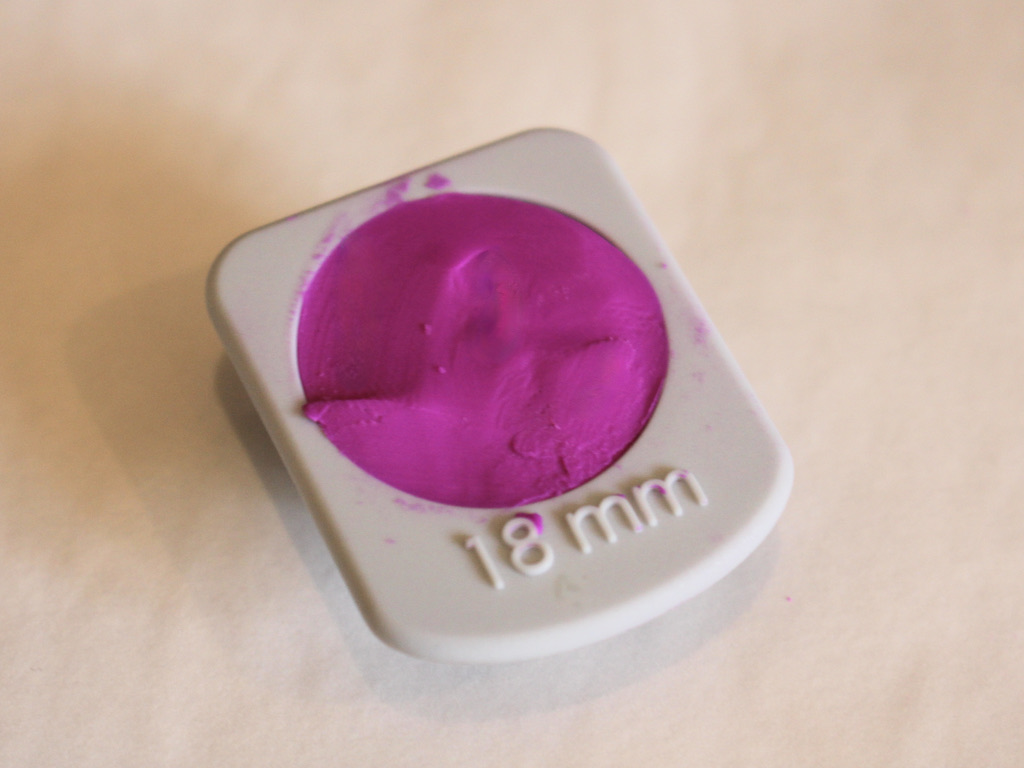
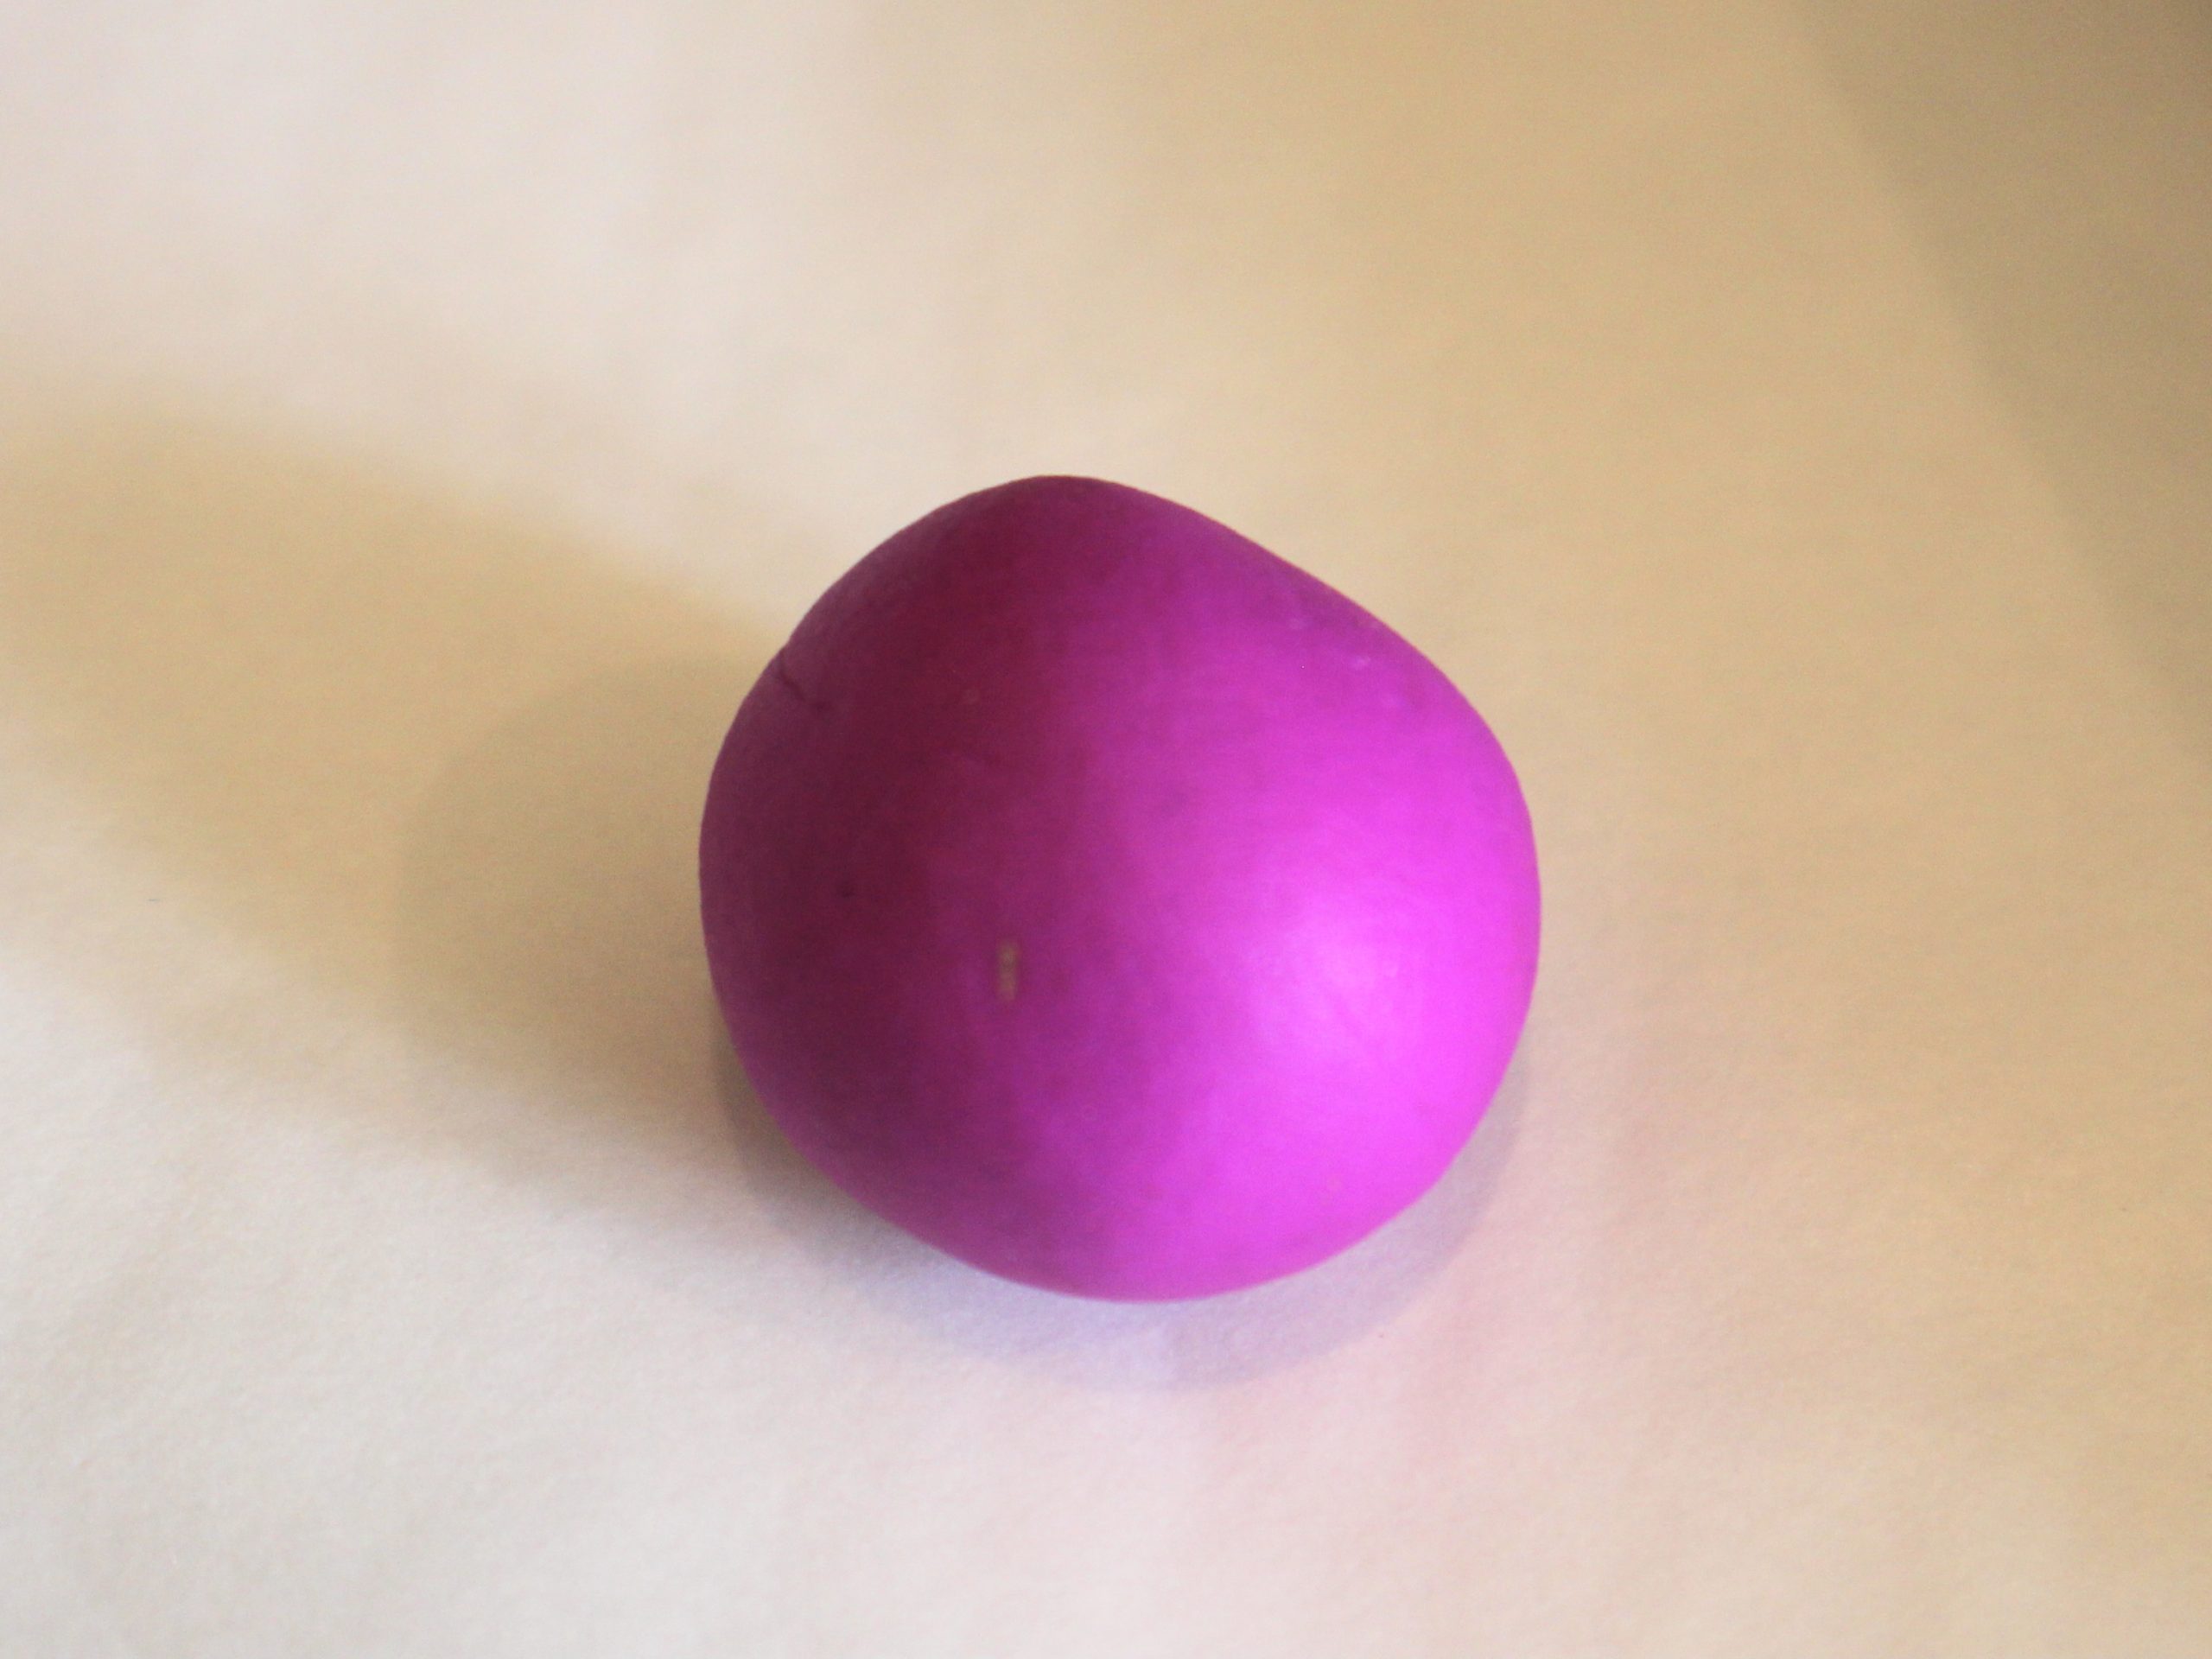
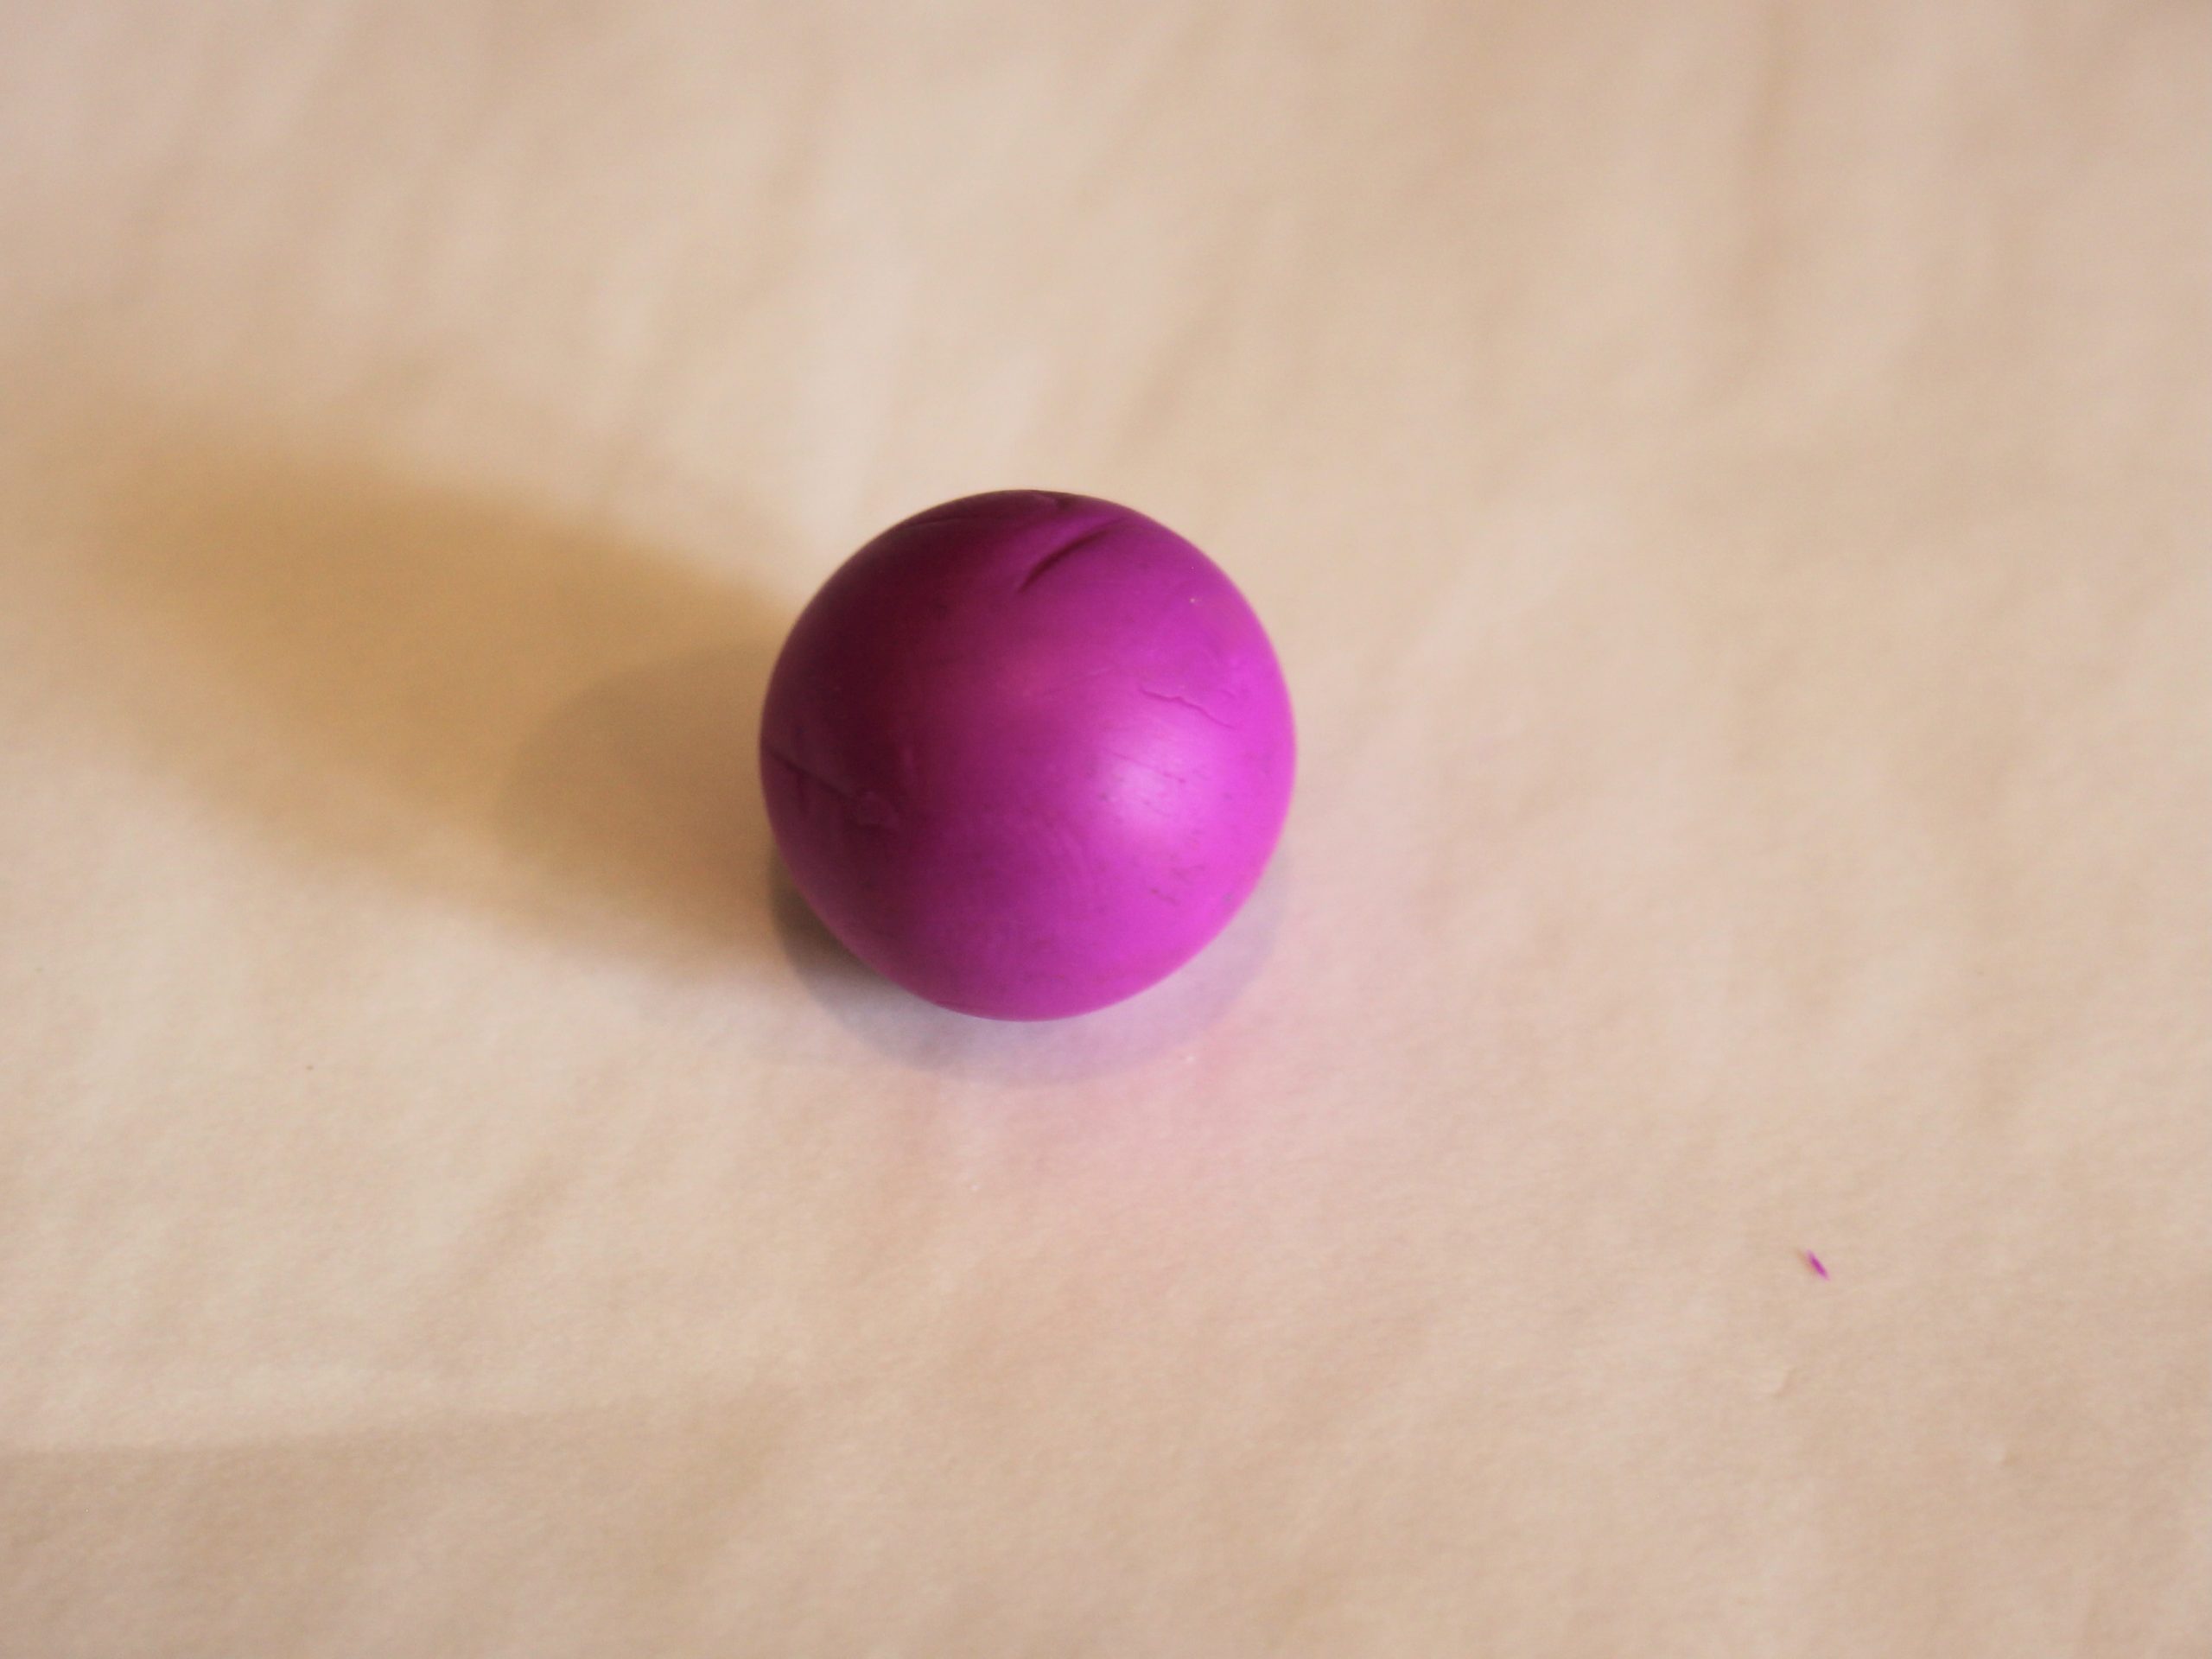
3: Take the clay out of the cup and then roll it into a ball shape.
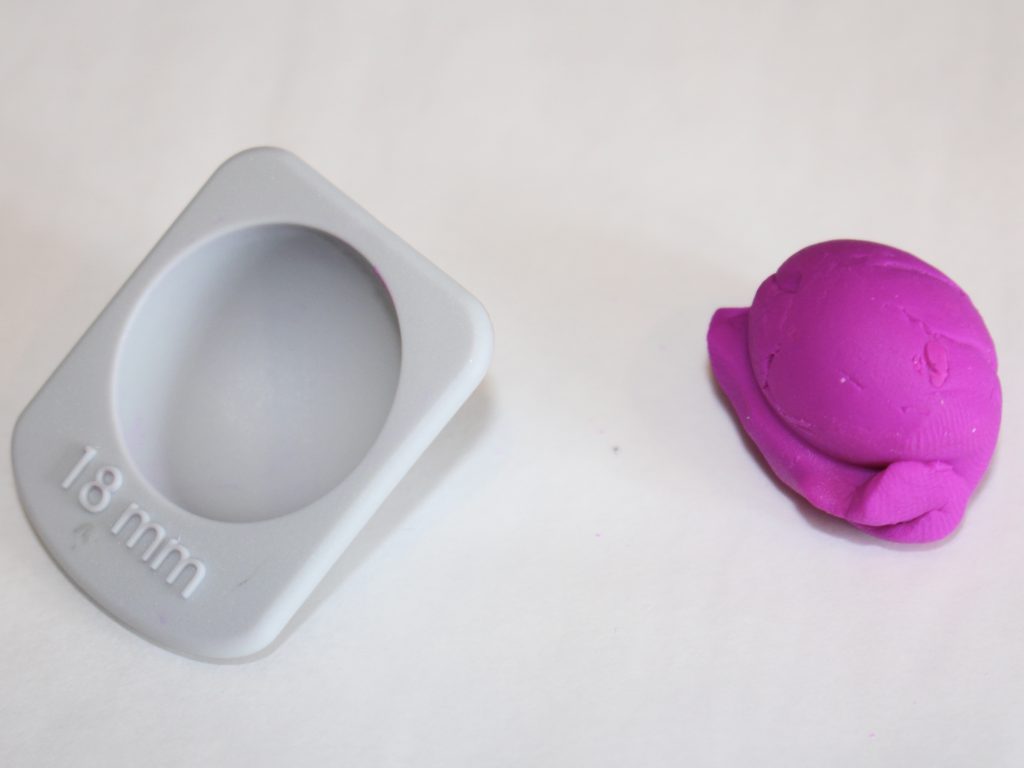
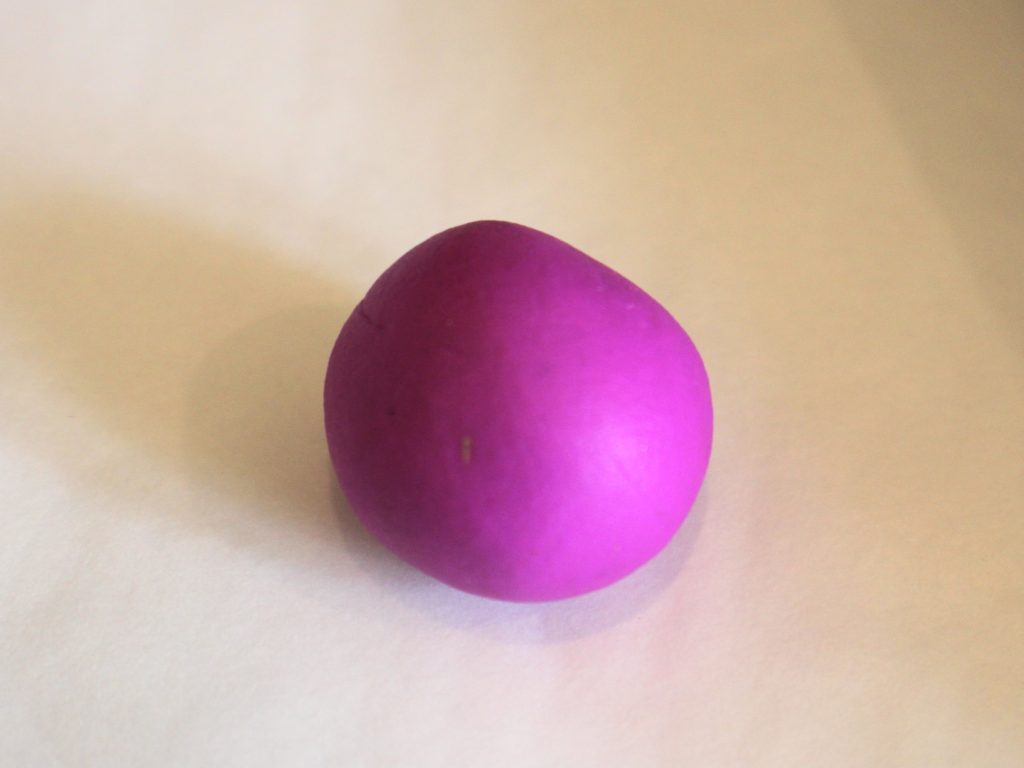
4: Put the the bead roller inserts that are the right size for your bead into the roller base. I used 18mm rollers.
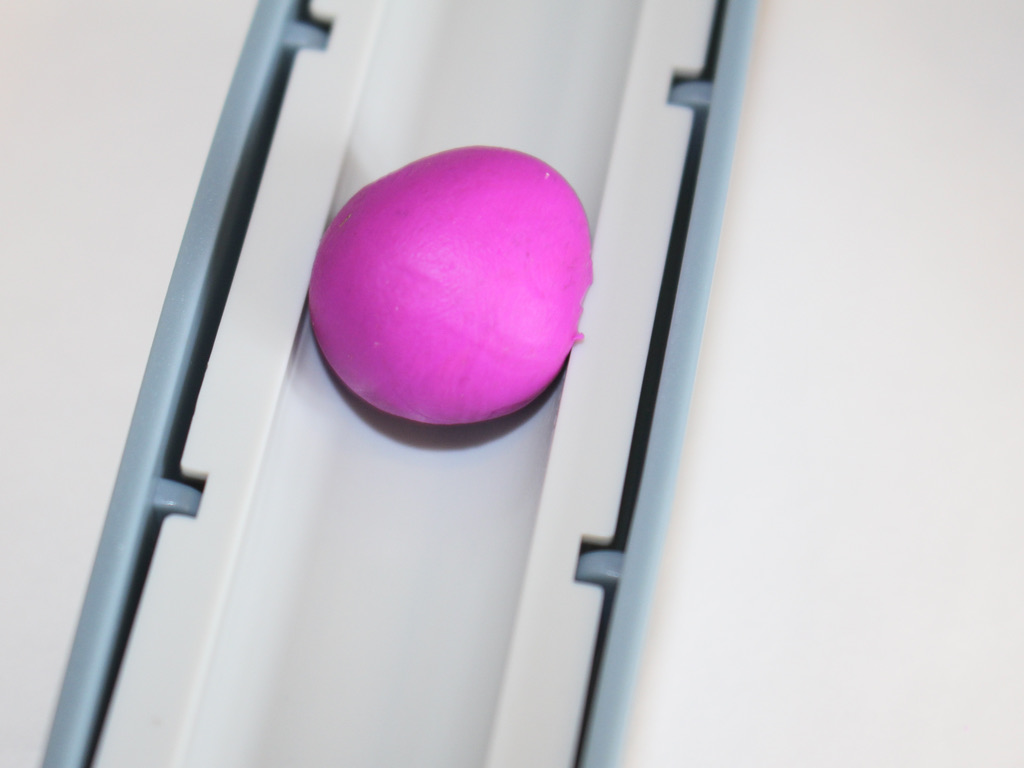
5: Put the polymer clay ball between the two rollers.

6: Push the rollers back and forth with the polymer clay inside to make the ball round.

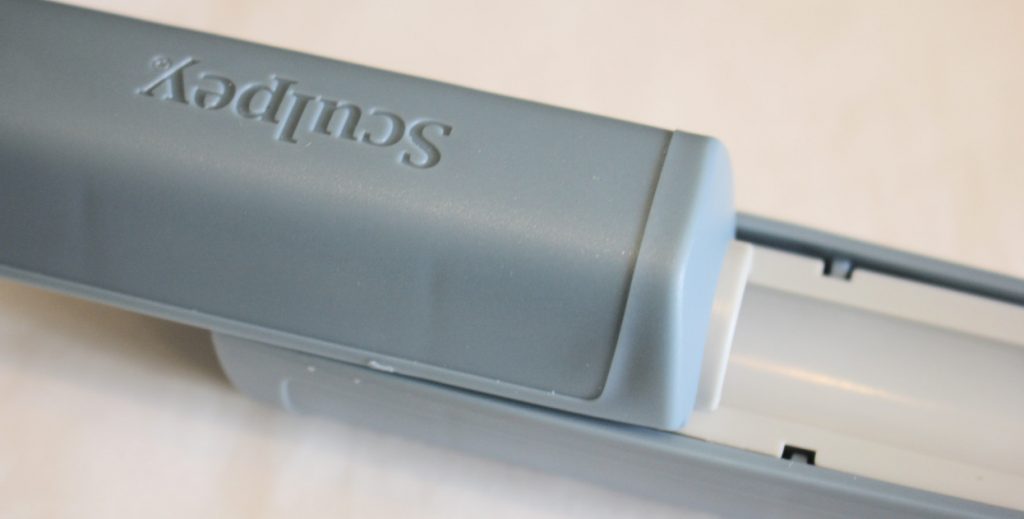
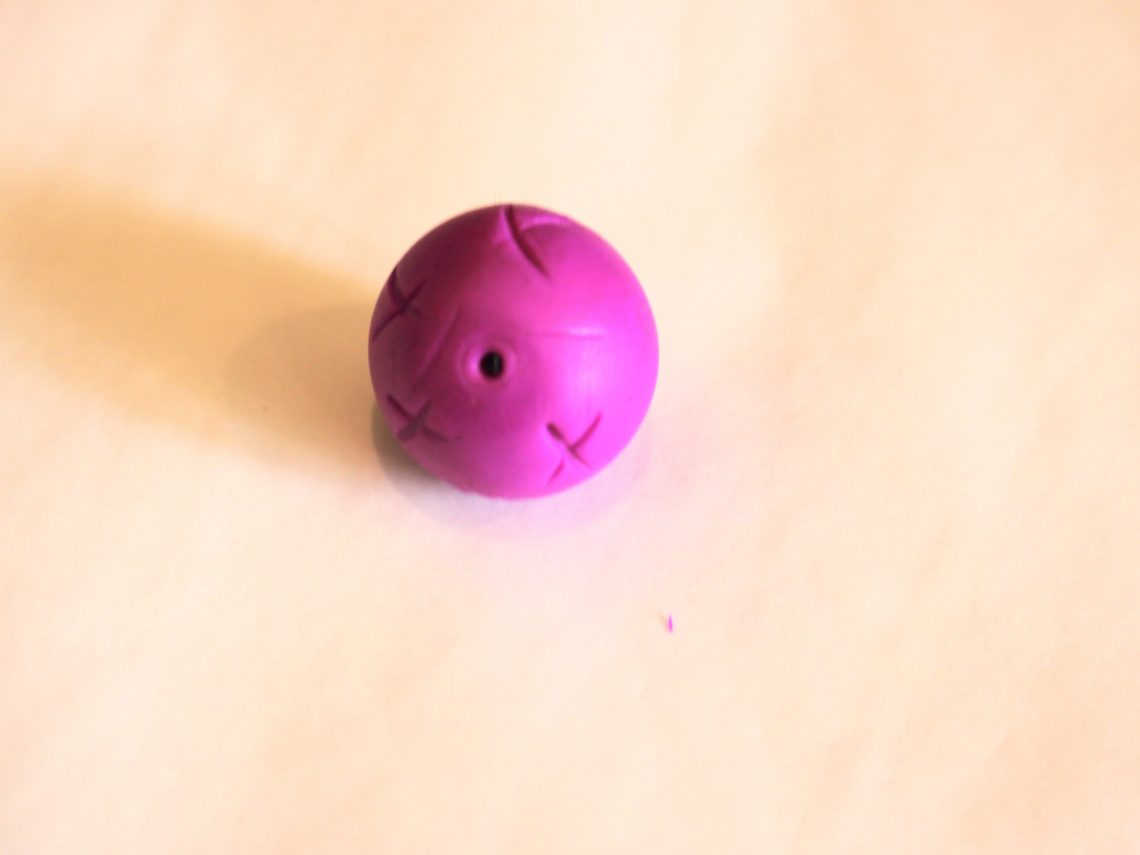
7: Take the ball out of the rollers and poke a hole through it using the poker tool.
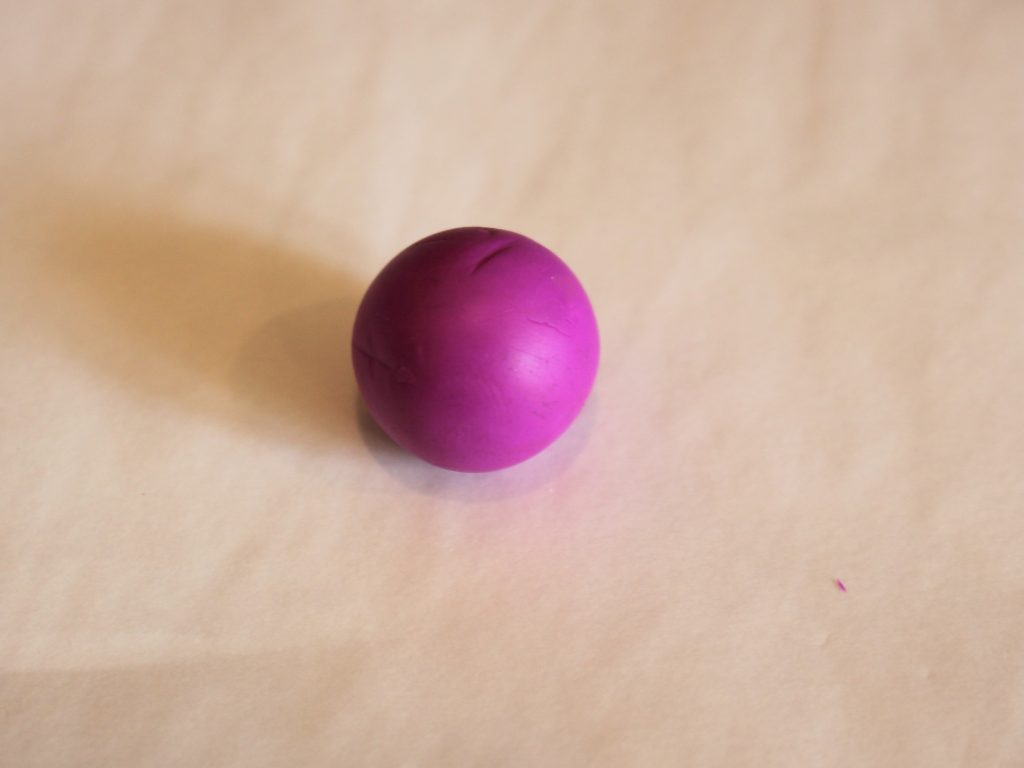
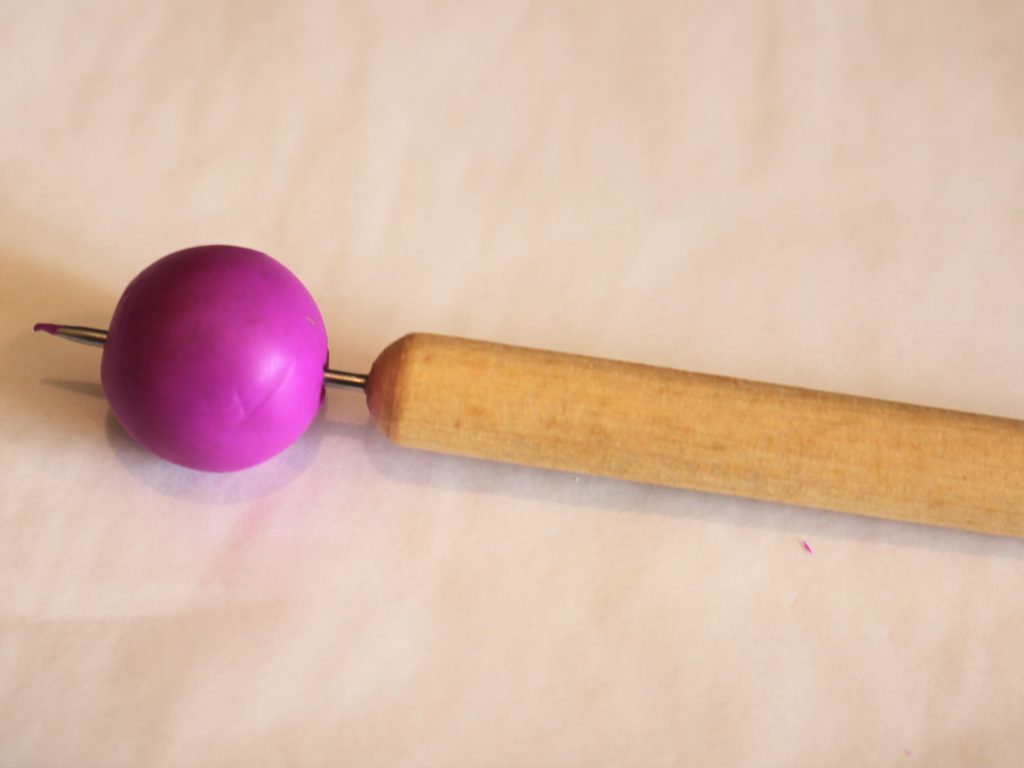
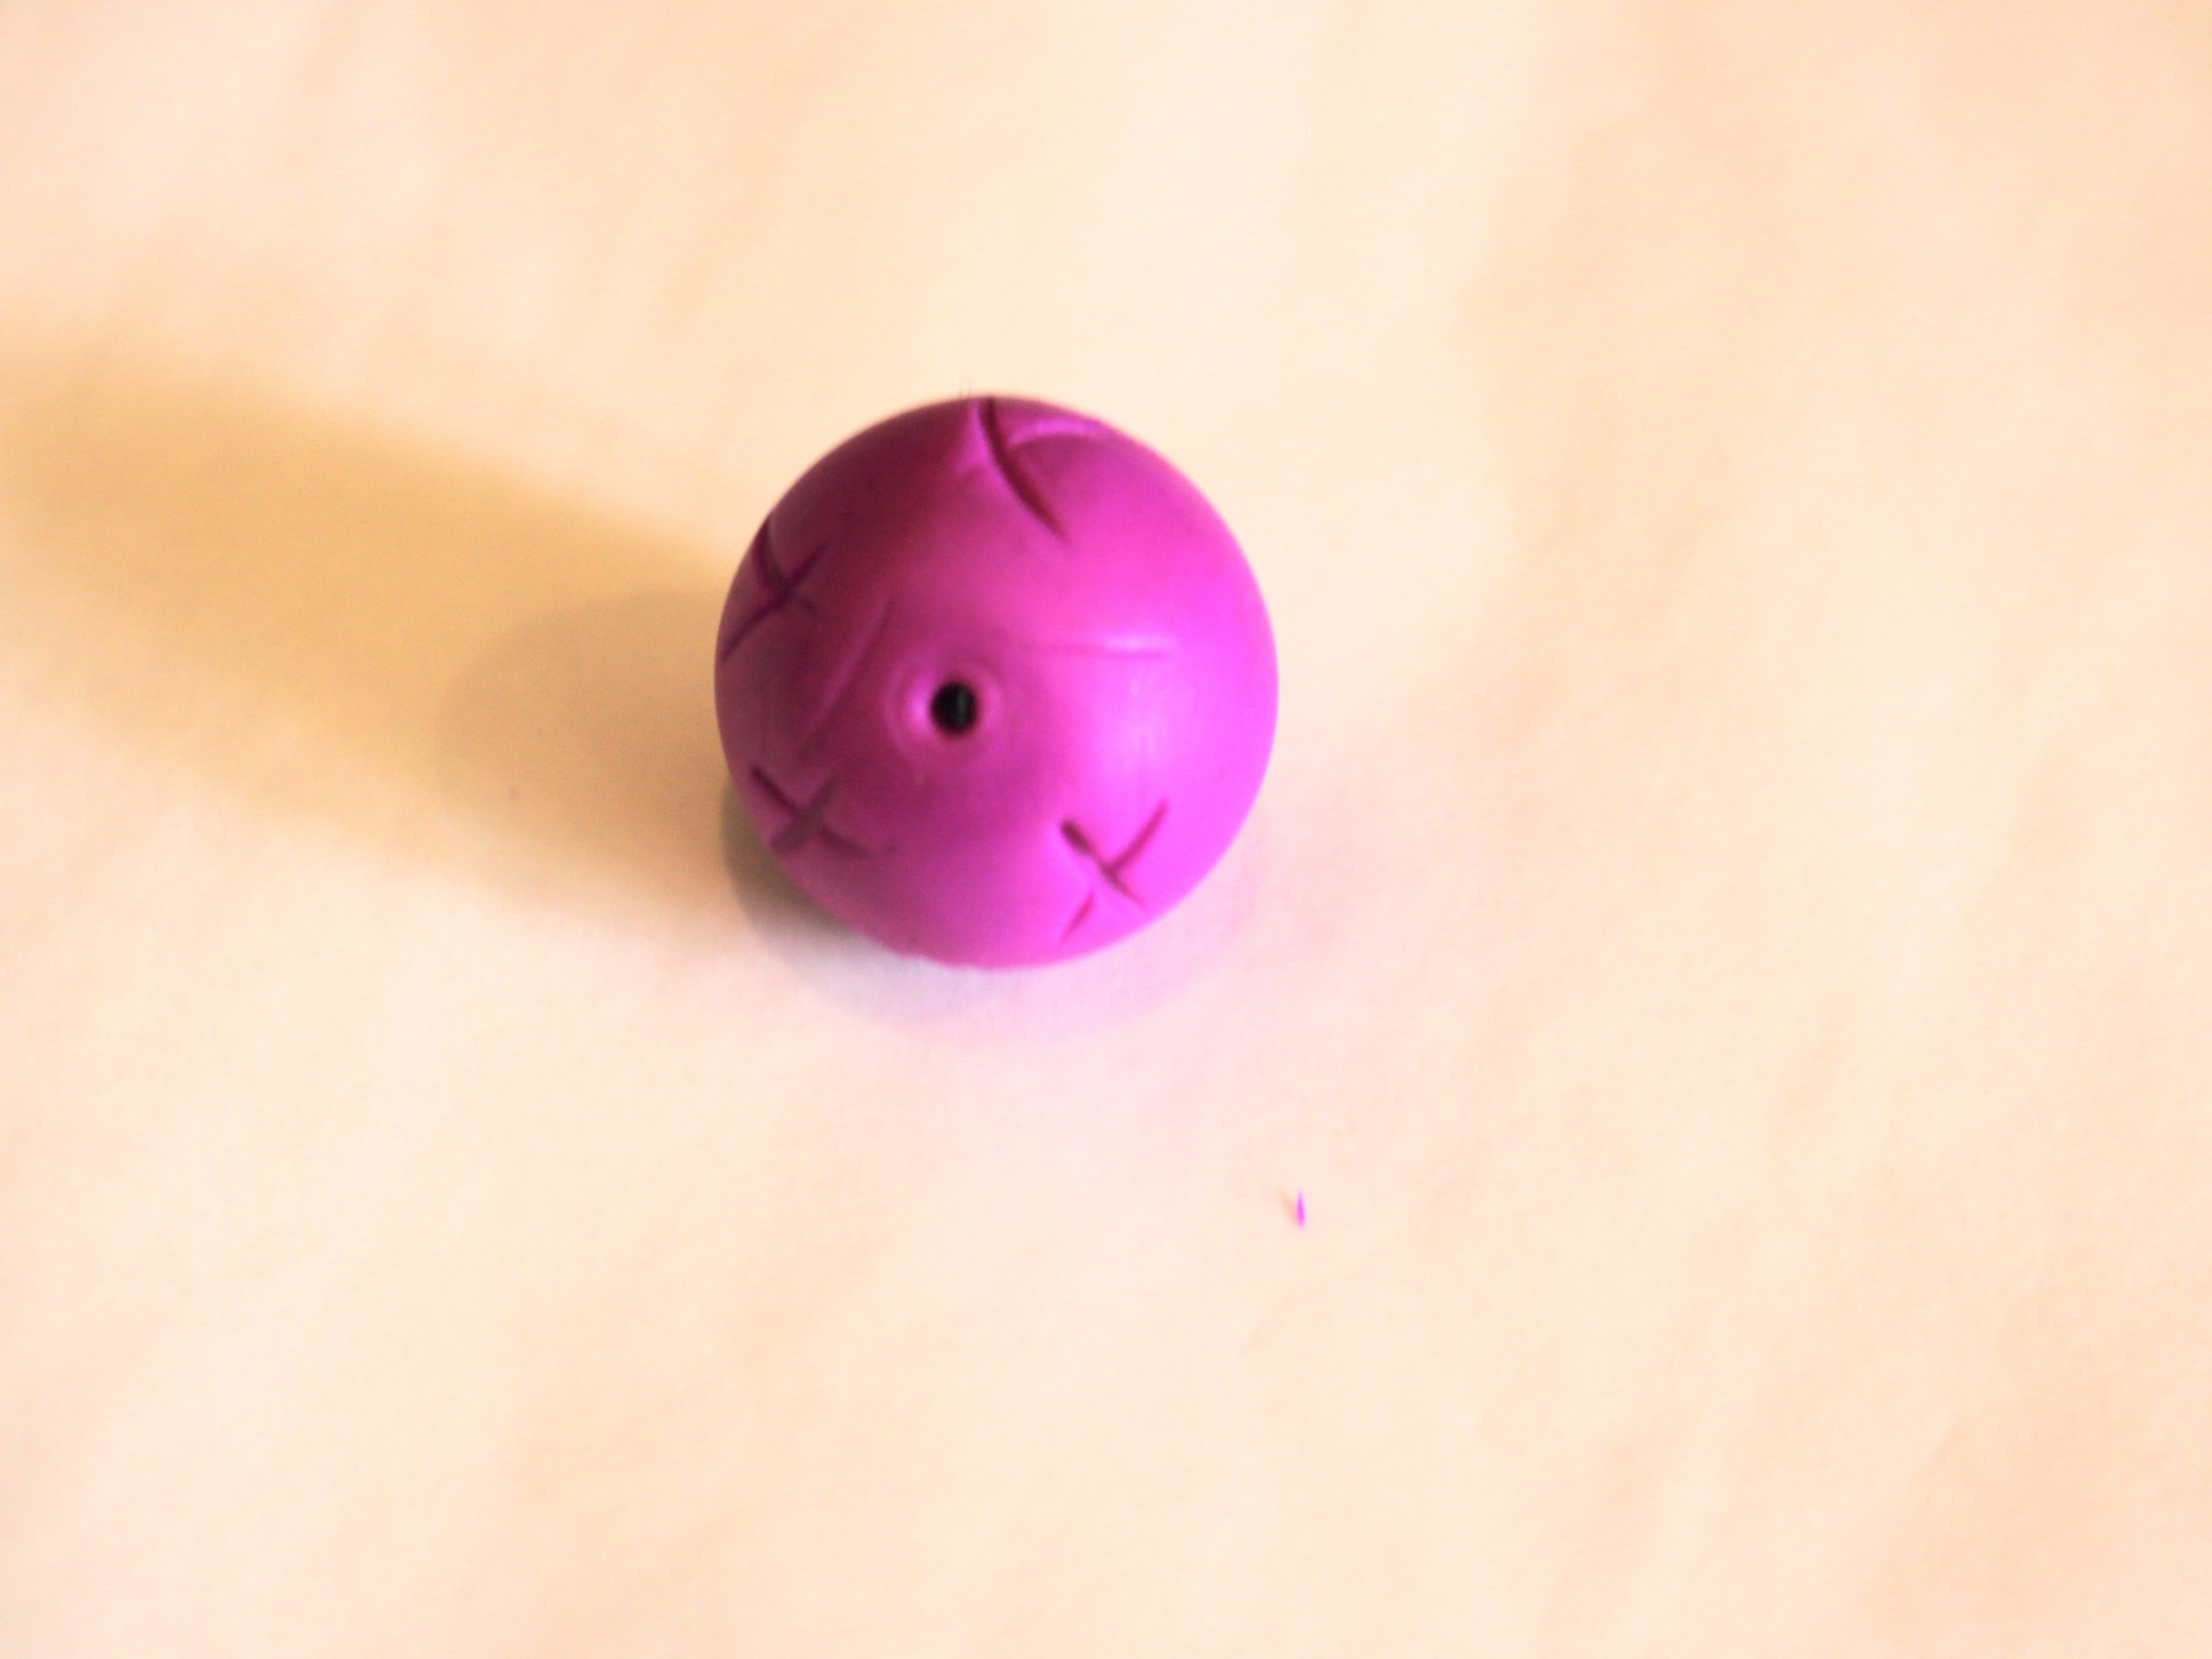
8: Now you can decorate your ball, you might want to roll it again gently to reshape it after making the hole. I used the other end of my poker tool to add some cross designs on my bead.

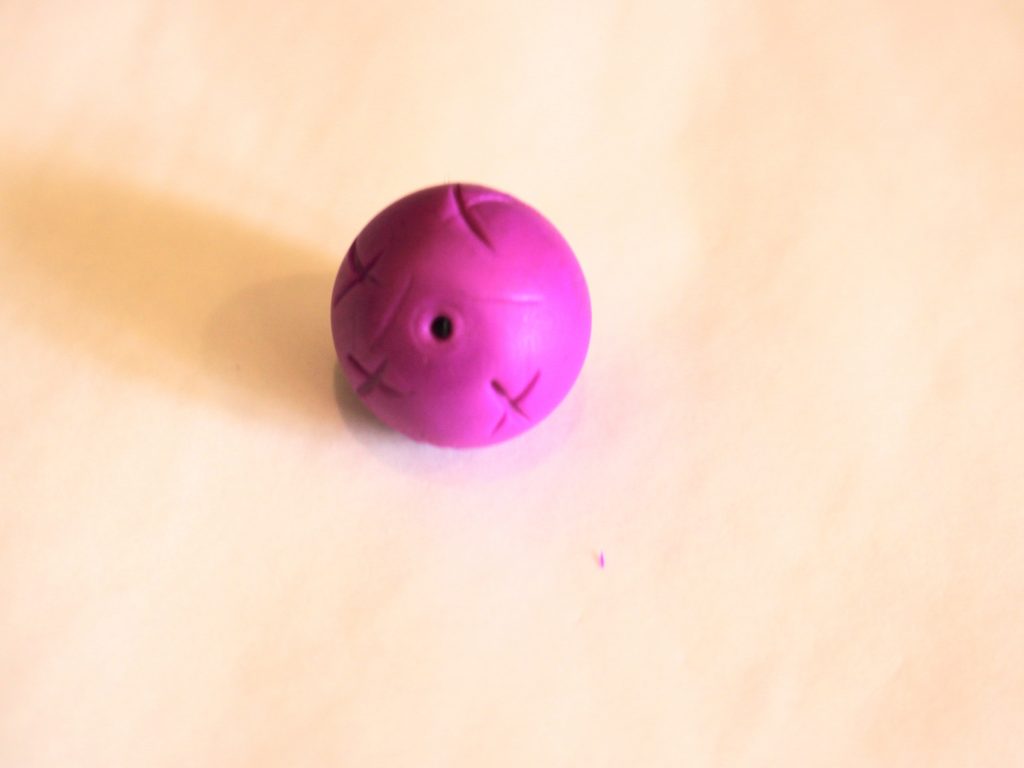
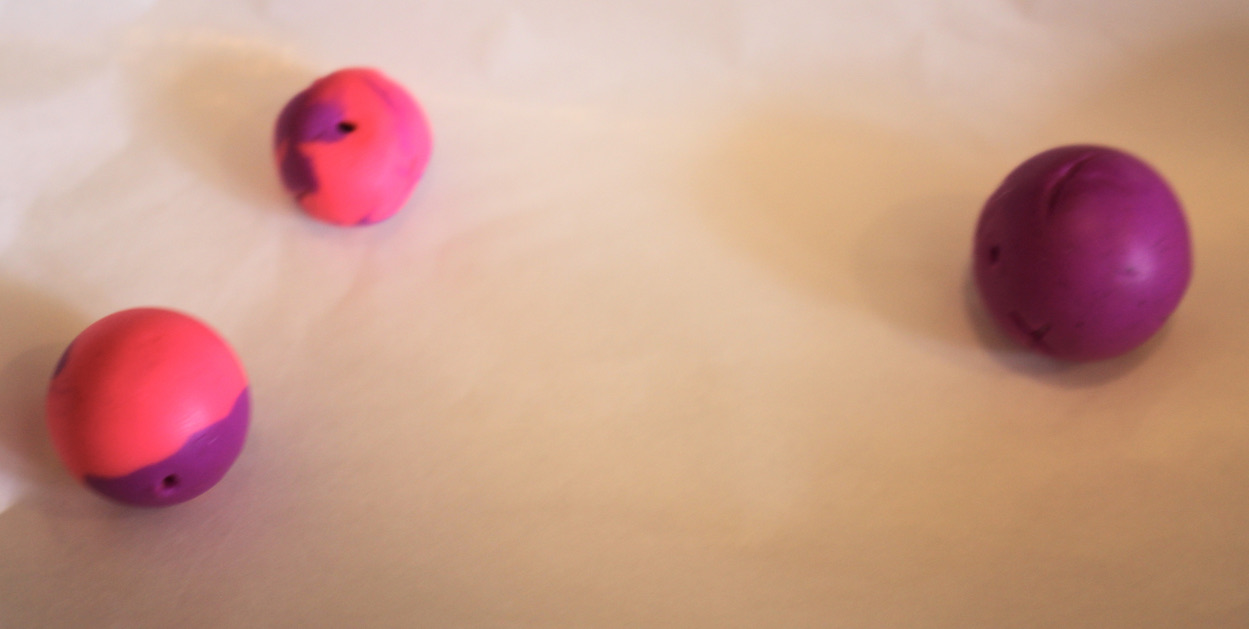
9: Bake the bead according to the instructions on the package of your chosen brand of polymer clay. I made a couple more beads before I baked them. Here they are before being baked.
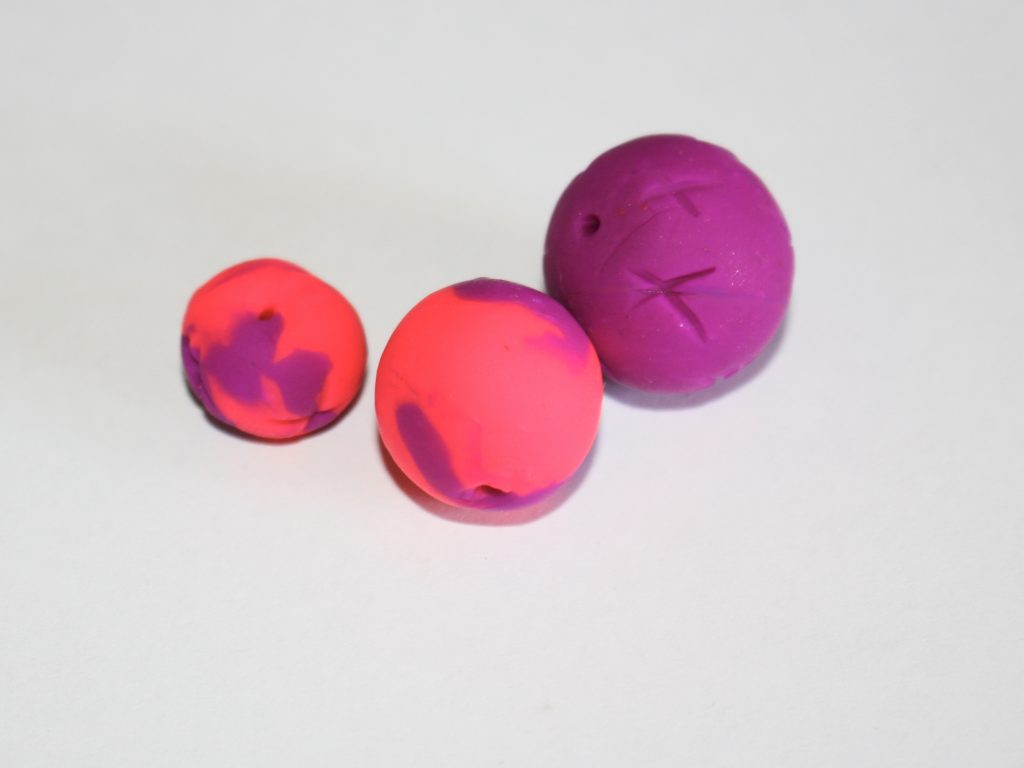
Once your bead is baked it is ready to use in your jewellery designs! Stay tuned for a tutorial where I use my polymer clay beads in a design!

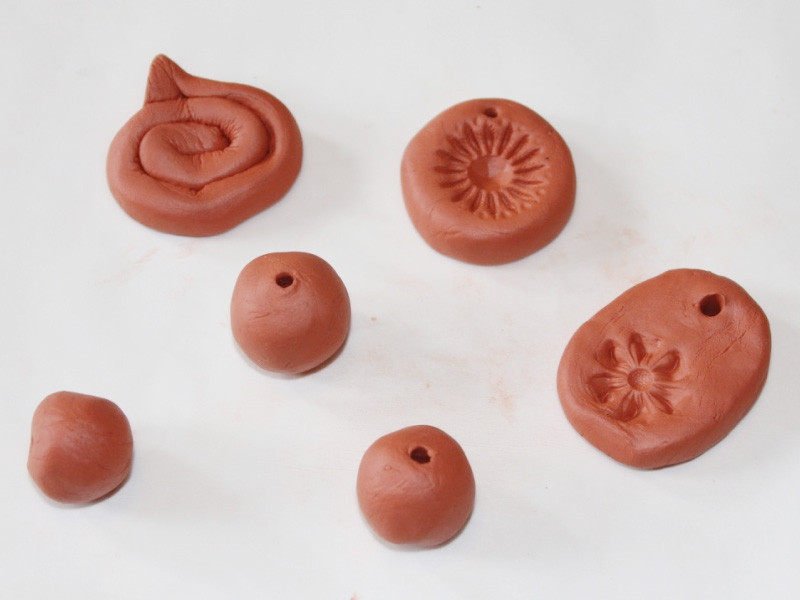
Here are the baked beads. If you liked this tutorial, here are some other ways to make polymer clay pieces to include in your jewelry designs:
- Here’s how to make polymer clay earrings with a beaded tassel
- Here’s how to make polymer clay charms for long statement earrings
And here are some pieces that make use of polymer clay beads and charms:
- A bracelet made using polymer clay beads and beading thread
- Maybe you’ll make a funky beaded lanyard with polymer clay beads?
- Make a cute charm bracelet with your handmade polymer clay beads.
- Use some cube shaped polymer clay beads to make a fun stacking ring
- Add some polymer clay beads to a funky beaded phone strap
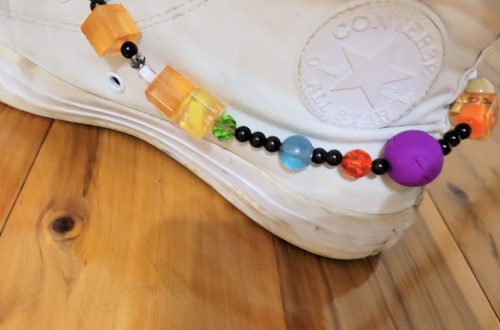
- Or use polymer clay beads to make a unique anklet
- Maybe you’ll add polymer clay beads to an amazing mixed bead statement necklace.
If you want to make beads in other materials here are some tutorials:
-
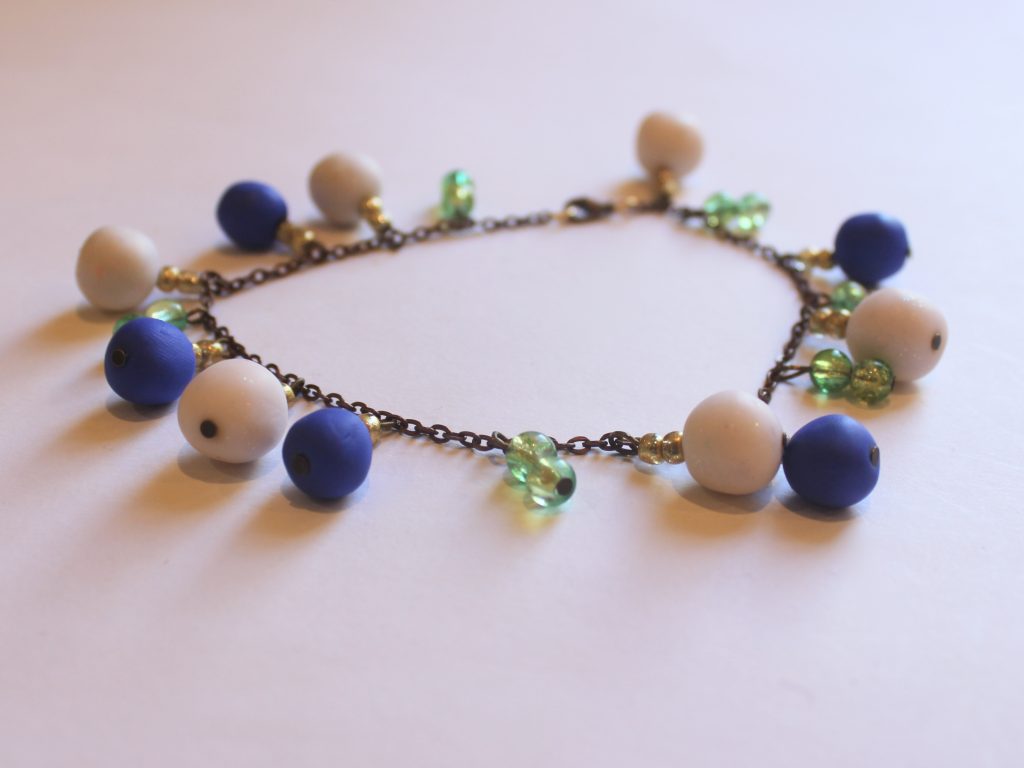
Here’s how to make a really cute charm anklet!
Do you love the look of dangling charms? Why not drape some around your ankle with this beaded charm anklet design? This tutorial contains affiliate links.
Here are the tools and materials I used to make my beaded charm anklet:
1: Pliers. I used by round nose pliers (middle), flat nose pliers (right) and cutting pliers (left).

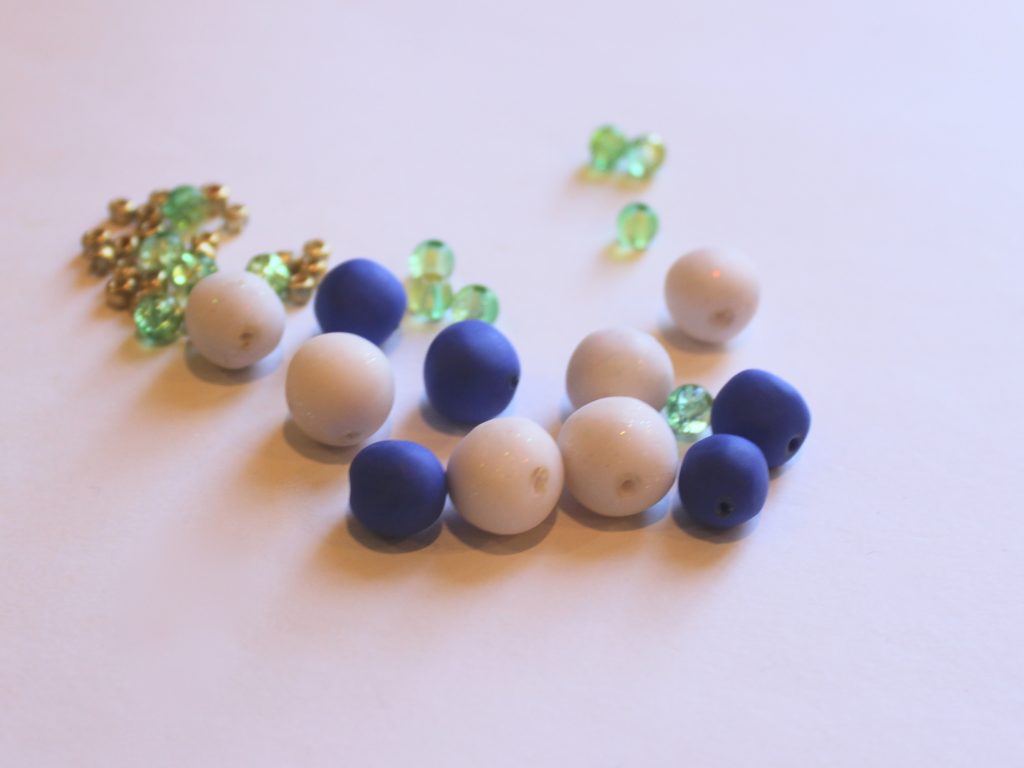
2: A selection of beads. I used some polymer clay beads that I made a while ago, some green glass beads and some gold e-beads.
3: Some chain long enough to fit around your ankle.

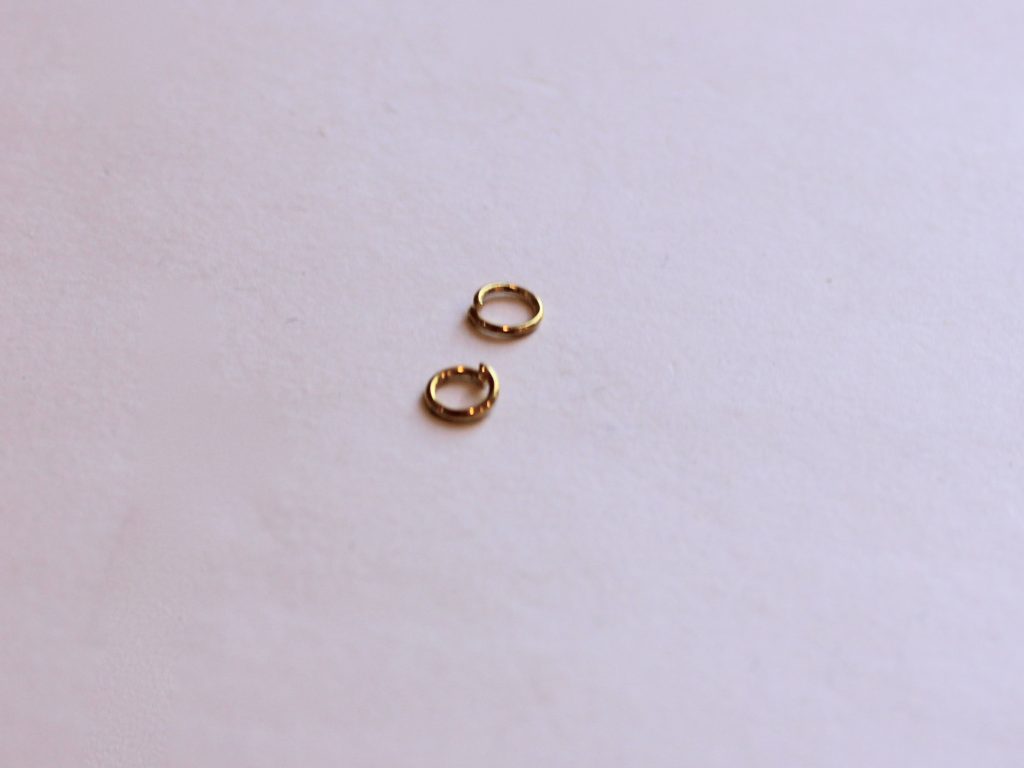
4: Two jump rings.
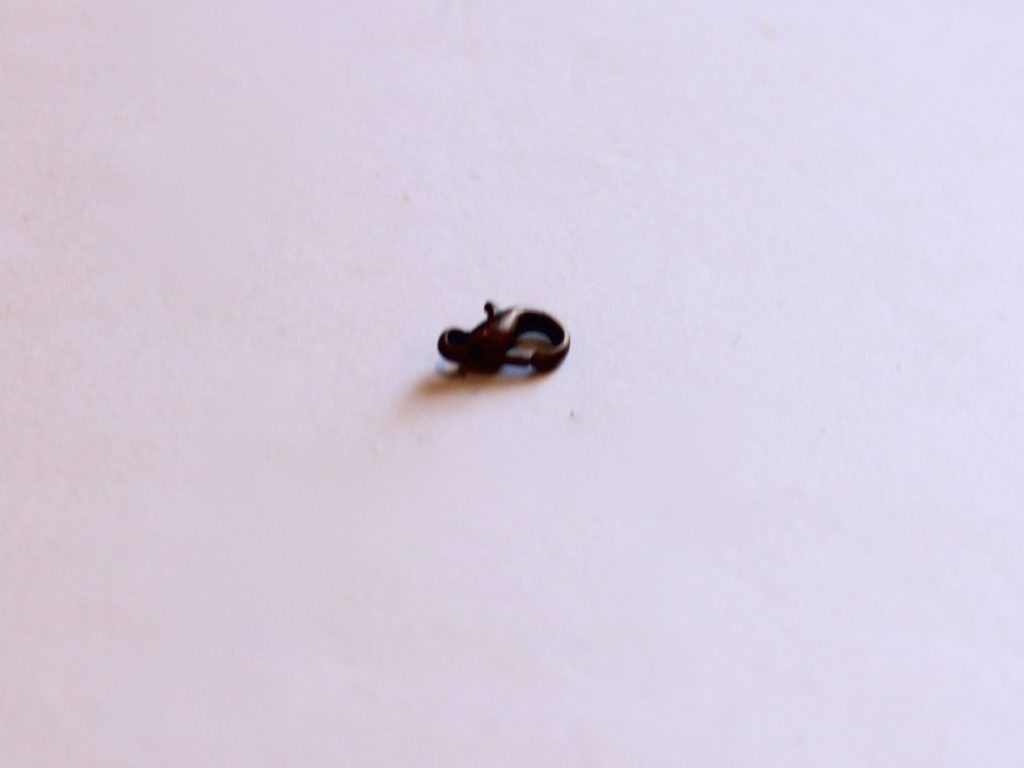
5: A lobster clasp.
6: A bunch of head pins.

Follow these steps to make your charm anklet:
1: Add beads to each of the head pins.
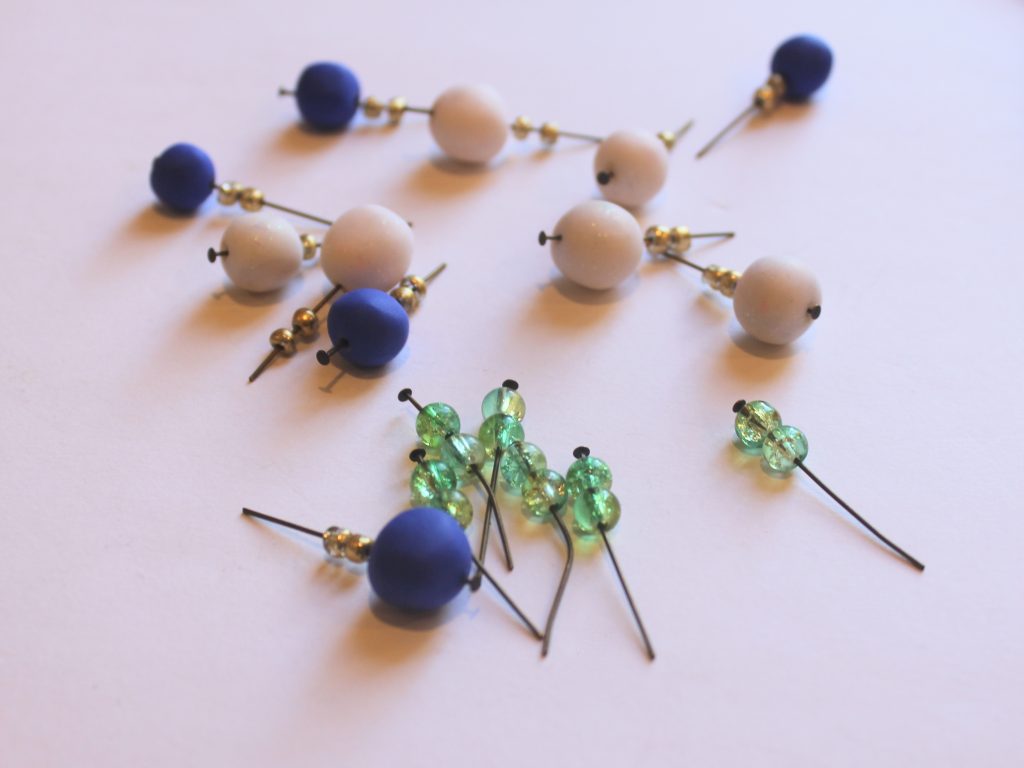
2: Bend each head pin to form a right angle.

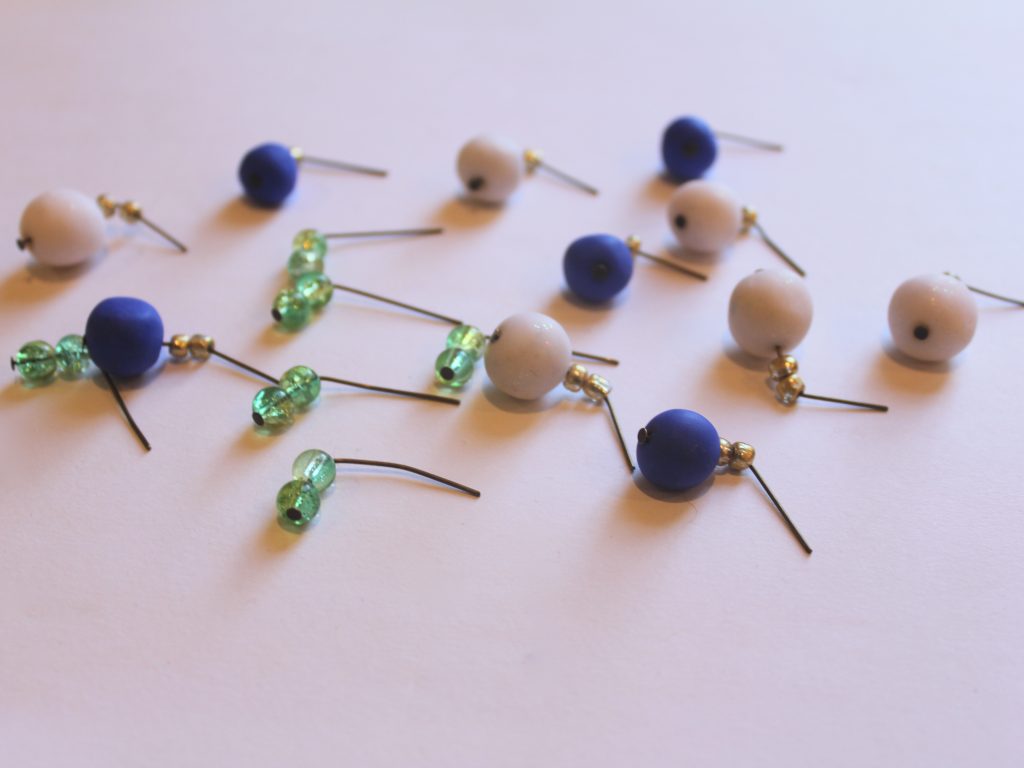
3: Trim the excess pin using the cutting pliers. Leave approximately 1cm unbeaded on all the charms.
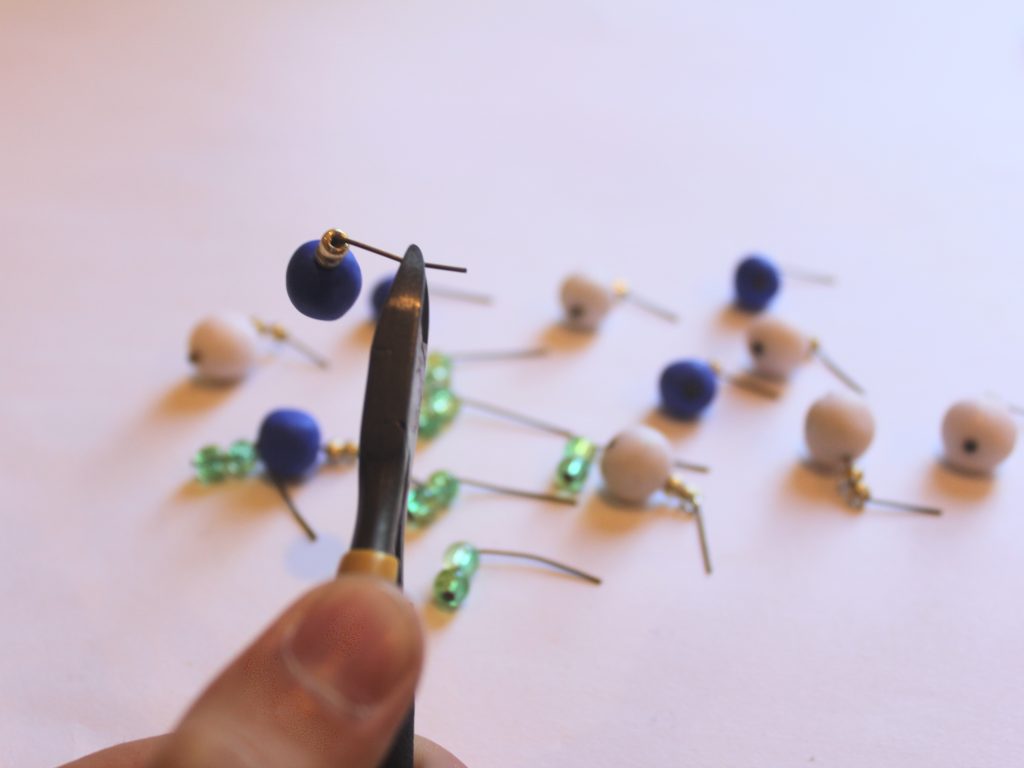
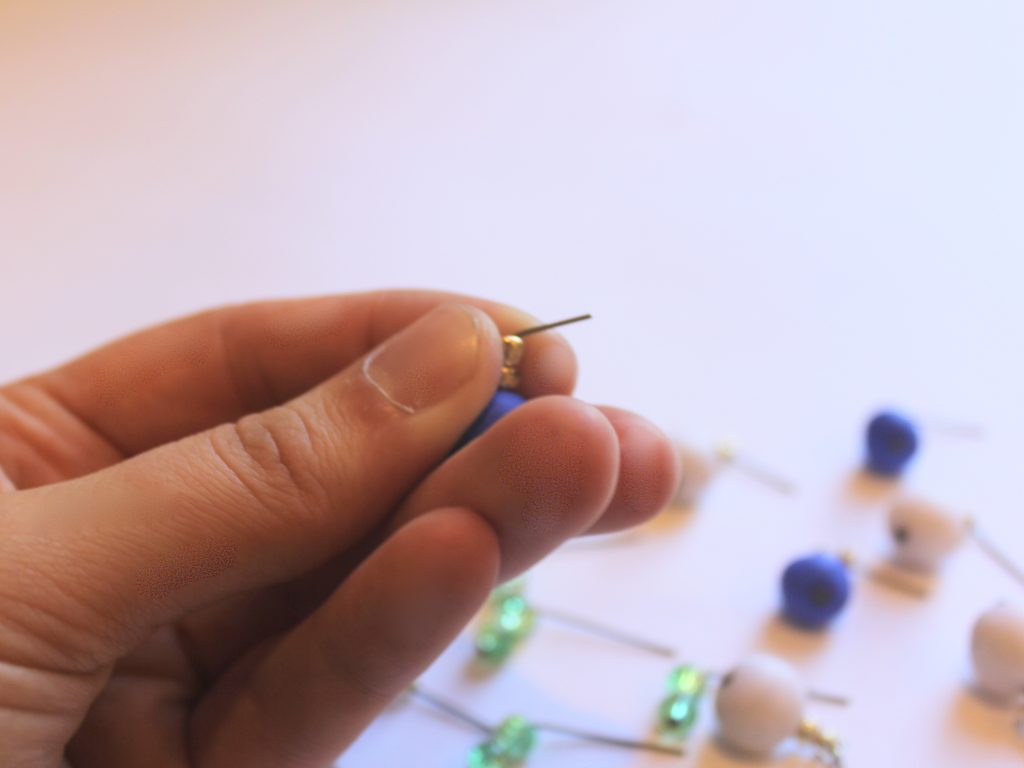
4: Loop the top of the pin using the round nose pliers to secure the beads in place.
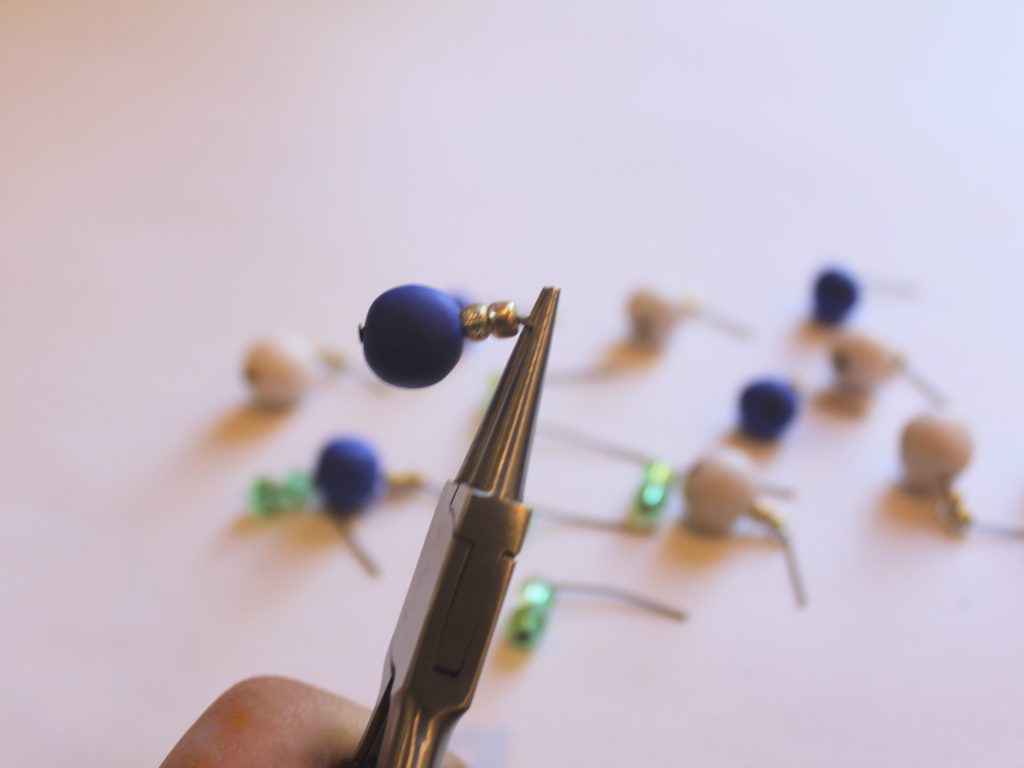

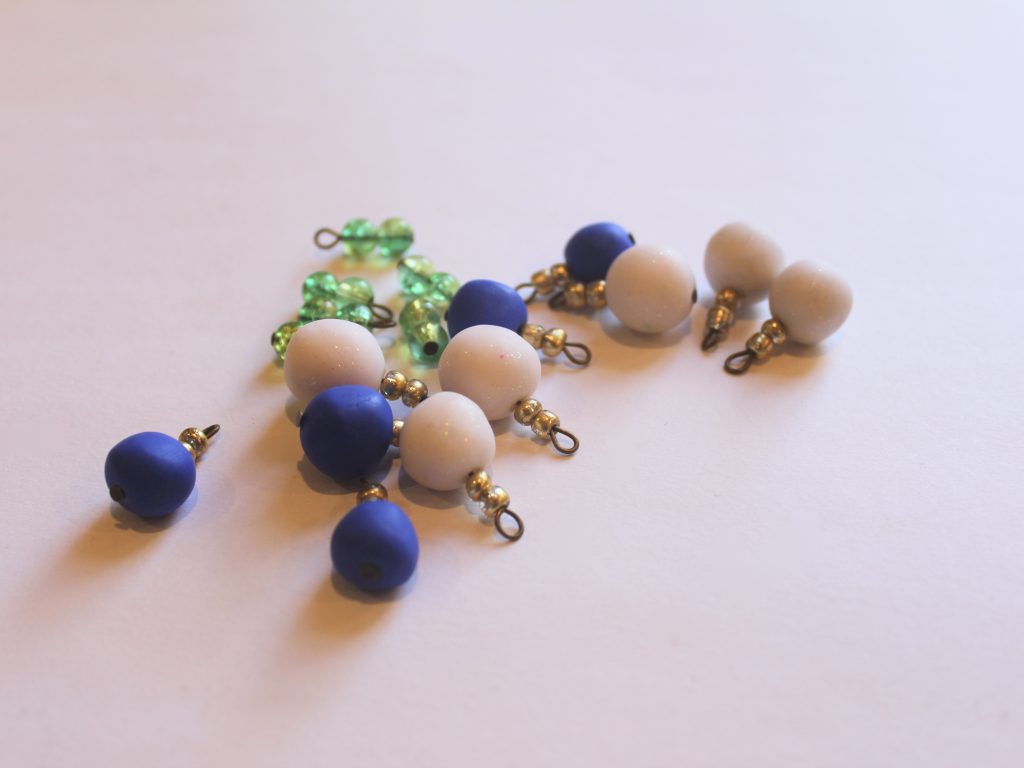
5: Add a jump ring to either end of the anklet chain and attach the lobster clasp to one of them.


6: Now you can attach the charms. Do this by opening the top loop slightly and sliding it through the chain links at spacing of your choice.


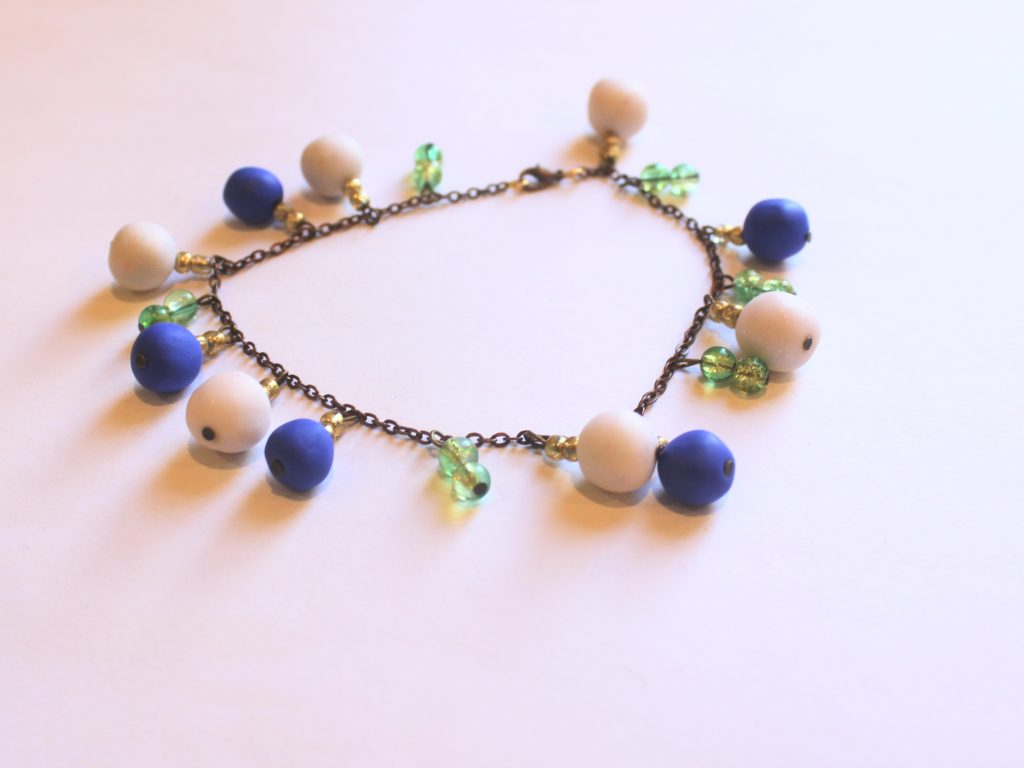
Now your charm anklet is finished and ready to wear! So fun!
This tutorial contains affiliate links.
-
Do you have some string sitting in your kitchen drawers? Why not turn it into a braided charm bracelet?
Here’s how to turn some household string into a cool braided charm bracelet! This bracelet is super easy to make and looks great with a casual summer outfit!
You will need the following tools and materials to make this bracelet:
1: Pliers. You will need your cutting pliers, round nose pliers and flat nose pliers to make this bracelet.
2: Two crimp ends.

3: Three pieces of string. Cut each to approximately 25cm (9.8 inches) long.

4: Two jump rings.
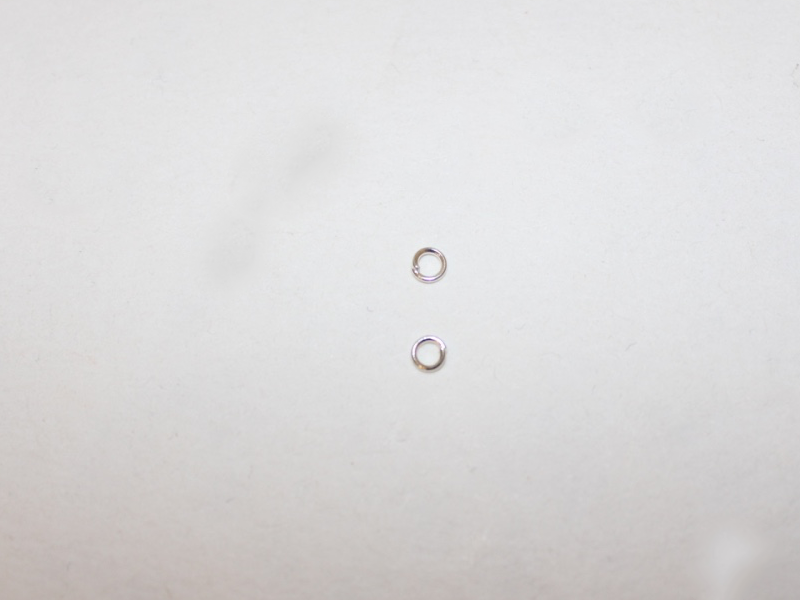
5: One large jump ring.

6: A clasp. I used this screw clasp.

7: Charms of your choice. I used this polymer clay charm and a wire charm that used to be an earring.


Follow these steps to make your bracelet:
1: Hold the ends of the three strings together and add a crimp end to secure them together. Add the crimp by folding it around the strings, squashing the sides down using the flat nose pliers as pictured.


2: Braid the strings until the bracelet reaches comfortably around your wrist.


3: Trim the strings using your cutting pliers or a pair of scissors.


4: Add the other crimp end to the end of the braid.


5: Add a jump ring to either side of the bracelet and attach the screw clasp, closing the jump rings to secure the clasp in place.


6: Add the charms to the large jump ring.

7: Add the large jump ring with the charms attached to one of the jump rings next to the clasp. Close the large jump ring to secure the charms to the bracelet.

Now that your charms are attached your fun summer beaded bracelet is finished!

-
Make this thin wire ring and give your fingers some delicate bling!

This ring makes use of firm memory wire to create a delicate cocktail ring that is simple to make and a delight to wear.
Follow these steps to make your own delicate thin wire ring:
1: Pliers. You will need your cutting pliers to make this ring.

2: Ring sized memory wire.

3: Araldite glue. I suggest wearing gloves and working in a well ventilated space when gluing.

4: Skewer.

5: A piece of scrap paper.

6: A bead of your choice. I used this handmade polymer clay cube bead.

Follow these steps to make your own elegant thin wire ring:
1: Cut one loop of memory wire using the cutting pliers.

2: Squeeze out some glue and mix it using the skewer on the scrap paper.



3: Add the glue to one side of the opening on the memory wire.

4: Place the glue end into one side of the bead.

5: Add glue to the other side of the ring and place the end into the other side of the bead.
6: Once the wire has been secured in place you may need to add some extra glue to the bead opening to ensure that the ring is secured.

7: Wait for the glue to dry before you wear your ring.

Once the ring is dry it is ready to wear… Looking good!

Here is another ring made with a grey polymer clay bead.


-
DIY Jewelry Design Ideas: Super Stylish Mismatched Earrings
One of my favorite things to make are pairs of mismatched earrings. Be they asymmetrical or complete opposites a pair of mismatched earrings is sure to add some pizzazz to your look.
Here are some examples of my mismatched earring creations. I like to use a variety of materials using everything from semi precious stones and polymer clay to glass and plastic charms.
 These earrings were made using some plastic charms moulded into cookie shapes.
 This mismatched pair is made using a glass charm and a polished gemstone.
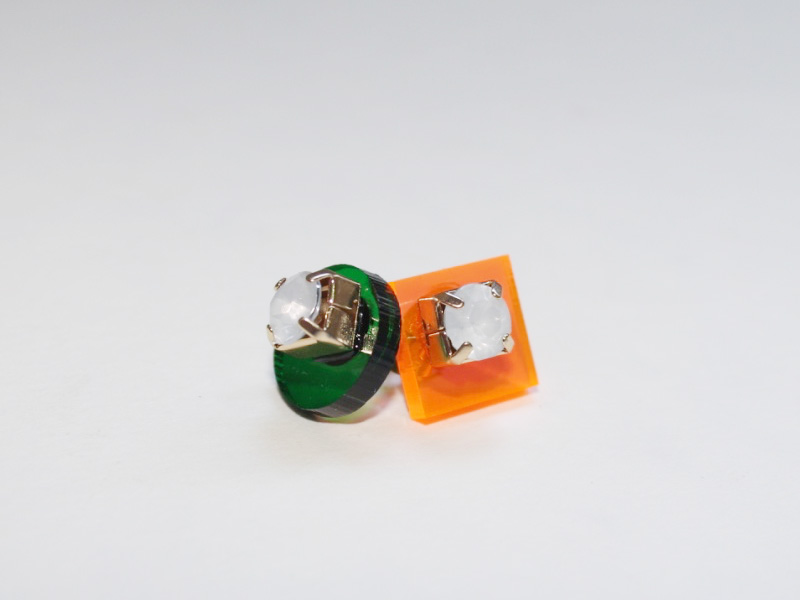 These earrings are from DIY Jewelry Hub’s stud earring tutorial.
 These earrings were made using hand shaped pieces of polymer clay.
 These dangly earrings feature the same beads in different arrangements.
What do you think? Would you make or wear a pair of mismatched earrings?