-
These Pom Pom hoop earrings are the CUTEST!

Here’s a quick tutorial that shows you all the steps to make a pair of adorable and colorful pom pom hoop earrings. Contains affiliate links.
You will need the following tools and materials to make your pom pom hoop earrings:
1: Small pom poms. I added four to each earring.

2: Two hoop earrings.

3: A cutting mat.

4: A pointed tool for poking a hole in each pom pom (be careful!)

Follow these steps to make your pom pom hoop earrings:
1: Using your cutting mat, carefully poke a hole in the first pom pom. If you puncture it too close to the edge it will fall off the earring.


2: Carefully slide the punctured pom pom onto the hoop earring.

3: Continue puncturing 3 more pom poms and put them on the first earring.

4: Repeat steps 1-3 for the remaining 4 pom poms and the second hoop earring.
Now your earrings are finished! How adorable are these fuzzy rainbow hoops?!
Here’s another pair made with matching pom poms.


-
Rhinestone earrings with furry pom pom ear jackets are the coolest earrings You’ve Ever Seen!
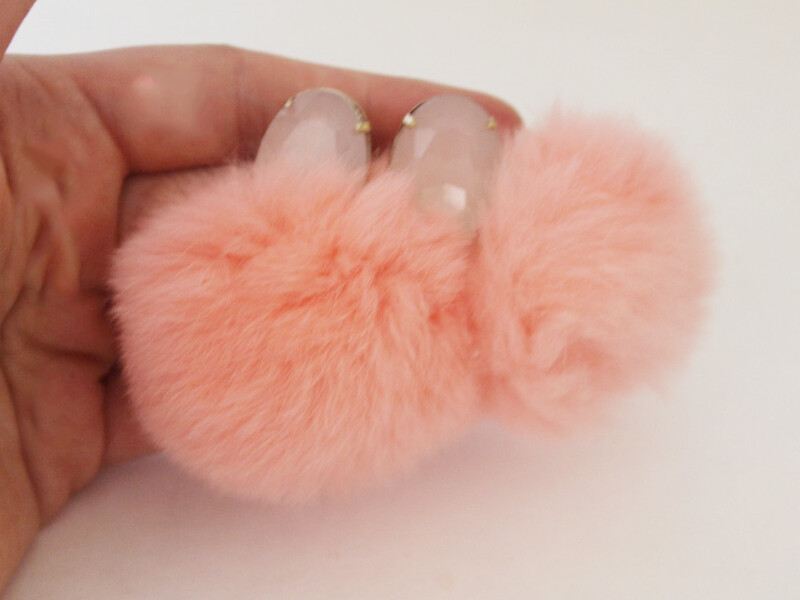
These earrings are so fun and cool! Make some just in time for the festive season.
You will need the following tools and materials to make your earrings:
1: Araldite Glue

2: Scrap paper

3: Skewer

4: Flat bed earring posts

5: Two butterfly earring backs

6: Two jump rings.

7: Two rhinestones. I used these pink and gold rhinestones.

8: Two faux fur pom poms. I used these pink ones.

9: Pliers. You will need your flat nose and round nose pliers.


Follow these steps to make your earrings:
1: Squeeze the Araldite out in equal parts onto the scrap paper.


2: Mix the glue with a skewer.

3: Add the glue to each of the earrings and place them carefully onto the backs of each rhinestone.


4: Set aside the rhinestones to dry.

5: Attach a jump ring to the loop at the top of the pom pom and slide the butterfly back onto the open jump ring.

6: Close the jump ring to secure the pom pom to the earring back.

7: Repeat steps 5 and 6 for the remaining pom pom and earring back.

Once your earrings are dry they’re ready to wear! How fun are these?

-
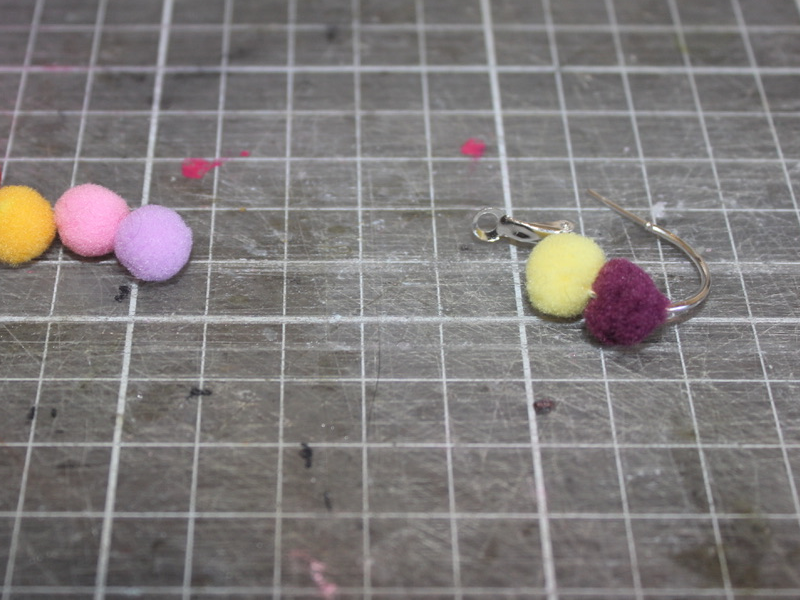
You Can Never be Wearing too Many Pom Poms! Make These Adorable Pom Pom Ear Jacket Earrings

These pom pom earrings are party at the front and the back! They are so easy to make and you can mix and match them to change up your look. Contains affiliate links.
You will need the following tools and materials to make these earrings:
1: Pliers. You will need your flat nose pliers, round nose pliers and cutting pliers to make these earrings.

2: Charm connector earrings with butterfly backs.

3: Two short pieces of chain, mine were approximately 5cm long.

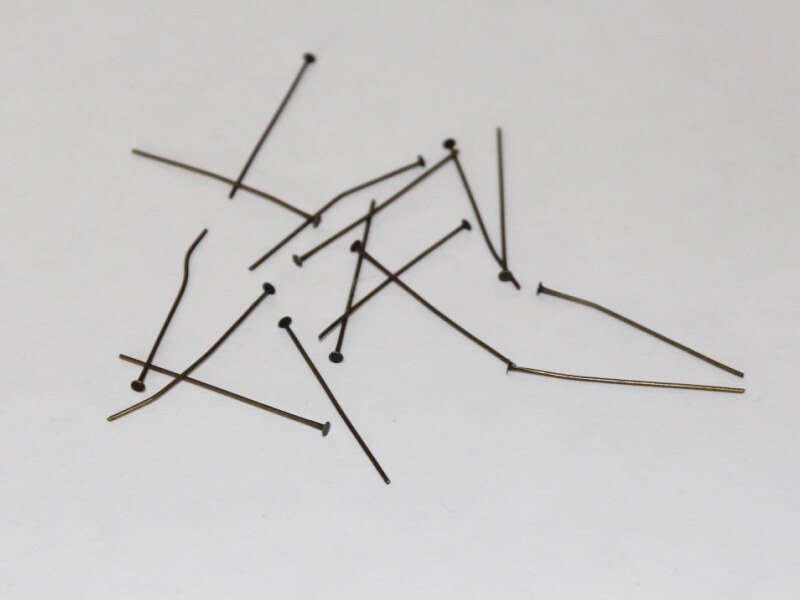
4: Four head pins.

5: Two smaller jump rings.

6: Two larger jump rings.

7: Four pom poms in two different colors.

Follow these steps to make your earrings:
1: Add the beads and pom poms to each of the head pins.


2: Bend each head pin at a right angle using the round nose pliers.


3: Trim each pin so that approximately 1cm of the uncovered pin remains using the cutting pliers.


4: Use the round nose pliers to form a loop at the top of each pin, securing the beads and pom poms in place.


5: Add two of the charms to each piece of chain.


6: Add the other charms to the larger jump rings and attach them to the butterfly earring backs.


7: Attach the two chain charms to the earrings using the two smaller jump rings.


Once the chain charms are attached to each earring they are finished and ready to wear! So fun for a summer night out.


-
This Pom Pom Charm Bracelet is a Whole Lotta fun!
This pom pom charm bracelet is so much fun to put together and even more exciting to wear! Contains affiliate links.
You will need the following tools and materials to make this bracelet:
1: Pliers. You will need your round nose pliers, flat nose pliers and cutting pliers to make this bracelet.
2: A short piece of chain.

3: Two pieces of string cut to the same length.

4: Two leather crimp ends.

5: Head pins. I used 15 head pins so that I could add one charm to each link of the chain.
6: Pom Poms and beads of your choice. I used these small multi-colored pom poms and some small timber beads.
Follow these steps to make your pom pom bracelet:
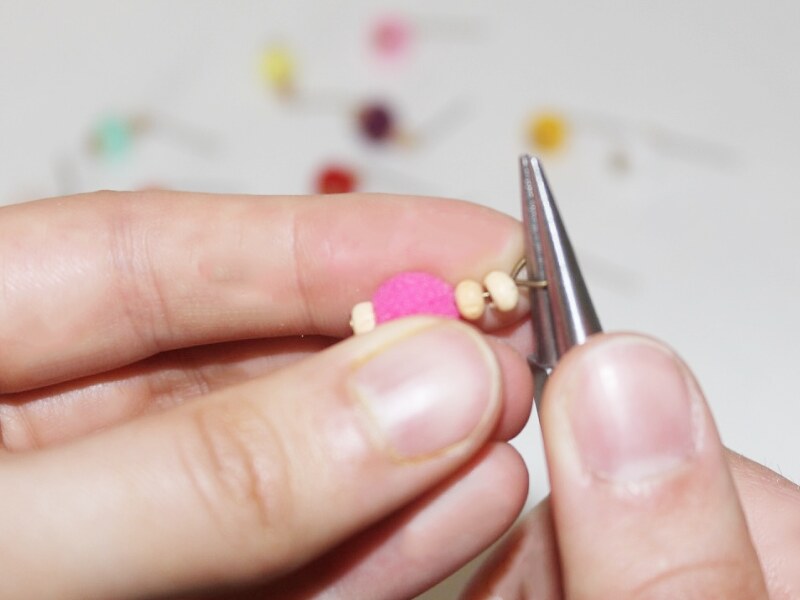
1: Add the beads and pom poms to each of the head pins.

2: Bend each pin to form a right angle using the round nose pliers.
3: Form a loop at the top of each pin using the round nose pliers.
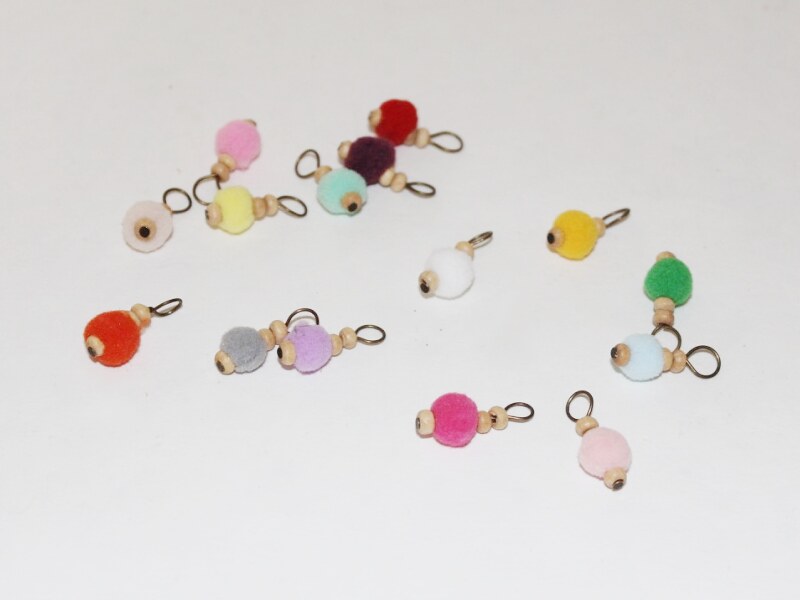
4: Add each of the pom pom charms to a link on your chain. I left the links on each end empty.
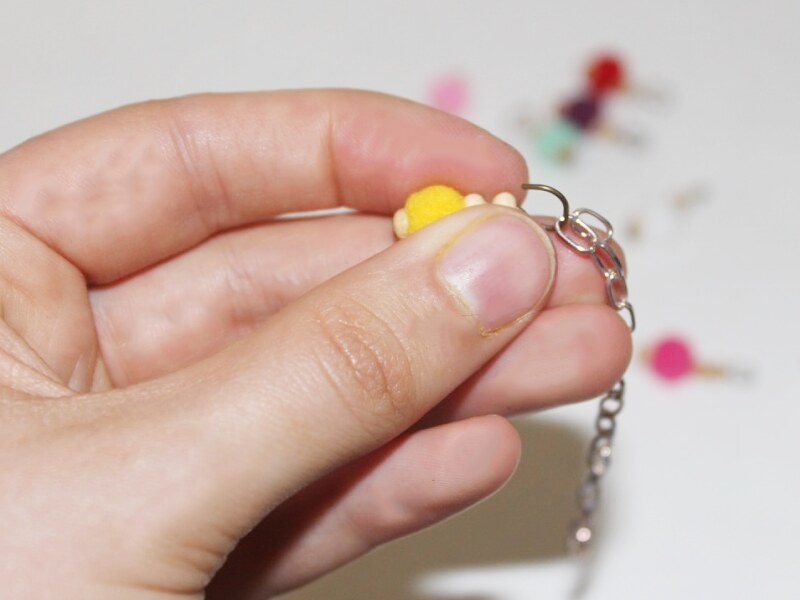
5: Add a crimp end to each of the strings, leaving one end open.
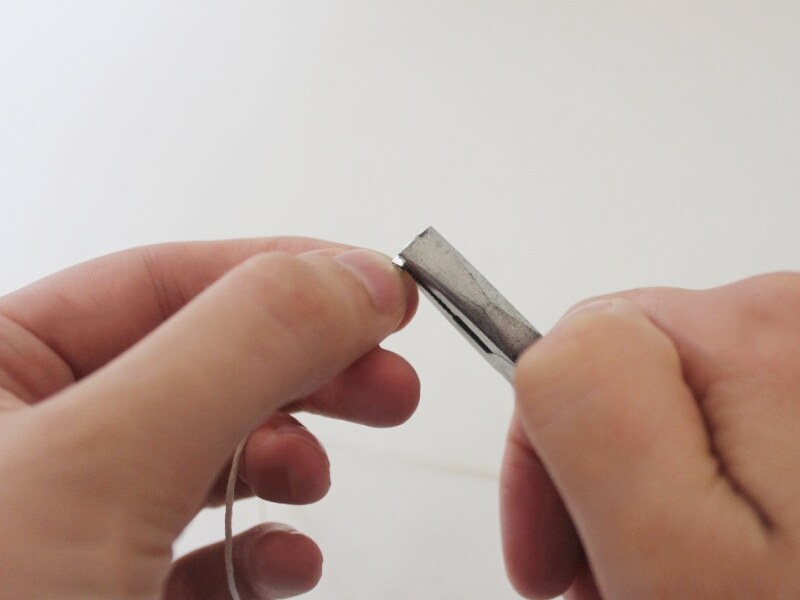
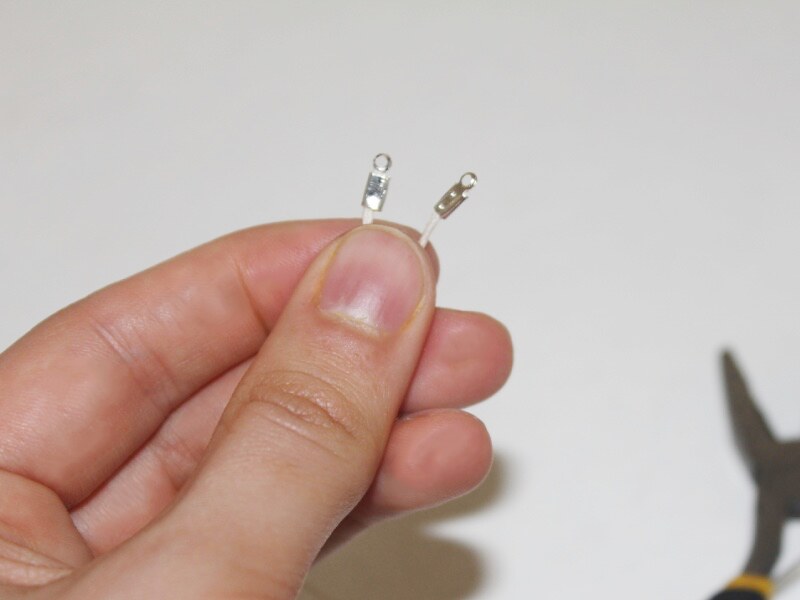
6: Attach the strings to either end of the chain by opening the chain links or using some jump rings.
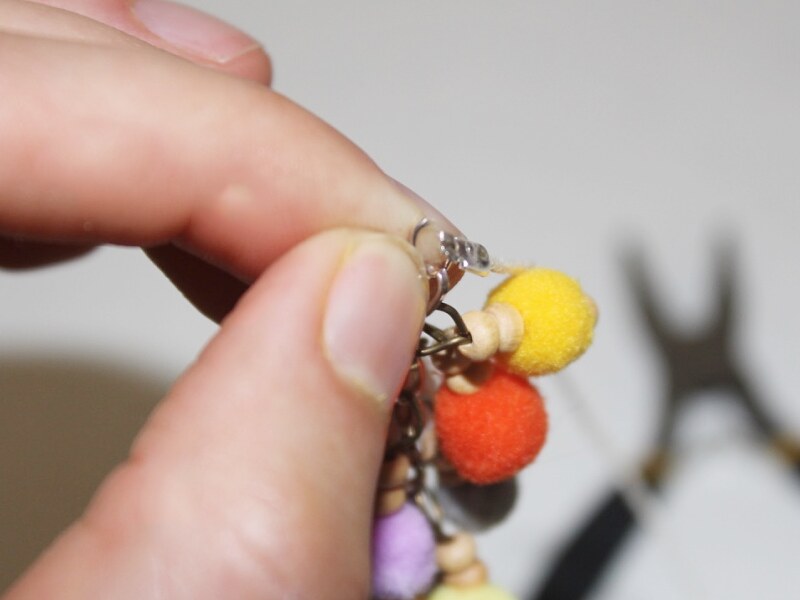
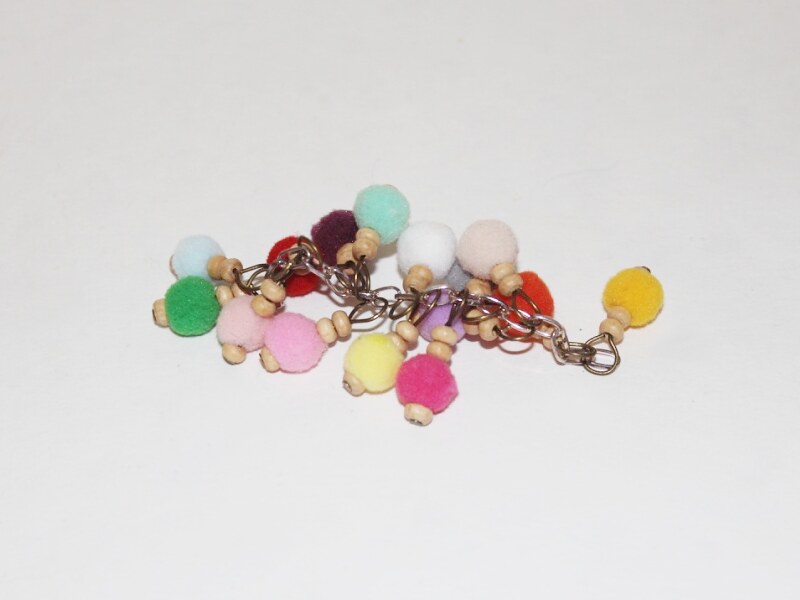
Once the strings are attached your bracelet is finished and ready to wear!


-
Having Trouble deciding what to make? Here are my top 10 fave tutorials!
Here is a count down of my top 10 favorite tutorials on DIY Jewelry hub so far. I hope some of your faves are in here too!
10.
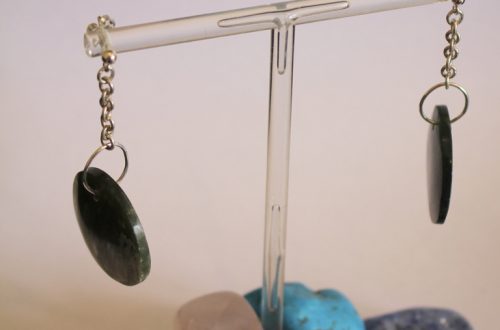
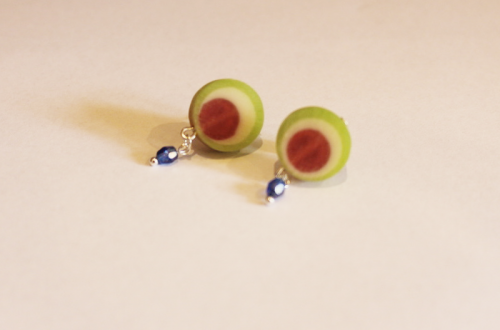
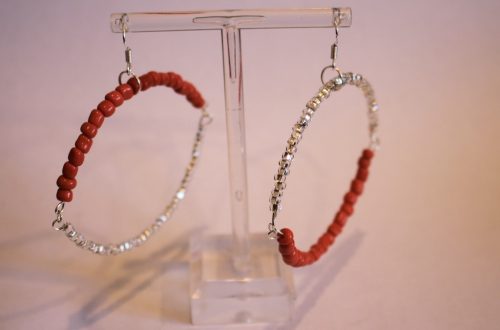
Transform beautiful buttons into stunning and unique earrings. This tutorial is a personal favorite of mine and I wear my button earrings all the time!
Check out the button earring tutorial out here!


9.
This one is for the fellas! A quick DIY that leaves you with some incredible and unique cufflinks. I gave a special pair to my Dad.
Click here to make your own unique cufflinks.


8.
This design is pretty cool! Using memory wire and some crimp beads you can make your beads float across your chest.
Here are all the steps to make your own floating bead necklace.


7.
How cute are these? I love these festive pom pom earrings, especially as the silly season is coming up soon!
Make your own pom pom earrings, follow these steps.
6.
Recycling doesn’t have to be messy! I love upcycling old cardboard tubes and and plastic rings into jewelry.
Make yourself some recycled ribbon bangles!


5.
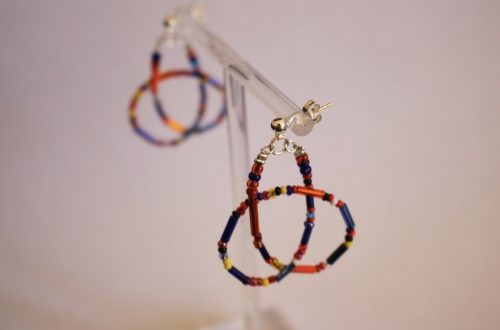
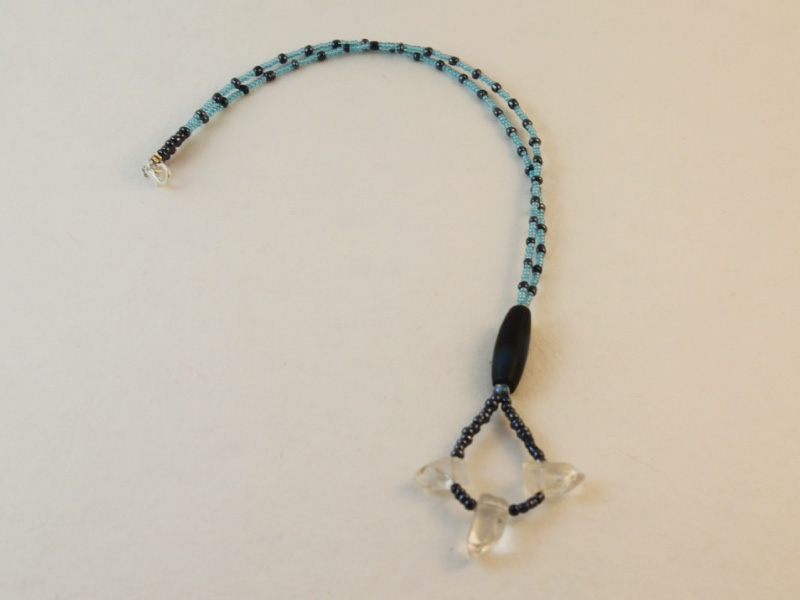
This beaded triangle pendant is one of my favorite designs! All you need are some awesome beads and three eye pins and you’re on your way.
Check out the triangle pendant tutorial video for some DIY inspiration!

4.
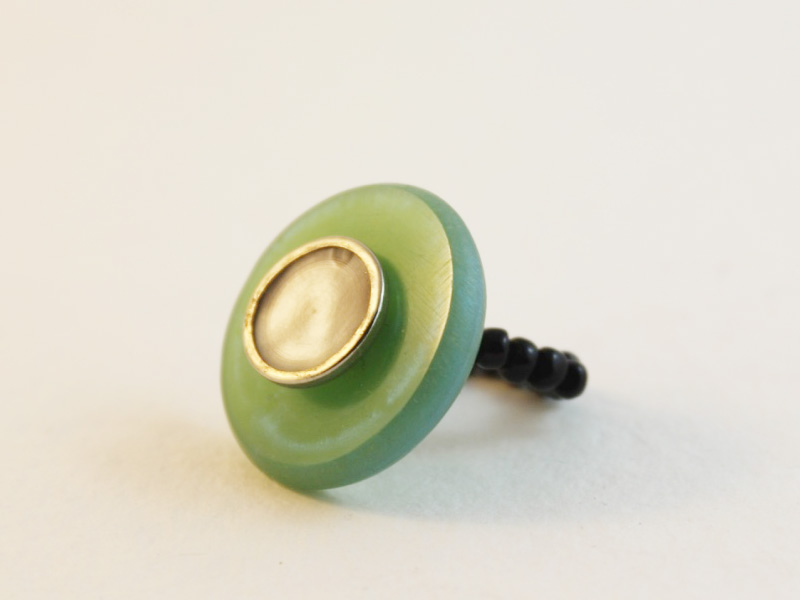
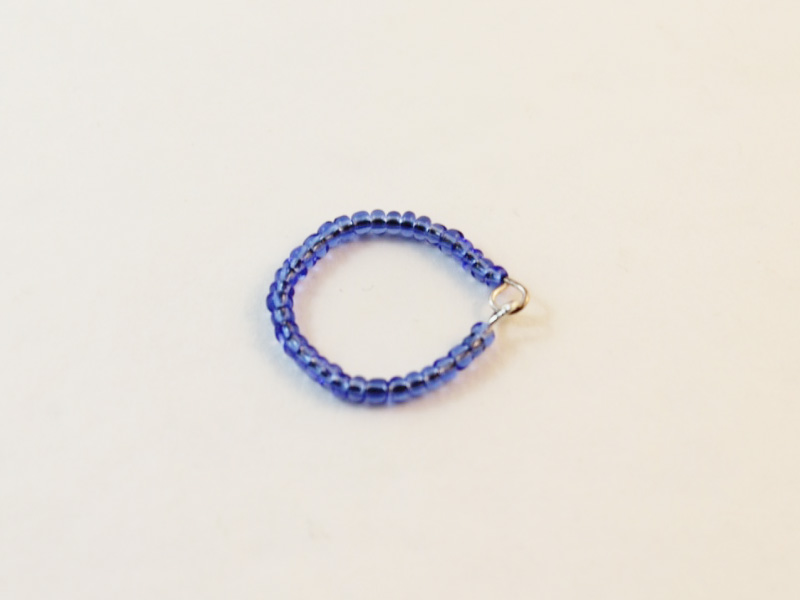
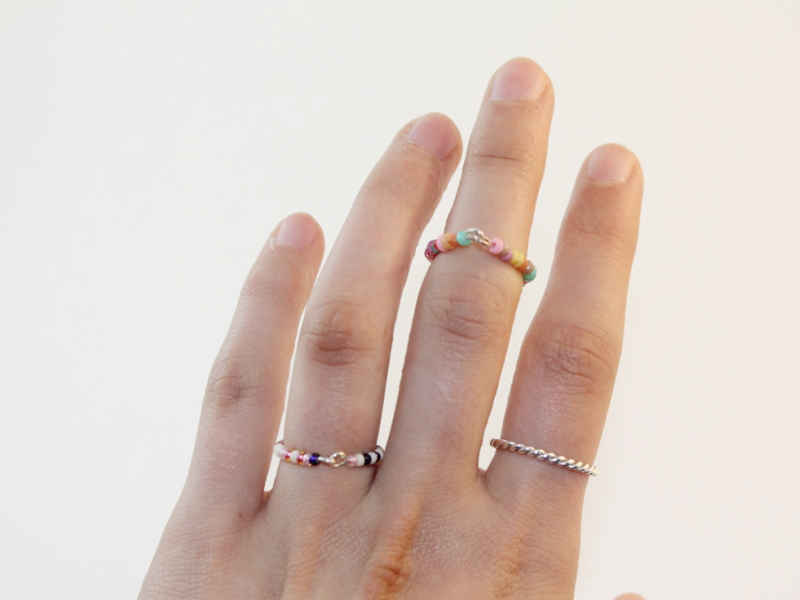
Want to make your own beaded rings without using a ring finding? Here’s how! You’ll be decorating your fingers with these delicate beauties.
All the steps to make beaded rings are right here.
3.
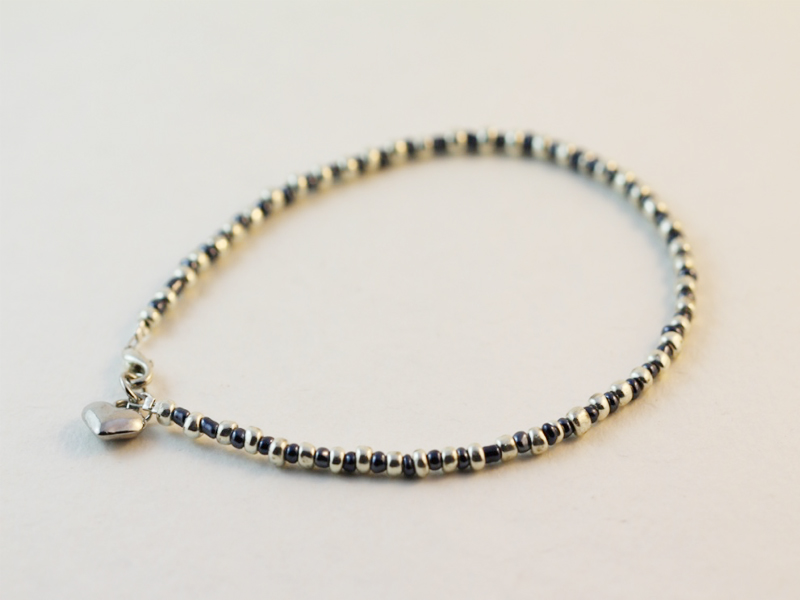
Anklets are great, especially in summer. This video tutorial shows you how to make a simple beaded anklet to make that ankle shine!
Follow the anklet making steps right here.
2.
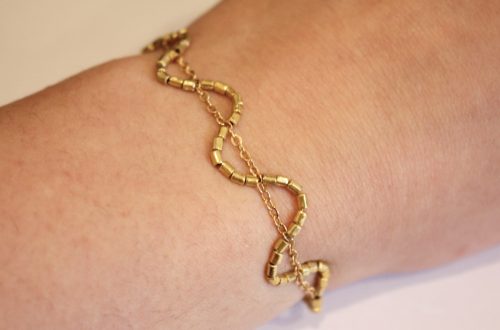
This looping technique is super easy to do and gives a great effect! I bet every necklace you make using this technique will look completely different. This tutorial is also perfect for making gifts.
Check the beaded loop necklace tutorial out right here!
1.
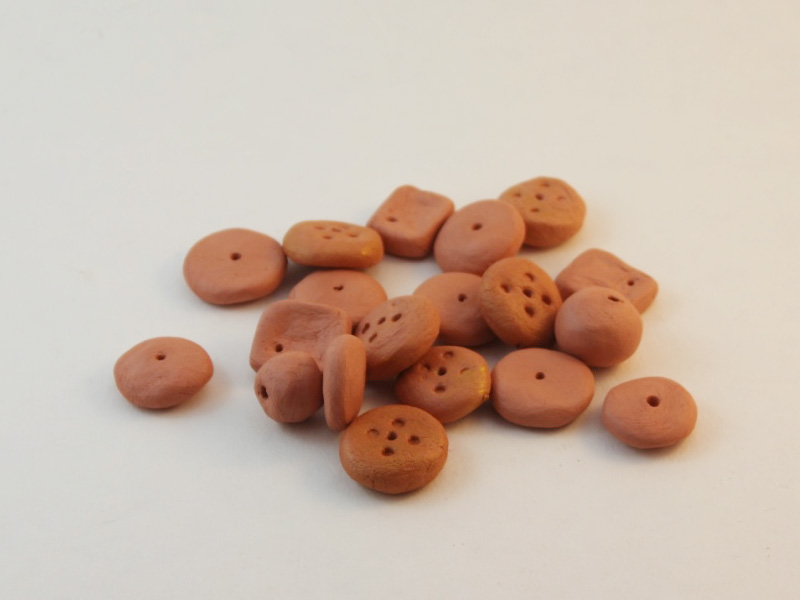
What’s more exciting than making your own bead jewelry? Making your own beads! Using air dry clay to make your own beads is easy, fun (and just the right amount of messy).
Get stuck into the bead making, all the steps are right here!


-
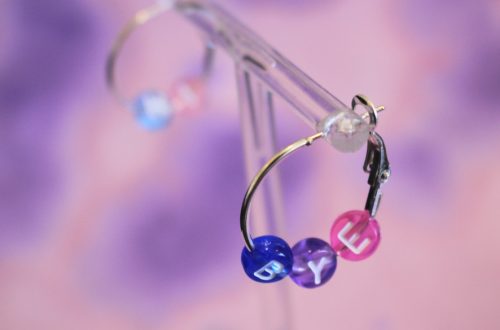
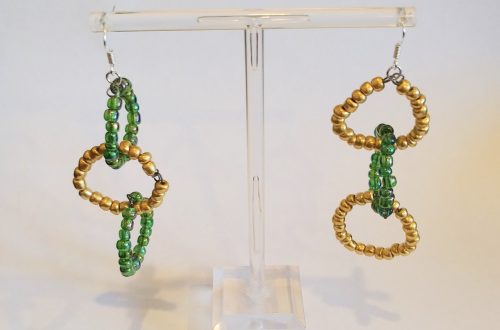
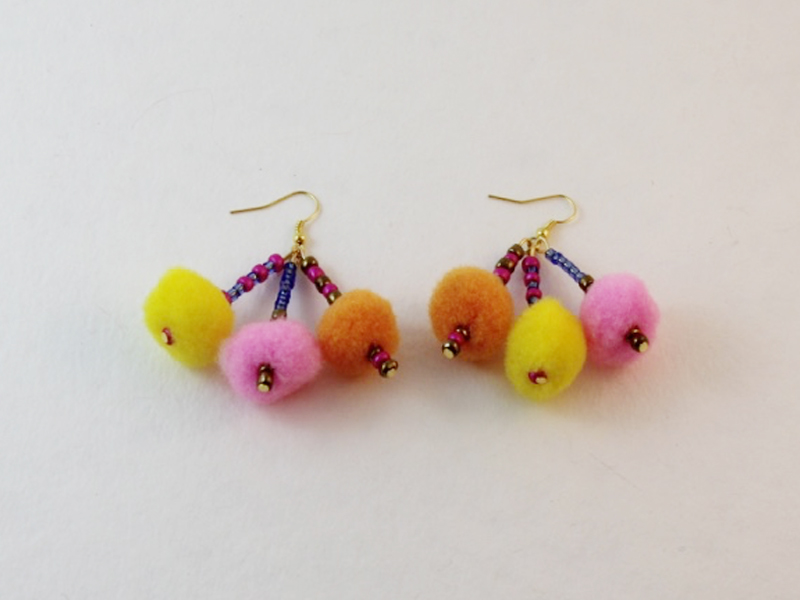
Want the Perfect Accessory to Celebrate the Silly Season? You Need These Colorful Earrings
I’ve been thinking about making some earrings featuring pom poms for a while, and now, with the silly season upon us, it felt like the perfect time to create some cute pom pom dangle earrings. These earrings are fun and sophisticated, perfect for brightening up a festive winter evening or for adding a colorful accent to compliment a fresh summer frock. These adorable earrings are super easy to make, you’ll be knocking their socks off in no time.
You’ll need the following tools and materials to make these pom pom dangle earrings:
1: Pliers. I mostly used my round nose pliers to make these earrings but make sure you have all your pliers on hand to make these earrings.
2: Two earring hooks.

3: Six head pins.

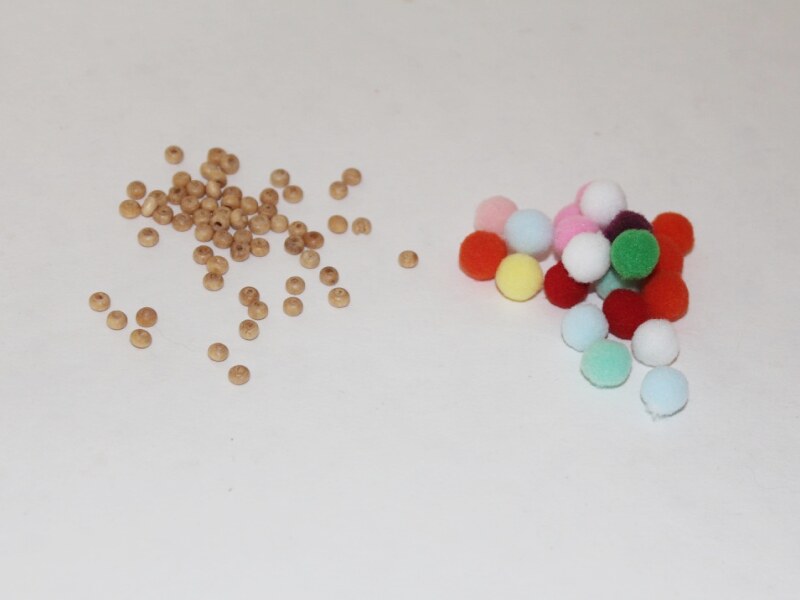
4: Six pom poms in different colors.

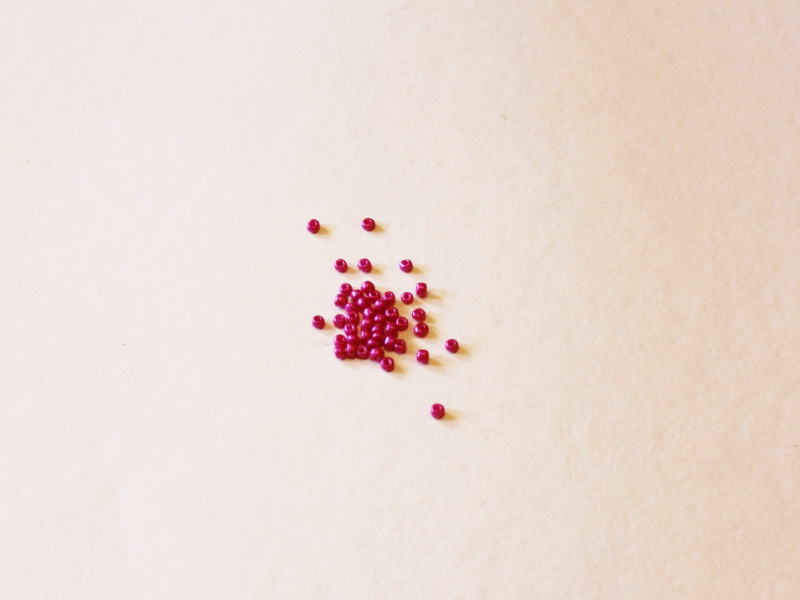
5: Beads of your choice. I used an assortment of differently colored glass seed beads.


The Steps:
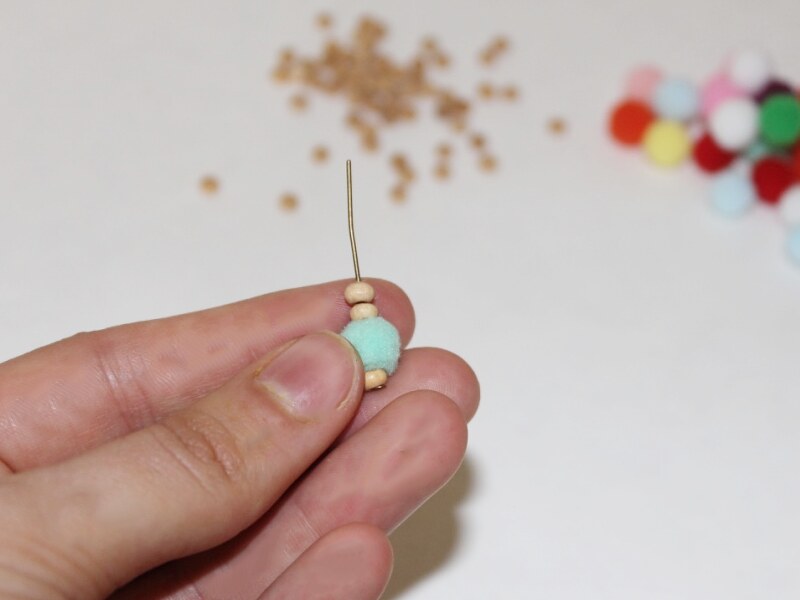
1: Take one pin and begin adding beads in your desired pattern. For my first pin I added the pom pom after the first bead. Add the pom pom by piercing its center with the head pin. Make sure you make two of each pin design so that your earrings match.


2: Continue adding beads after you have added the pom pom.

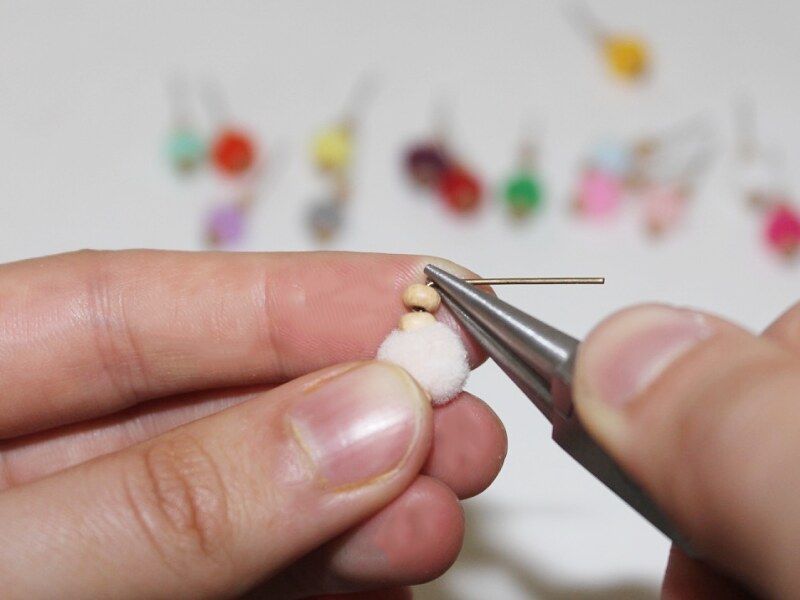
3: Once you have added all your beads, use the round nose pliers to bend the pin at a right angle to the beaded section.

4: Use the round nose pliers to curl the pin into a loop in the opposite direction to the first bend you made in step 3.

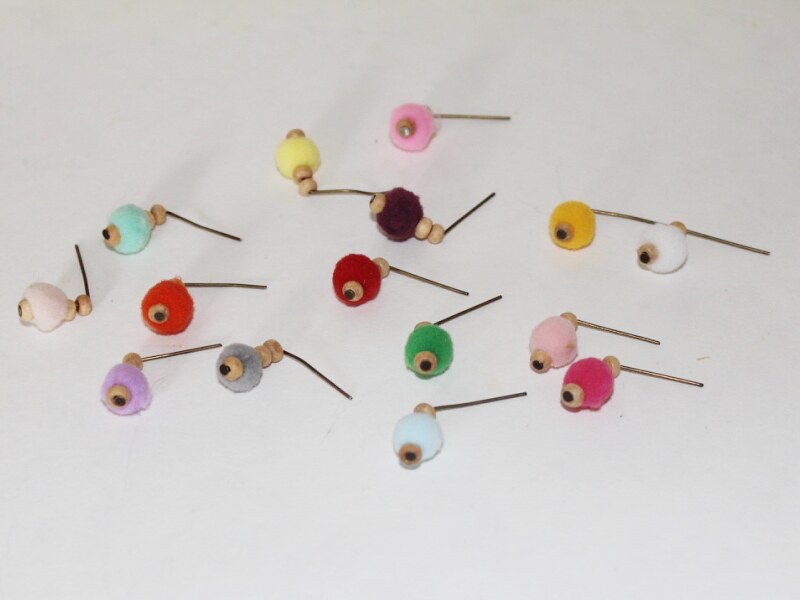
5: Repeat steps 3 and 4 for all of you beaded head pins.

6: Sort your pins into the arrangement you would like to feature on your earrings.

7: Take an earring hook and use your pliers to open the bottom loop.

8: Slide three of the charms onto the open loop.

9: Use the pliers to close the earring loop and secure the charms into place. Repeat steps 8 and 9 for the second earring.
10: Now your earrings are ready to wear! I hope you have a fun festive season in these stunning dangle drop earrings.
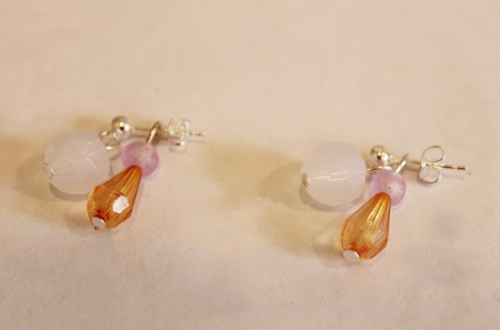
Here is another example of some cute pom pom earrings made with just one pin charm.